Editing images requires precise work, especially when it comes to the details. CaptureOneProoffers a variety of tools to effectively control the sharpness and noise of your images. In this guide, I will introduce you to the key functions of the "Details" tab and show you step by step how to use them optimally.
Key Insights
- Sharpening by adjusting strength and radius.
- Control over the threshold to perfect the sharpening.
- Noise reduction and adding film grain for image editing.
Step 1: Select the Details Tab
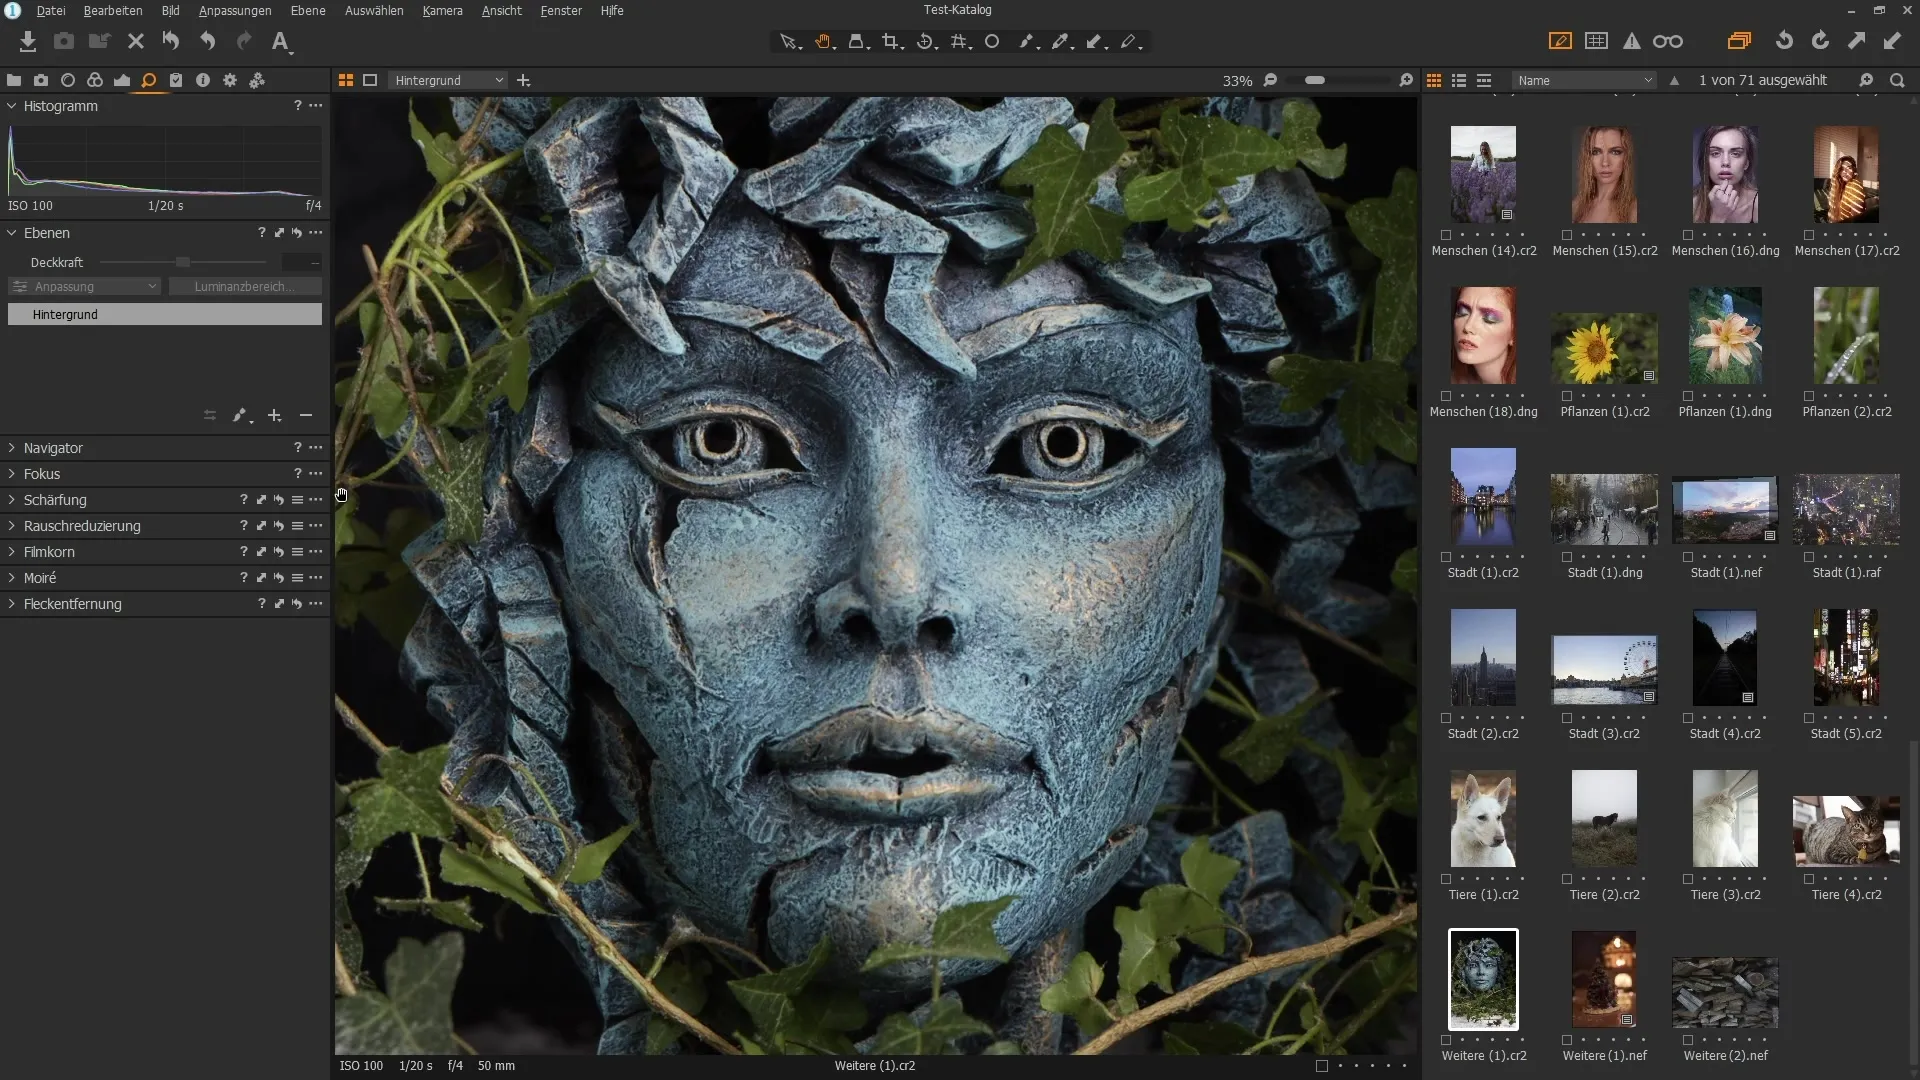
Open Capture One Pro and navigate to the "Details" tab. Here you will find the various toolsthat will assist you in image editing. Once you click on the tab, the palette will appear, showing you all available options.
Step 2: Activate the Sharpening Tool
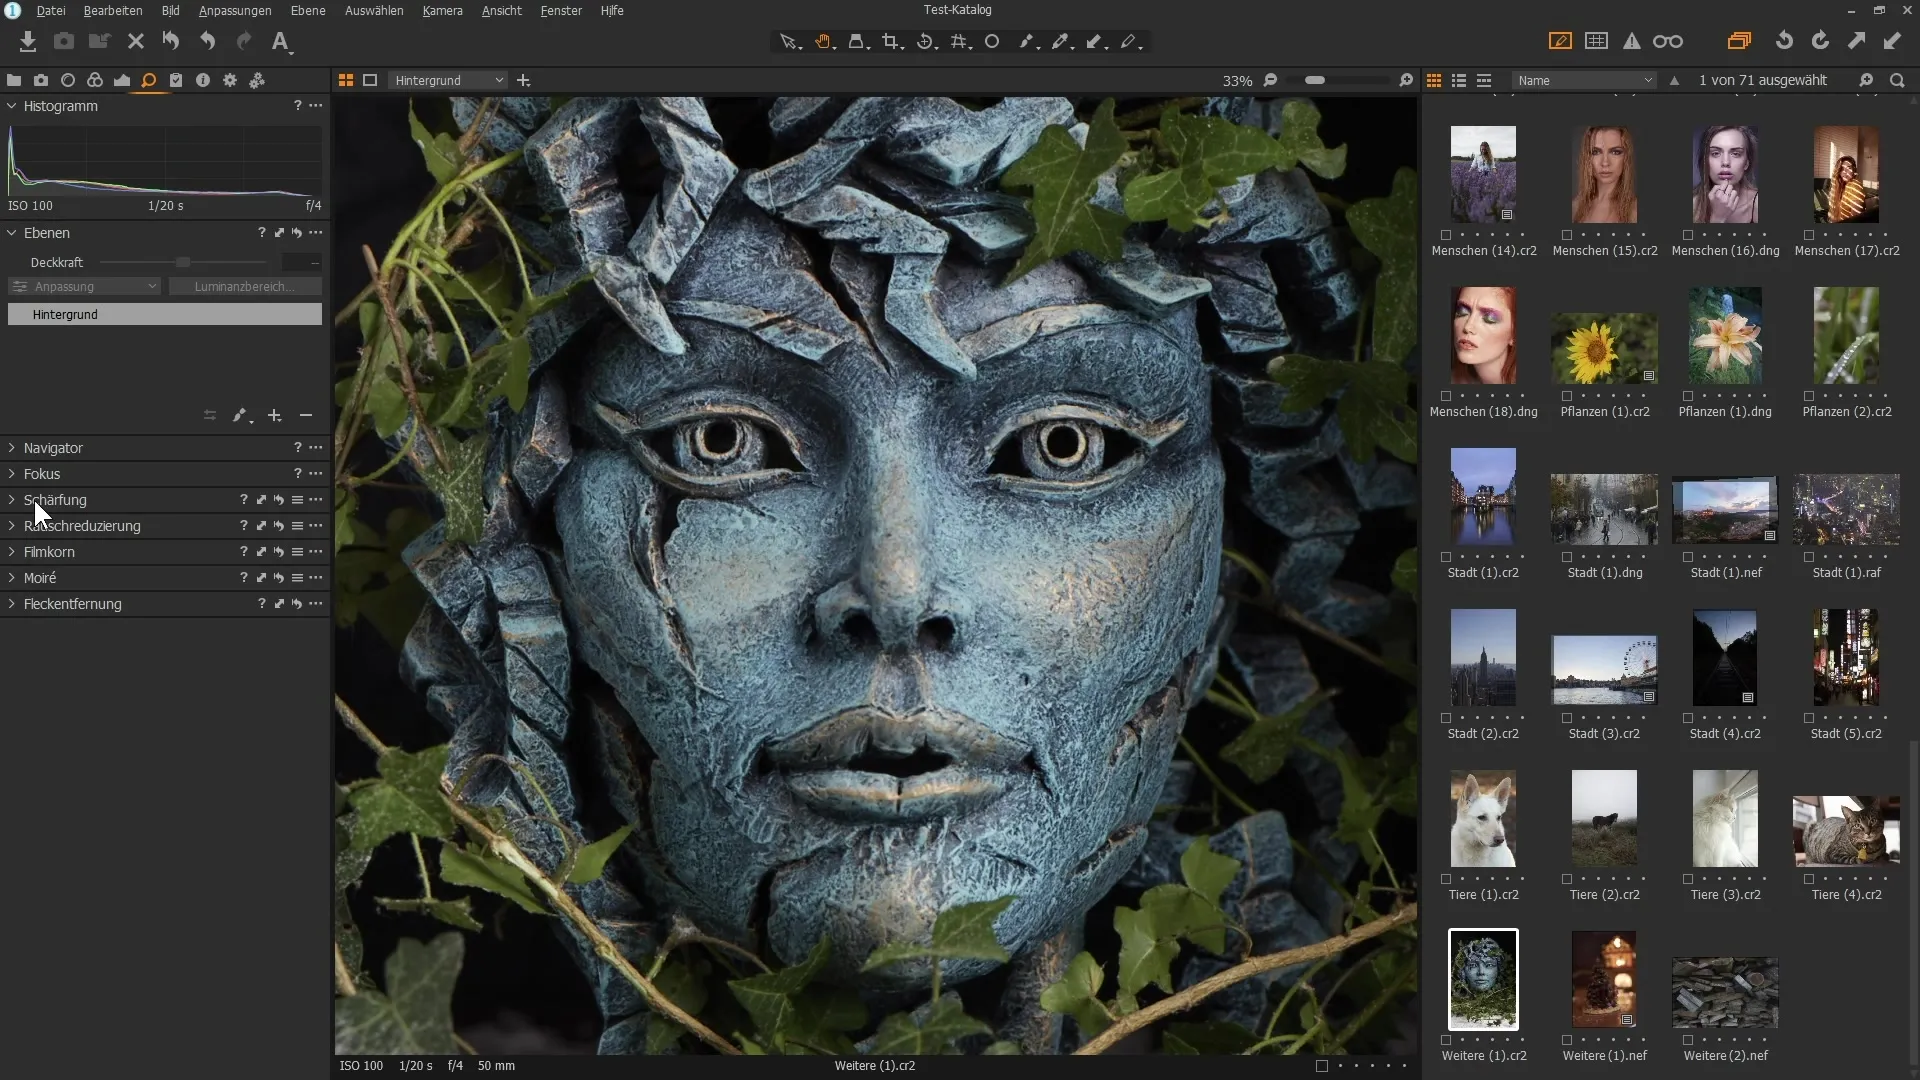
Select the "Sharpening" palette. This allows you to adjust the sharpness of your image. You have the option to navigate through the image by zooming in. This will give you a better idea of the details that need editing.
Step 3: Sharpen for More Contrast
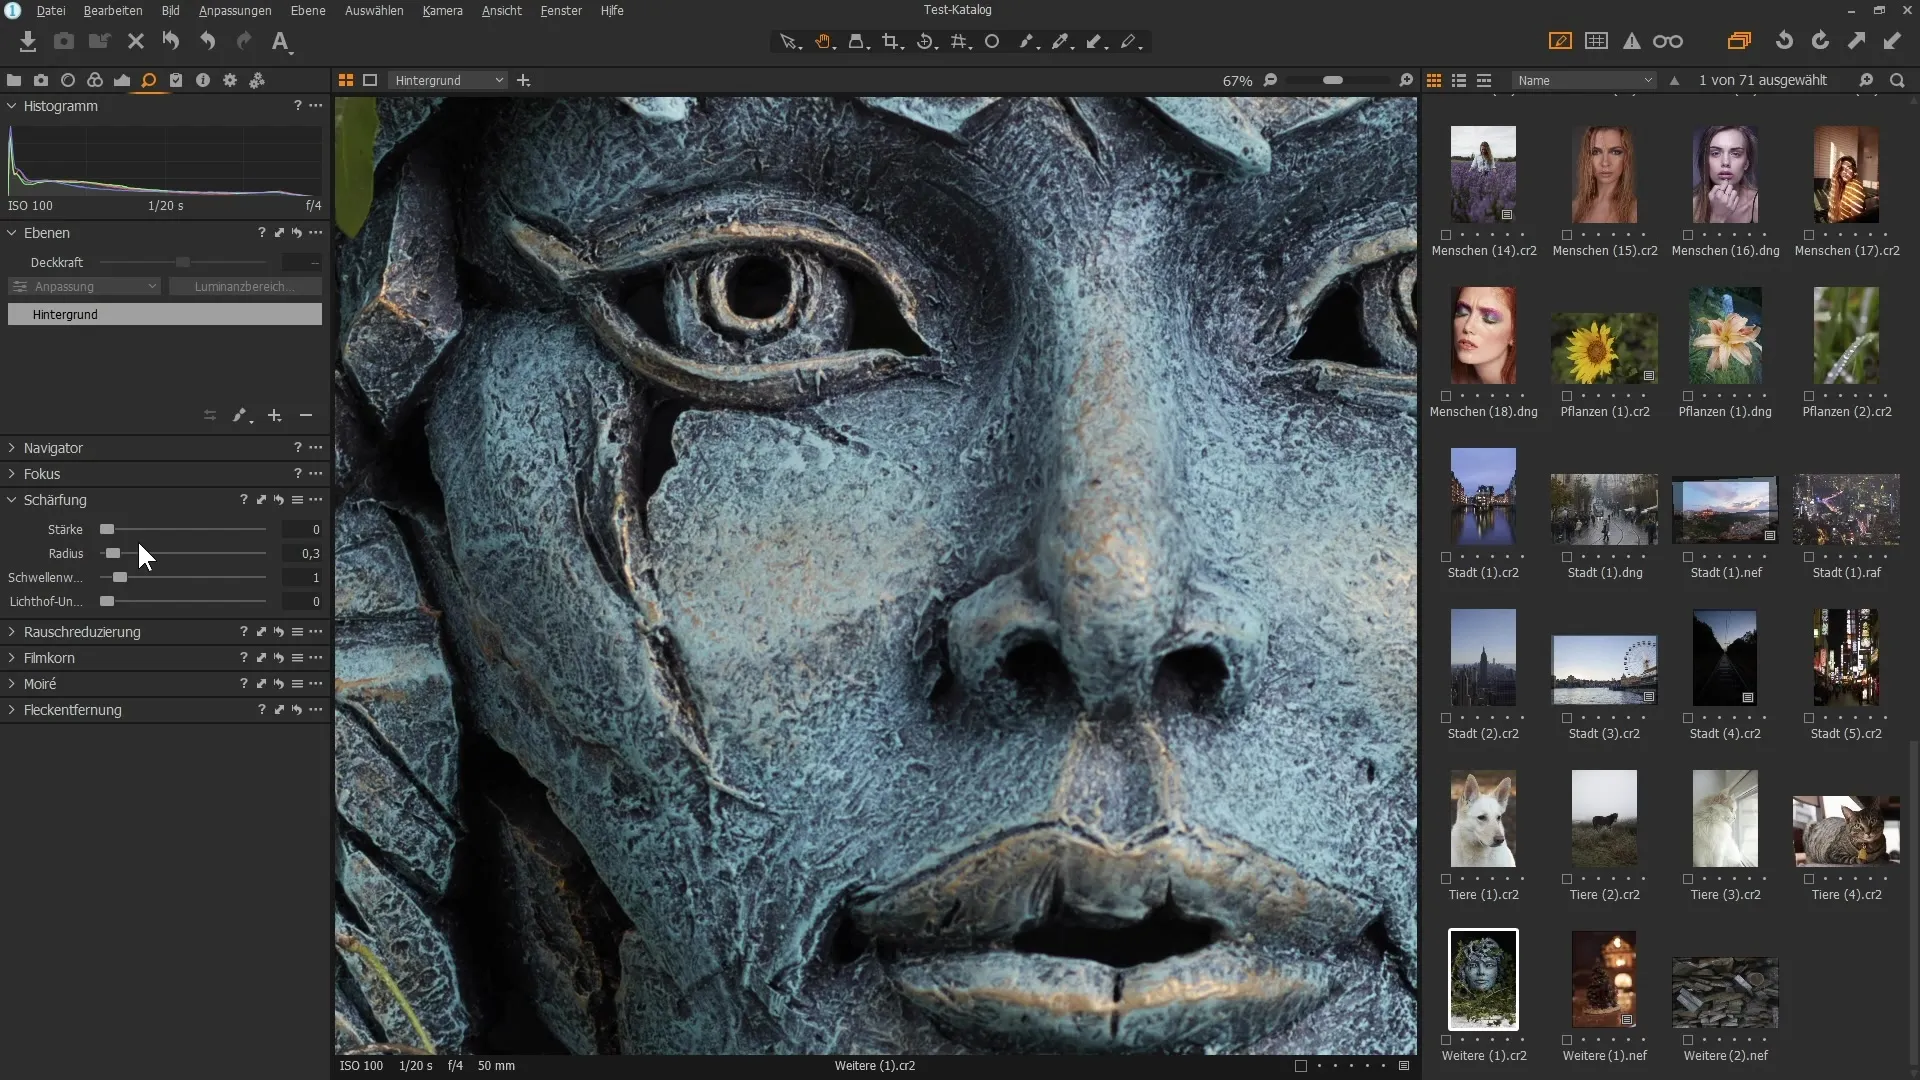
Start by pulling down the radius to achieve concentrated sharpness. With a low radius, you focus on fine contrasts between pixels, which gives the impression of sharpness. Pull the "Strength" slider up to enhance the visible effect of sharpening.
Step 4: Fine-tuning for Strong Contrasts
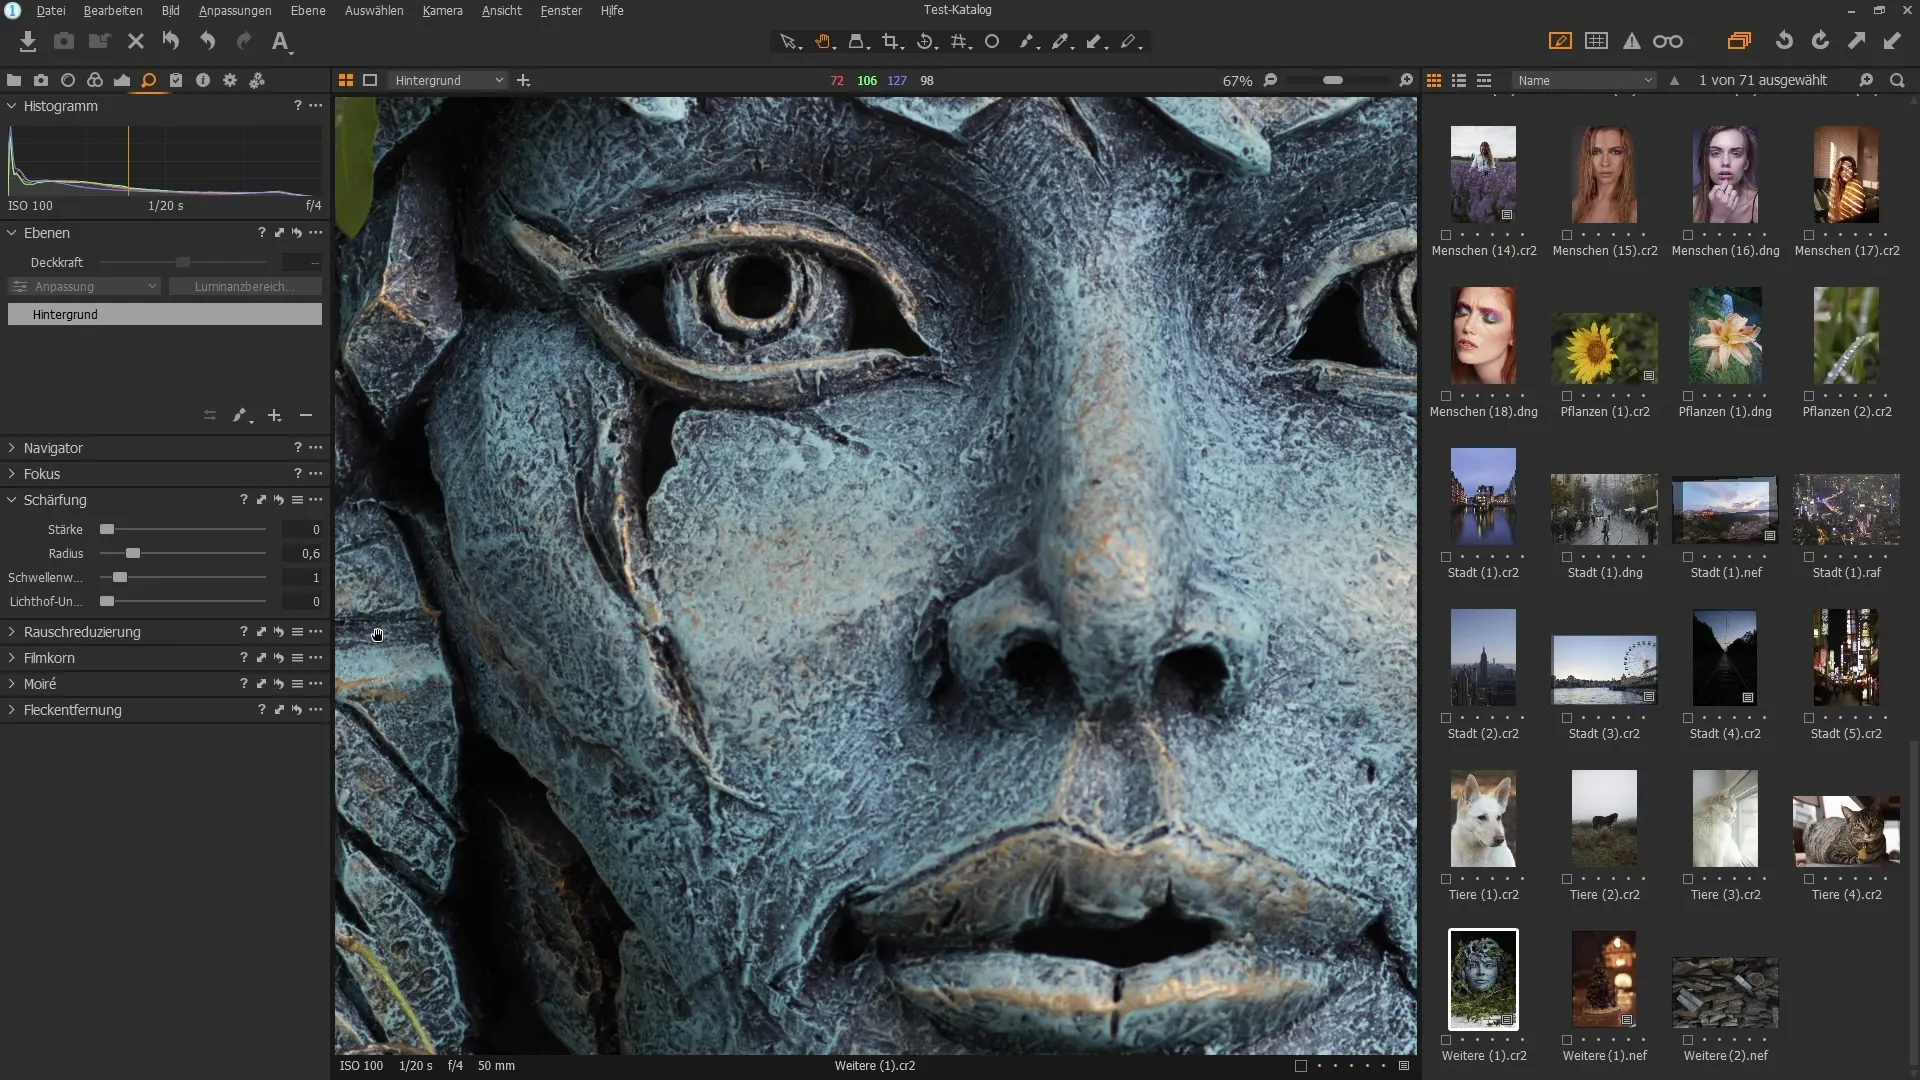
Reduce the radius further while increasing the strength. This will focus sharpening on fine structural details. Make sure this is especially important for portraits so that you do not over-edit fine skin structures.
Step 5: Adjust the Threshold
The threshold defines how much contrast between pixels must differ for sharpening to take effect. Increase the threshold to avoid sharpening very fine details, such as skin pores. This keeps the image looking natural and appealing.
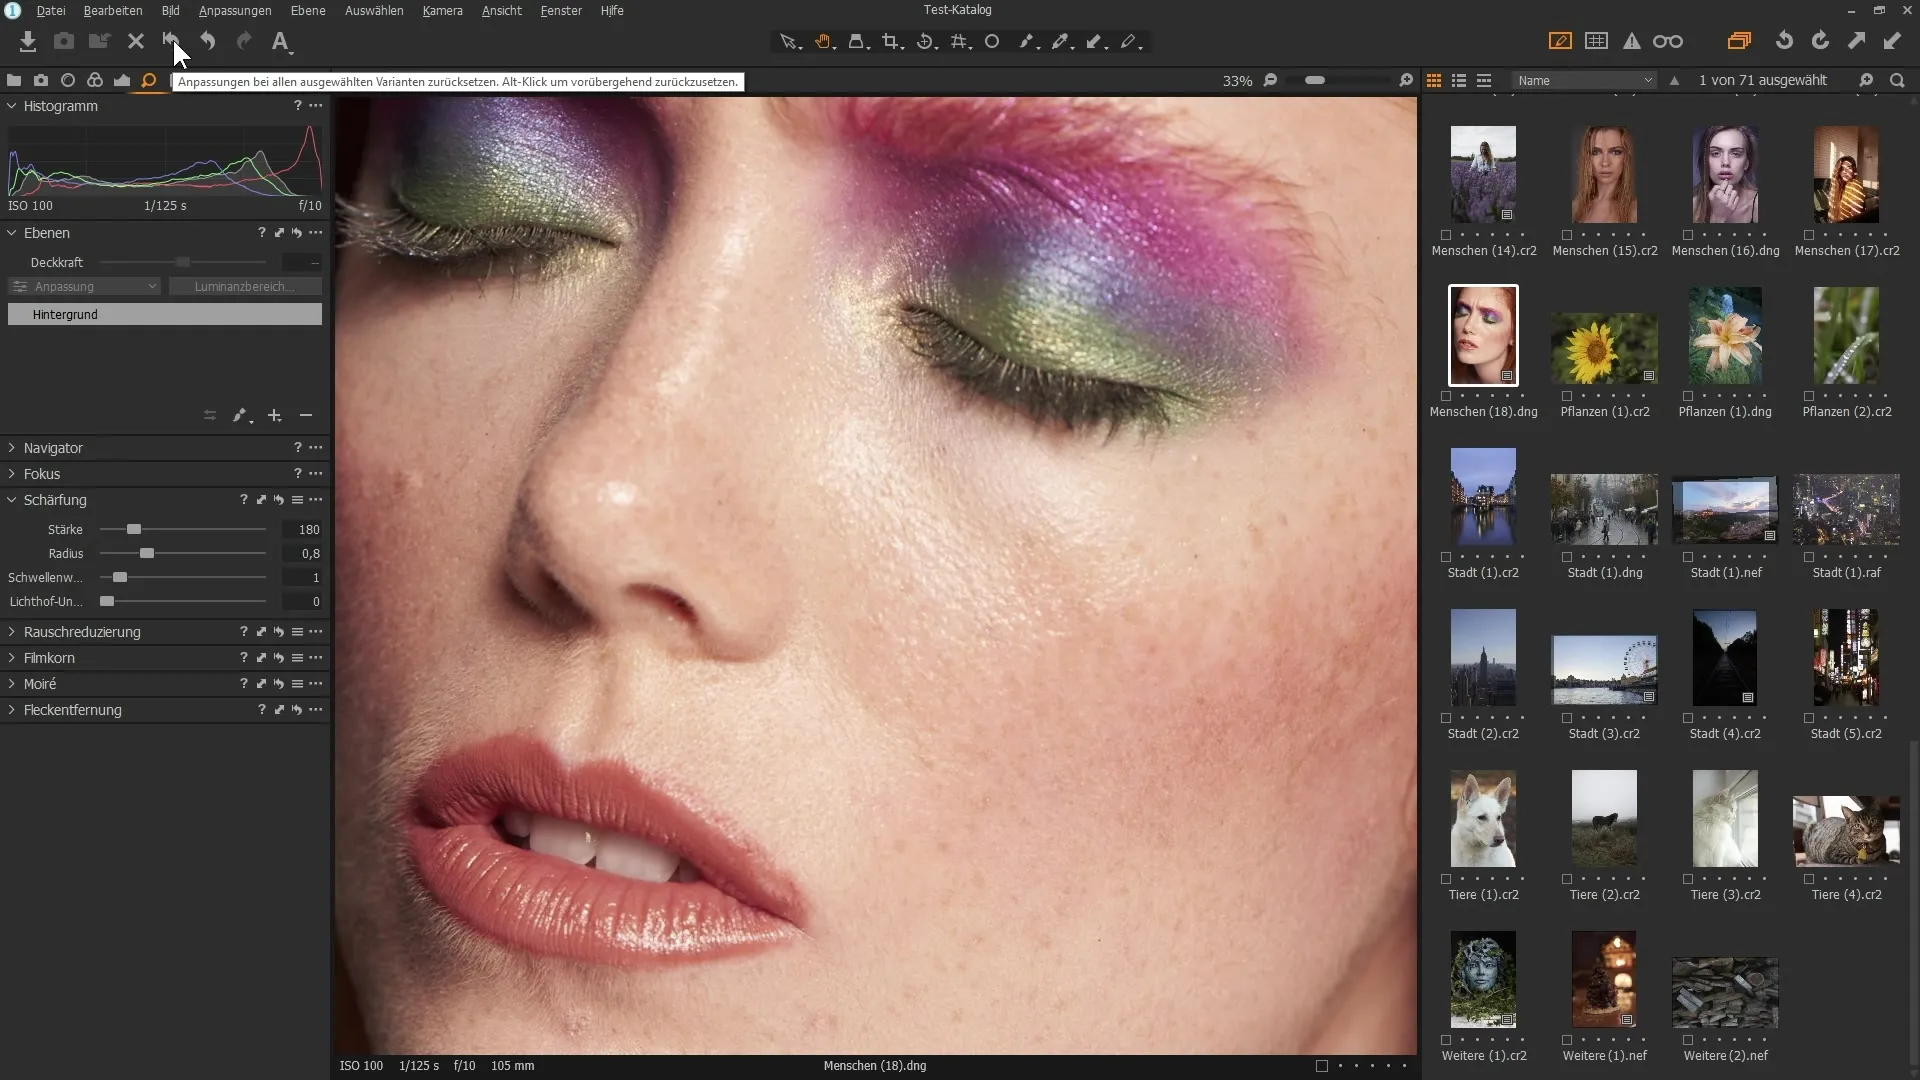
Step 6: Avoid Halo Effects
While applying sharpening, it is possible for unwanted bright edges, also known as “halos”, to occur. Be careful with the setting to minimize these. The "Halo Suppression" feature can help you with this.
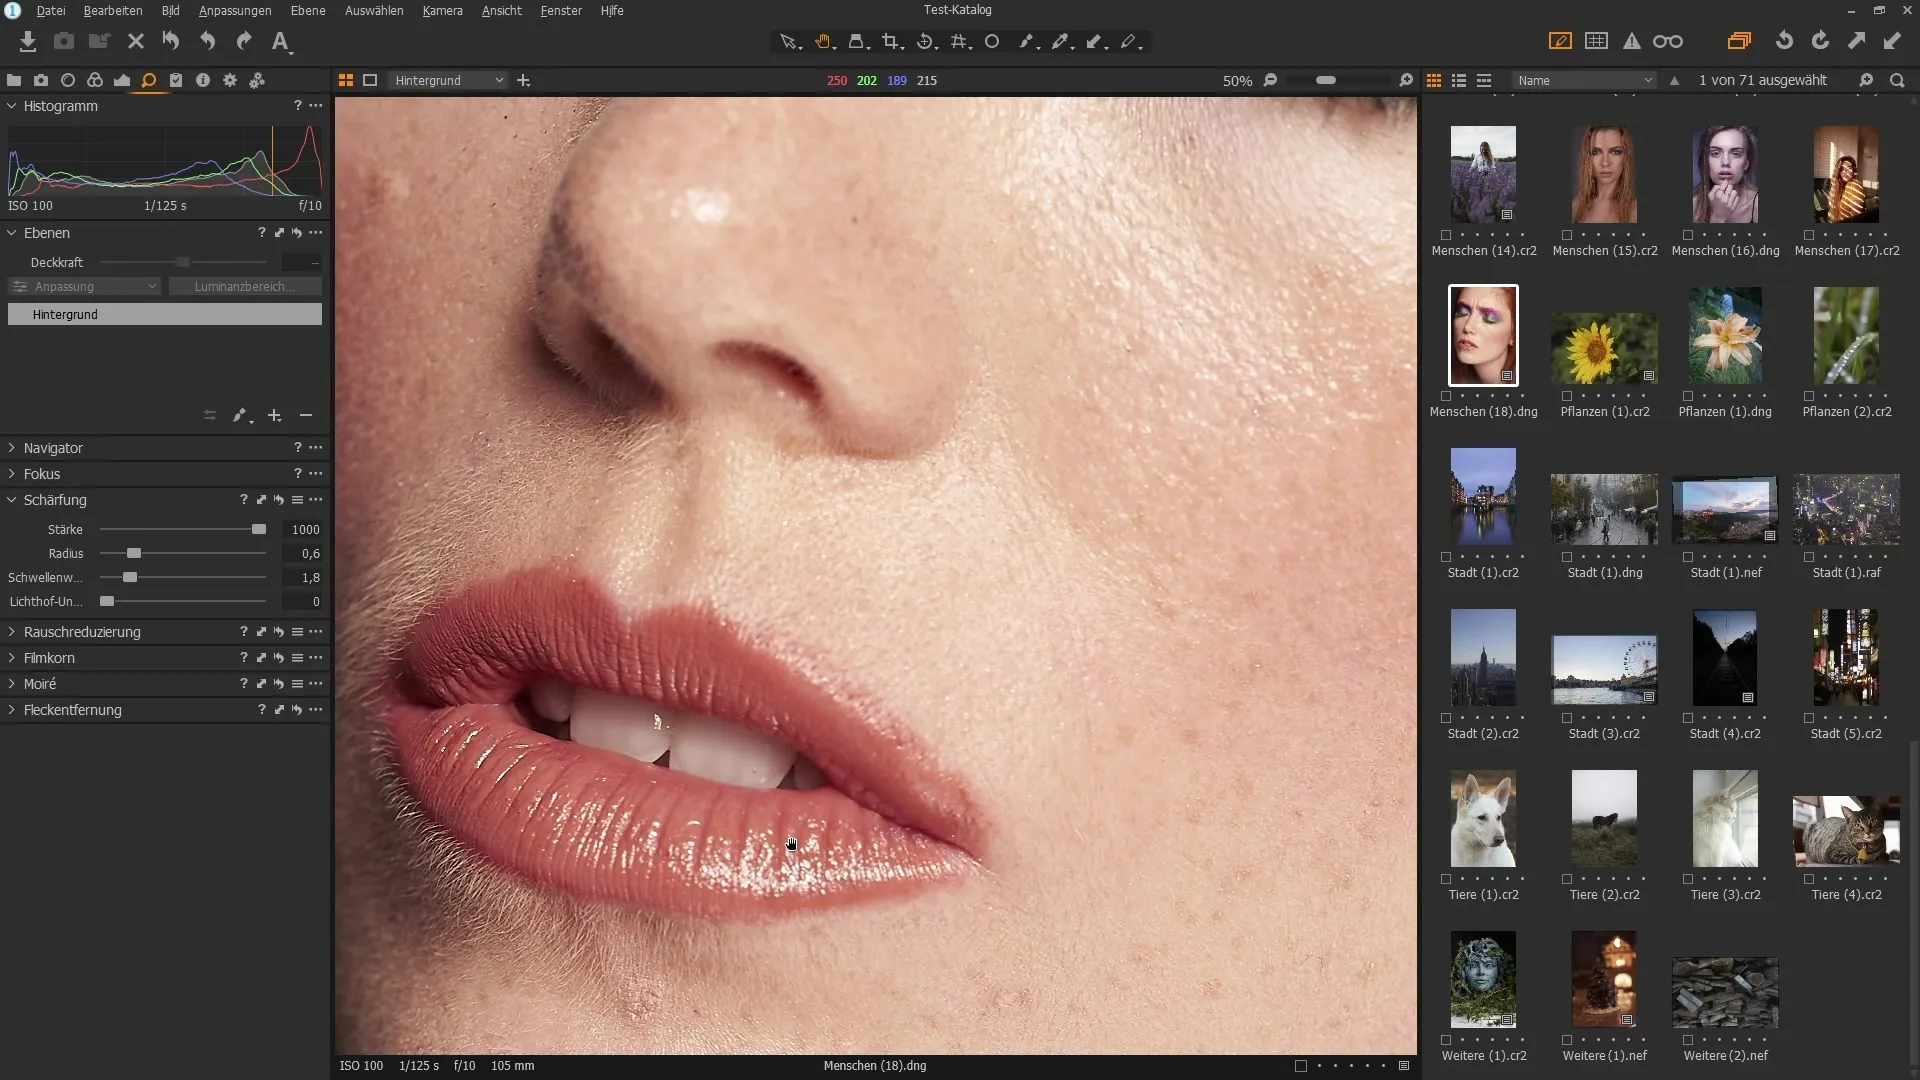
Step 7: Apply Noise Reduction
If you are working with high ISO values, it is advisable to use noise reduction. Go to the "Details" section and look for the brightness slider. With this slider, you can effectively reduce image noise, but make sure not to lose too many details in the process.
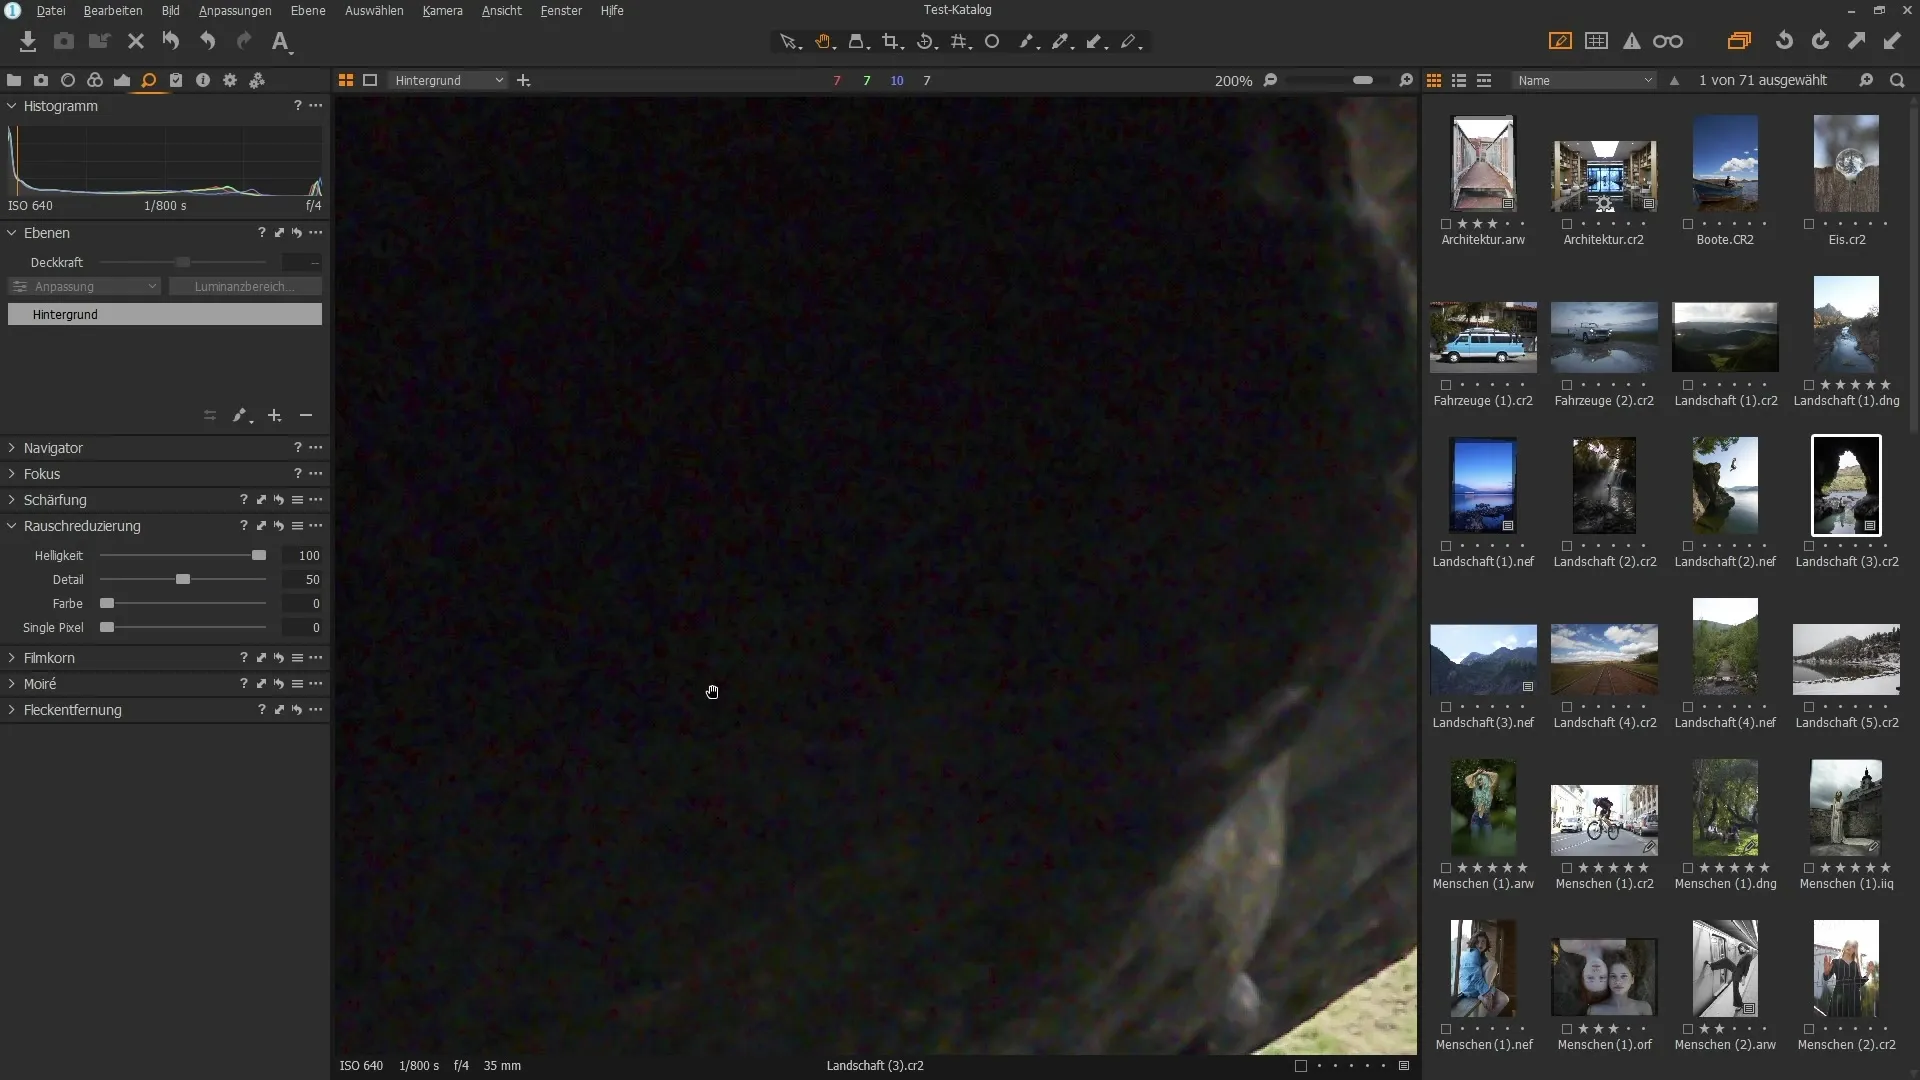
Step 8: Remove Color
In addition to brightness noise reduction, Capture One also offers the ability to combat color noise. Use the "Color" slider to minimize red and green noise. This ensures clean and professionally-looking image editing.
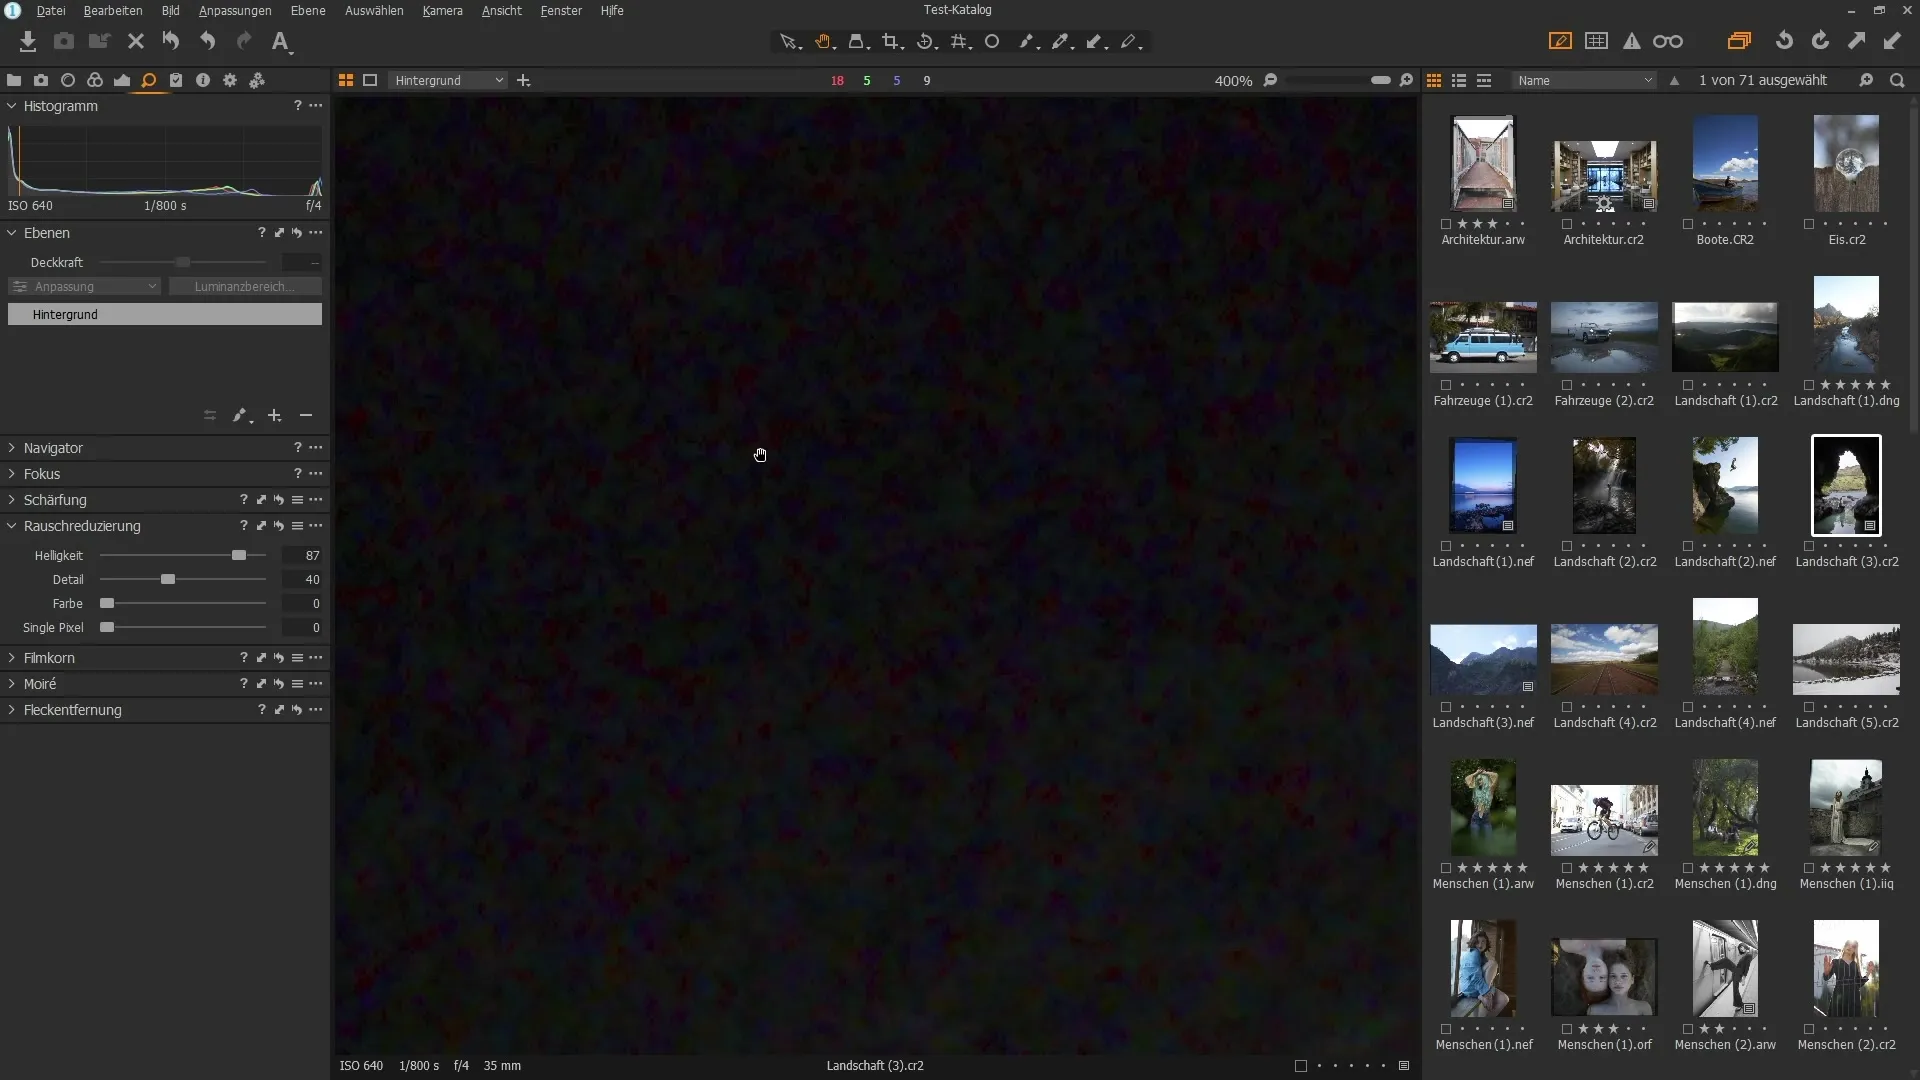
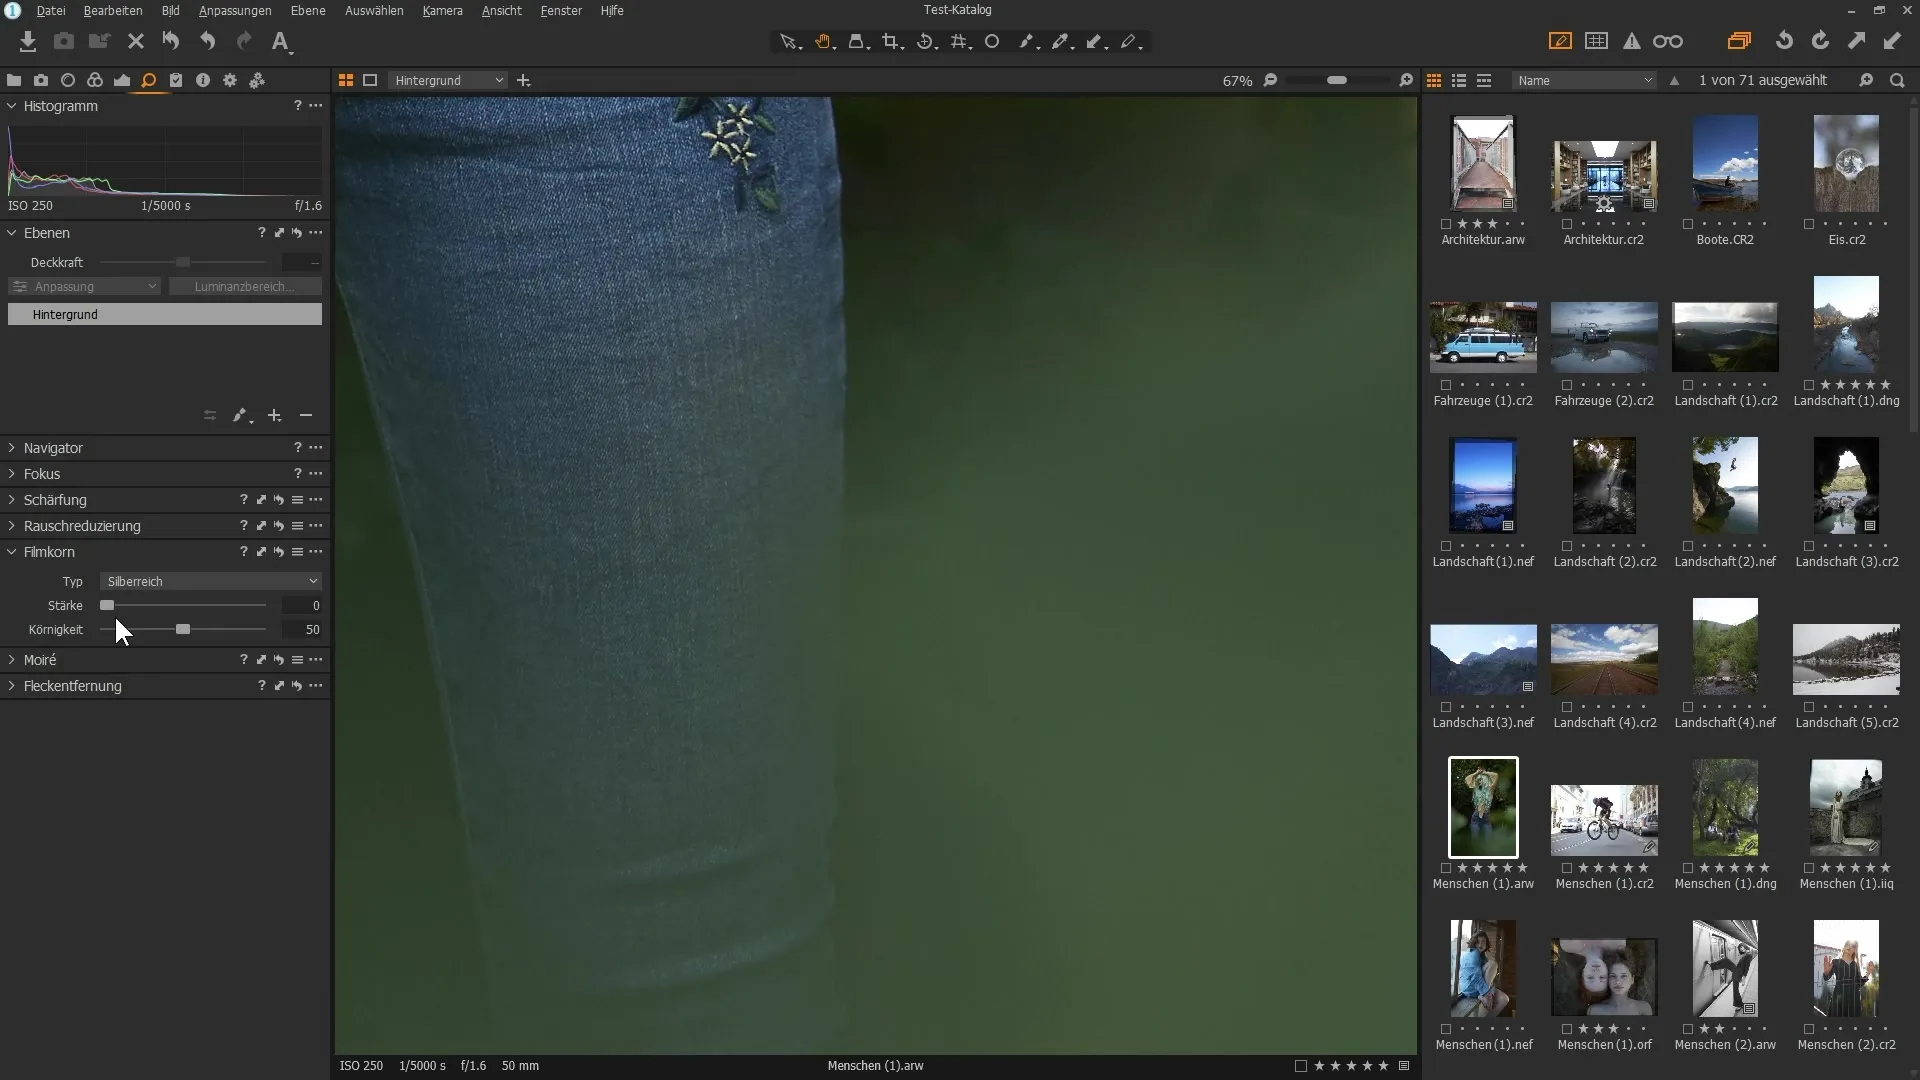
Step 9: Add Film Grain
Finally, you can add a certain graininess to your image. This is done through the "Film Grain" function. Choose the type of grain you want to add and adjust the strength according to your preferences.
Summary – Capture One Pro: Efficiently Use Detail Tools
With the detail tools in Capture One Pro, you can not only finely adjust the sharpness of your images, but also reduce noise and add appealing grain. Through precise adjustments, you can bring out the best in your images.
FAQ
How does sharpening work in Capture One Pro?You can adjust the sharpening strength and radius to increase contrasts.
What is the threshold for sharpening?The threshold determines how much contrast must differ between pixels for sharpening to be effective.
How can I reduce noise in my images?Use noise reduction in the Details area and adjust the brightness and color options.


