The Basic Color Editorin CaptureOnePro 20has changed drastically and offers you new possibilities to effectively and intuitively edit colors in your images. In this guide, you will learn about the new features of the Color Editor and how to apply them in practice to achieve impressive results.
Key Insights
- The revised Color Editor offers a simpler and more intuitive user interface.
- You can select and adjust colors directly in the image, making the editing process more efficient.
- A new eyedropper allows you to work specifically with certain color tones.
Step-by-Step Guide
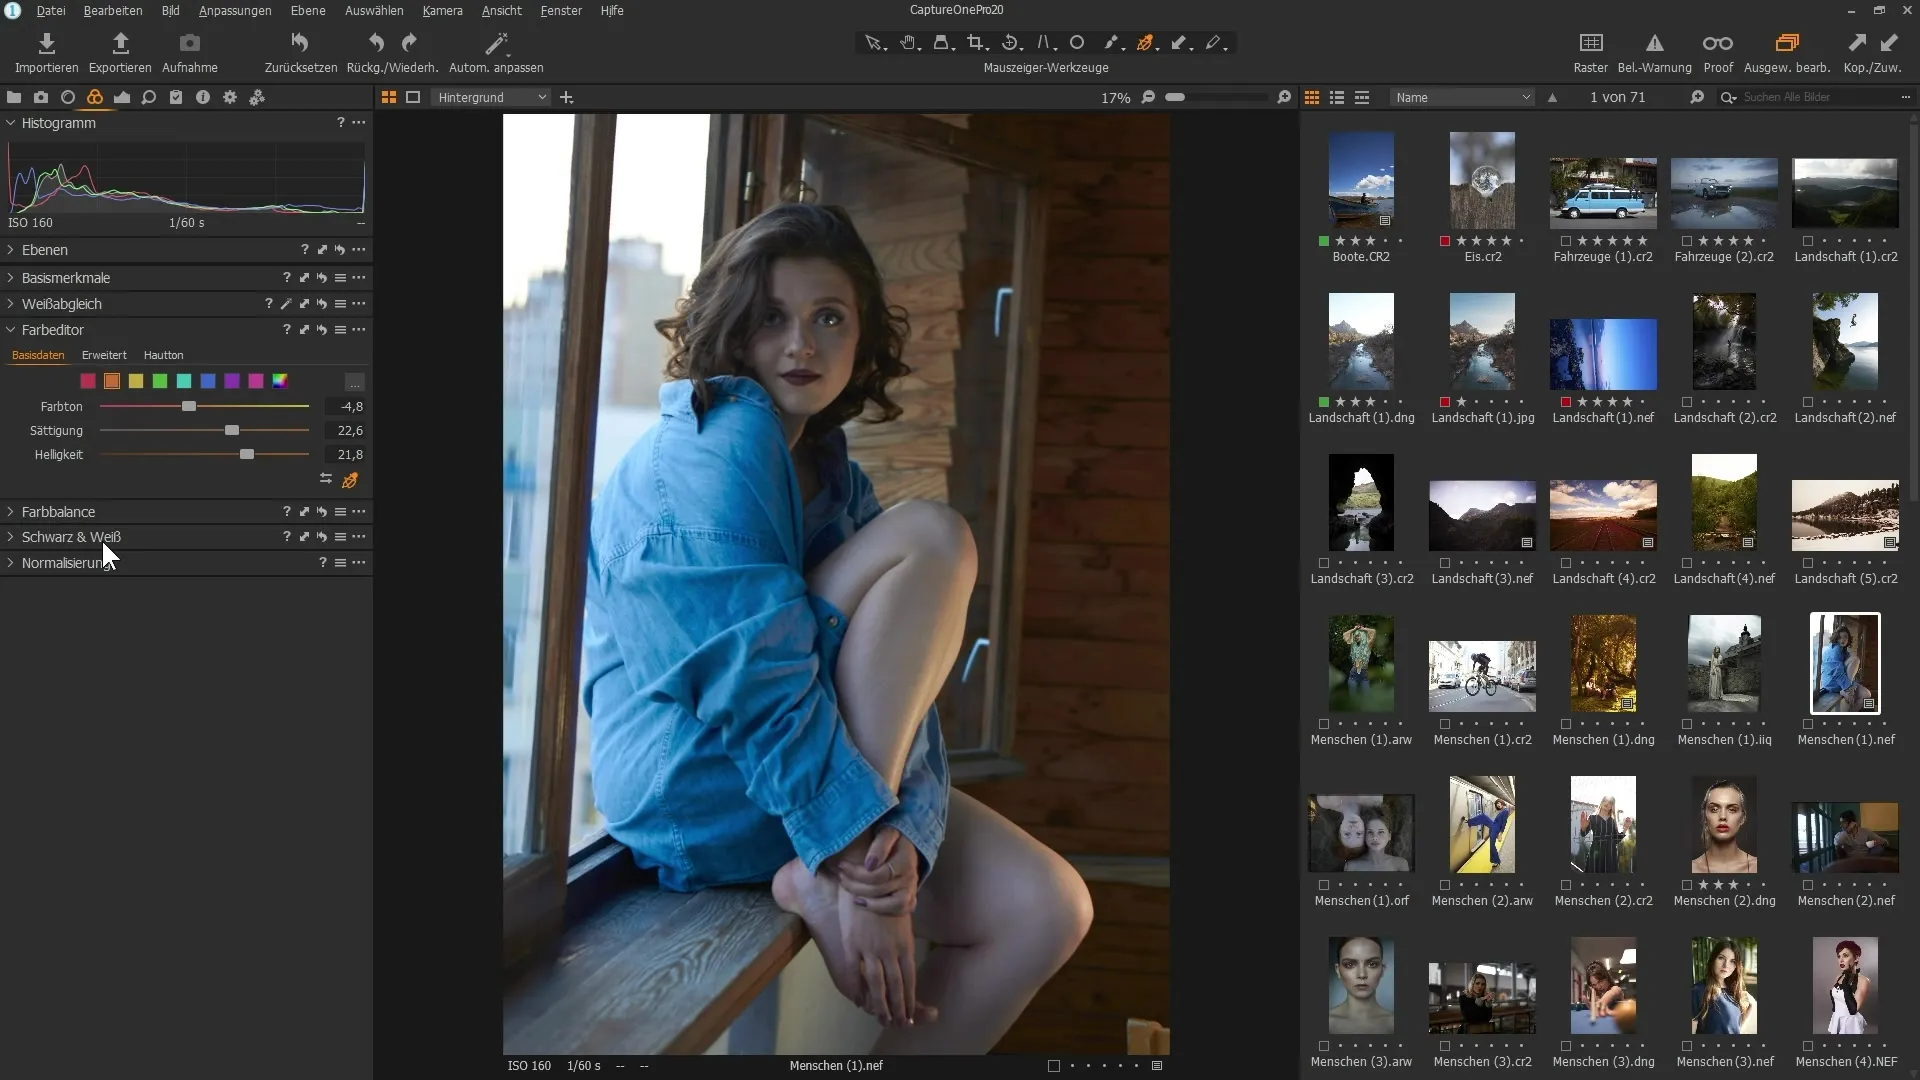
Open Capture One Pro 20 and load the image you want to edit. In the color area, find the Basic Color Editor and open it.
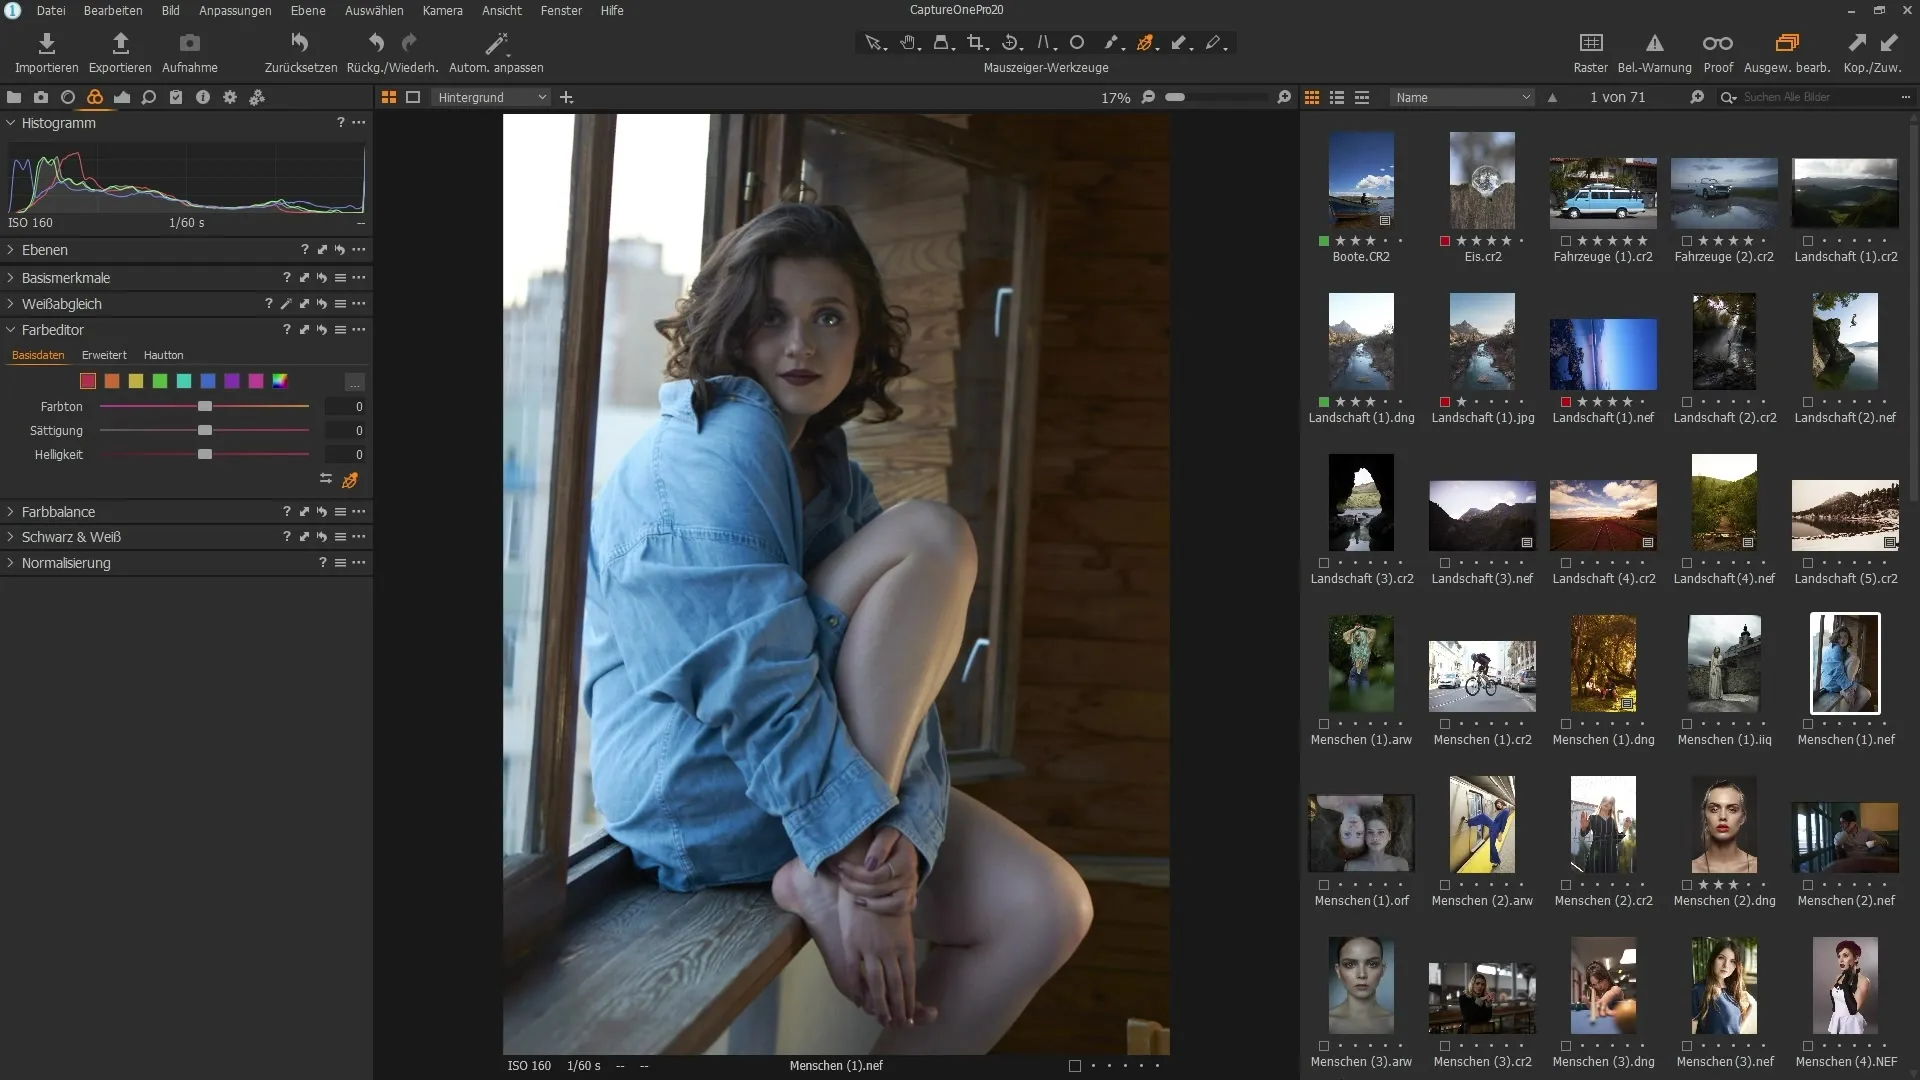
Once the Color Editor is open, you will notice the new layout, which is significantly different from the old color wheel. Instead of the conventional color wheel, you will now find various sliders for color selection.
Select the desired color range that you want to edit, for example, the shirt in your image. Click on the corresponding color selection and adjust the saturation of the blue tone.
If the color is not precise, you can reset the handle by double-clicking on it or using the arrow symbol to revert the setting to the default values.
You now have the option to use the new eyedropper. Click on the eyedropper and select the color you want to adjust. Once you click on the color in the image, the software recognizes the corresponding hue.
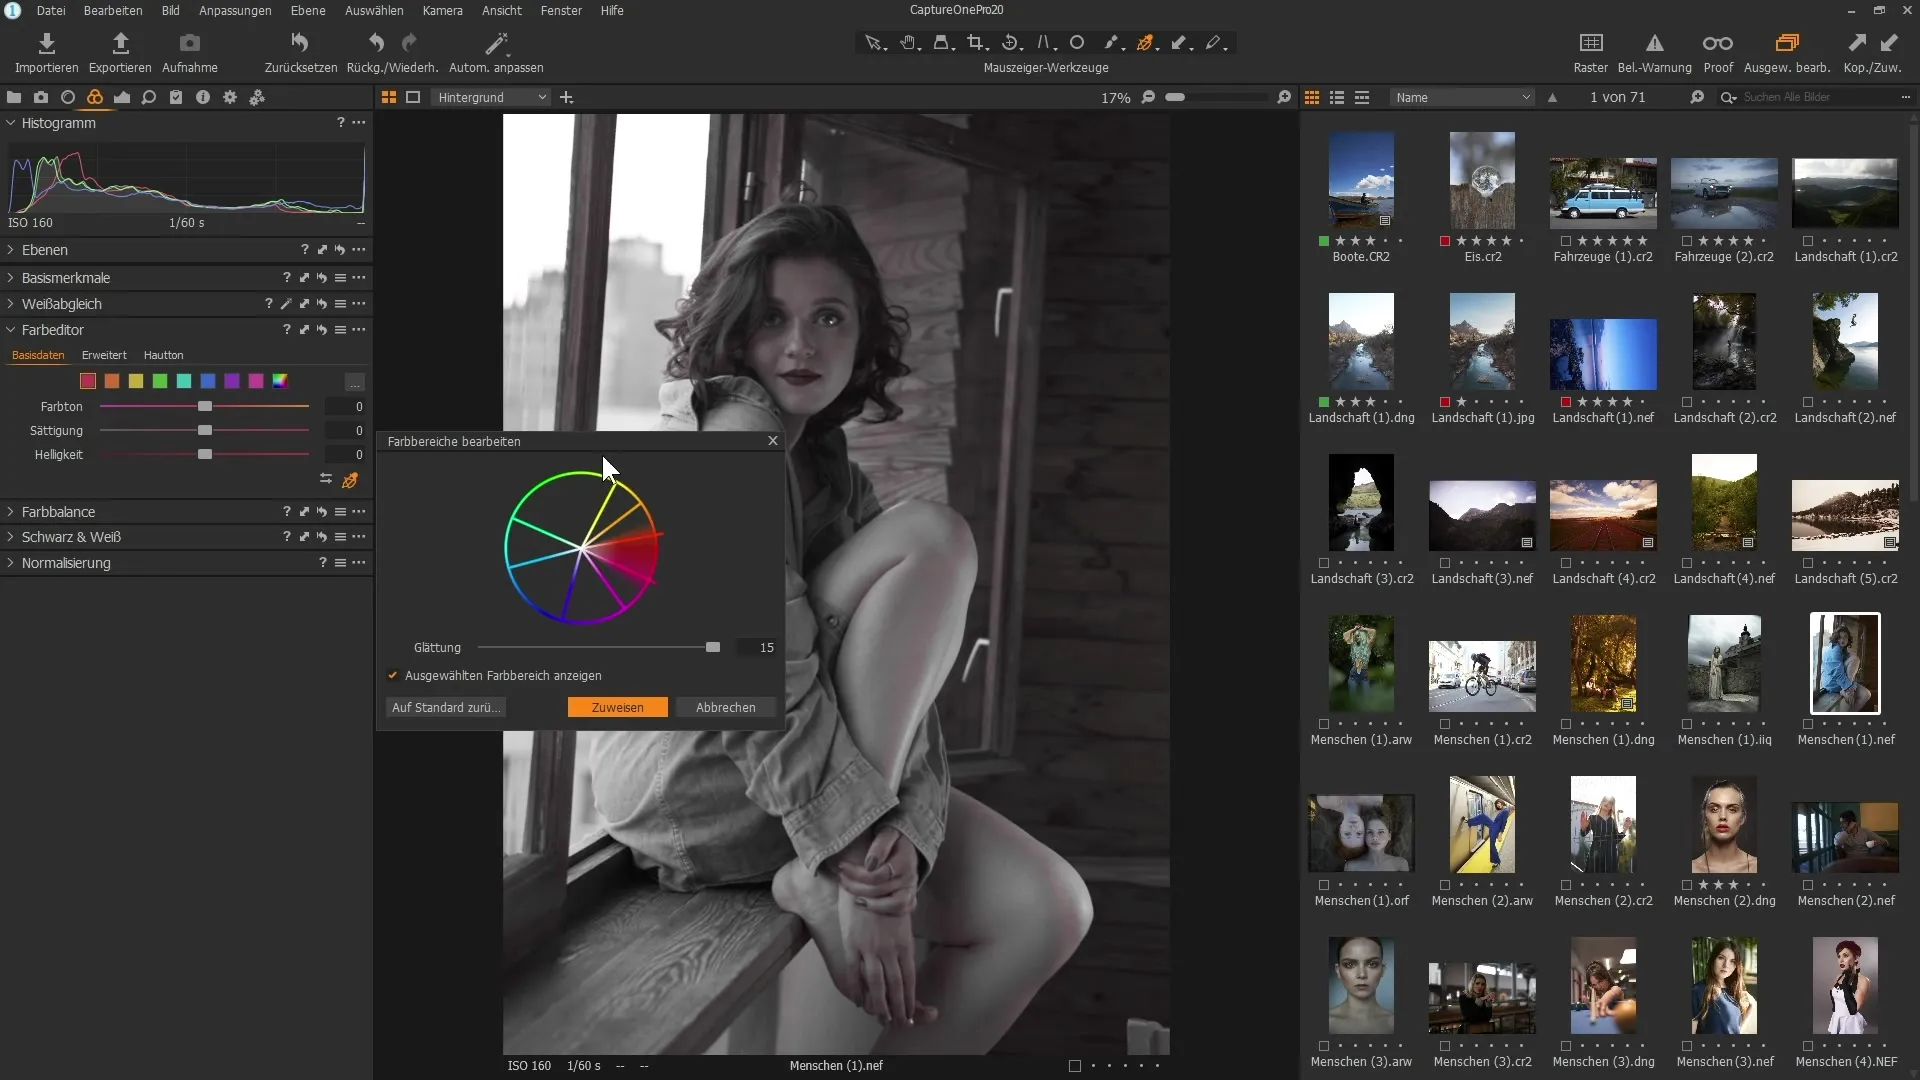
To adjust the hue, drag the mouse horizontally to the right or left. This allows you to tune the hue of your shirt towards cyan or magenta.
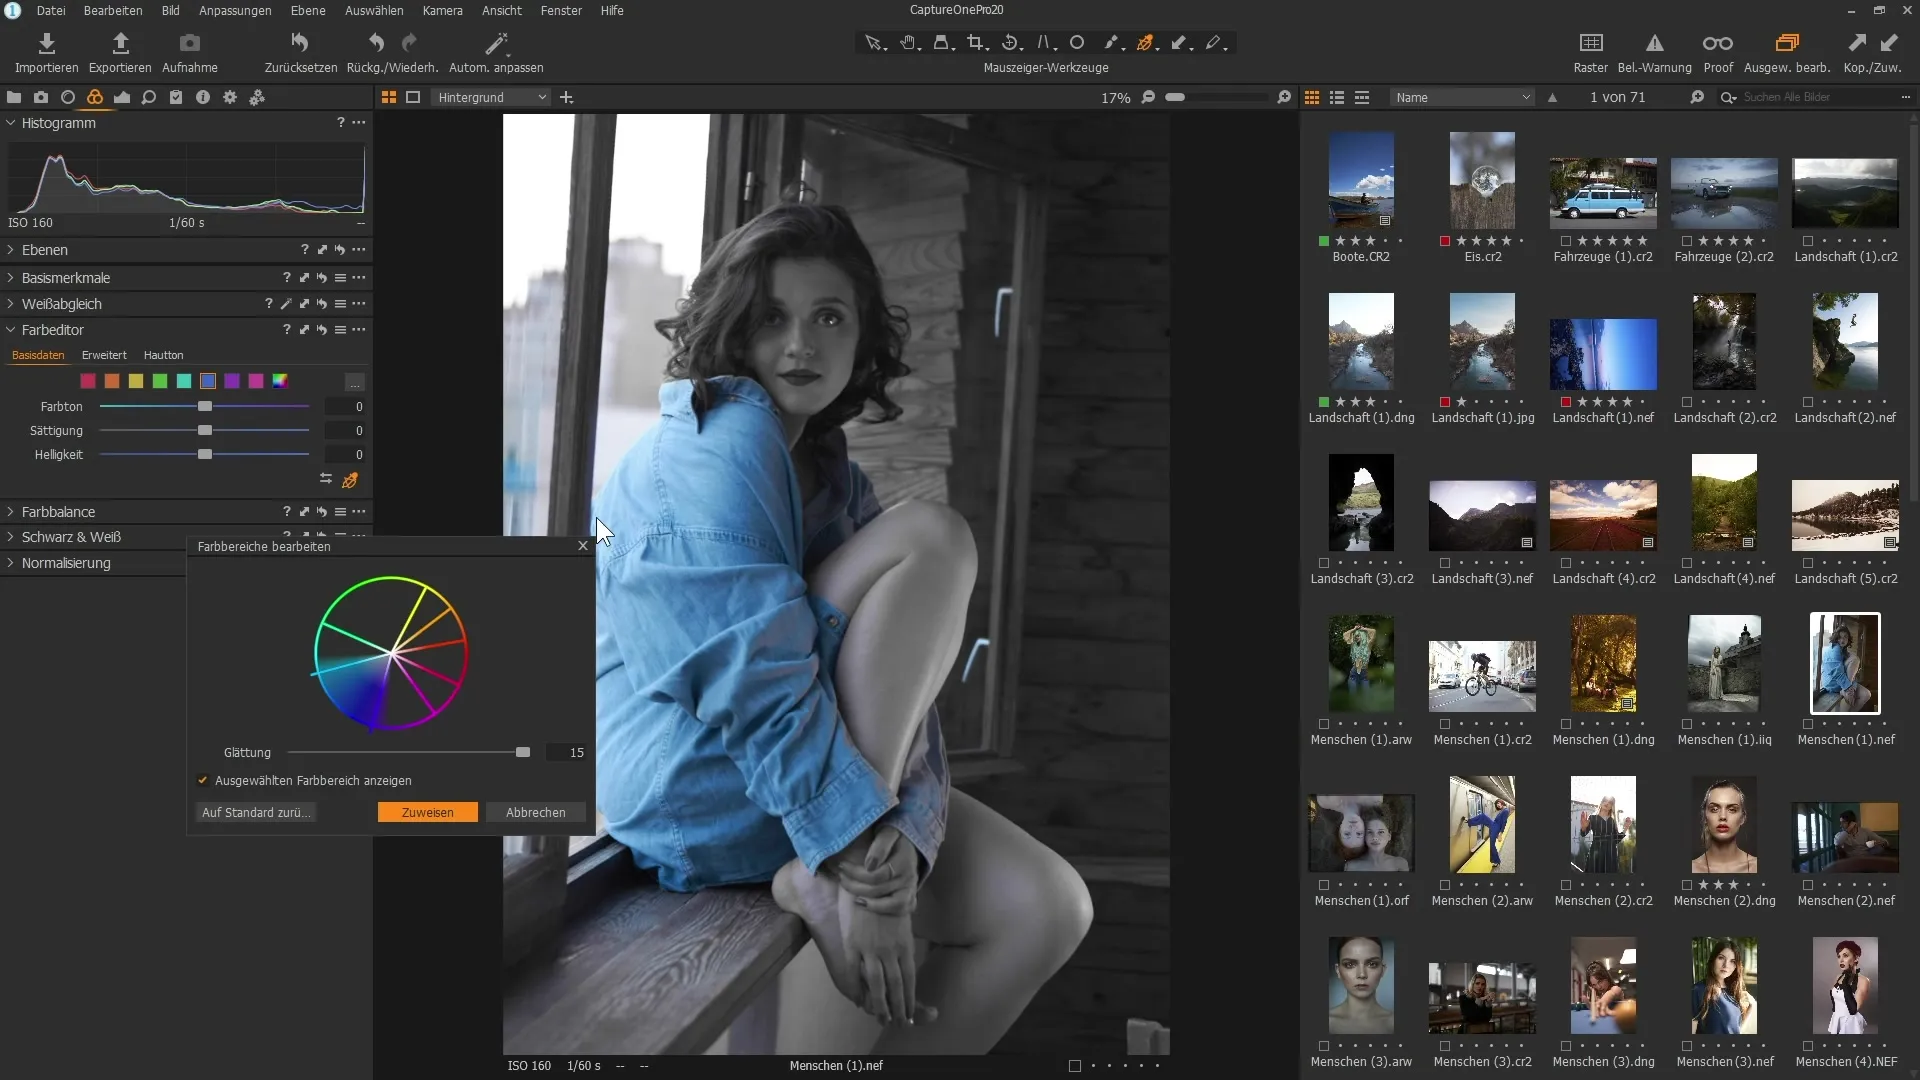
If you want to change the saturation of the blue tone, move the mouse vertically – up for an increase in saturation and down for a decrease.
To adjust the brightness, hold down the ALT key and drag the mouse left or right while holding the left mouse button down. This function allows for precise control over the brightness of the selected color ranges.
To adjust the sensitivity of the editing, right-click on the image. You can reduce the sensitivity, which allows for more precise control. At lower values, the slider moves only minimally when you move the mouse.
Click on the image again and test the sensitivity by moving the mouse further. A value change of 40 is often a good starting point.
For a fine-tuned adjustment, you can now specifically set the selected color, saturation, and brightness. Make adjustments until the image meets your expectations.
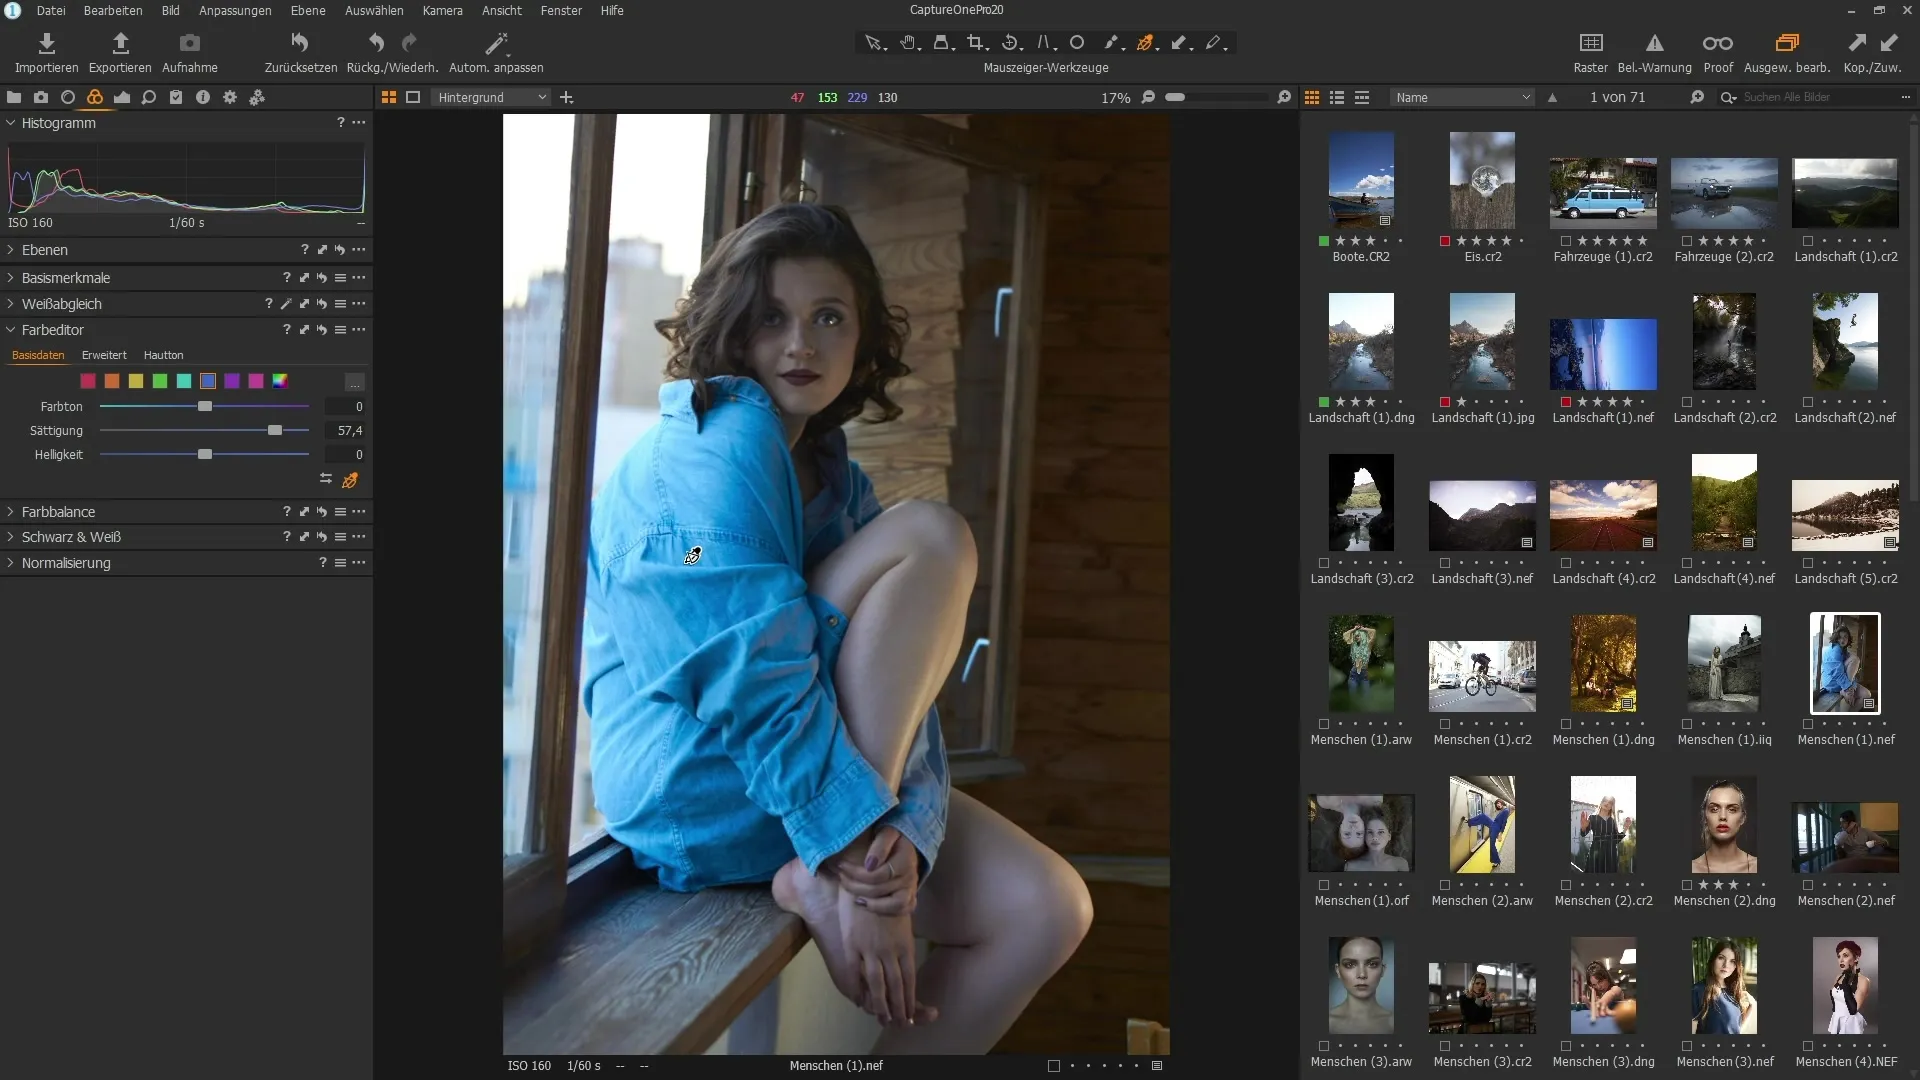
With the ALT key pressed, you can briefly hide the previous image and compare it to the edited image. This allows you to see the changes directly and make adjustments if necessary.
You now have the basics to use the revised Color Editor in Capture One Pro 20 effectively. Experiment with different settings and discover what works best for your images.
Summary – Guide to Using the Improved Basic Color Editor in Capture One Pro 20
The revised Basic Color Editor of Capture One Pro 20 allows for intuitive and targeted color correction that simplifies and enriches your image editing with new features.
FAQ
How do I reset a color slider?You can reset a color slider by double-clicking on the handle or using the arrow symbol.
What does the eyedropper do in the Color Editor?The eyedropper allows you to select a color directly from the image for efficient adjustment.
How can I adjust the sensitivity of the color sliders?The sensitivity of the sliders can be adjusted by right-clicking on the image.
Is it possible to change saturation and brightness simultaneously?Yes, you can adjust saturation vertically and brightness by holding the ALT key and dragging horizontally.


