You are working on your business card and want to give it the final touch with lines and colors? In this tutorial, you will learn how to use the line draw tool effectively and transform your colors into appealing gradients. This will not only give your business card structure but also character. Get ready to get creative!
Key insights
- The line draw tool is a versatile tool in InDesign.
- You can achieve attractive visual effects with the gradient element.
- Combining shapes allows for a seamless design of your elements.
Step-by-step guide
1. Create a rectangle
Start by using the rectangle tool. Click on the rectangle tool in the toolbox (or press the "M" key) and drag it on your workspace to create a rectangle. You can place it on the left and set the height to about 13 mm. Temporarily add any color, as a gradient will be applied here later.
2. Design the structure of your business card
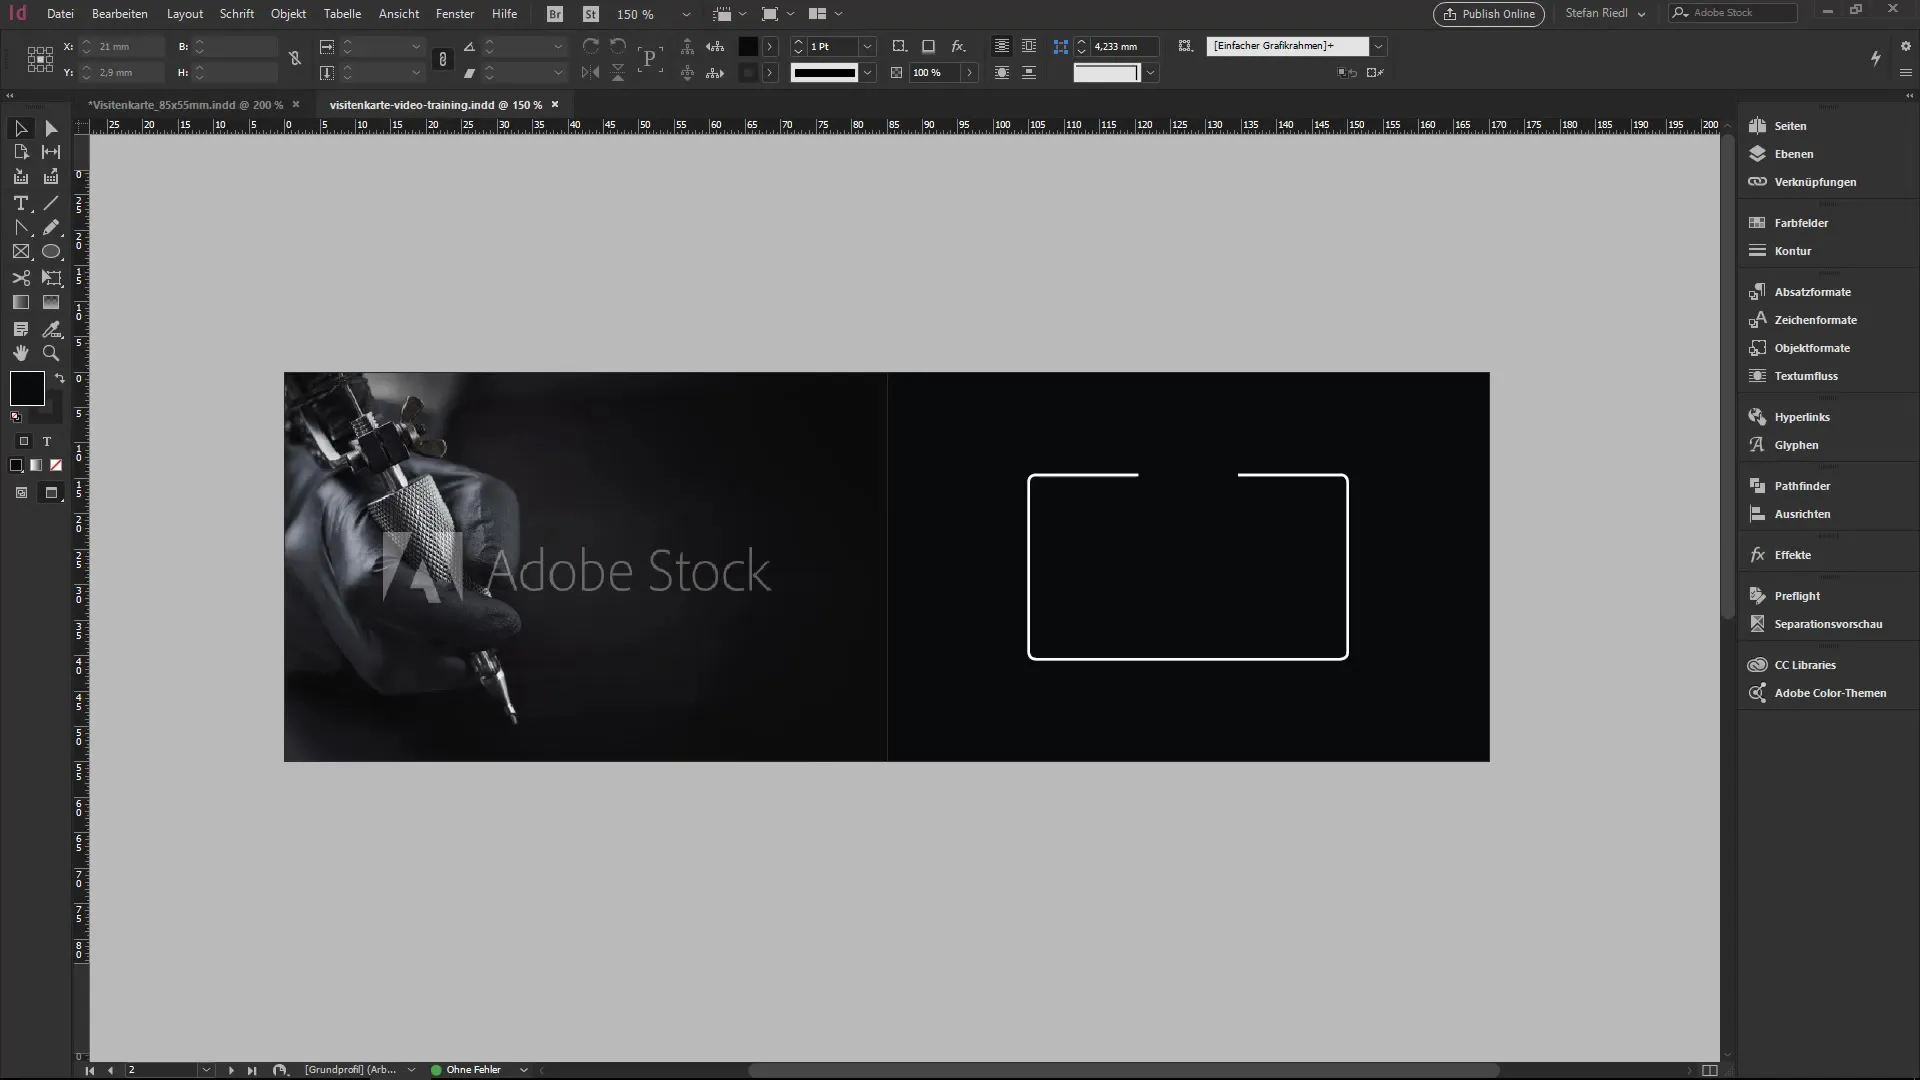
Switch to the next page of your business card to place the opening hours and other important appointments. You can plan this well according to your template. Here you have space for additional details and can make exciting adjustments for the front area.
3. Use the line draw tool
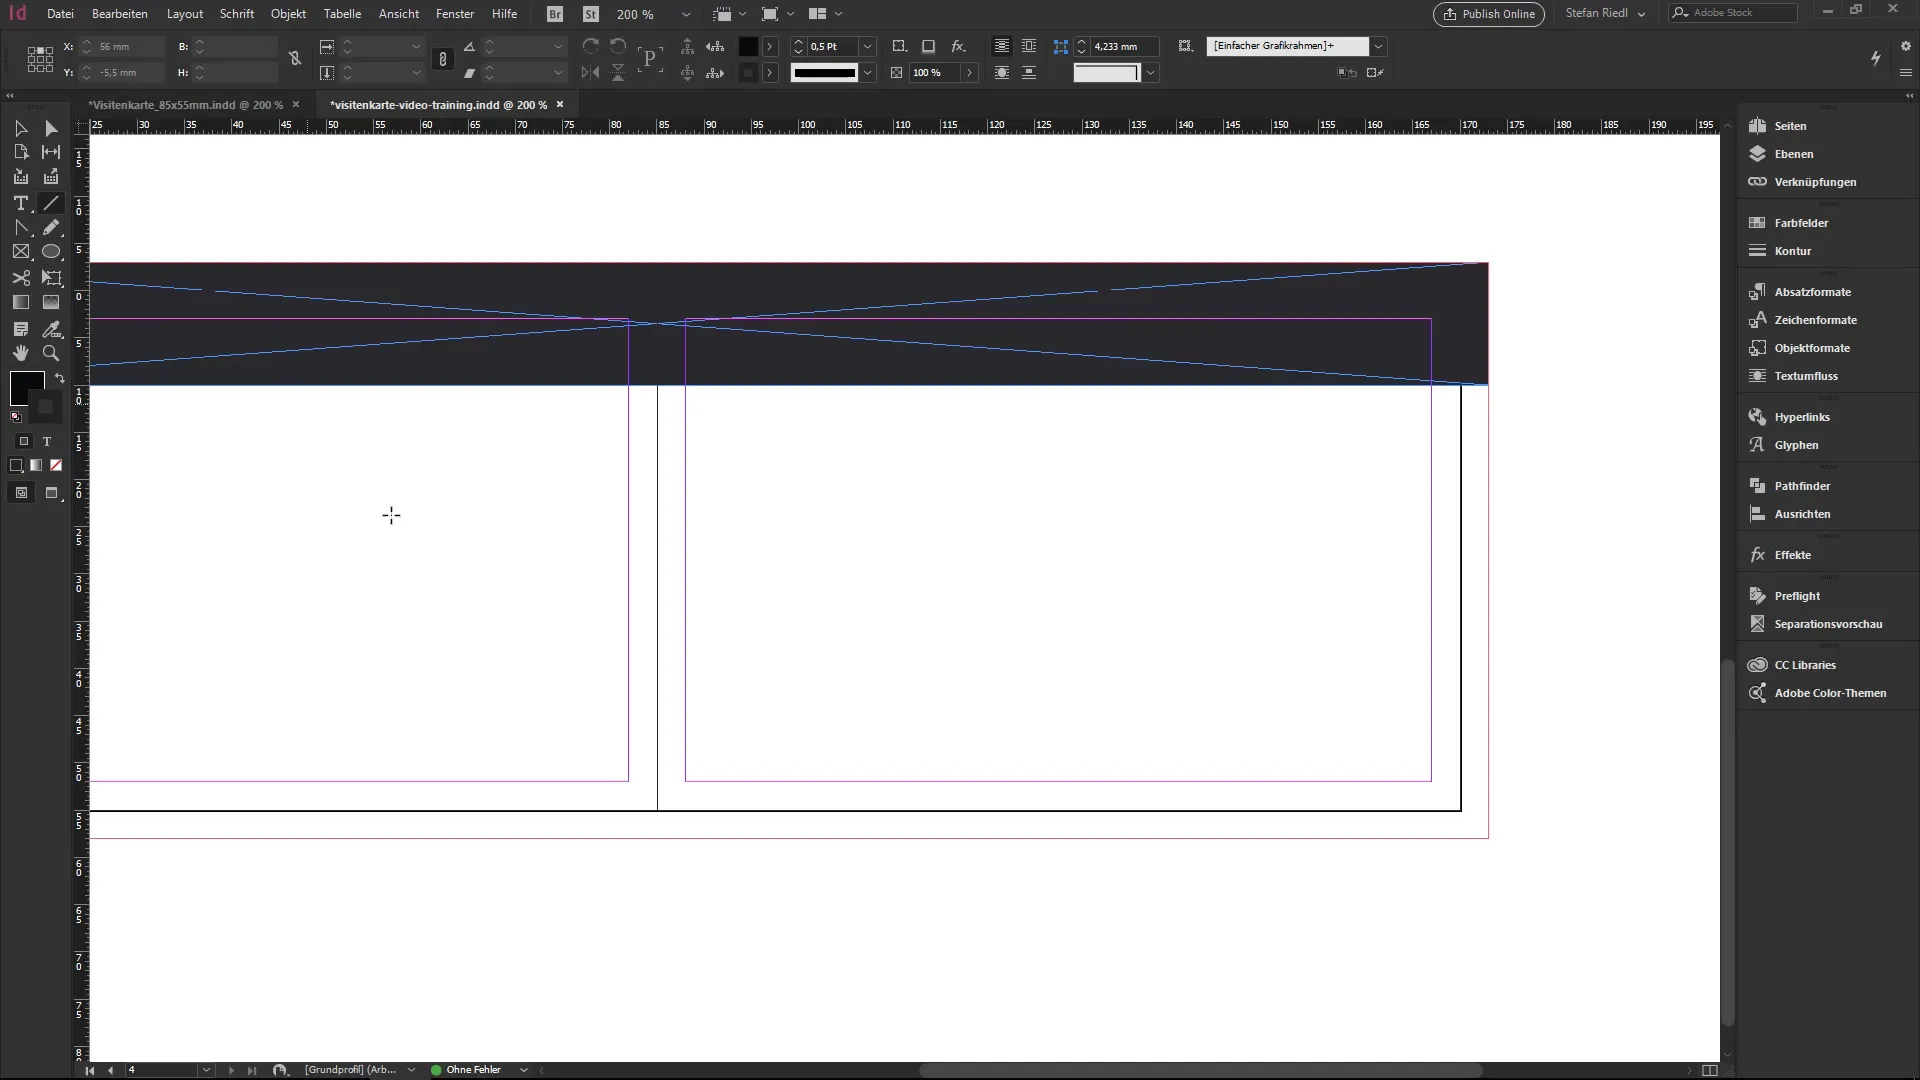
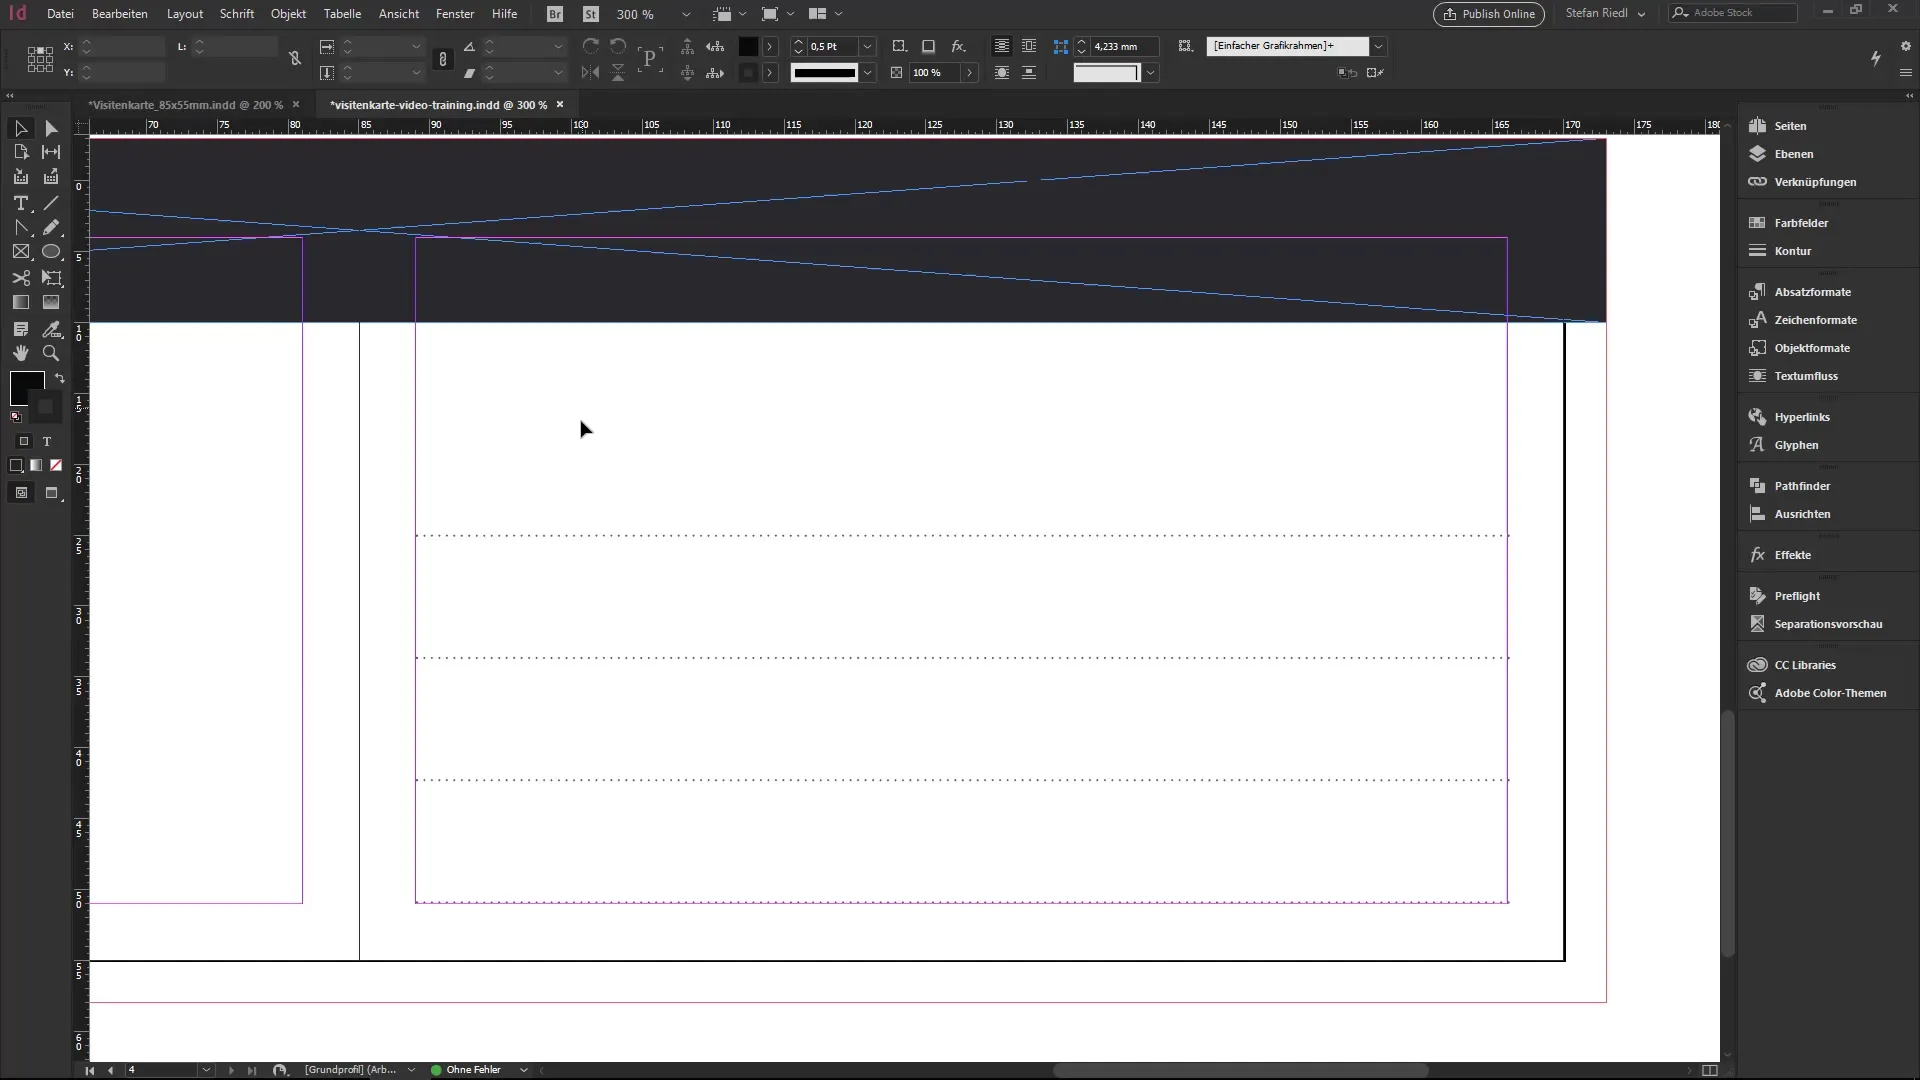
Now it gets exciting! Select the line draw tool from the toolbox. Click on the area of your business card. If the line weight shakes, hold down the Shift key while dragging to create a straight line. Set the line color to a soft gray tone and choose a dotted style.
4. Adjust margins
To create a better overview, go to the layout settings and set the margins to 4 mm. Ensure that the distance between the lines looks harmonious. Use the Alt and Shift keys to create copies and arrange them according to your layout plan.
5. Add icons
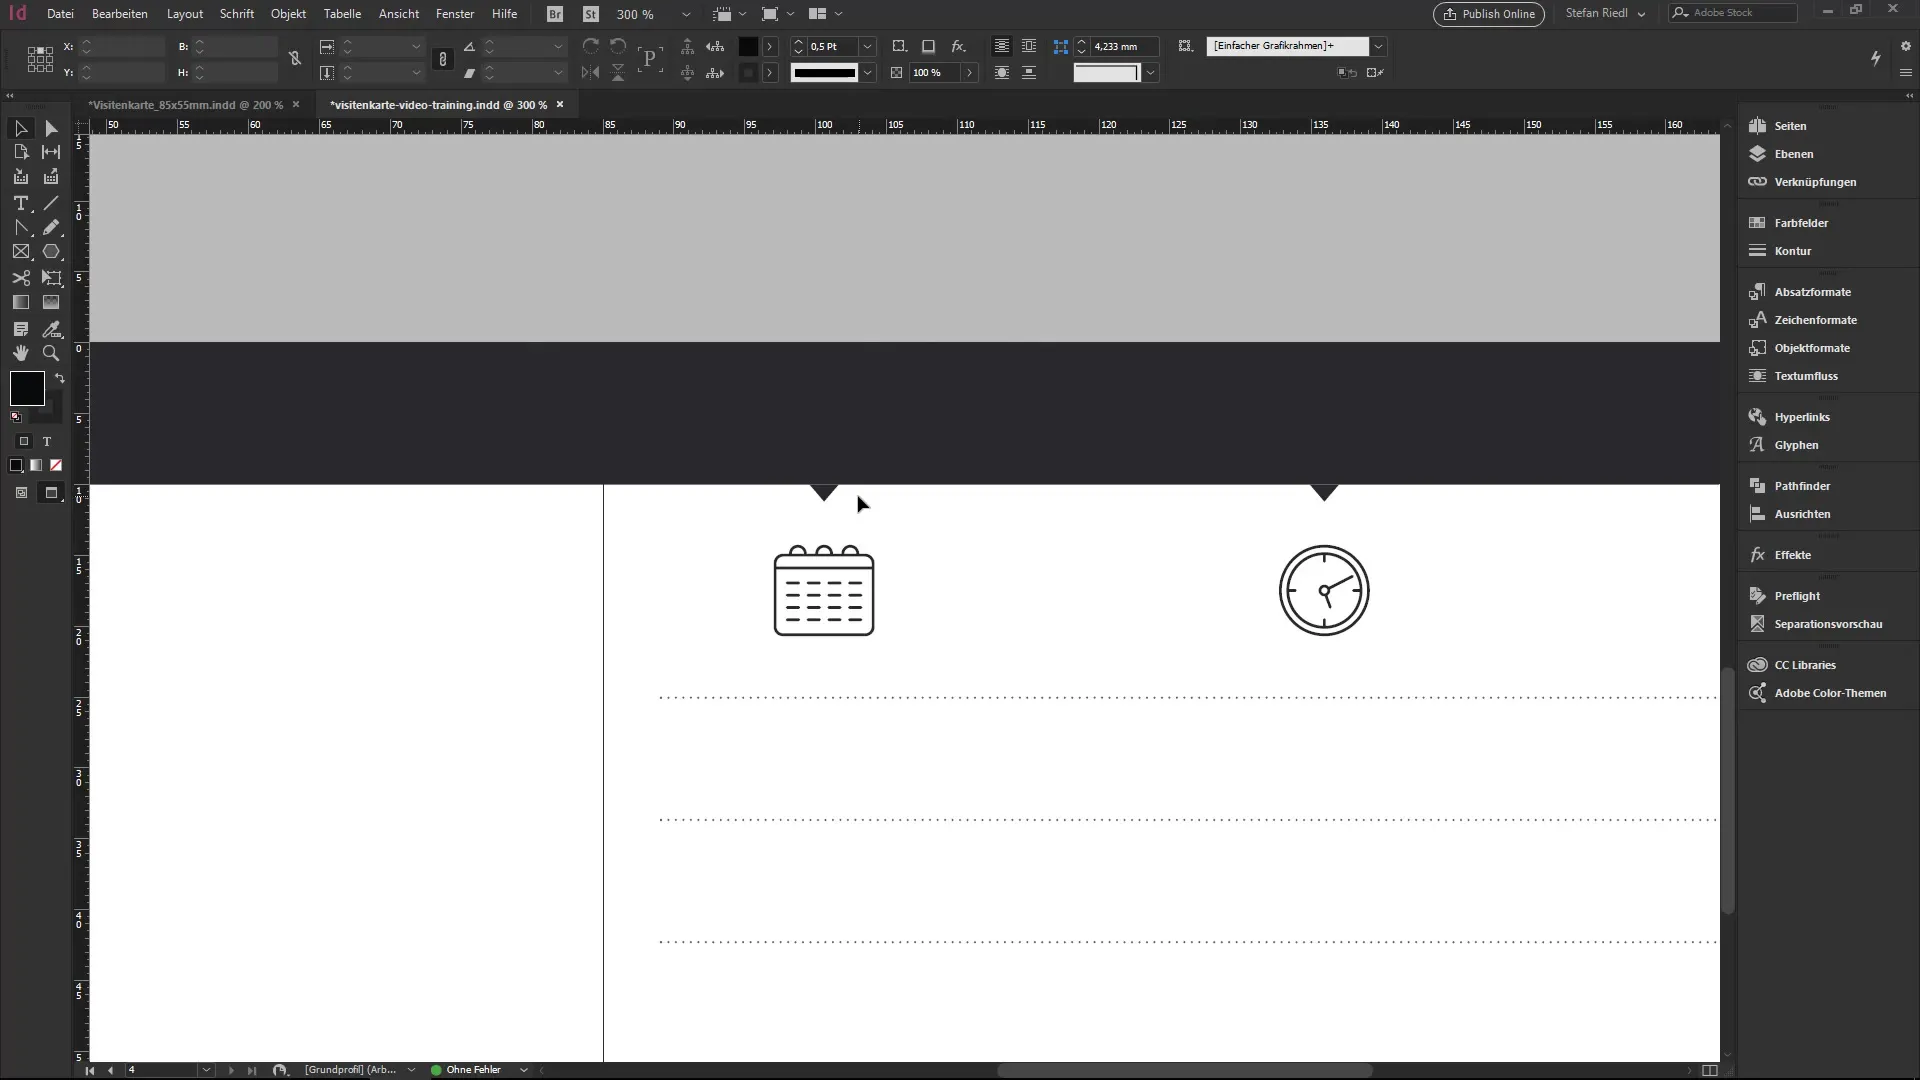
Icons help to visually support the information. You can import icons that you have in your library. Drag a calendar icon to the predetermined spot and adjust it. Ensure that it not only looks good but also maintains the proper distance from the adjacent text.
6. Shape a specific element
Use the polygon tool to create a triangle. Hold down the mouse button and select three sides for the triangle. Adjust the size and shape to match your design. Copy the triangle using the Alt and Shift keys and position the copy in the desired location.
7. Determine colors for the triangles
Set the stroke color of your triangles to the gray tone. Now you will add the different shapes into a single object. This allows for a uniform gradient to be applied over the entire area. Ensure that the design remains harmonious.
8. Create a gradient
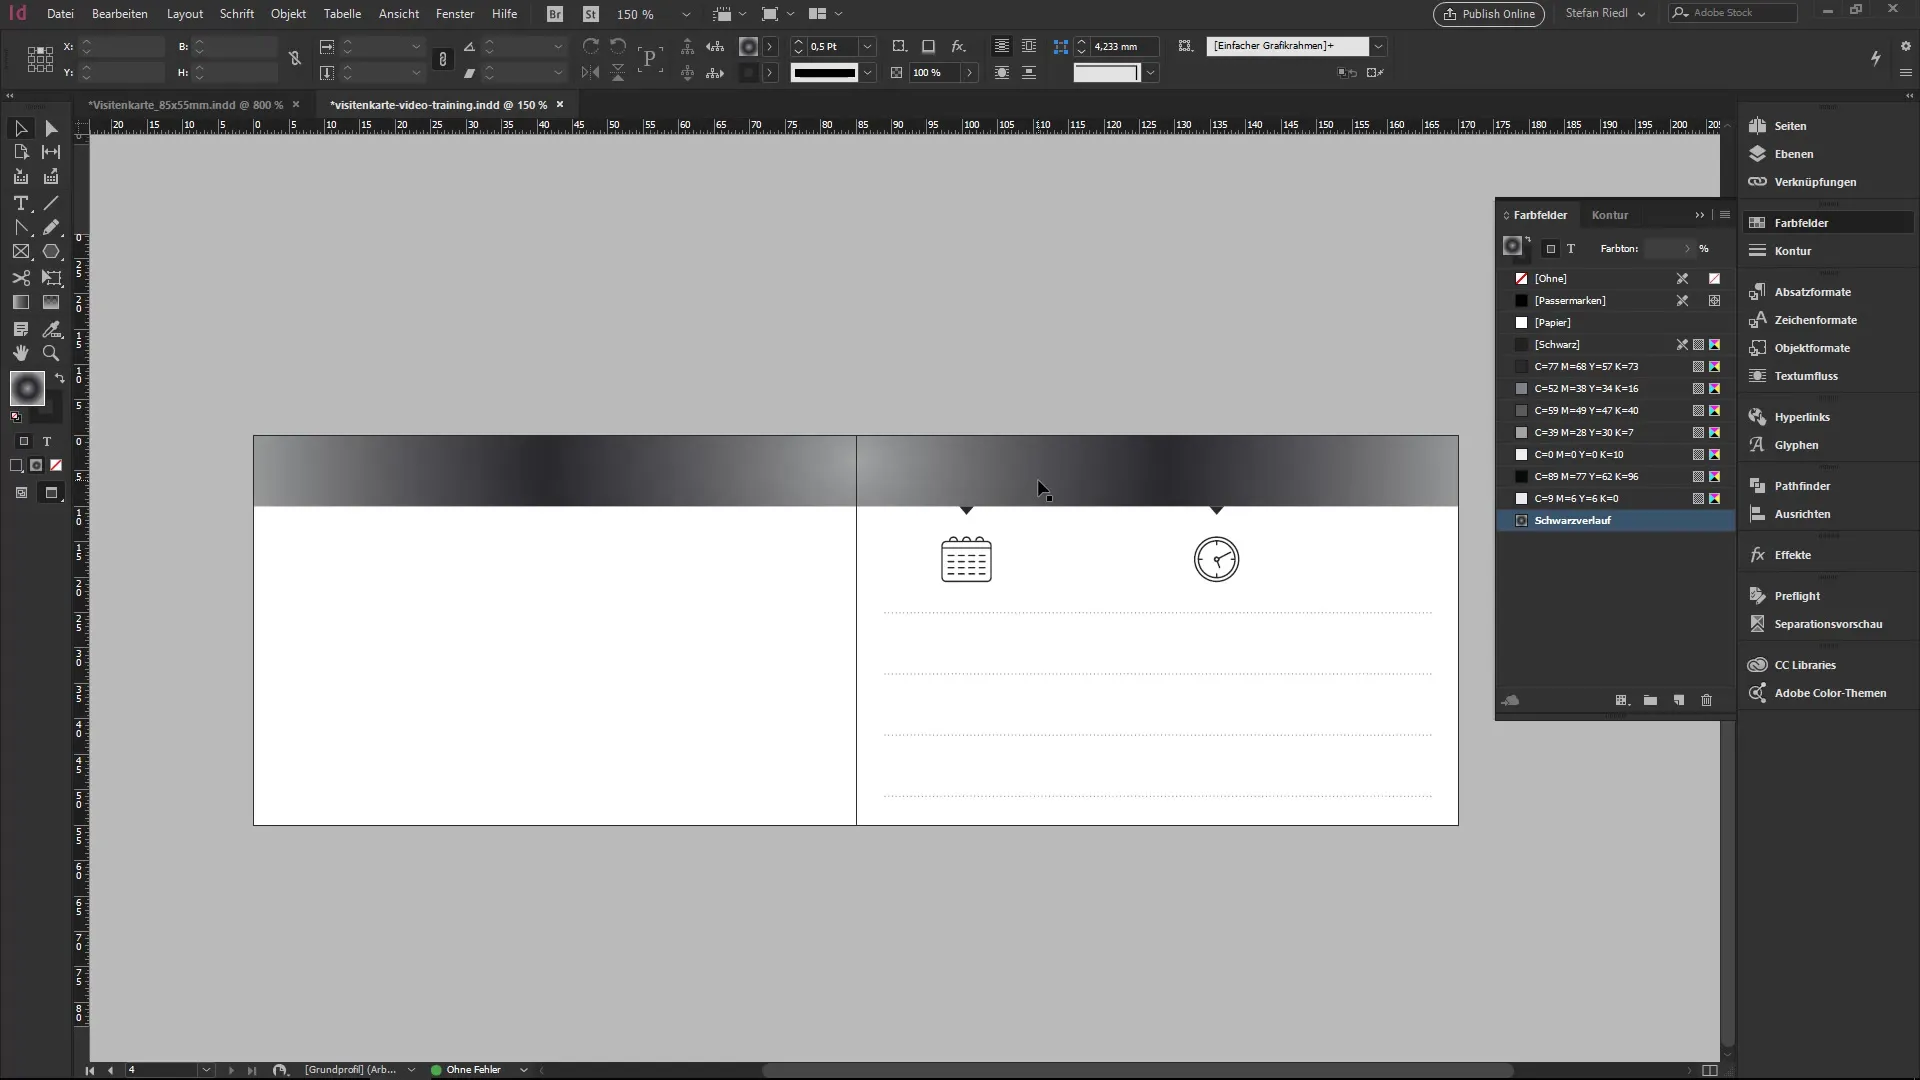
Go to the color palettes and create a new gradient field. Choose colors that smoothly transition into each other. Ensure that you consider the spacing and style to achieve an appealing look. The gradient can elegantly wrap around your shapes.
9. Apply the gradient
Now apply the created gradient to your rectangle and the triangles. Check the overall appearance from a bird's eye view to ensure that everything looks good and fits into the design of your business card.
10. Style the stroke
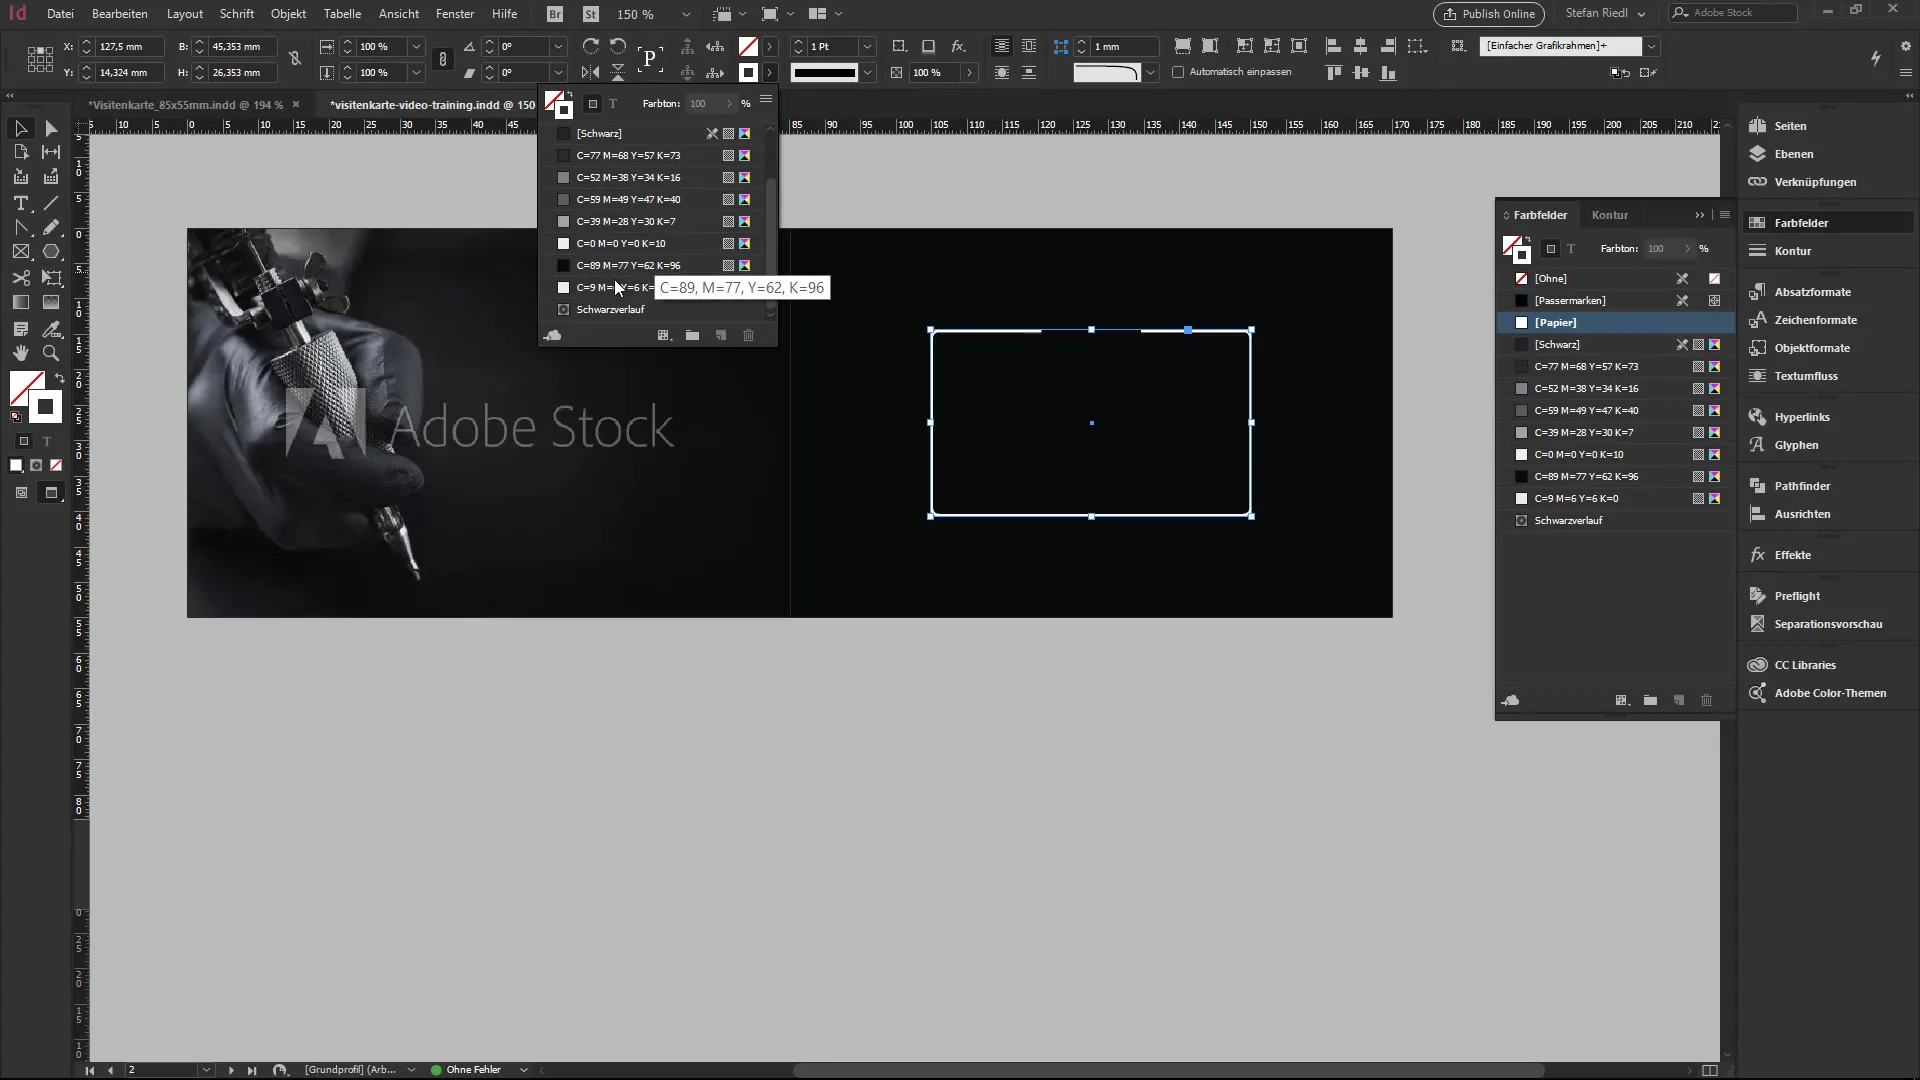
Also give your stroke a gradient. This creates a uniform and attractive look. You can adjust the levels and tones to match well with the other colors on your business card.
Summary – InDesign Guide: Line Tool and Gradients for Your Business Card
In this tutorial, you learned about the line draw tool and the possibility of creating gradients in InDesign. Shape your business card by creatively combining different elements while using the right colors and structures.
Frequently Asked Questions
How do I use the line draw tool?Click on the line draw tool and drag while holding the Shift key for straight lines.
Can I save colors?Yes, you can save colors in the swatches palette and use them later.
Where can I find icons for my business card?You can save icons in your library or search online for royalty-free icons.
