The conversion of textsinto pathscan be crucial in various design projects. Often, it is necessary to carry out this transformation to meet specific printing requirements or to achieve special effects. In this guide, we will show you how to effectively convert texts into paths in Adobe InDesign. Whether you are a beginner or already experienced, this step-by-stepguide will help you master the technique.
Key insights
- Converting texts into paths is simple and can be done in InDesign with just a few clicks.
- Converted texts are no longer editable; instead, they consist of vectors that can be modified.
- The conversion is often used for special printing requirements or to create typography effects.
Step-by-Step Guide
Let's start with the basics of converting text into paths. The initial steps are simple and quick.
Step 1: Create a Text Box
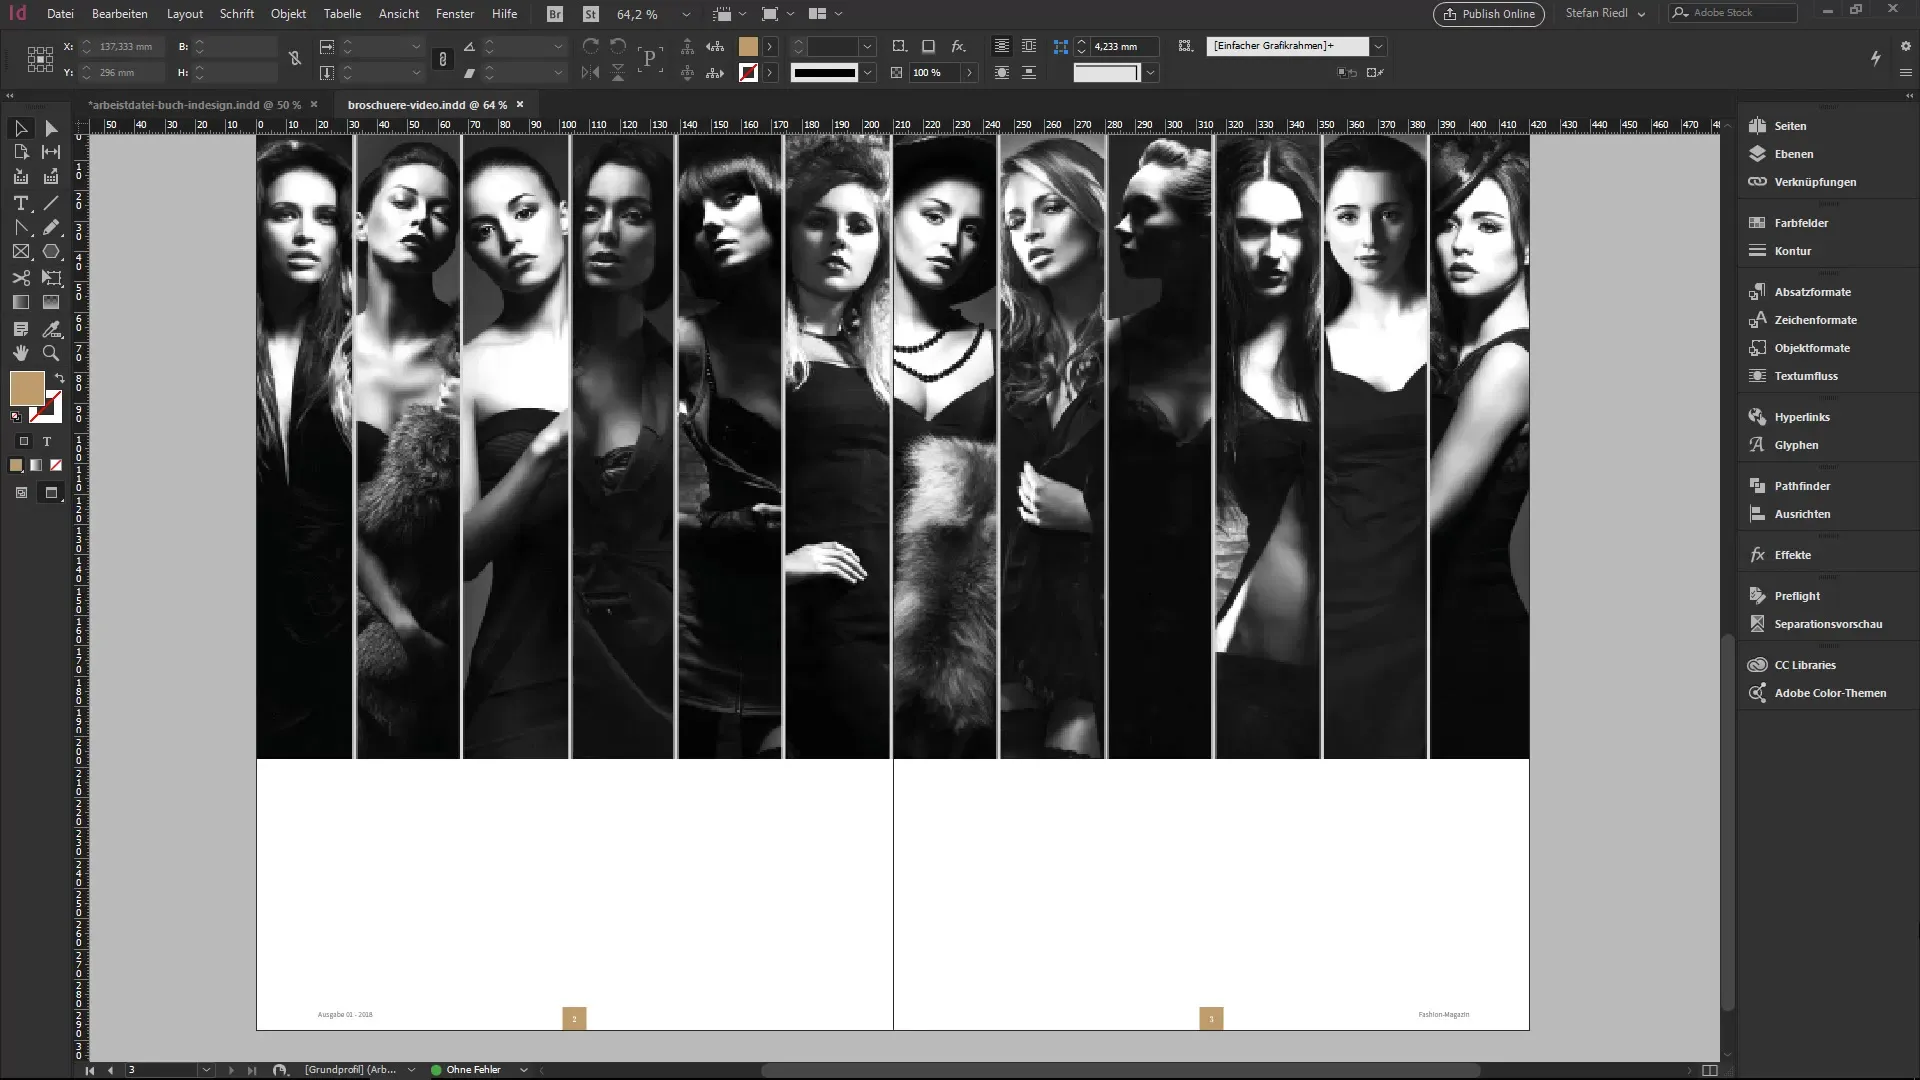
To convert a text into paths, you first need to create a text box. Draw a text box on your workspace and enter your desired text.
Step 2: Configure the Text
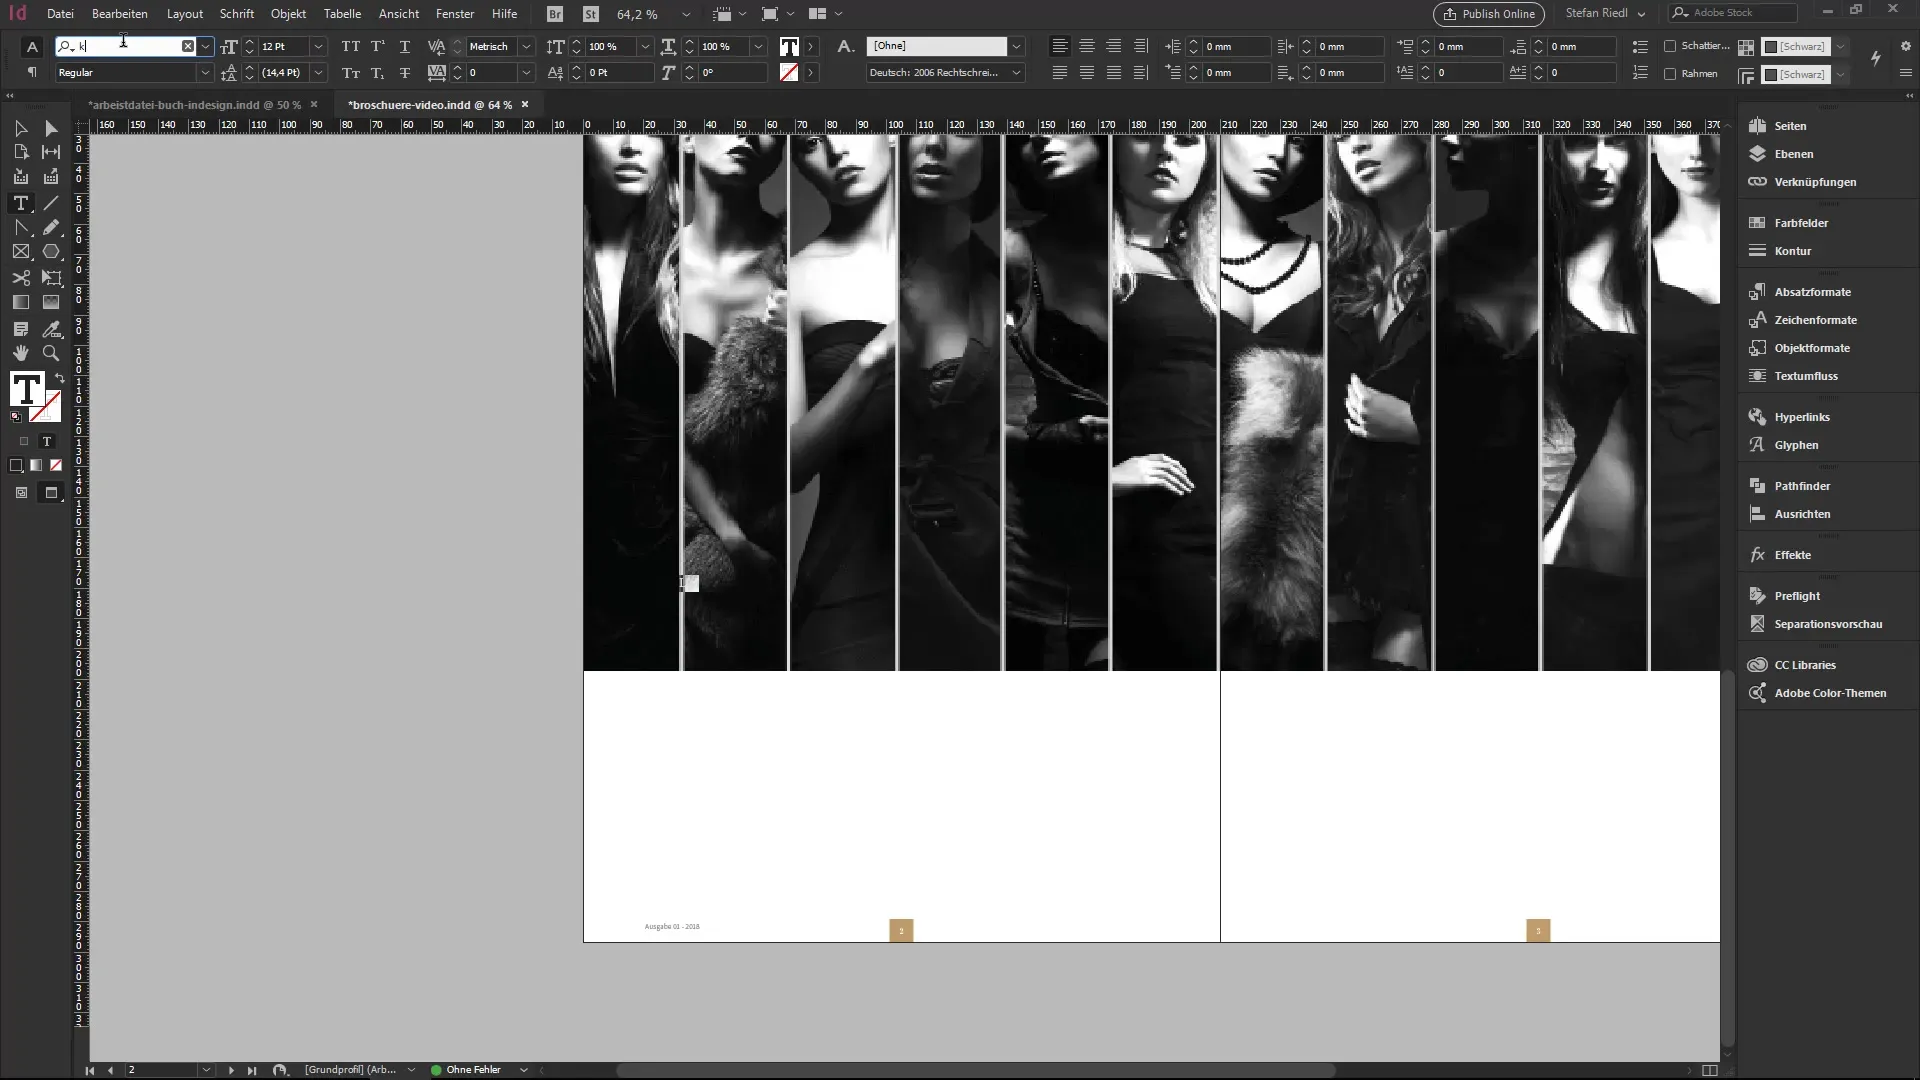
Change the text to adjust the desired dimensions, font, or color. You can make the text larger or smaller and choose the color to your liking. The example shows how to change the color to gold.
Step 3: Format the Text
In this step, you can adjust the layout according to your preferences. Add extra words or adjust the font size.
Step 4: Create a Typography Stylistic Element
If desired, you can create a copy of the text box to form a typographic stylistic element. Position the elements as you wish and modify them to achieve the desired design.
Step 5: Convert Text to Paths
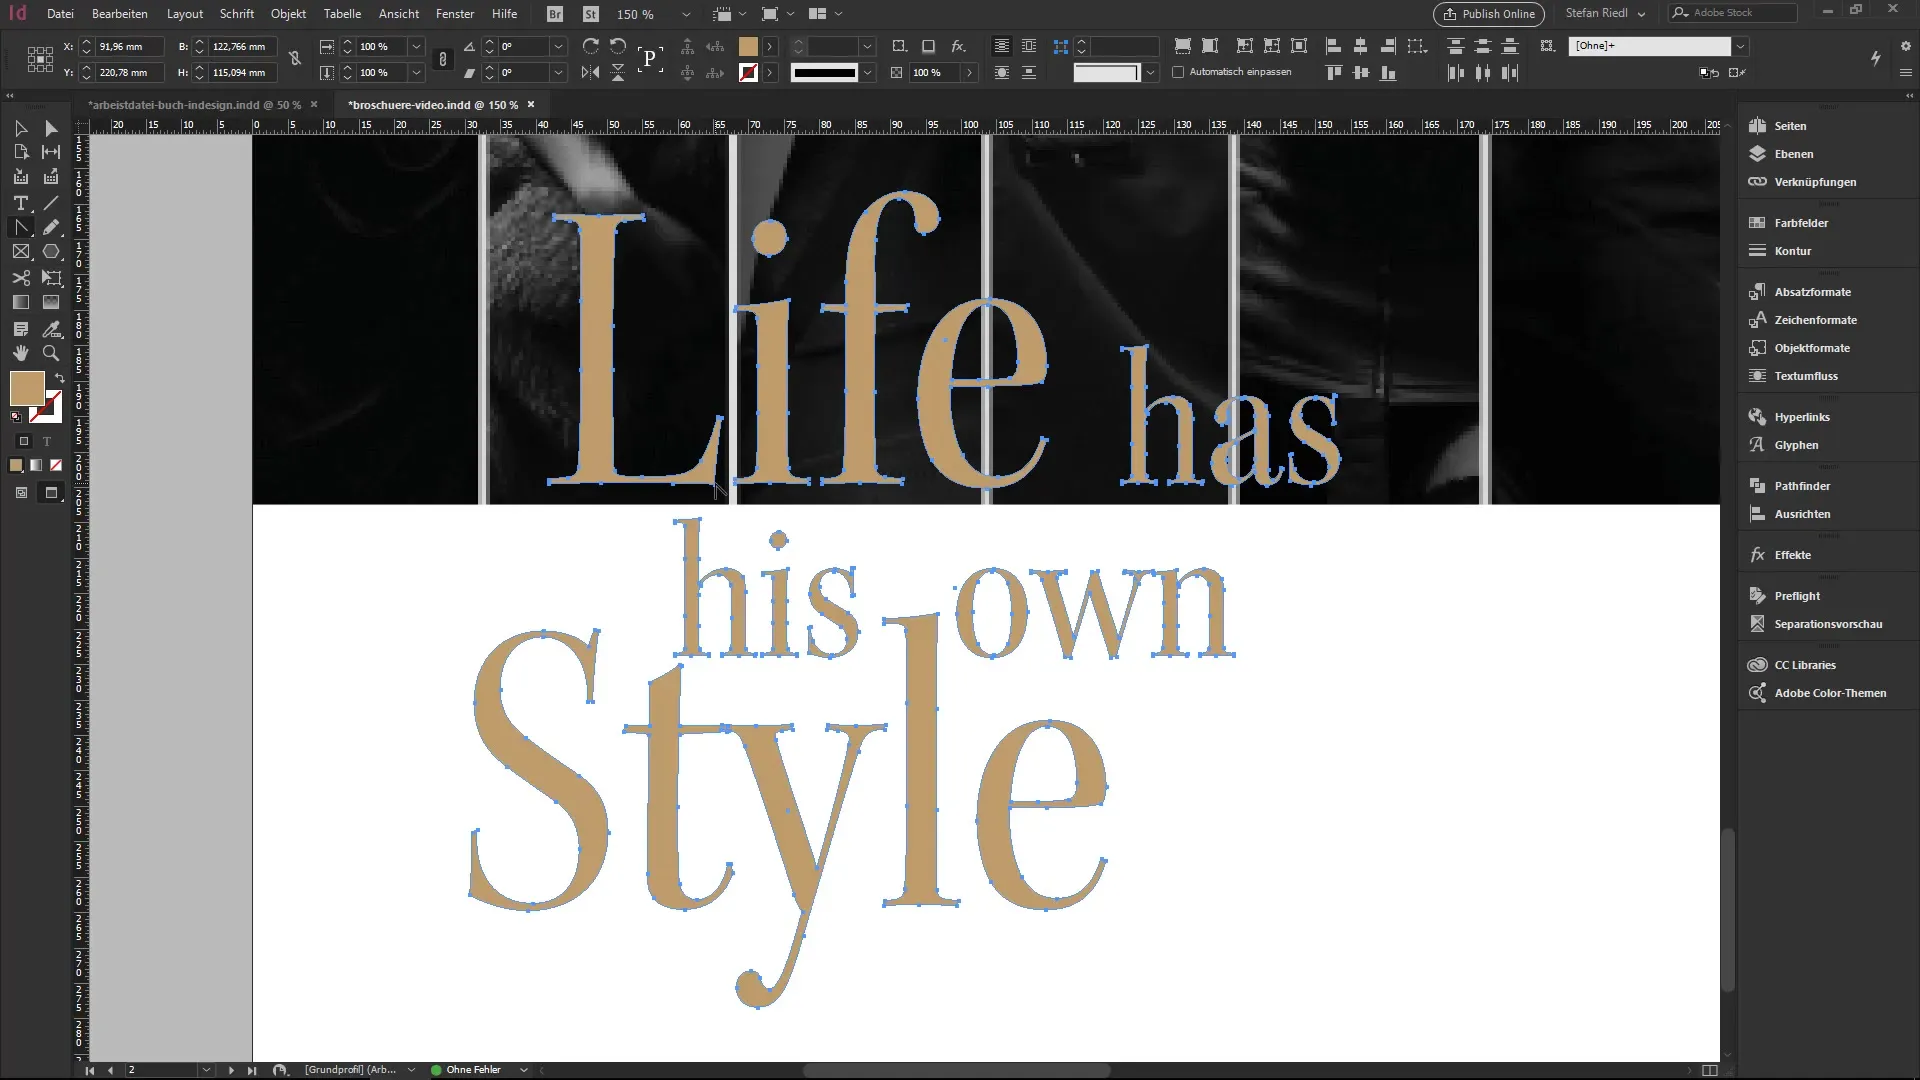
Now it's getting exciting: To convert your text into paths, go to the menu and select “Type” and then “Create Outlines.” This is the crucial step that transforms your text into editable vectors.
Step 6: Edit the Paths
Once the text has been converted to paths, you can now edit each individual anchor point and direction point. Use the convert tool to make creative adjustments to the vector shapes.
Step 7: Use in Print Projects
A common application for converting text into paths is to meet special printing requirements, such as relief coatings. In this case, a specific color is highlighted, which should only affect the letters.
Step 8: Group Elements
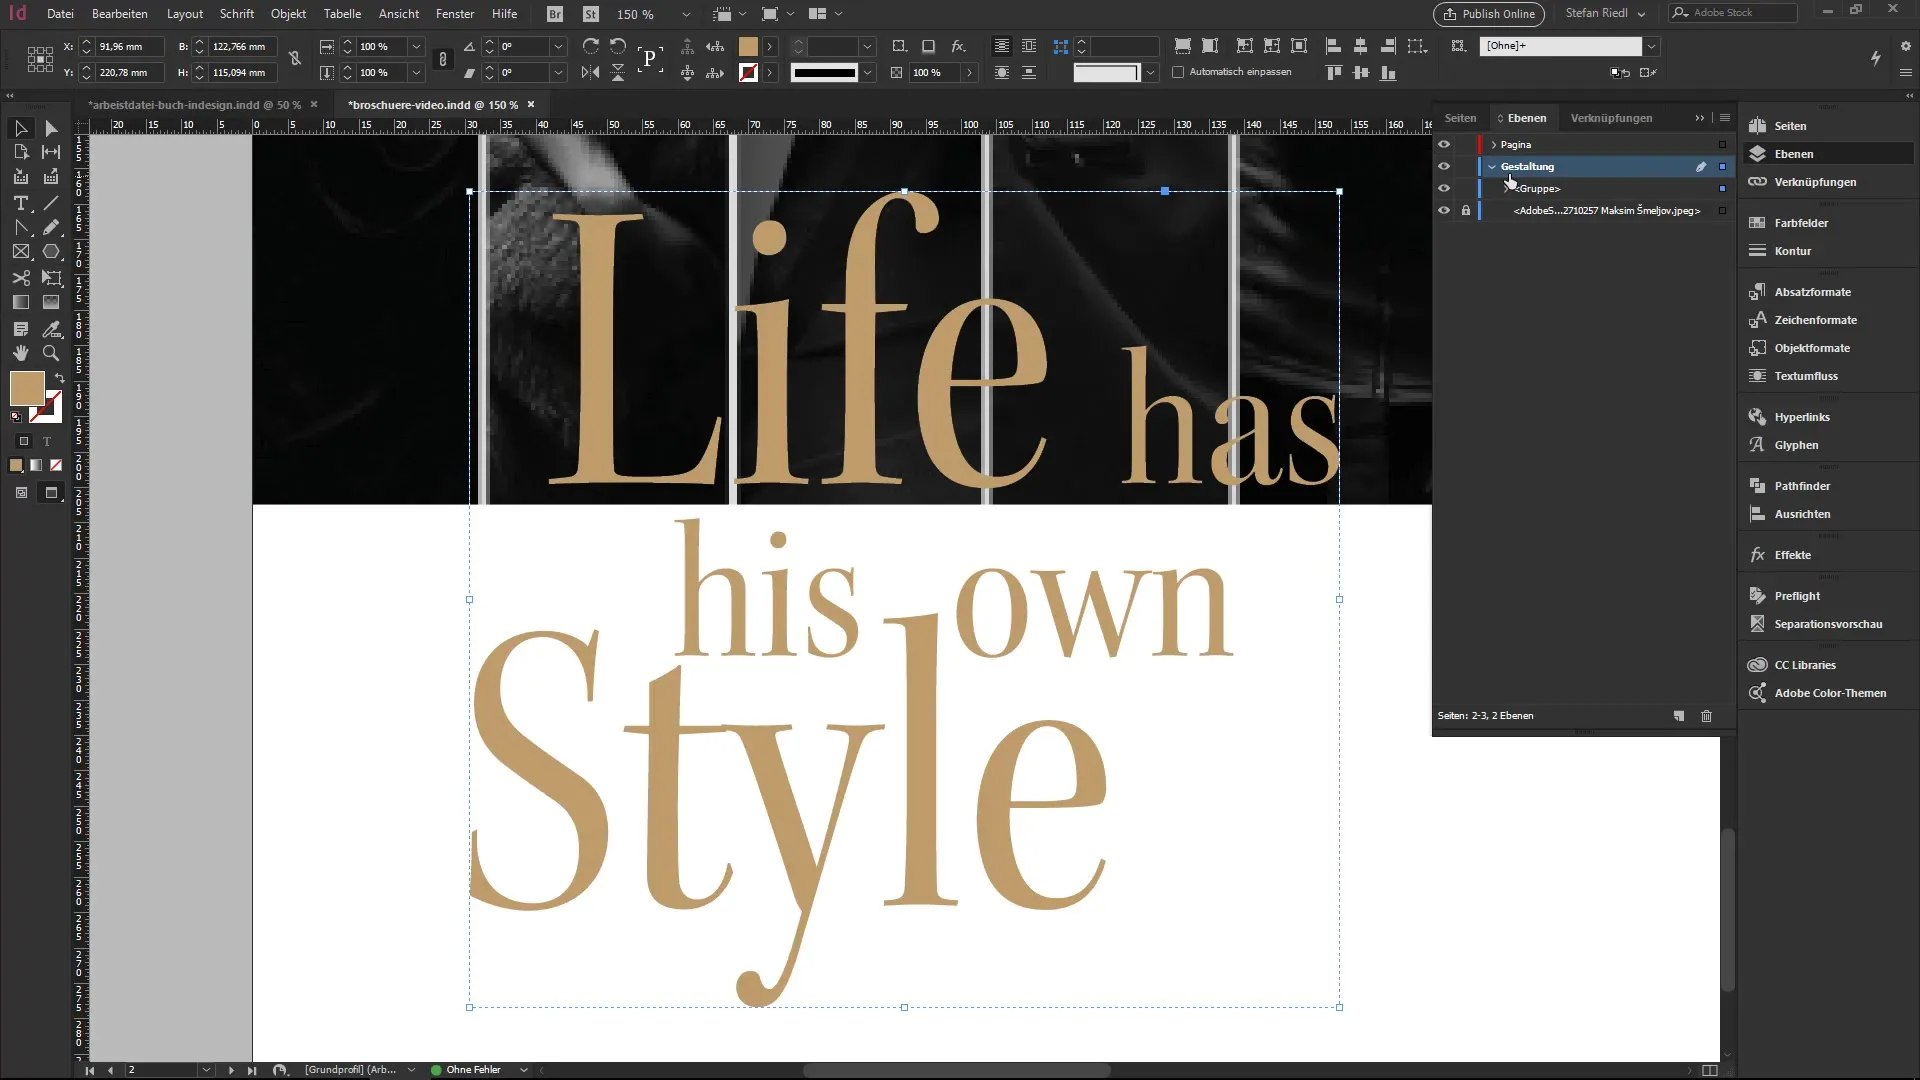
If you have multiple elements, you can group them by pressing “Ctrl + G.” This way, you keep track in the layers panel and have your text and path in a single unit.
Step 9: Save Elements to the Library
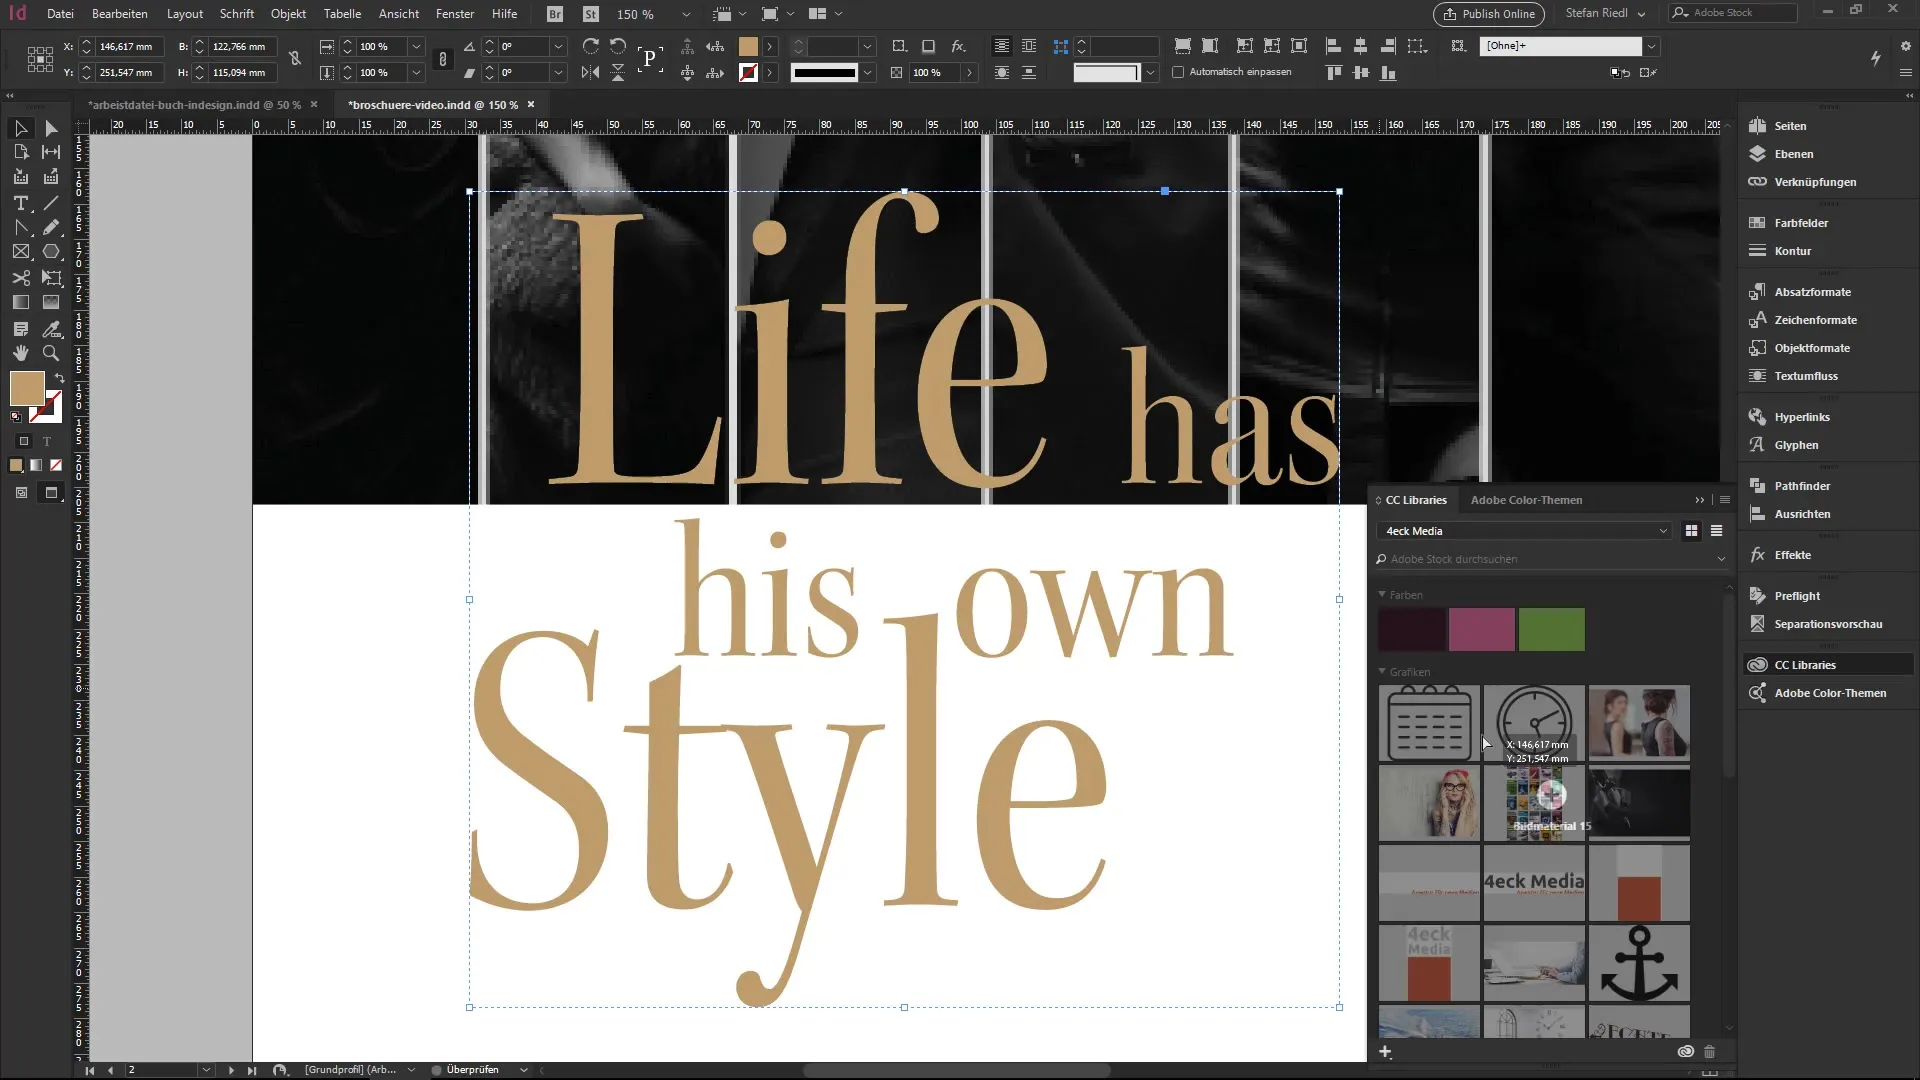
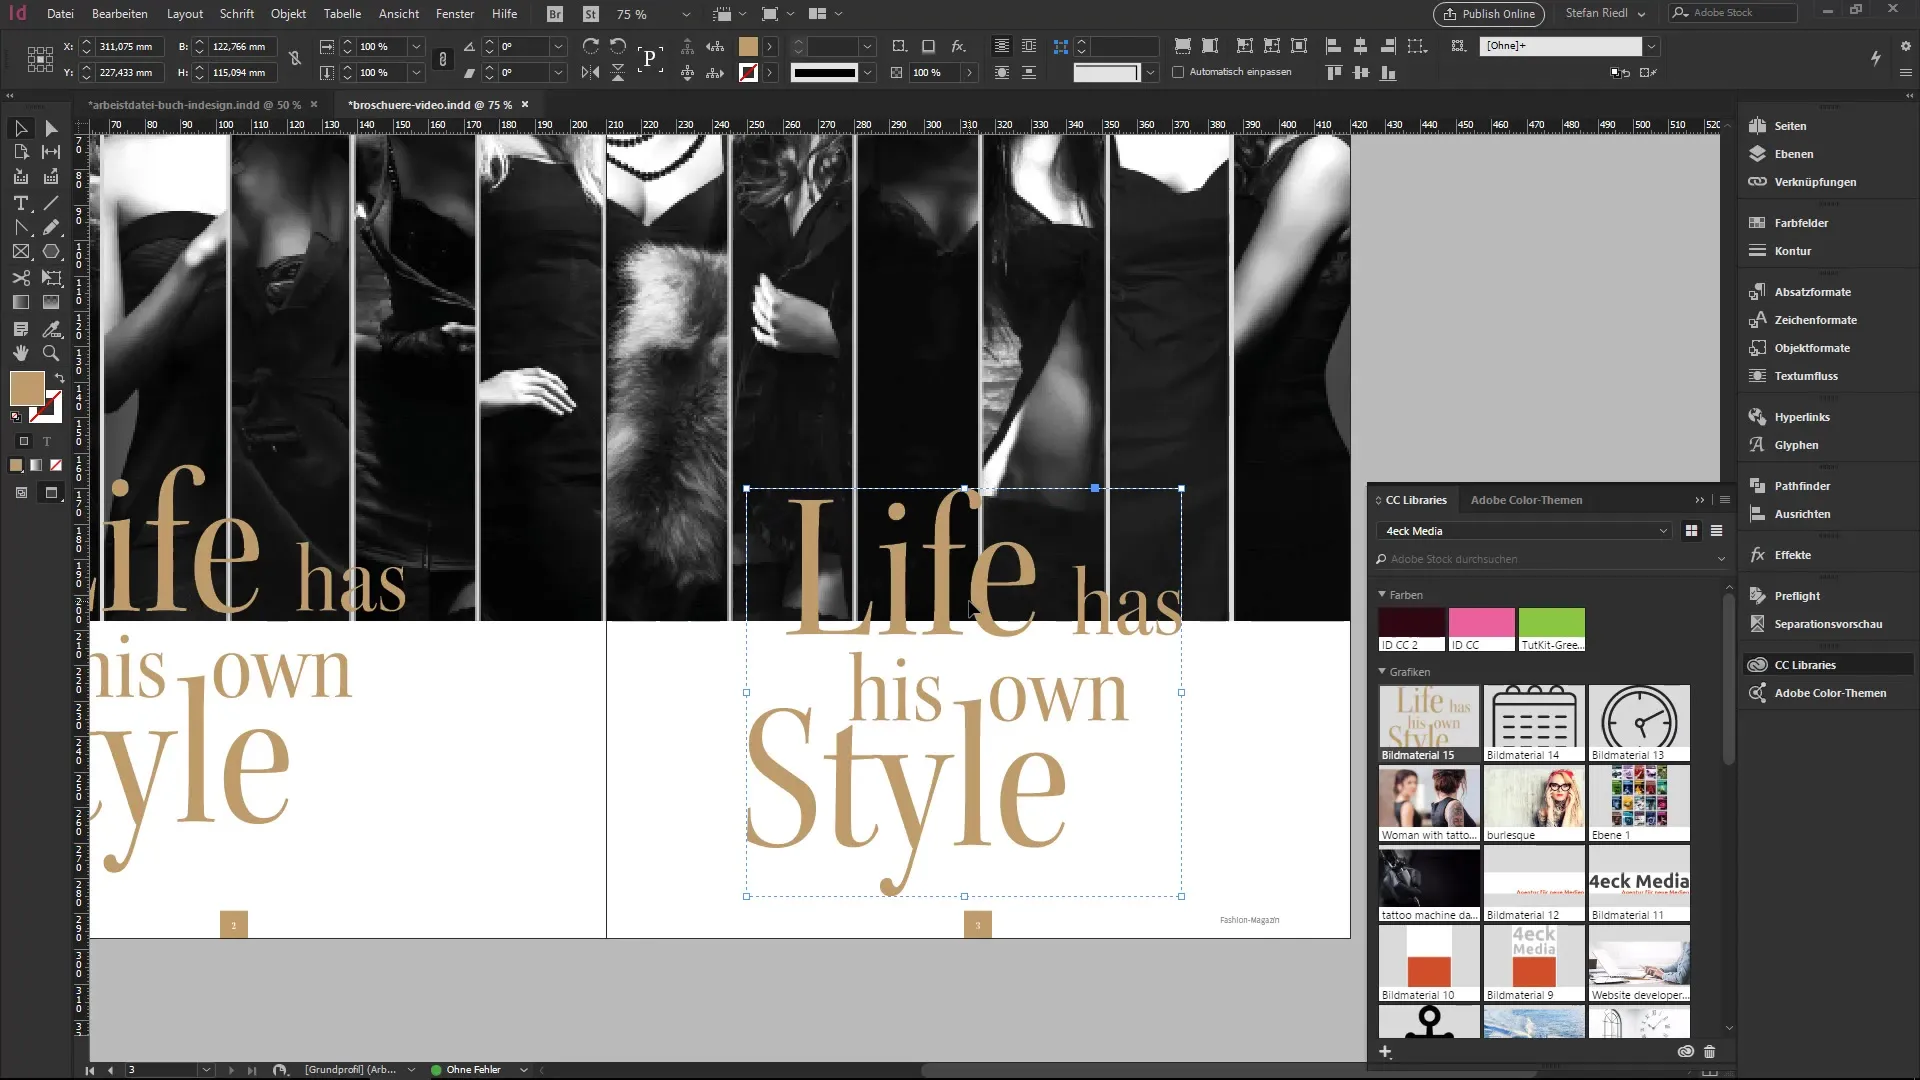
To ensure reusability, you can add your shaped element to your library. This way, you can quickly retrieve it for future projects.
Step 10: Use Vectors Without Fonts
The key advantage of vector shapes is that they do not require the installed font. Only the paths and anchor points are present, which significantly facilitates your design work.
Summary – Converting Texts into Paths Made Easy
Converting texts into paths in Adobe InDesign is a fundamental technique that allows you to create creative designs. From creating a text box to editing the vectors, you have now learned all the steps necessary to take your designs to the next level.
FAQ
Why should I convert texts into paths?To prepare the texts for special printing requirements or to achieve creative typography effects.
What happens when I convert texts into paths?The texts are converted into vectors that can no longer be edited like regular texts.
How do I edit the converted paths?You can use the convert tool to edit each anchor point individually and creatively.
Can I still change the fonts after the conversion?No, after conversion the texts are no longer fonts, but only vector shapes.
How do I save converted elements for future projects?You can save the elements in your library to easily find them again.


