The design of layouts and designs in InDesign can be significantly enhanced by applying visual effects. The software not only offers impressive options for customizing images and texts, but also tools like the gap tool that help you efficiently control spacing. In the following pages, I will guide you through the various functions for opacity adjustment and the use of visual effects to make your designs more vibrant and engaging.
Key Insights
- Use of visual effects to increase the attractiveness of designs
- Adjustment of the opacity of elements to improve the layout
- Use of the gap tool for quick adjustment of spacing between elements
Step-by-Step Guide
Activating Visual Effects
To use visual effects in InDesign, first draw an element, such as a line, to the desired size. Then click on the FX symbol in the upper menu bar. Here you will find a variety of Visual Effects that you can apply.
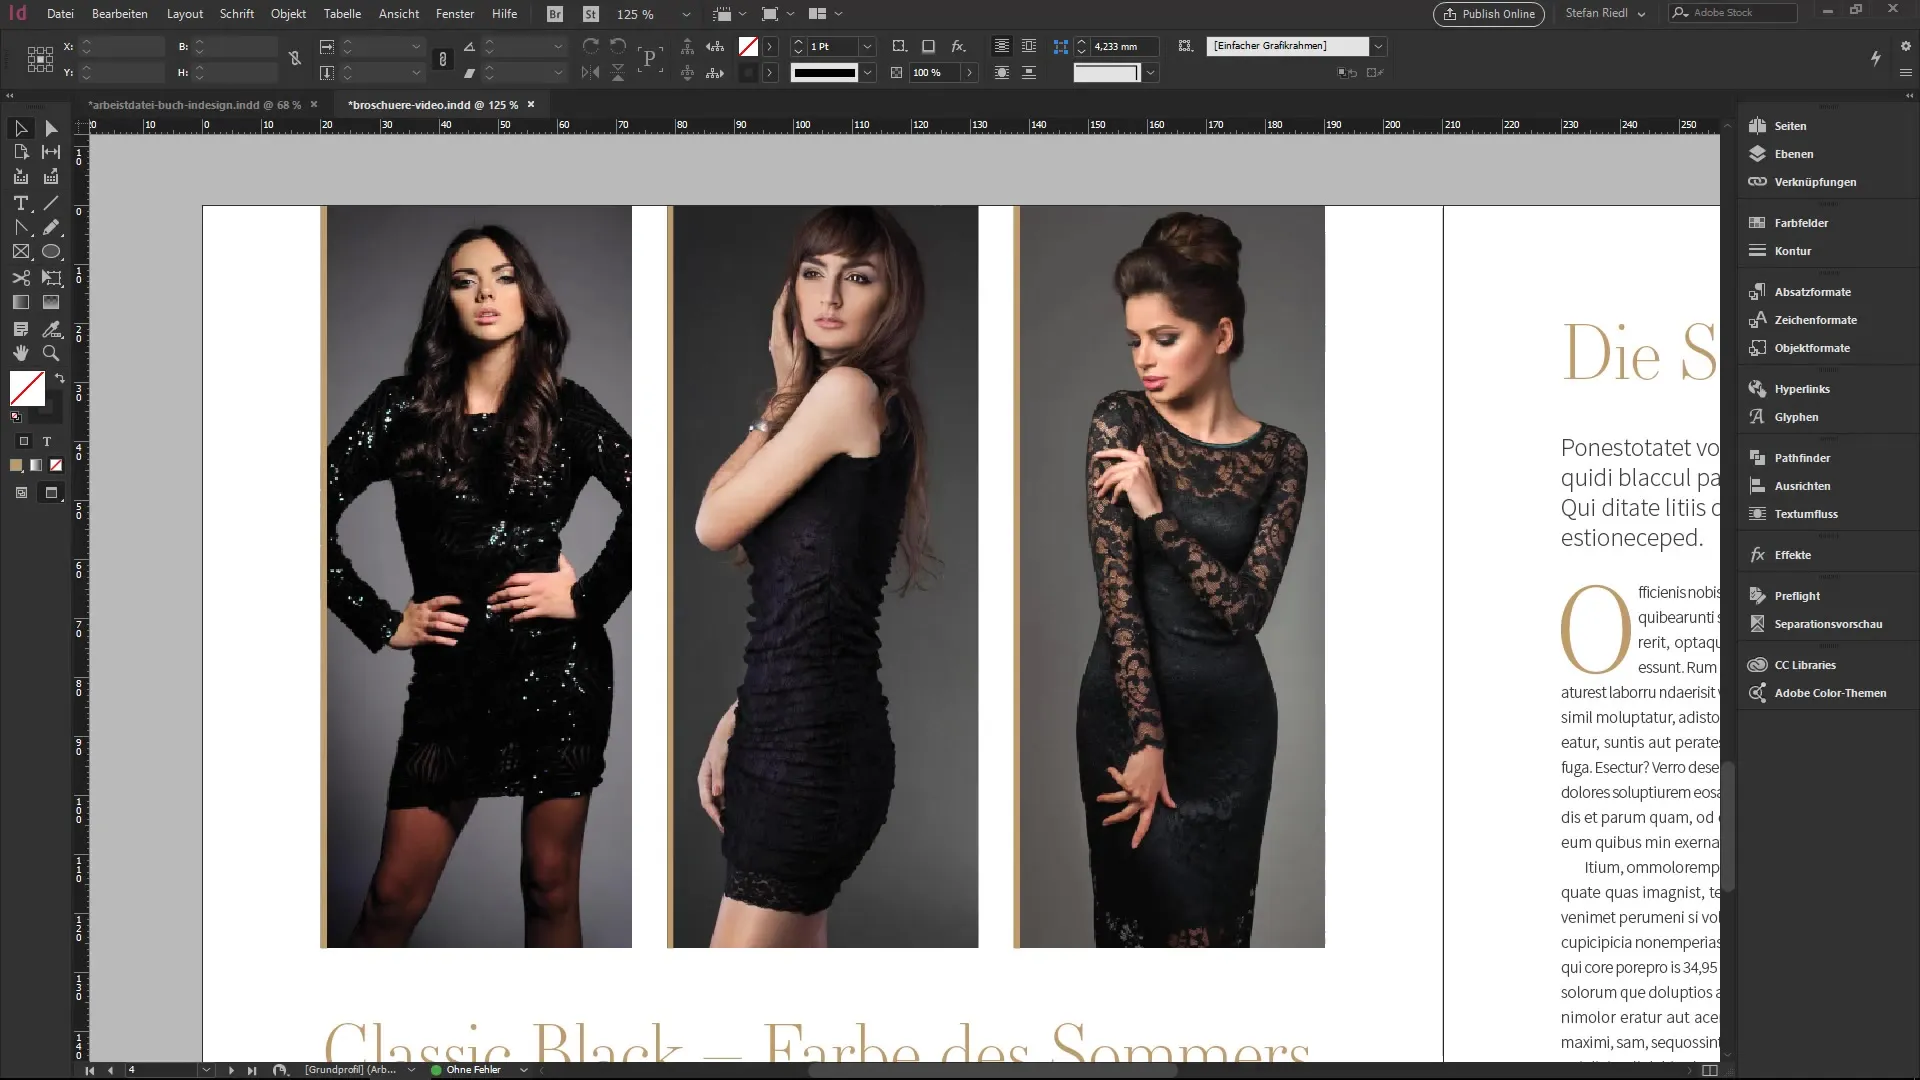
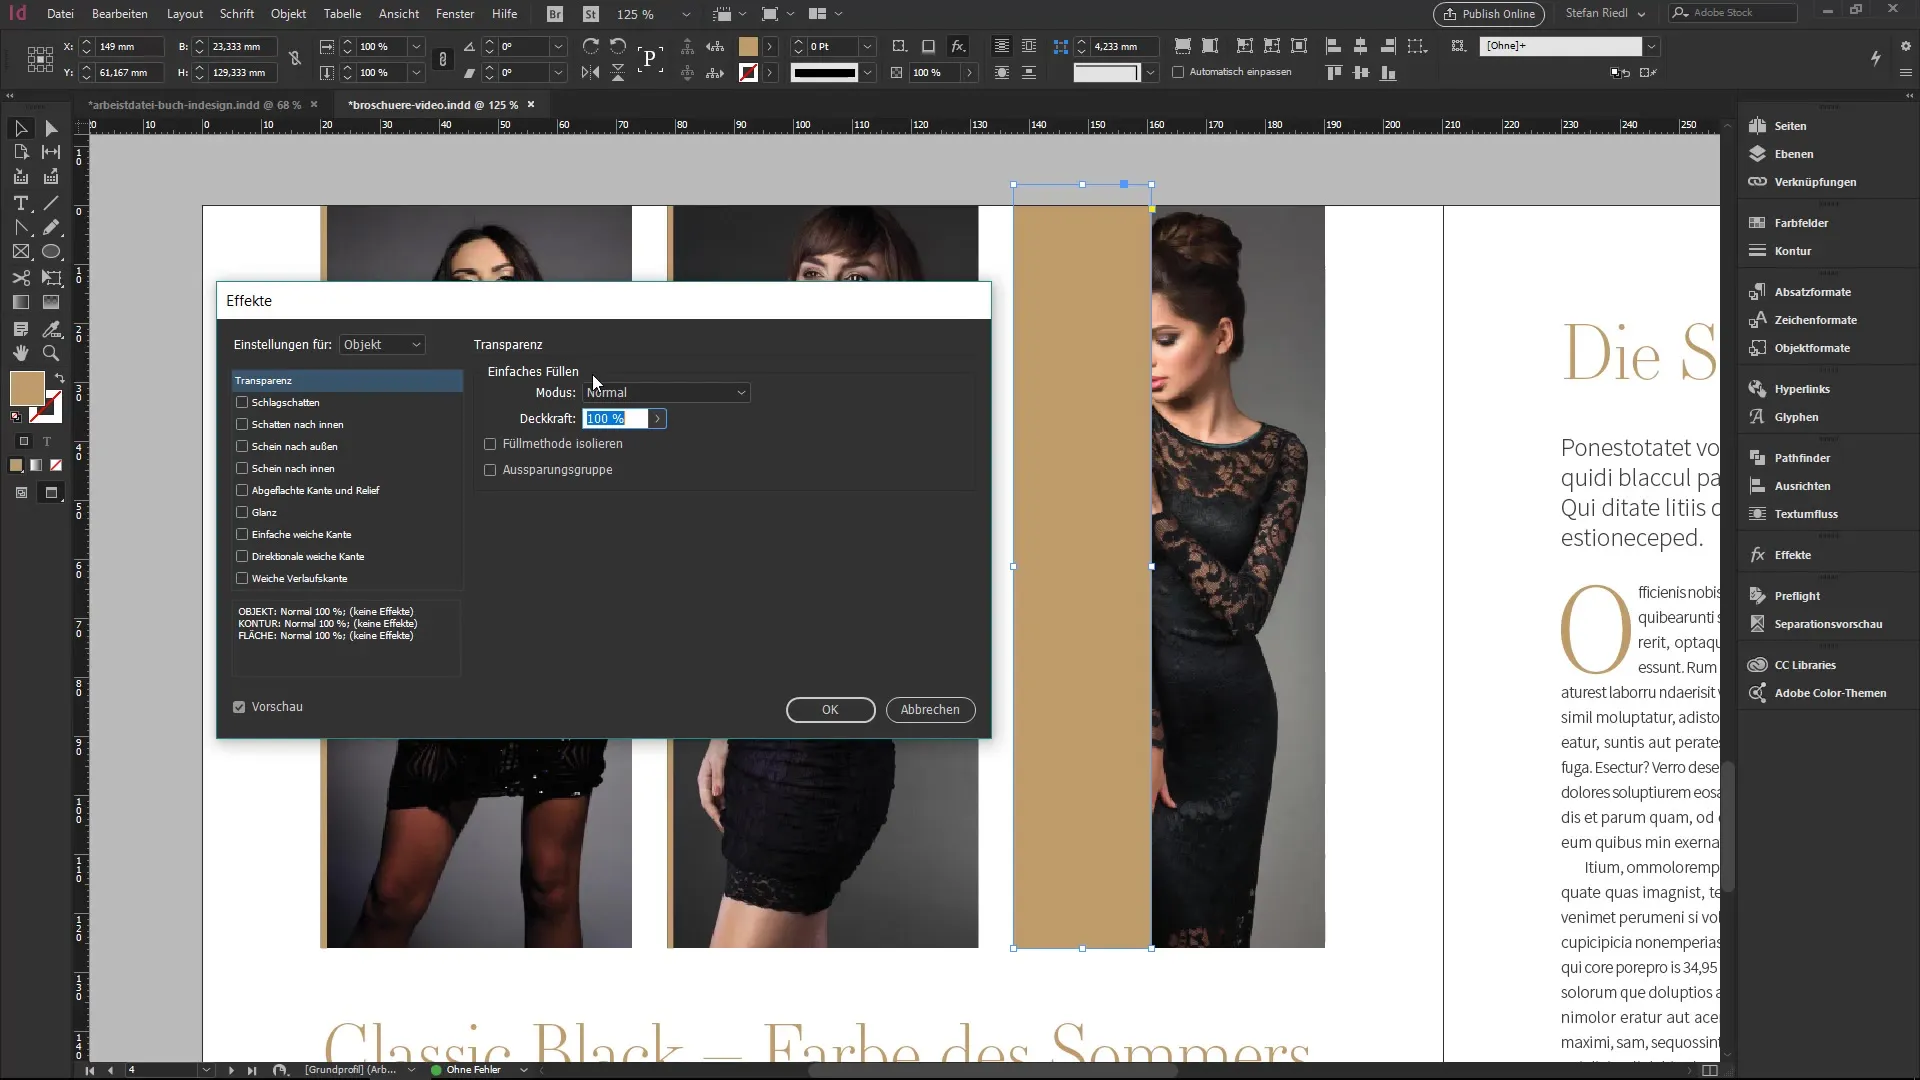
Adjusting the Blend Mode
One of the first settings you can make is the blend mode. This works similarly to Photoshop. Not all blend modes are necessary in design; often, an option like "Multiply" can already deliver impressive results. Experiment with how different modes affect your layout.
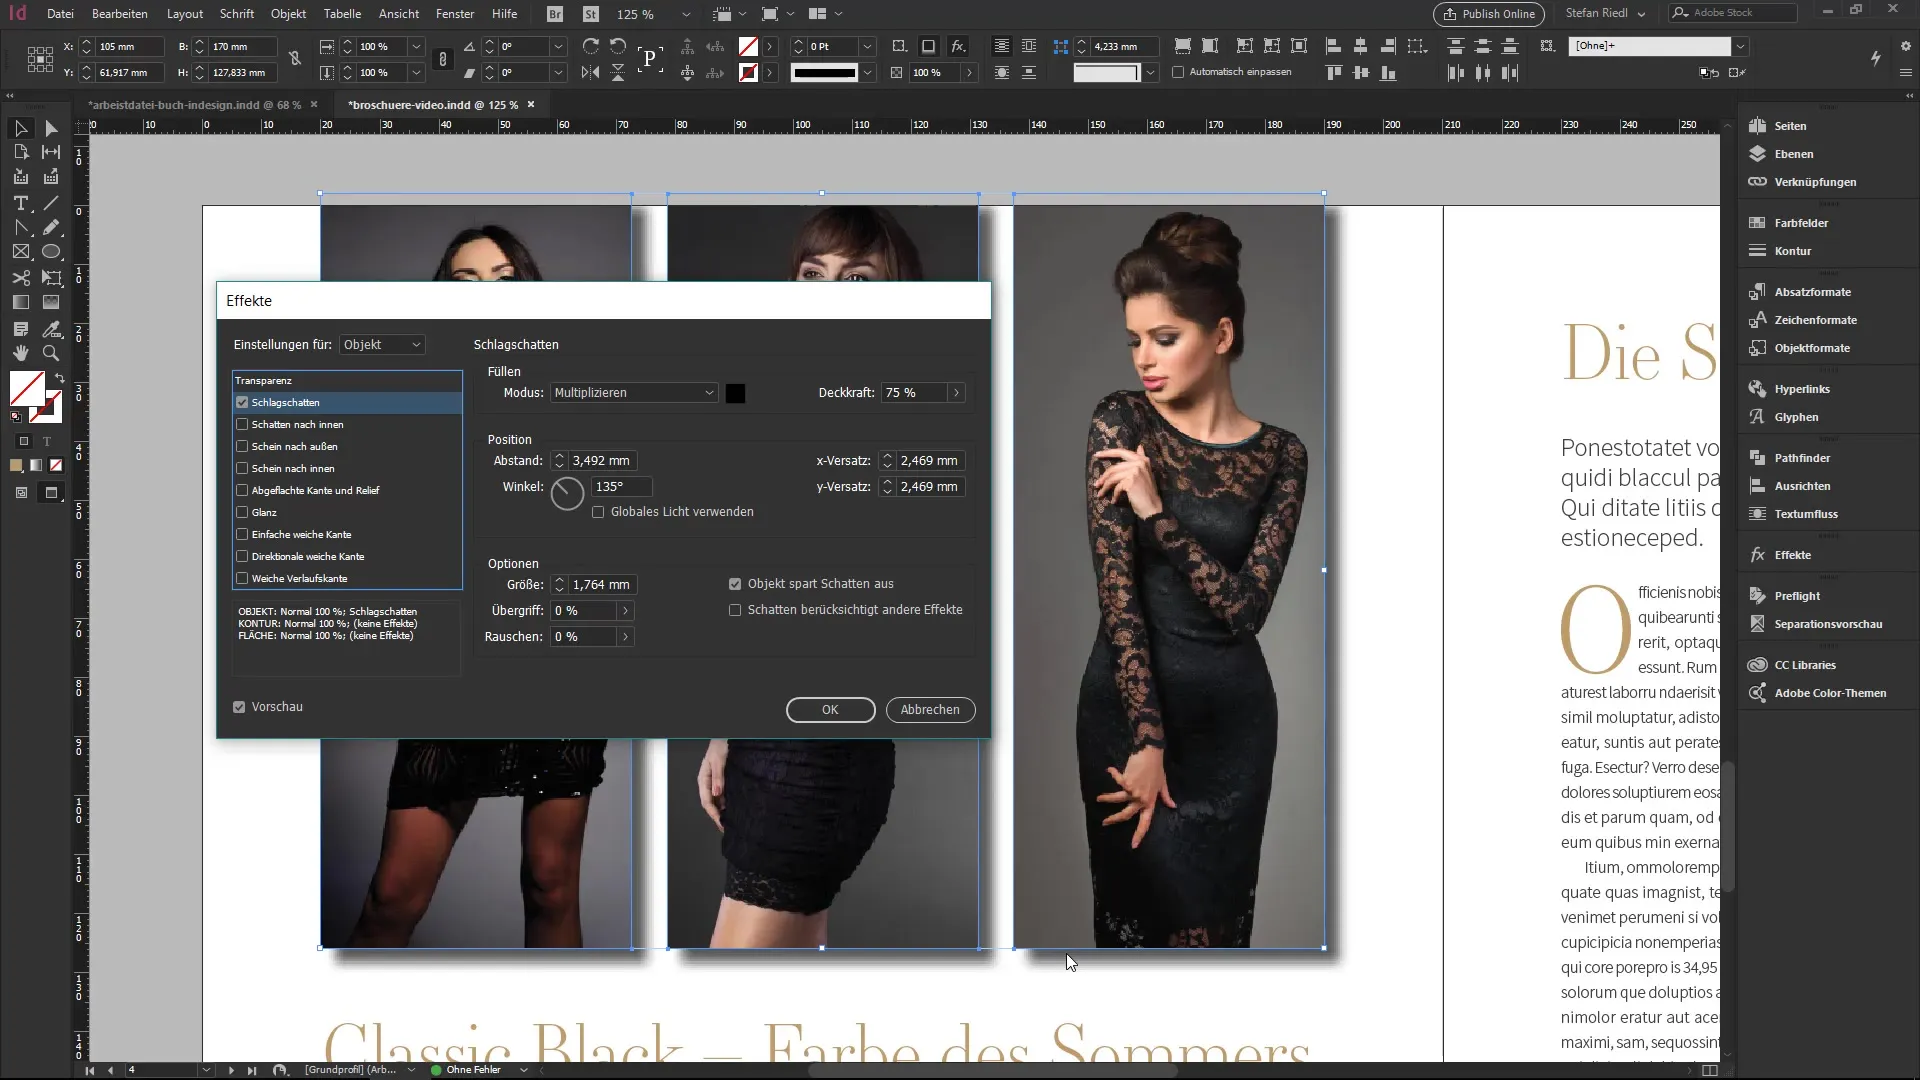
Applying Drop Shadows
To add depth to your designs, use the drop shadow. First, remove any unnecessary elements and select the images that should receive shadows. The drop shadow can be very effective with minimal settings, such as an opacity of 45% and a size of 1 mm. These subtle adjustments ensure that the images appear to rest on the page.
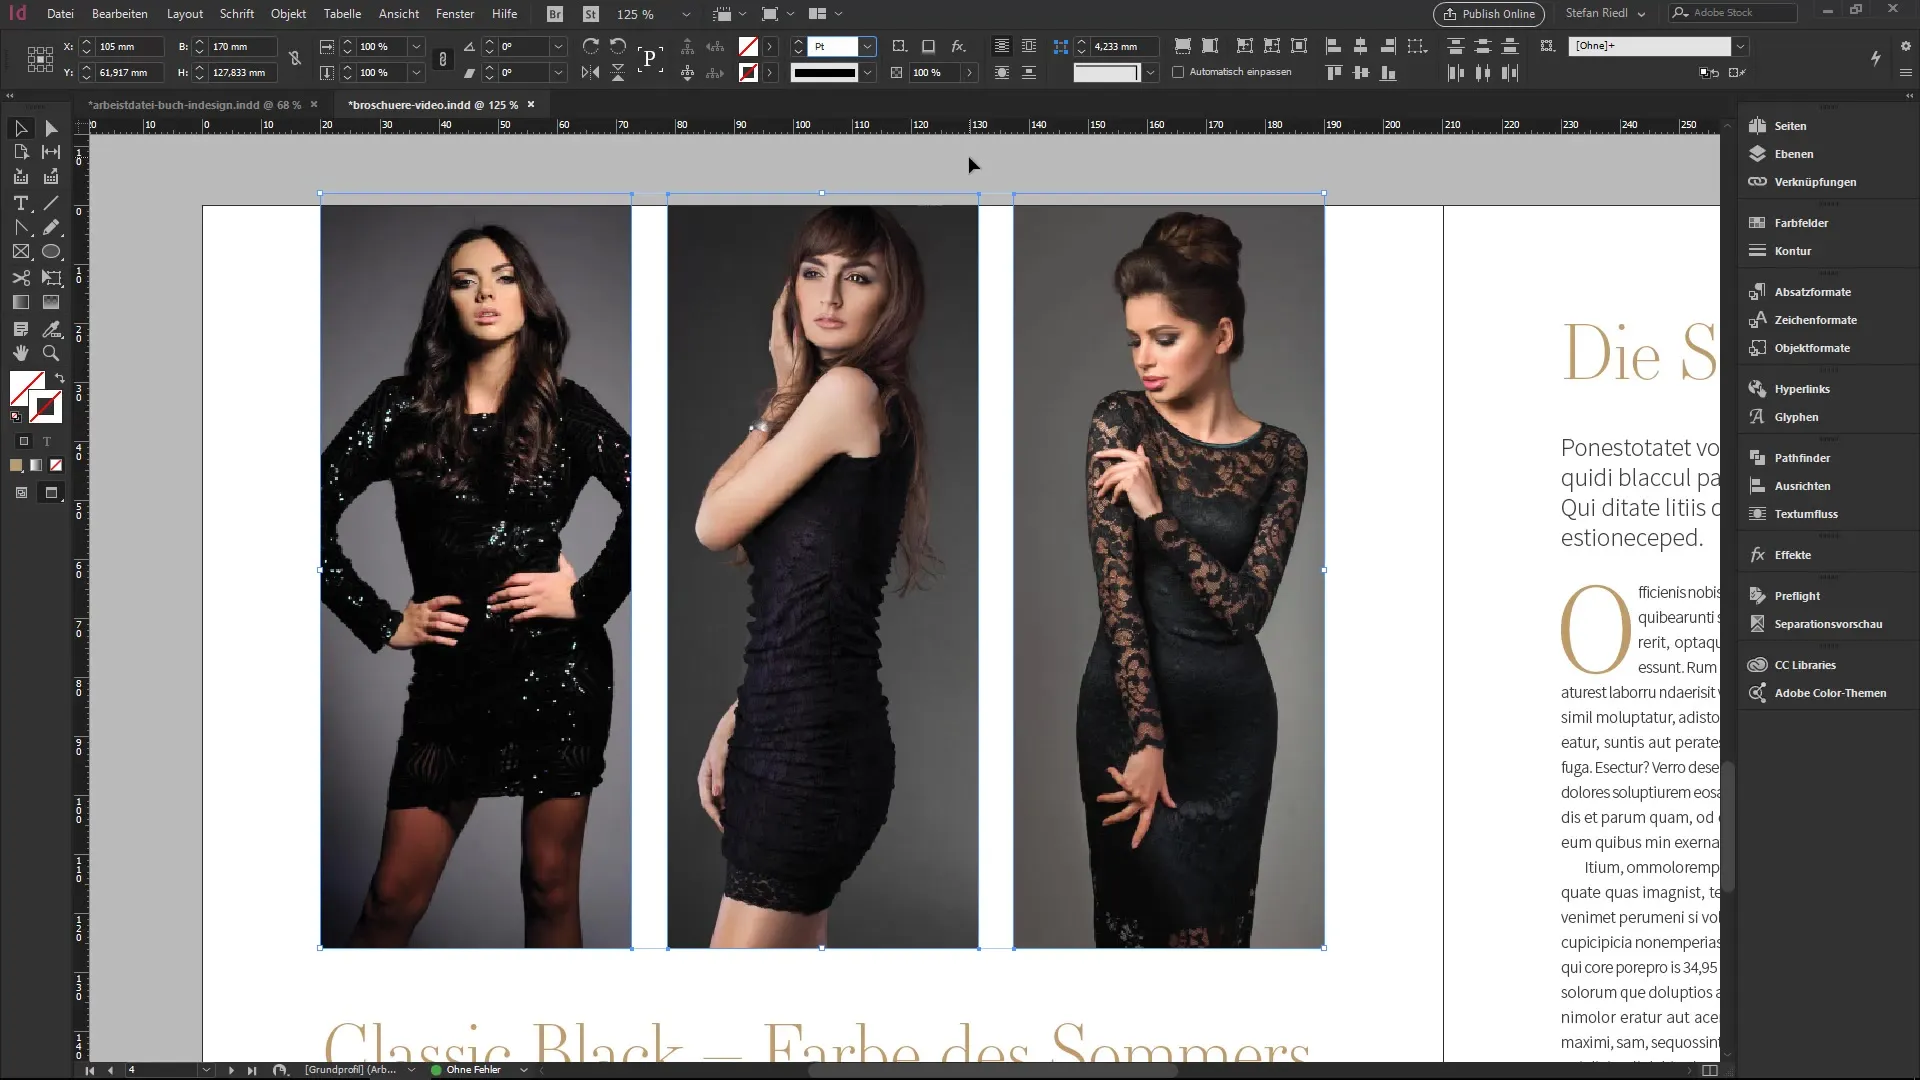
Adjusting Strokes and Their Opacity
If you want to add strokes to the image frames, select the stroke tool and set the frame color and thickness. Here you also have the option to experiment with the opacity, similar to how you did with the drop shadows. Reduce the stroke opacity to 50% for a delicate effect while keeping the image itself unaffected.
Separate Opacity for Strokes
A special trick is to separate the opacity of strokes and fills. To do this, use the effects panel. Select the stroke in the panel and set its opacity to 50%. This allows you to experiment with different opacity values, keeping your designs variable and exciting.
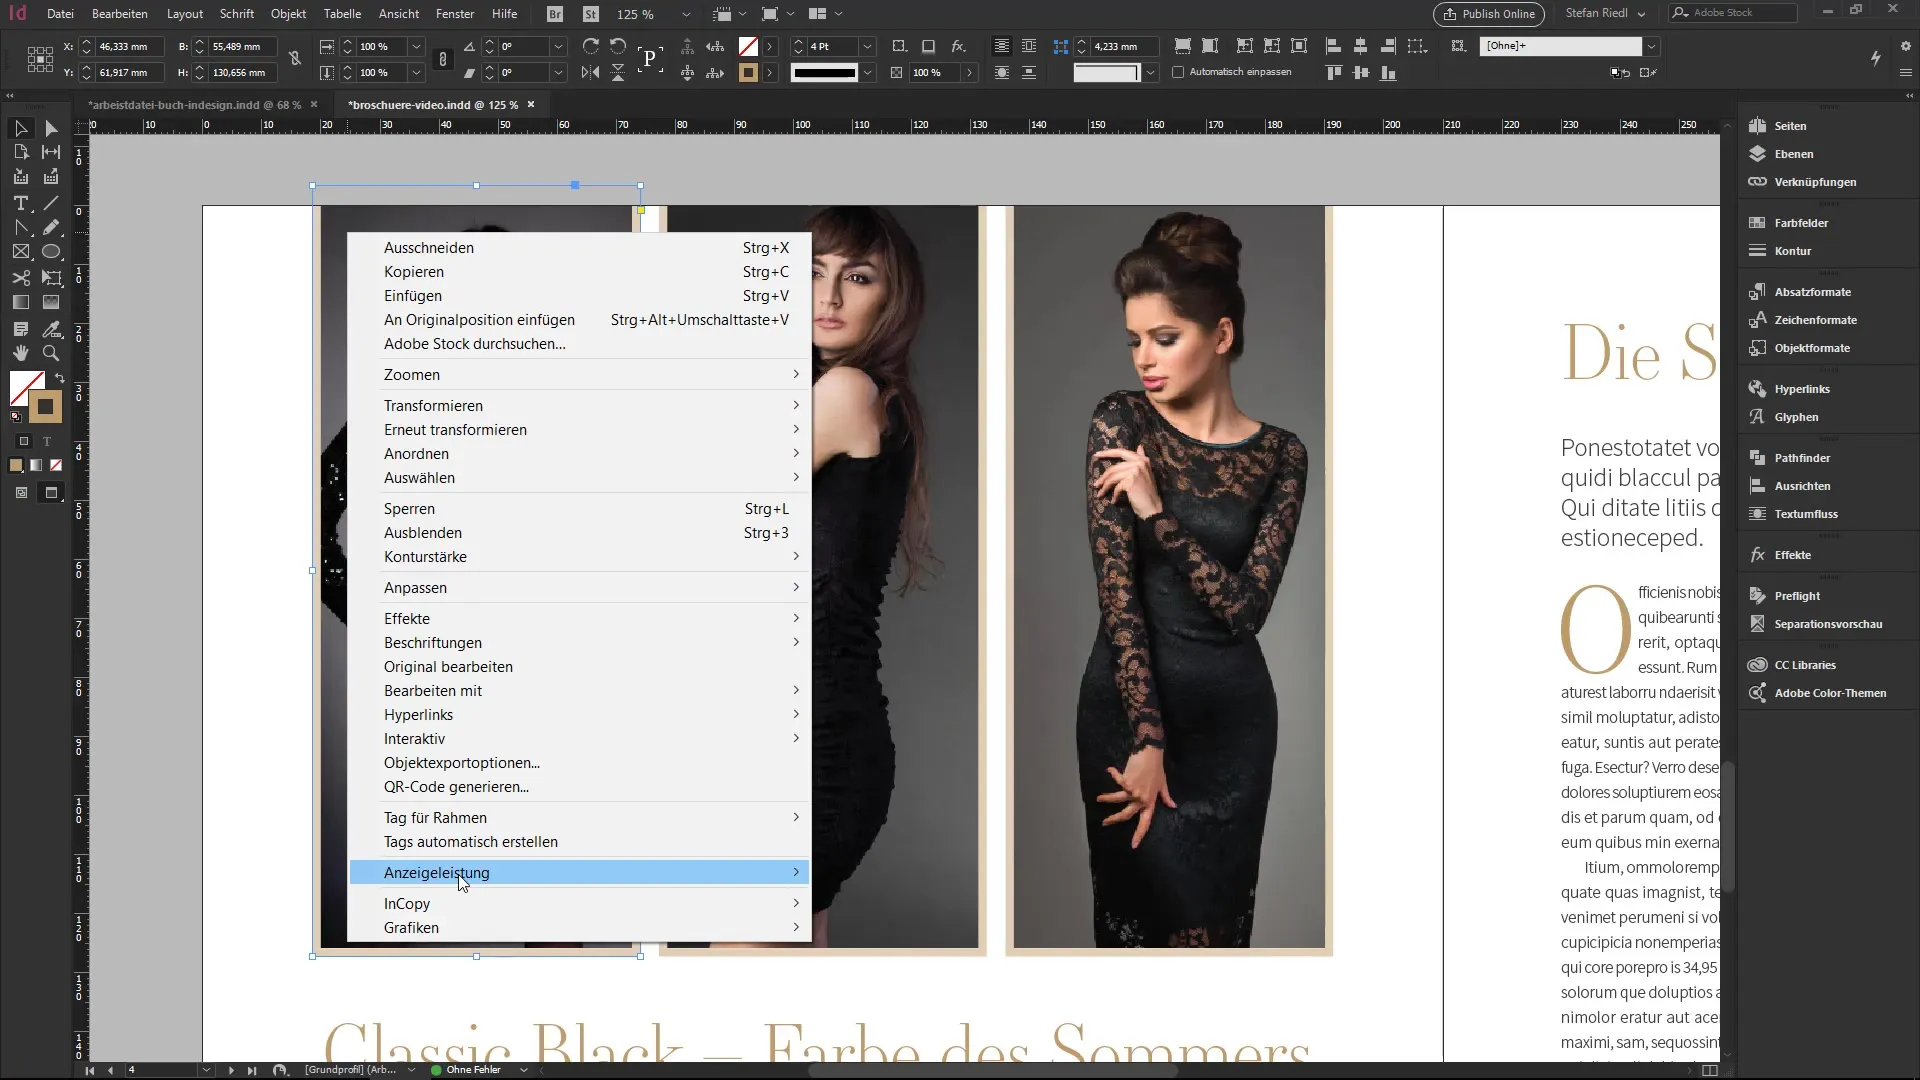
Enabling High-Resolution Image Display
If your images are displayed in low quality, it may be due to the display performance settings. Right-click on the image to change the display performance to "High Quality." This will eliminate ugly artifacts and present the images more clearly. This setting is especially important when working with multiple images.
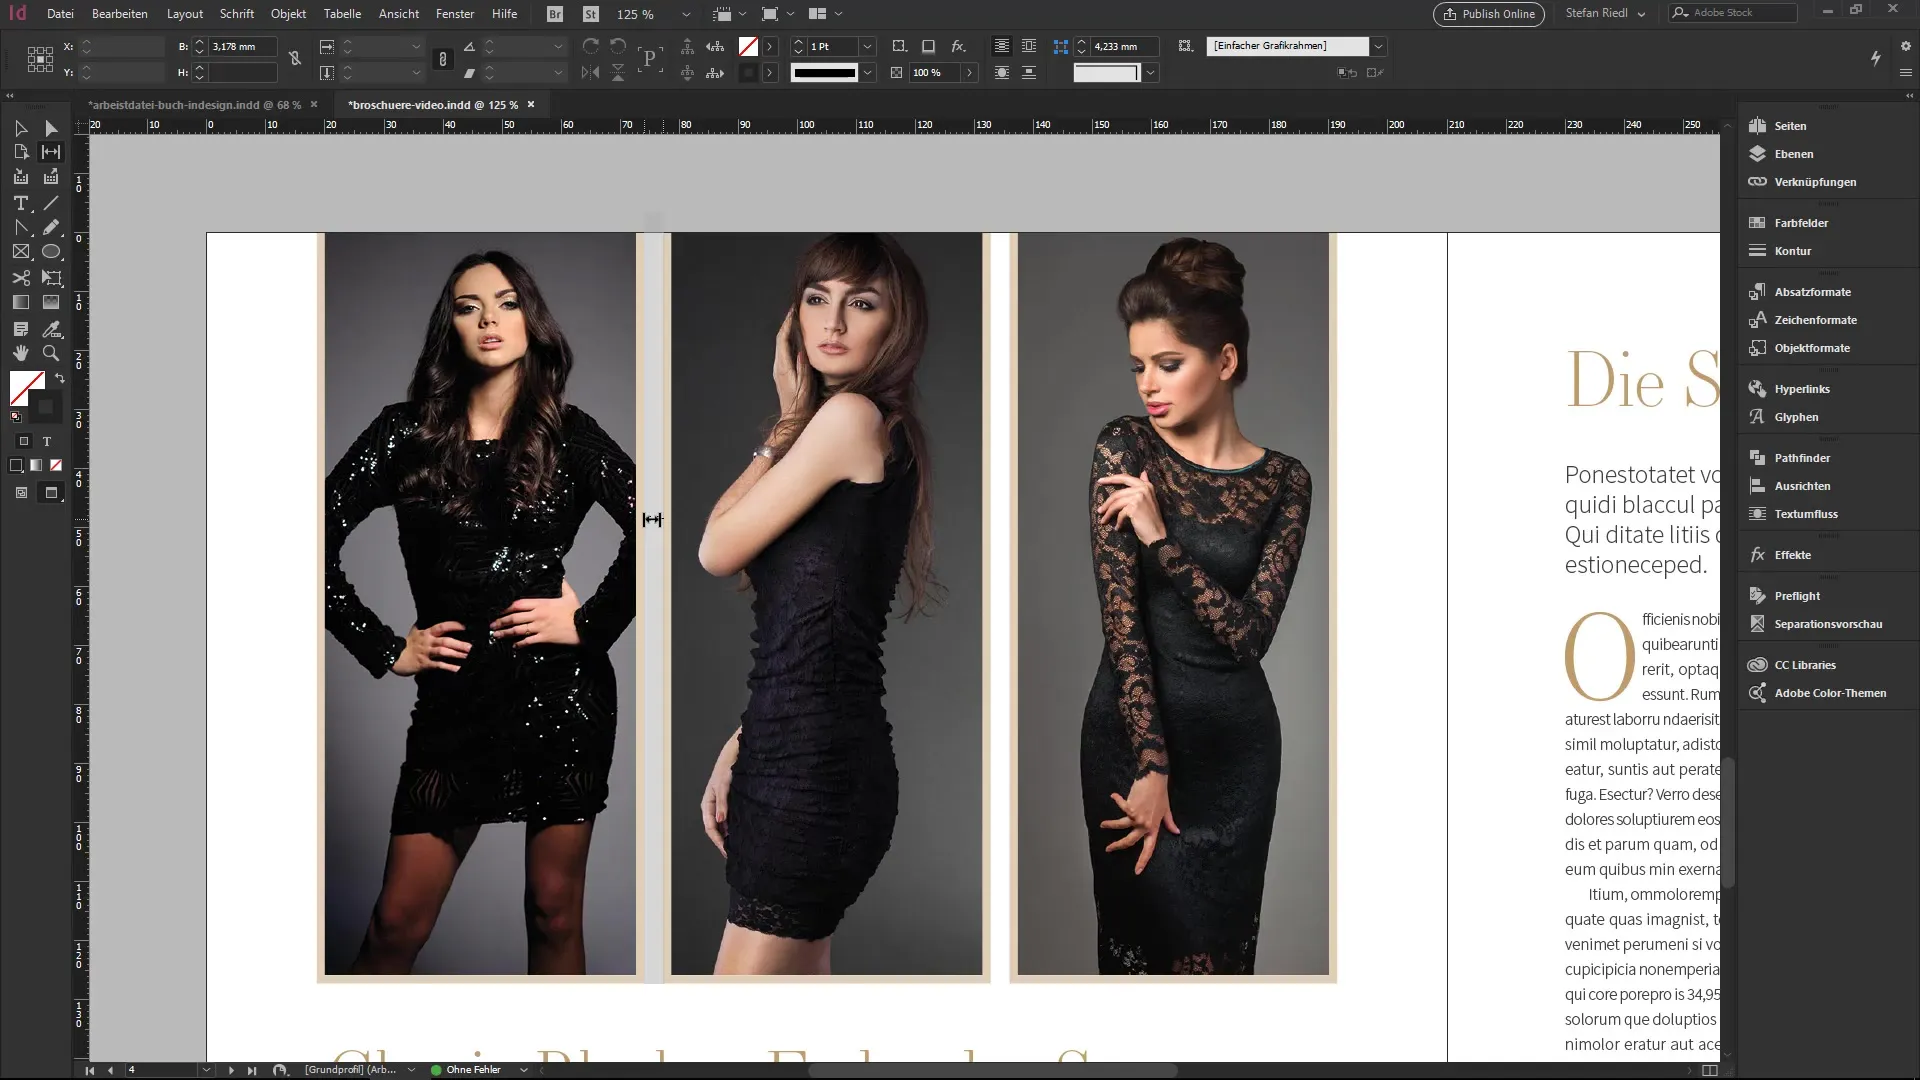
Using the Gap Tool
The gap tool in InDesign allows you to quickly adjust the spacing between different elements in your layout. By clicking on the space between two frames and moving the mouse, you can enlarge or reduce the gap. Hold down the control key to make the desired adjustment.
Summary – InDesign: Visual Effects, Opacity and the Gap Tool in Detail
InDesign offers you numerous ways to bring your designs to life with visual effects, modifiable opacity, and helpful tools like the gap tool. By experimenting with these functions, you can significantly improve your visual design and take your layouts to the next level.
Frequently Asked Questions
How can I adjust the blend mode in InDesign?Click on the FX symbol and select the desired blend mode from the available options.
What is the best way to create a drop shadow?Use a subtle setting with an opacity of about 45% and a size of 1 mm.
How can I improve the quality of images in my document?Right-click on the image and select high-quality display performance.
How does the gap tool work?Select the space between two elements, click and drag to enlarge or reduce the gap.
Can I set separate opacity for strokes and fills in InDesign?Yes, use the effects panel to determine opacity for strokes and fills independently.


