Creating tables in InDesign is a simple yet important step in structuring content. Whether for opening hours, price lists, or other data – tables provide a clear and organized layout. In this tutorial, you will learn how to quickly and easily create a table in InDesign and make various adjustments to present your data attractively.
Key Insights
- Tables can be easily created and edited in InDesign.
- Numerous functions are available for various adjustments.
- Tables can be individually formatted and designed to achieve a professional layout.
Step-by-Step Guide to Creating Tables
To create a table in InDesign, start by opening the program and creating a new document. Then follow these steps:
Step 1: Create a Table
Begin by clicking on “Create Table” in the main navigation. Here you can define the required number of rows and columns. In this example, you want to set up a table for your opening hours with five columns for the days of the week and four rows – one header cell and three data rows.
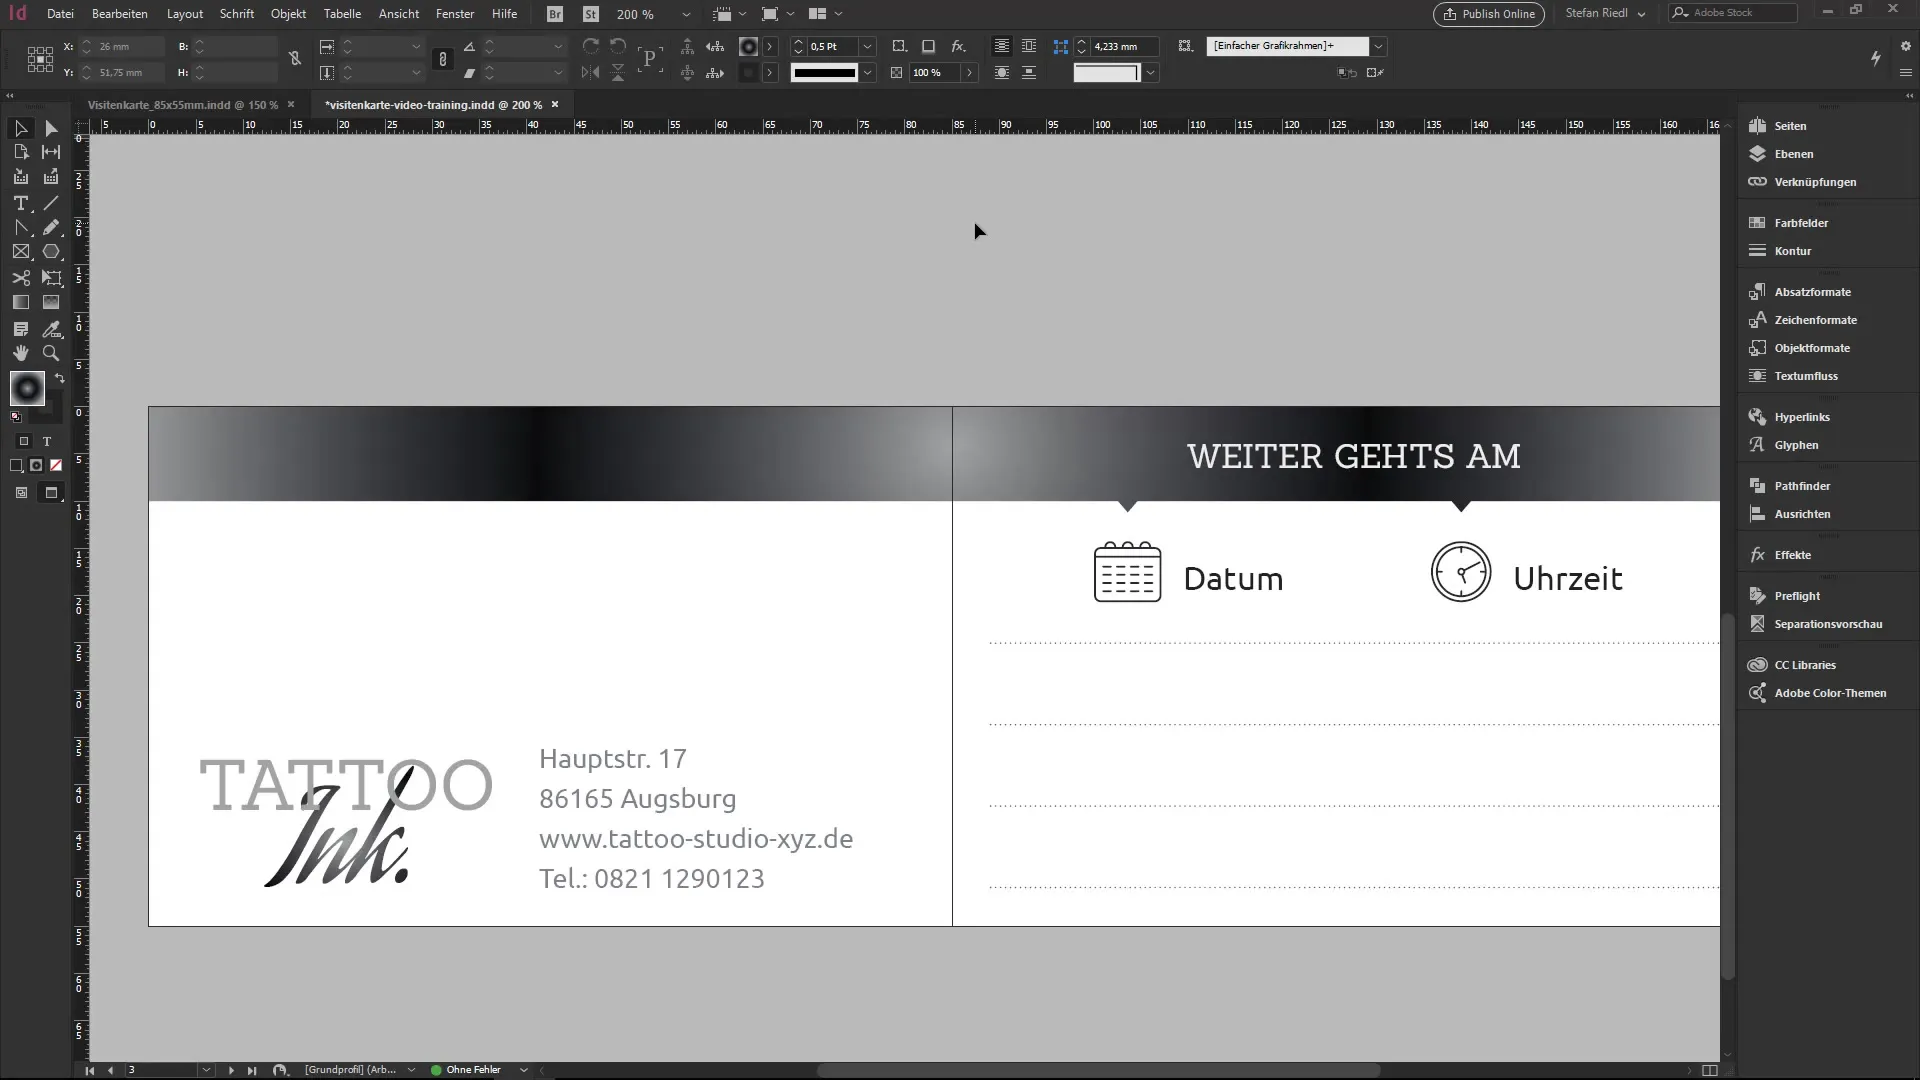
Step 2: Make the Table Visible
Once you have defined the table, you need to make it visible. To do this, double-click on the table or draw a frame of the desired size. InDesign will implement the previously defined columns and rows within the frame you created.
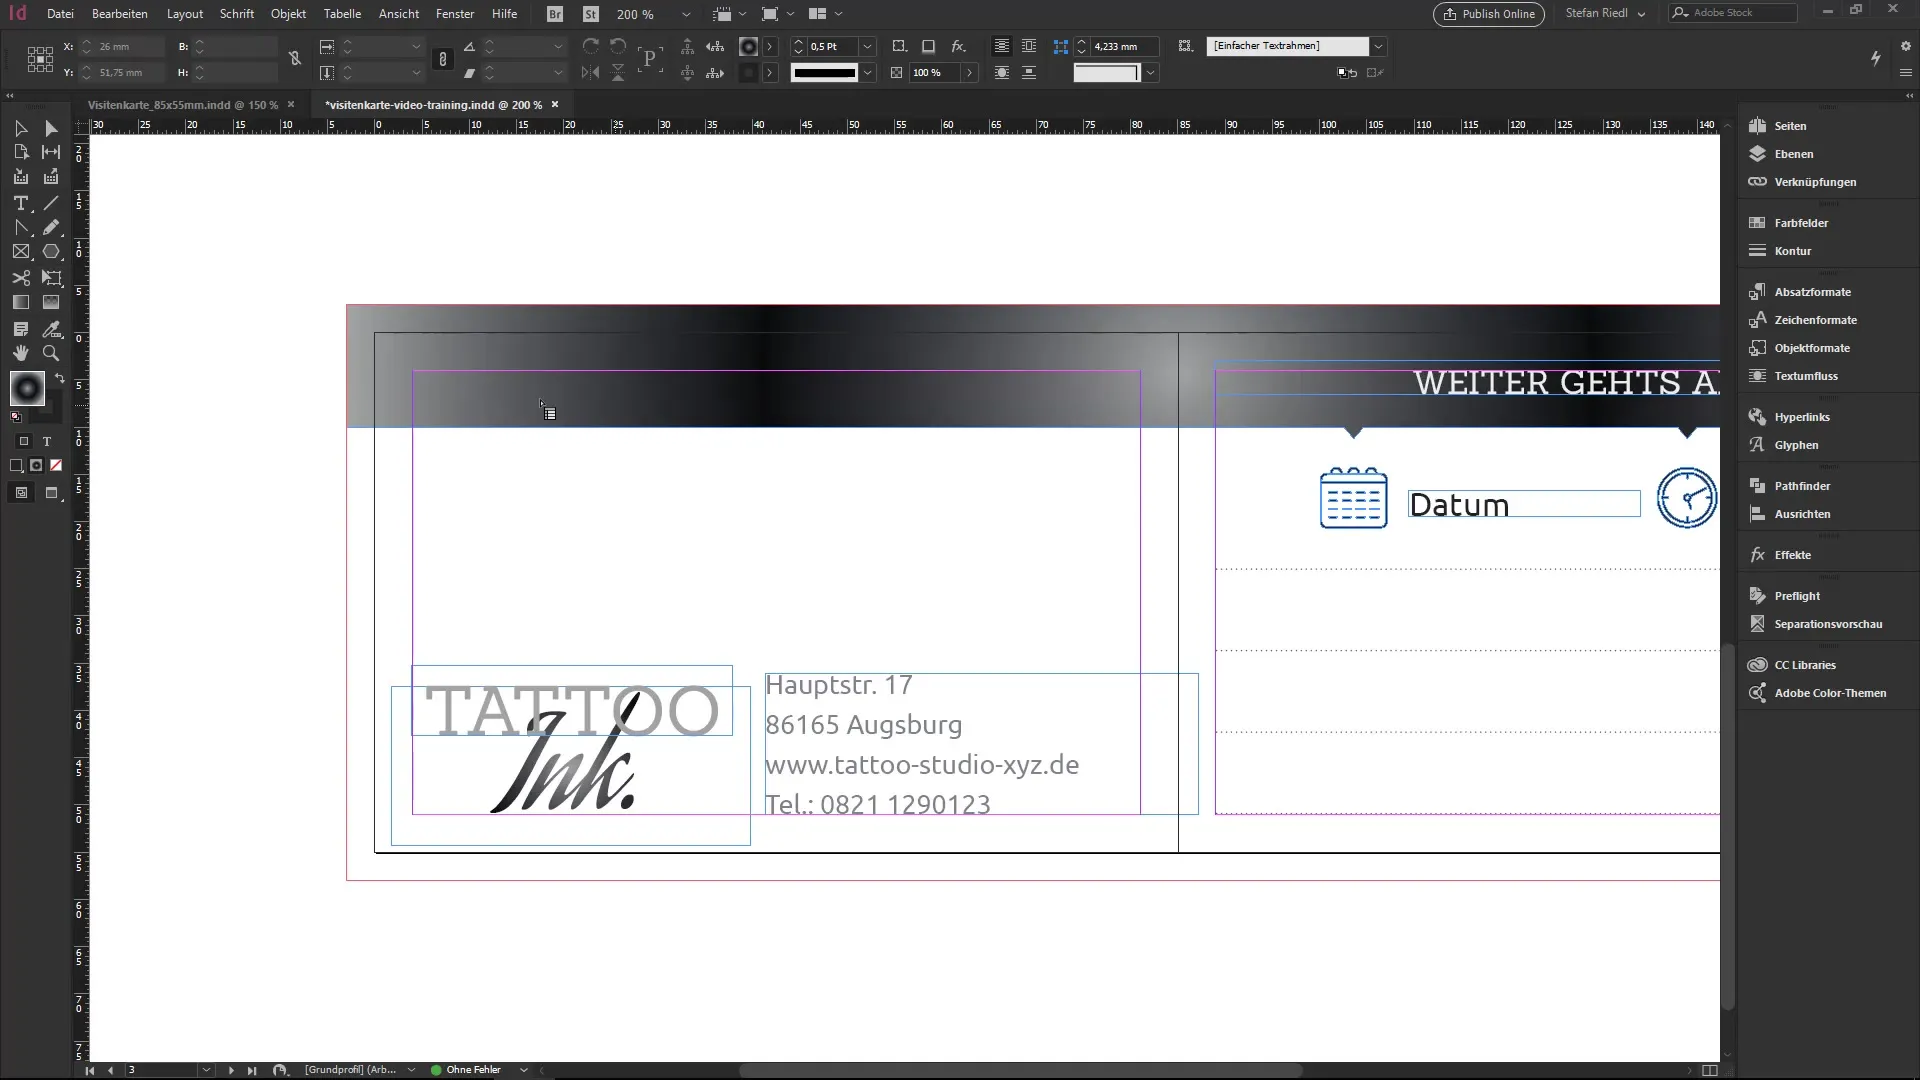
Step 3: Adjust and Edit the Table
As you draw the table frame, the table is built, but the default formatting is initially quite plain. To make the content visible, you can move the text cursor into the cells and create new rows by pressing the Tab key. If there isn’t enough space, you may need to extend the table upwards to create new space for the row.
Step 4: Edit Table Content
New text can be easily entered. Make sure to stay in one cell while writing to format only that one. For example, you can enter the opening hours in the corresponding row. To change the font size and select the desired font (e.g., Sanchez Regular), highlight the text and choose the appropriate settings in the control panel.
Step 5: Optimize Formatting
To improve the alignment of your text within the cells, select the text and use the options in the control panel for alignment. Top, center, or bottom – adjust the alignment to your preferences to create an appealing layout.
Step 6: Row Marking and Formatting
If you have already made formatting adjustments and want to apply them uniformly to a row, you can select the entire row. Just select the appropriate settings (font, font size, color) when formatting and apply them to the entire row.
Step 7: Adjusting Outlines and Borders
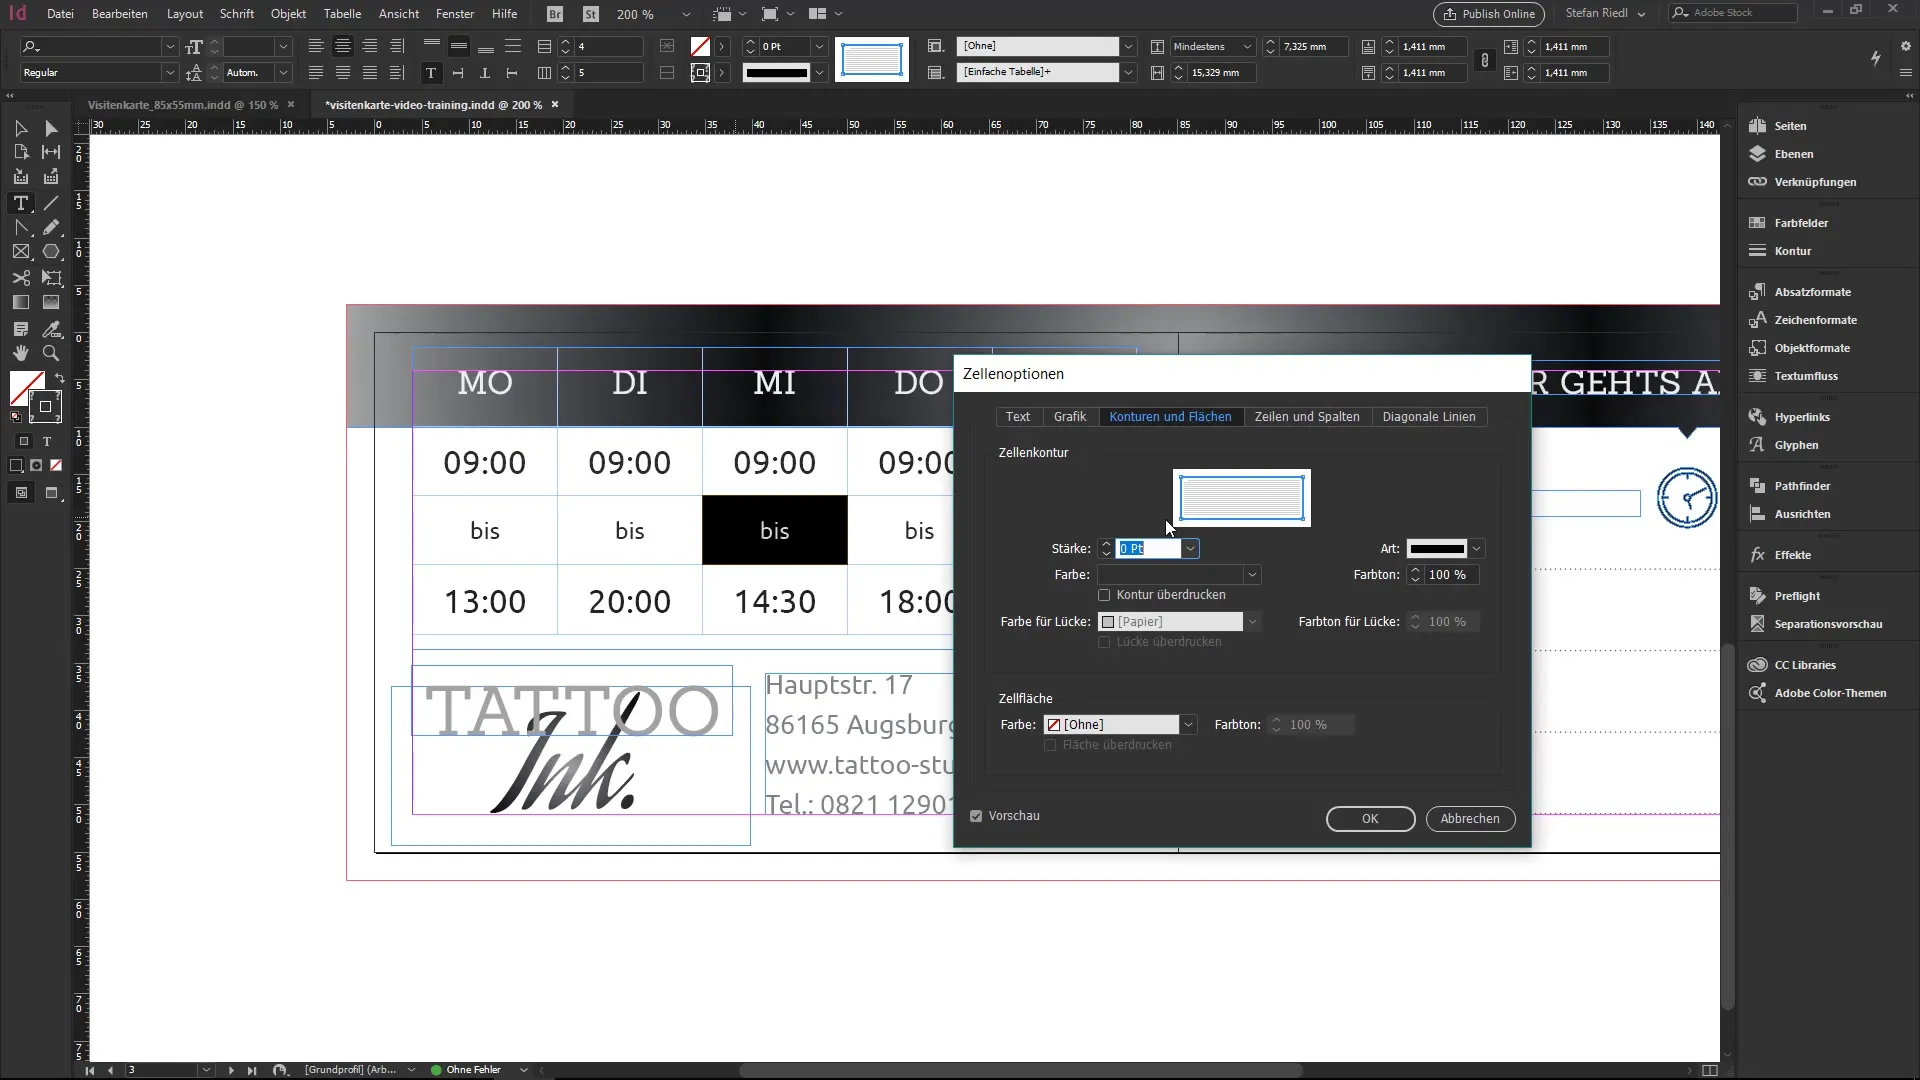
To enhance the appearance of your table, take a look at the border outlines. By default, they can appear quite harsh. Click on the top left of the entire table and select the outlines in the control panel. Set the outline to zero and watch how the table looks significantly more appealing.
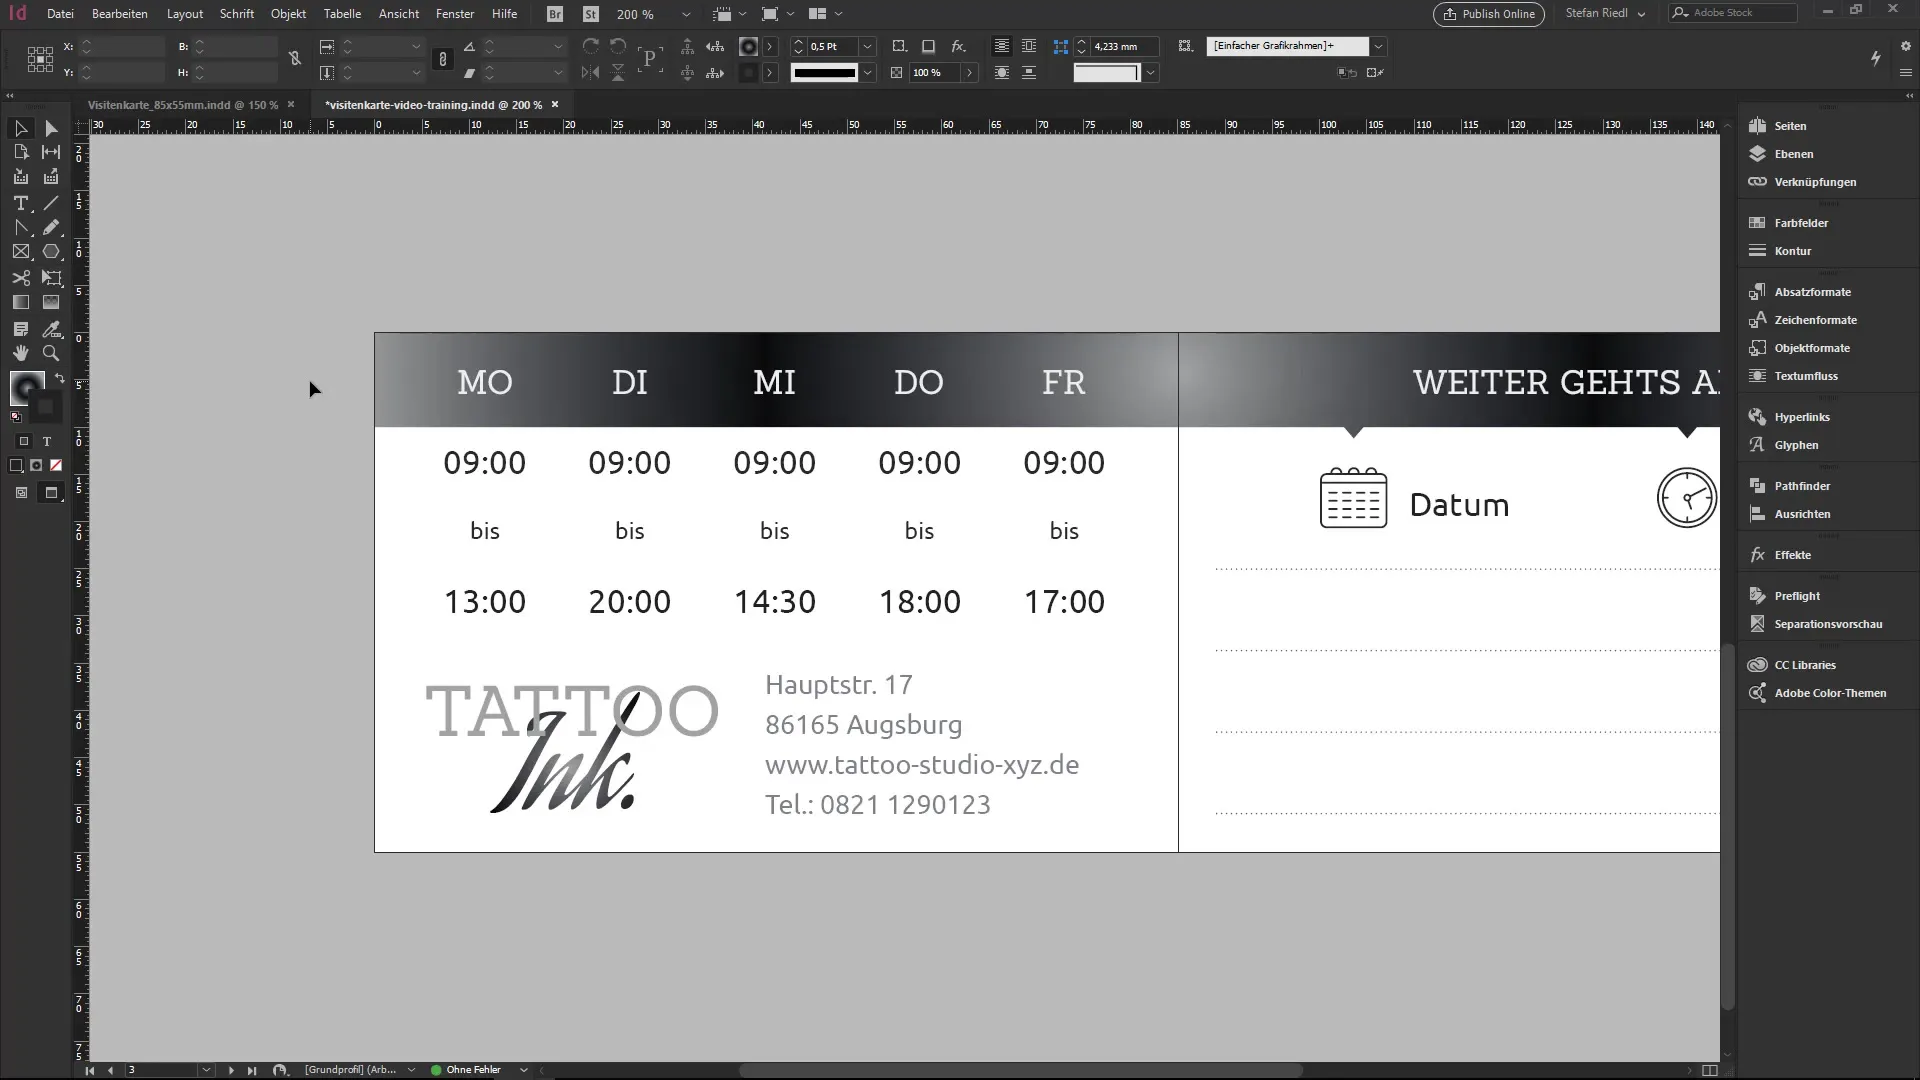
Step 8: Set Row Colors as Needed
You can change the color of the rows to make the layout more attractive. For example, you can color every second row or all rows. To set the hue accurately, ensure the hue is set to 100% to fully display the desired color.
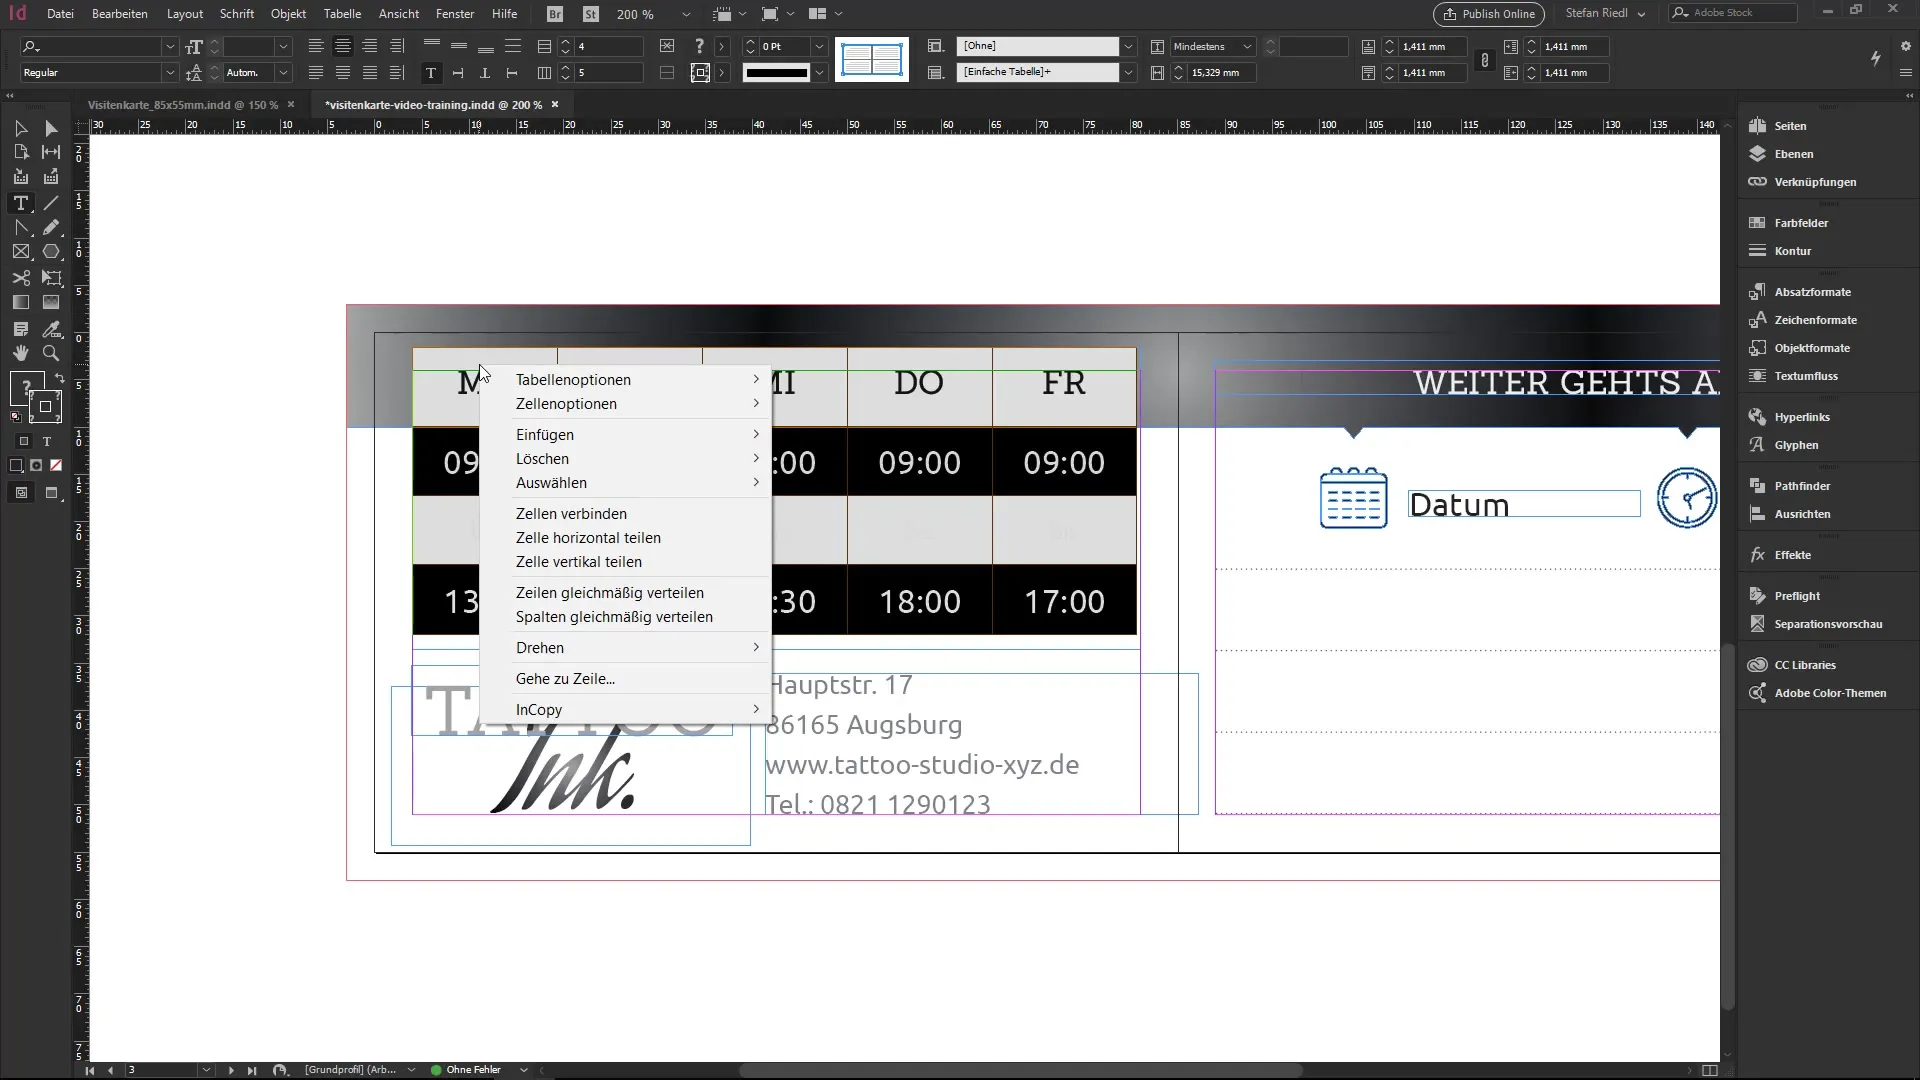
Step 9: Use Cell Options for Finer Adjustments
Now you can make individual settings for specific cells. Right-click on the cell and select cell options. You have many adjustment options, such as text alignment, diagonal lines, or special outlines.
Step 10: Move Content Between Cells
If necessary, you can move content from row to row or column to column, which is especially useful for optimizing the arrangement of your data. Simply highlight the cell or entire row and drag it to the desired position.
Summary – InDesign: Creating Tables for Beginners
In this tutorial, you have learned how to step-by-step create and adjust a table in InDesign. Tables are versatile tools for presenting data and can be easily customized with various design options.
Frequently Asked Questions
What can I do with tables in InDesign?Tables can be created, formatted, and customized to clearly and neatly present data.
How do I add a new row to a table?You can add a new row by clicking in the last cell and pressing the Tab key.
How can I change the font in the table?Select the cell or text and change the font in the control panel.
How do I adjust the outlines of a table?Select the table, go to the control panel, and change the outline settings.
Can I move cells in InDesign?Yes, you can move content by dragging and dropping it from one cell to another.


