Do you want to work faster and more efficiently in InDesign? A personalized adjustment of your workspace is the key. The software offers numerous options for customization, allowing you to use your preferred panels and tools in the ideal configuration. In this guide, you will learn step by step how to create and adjust your own workspace.
Main insights
- The design of your workspace significantly influences your productivity.
- Panels in InDesign are like control consoles for different tasks.
- You can save your workspaces and adjust them as needed.
Step-by-step guide
1. Get to know the panels
Before you can set up your optimal work environment, it is important to understand the available panels. They are comparable to different desks where you work, depending on the tasks you want to accomplish.
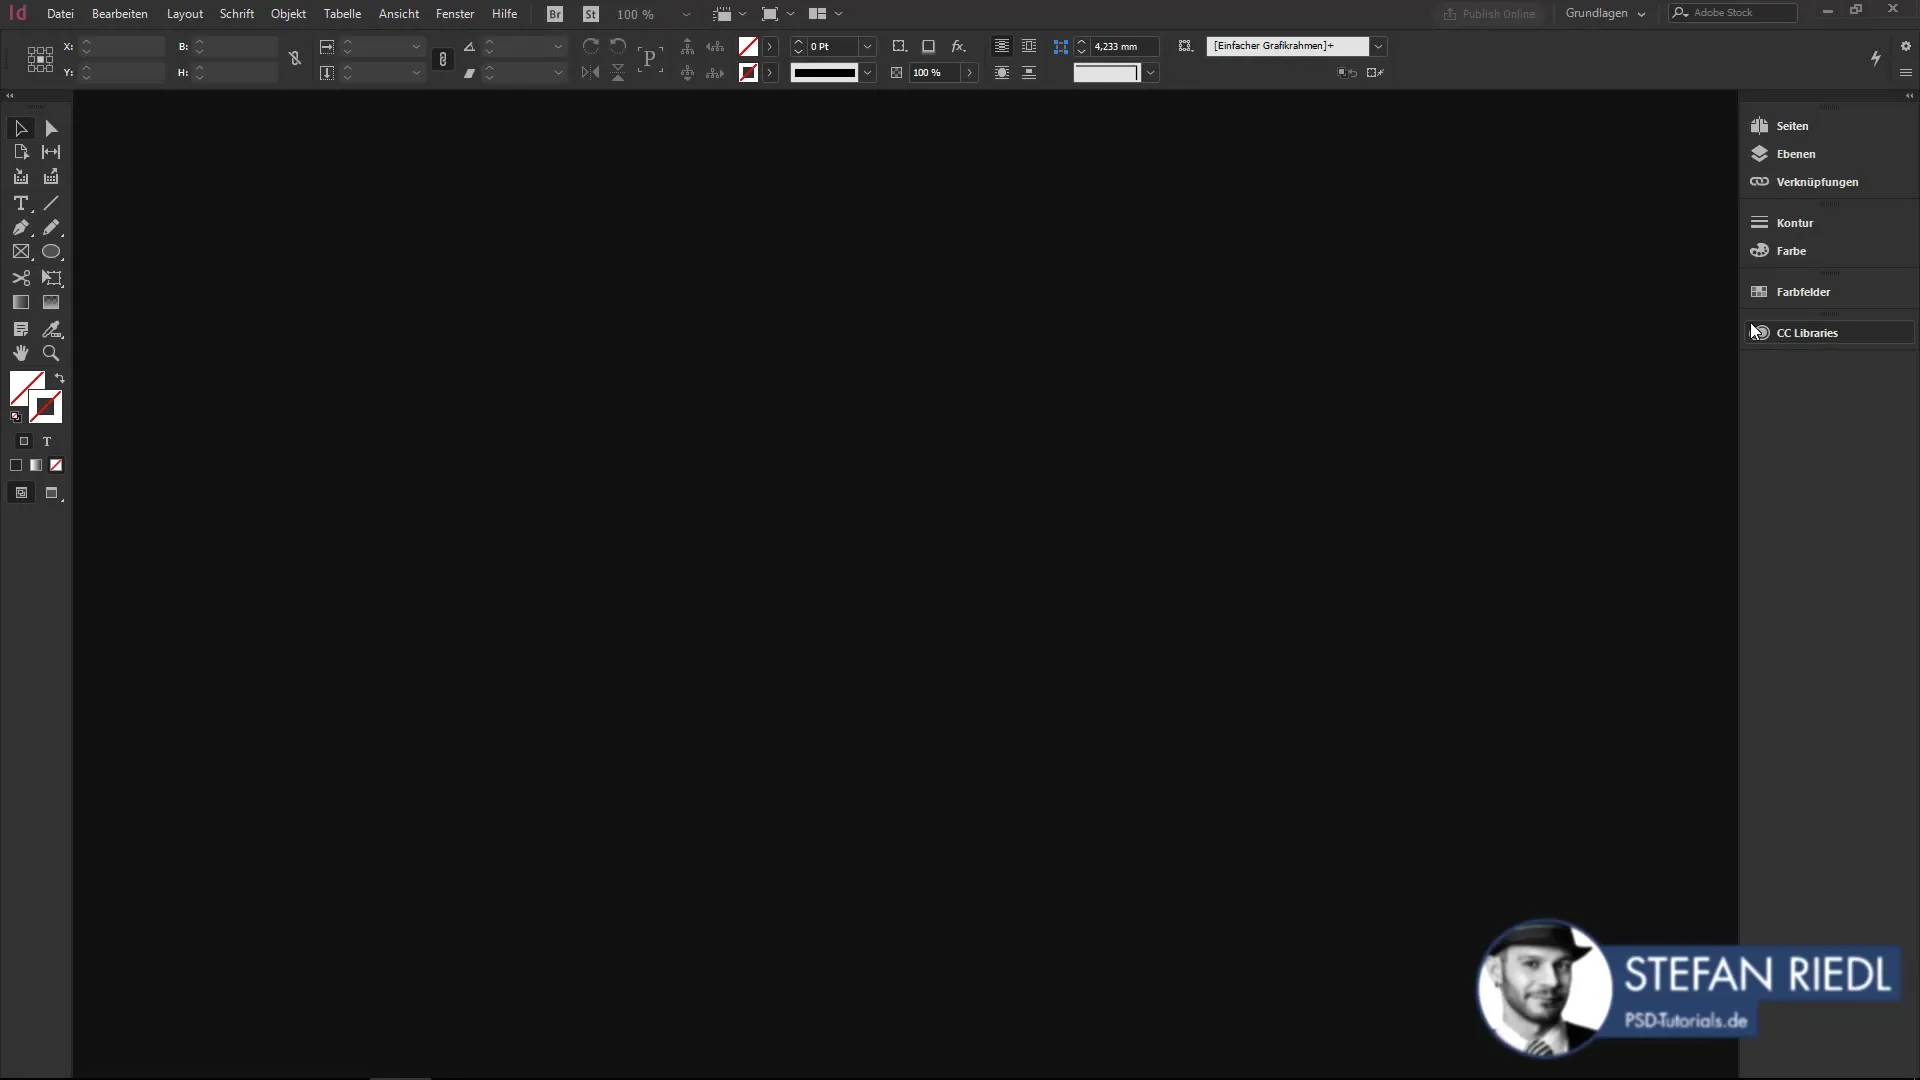
You will find various panels on the right side of InDesign that you can customize. Some panels are essential for common tasks, while others may vary depending on the project.
2. Arrange the panels
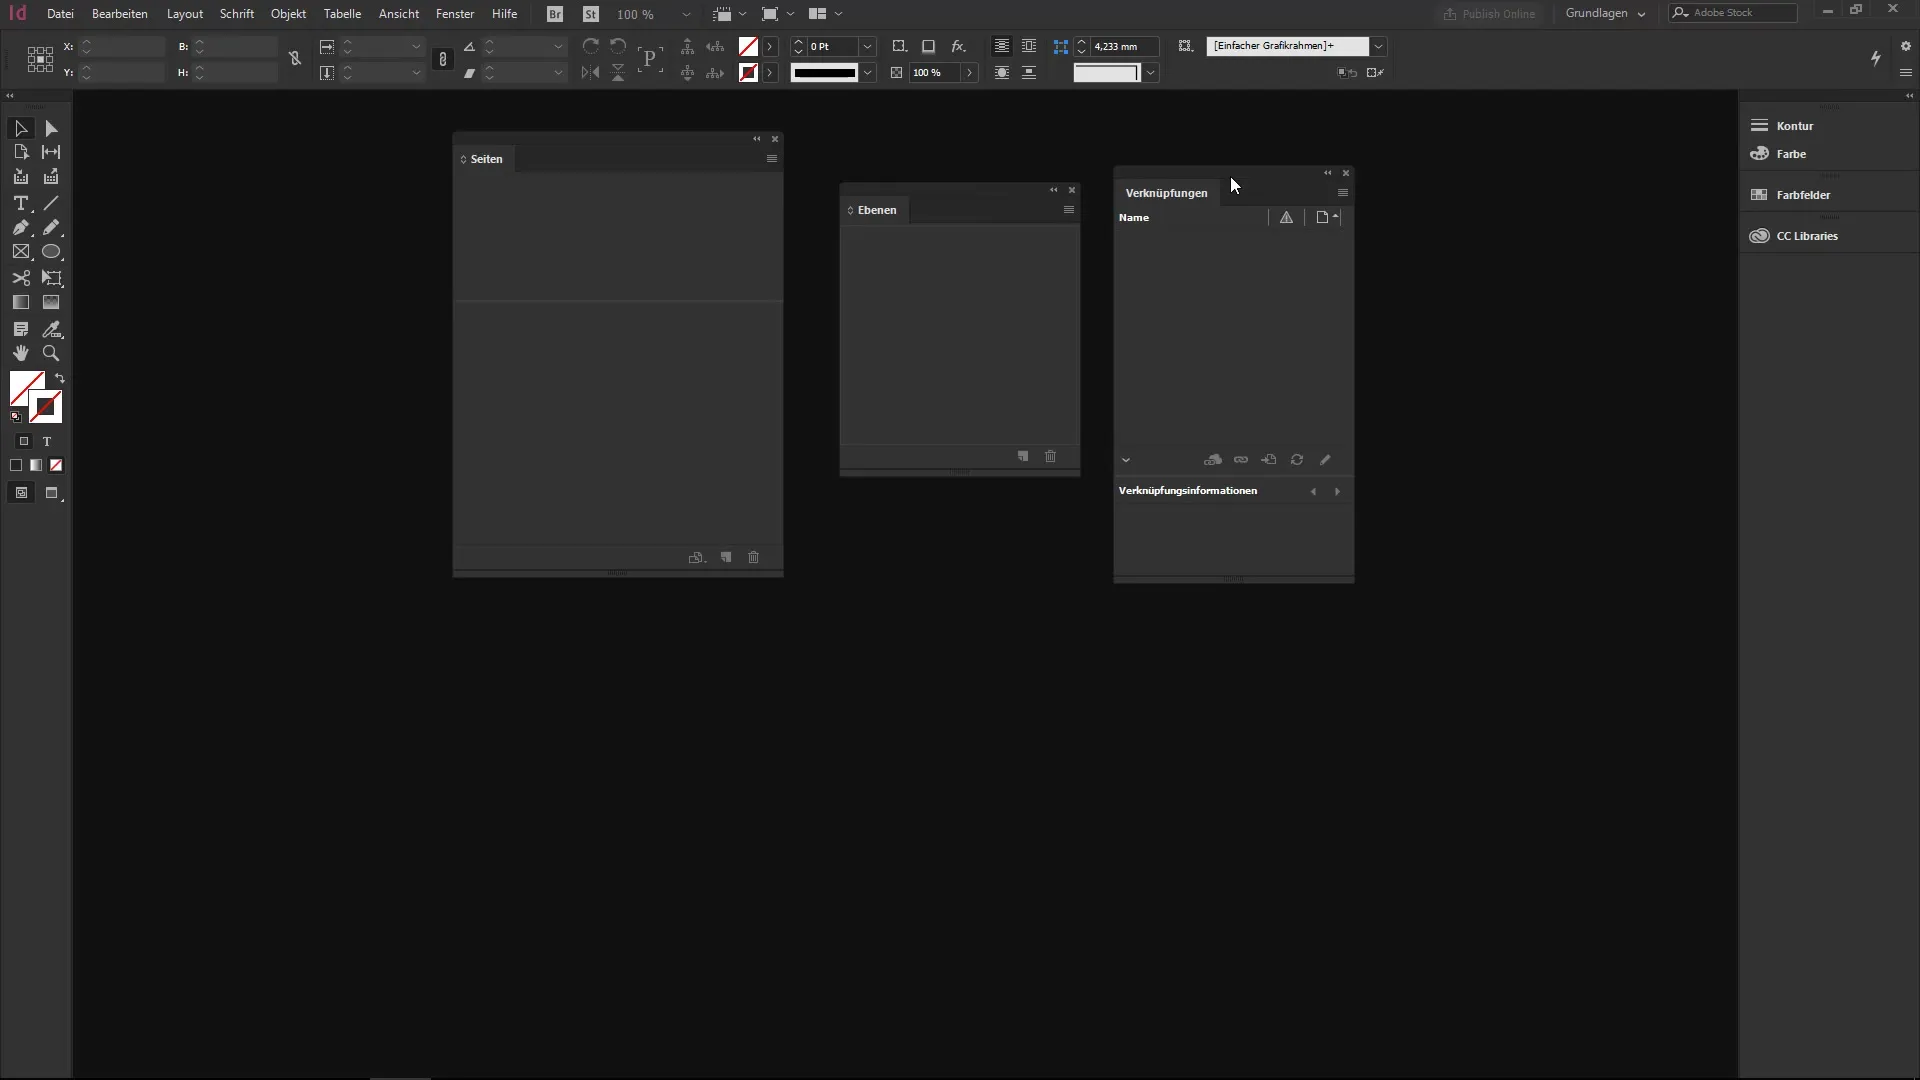
Once you have identified the most important panels, you can arrange them according to your needs. Simply drag and drop the panels to the desired position.
The goal is to arrange the panels so that you can quickly access all the necessary functions without having to search extensively.
3. Customize the layouts
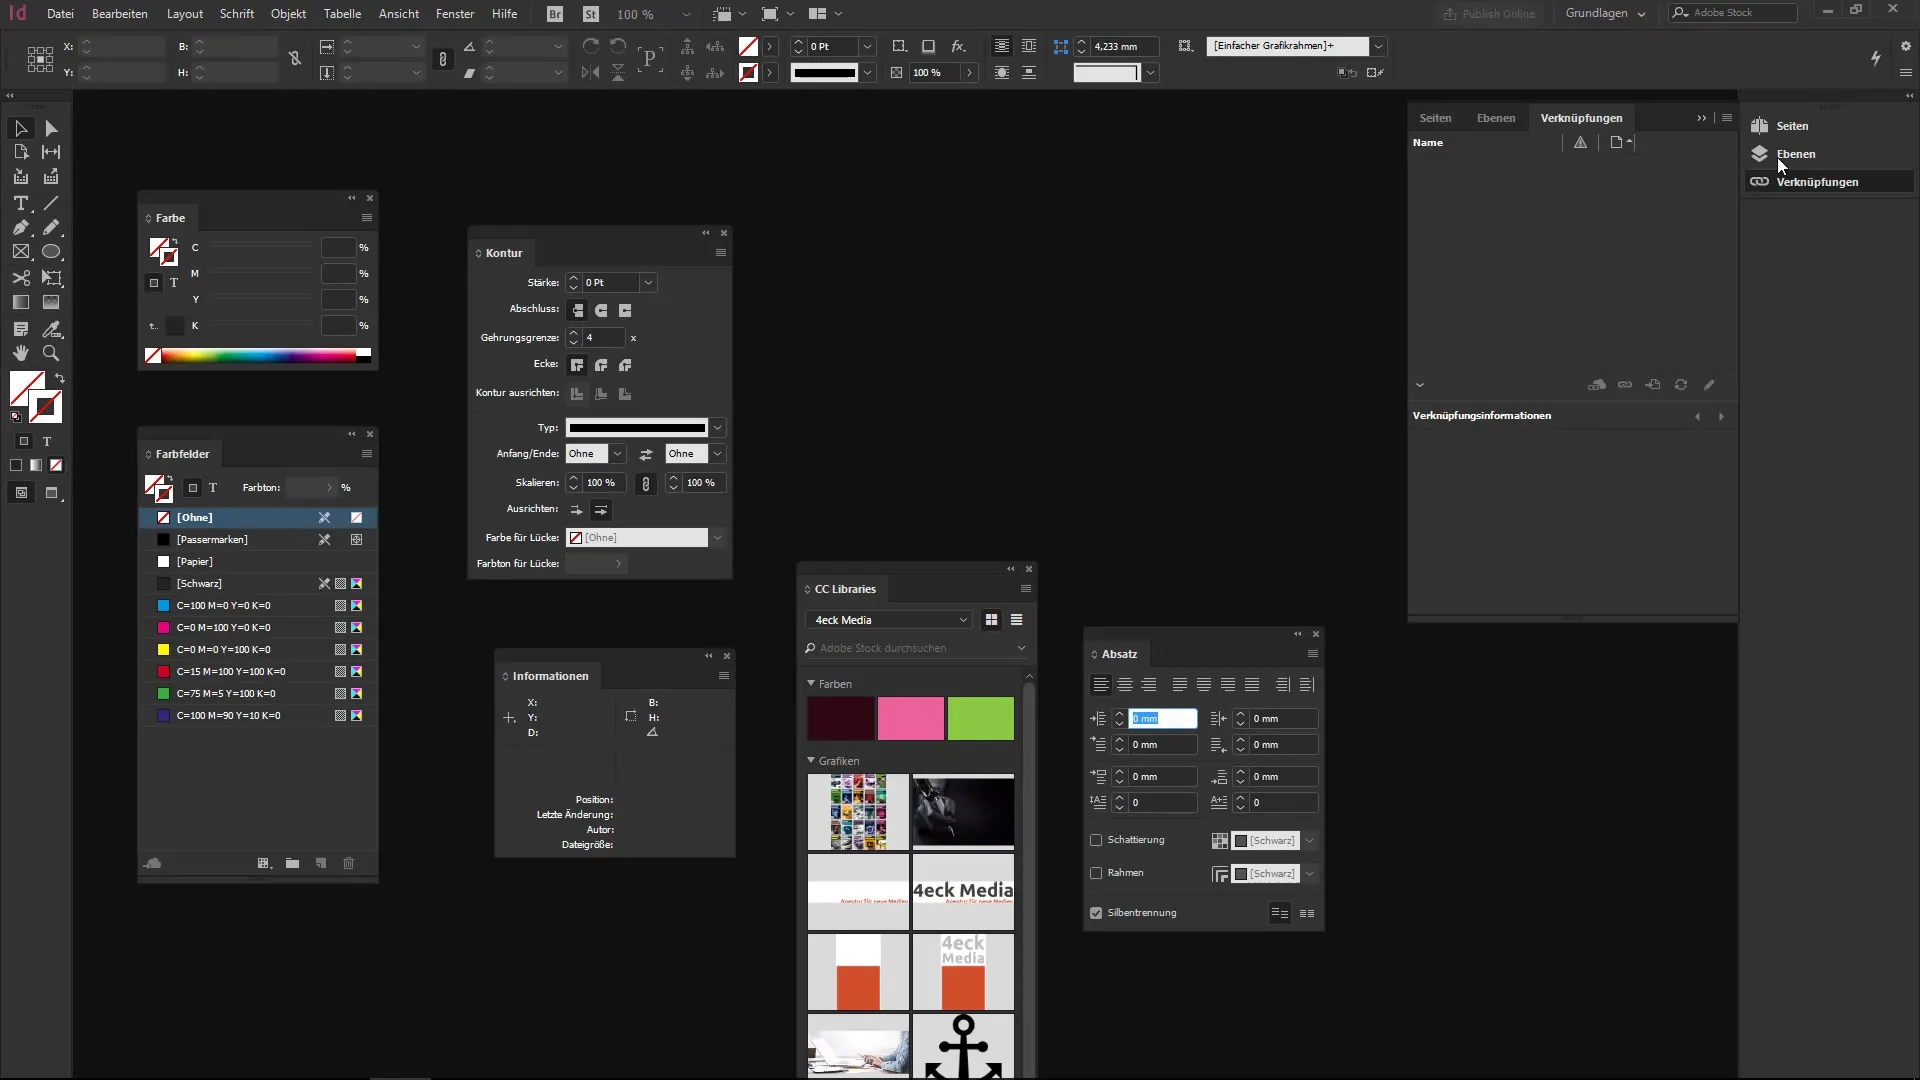
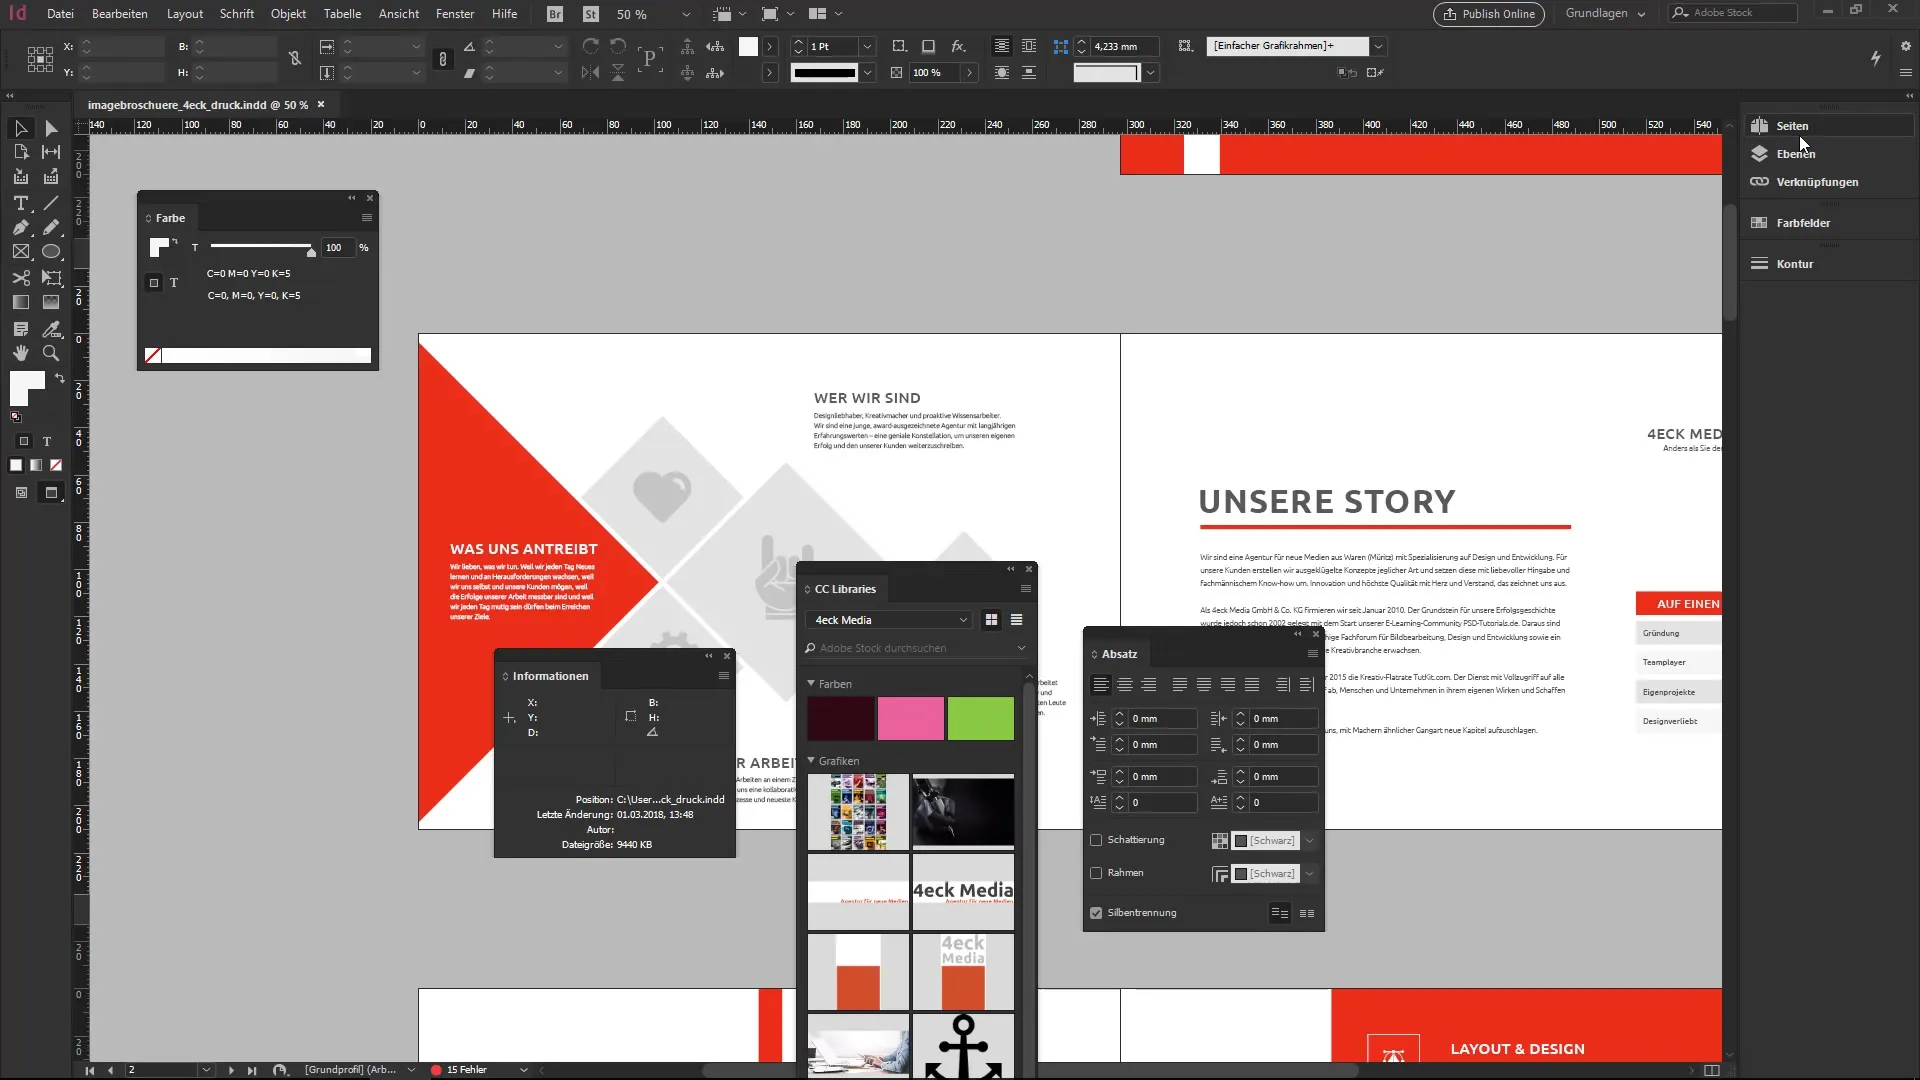
To make the best use of your panels, it makes sense to organize them into groups. For example, you can group the "Pages," "Layers," and "Links" panels together. When you open these groups, the various tabs appear, and you can quickly switch between the functions.
4. Optimize the workspace view
To maintain a clear overview, you should make optimal use of space. For example, if you are using three panels in a vertical arrangement, you can adjust them to take up less space on your screen.
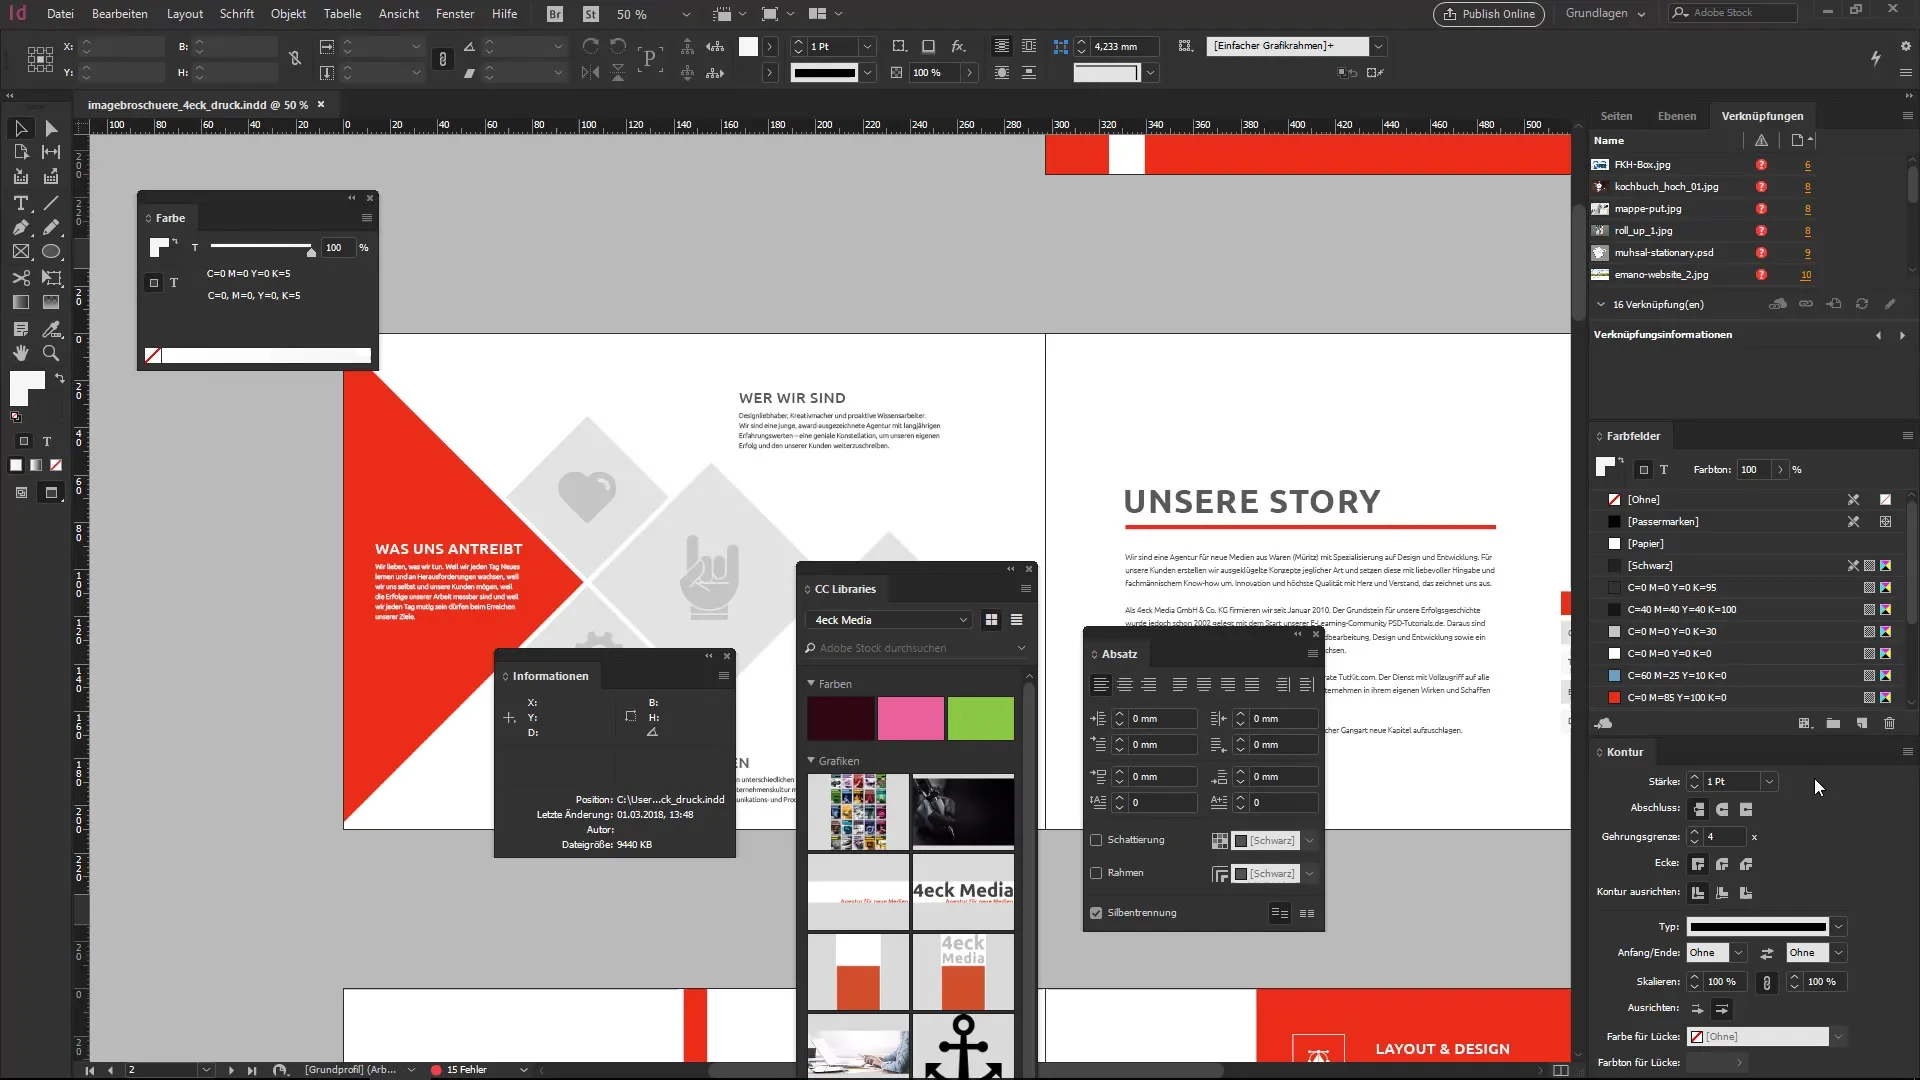
With the right adjustments, you ensure that you do not lose track even with many panels open.
5. Save the workspace
Once you are satisfied with the arrangement of your panels, you can save your workspace. To do this, go to the "New Workspace" menu.
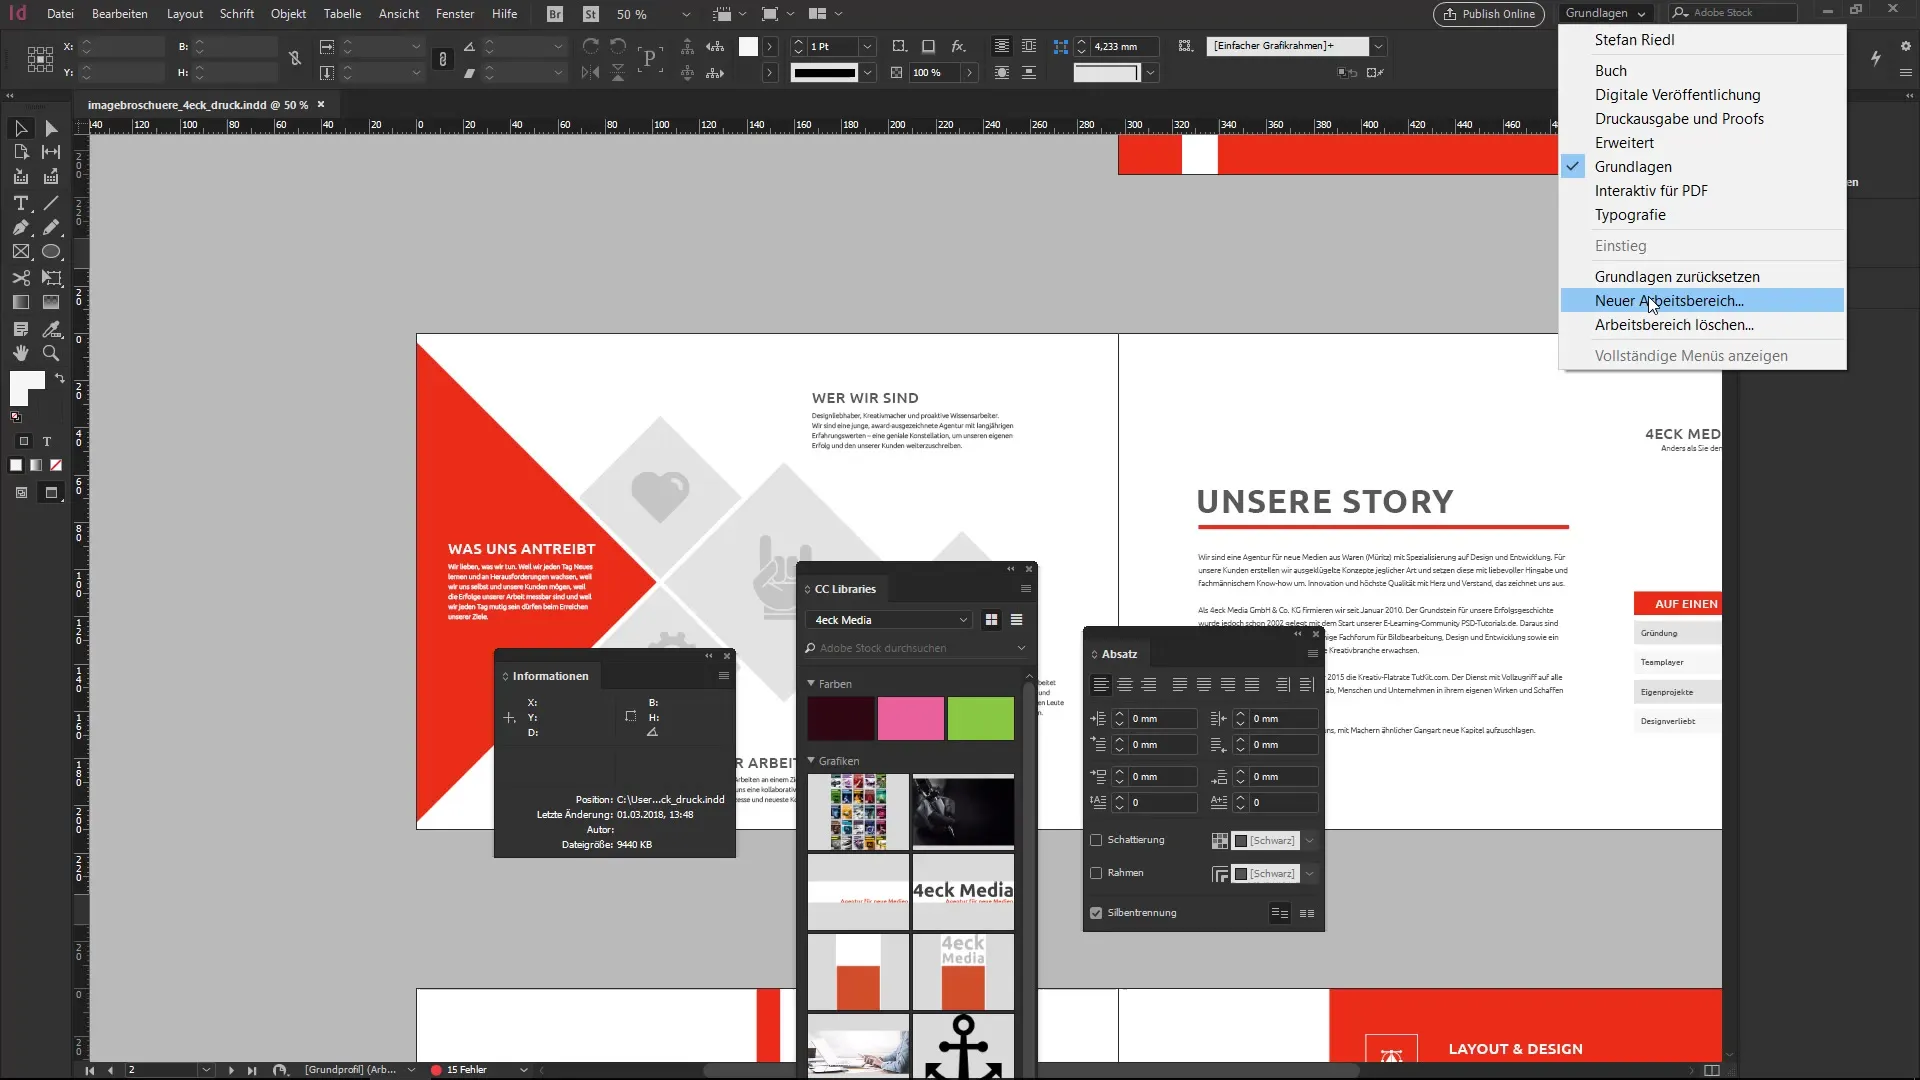
Give it a descriptive name and select the options you want to save, such as the menu customizations.
From now on, you can return to this workspace at any time, even if you make other adjustments.
6. Use existing workspaces
InDesign also offers standard workspaces that you can customize to your needs. If you frequently work with certain features, these predefined workspaces are helpful.
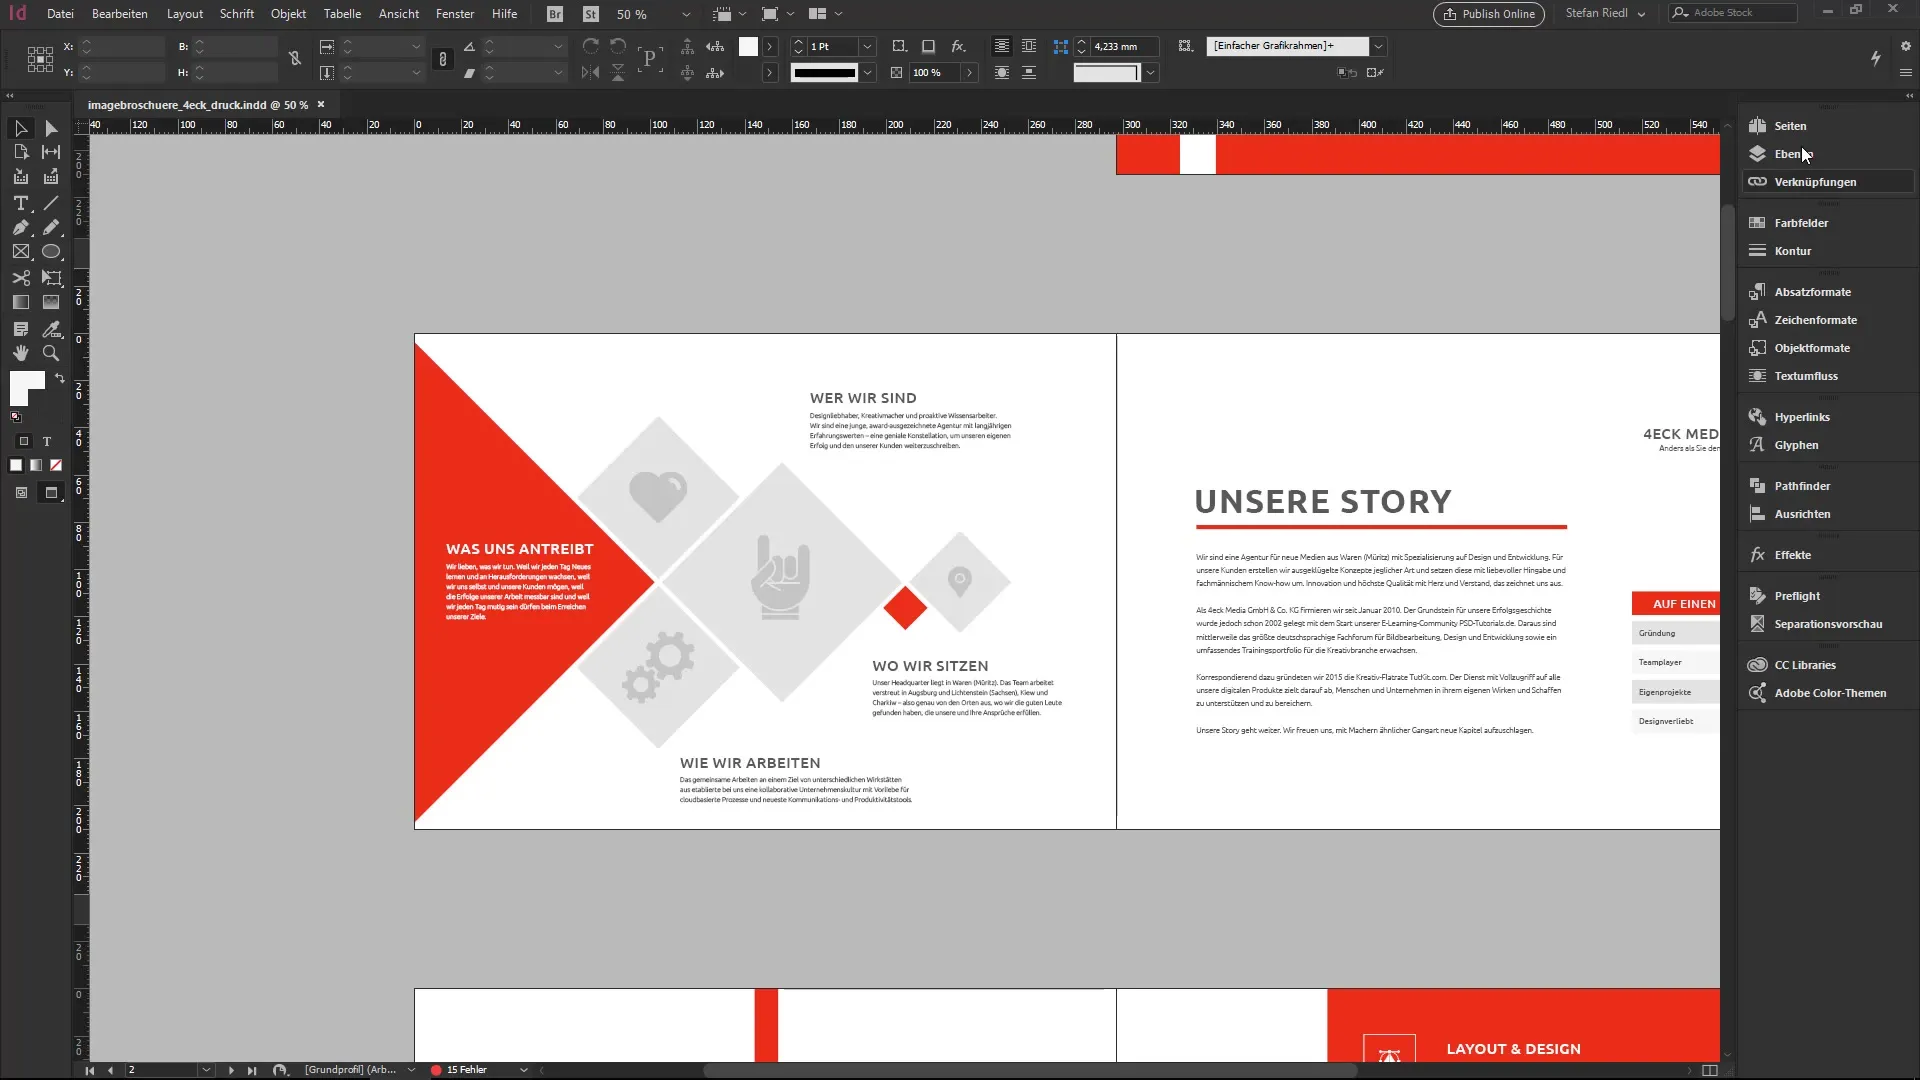
You can customize and save each of these areas, allowing you to quickly return to the desired work environment.
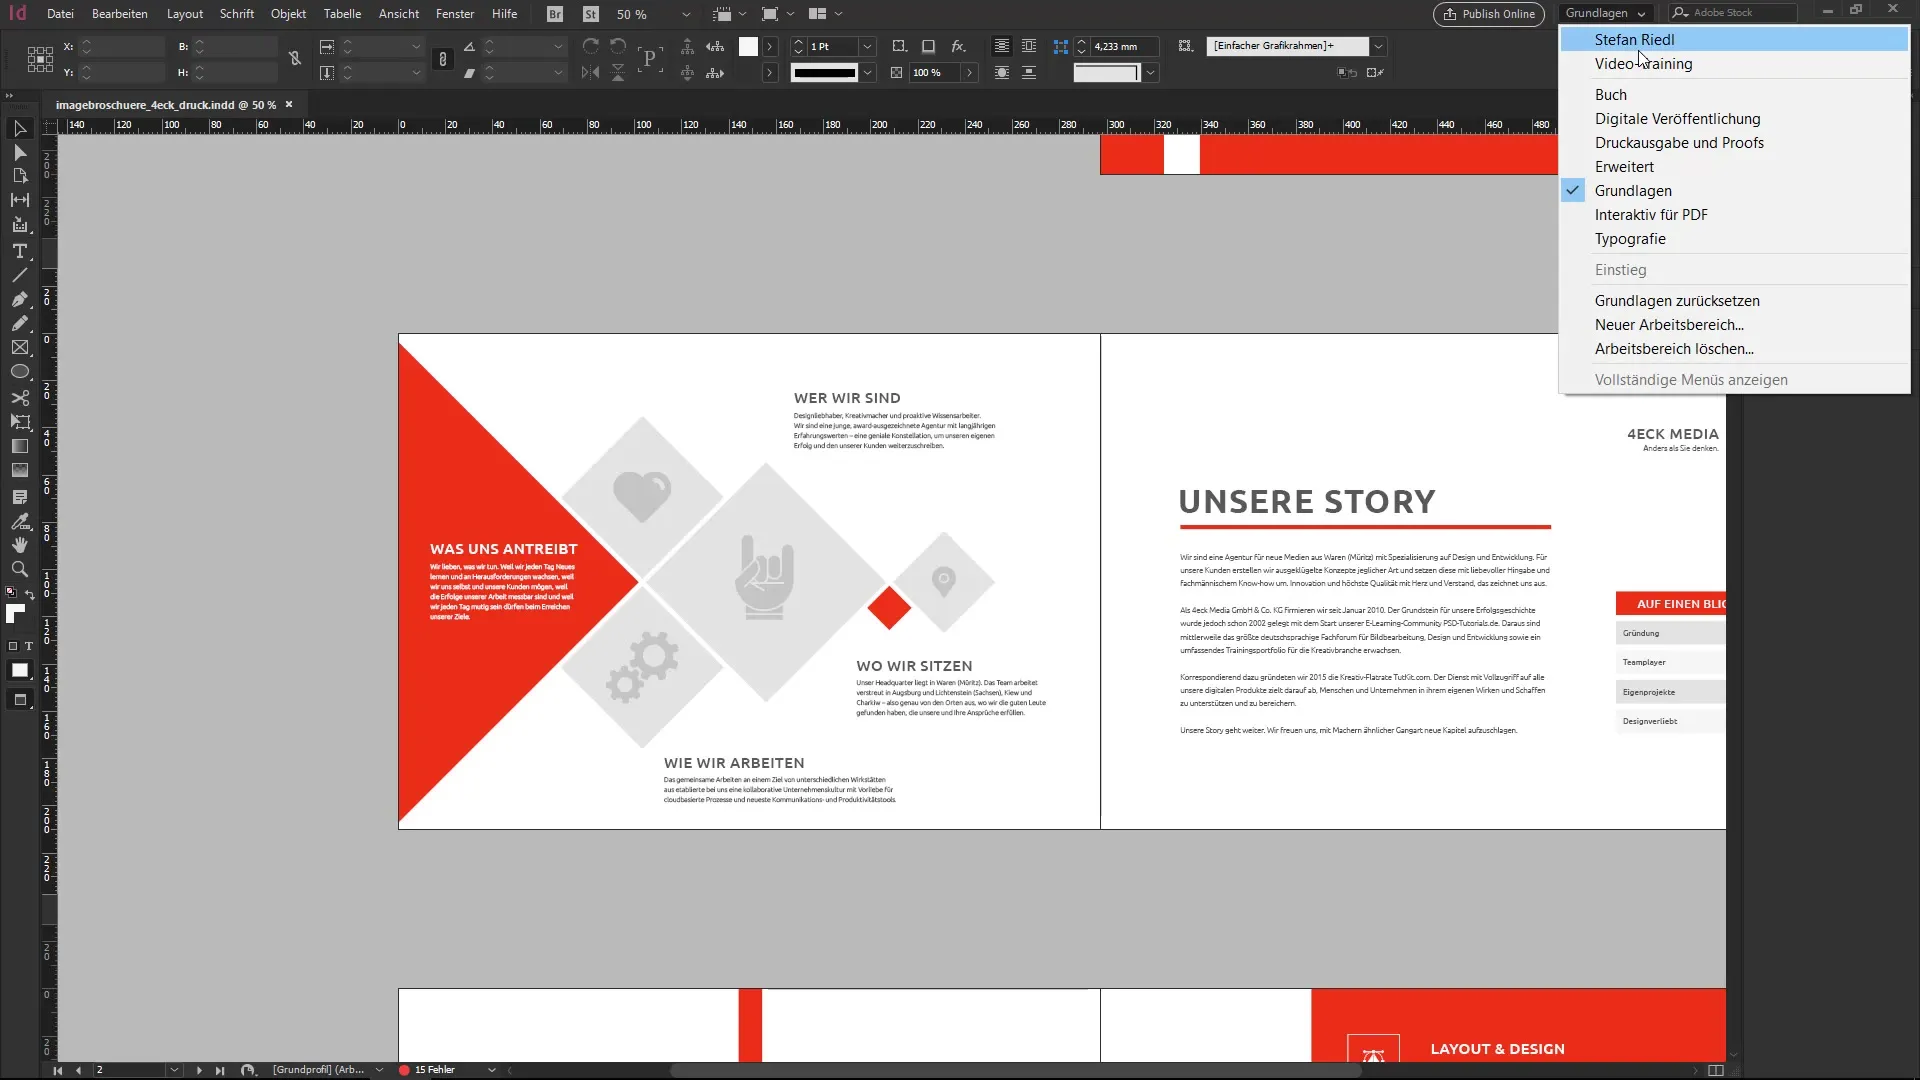
7. Reset to the default view
If you have tried out what you like but are not satisfied, you can reset the workspace at any time. Just select the appropriate option in the menu and the original state will be restored.
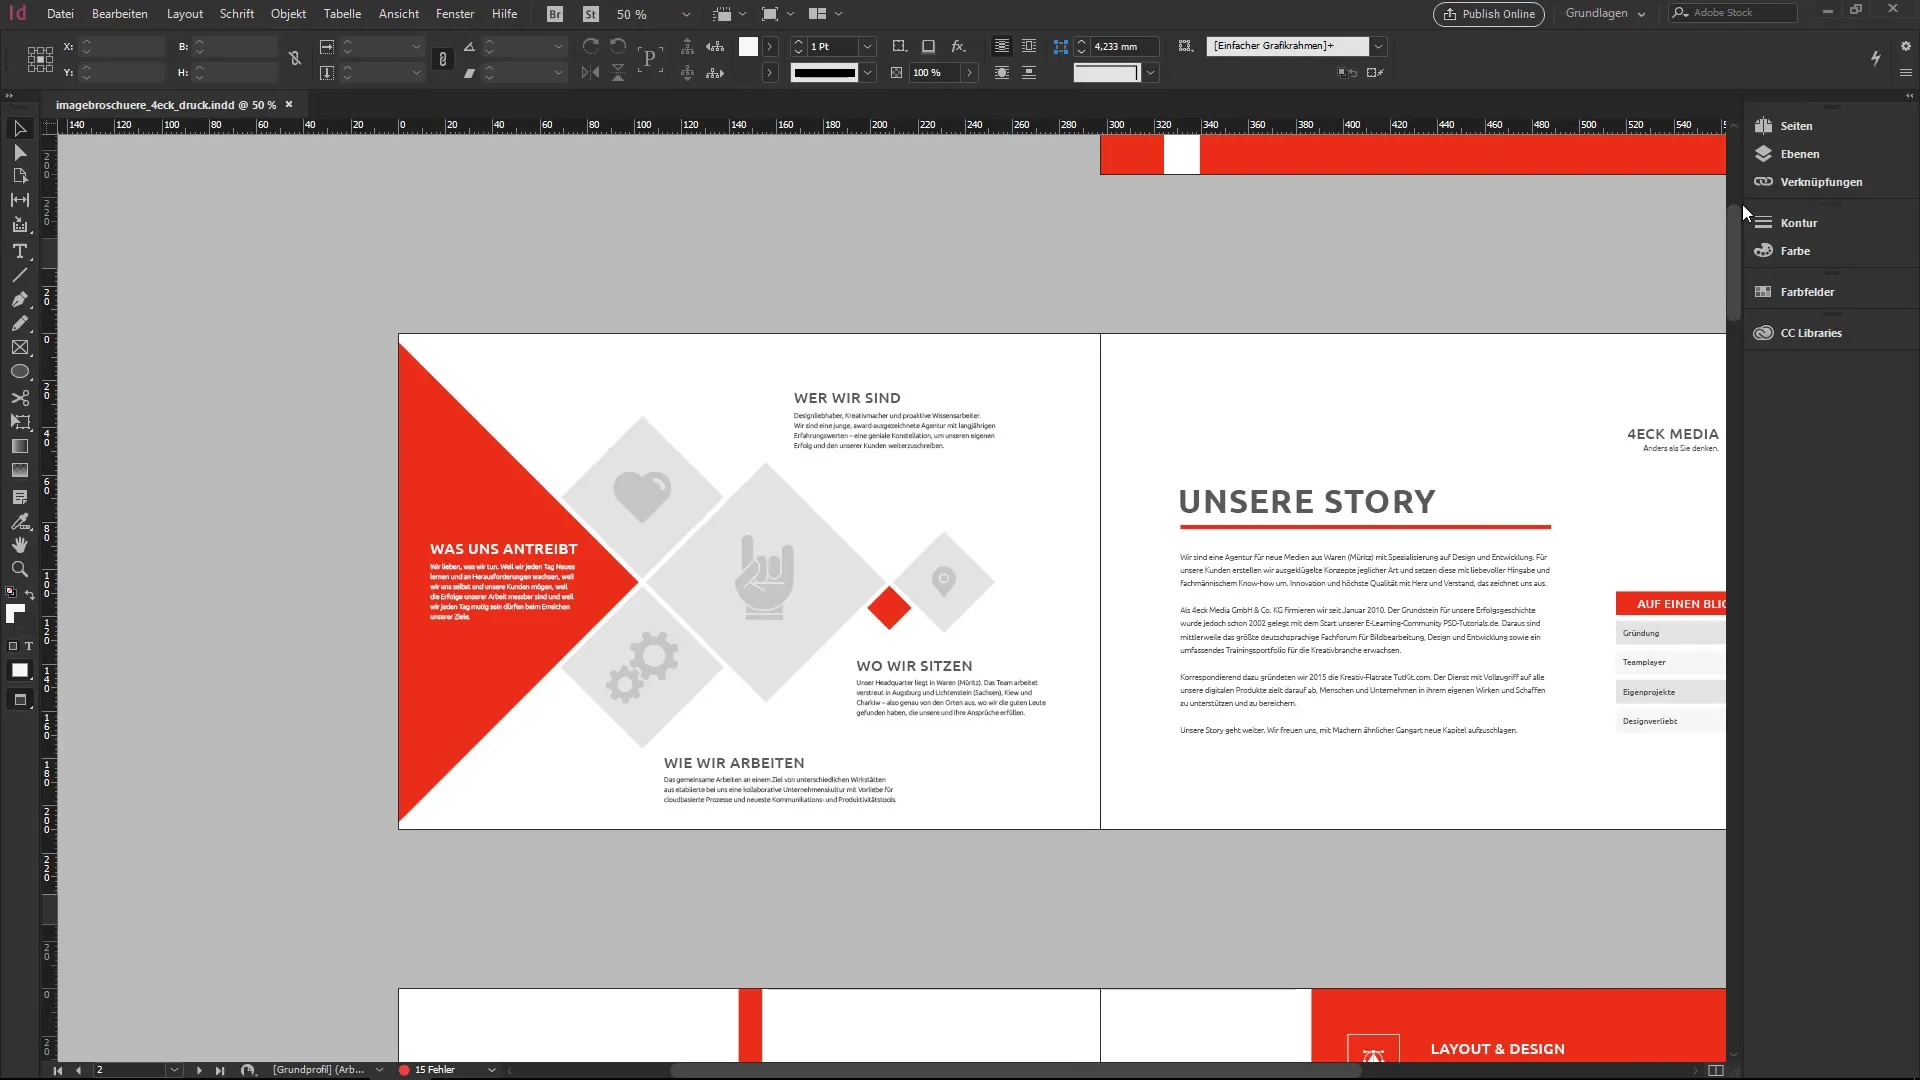
You can experiment as often as you like until you find the perfect arrangement for your individual working style.
Summary – Setting up your own workspace in InDesign
In this guide, you have learned how to set up and customize your own workspace in InDesign. By getting to know and arranging the panels, you can bring efficiency to your workday. Remember to save your settings regularly and adjust them as needed to ensure optimal productivity.
Frequently asked questions
How can I save my workspace in InDesign?Go to the "New Workspace" menu, enter a name, and select the options to include.
Can I reset a saved workspace?Yes, you can reset the workspace to the default view at any time.
Are there predefined workspaces in InDesign?Yes, InDesign offers several standard workspaces that you can customize to your needs.
Can I create multiple workspaces?Yes, you can create as many workspaces as you like to support various tasks.
How do I find the various panels in InDesign?All panels are listed in the Window menu and can be opened from there.


