You have now learned the basics and are ready to dive into an exciting project. The goal of this tutorialis to guide you through the process of creating a double-sided business cardin Adobe InDesign. You will not only learn how to operate InDesign, but also how to adjust basics such as margins, bleed, and page settings. Let's get started!
Key Insights
- The right settings in the New Document dialog are crucial for a well-structured document.
- Bleed and safety margins are important for achieving optimal printing results.
- Changes to existing documents can be made at any time without having to create new documents.
Step-by-Step Guide
To createa new file for your double-sided business card, follow these steps:
Step 1: Create Document
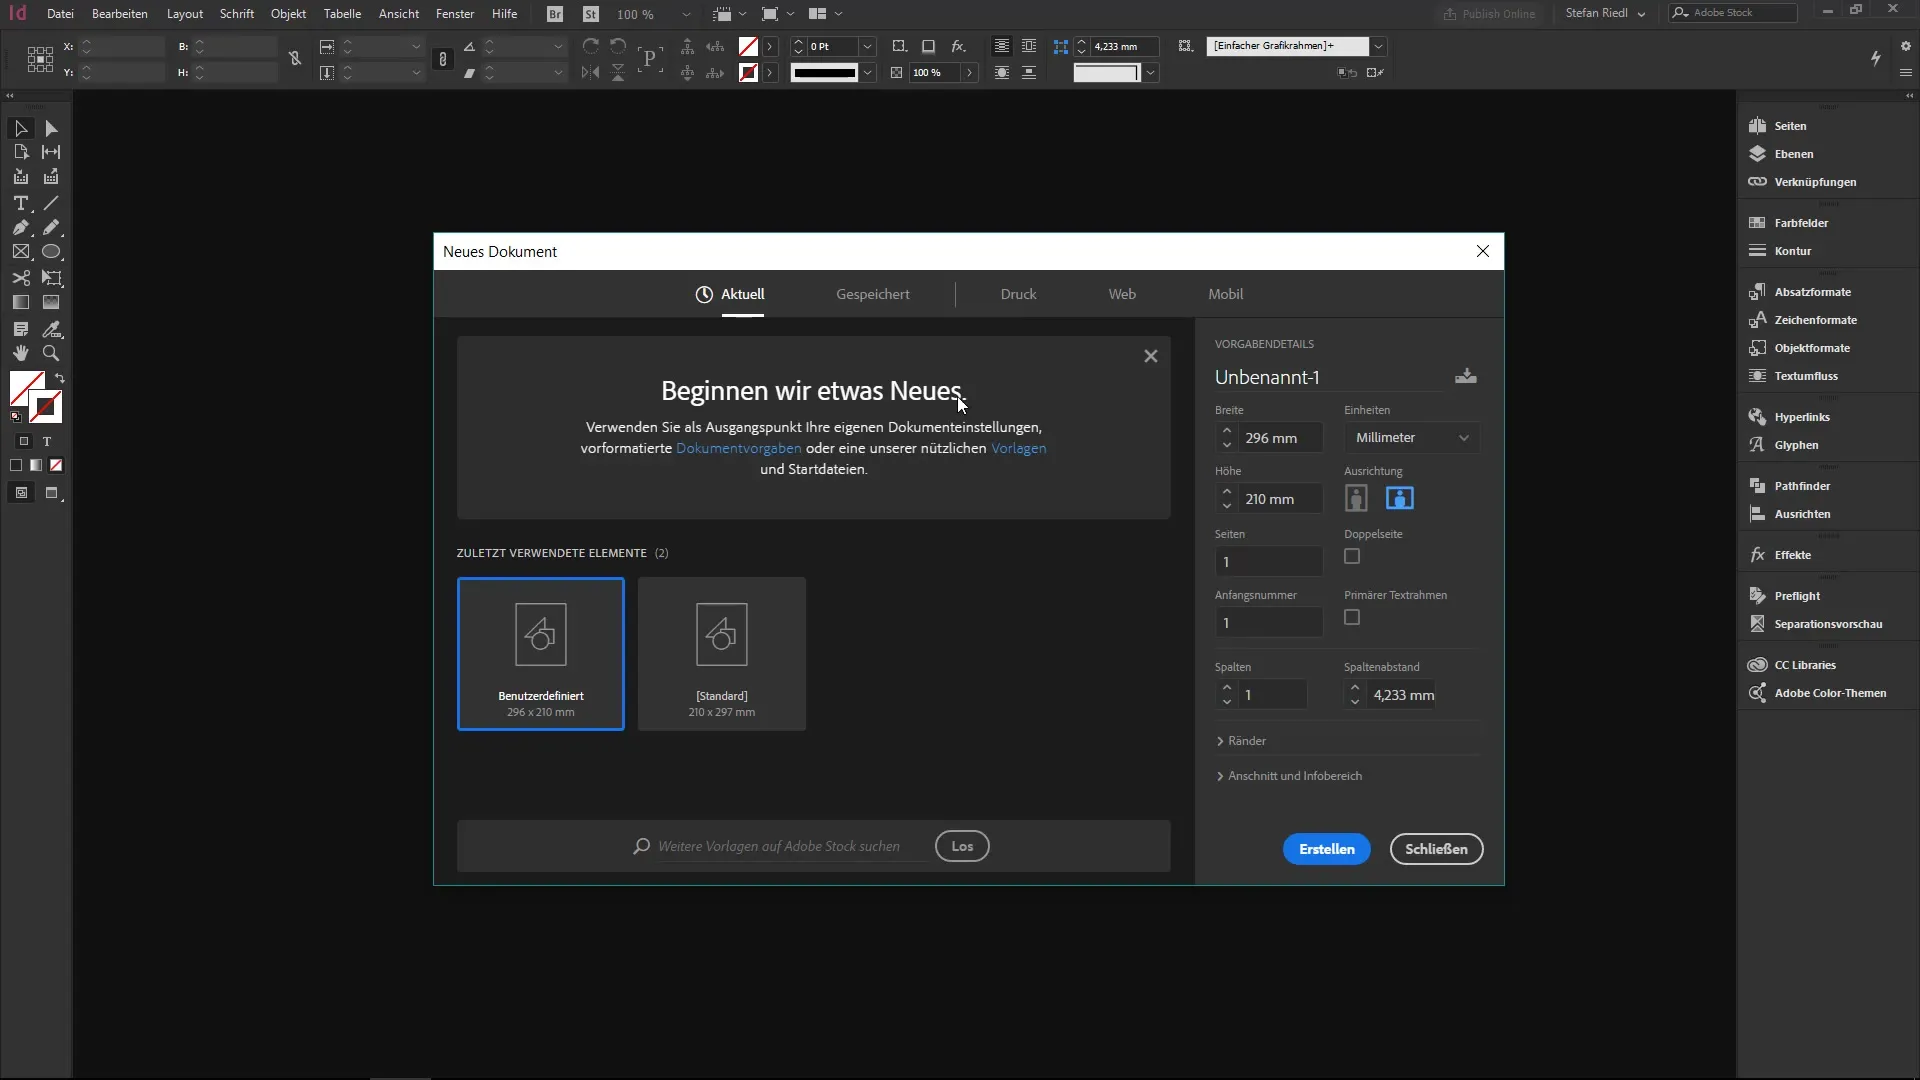
To create a new document, press the key combination Control + N (or Command + N on a Mac). This opens the New Document dialog, which serves as your starting point for settings. Here you can specify the format and number of pages. Select 85 mm in width and 55 mm in height, which corresponds to the standard size for business cards. Set the number of pages to 4 to design a double-sided card. Check the box for facing pages.
Step 2: Layout and Margins
The layout of your business card requires clear margins and bleed. Set the margins to 3 mm to create a small safety zone. These margins are crucial for printing a clean and professional-looking card. It is also important to set the bleed to 3 mm. Later, you will learn why this step is so important.
Step 3: Save Document
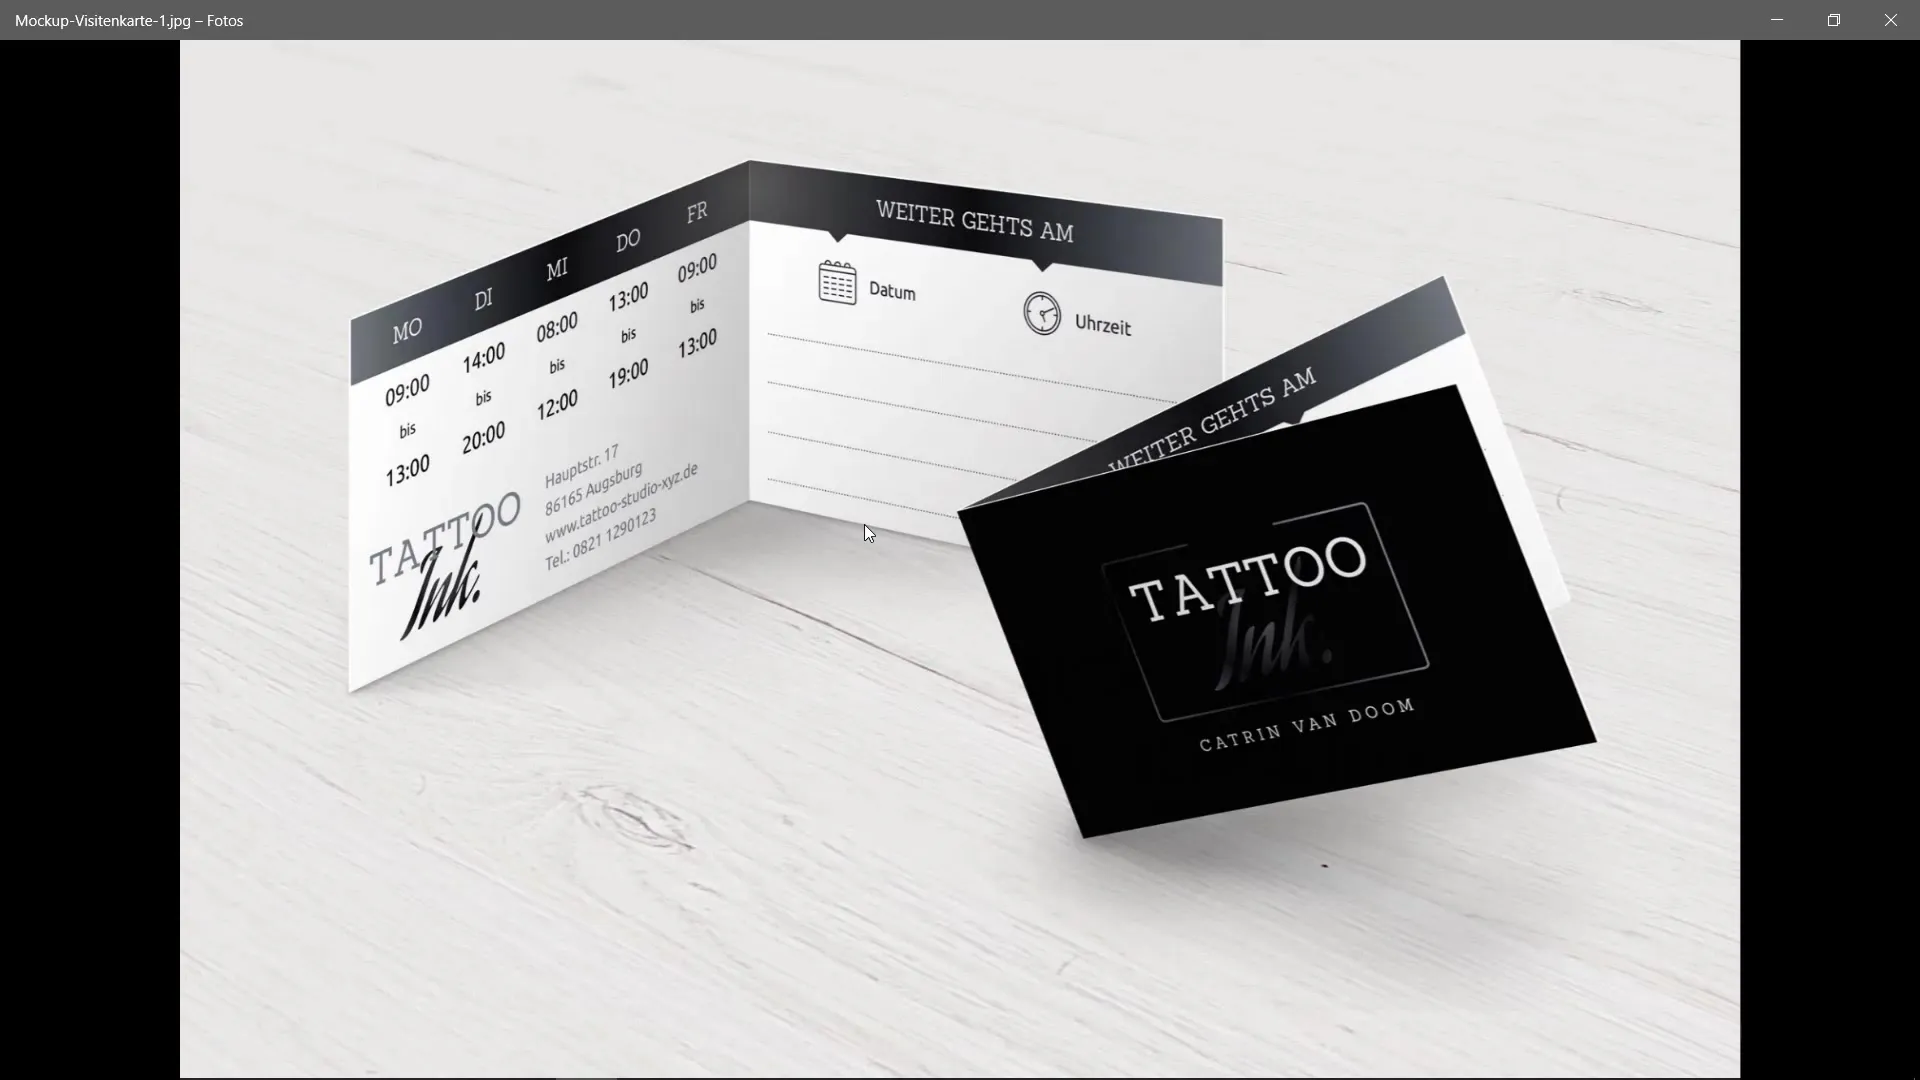
You have the option to save your settings as a template. For example, name it "Four-Sided Business Card." This feature is especially useful if you want to create similar designs regularly. This way, you save time on your future projects.
Step 4: Check Page Arrangement
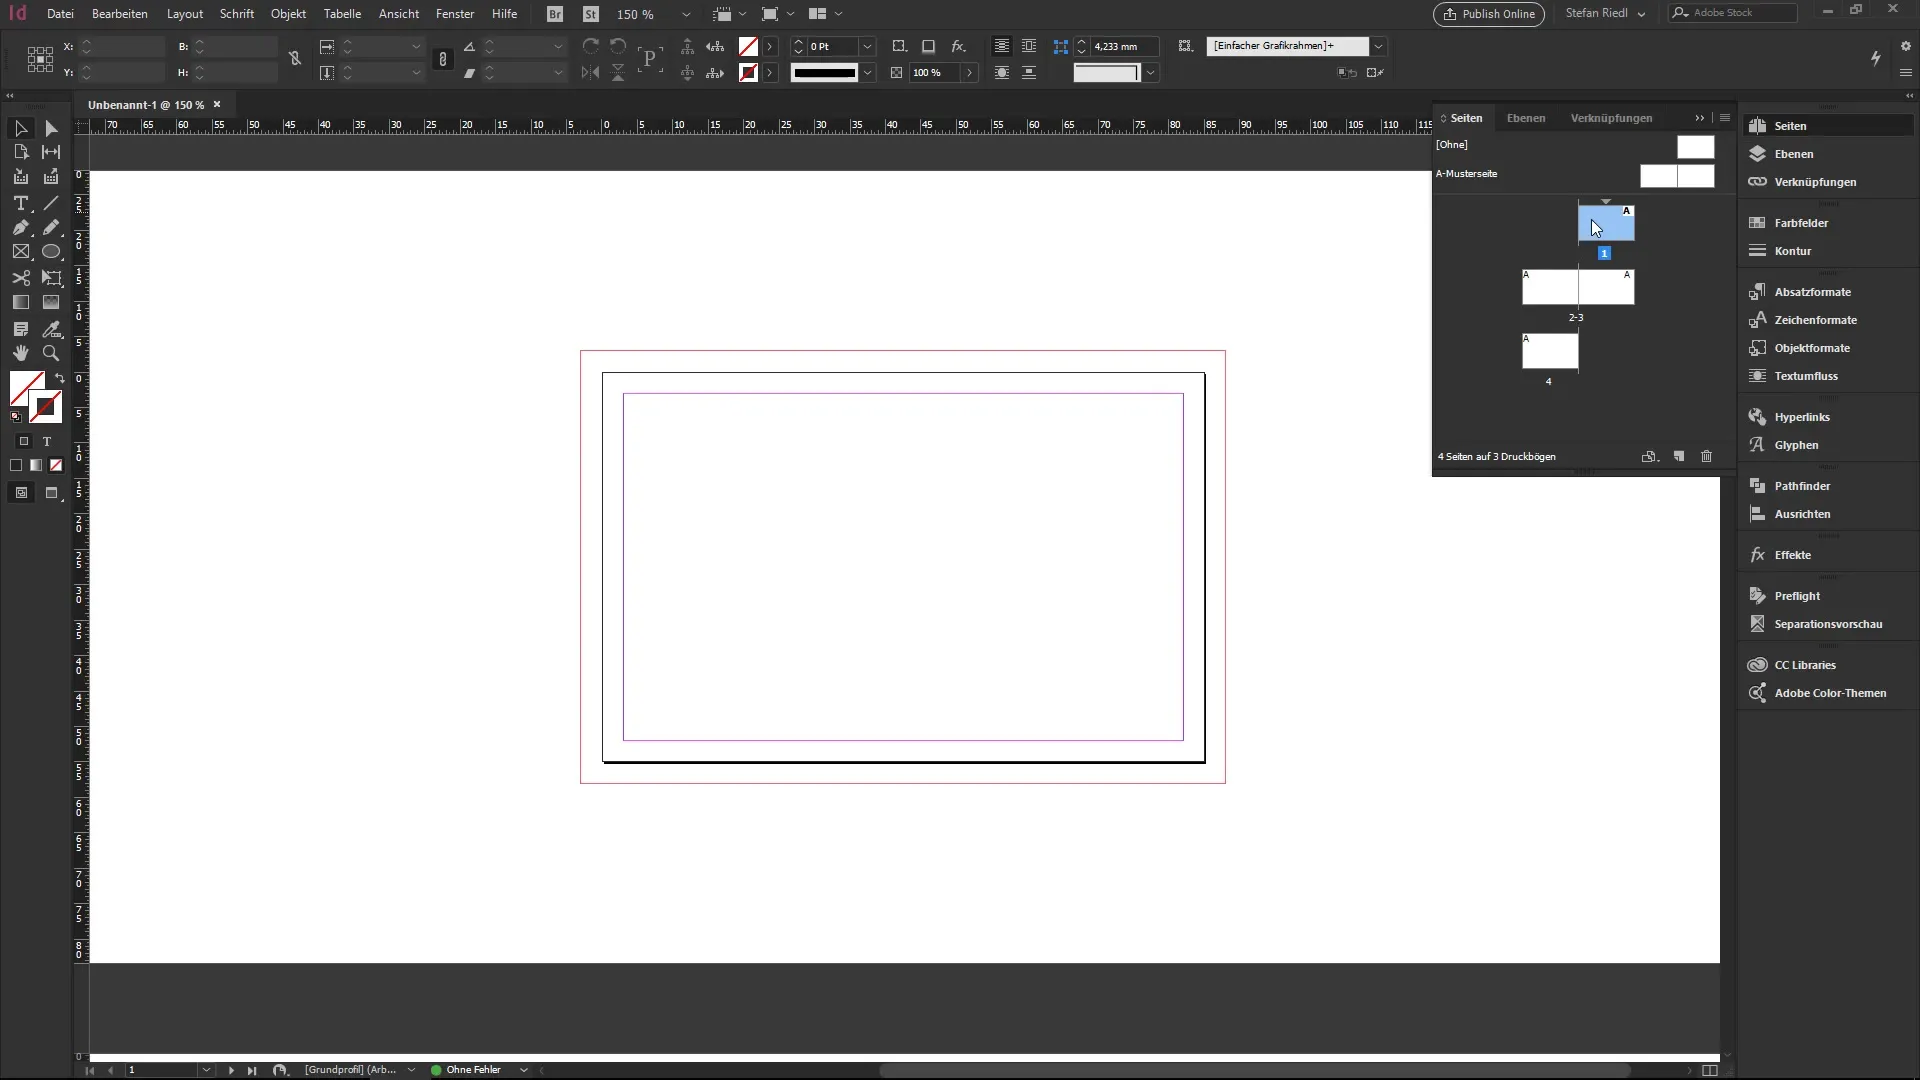
After you have created your document, it might be that the page arrangement is not ideal. The facing pages might be displayed in a flowing manner, which you need to adjust. Go to the Pages panel, accessible via the Window menu. Here you can change the page arrangement to correspond with the facing pages.
Step 5: Edit Margins and Bleed in Layout
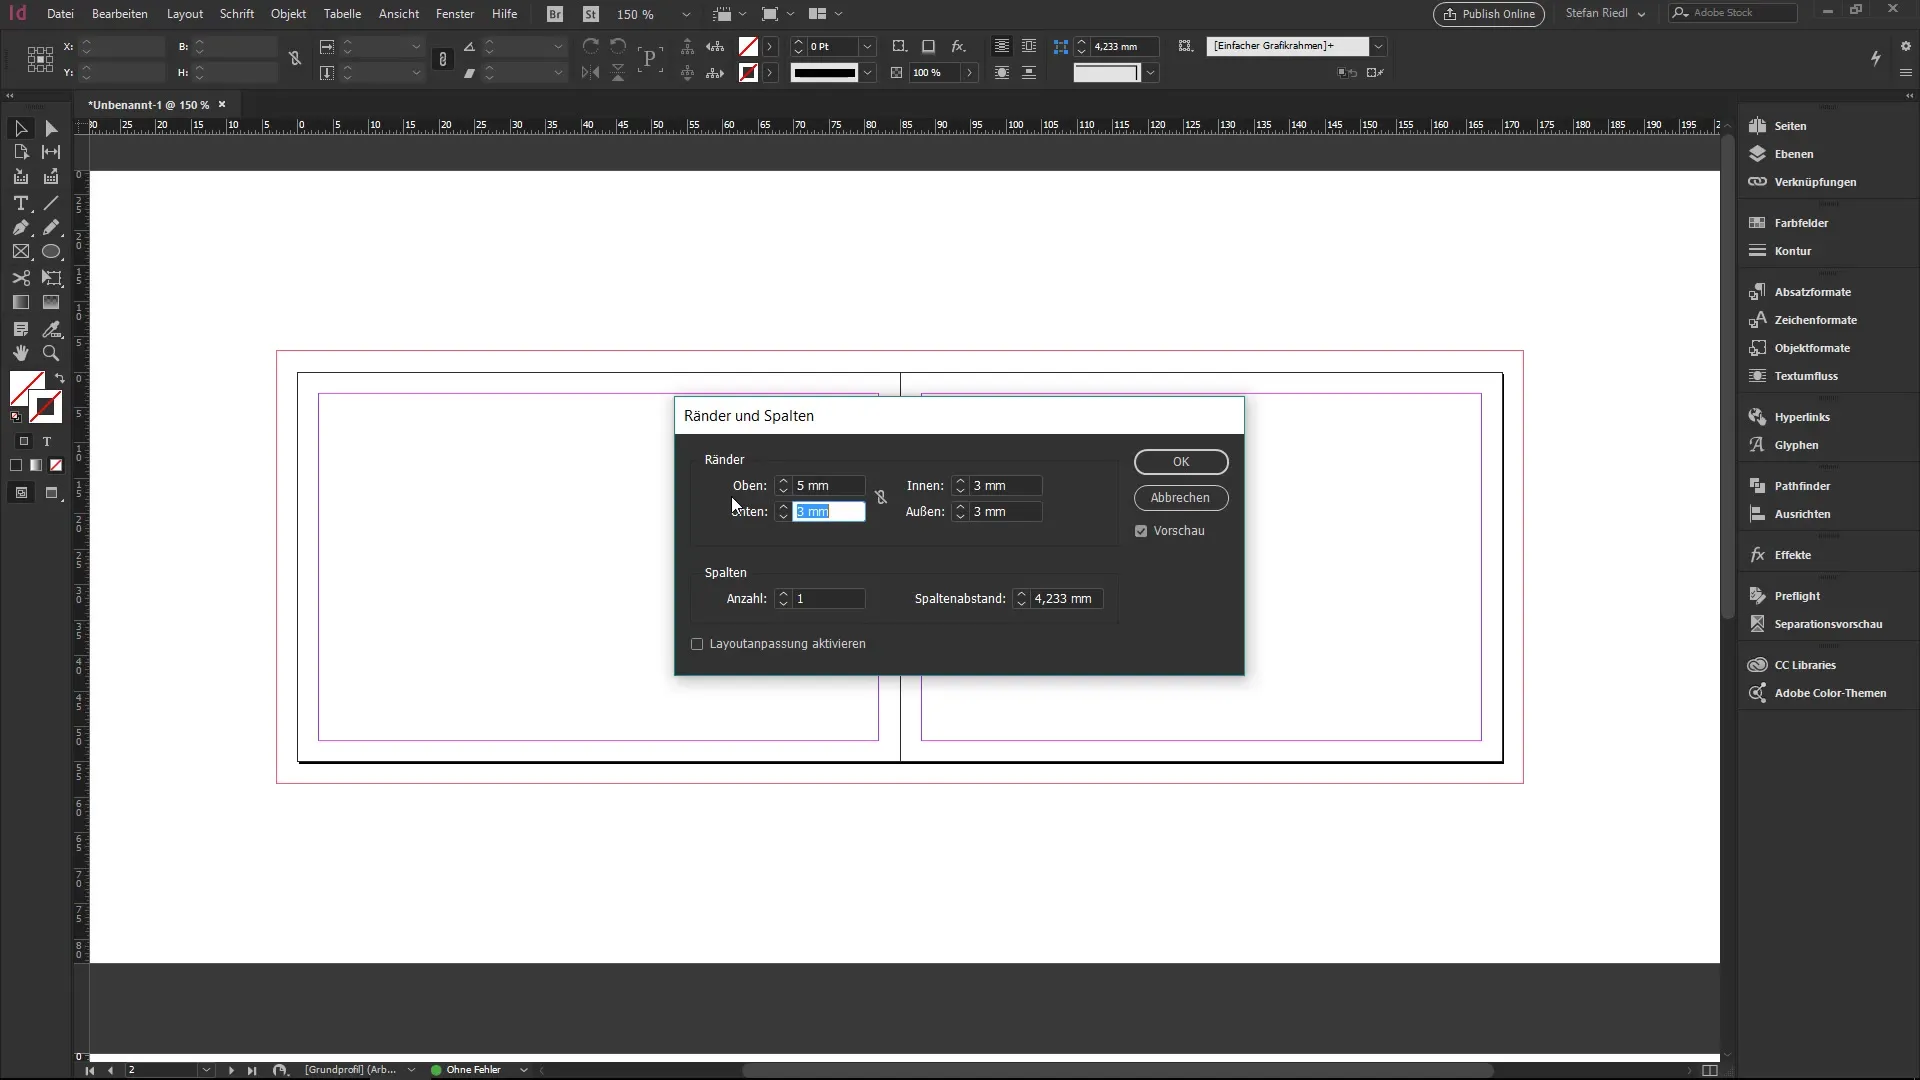
If you made a mistake during setup, you can adjust the settings by going to Layout and then to Margins and Columns. Here, you can edit the margins and also the columns for your document. Make sure to stick to the preview feature to see the changes in real time.
Step 6: Set Bleed and Info Area
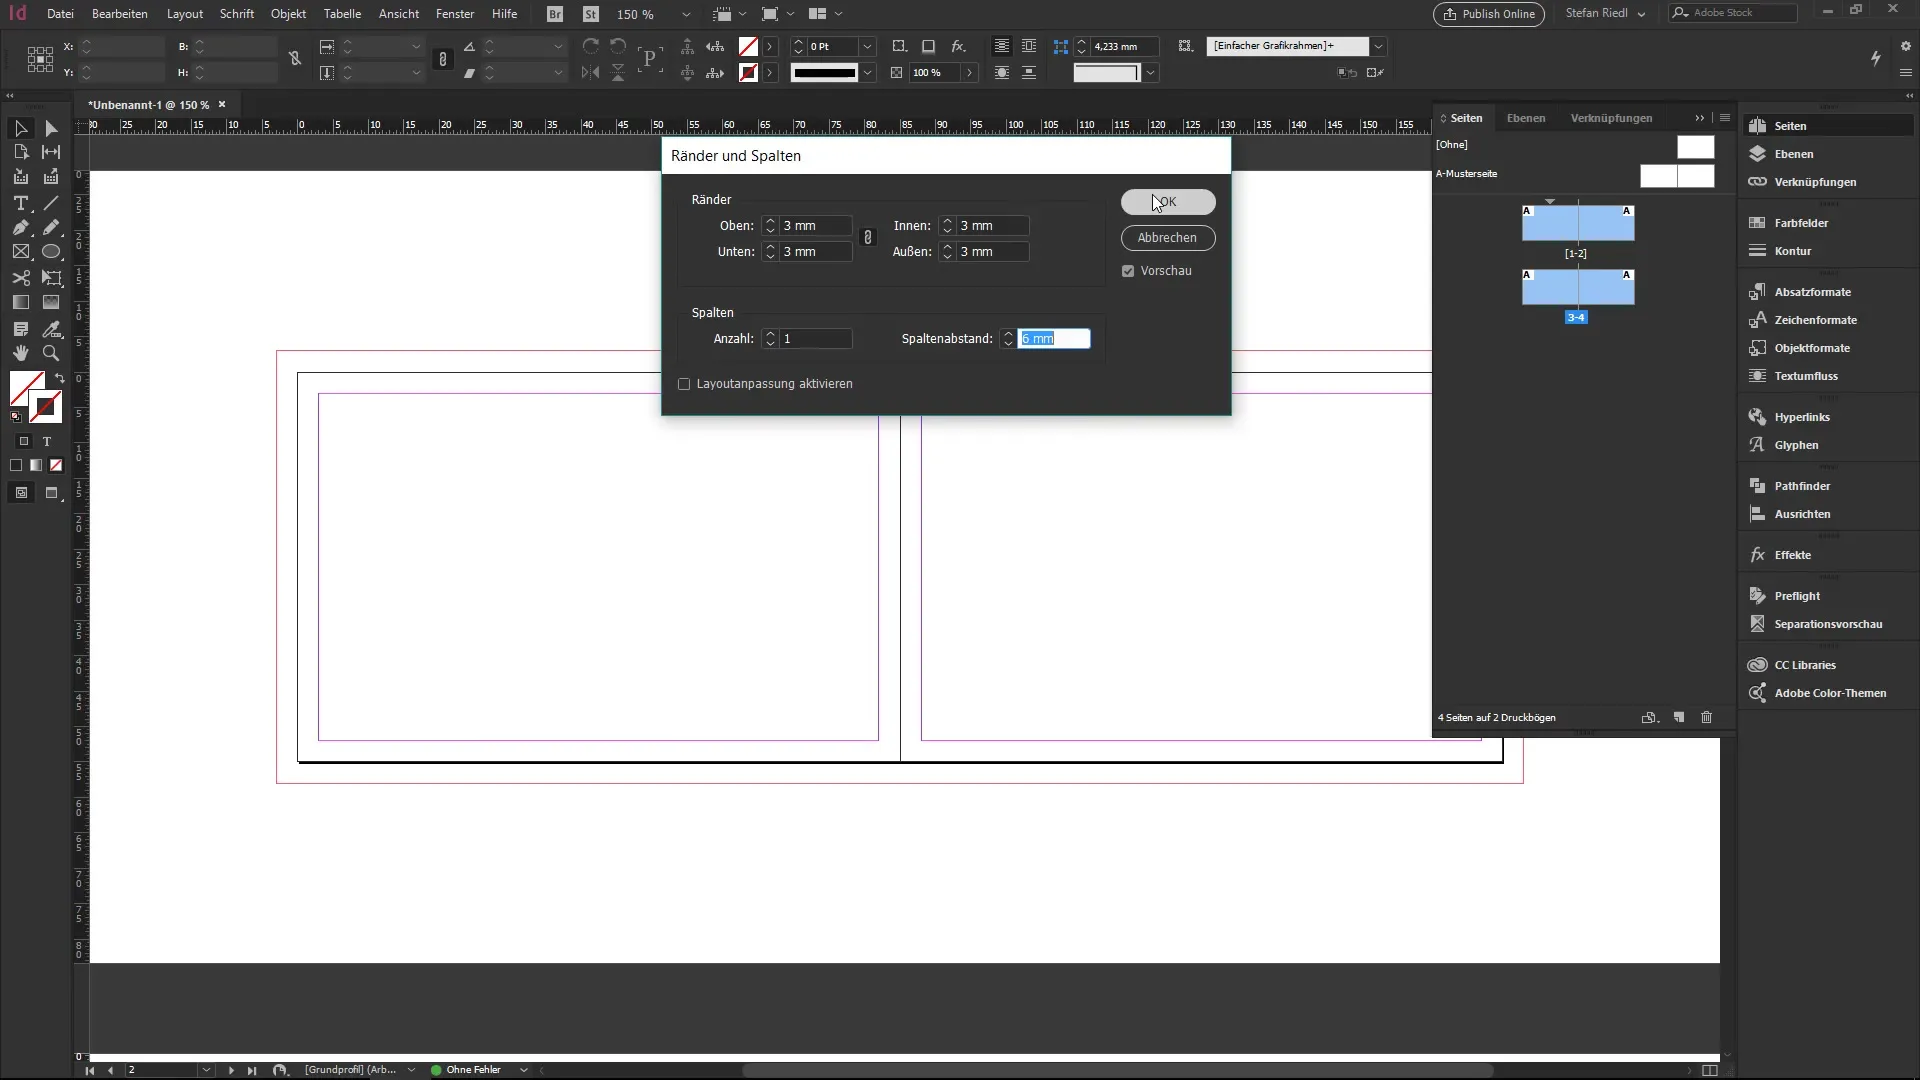
To ensure that your design looks professional, you need to adjust the bleed and info area. Go to Document Setup. Here, you can check and adjust the bleed settings. These are crucial to avoid unsightly white edges (slivers) when cutting your business cards.
Step 7: Place Elements
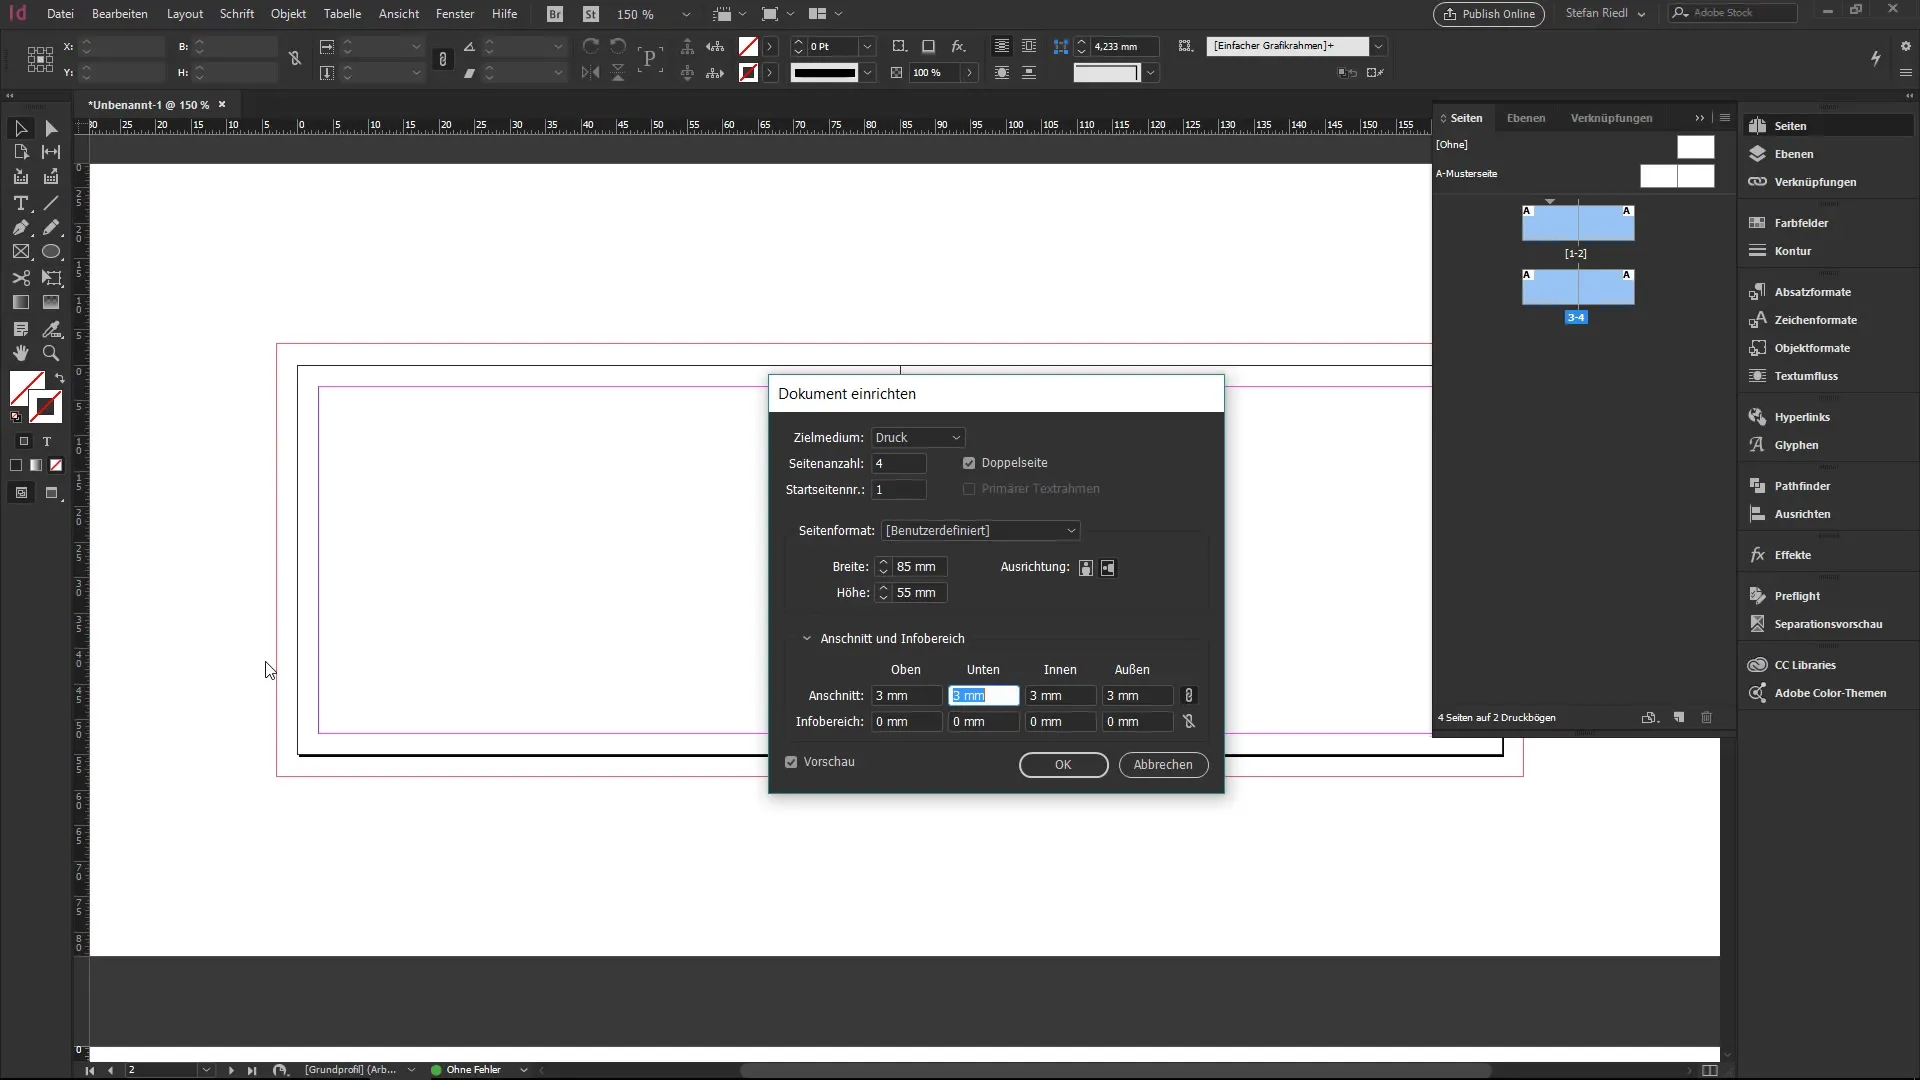
Now you can start designing your business card. Use the Rectangle tool to create shapes and fill them accordingly. Remember to place all important elements within the margins to ensure that everything stands out perfectly.
Step 8: Save and Export
Before you export your document, make sure to save your progress regularly. Go to File and then Save As to ensure that your work is not lost. When you are satisfied with the design, you can export the document for printing by going to File and then Export.
Summary - InDesign Step by Step: Create Business Card
In this tutorial, you learned how to design a double-sided business card using Adobe InDesign. Starting from the basic settings in the New Document dialog to adjusting margins and bleed, all the way through to the design process. Remember that you can make adjustments at any time to optimize your document.
FAQ
How do I open a new document in InDesign?You open a new document by pressing Control + N (or Command + N on a Mac).
What is the standard size for business cards?The standard size for business cards is 85 mm in width and 55 mm in height.
What is bleed and why is it important?Bleed is an area that extends beyond the edge to prevent white edges (slivers) from appearing when cutting.
Can I change the settings of a document later?Yes, you can change the settings of a document at any time without having to create a new document.
How do I save a template in InDesign?You save a template by adjusting your settings and then naming it under "Save As" to reuse it for future projects.


