The digital art and design tools available today allow you to elevate your creative skills to new dimensions. A particularly useful concept in 3D modeling is the isometric view. In this guide, you will learn how to work effectively with isometric views in Cinema 4D and the steps necessary to create your models accurately and attractively.
Key Insights
- Isometric views provide a distortion-free view of your models.
- Selecting the right camera view is crucial for technical modeling.
- Different representations within Cinema 4D support the modeling process.
Step-by-Step Guide
To utilize the isometric view in Cinema 4D, follow these steps:
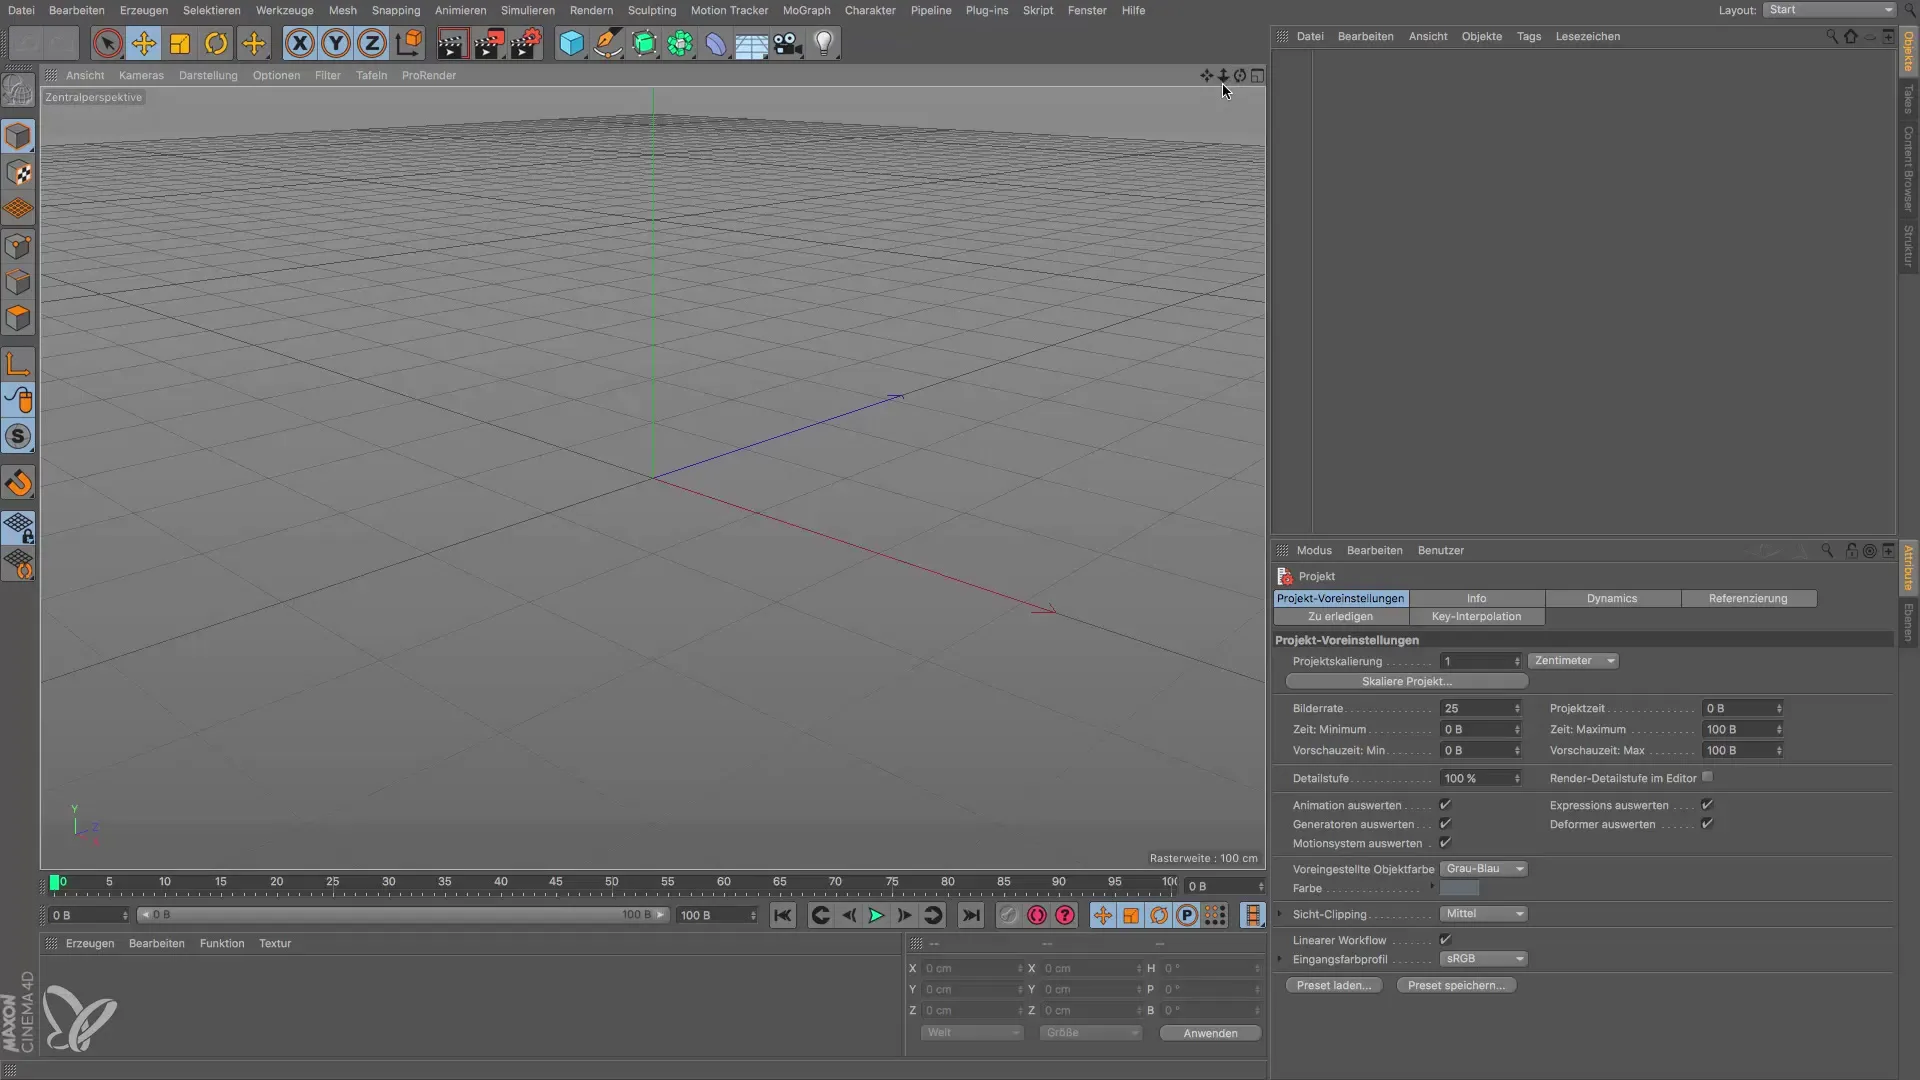
Start by opening a new project in Cinema 4D. You will first be introduced to the basic tools and icons of the interface. Pay particular attention to the first three icons on the left, which represent different views. In this context, it is essential to understand the fourth icon that activates the isometric view.
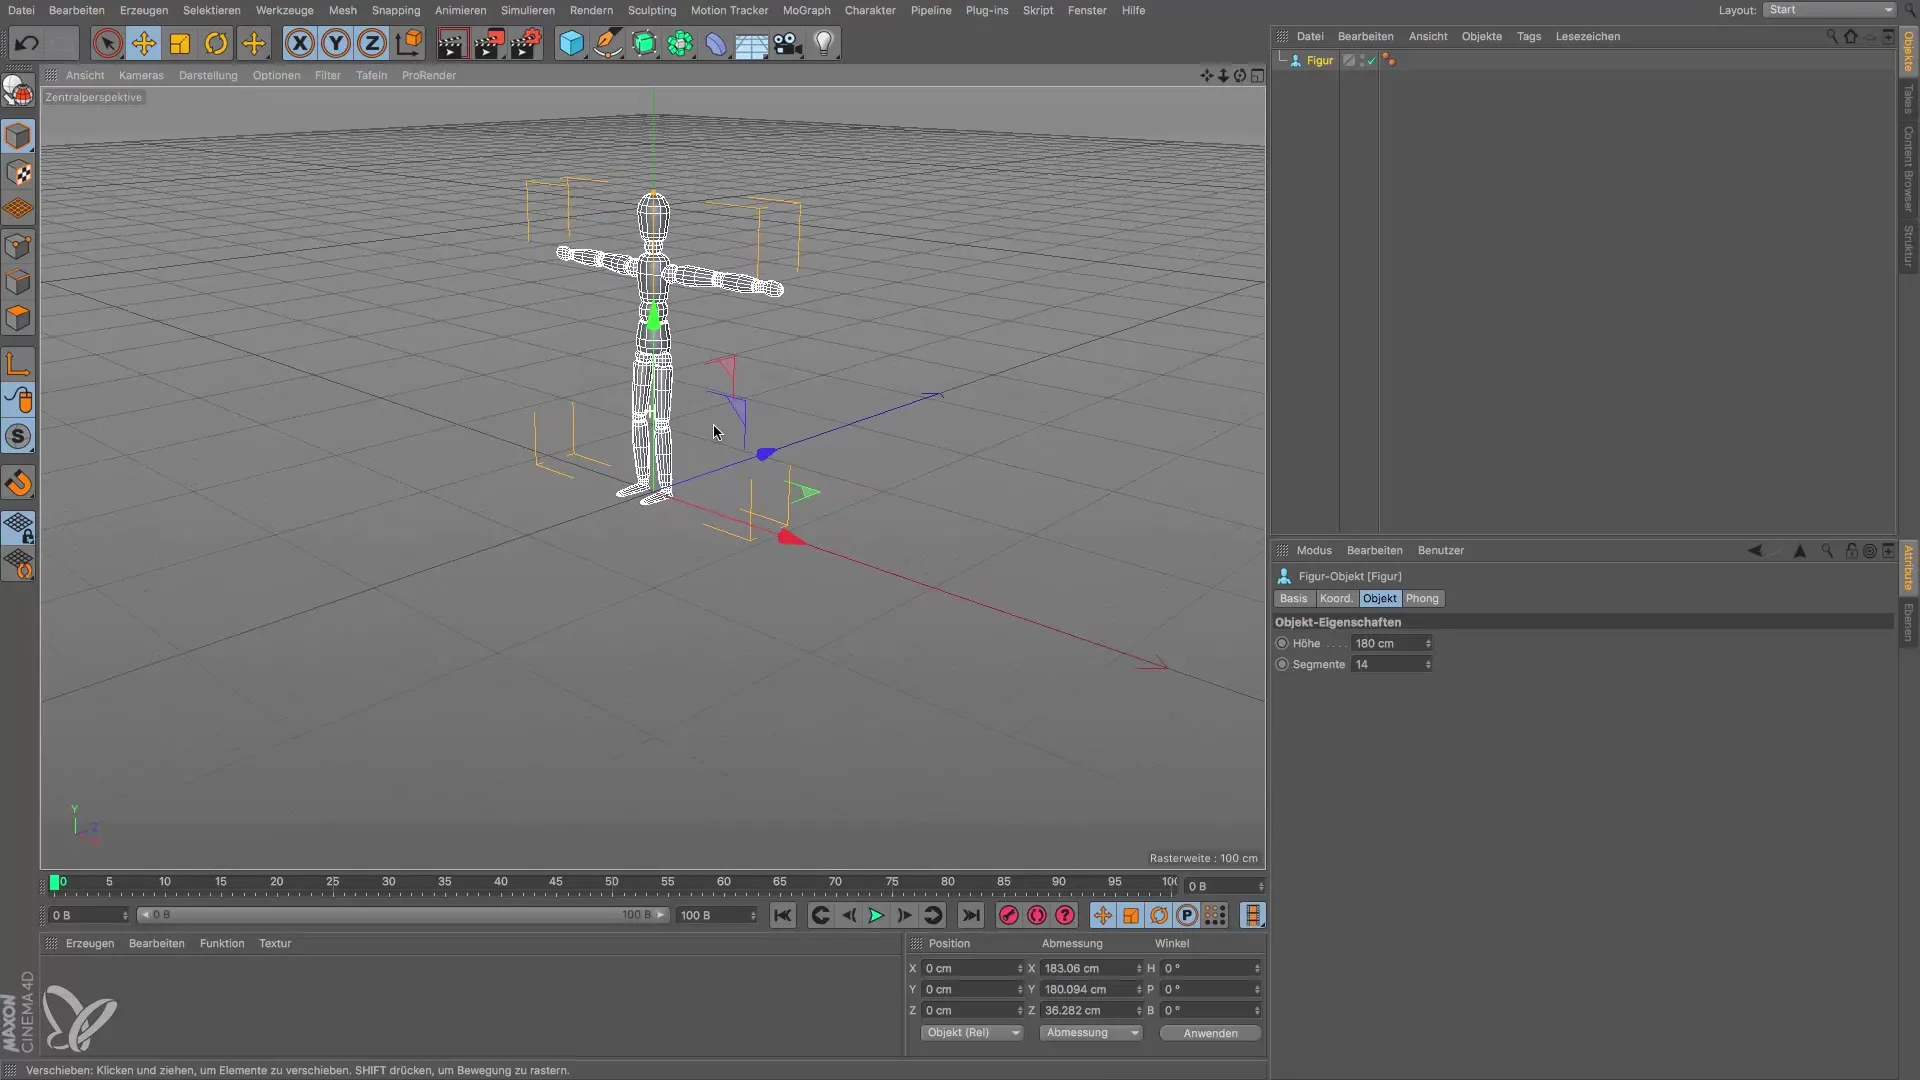
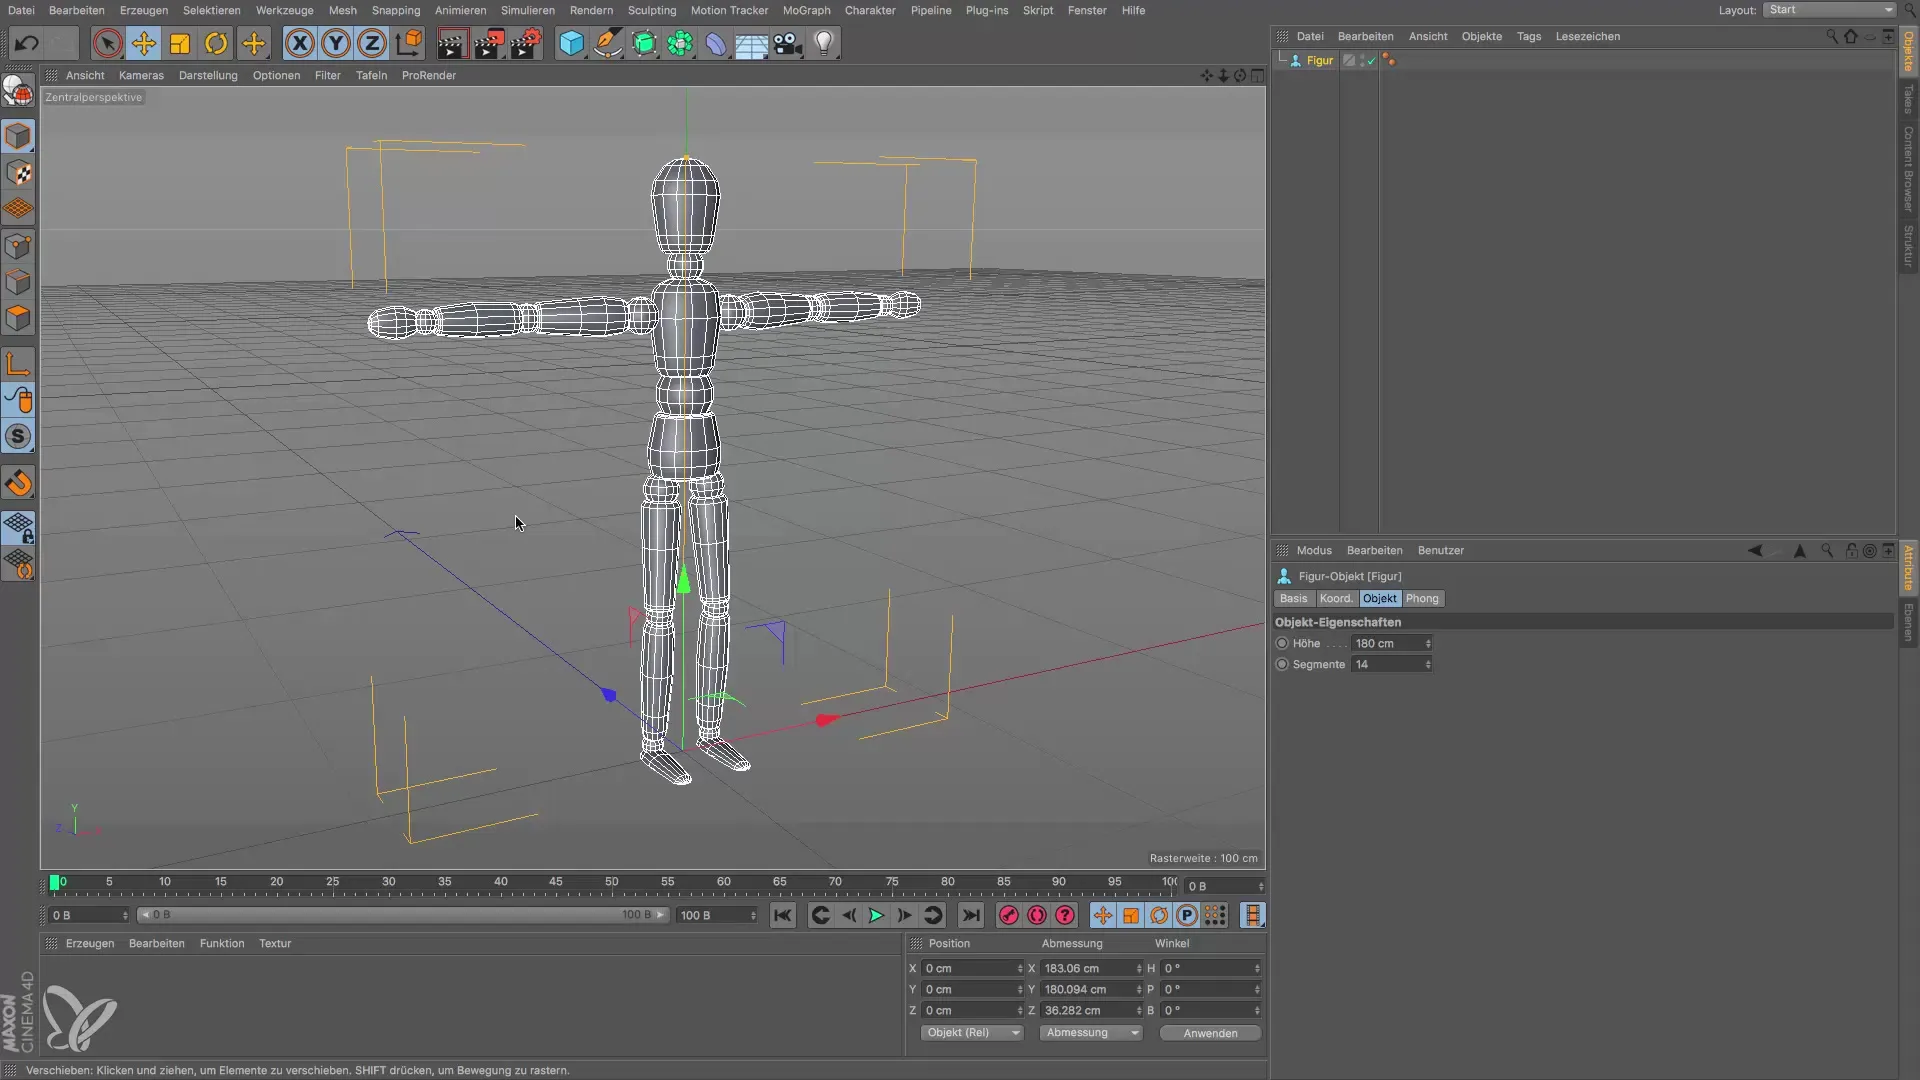
To better illustrate the isometric view, open any 3D object. A practical choice is the placeholder figure, which you can easily position in various ways. This figure is particularly useful because its limbs are represented by movable balls, providing you with flexibility in representation.
Now, imagine you are modeling a car. It is crucial that the representations of the car from various angles (from above, front, left, etc.) correspond to its actual proportions. To achieve this, switch to the isometric view, which provides you with a clear and undistorted view of your model.
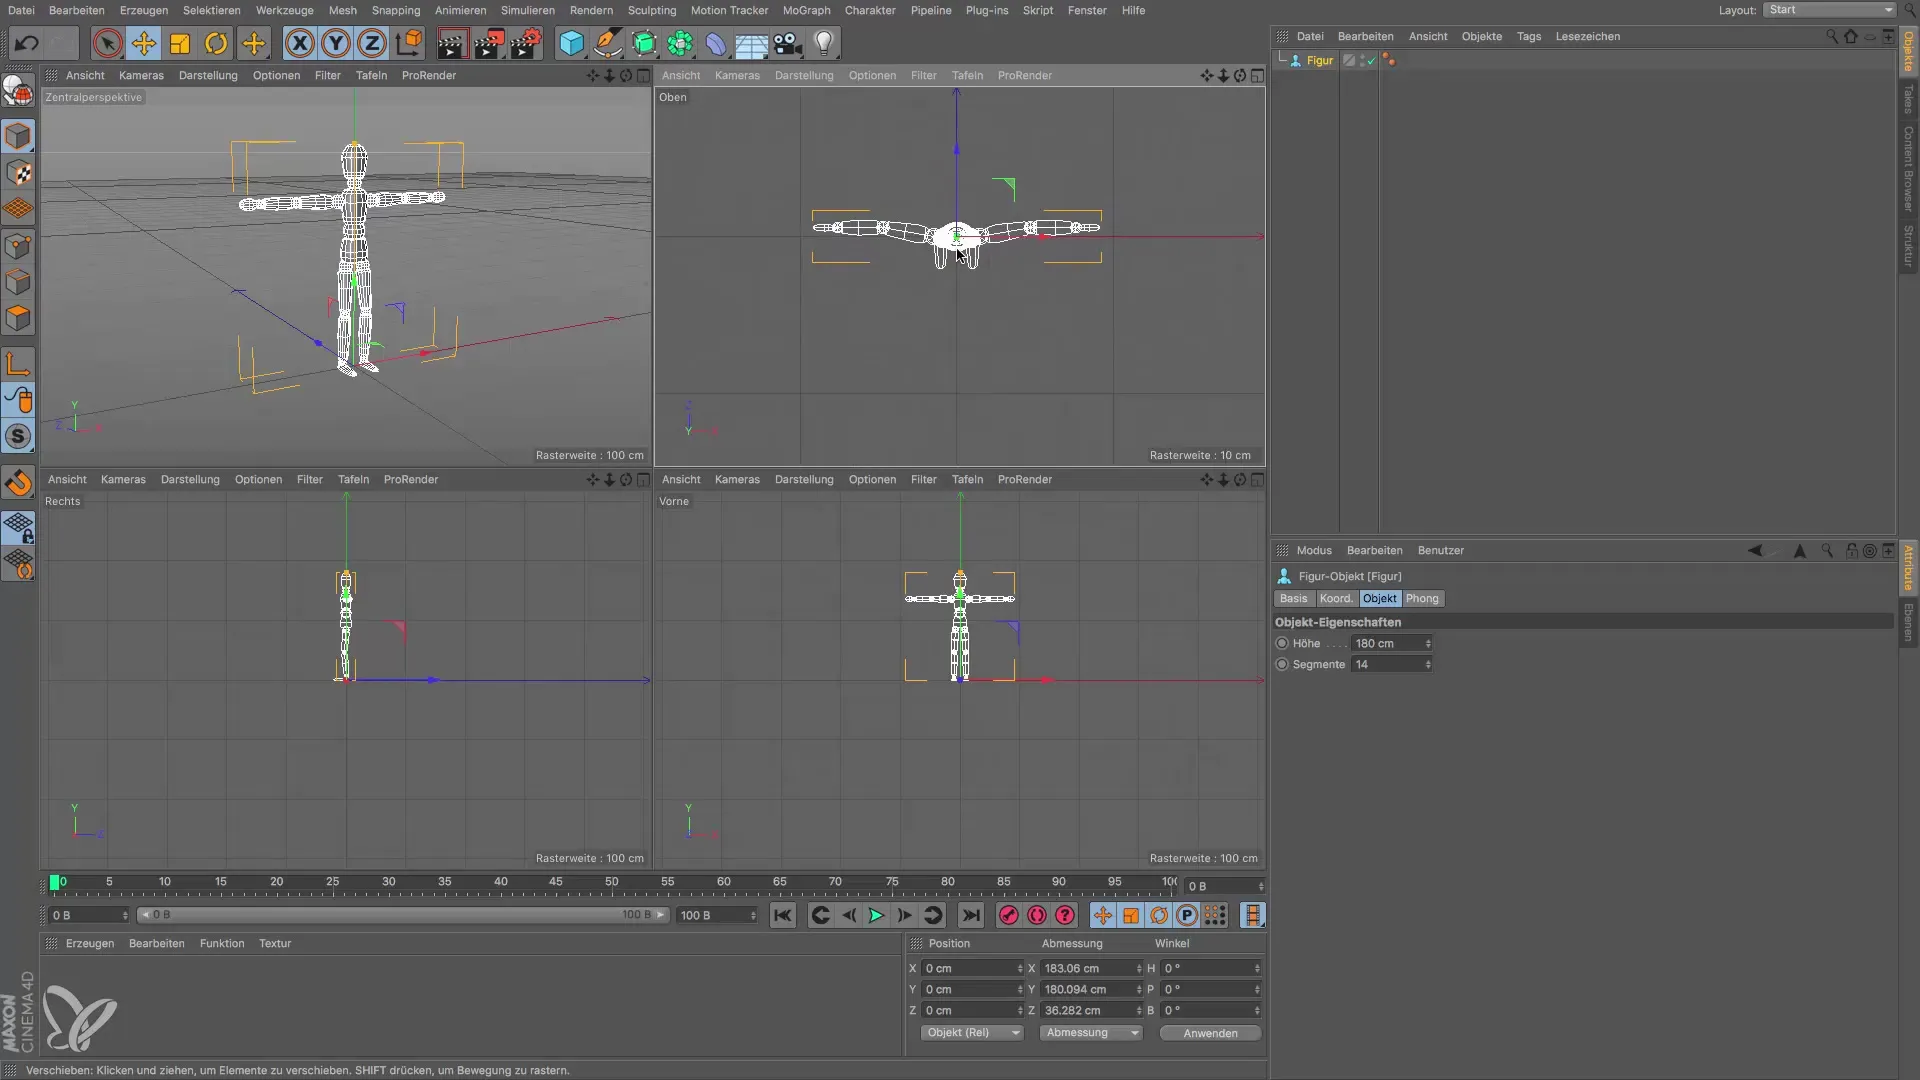
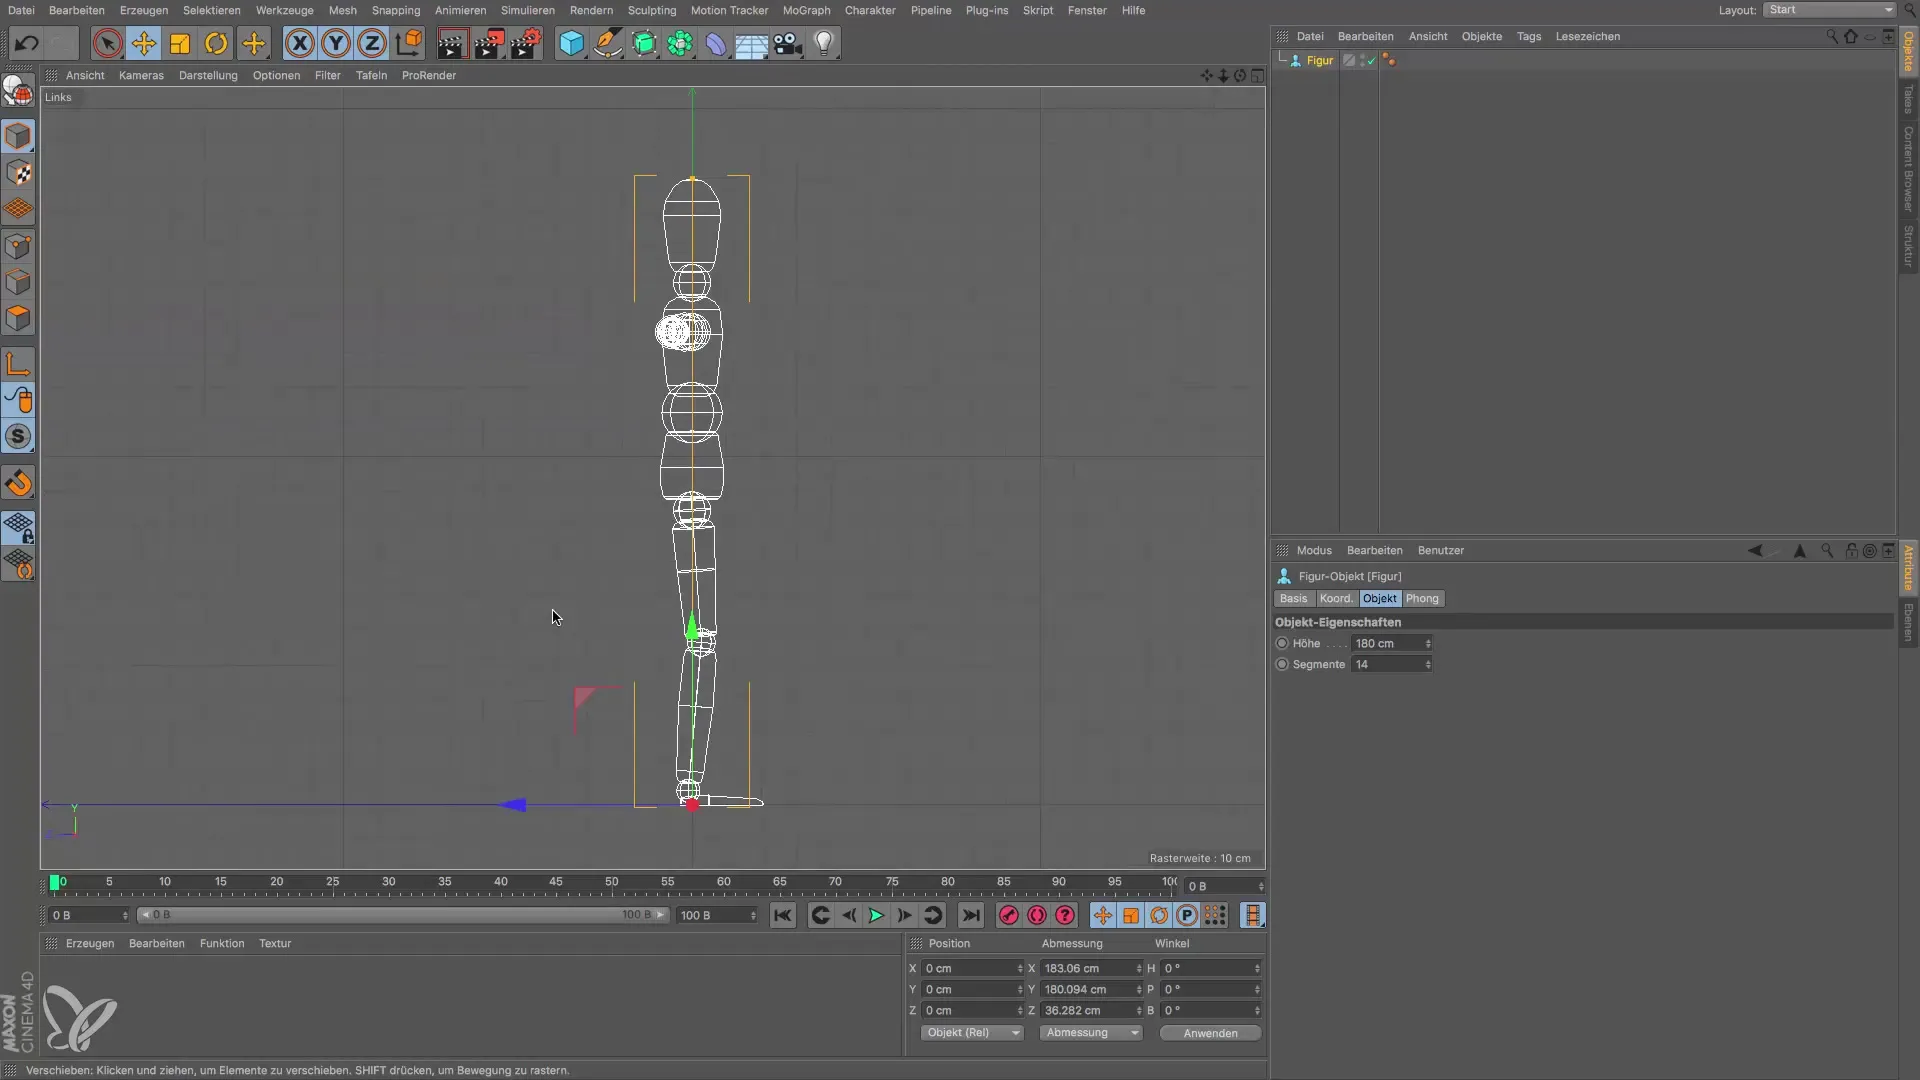
Click on the camera to switch between different views. You can set the view from above, below, or from the side, depending on which perspective you need. If you choose the view from below, you’ll gain a different perspective that may provide helpful information about your model.
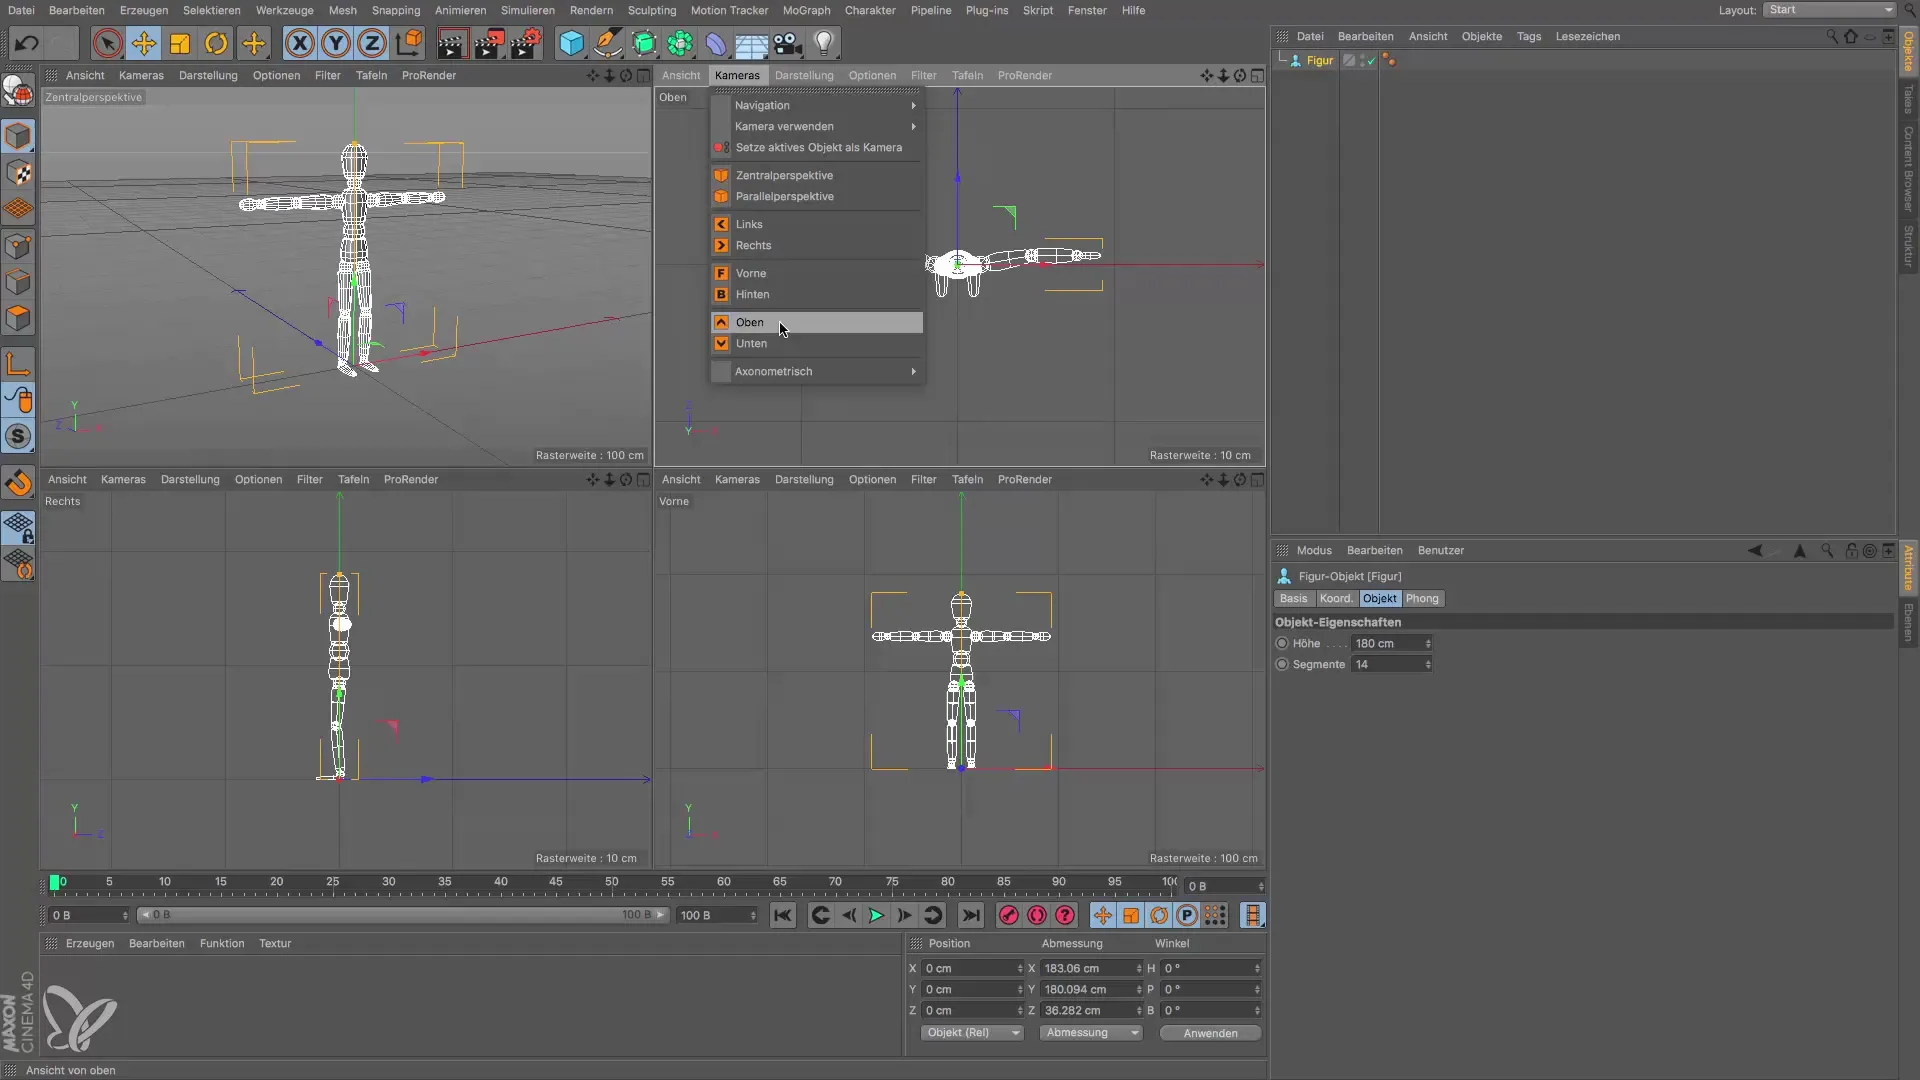
It can also be helpful to get an overall view of your figure. In this case, click again on the icon for the desired view, and you can capture the entire model at a glance. If you wish to return to the perspective view, simply click on the corresponding icon again.
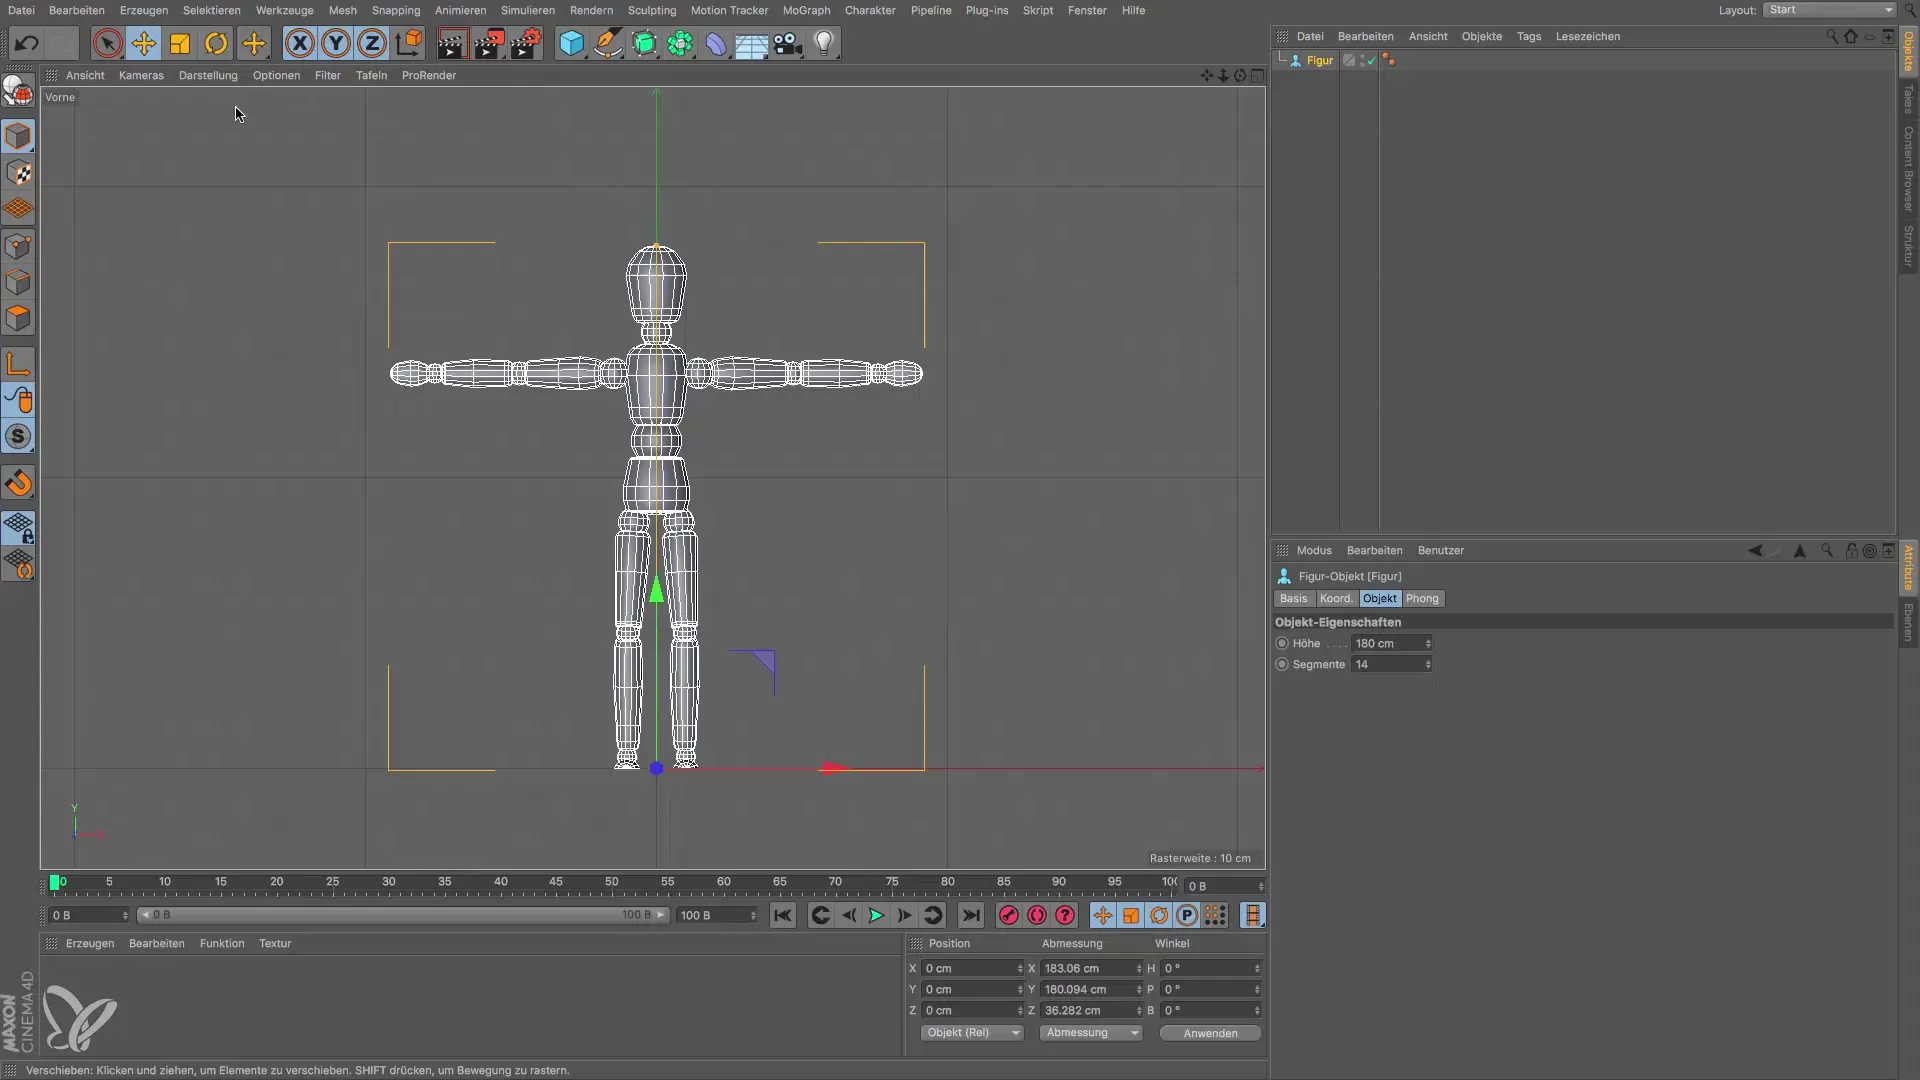
An important aspect is the line representation, which helps you recognize the basic structures of your model. You will find that the isometric view often requires a simplified representation, while the internal lines are less important. This option for adjustment gives you the flexibility to focus the model on the essentials.
If you want to change your representation, you can switch from the line representation to the Guro shading. Here, the contours and structures are displayed in a way that resembles what you are accustomed to from the perspective view. Such representations are useful for larger scenes, where fewer details may be necessary to optimize the graphics card performance.
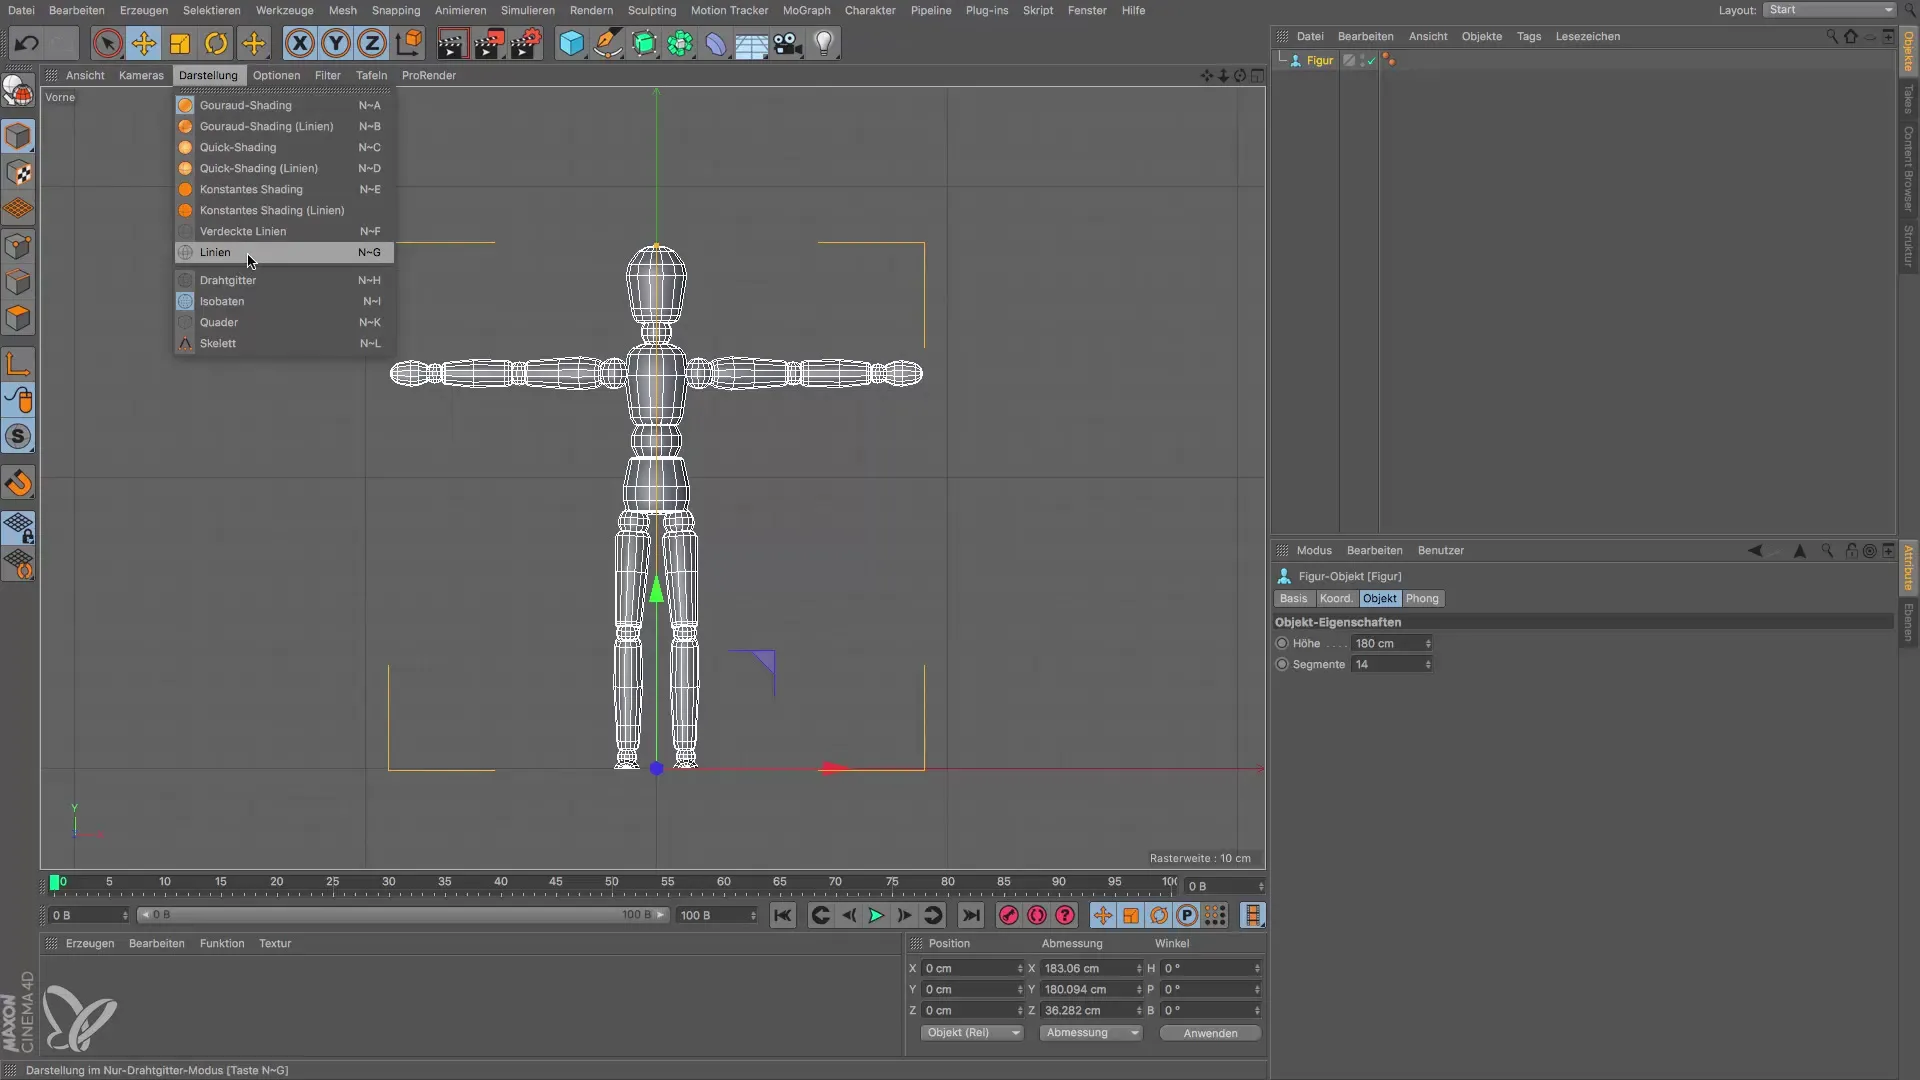
In conclusion, the Guro shading is the standard for the isometric view, and you can switch between different views simply by clicking the icon. This way, you always have control over the visual representation of your models.
Summary – Isometric Views in Cinema 4D
To utilize isometric views effectively, it is crucial that you understand the structure and construction of your models. With the right tools and views, you can create your designs more efficiently and with greater detail.
Frequently Asked Questions
What is an isometric view?An isometric view is a representation that avoids distortions and provides a precise view of the lines and shapes of a model.
How do I switch between different views in Cinema 4D?By clicking on the respective icons in the upper bar, you can switch between various views such as top, bottom, right, and left.
Why is the line representation important?The line representation helps you recognize the basic structures of your models and focuses on the outer contours, making modeling easier.
How can I change the representation of my models?You can switch between different representations like line representation and Guro shading to achieve the desired level of detail.
