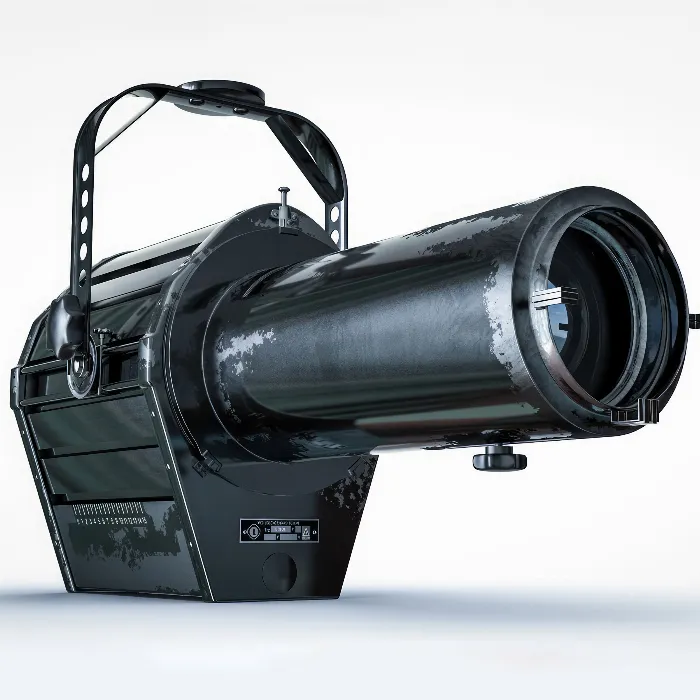
To achieve an appealing and realistic representation in your 3D scene, the use of HDRIs (High Dynamic Range Images) is essential. In this guide, you will learn how to efficiently use HDRIs in Cinema 4D to enhance the reflections and lighting conditions of your materials. Effective handling of HDRIs will give your spotlight and other models in the scene the necessary degree of realism.
Key Insights
- HDRIs can significantly increase the realism of your materials.
- The correct selection and application of HDRIs support the reflections in your scene.
- The use of a sky object for implementing the HDRI is crucial.
Step-by-Step Guide
First, it’s important to say goodbye to the standard surface. Bad textures or a dull gray for your materials are not the best choice. Instead, you should breathe more life into the spotlight by effectively using materials and preparing the environment accordingly.
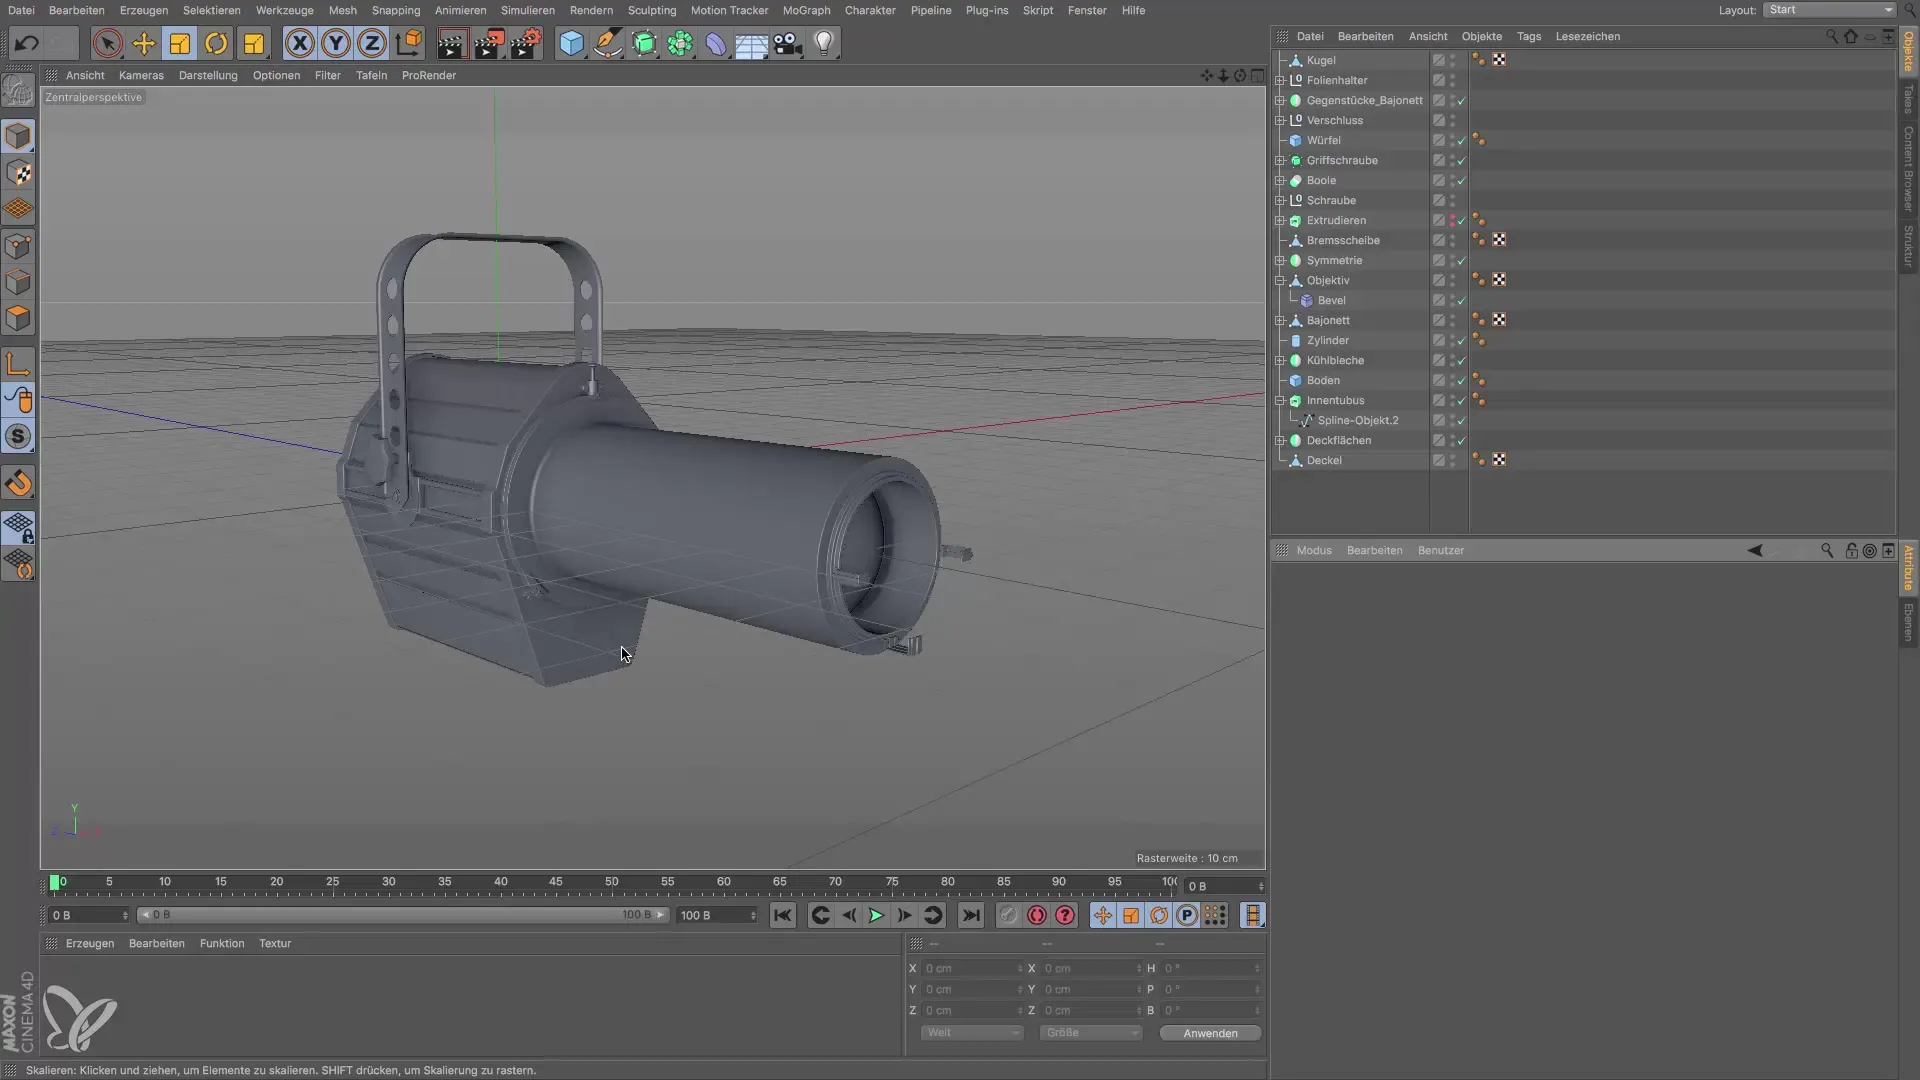
To work well with materials, it’s important to be aware of the environment. If you create a reflective material but don’t add an appropriate environment to your scene, the rendered result will likely be anything but convincing.
Therefore, it makes sense to create a suitable HDRI environment from the beginning to realistically produce reflections. This approach allows you to design your textures more precisely and avoid mistakes.
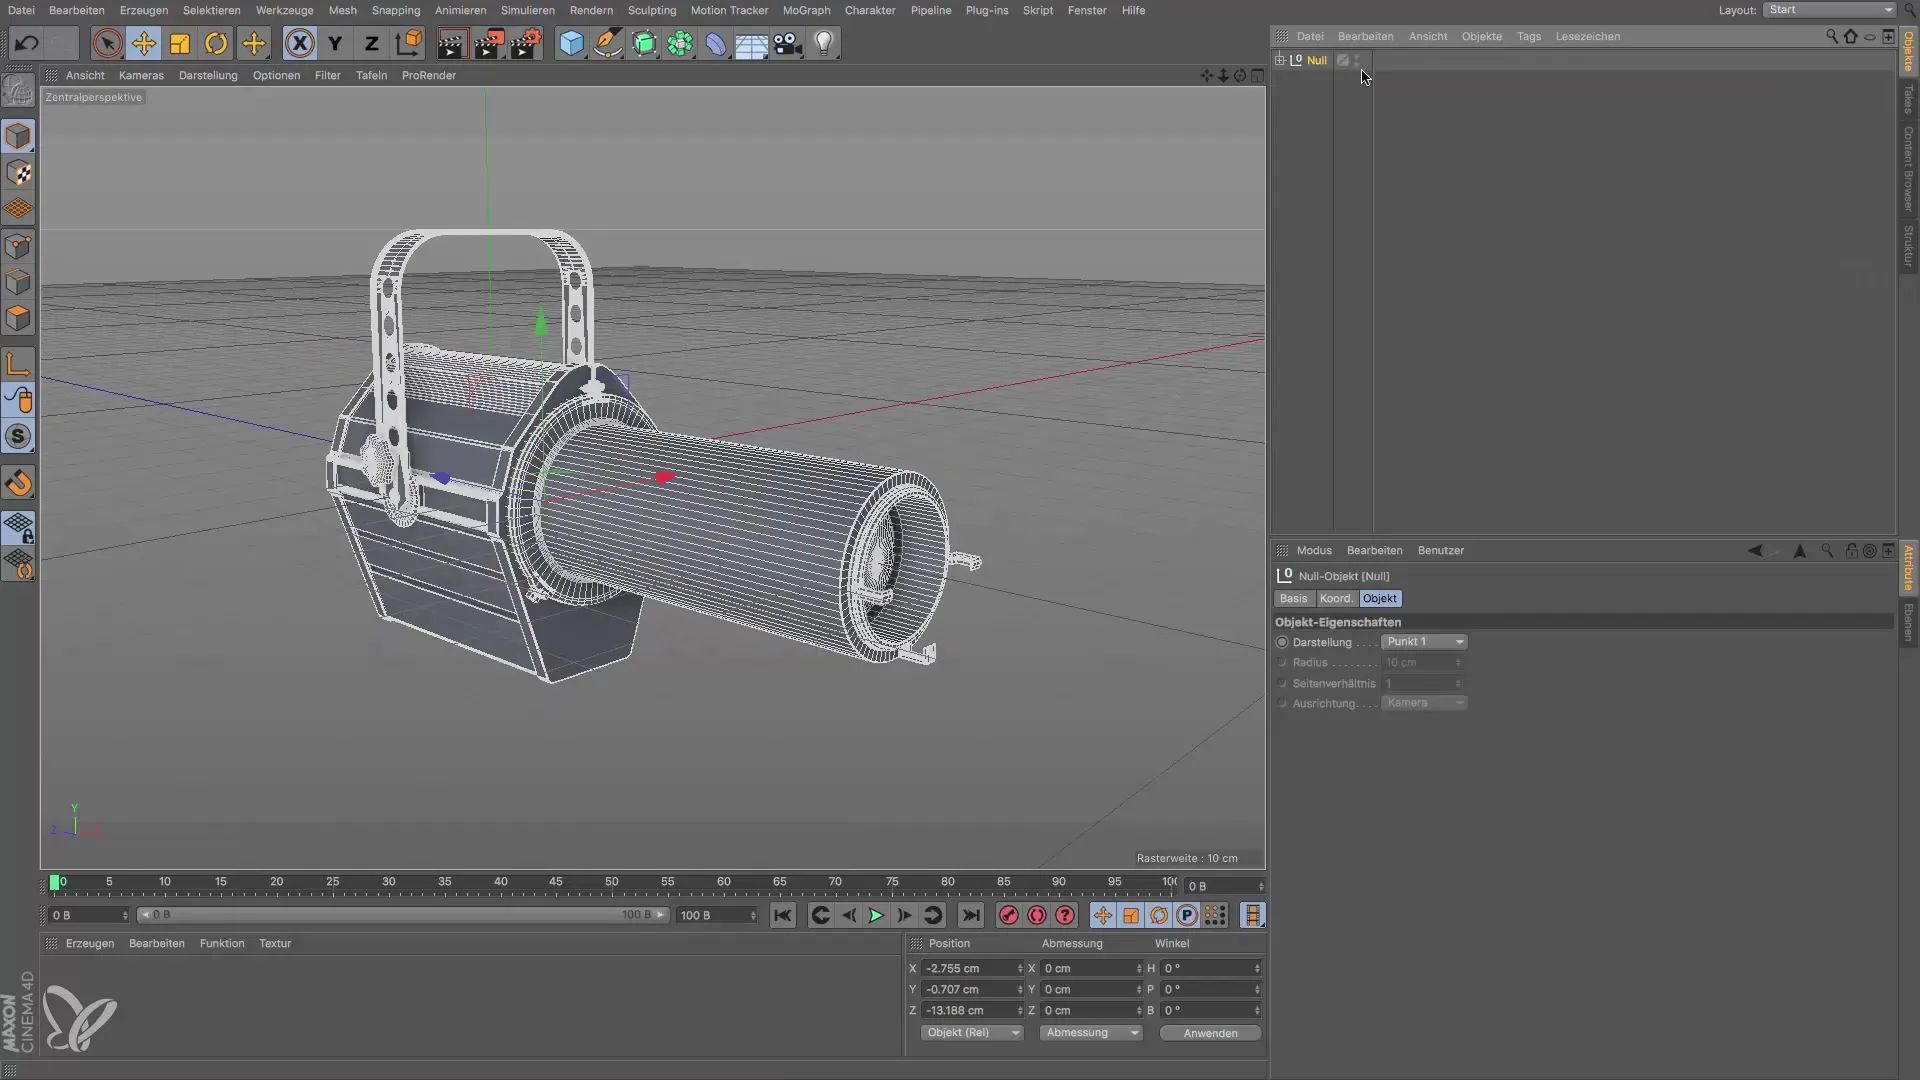
Before you start with the lighting setup, make sure to place all objects in a new null object. This will help you keep track and make later adjustments easier.
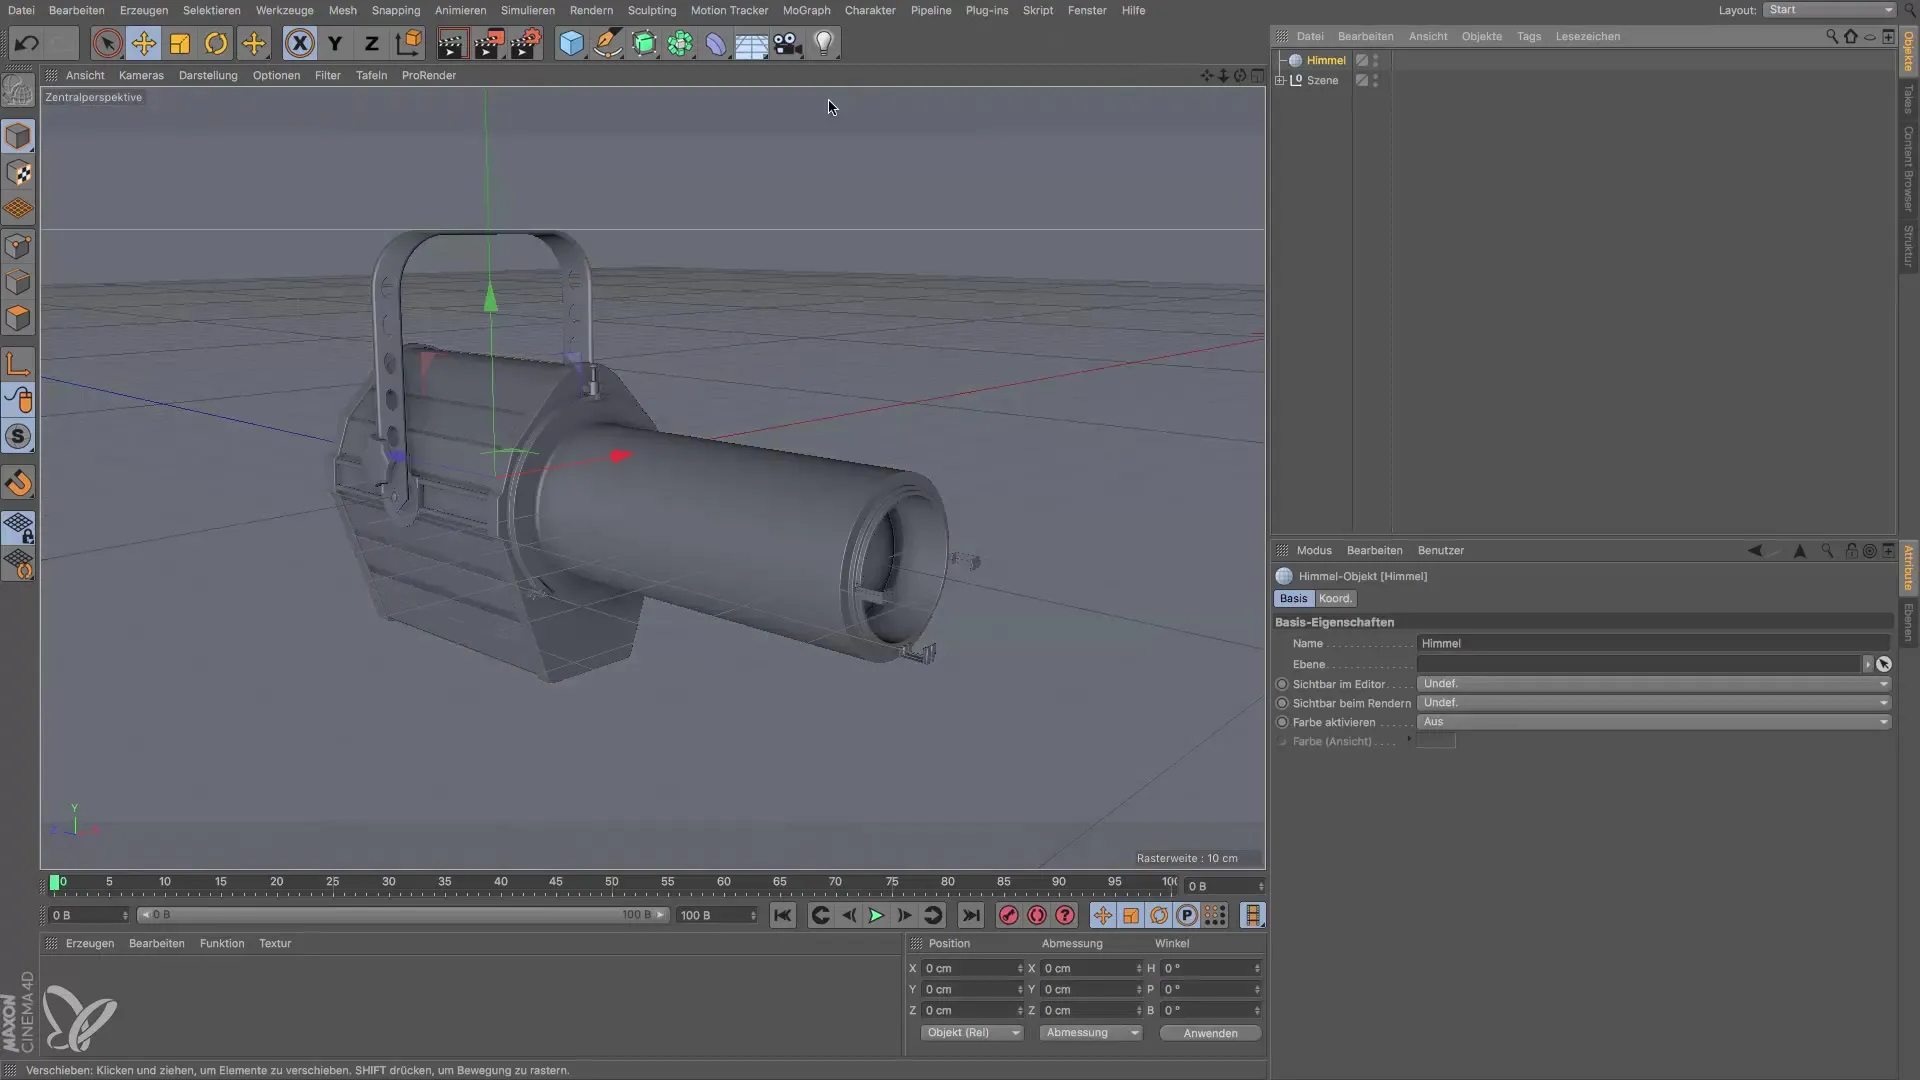
Now you can add the sky object, which forms the basis of your HDRI. Ensure that the sky object requires an HDRI to create realistic lighting conditions. These images should ideally be in 16 or 32 bit.
To find the HDRIs in Cinema 4D, open the Content Browser. There you will find the folder for the HDRIs in the presets. In the Prime version, go to the Light Setups. Alternatively, you can also use the search function. Simply type in “HDRI” and you will quickly find the corresponding files.
Once you have found the HDRI, select your desired environment. I recommend the setup “room 01,” which is particularly well-suited for this type of project.
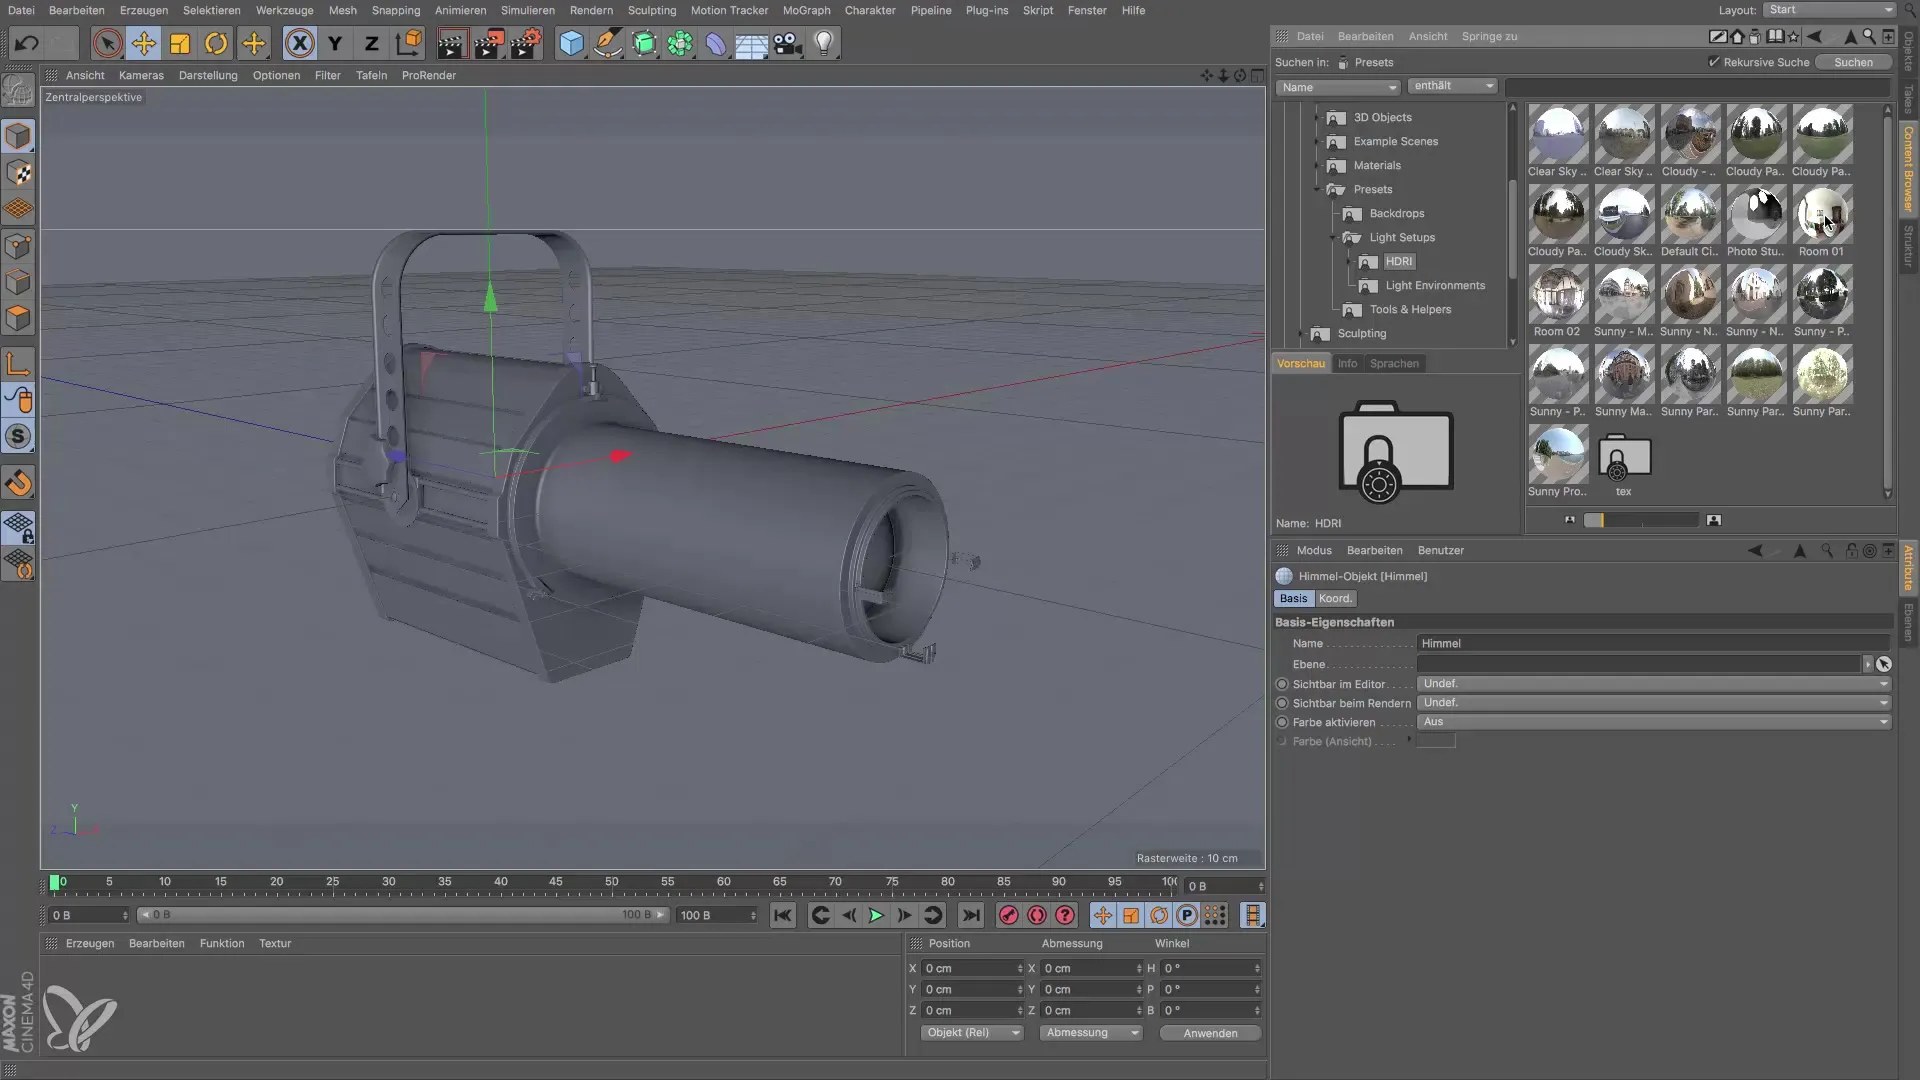
To use this HDRI, double-click on it so that it appears in the Material Manager. Then, assign the HDRI to the sky object and observe the initial reaction of your object.
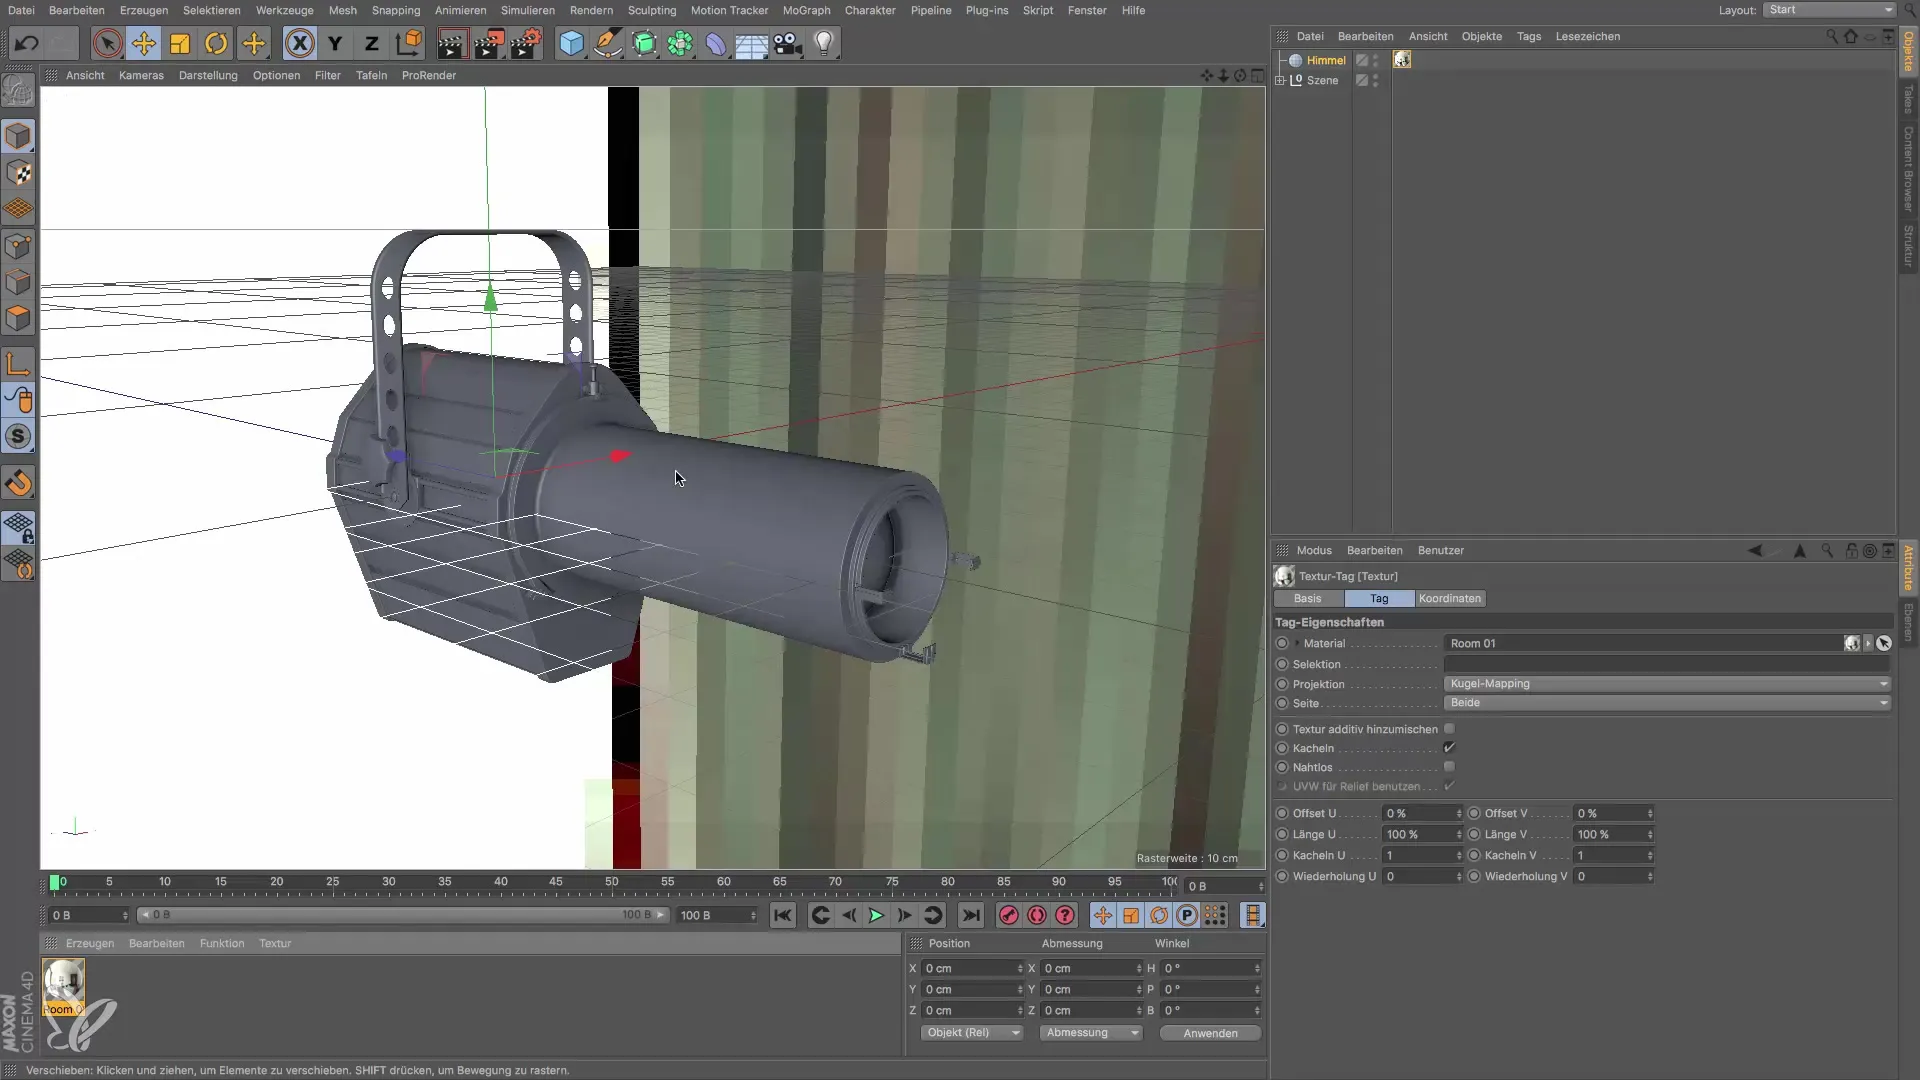
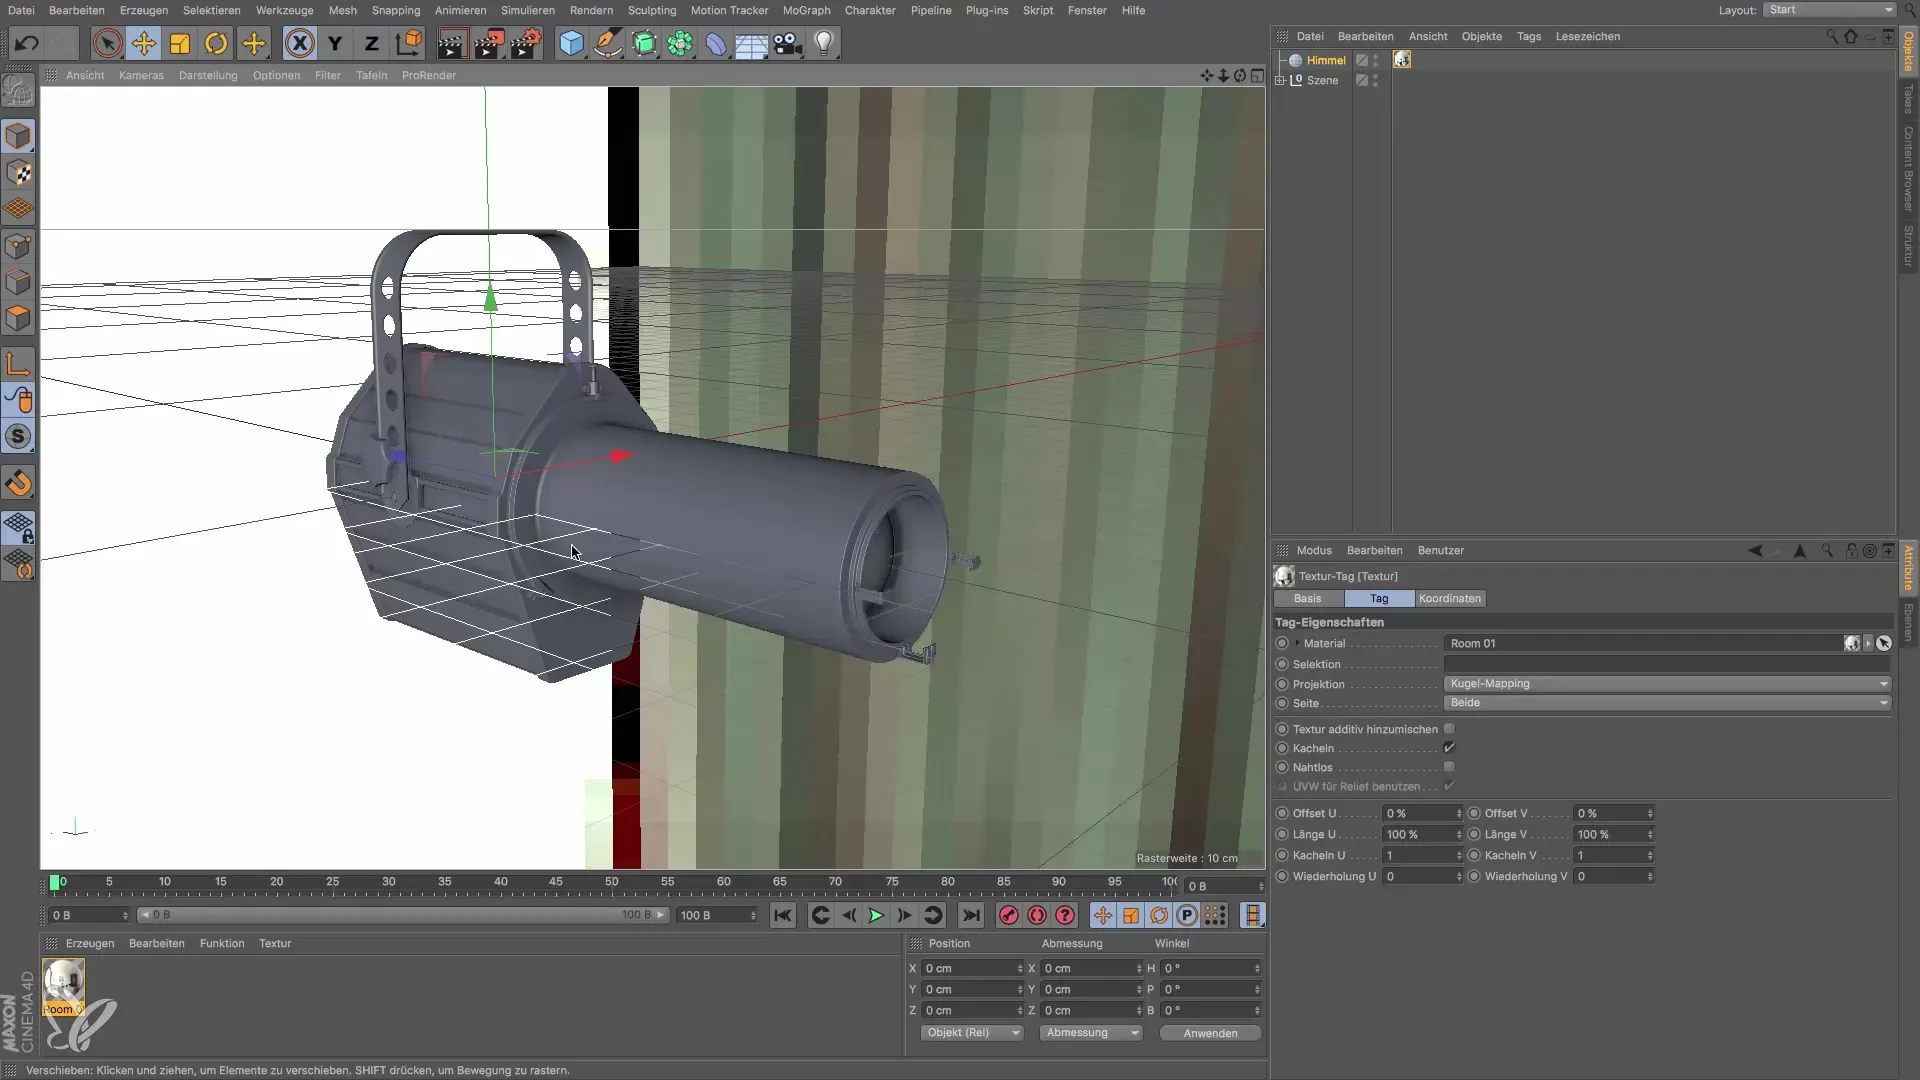
Now that the HDRI is active, you can create a material to make the reflections visible. For this, choose a glossy material and apply it to your spotlight. However, be aware that the environment may not yet provide the best lighting.
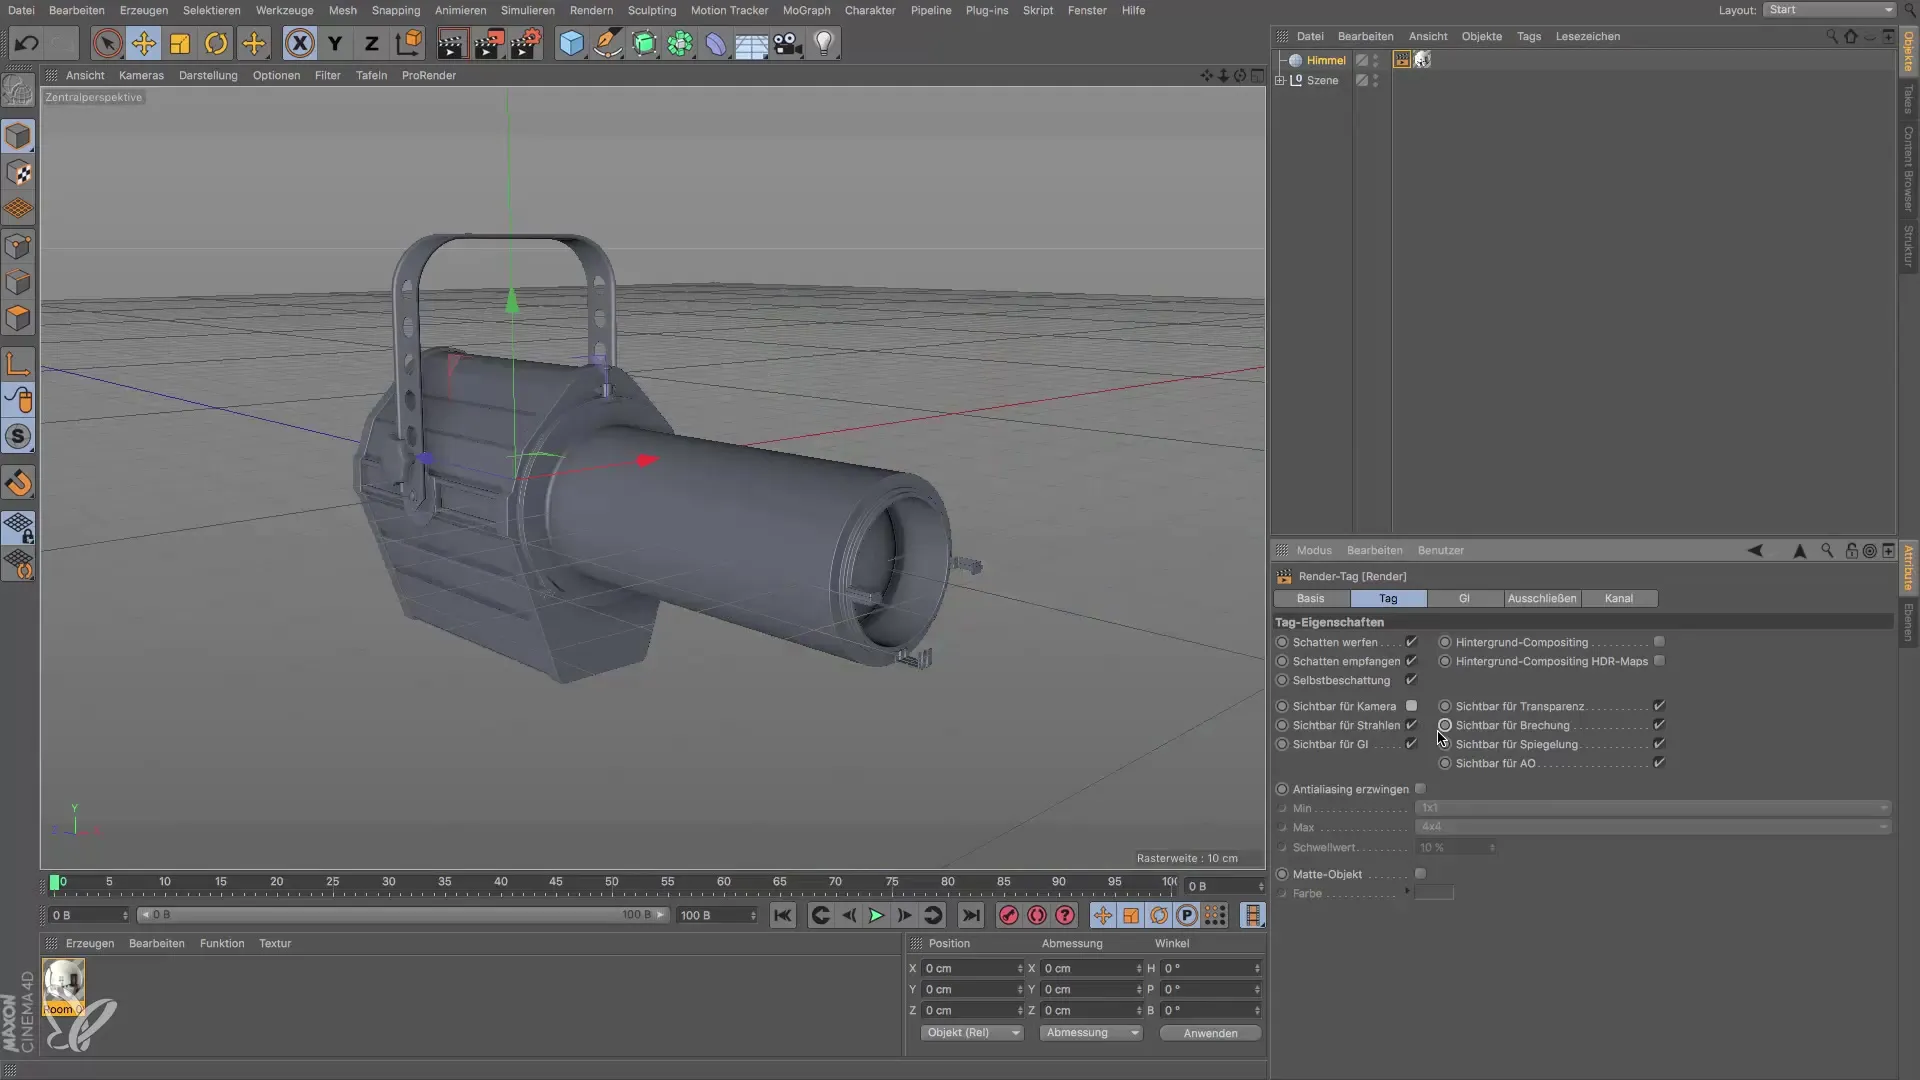
To improve the rather mediocre environmental conditions, you can add a tag to the HDRI and deactivate its visibility for the camera. This will optimize your scene without losing the HDRI effects.
By rendering, you will notice how impressive the results are when the right materials and HDRIs are used.
Summary – HDRI for Realistic 3D Renderings in Cinema 4D
The use of HDRIs in Cinema 4D is a powerful tool to achieve realistic reflections in your 3D scenes. By adding a sky object and selecting the right HDRI, you will give your models the necessary liveliness and fidelity. With the right settings, you can achieve impressive results that elevate your 3D projects to a new level.
Frequently Asked Questions
How do I add a sky object in Cinema 4D?You can add a sky object through the “Objects” menu.
Where can I find HDRIs in Cinema 4D?You can find HDRIs in the Content Browser under presets and Light Setups.
Can I import my own HDRIs?Yes, you can import your own HDRIs by adding them to the project or the Content Browser.
What is the advantage of HDRIs?HDRIs provide a realistic environment that improves light and reflections in 3D scenes.
Do I need to deactivate the visibility of the sky object for the camera?Yes, this improves the quality of the rendered image by preserving the HDRI reflections without showing the background details.
