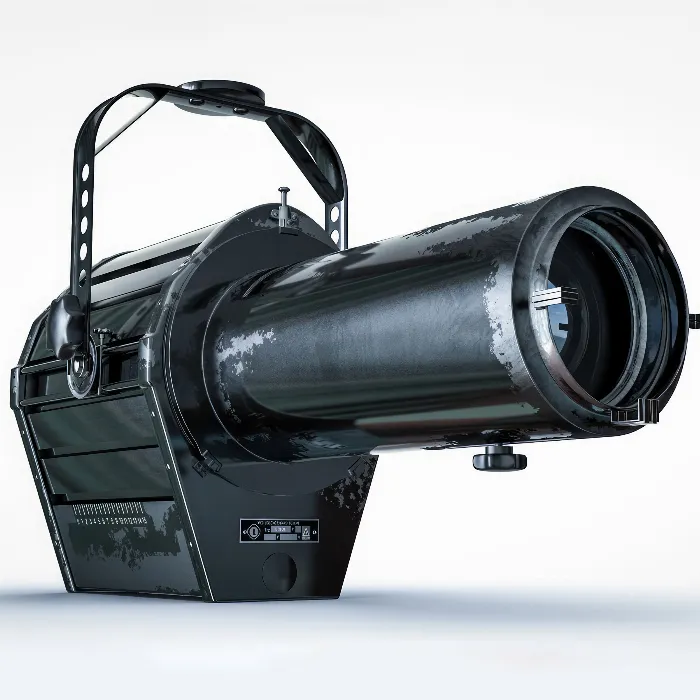
Designing a bracket for your headlight in Cinema 4D can be an exciting and educational exercise. The bracket serves not only as a connecting element but also allows for different positions of the headlight. In this guide, I will show you how to create a functional bracket using splines, the structure manager, and the extrude object.
Key Insights
- With a spline, you can define precise shapes for your bracket.
- The structure manager helps you align the points accurately.
- The shape can be improved by rounding the corners.
- An extrude object gives your spline volume and structure.
Step-by-Step Guide
To design a bracket, you can follow these steps:
Step 1: Switch to Front View
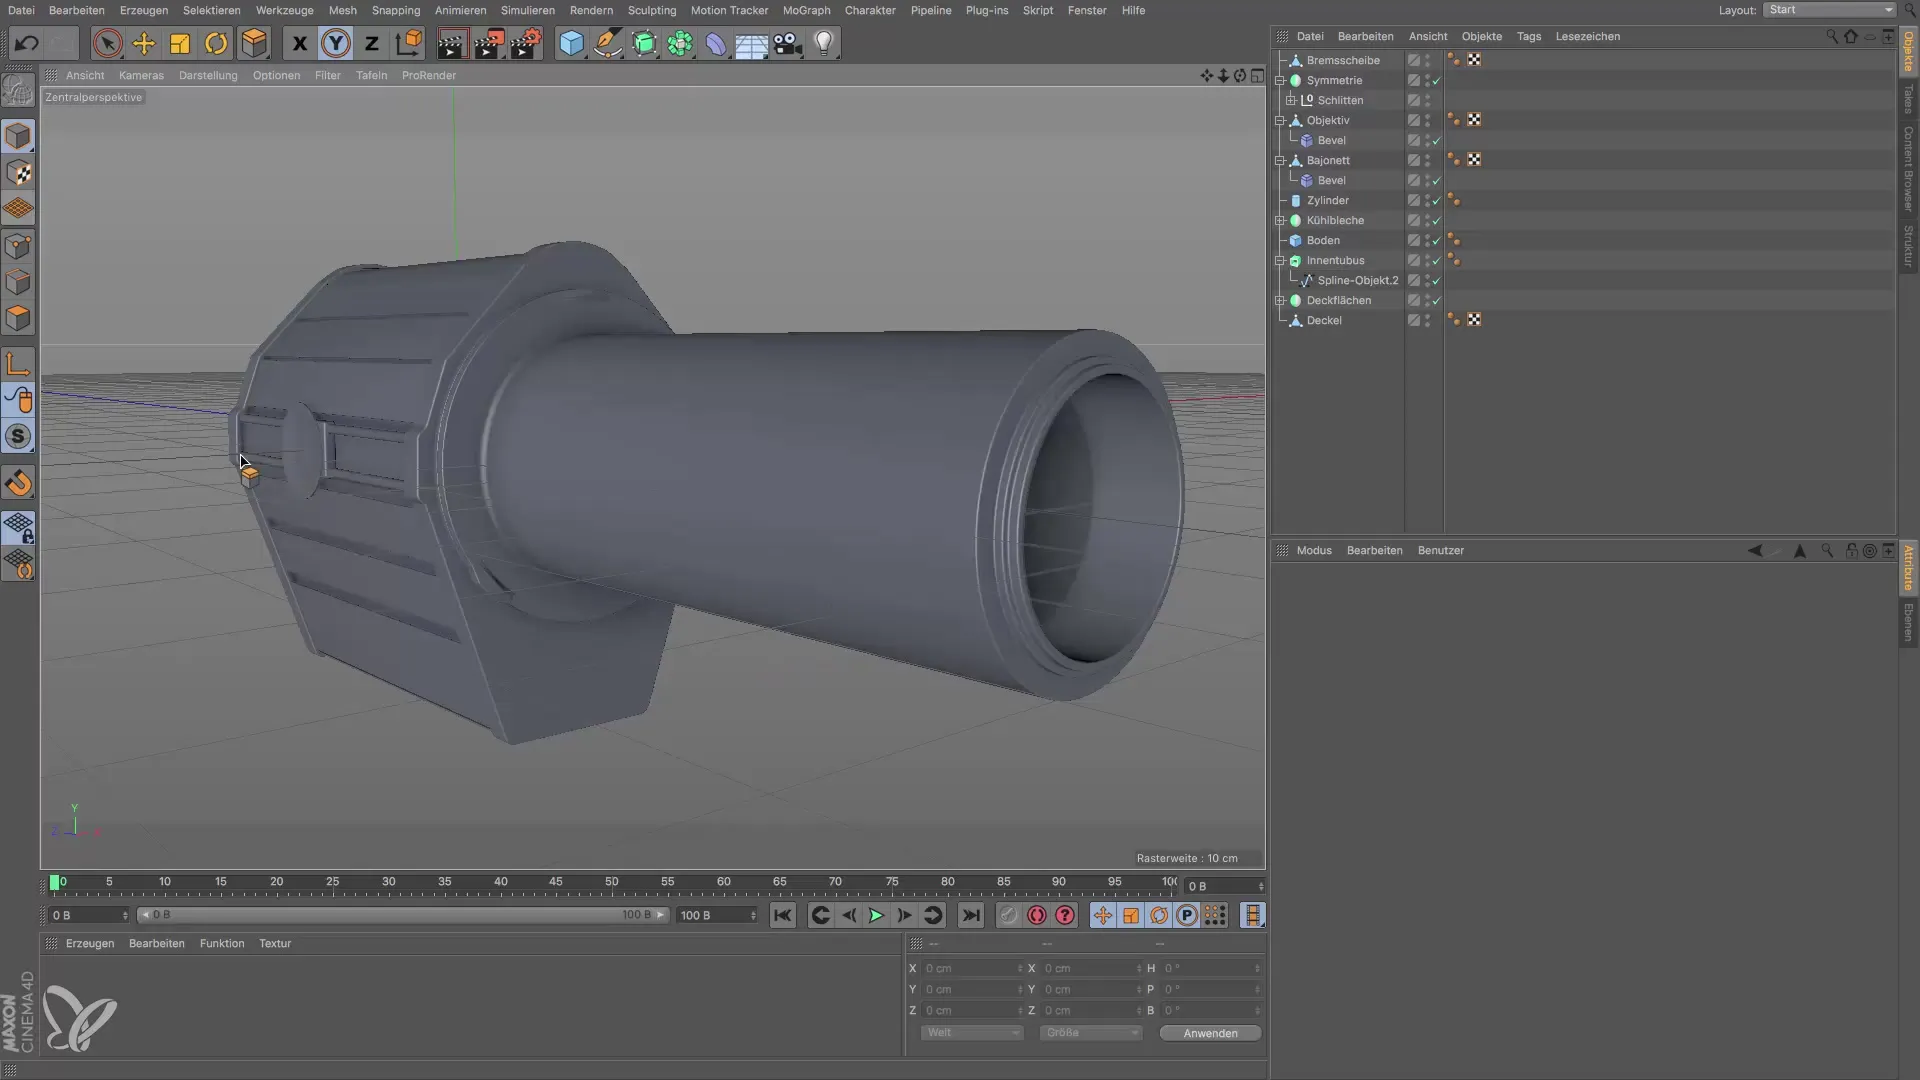
To create the bracket, you first need to switch to the front view. This is crucial for obtaining a precise shape that fits well with your headlight.
Step 2: Draw Spline
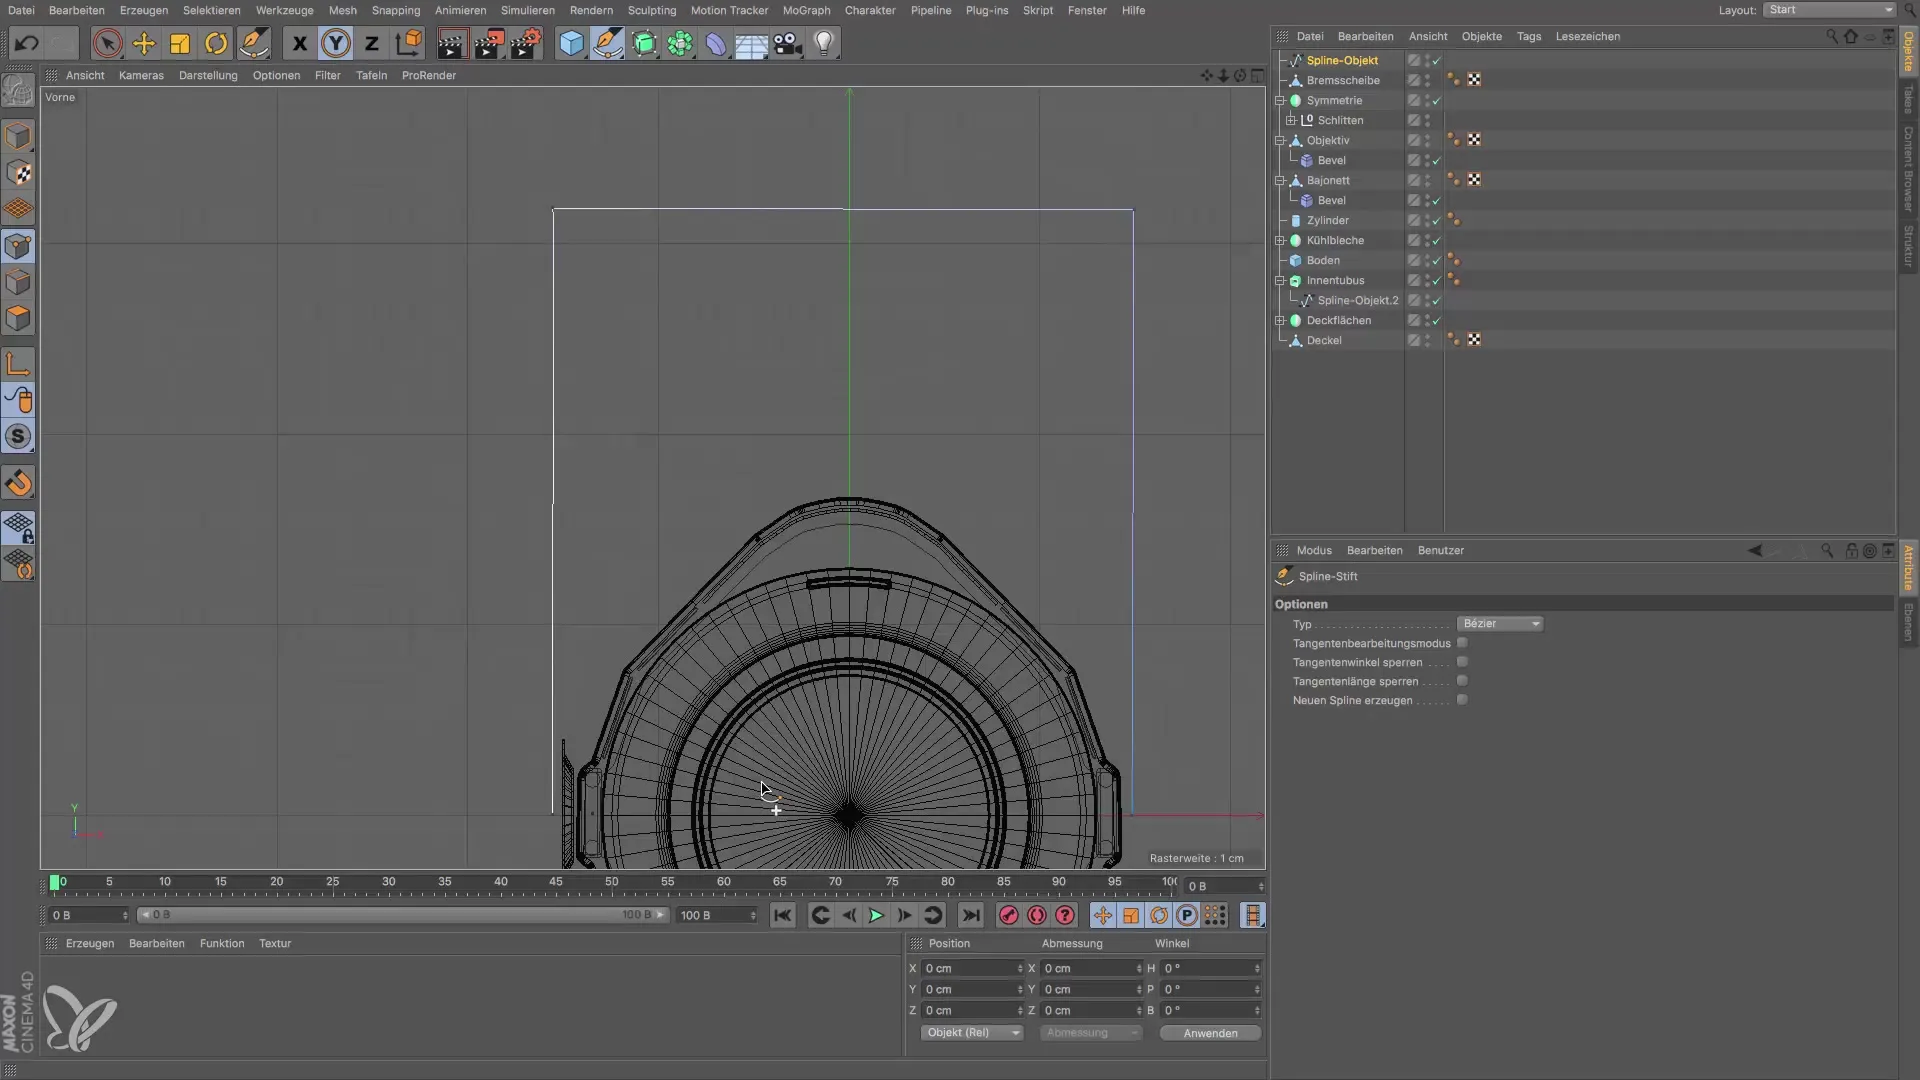
Start by creating a simple spline object. Click at the locations where the corners of the bracket should be. The height of the bracket should be around 33 cm, so set the first point at this height.
Step 3: Set Corner Points
You should ensure that all points you created are corner points and not curve points. Select all points in point mode and go to "Mesh → Spline → Hard Interpolation" to ensure this.
Step 4: Check Distances
Check the distance of the points from each other. In this case, the distance should be about 5 mm. You can adjust the points in the structure manager to get more accurate values.
Step 5: Adjust Y-Axis
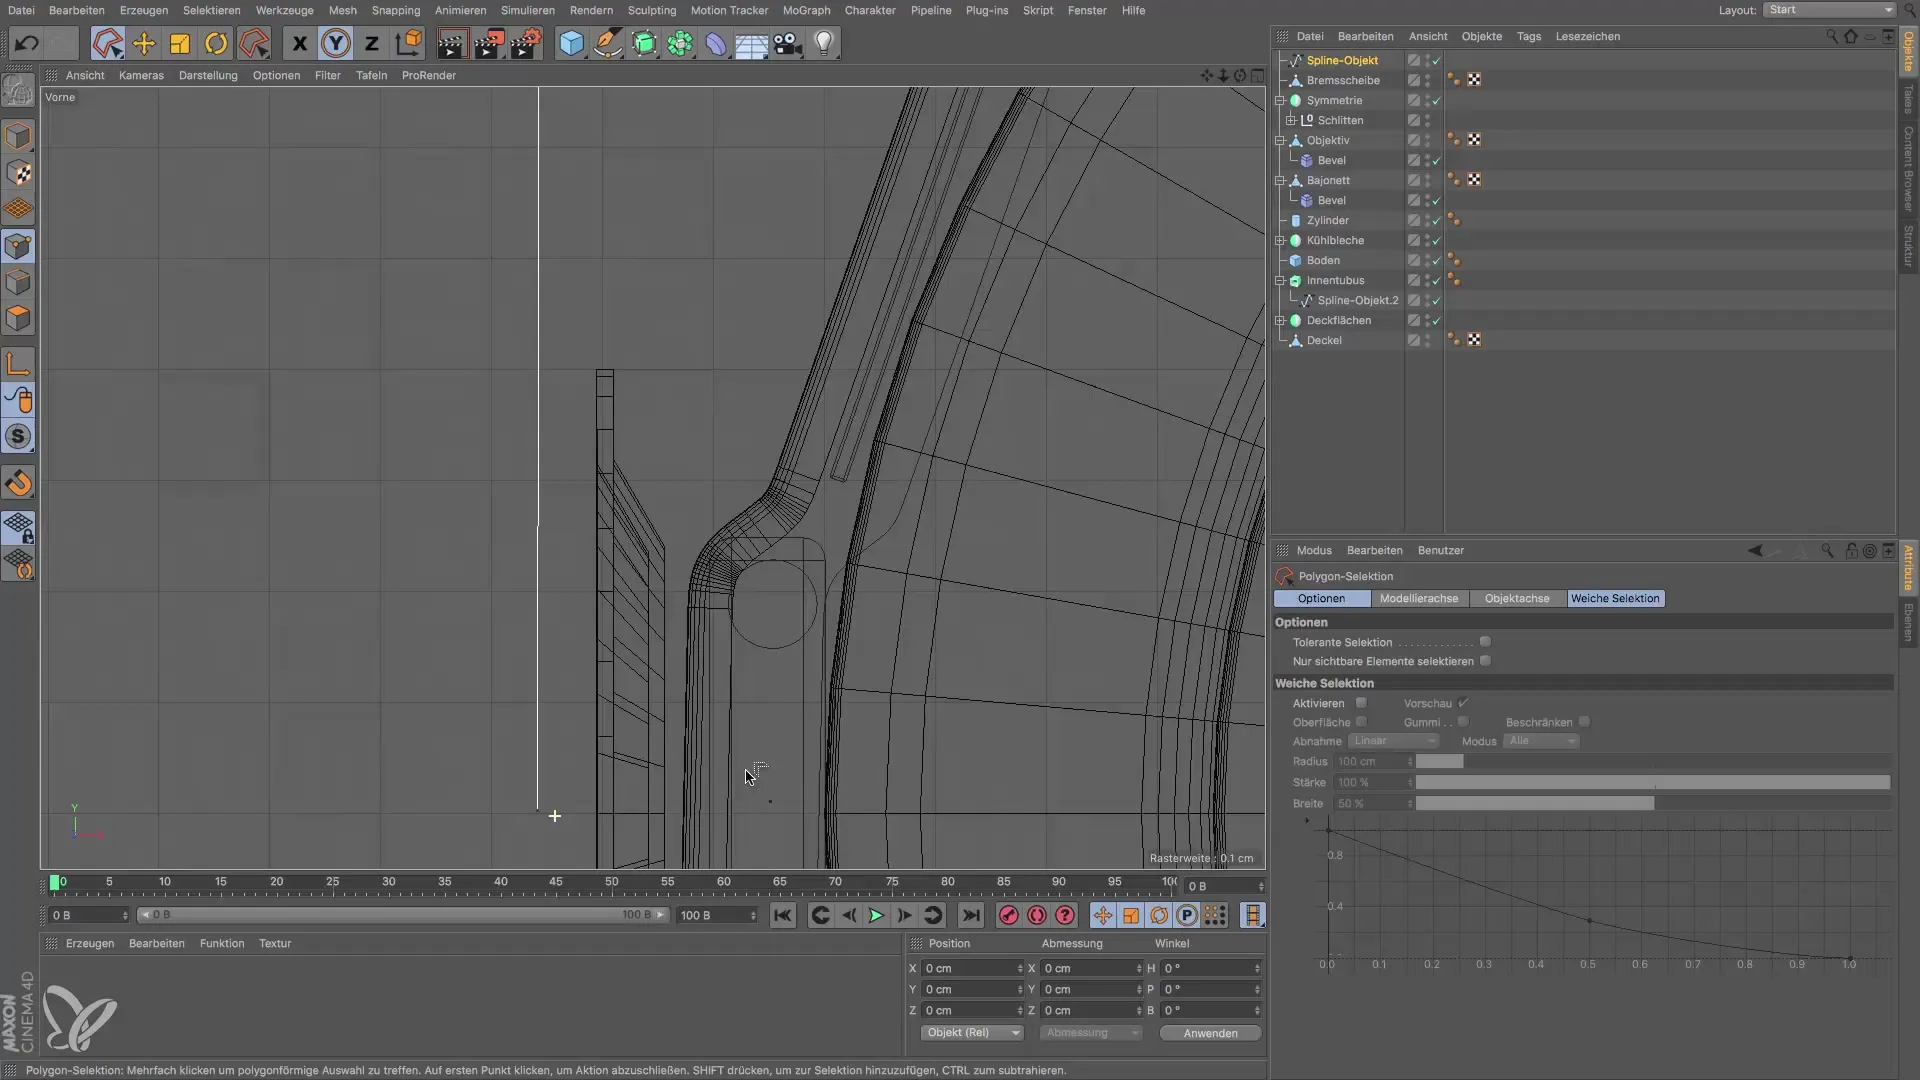
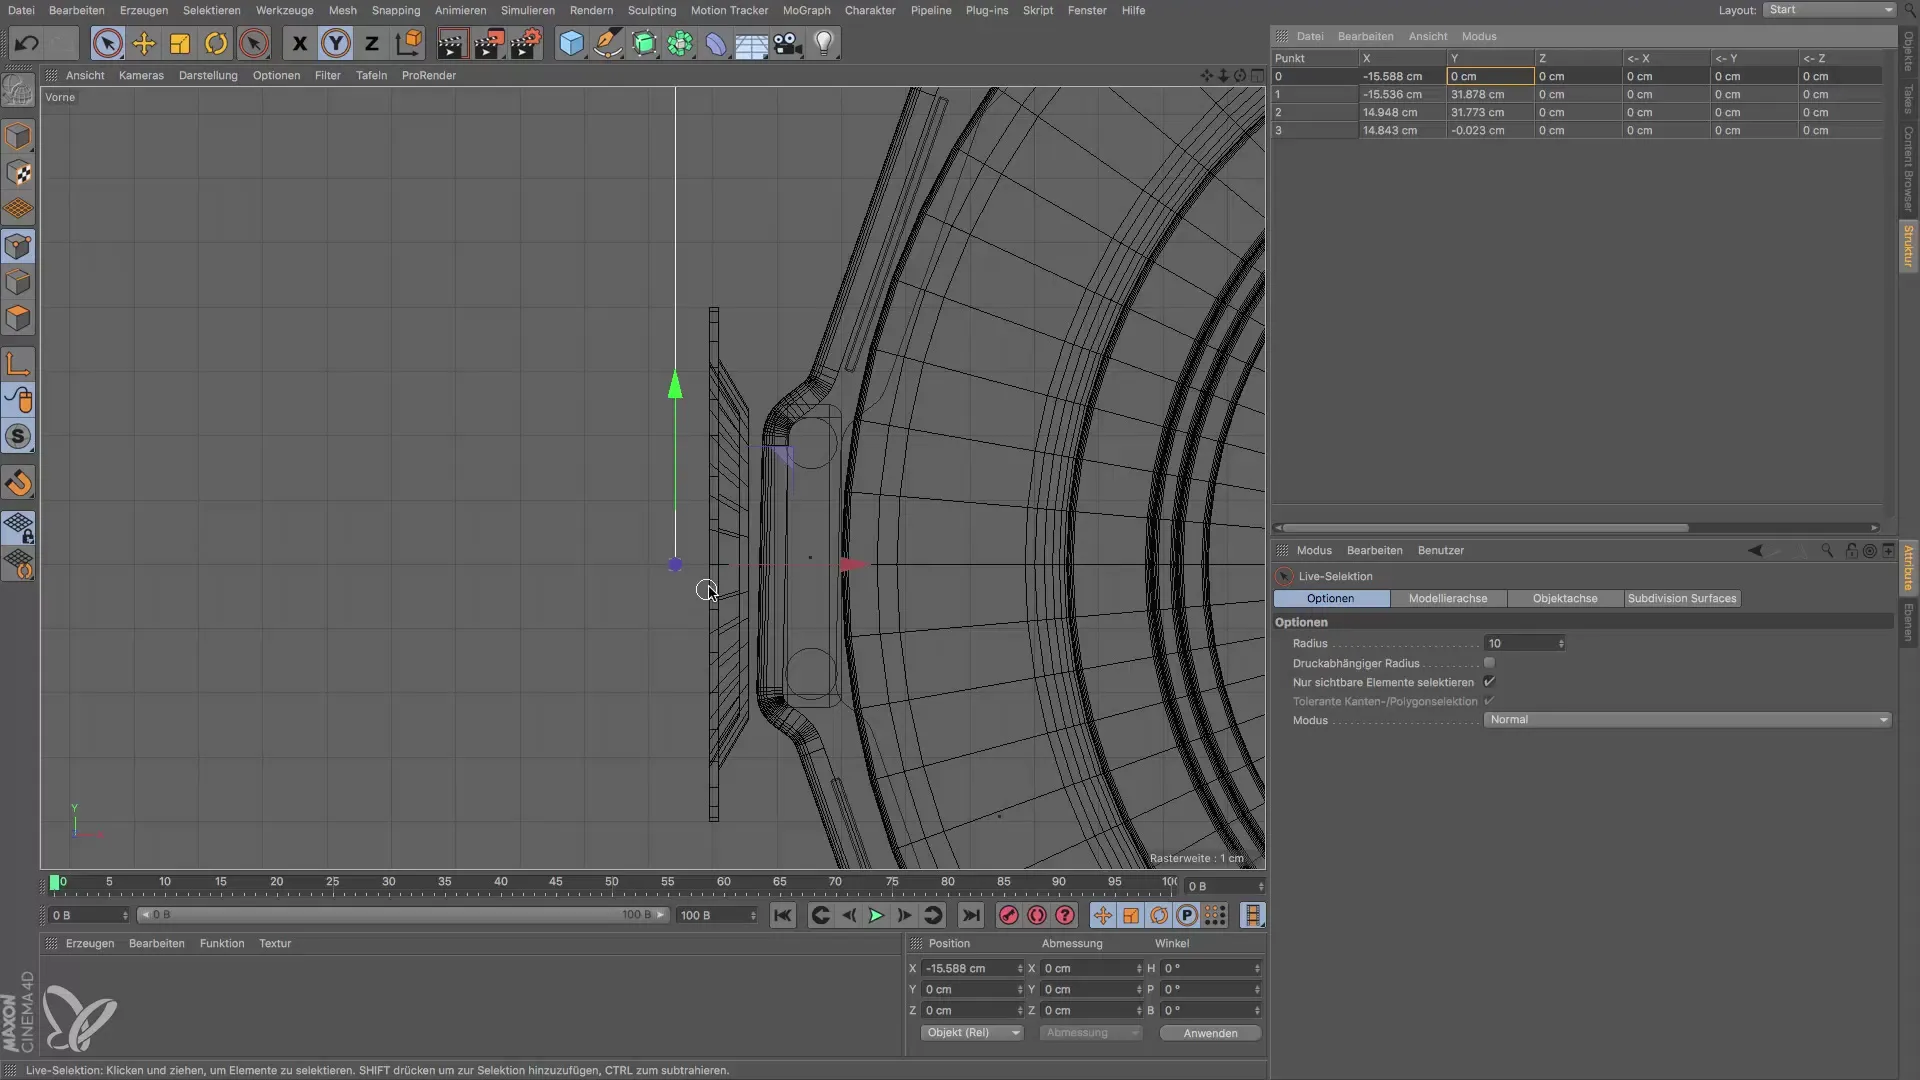
Place the point on the X-axis by setting the Y value to zero. Select the point and edit the value in the structure manager to set the exact position.
Step 6: Align Vertically
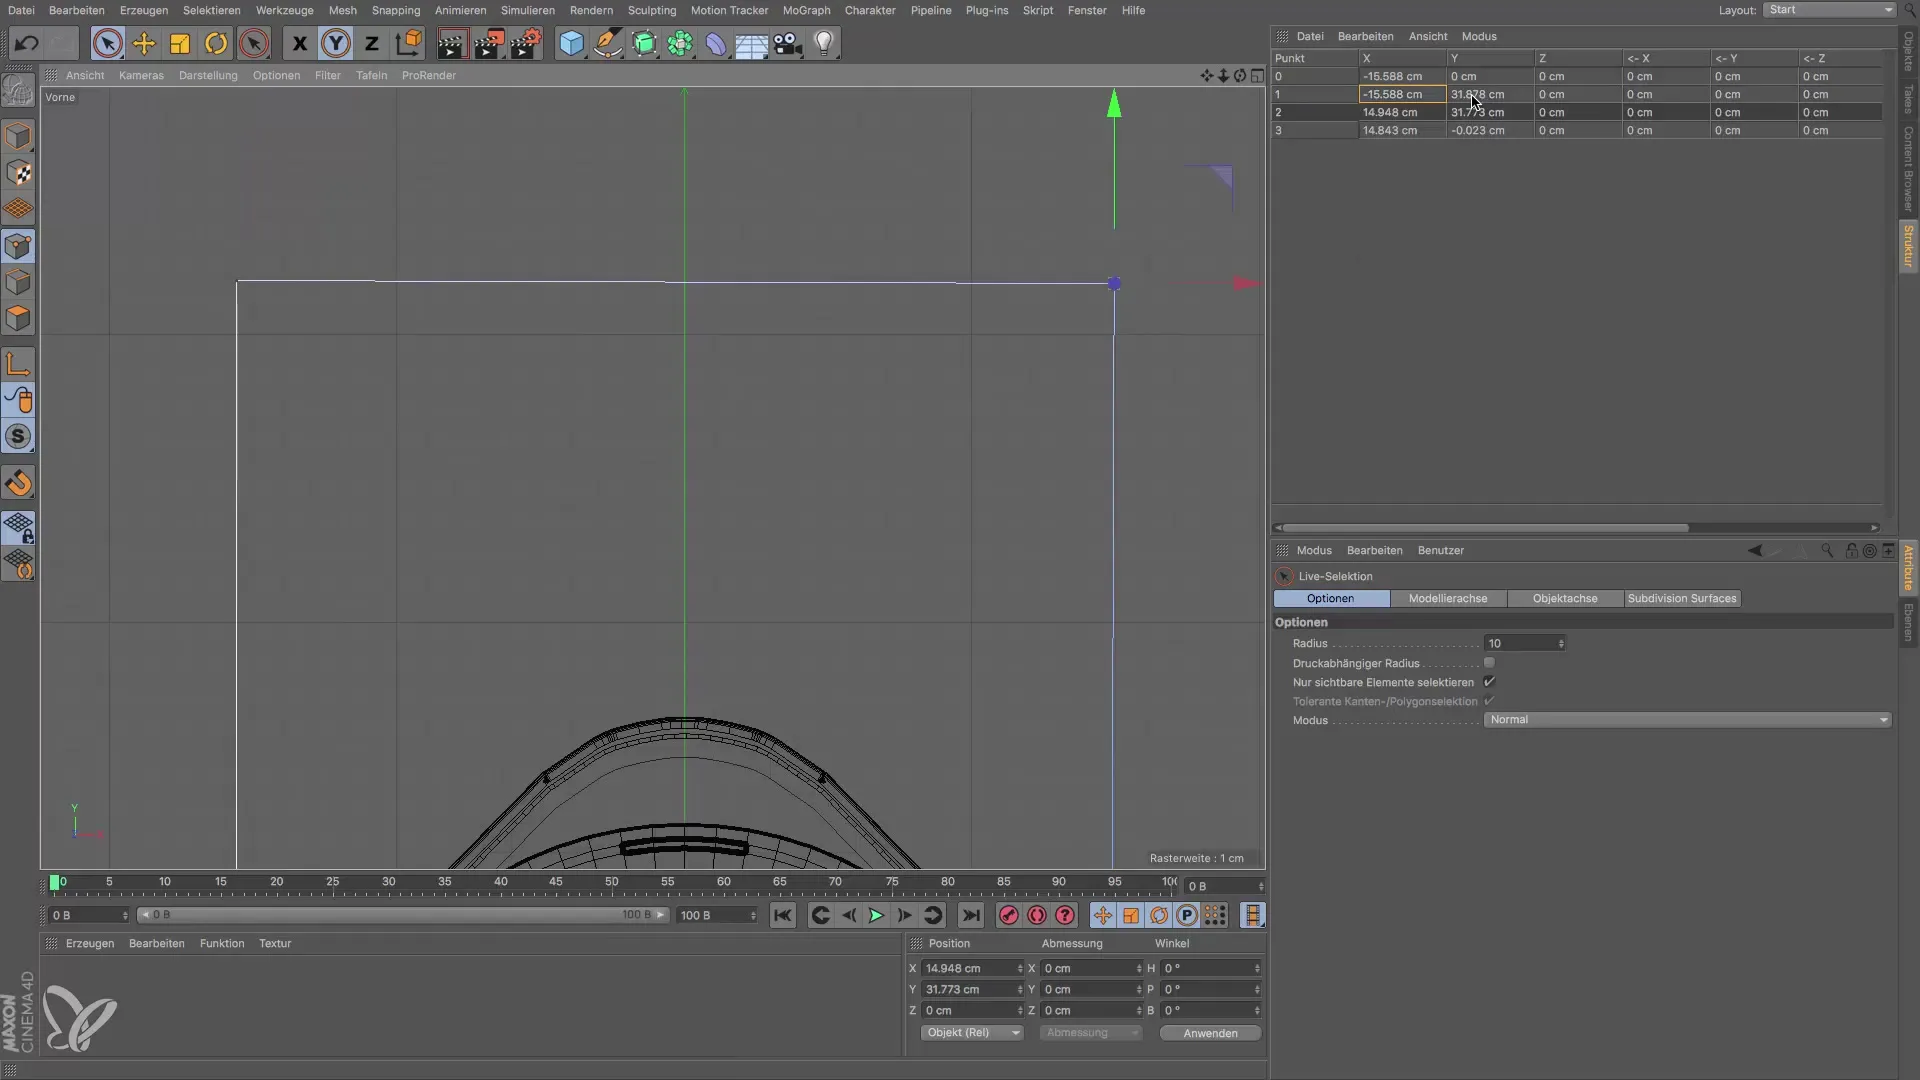
To ensure that the points are aligned vertically, compare the X and Y values of the corresponding points and adjust them to match.
Step 7: Round the Corners
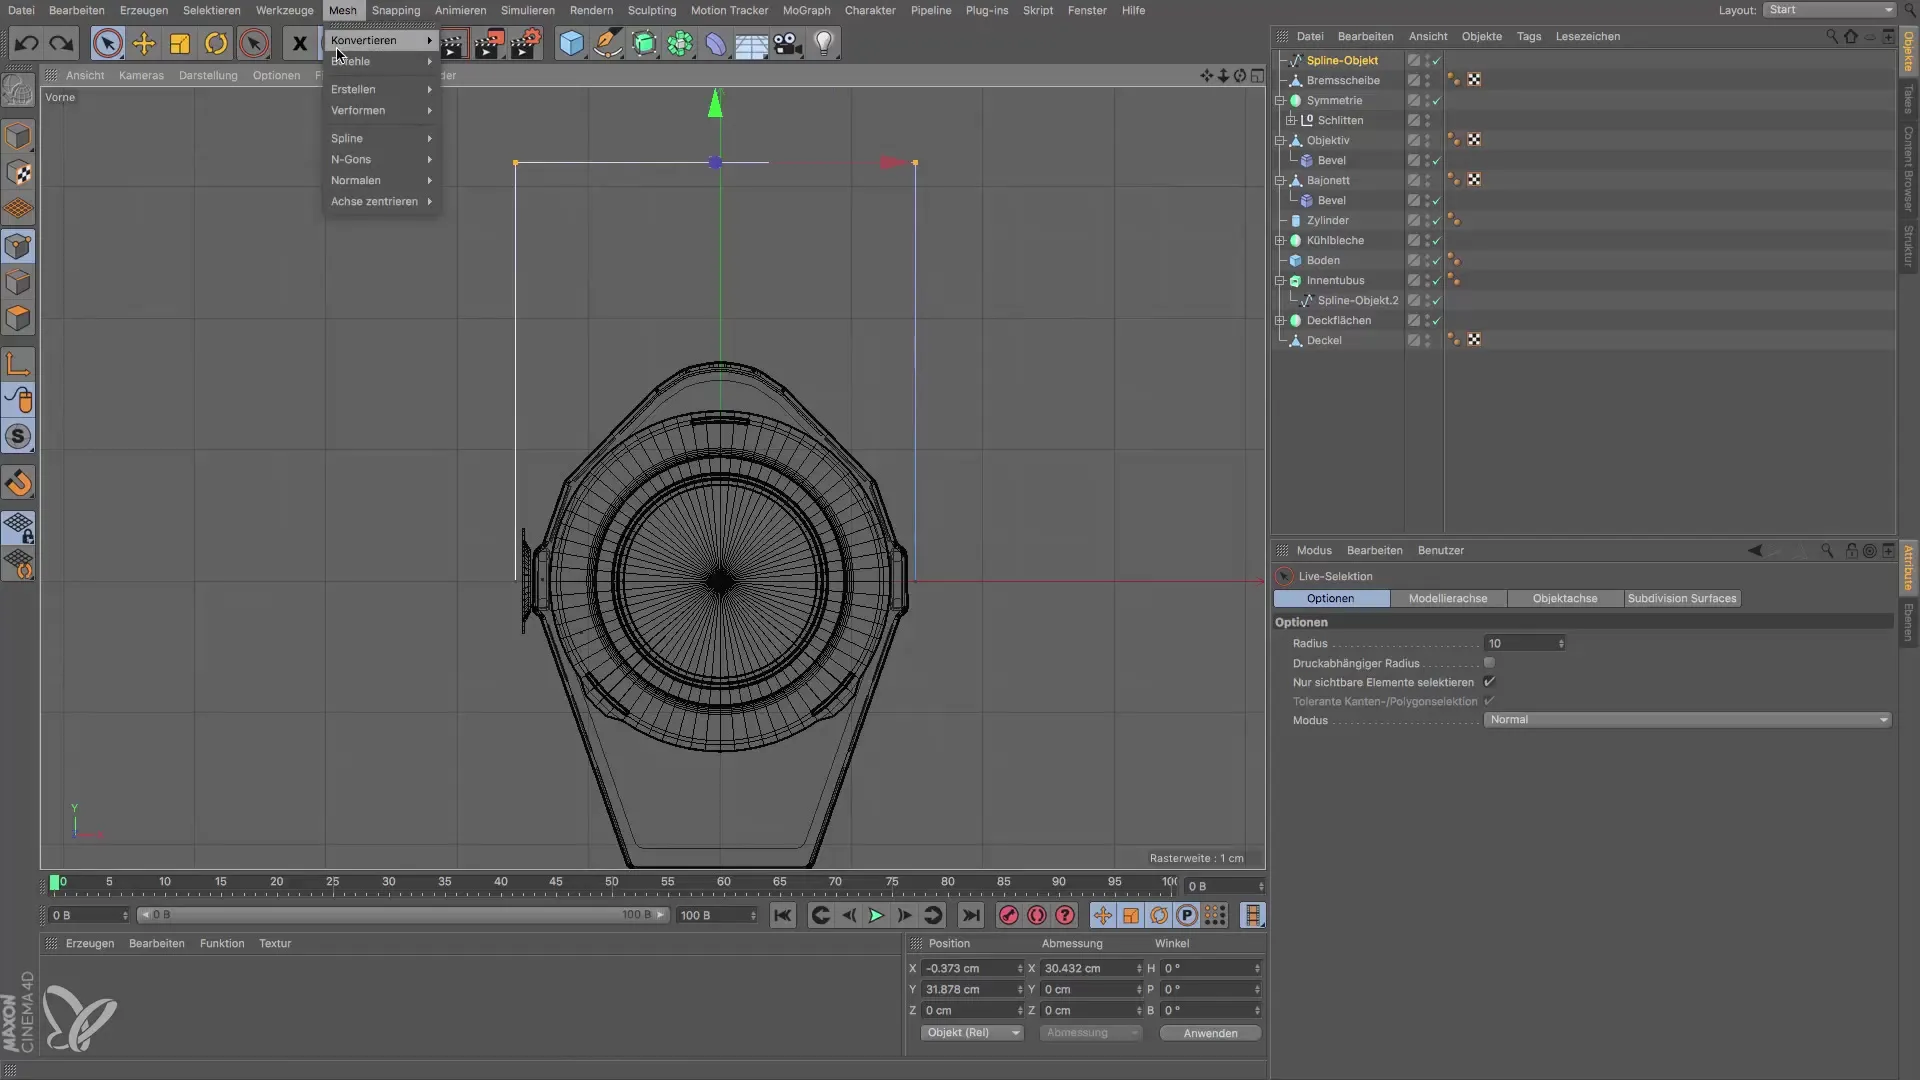
To round the corners of the bracket, select the two upper points and use the function "Mesh → Spline → Phases". Make sure the phase width is set to 7 cm for a suitable result.
Step 8: Activate Perspective View
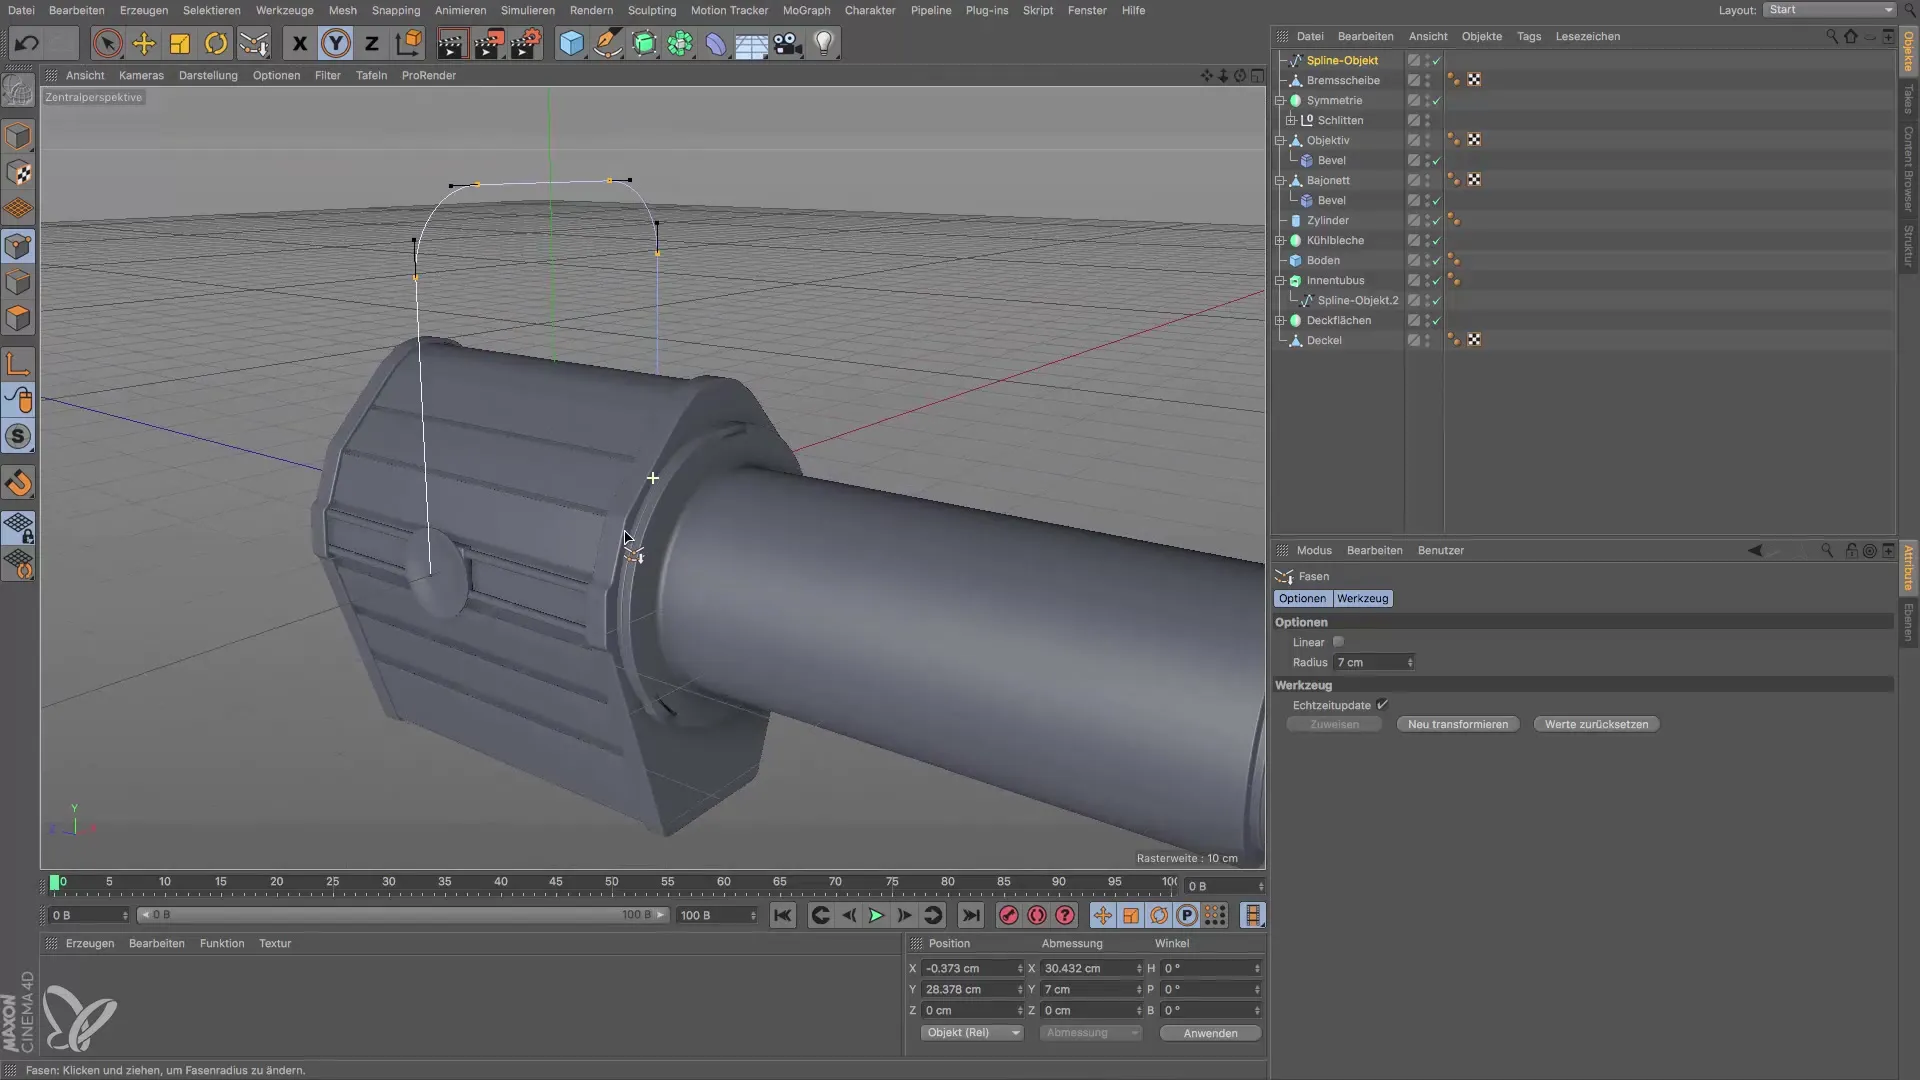
Switch to the perspective view to better assess the shape of the bracket and ensure all proportions are correct.
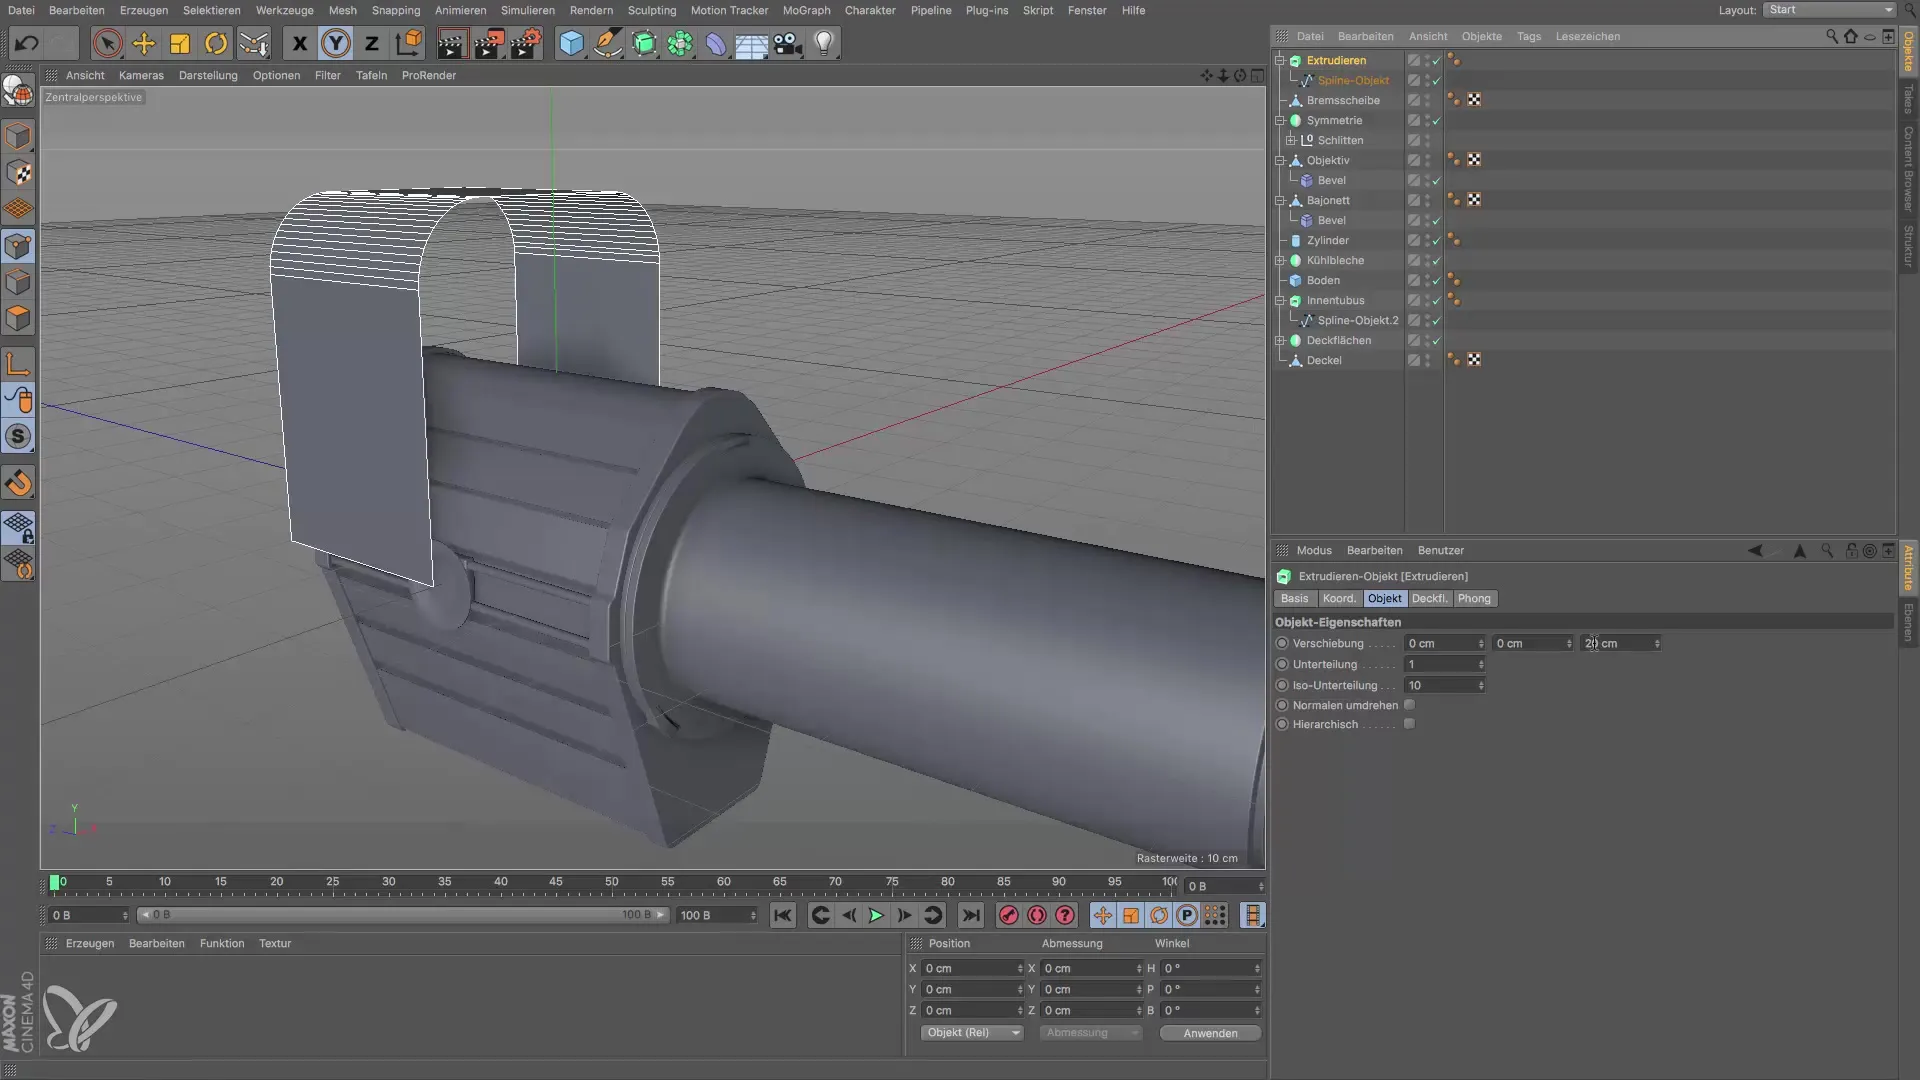
Step 9: Extrude the Spline
Select the extrude object and add the spline object to give the bracket volume. Set the extrusion height to 5 cm, as this corresponds to the width of the bracket.
Step 10: Adjust Positioning
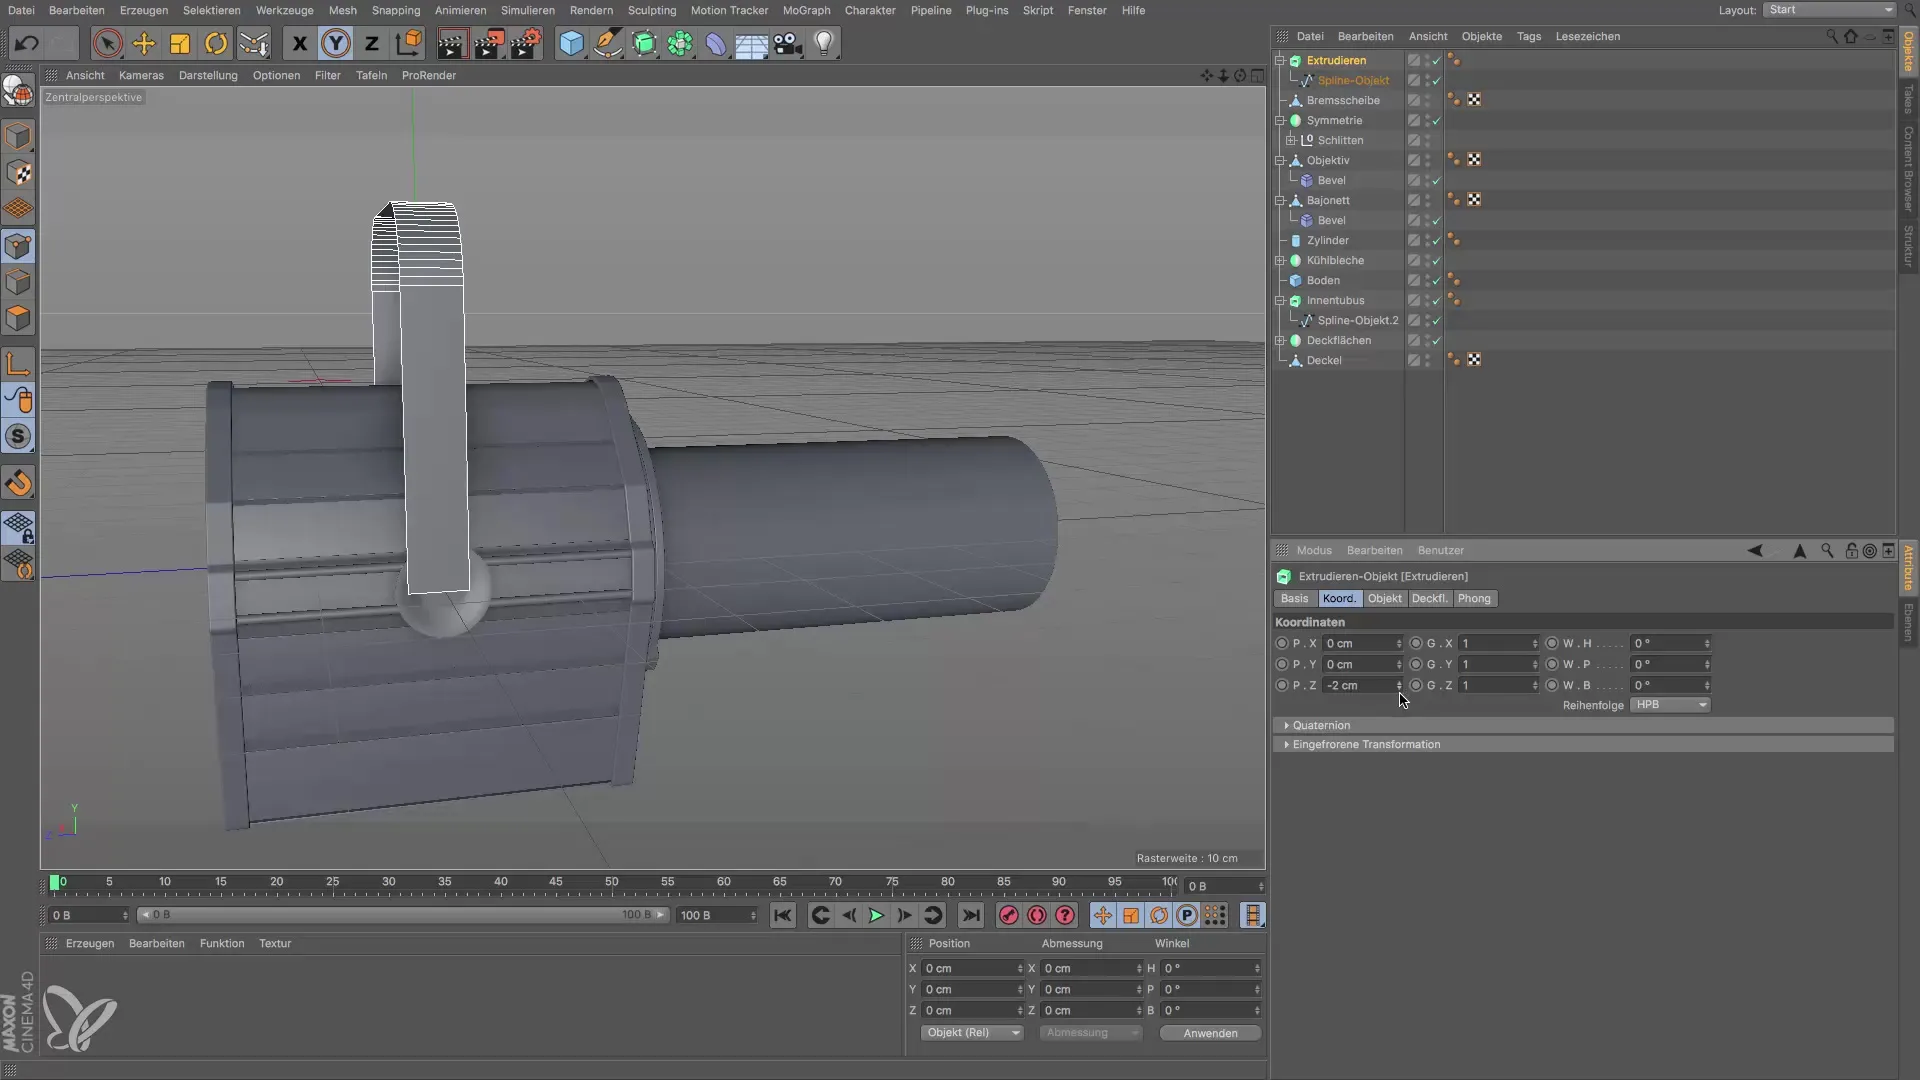
Finally, you need to adjust the position of the extruded object. Look for the Z-coordinates and set the value to -2.5 so that the bracket sits exactly above the brake disc.
Summary – Guide: Creating a Bracket for a Headlight in Cinema 4D
You have now learned how to create a functional bracket for a headlight using a spline and additional functions in Cinema 4D. From precise point creation to the volumetric design of the object, you have gone through all the necessary steps that lead to an impressive result.
Frequently Asked Questions
How can I edit points in the spline?Select the point and edit the values in the structure manager.
What is hard interpolation?Hard interpolation ensures that the points are defined as corner points and do not form curves.
Can I adjust the shape later?Yes, you can make adjustments at any time by editing the points in the spline.
How do I change the height of the extruded object?Go to the settings of the extrude object and adjust the extrusion height.
