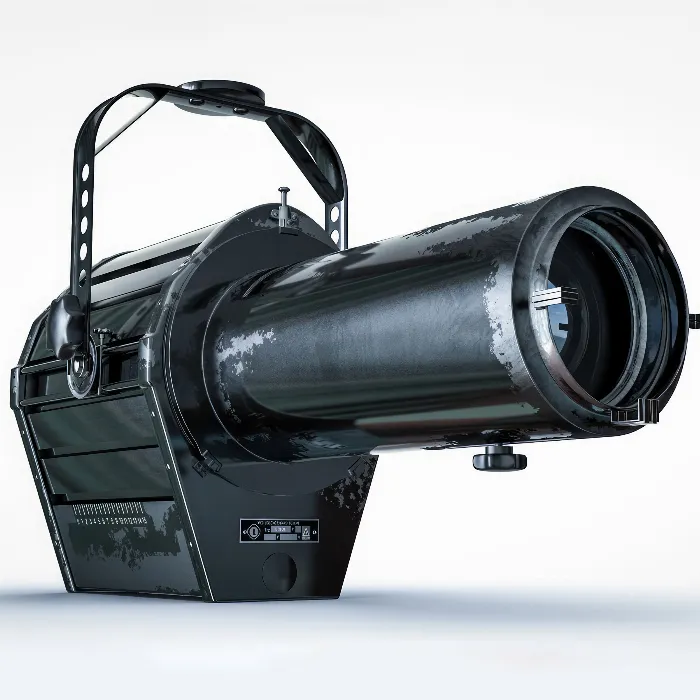
The correct lighting setup is one of the key components in 3D visualization. Particularly in Cinema 4D, it is crucial to create a realistic and engaging environment. In this tutorial, I will show you how to effectively place a floor, configure the backlighting, and select the right light source to create shadows and bring your scene to life.
Key insights
- A floor and a background are essential for a credible lighting setup.
- Using a render tag is critical to adjust the brightness of the floor to match the background.
- A target spot is a suitable light source for creating contrasts and shadows.
Step-by-Step Guide
To properly set up your scene, follow these steps:
Floor positioning and material
First, you want to ensure that your spotlight is not floating in the air. Position the spotlight directly above the floor. To do this, click on the floor and use the move tool to position the floor directly beneath the spotlight. Make sure there are no gaps between the spotlight and the floor, as this could negatively impact your render result.
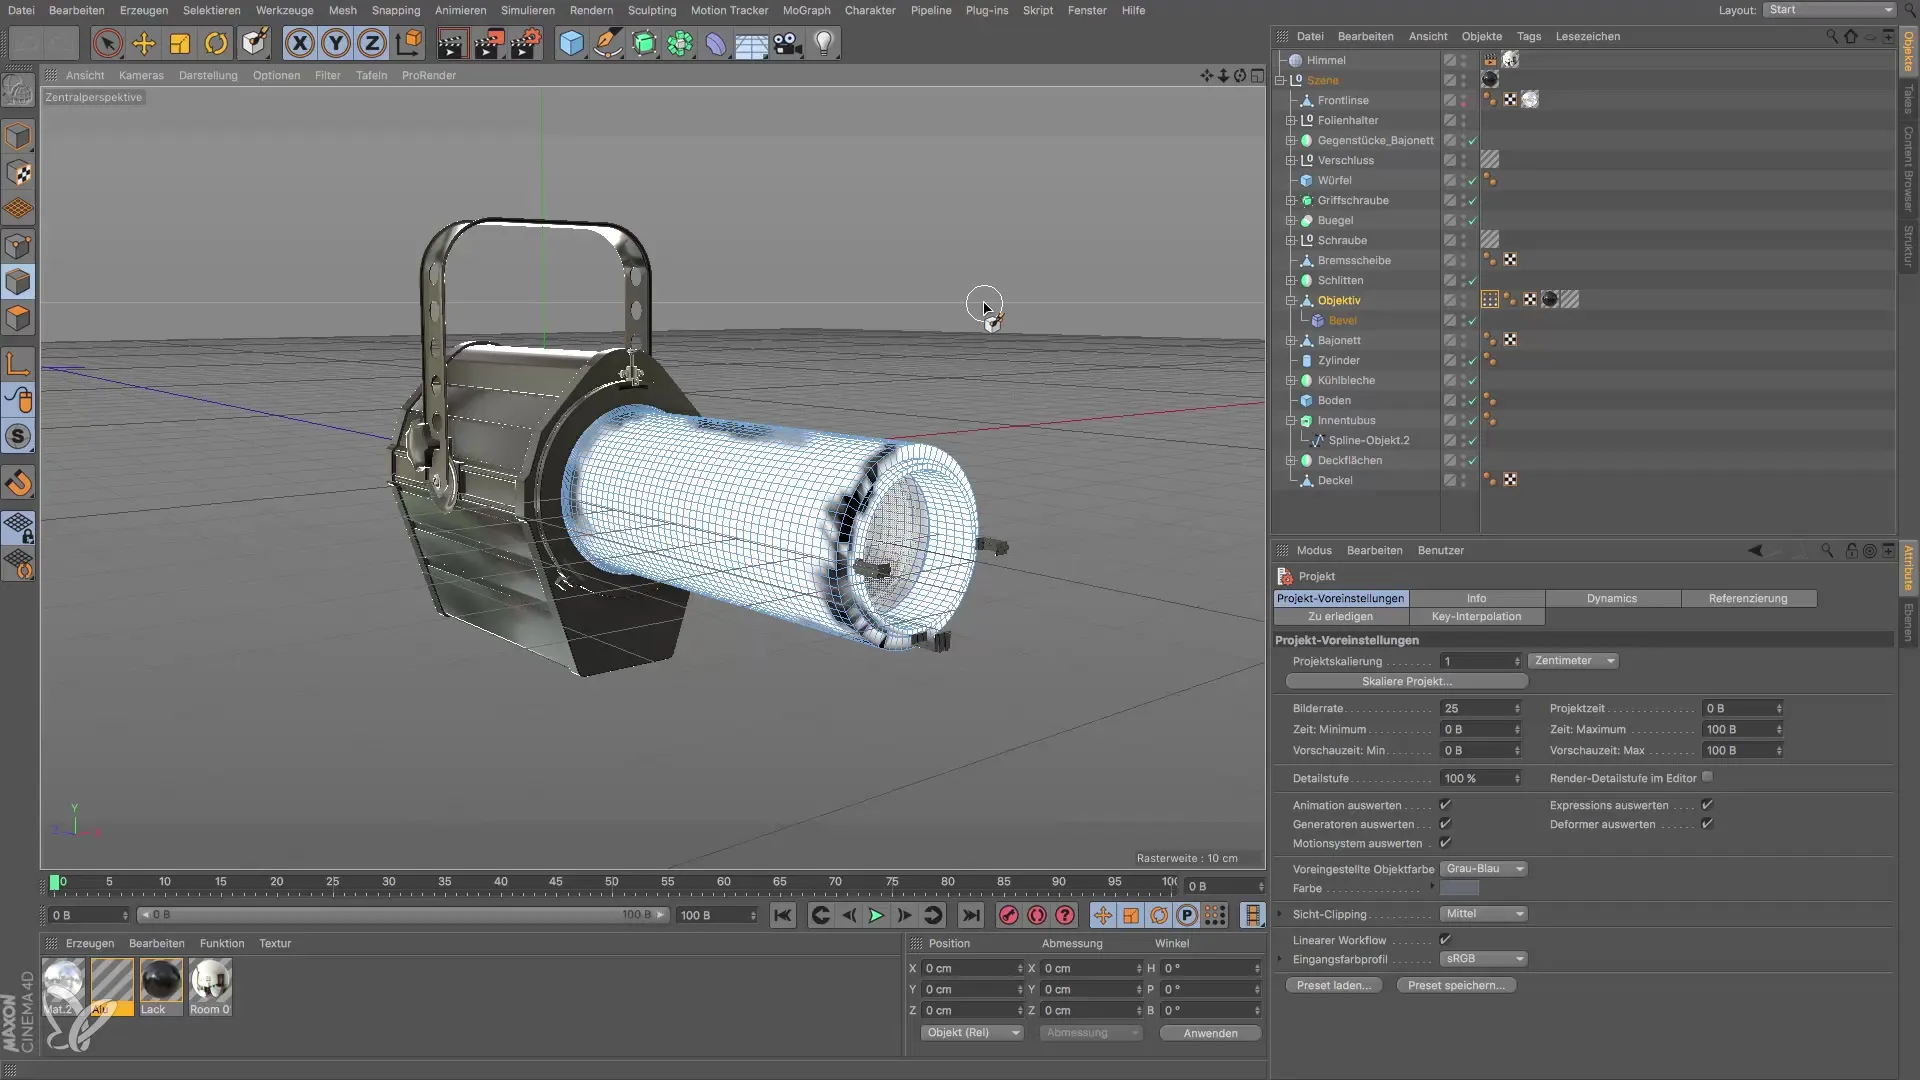
Now it’s time to give the floor a material. Double-click on the material and adjust the color. It is important that the floor is lighter than the background but not pure white, as this could lead to overexposed lights. Set the value to about 90% to achieve a balanced effect.
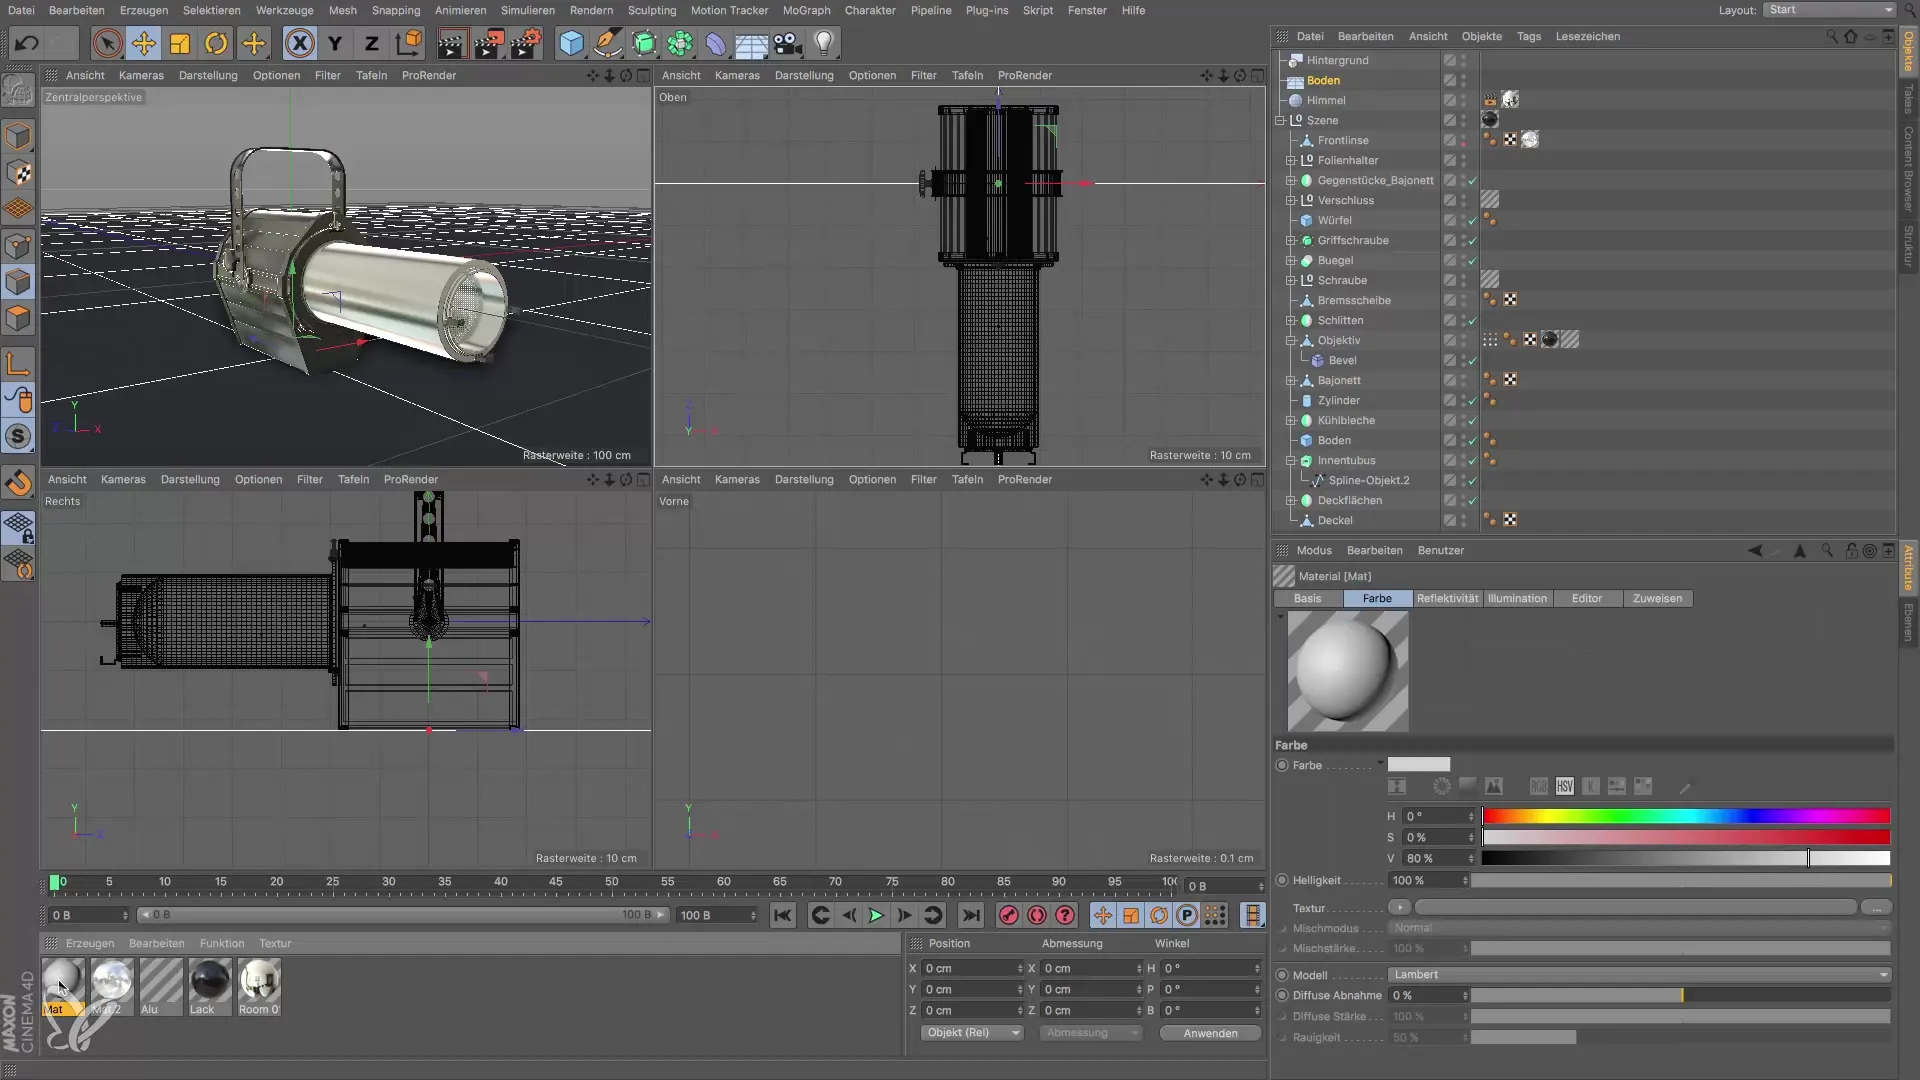
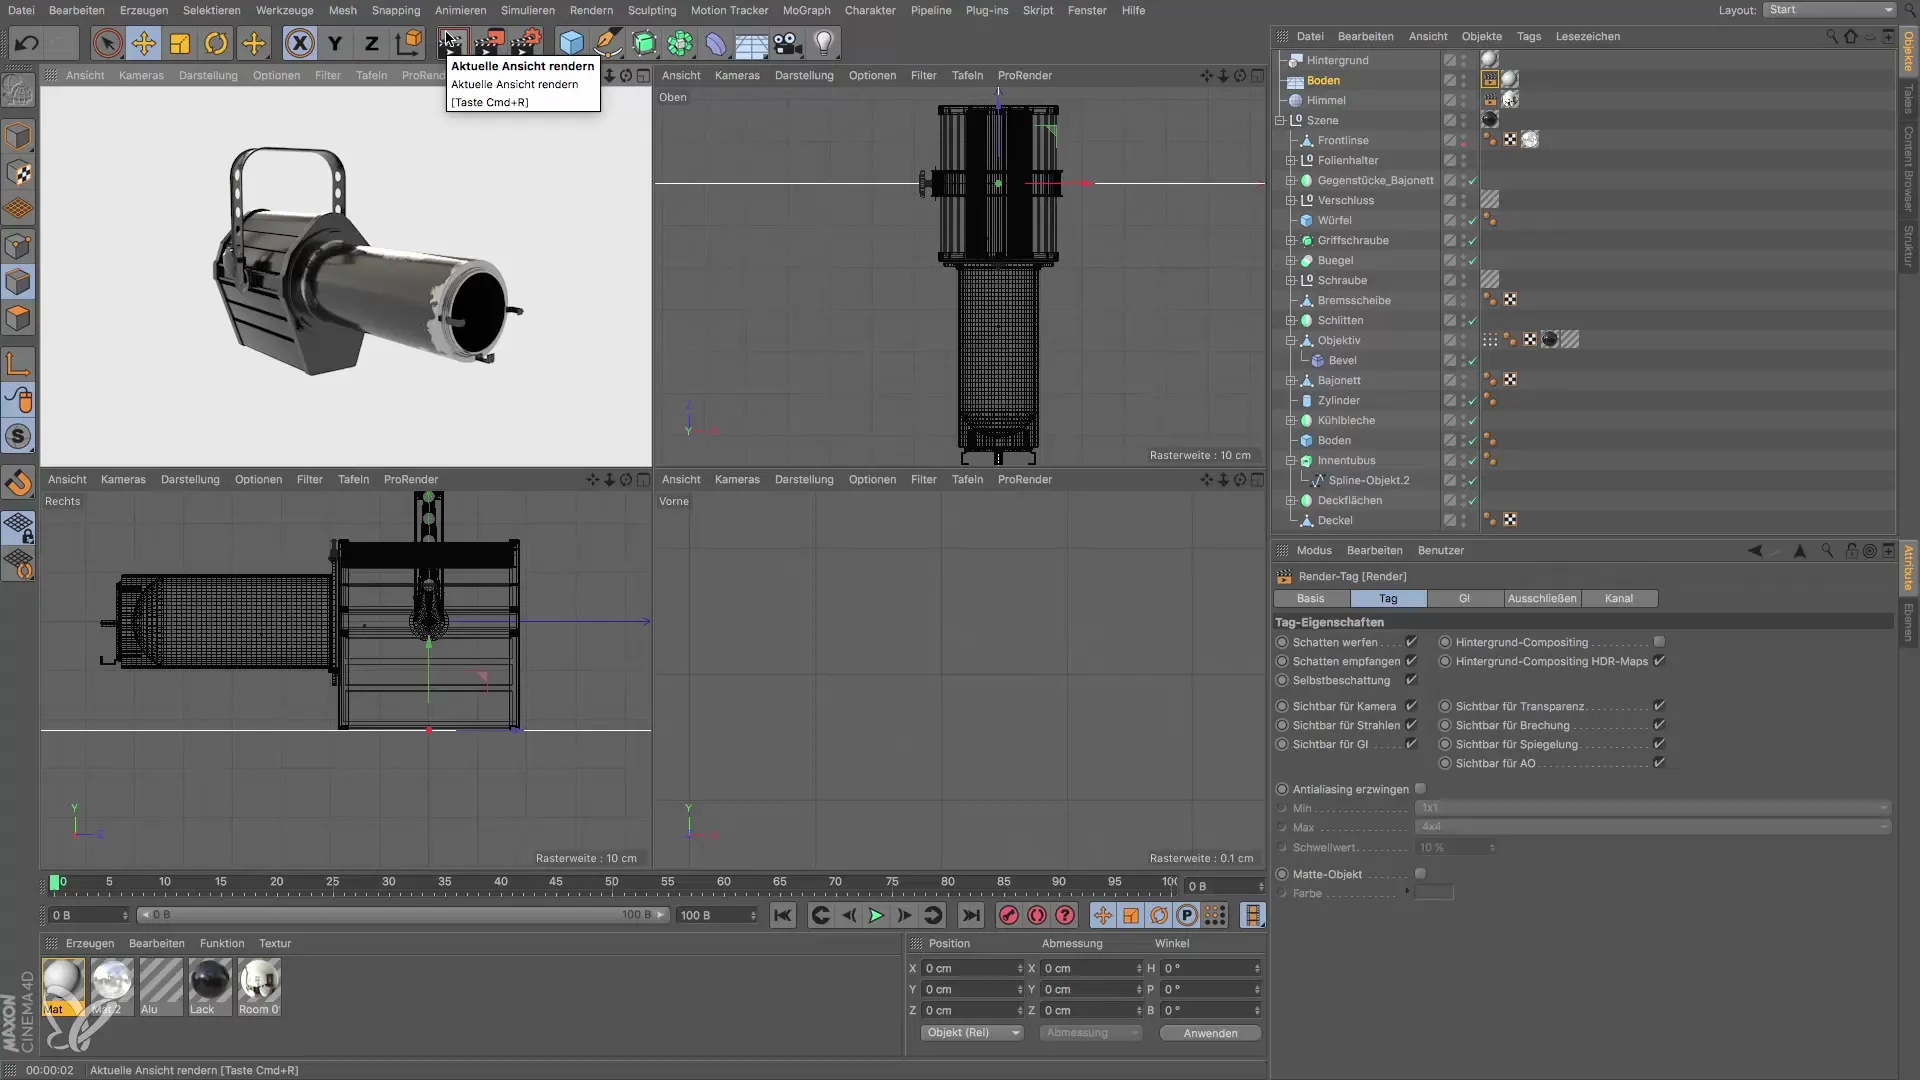
Once you have adjusted the color, drag the material onto the floor while holding down the Ctrl key. Make sure you also apply the material to the background so that both visually harmonize. Test your result in the small preview window to get initial feedback on this change.
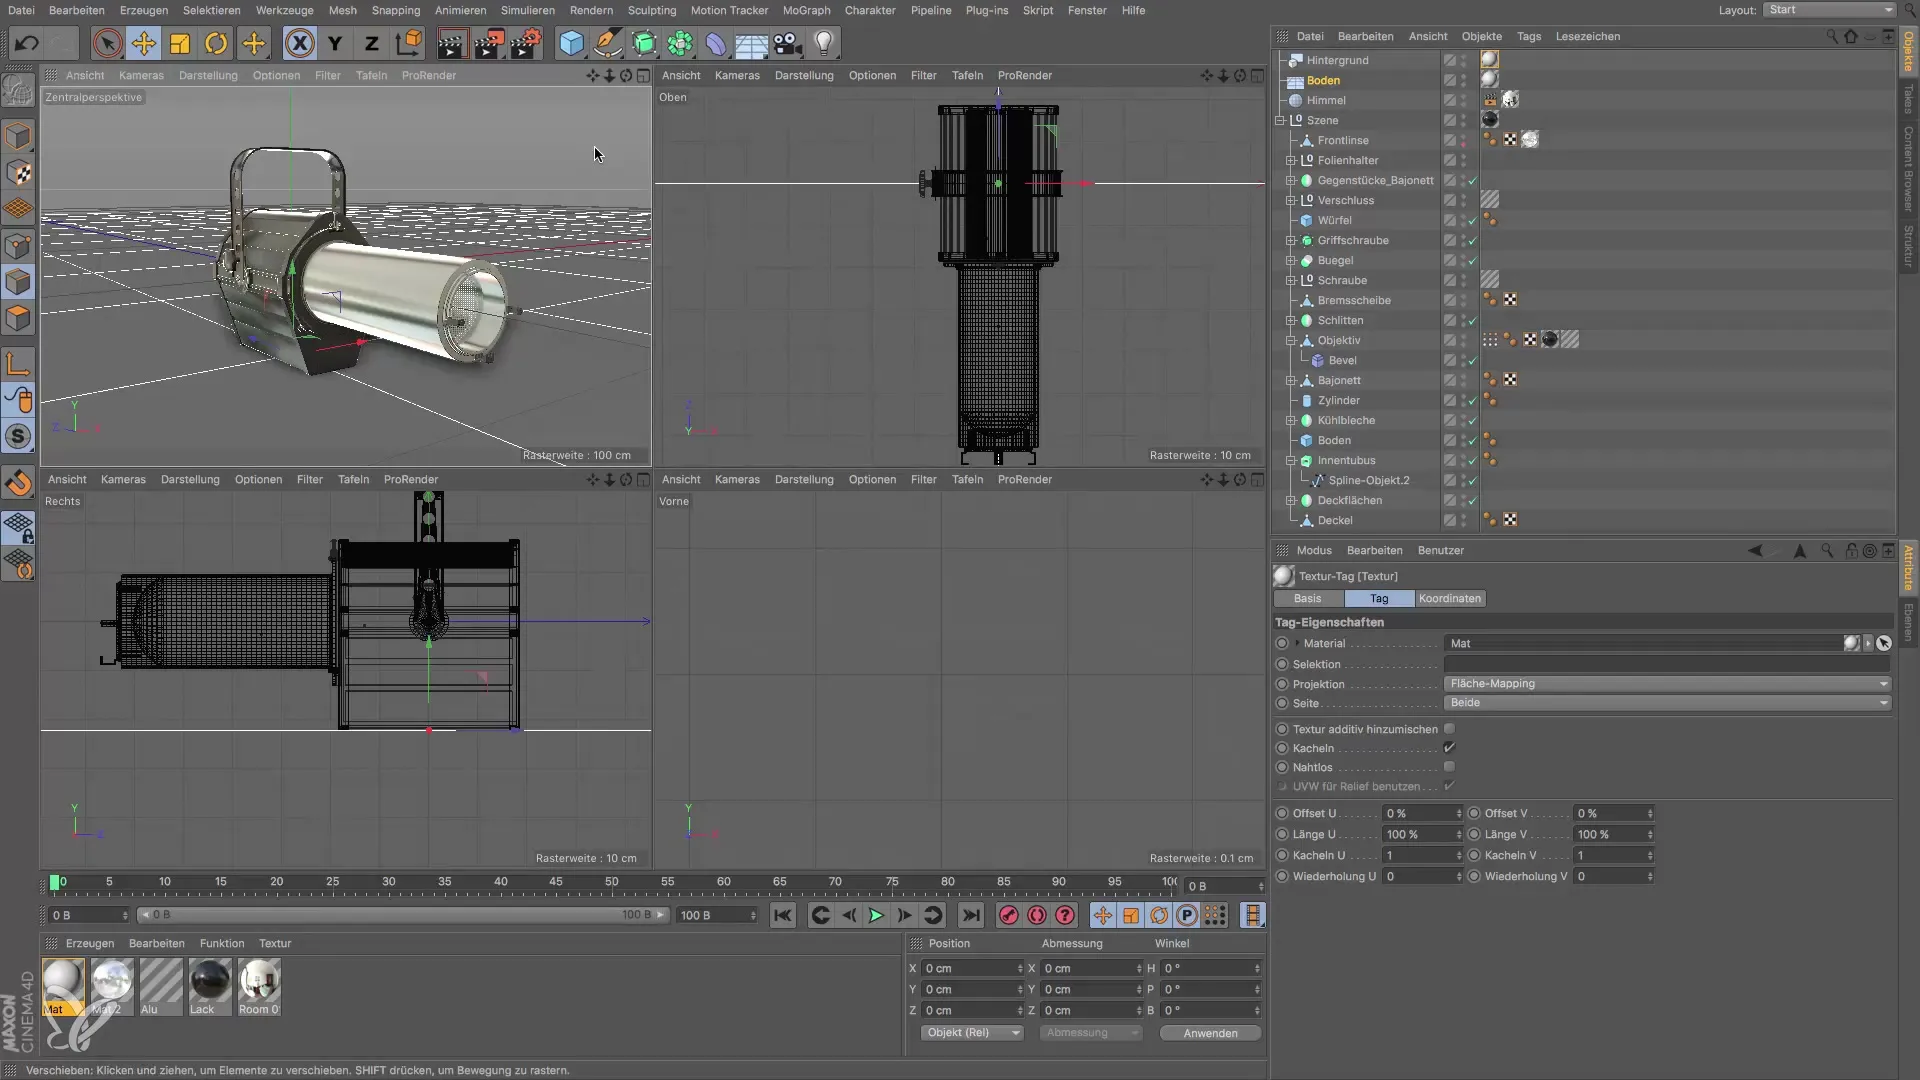
Adjusting the floor and background
Now you will notice that the floor and the background have different brightness levels. This is because the intensity of the floor depends on the angle of the incoming light, while the background remains static. To ensure that both elements look uniform, you must add a render tag to the floor. This helps to define the floor as part of the background compositing.
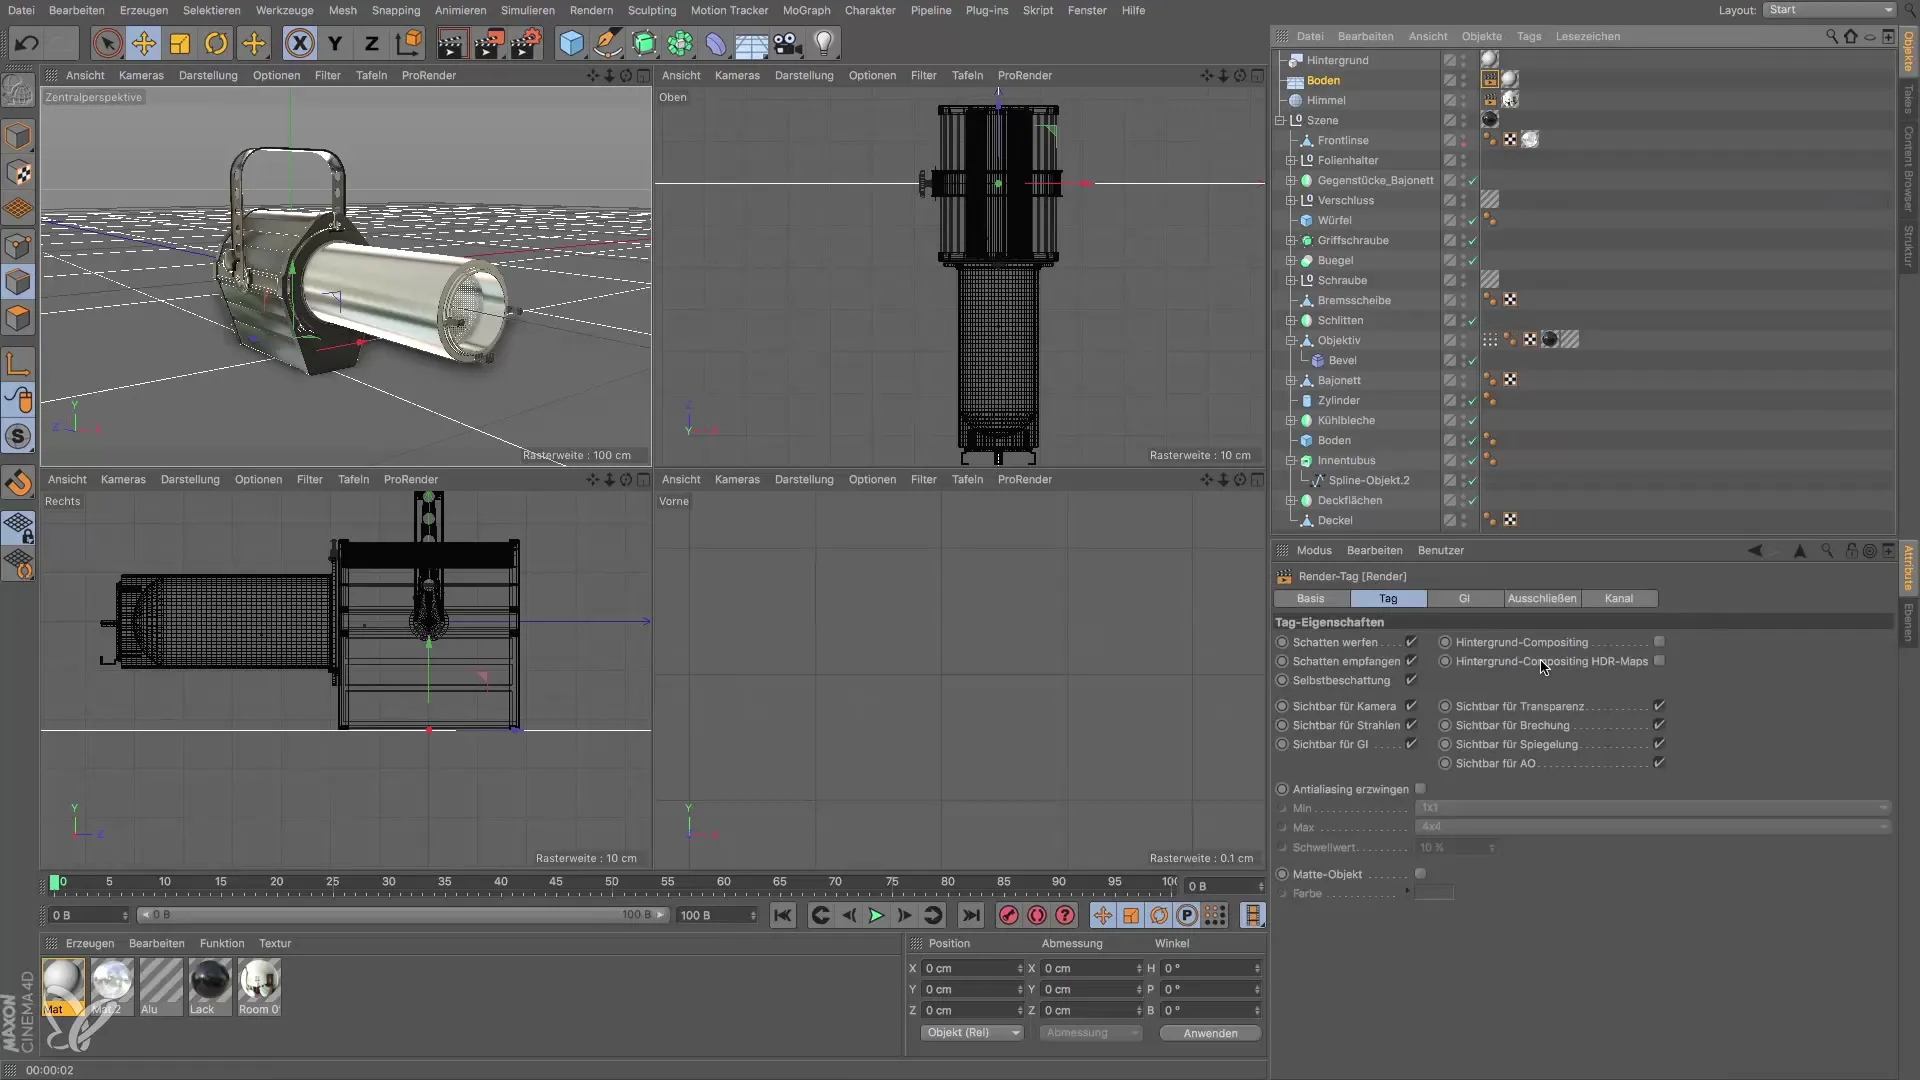
Use an HDR map for the render tag to create more realistic lighting conditions. After this step, the floor and background should have the same brightness, giving you a harmonious overall picture.
Optimizing the lighting
Another important point is the lighting of your object. If your sky object does not cast shadows, the scene appears flat. To fix this, add a target spot. This light source has the advantage of always pointing to a null object, allowing for precise control. Position the target spot so that it shines on your object from a pleasing perspective.
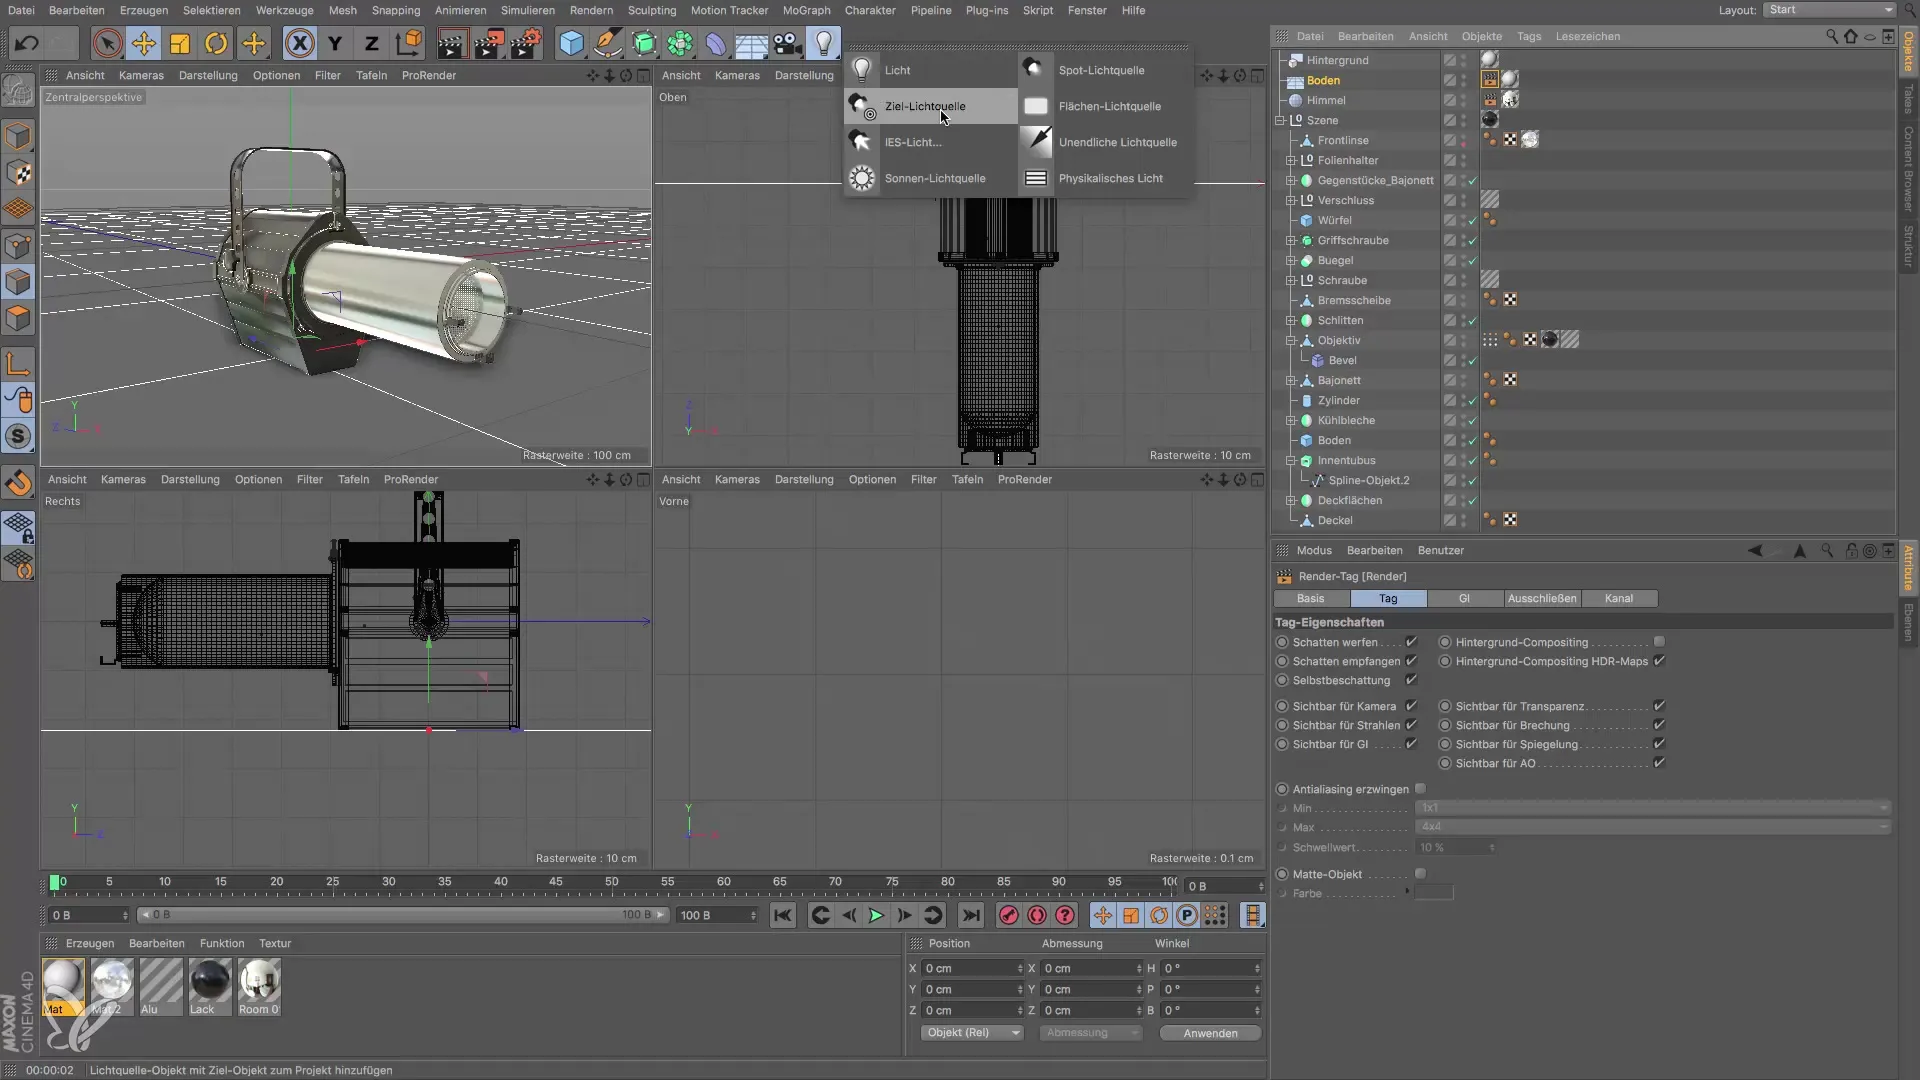
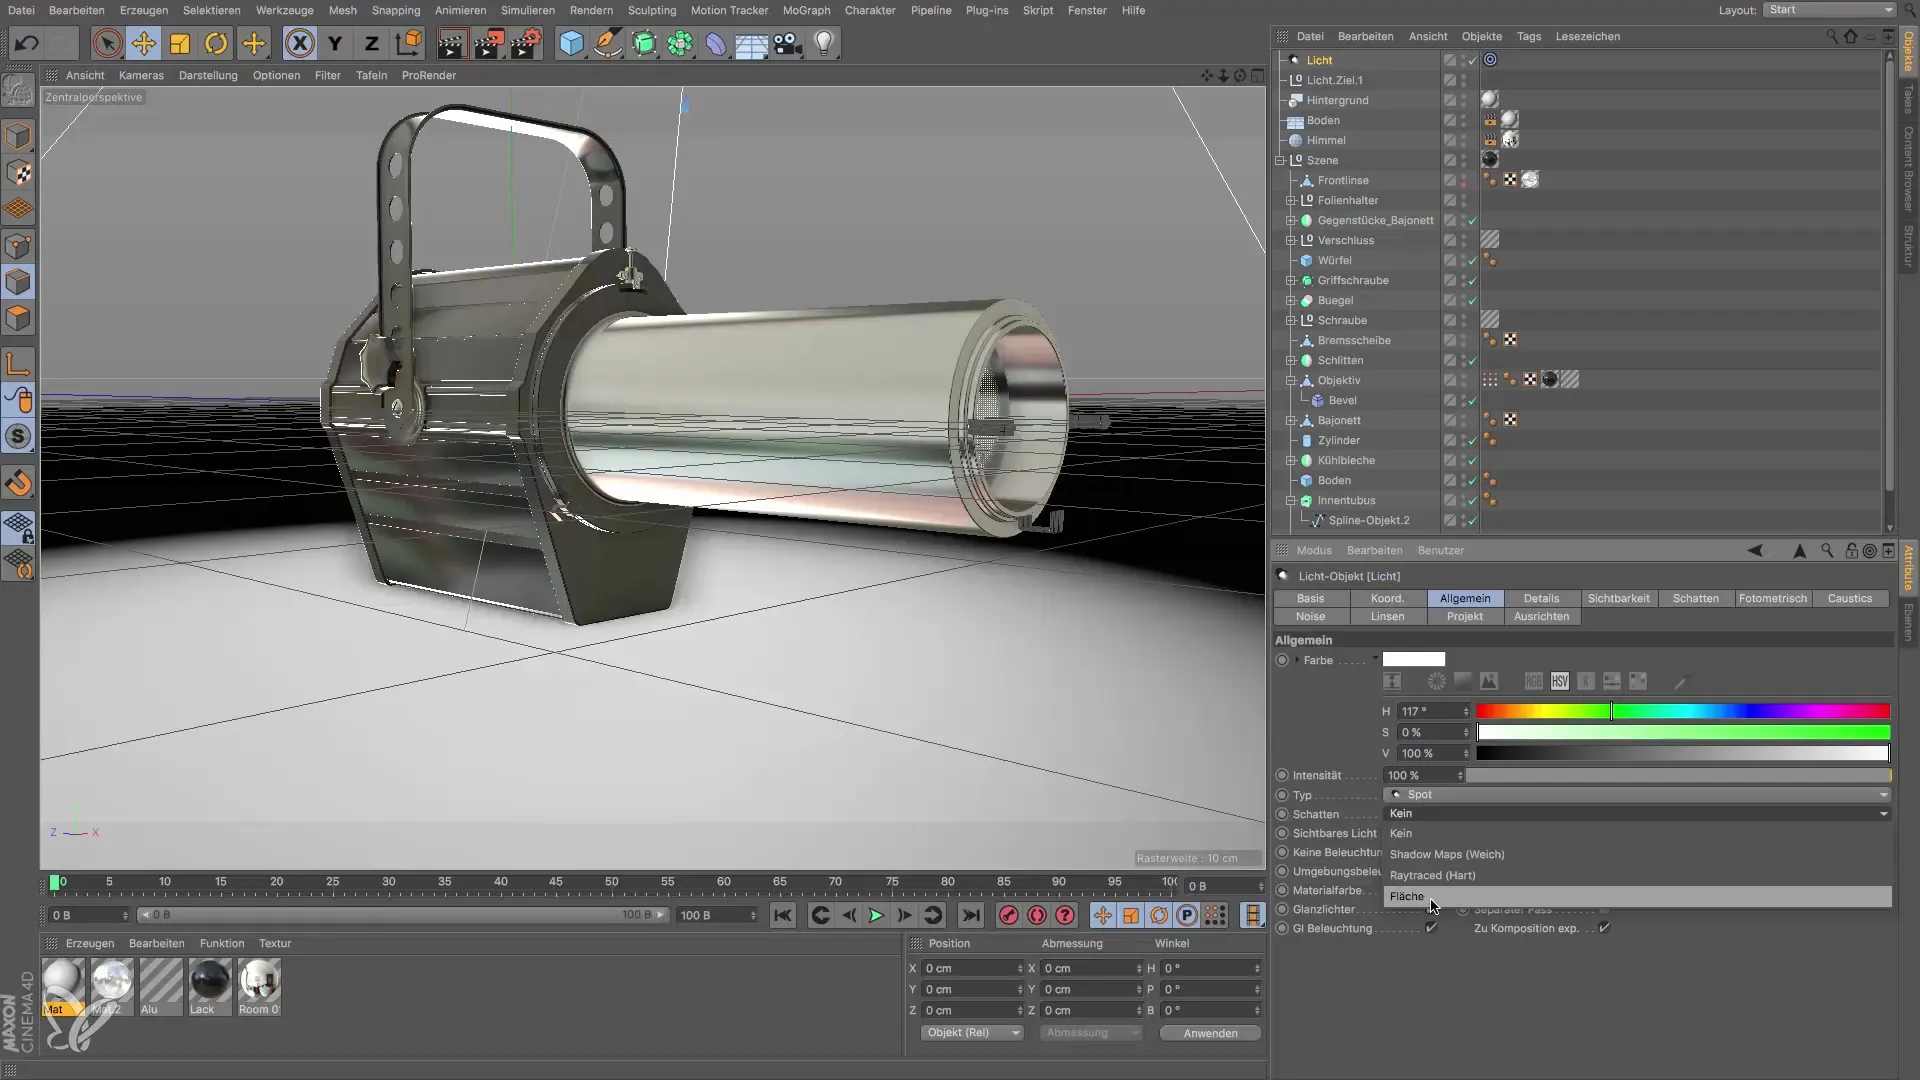
When positioning the spot, it must be arranged so that the light cone illuminates the desired area. Experiment with the size of the light cone and the position of the spot to achieve the best result. However, when you render it, nothing significant may be visible yet because the spot is still not casting a shadow. Make sure you tell it to generate a soft shadow to enrich the atmosphere.
Material effects and shadows
Now you have the opportunity to optimize the material of the object. To achieve better shadows, you might consider switching to a physical material. Delete the standard specular material and replace it with a material you like. This can help you achieve better shadow and reflection effects. Alternatively, you can also use the luminance channel to increase the brightness of your material. Set the value to about 30% to achieve a pleasant light distribution.
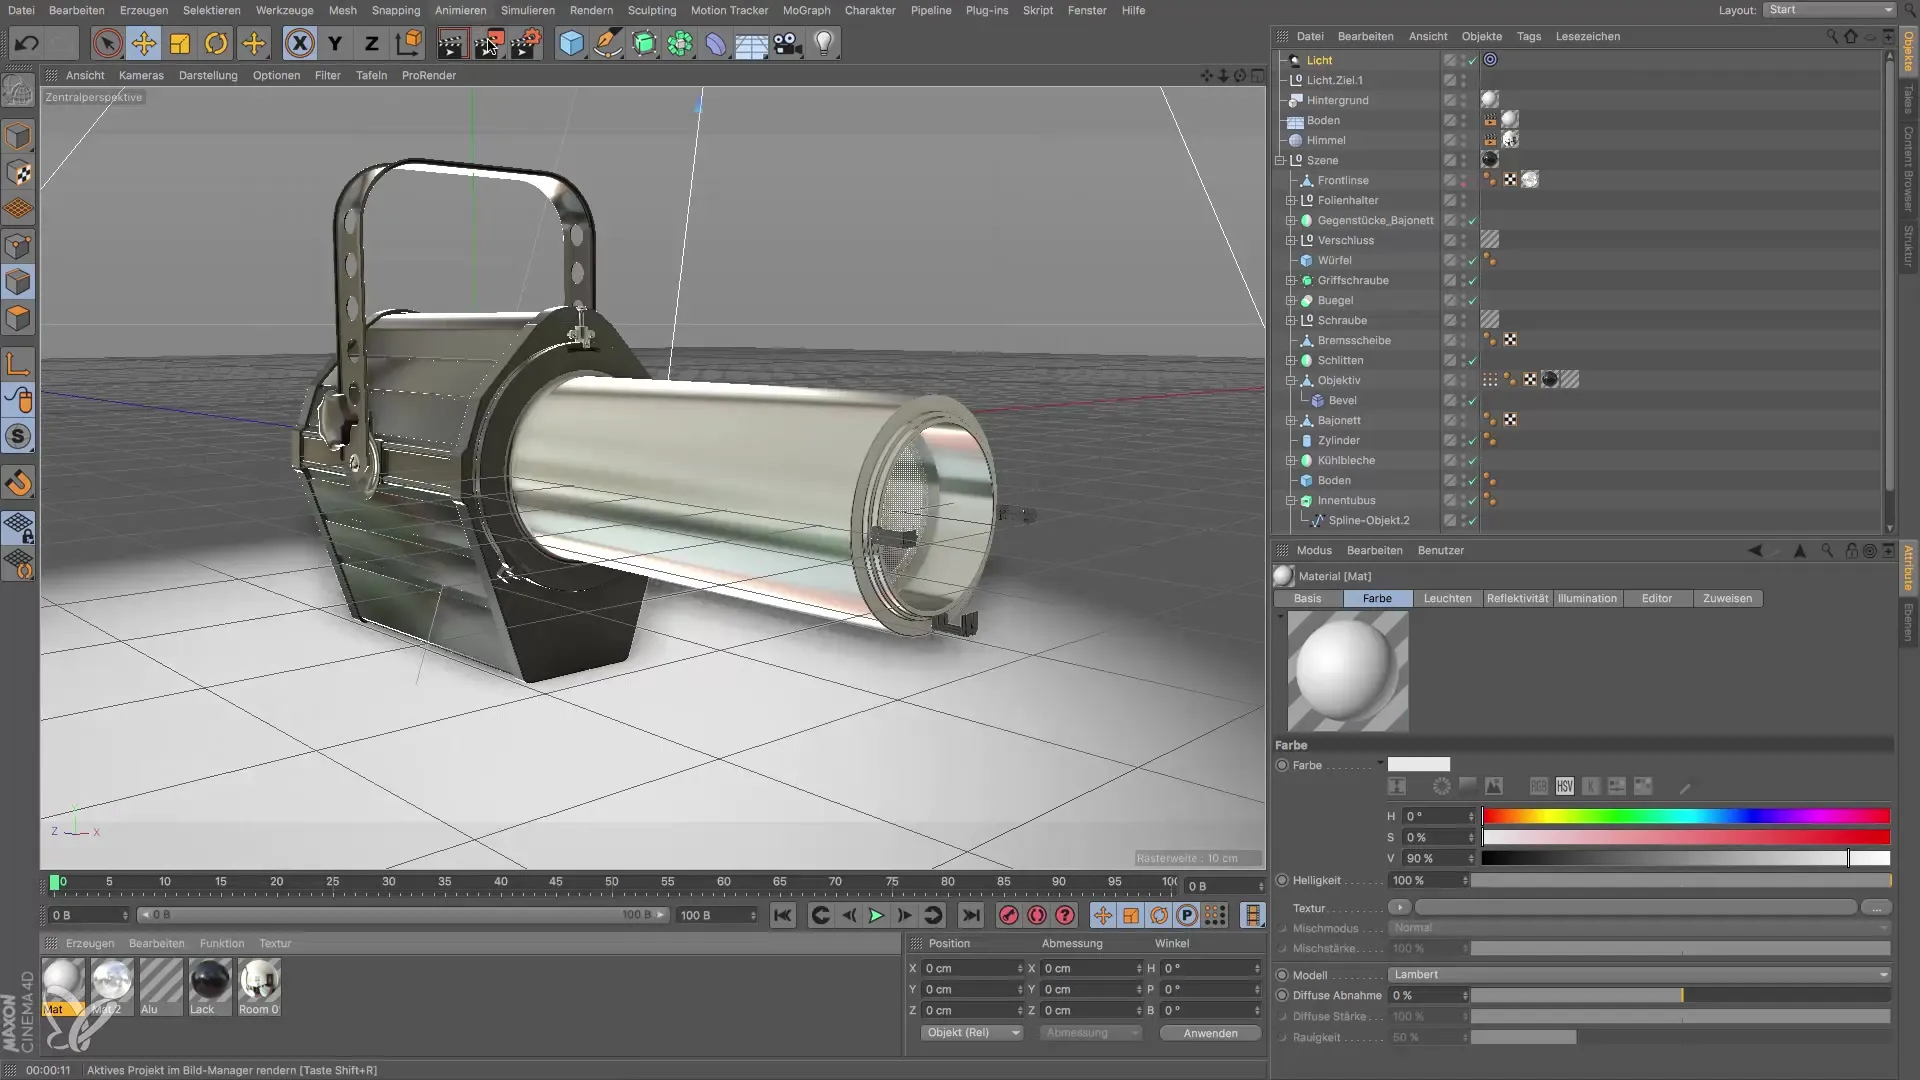
When you render your result now, you will see that the shadow looks more balanced and the material gains more depth. Make sure that these effects can significantly improve the overall look of your scene.
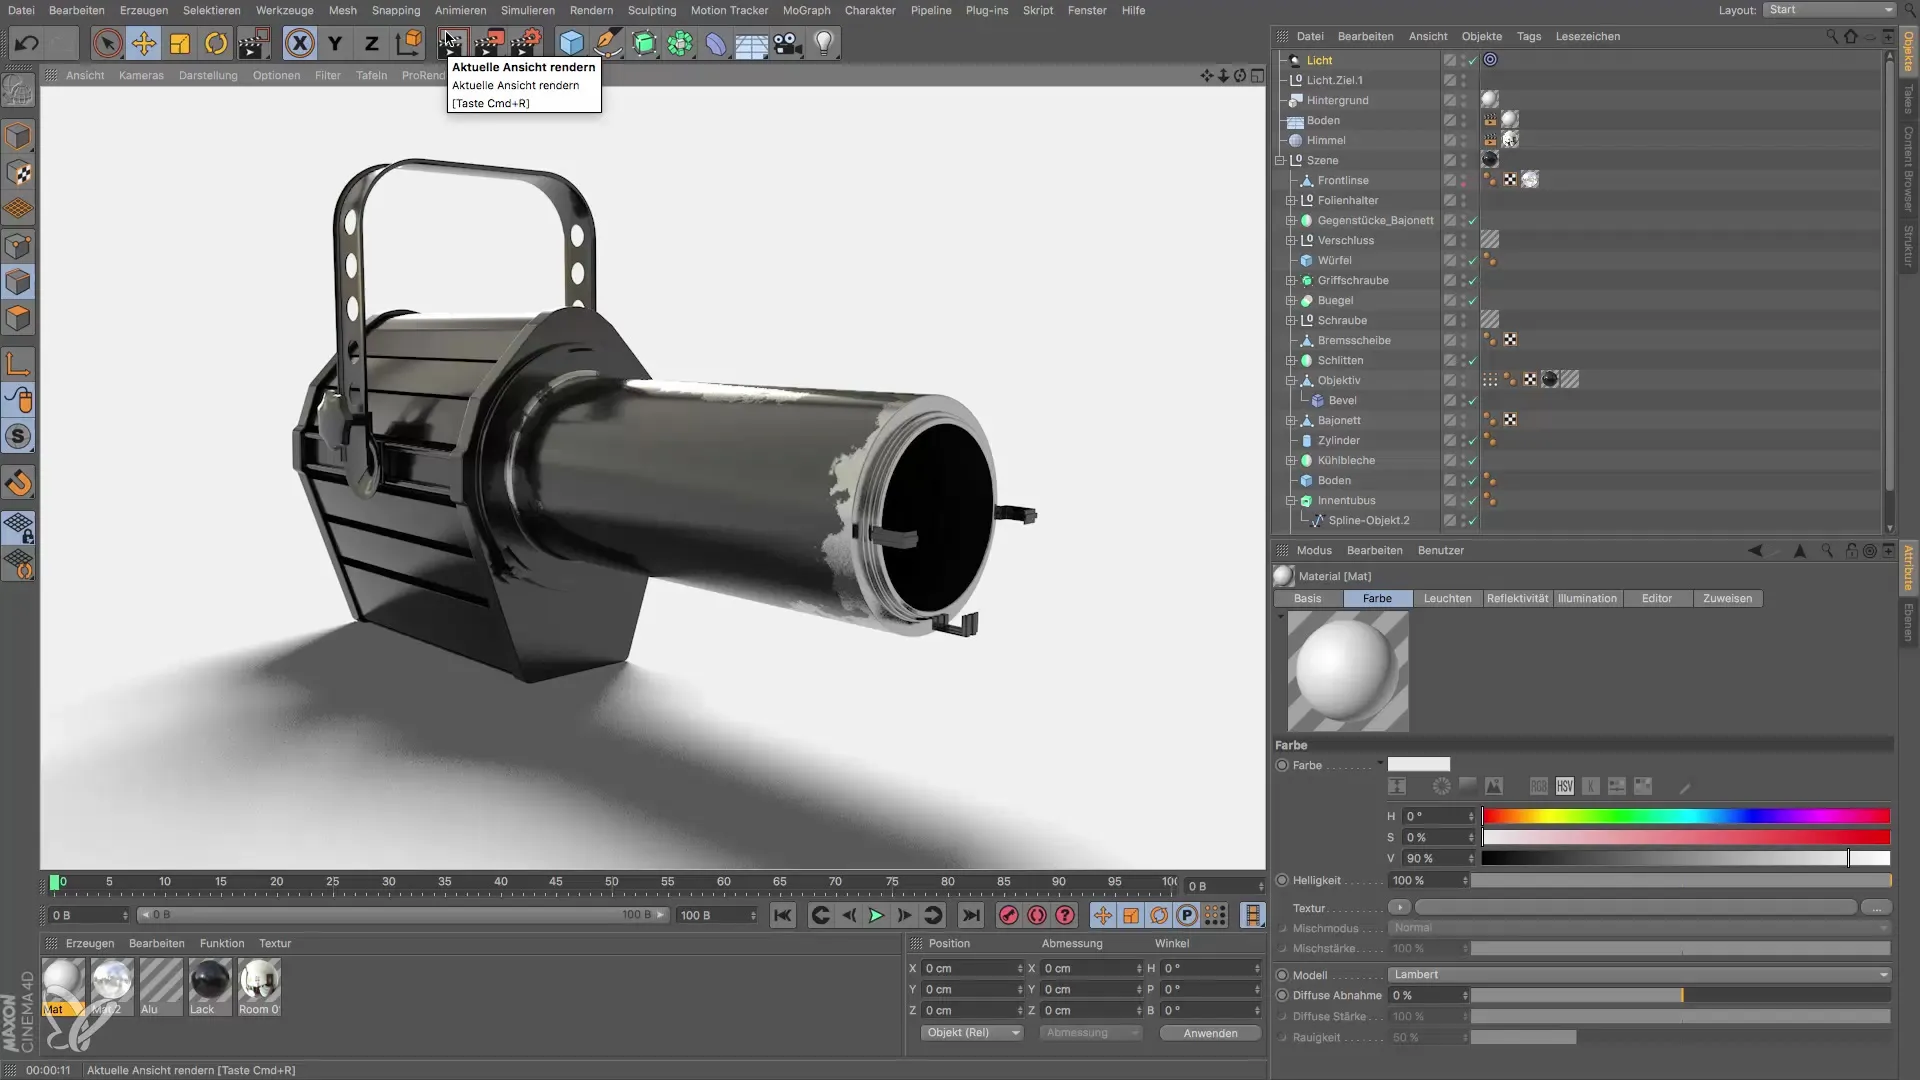
Summary – Lighting Setup in Cinema 4D: A Step-by-Step Guide
With this guide, you have gained a solid overview of how to efficiently implement lighting setup in your 3D scene in Cinema 4D. The right interplay of floor, background, and light source is crucial for creating an engaging visual atmosphere.
Frequently Asked Questions
What is a render tag in Cinema 4D?A render tag helps control the material behavior of the object during rendering, specifically regarding lighting conditions.
How can I adjust the shadow in my scene?You can change the settings of the light source to create different types of shadows, such as hard or soft shadows.
Why does my floor look different from the background?This is because light intensity and the angle of incoming light affect the floor differently than the background.
How do I position the target spot correctly?The target spot should be positioned so that it points well at the object and the light cone optimally illuminates the desired area.
How do I increase the brightness of my material?By adjusting the luminance channel in the material tag, you can easily increase the brightness.
