Creating 3D text in Cinema 4D is an exciting and creative task with the use of the Extrude object. The Extrude object allows you to convert text splines into high-quality 3D models. In this guide, we will show you step by step how to make impressive 3D elements from simple text.
Main Insights
- The use of the Extrude object is crucial for creating 3D text.
- You can adjust the direction of extrusion and even add rounding to the edges.
- It is important to configure the caps and edges for an appealing design.
Step-by-Step Guide
To extrude your text, start by dragging the Extrude object into the workspace of Cinema 4D.
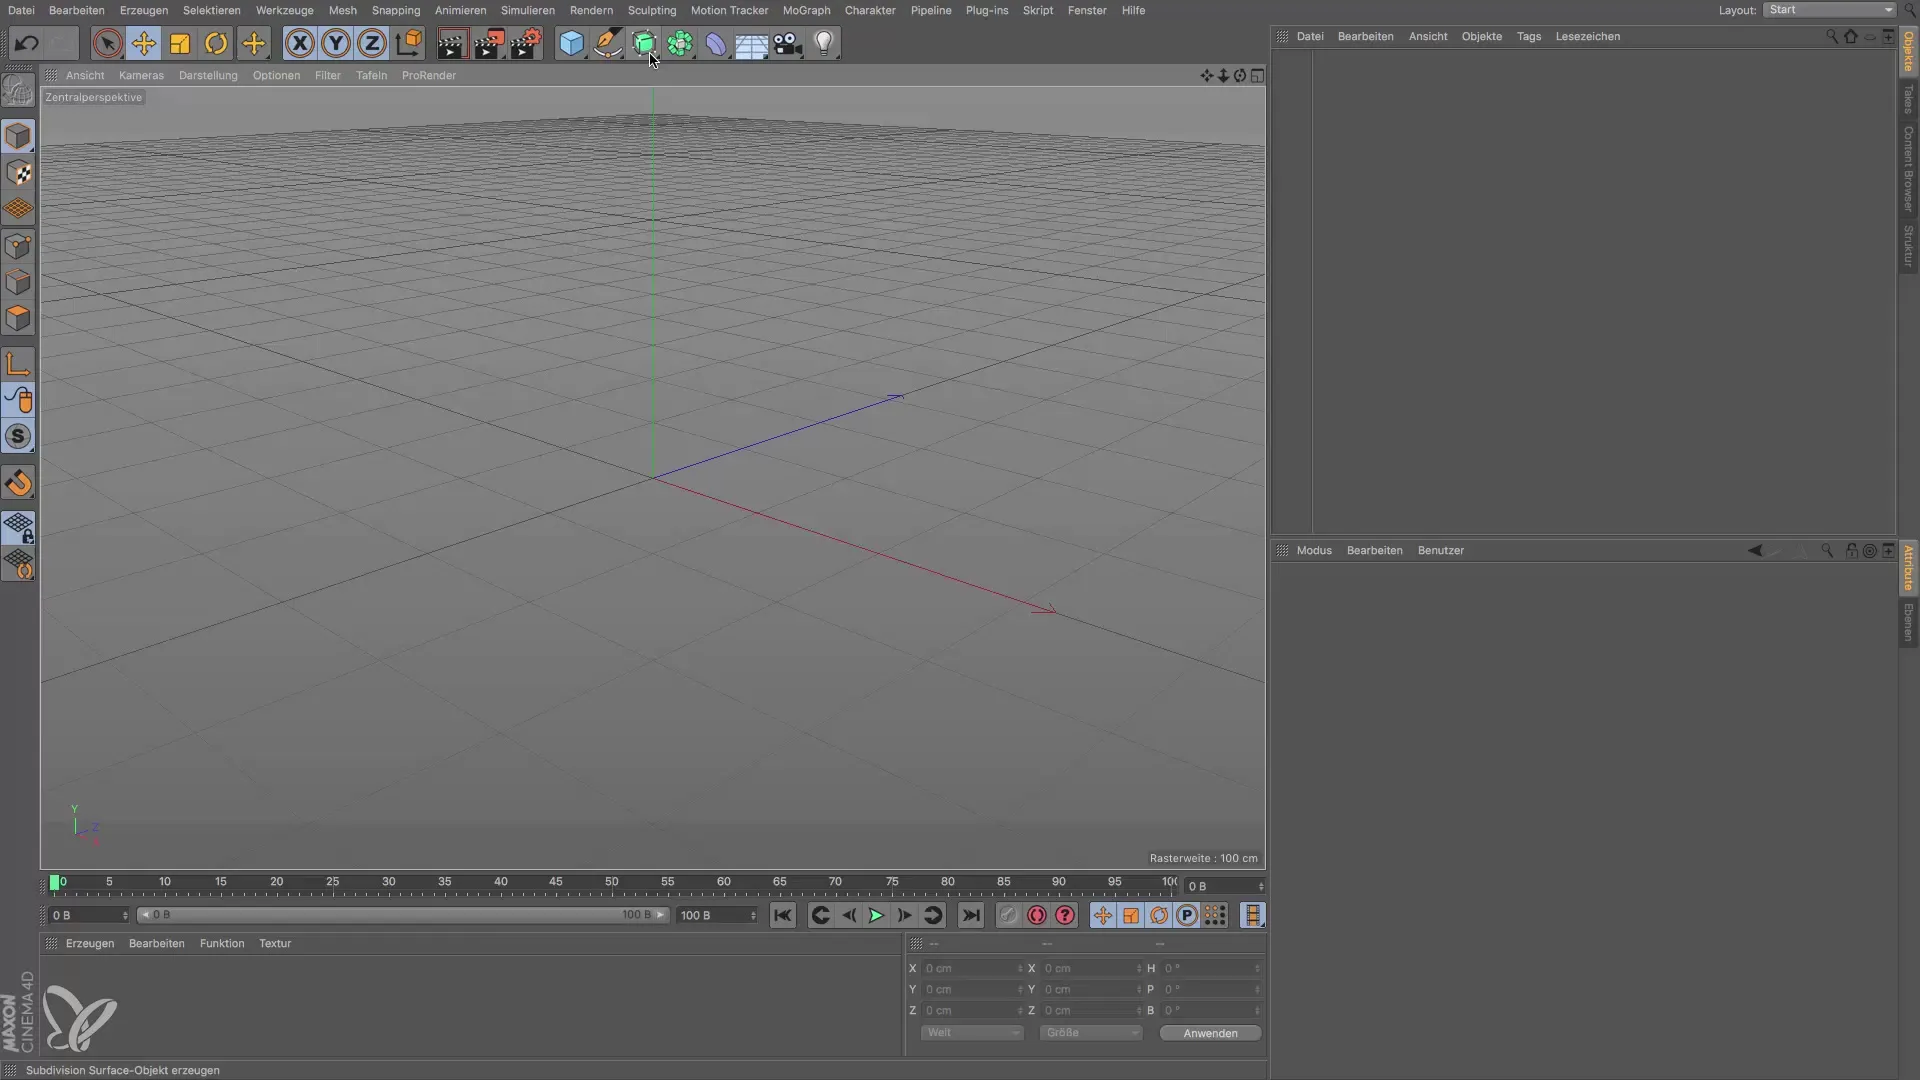
The Extrude object requires a spline as its base. You can either create this yourself or generate it using the text tool.
Select the text tool and enter the desired text. After entering the text, you need to confirm it for it to become visible in the workspace.
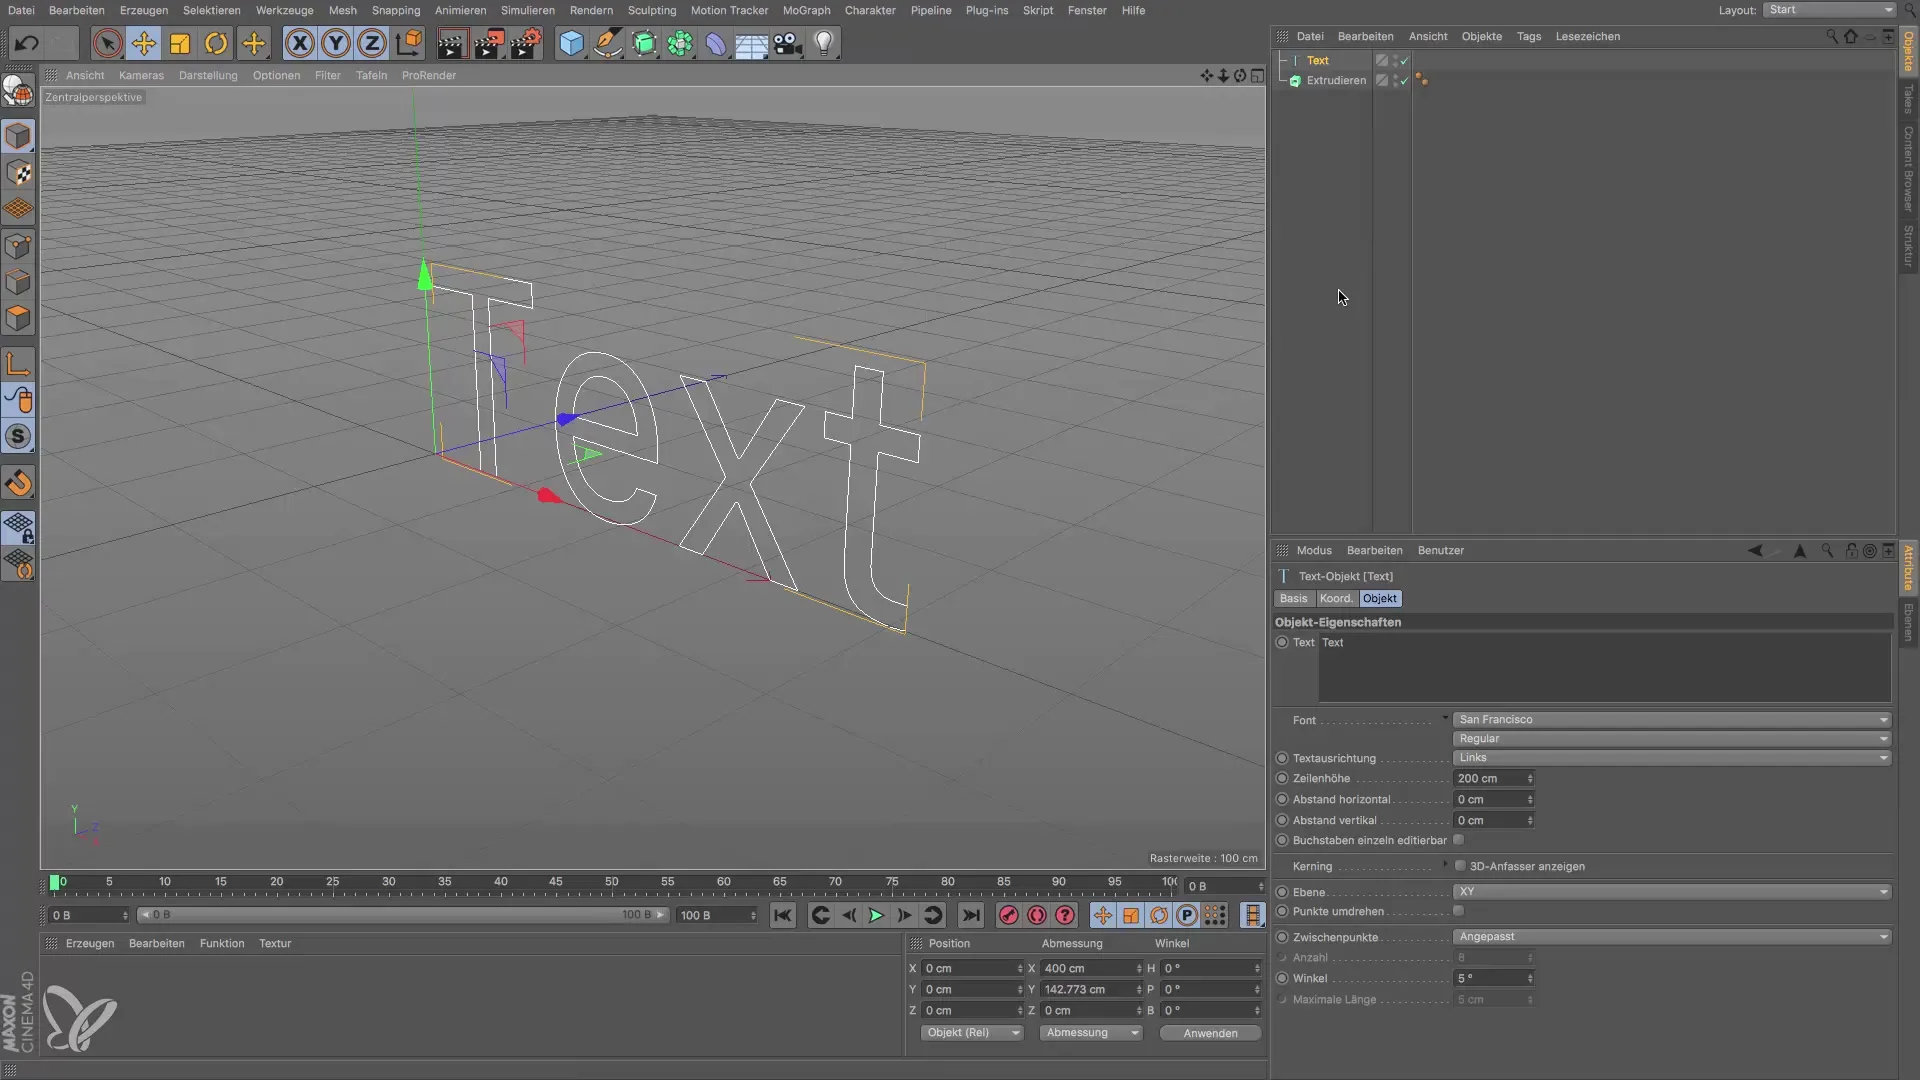
The next step is to drag the text spline into the Extrude object. This will convert your entered text into 3D text.
The extrusion occurs in the Z direction by default. You can observe this by clicking on the Extrude object in the Attribute Manager. Here you can see the value for the extrusion, which is set to 20 cm by default.
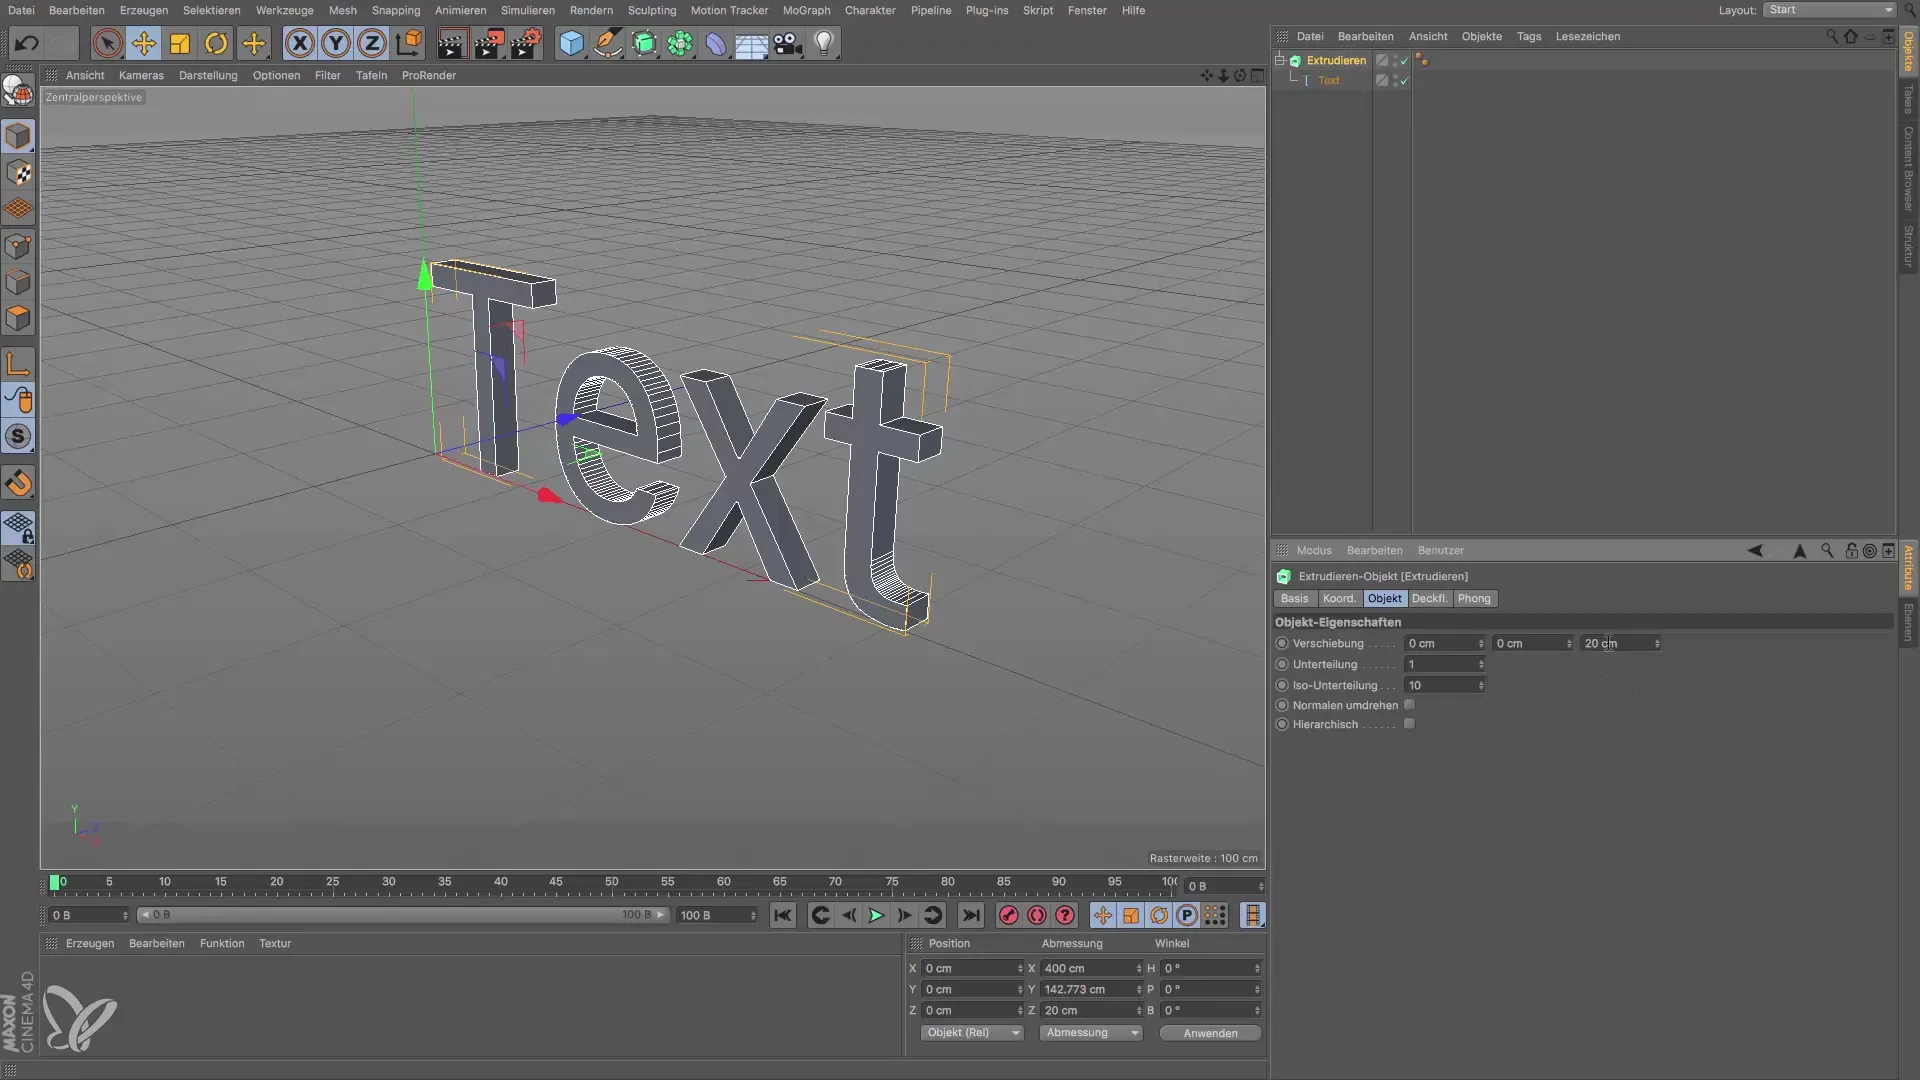
If necessary, you can change the directions of the extrusion. Consider which direction would be most appropriate for your project, for example in the Y direction if you need a different alignment.
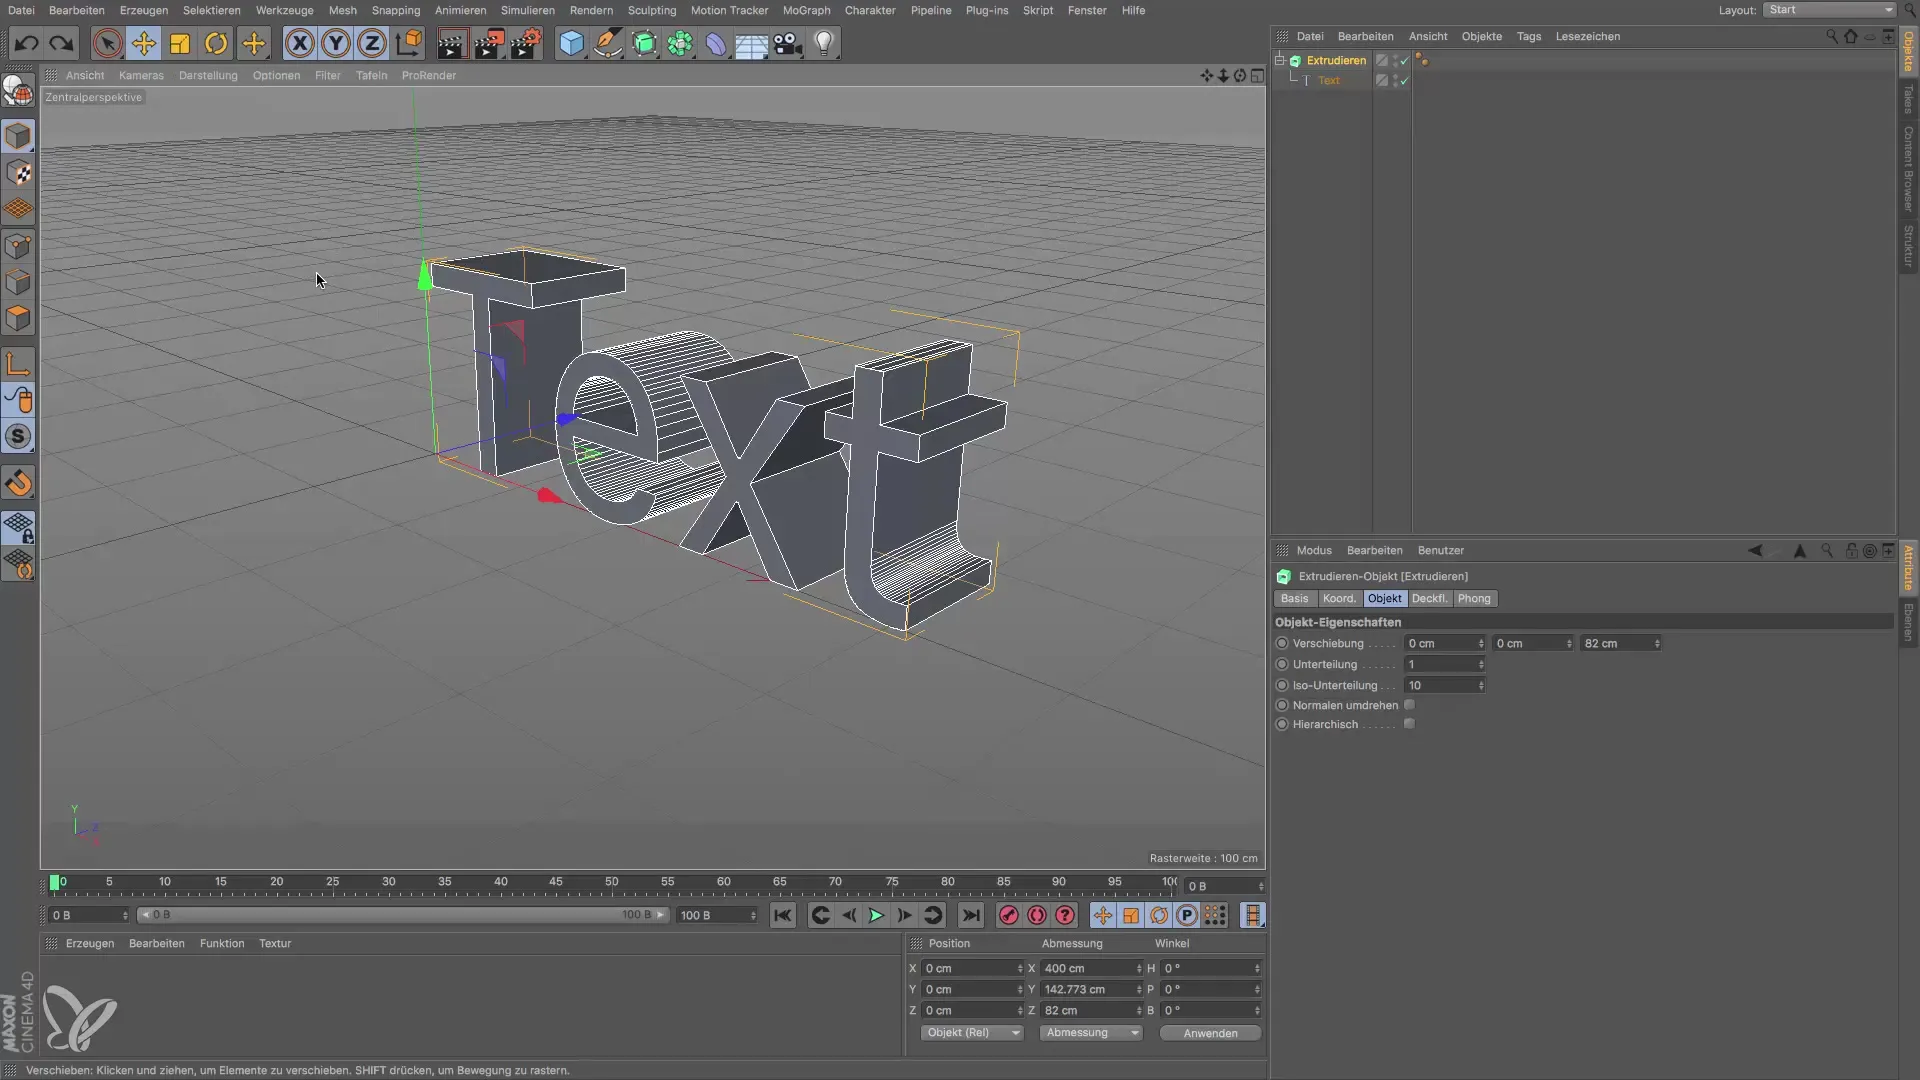
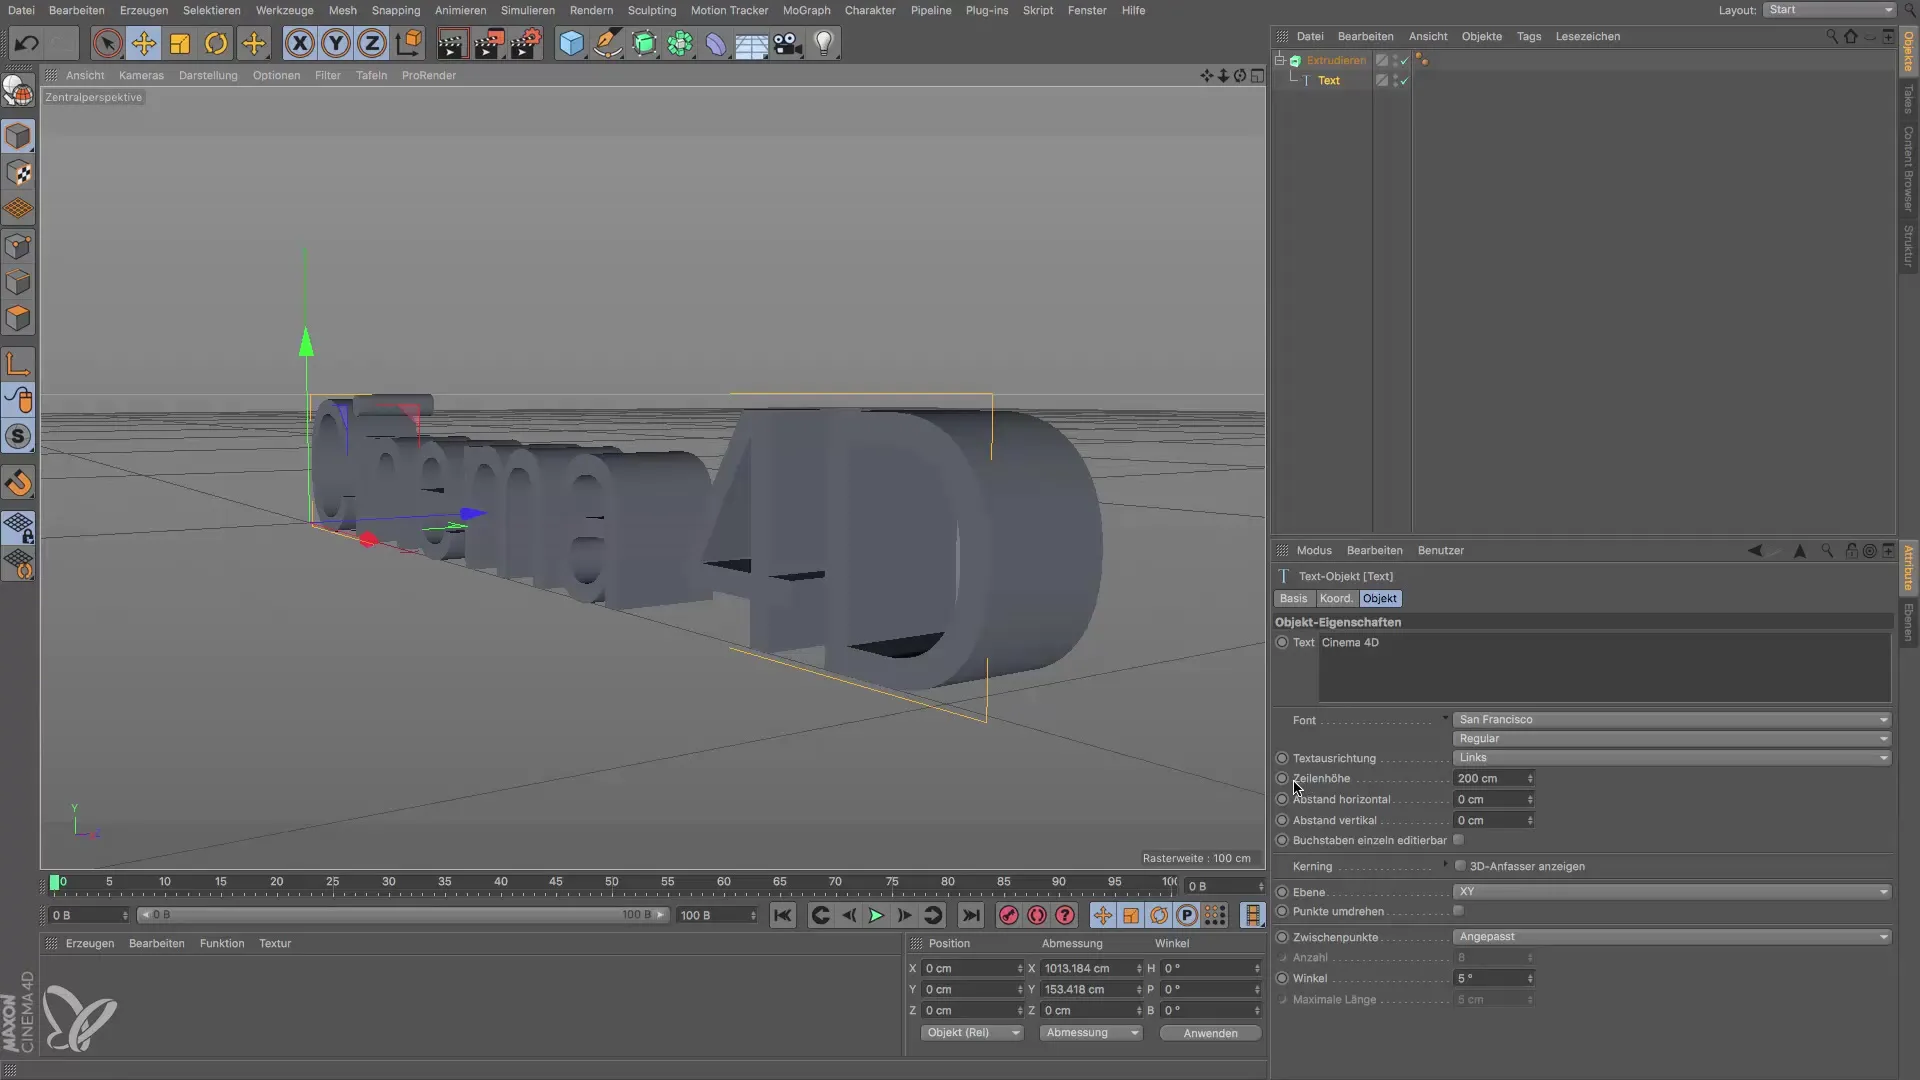
Now you have the opportunity to further customize the text. The text tool also allows you to change line height or other typographic settings to refine the final appearance.
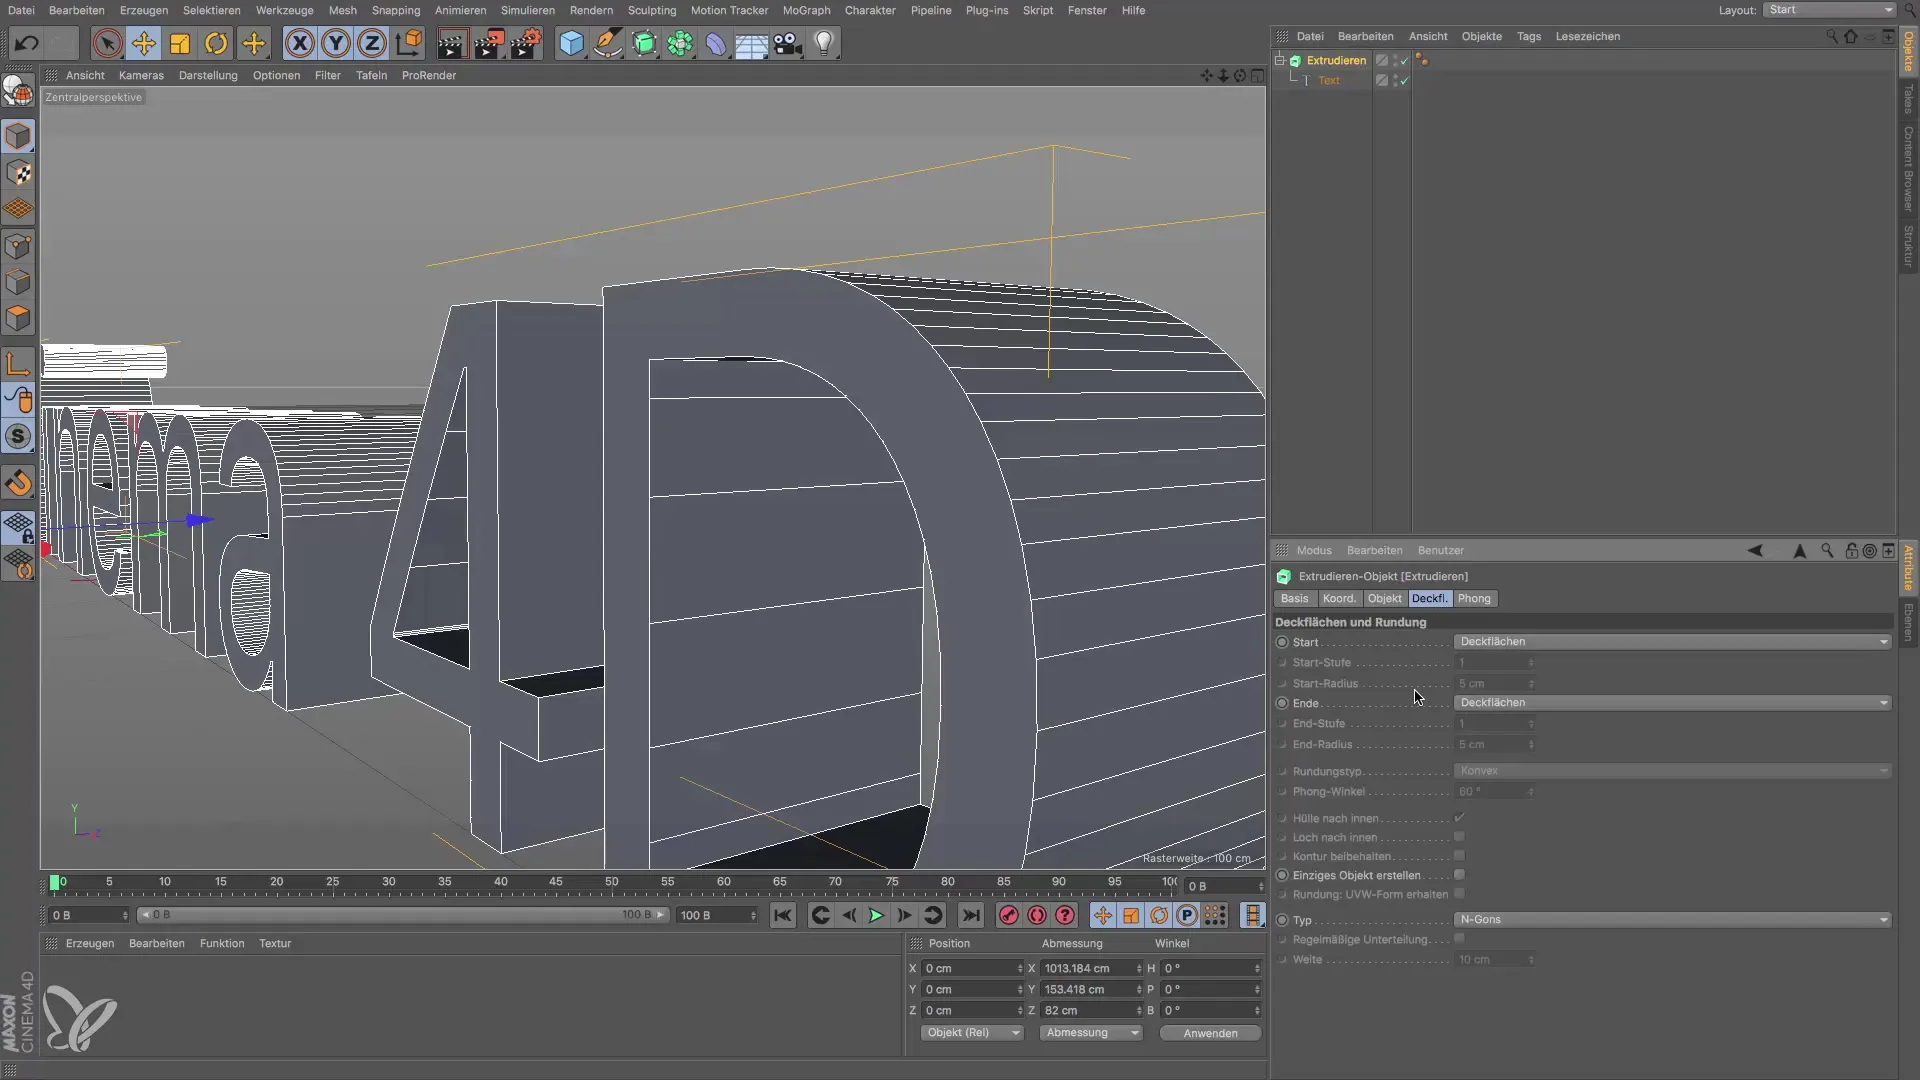
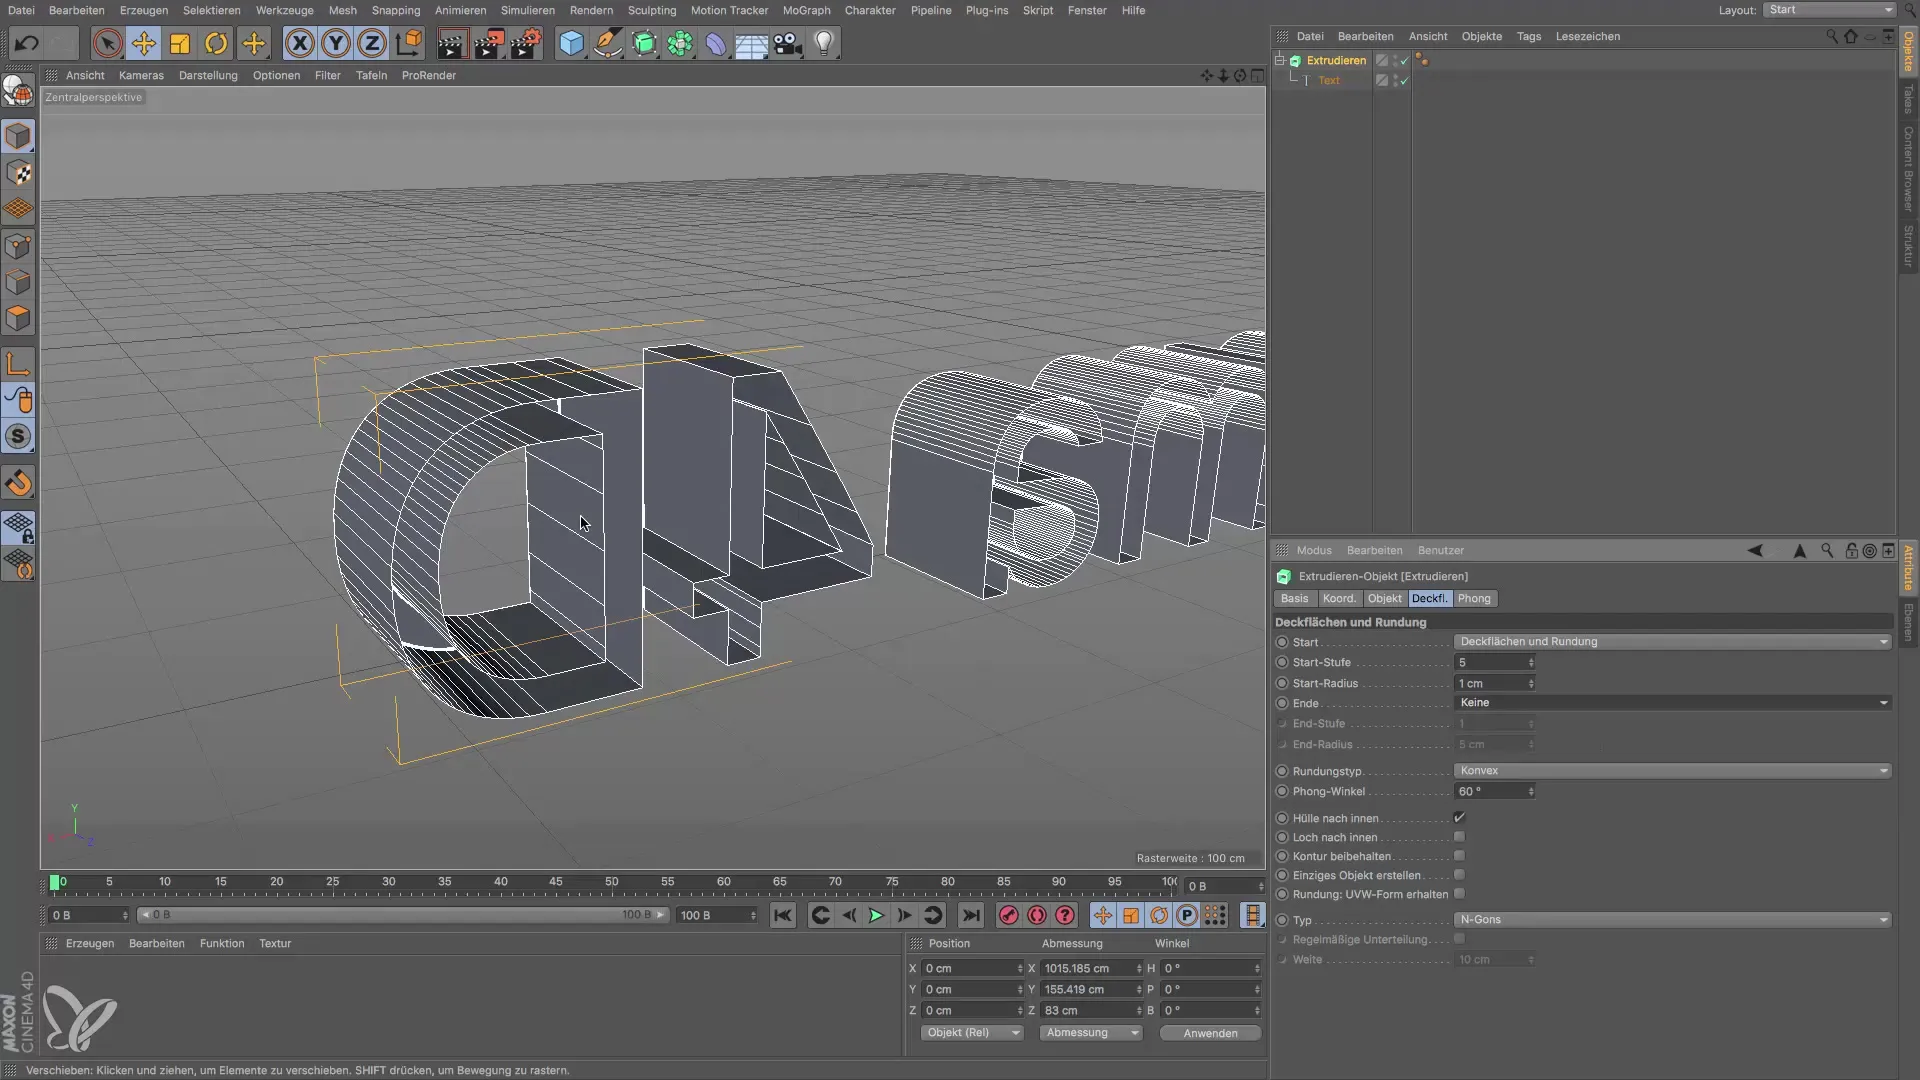
The edges of the extruded text can also be edited. To do this, click on the Extrude object and navigate to the caps, where the front and back faces of your text are visible.
Here you can experiment with settings like “Fillet”. Increasing the fillet segments and adjusting the radius gives your edges a more appealing look.
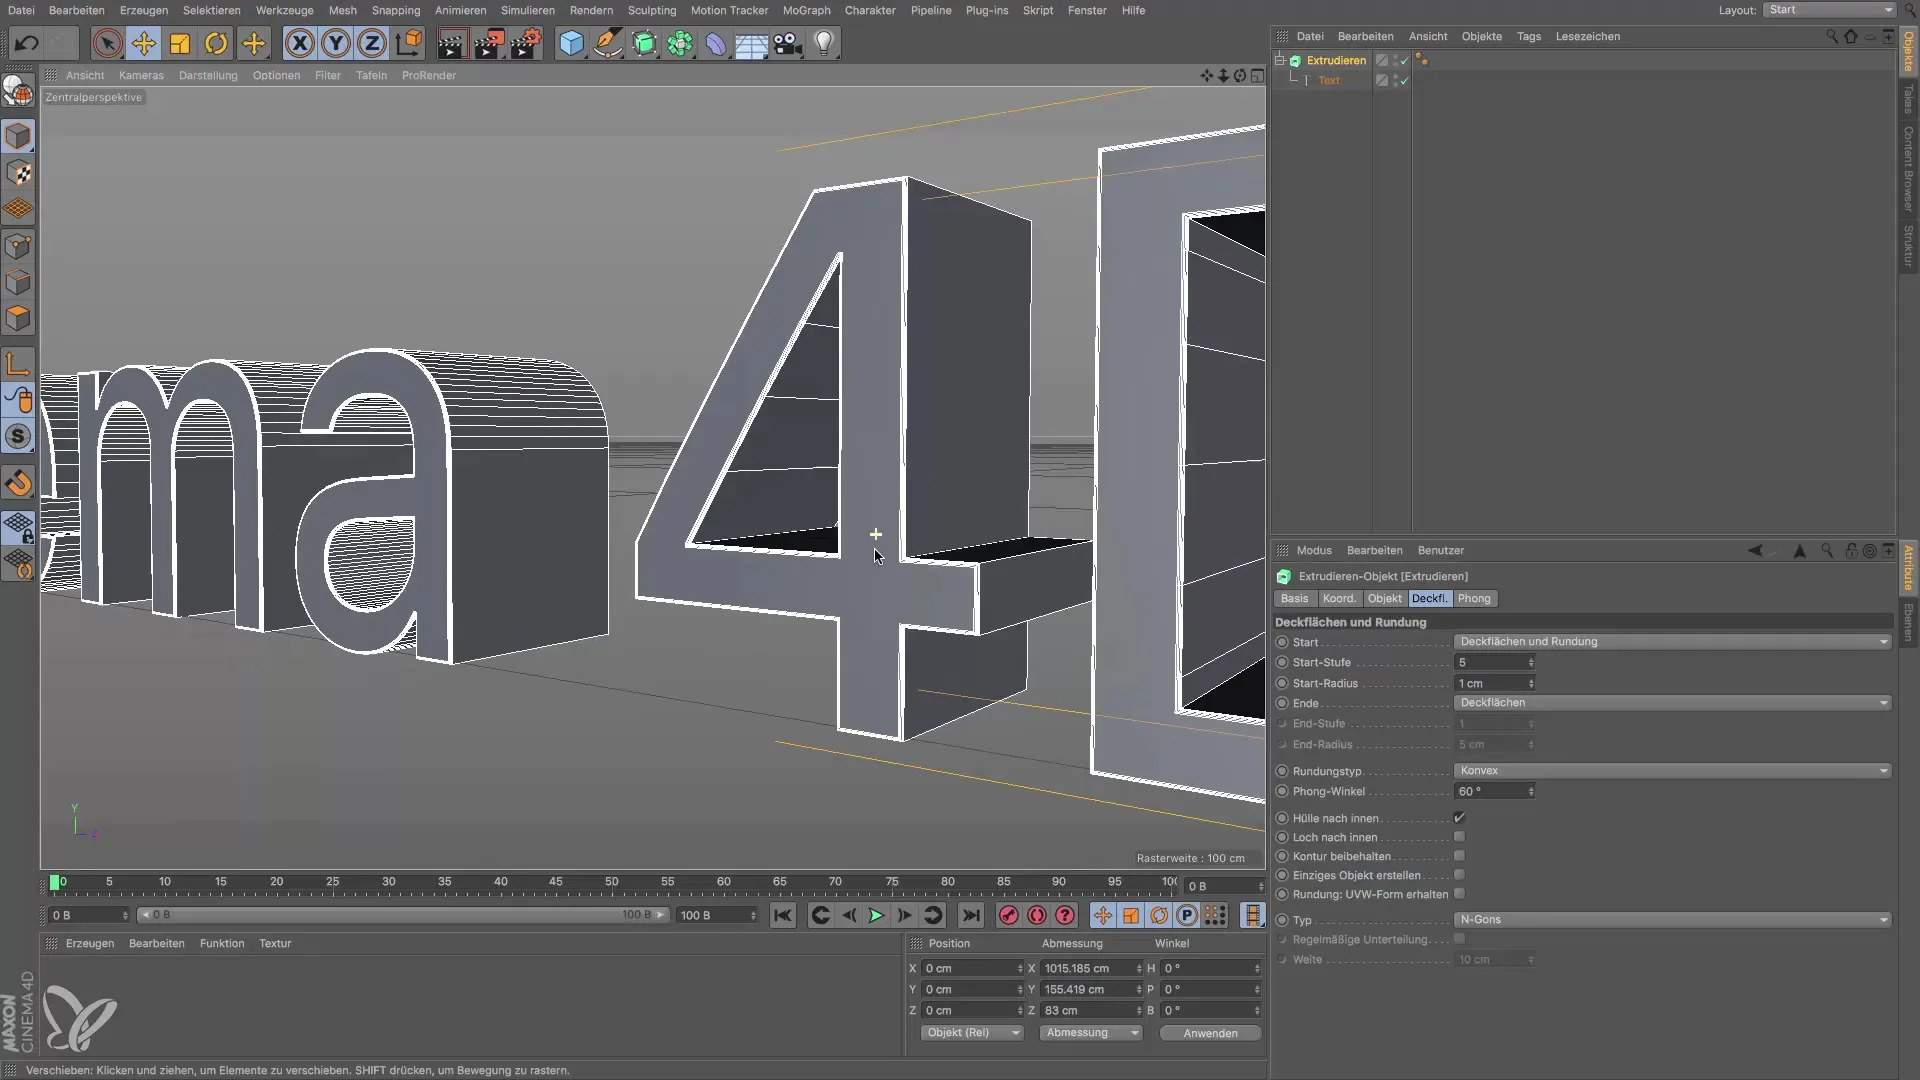
If you are satisfied with the front face, you can apply the same settings to the back or turn them off entirely if you do not need a back face. This can be helpful in reducing the polygon count.
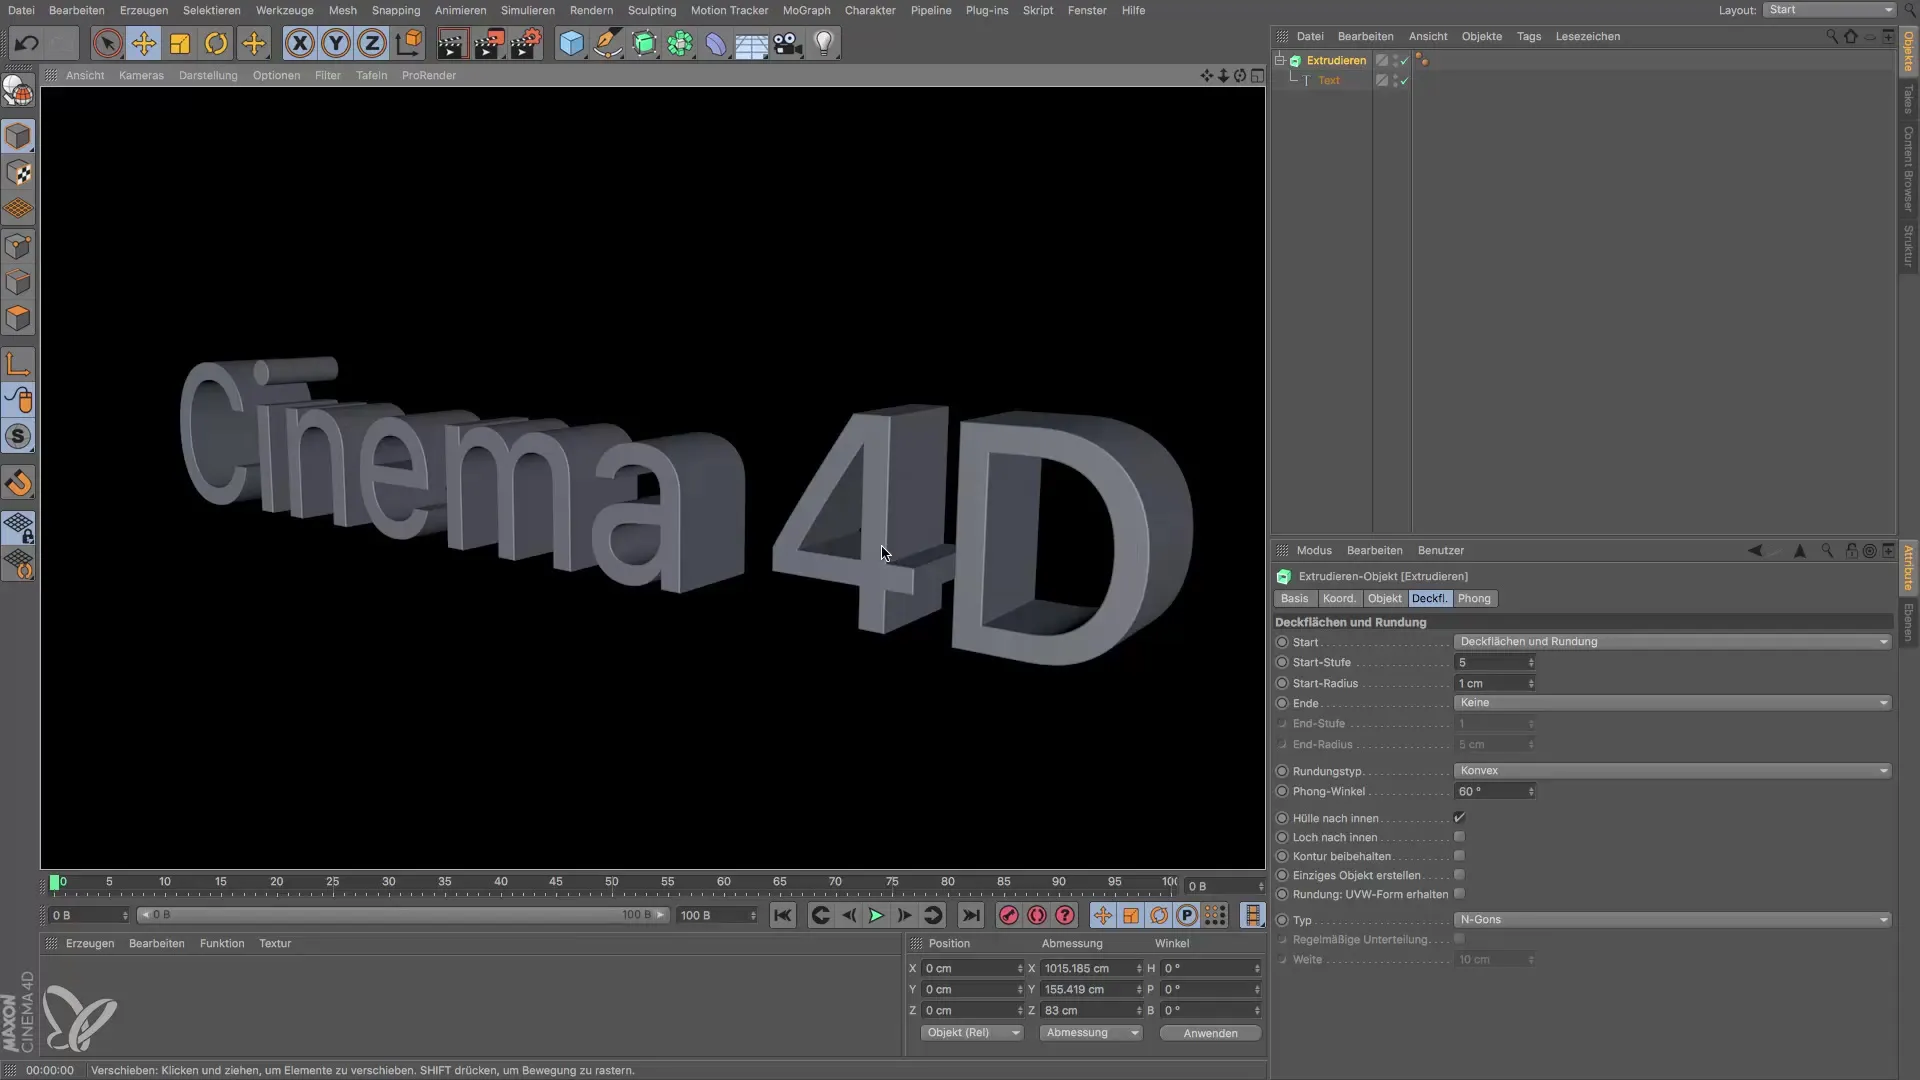
When rendering your text, the glossy edges you achieved through the rounding will become visible. Use this opportunity to give your 3D text creation a professional look.
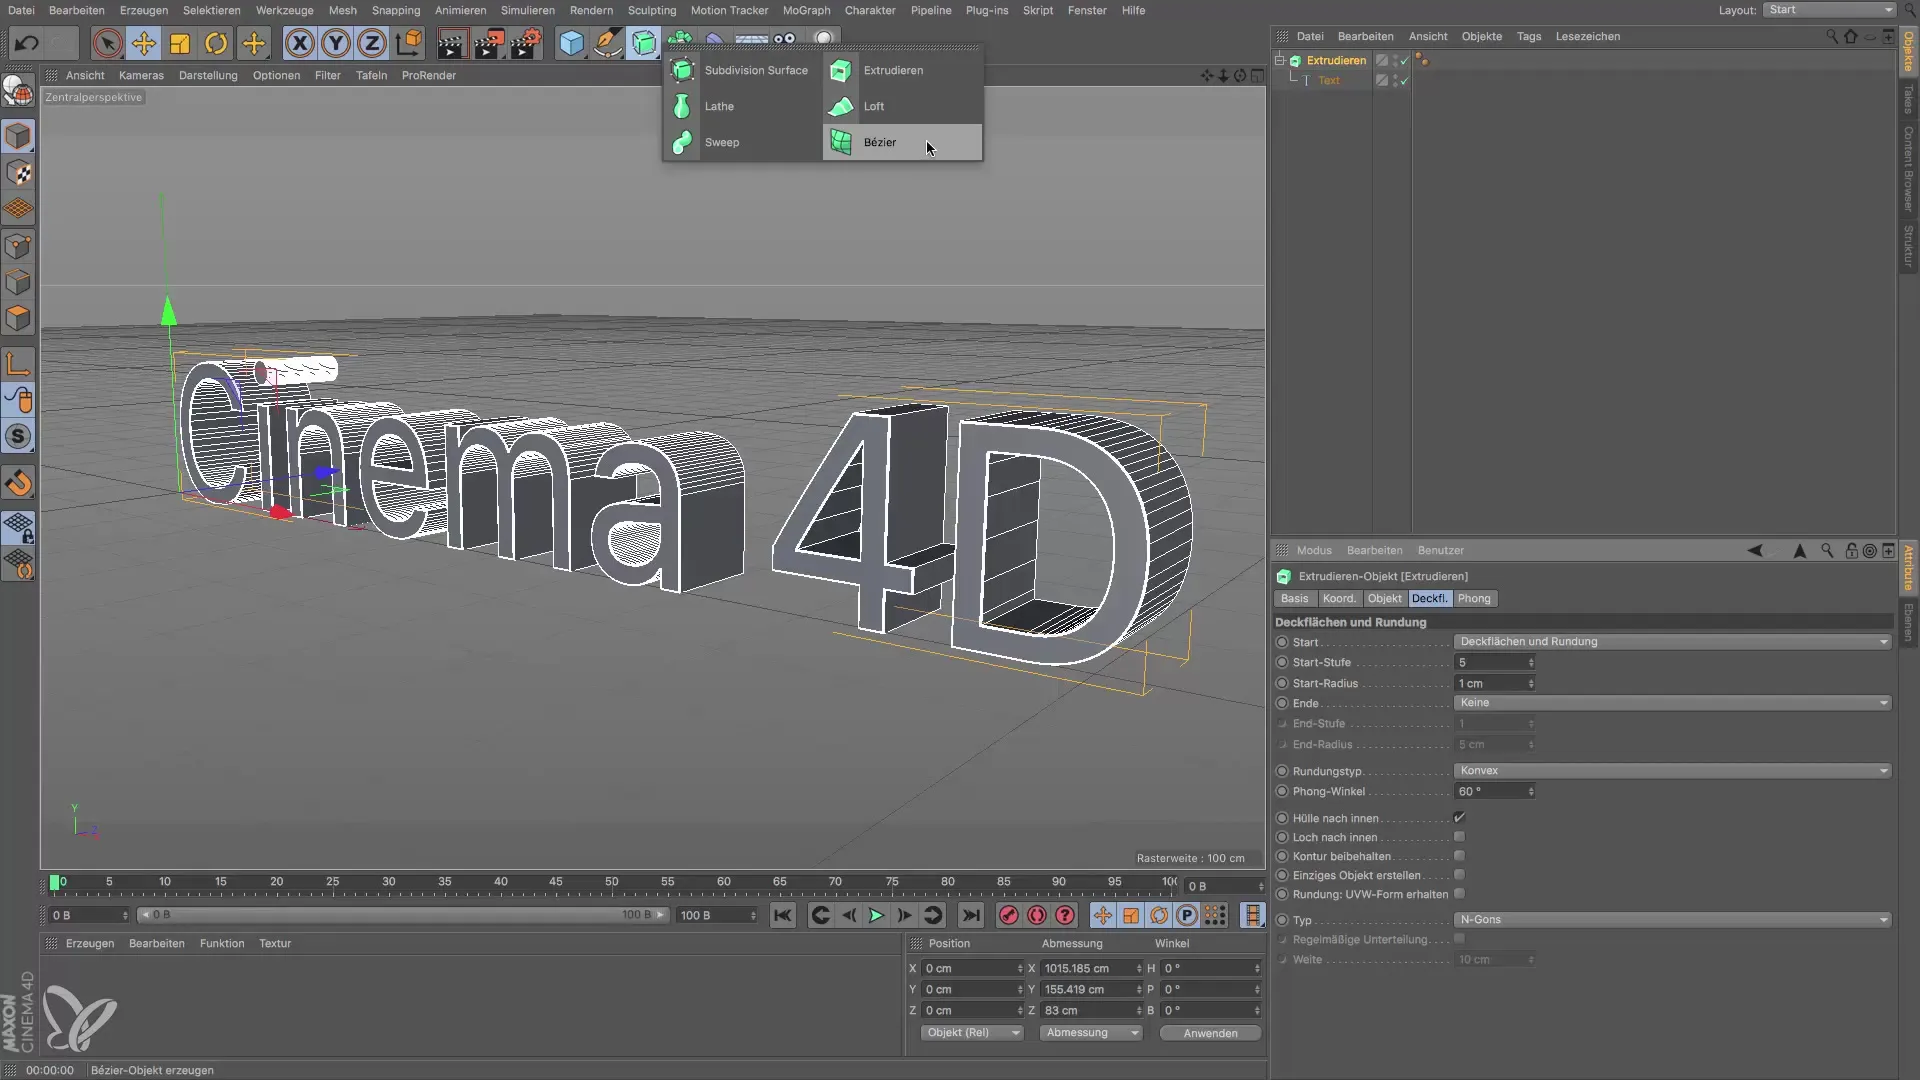
Please note that there are other volume generators in Cinema 4D, like the Loft tool. However, these are not as common and can be overlooked in this specific case.
In conclusion, you have now learned the basics of extruding text in Cinema 4D. Continue to experiment with the various settings to achieve your desired result.
Summary – Guide to Extruding Text Splines in Cinema 4D
By following the steps outlined above, you can effectively create 3D text from simple splines. Take advantage of the options for customizing the extrusion and edge processing to develop impressive designs.
Frequently Asked Questions
How do I create 3D text in Cinema 4D?Use the text tool to generate your text and drag it into an Extrude object.
How can I change the direction of the extrusion?In the Attribute Manager of the Extrude object, you can change the extrusion direction from Z to Y or X.
Can I round the edges of my text?Yes, under the caps settings of the Extrude object, you can add rounding.
Do I need the back of my text?That depends on your project. You can turn off the back to save polygons.
Are there other ways to create 3D objects?Yes, in Cinema 4D there are various volume generators like the Loft tool.
