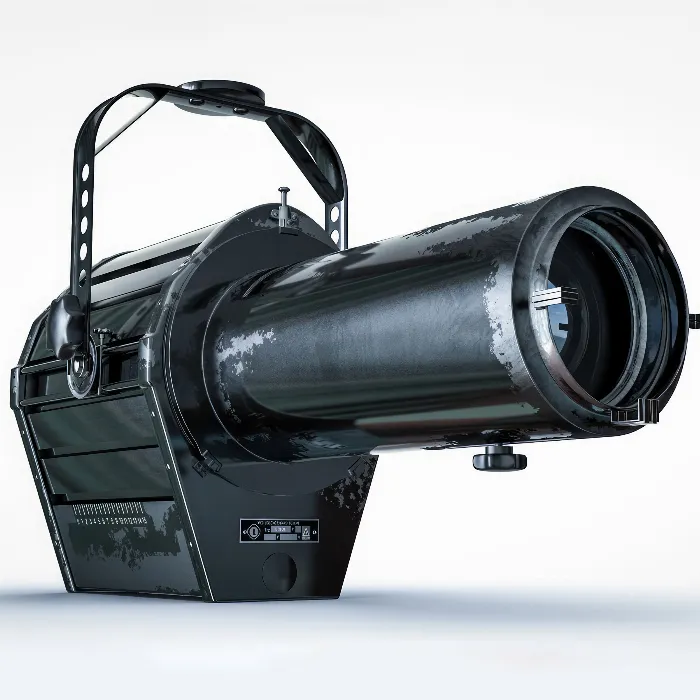
You are making progress on your 3D project in Cinema 4D and have already created some impressive objects. Now you want to integrate existing 3D data into your scene to add more details and enhance the overall look of your work. In this tutorial, I will guide you through the process of effectively loading existing objects into your scene. We will use specific commands and techniques that will help you refine your models and optimize your 3D work.
Key Insights
- You can incorporate existing objects into your scene without having to recreate them.
- The "Load" command allows you to accurately integrate existing data into your reality.
- Adjusting the position and properties of these objects is crucial for a realistic overall appearance.
Step-by-Step Guide
To show you how to effectively import existing 3D objects into your scene, I will walk you through the necessary steps. I will also address the adjustments you can make to optimize your models.
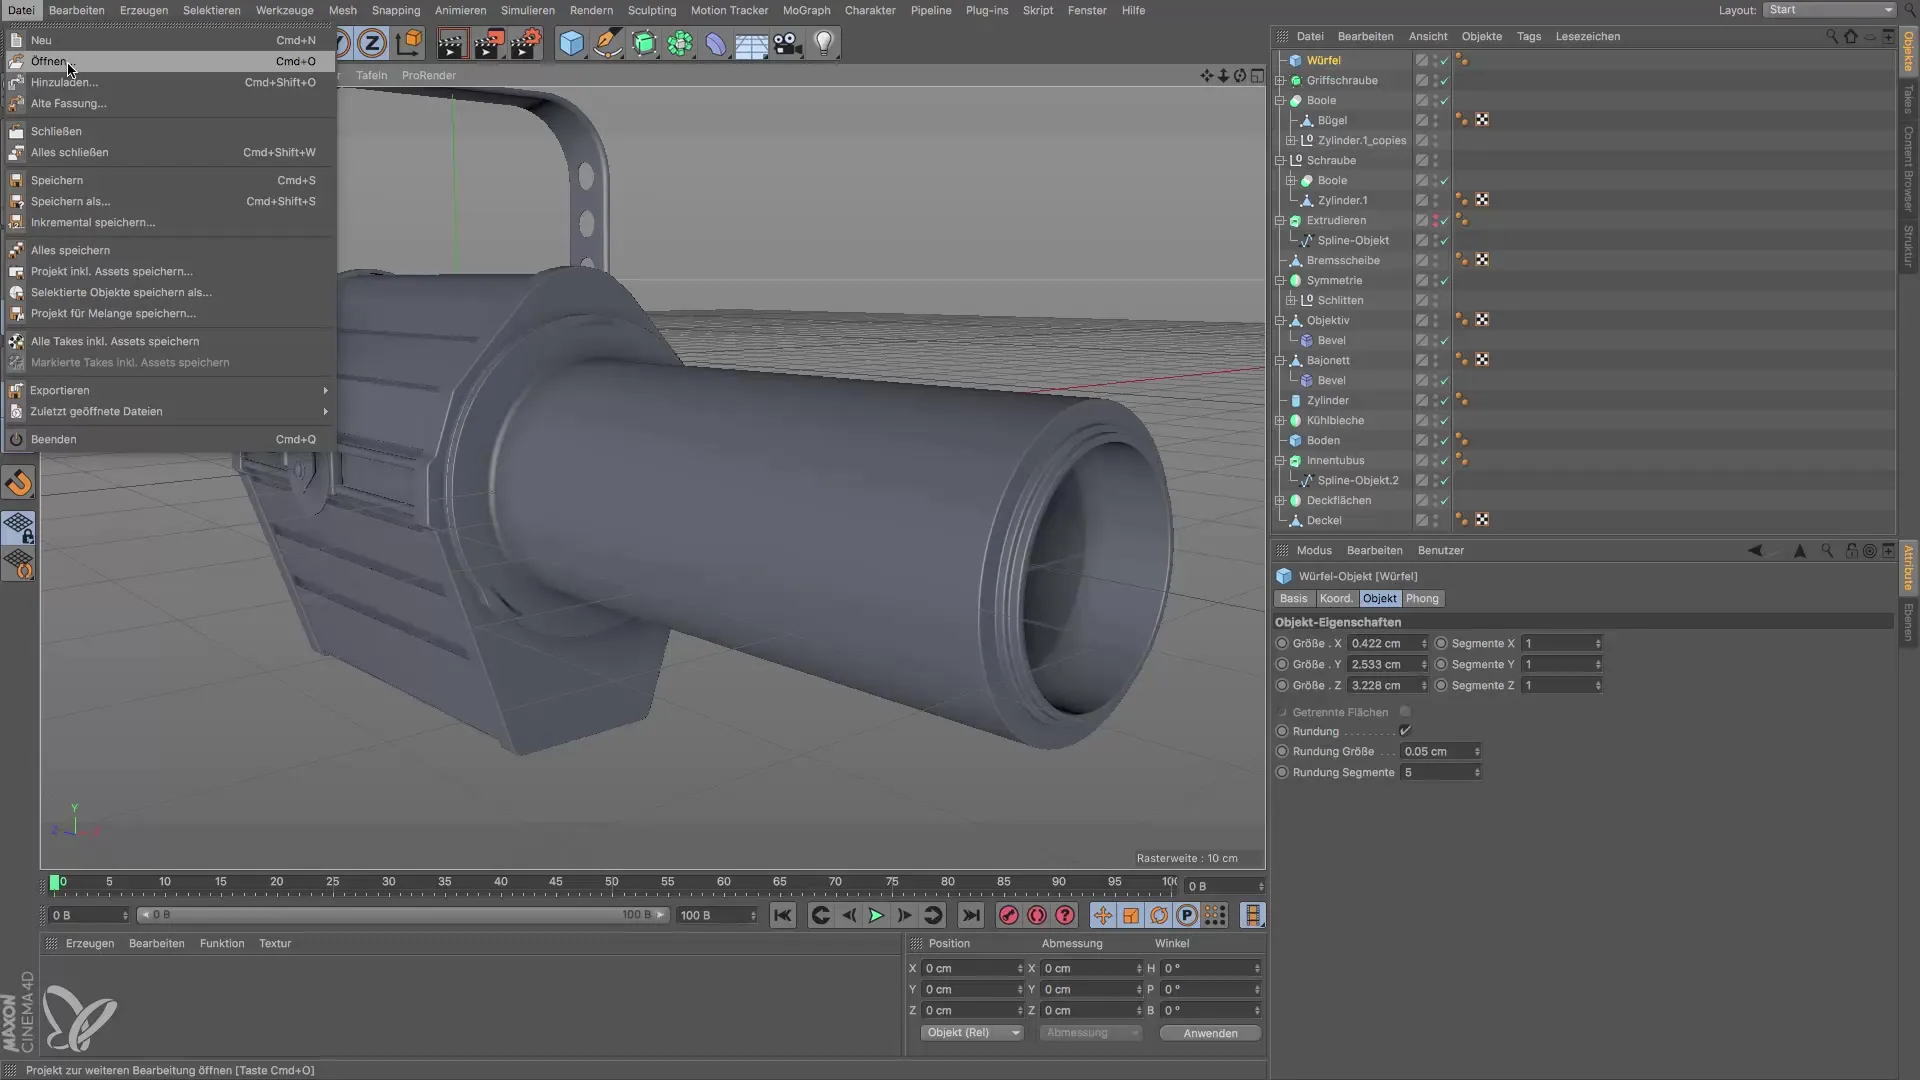
Step 1: Open Project File and Select Objects Start by opening the project file that contains the objects you wish to add. Go to the appropriate menu to select the file. Make sure to keep a clear overview of which objects you need, and then click "Open" to import the desired models into your current scene.
Step 2: Adjust Object in Edit Mode After the object has been imported, switch to object edit mode. Here you can select the imported object and use the move tool to position it correctly within your scene. You may need to adjust the coordinates since importing can cause the position to deviate from the original location.
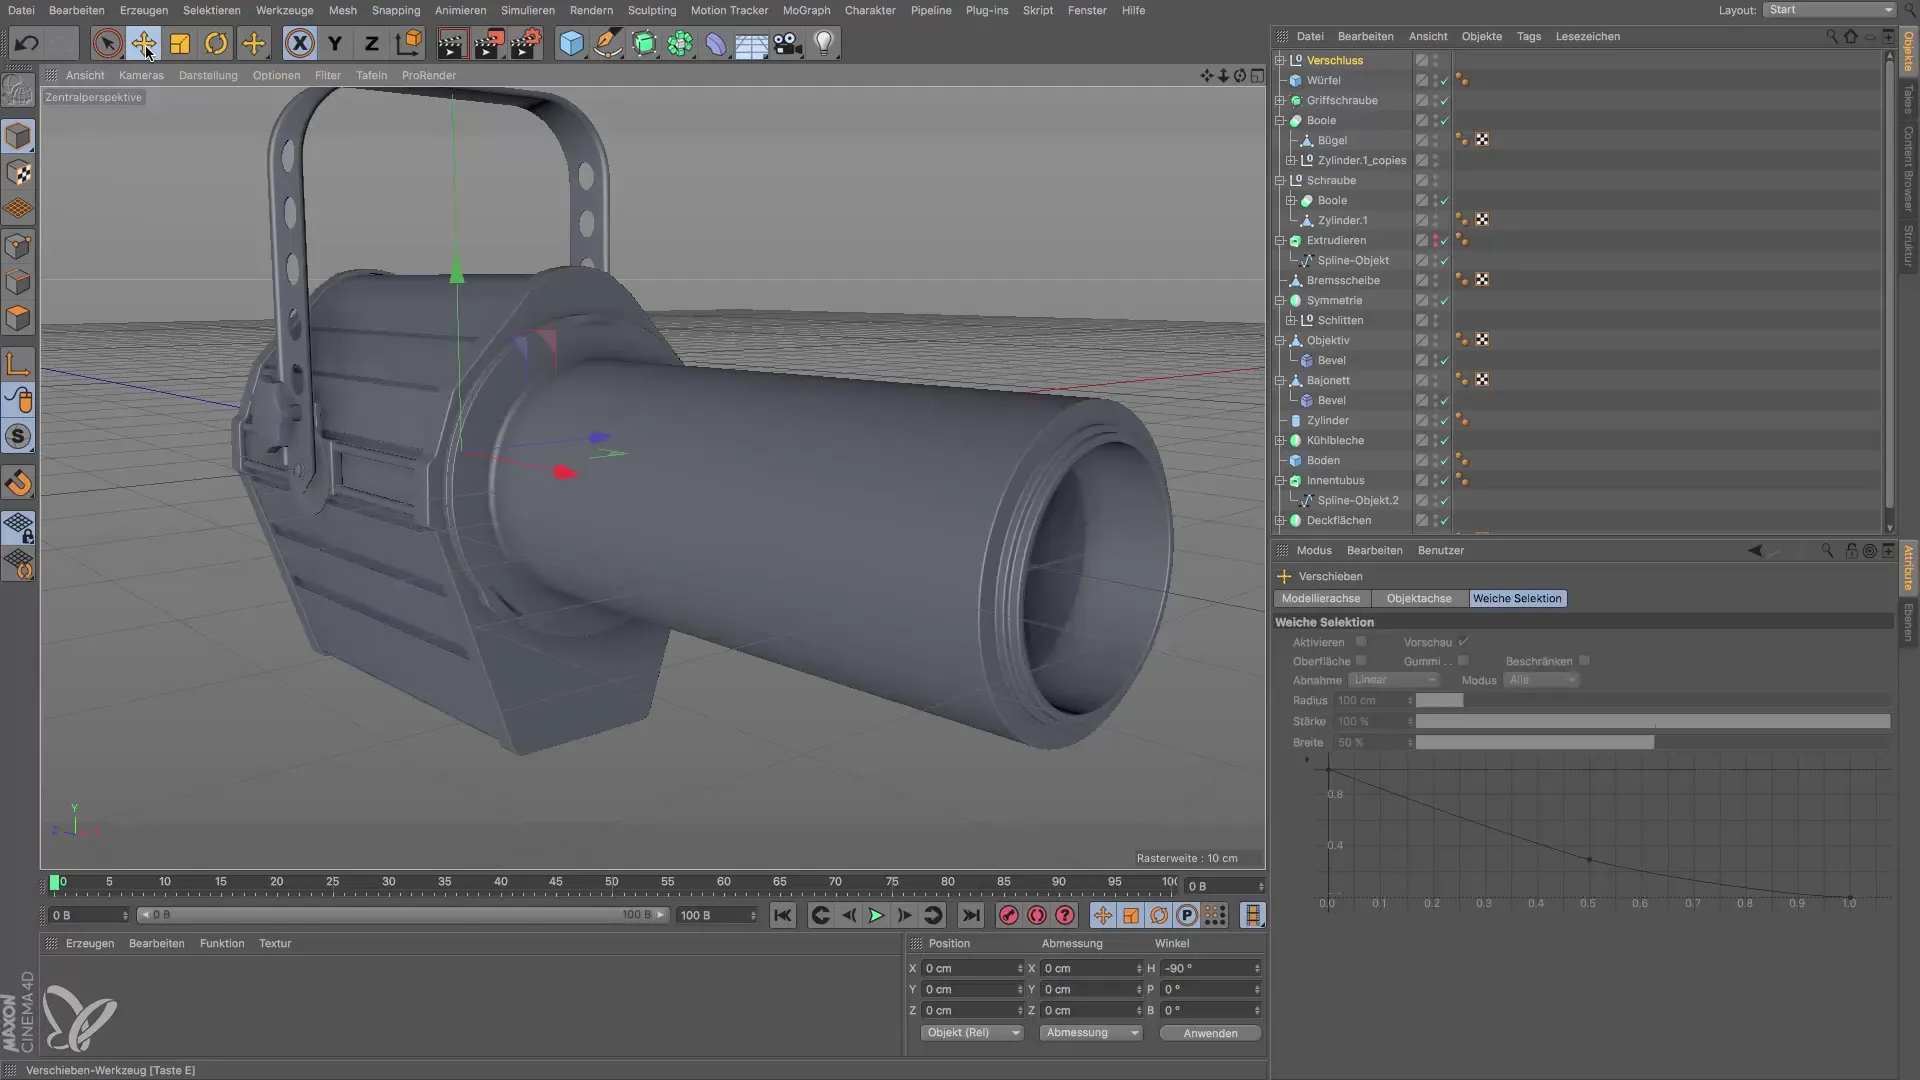
Step 3: Fine-tuning the Position Now it's important to integrate the object optimally into your scene. Move it into the correct position so that it blends seamlessly into the overall picture. Make sure that everything looks harmonious and that the proportions are correct.
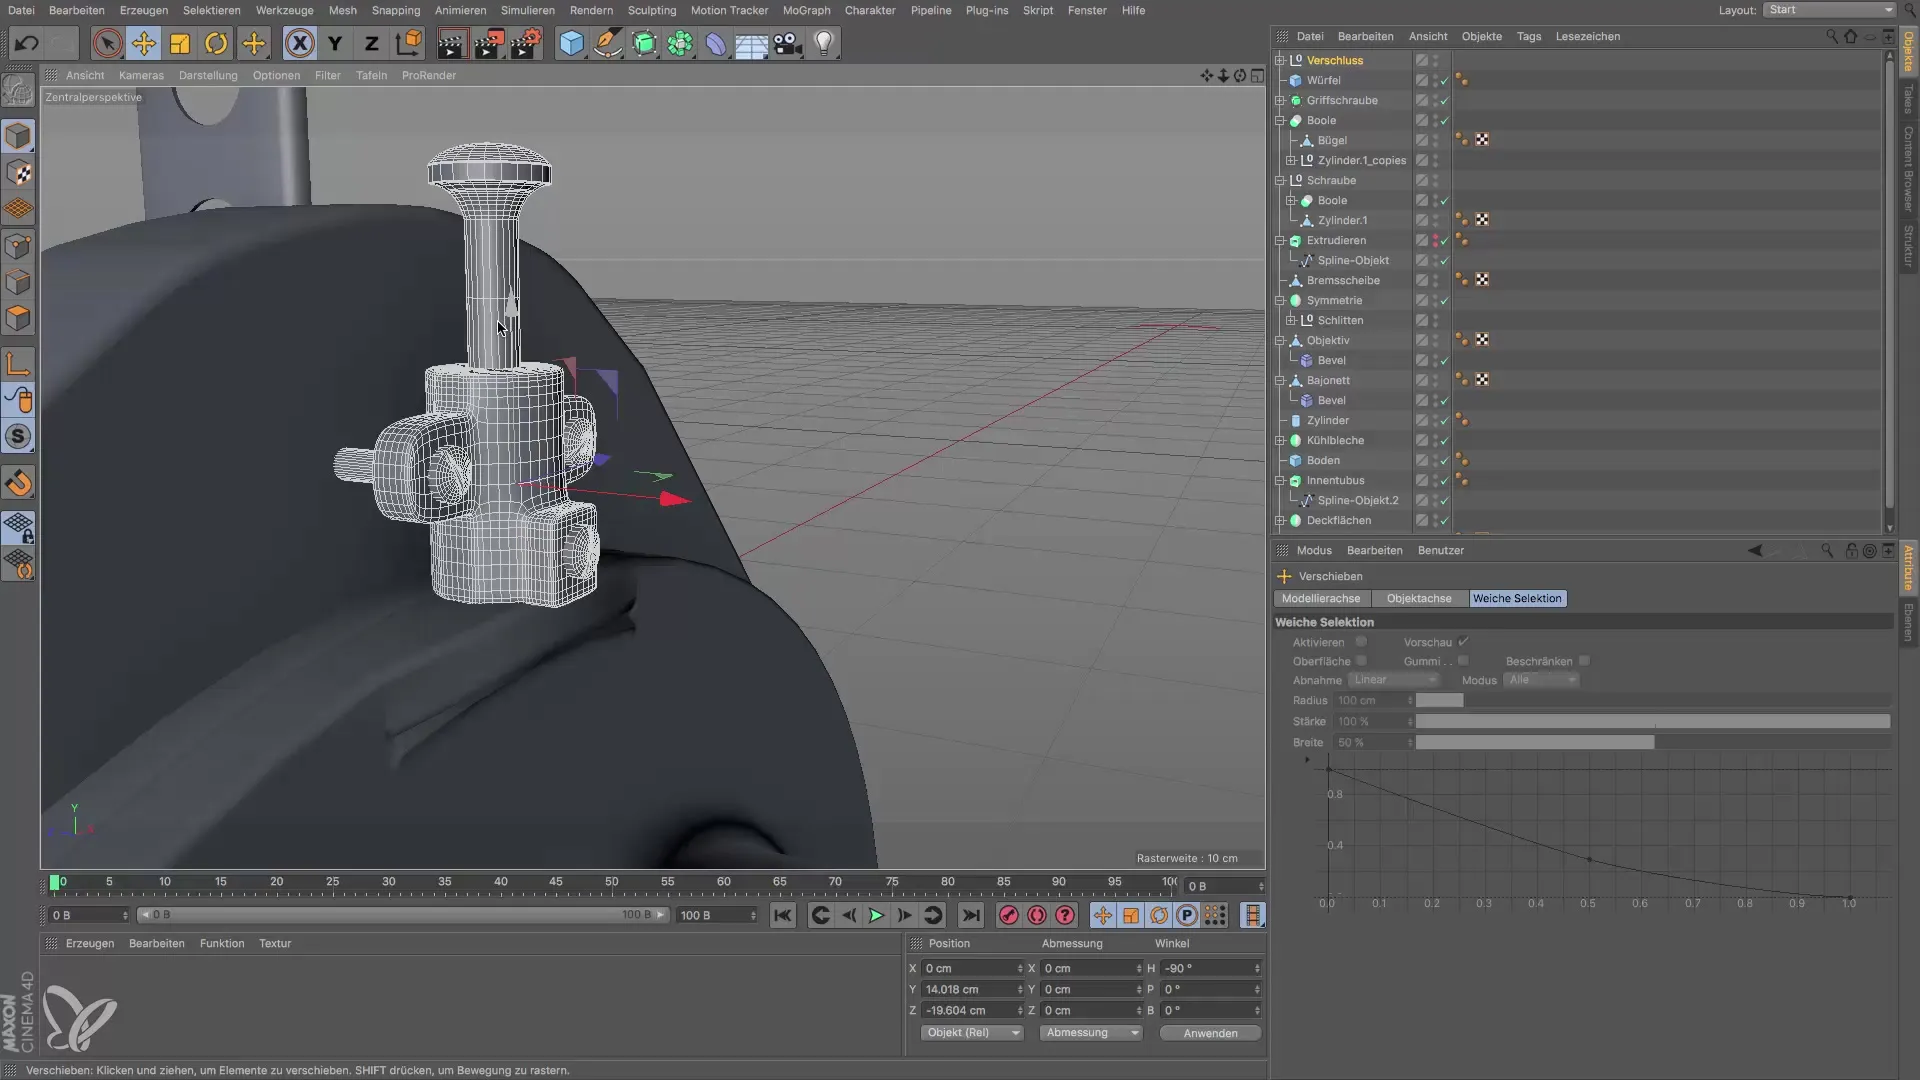
Step 4: Adding Additional Details Once you have decided where to place the object, you can add further details. This includes refining certain components, such as adding screw effects or other mechanisms that are important for your project. You will notice that such small refinements are often crucial for the overall presentation of the object.
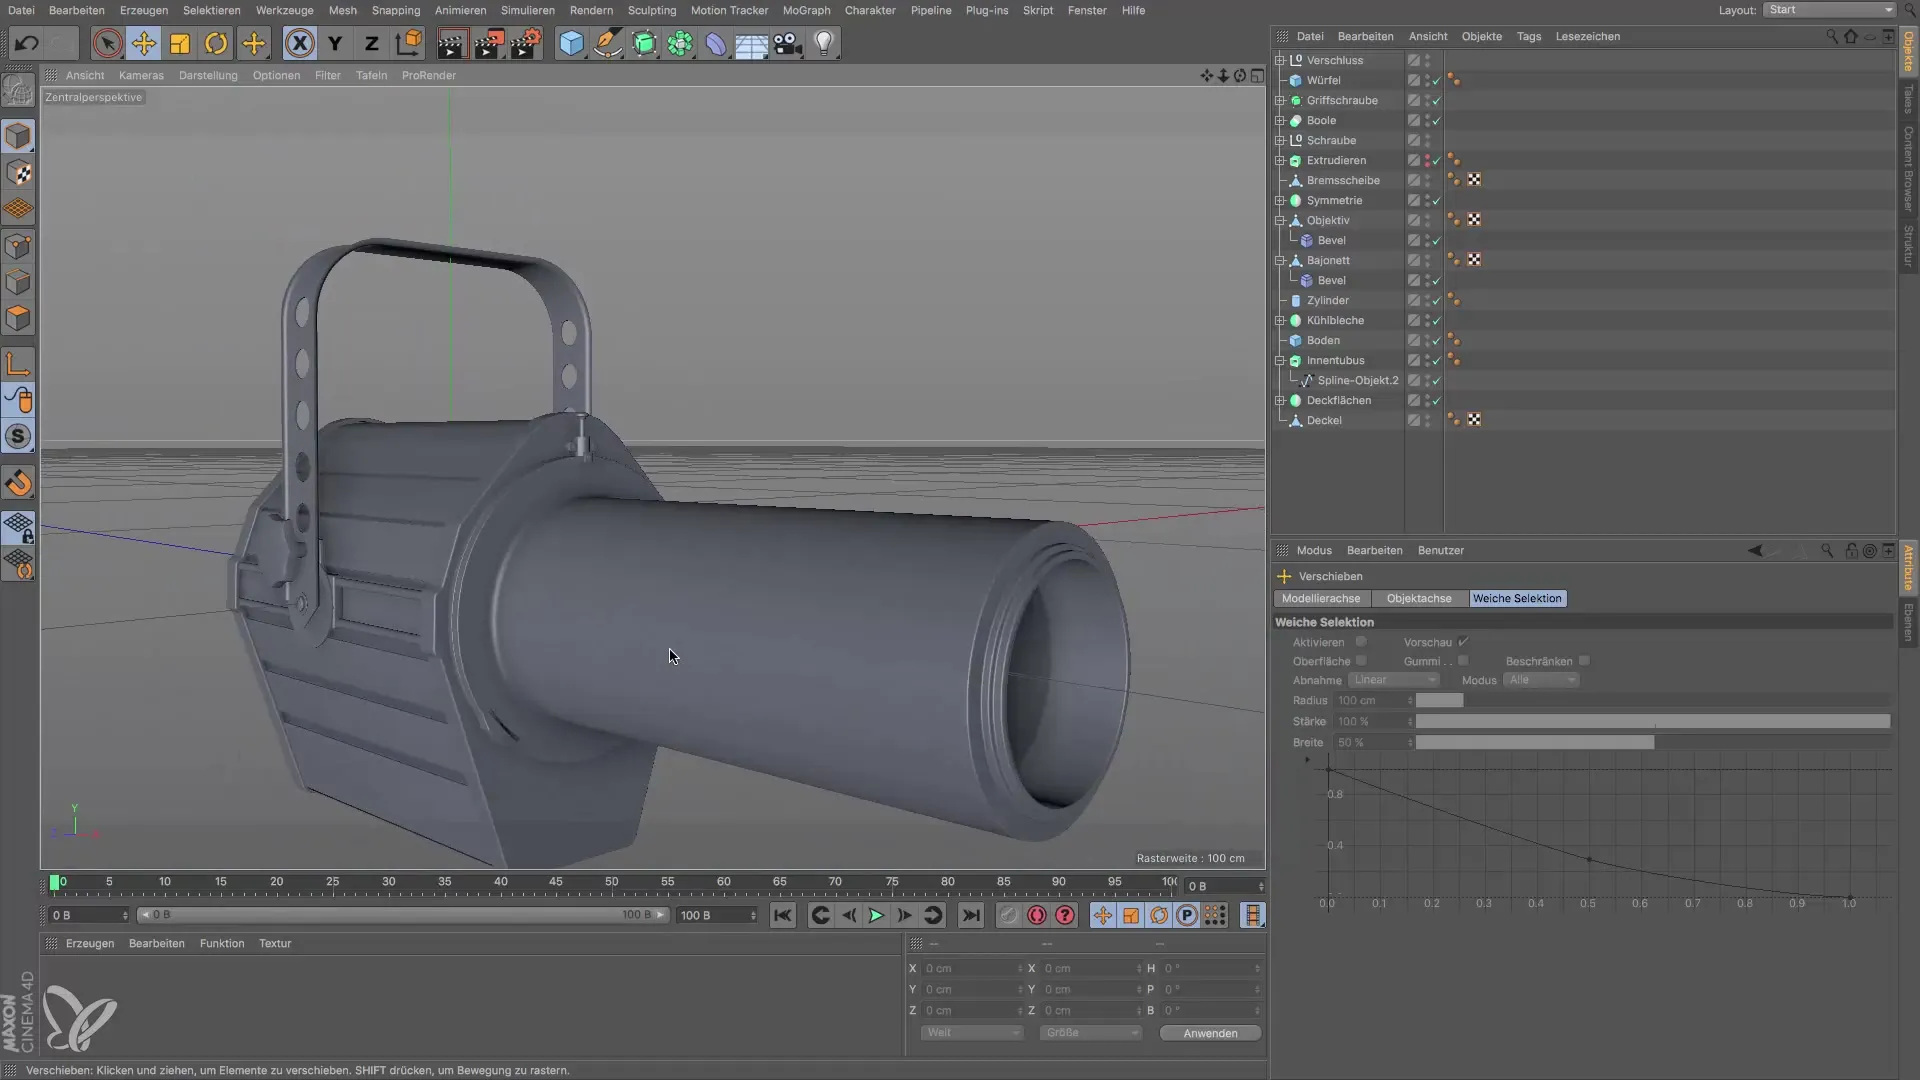
Step 5: Load Additional Objects If you need additional modules, you can use the "Load" command again. This allows you to select and import components such as brackets or further technical details. Don't forget to perform correct positioning here as well to create a consistent appearance.
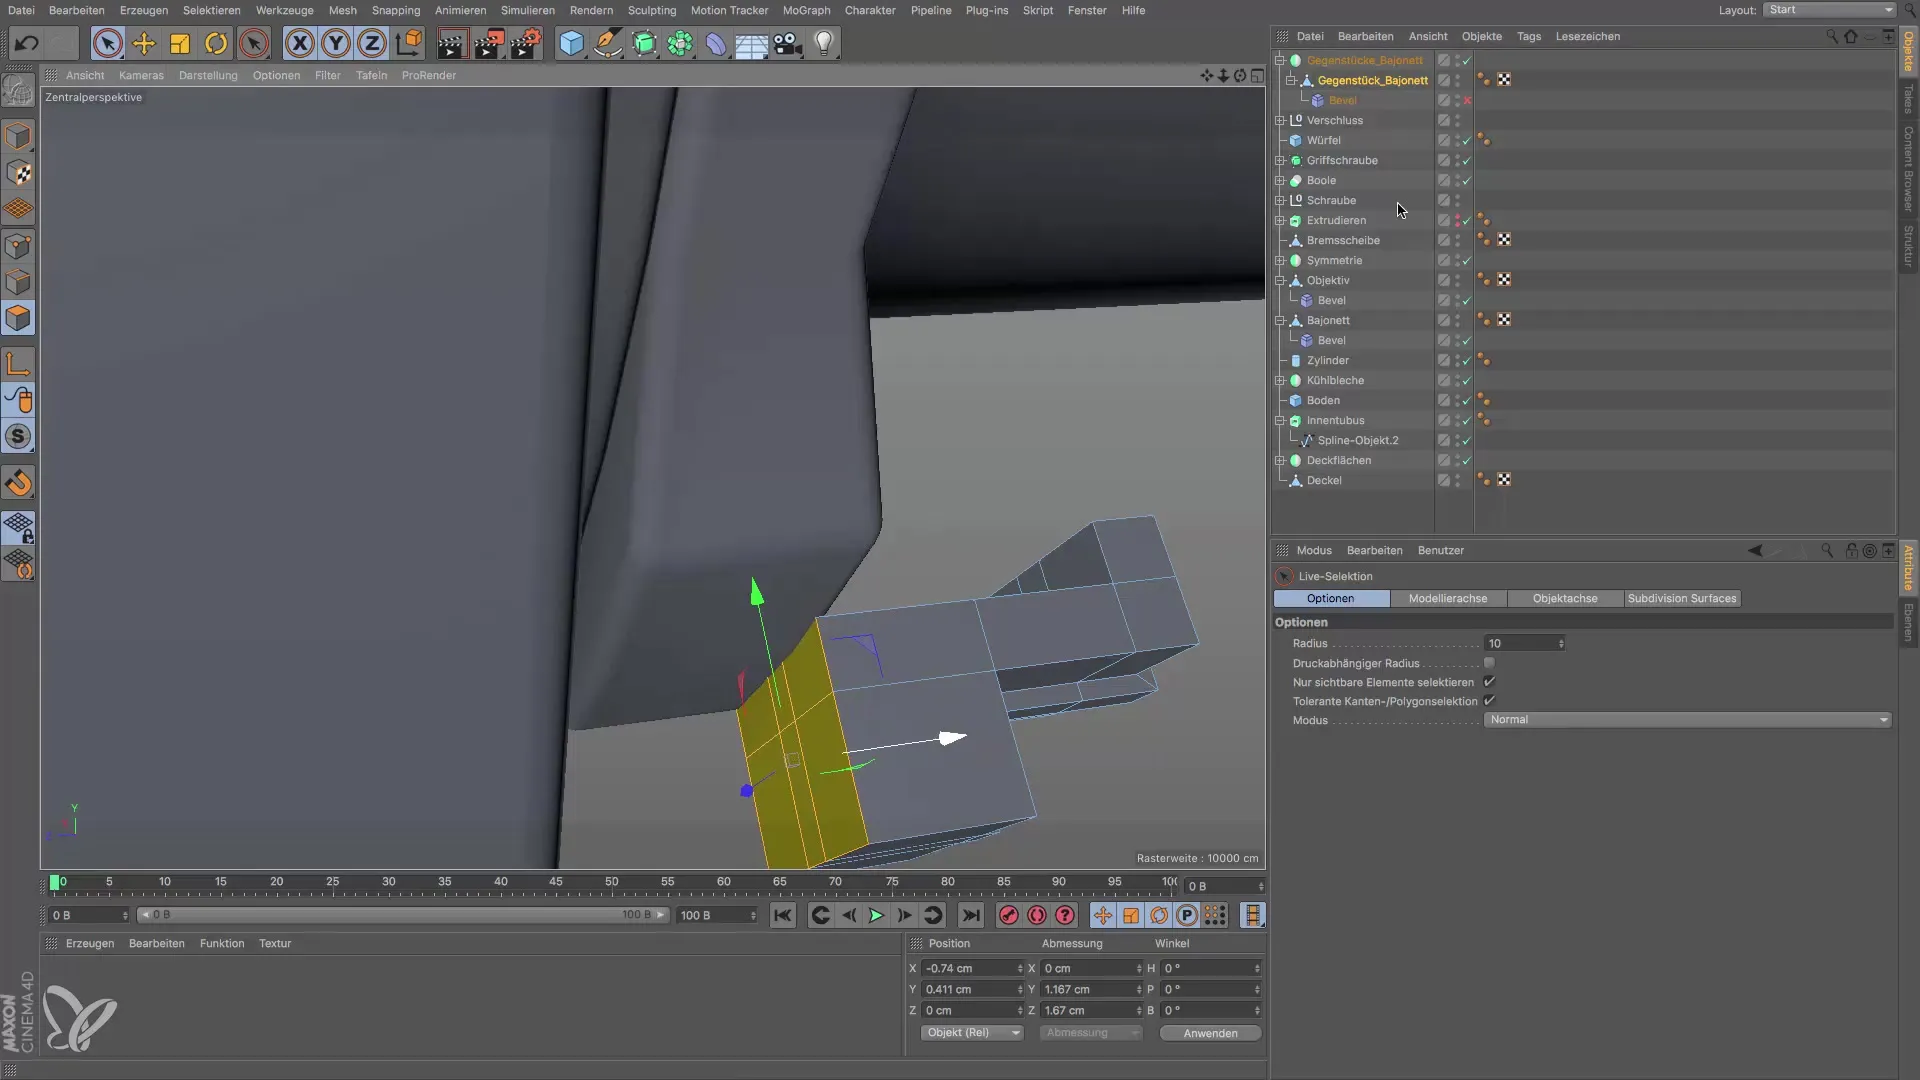
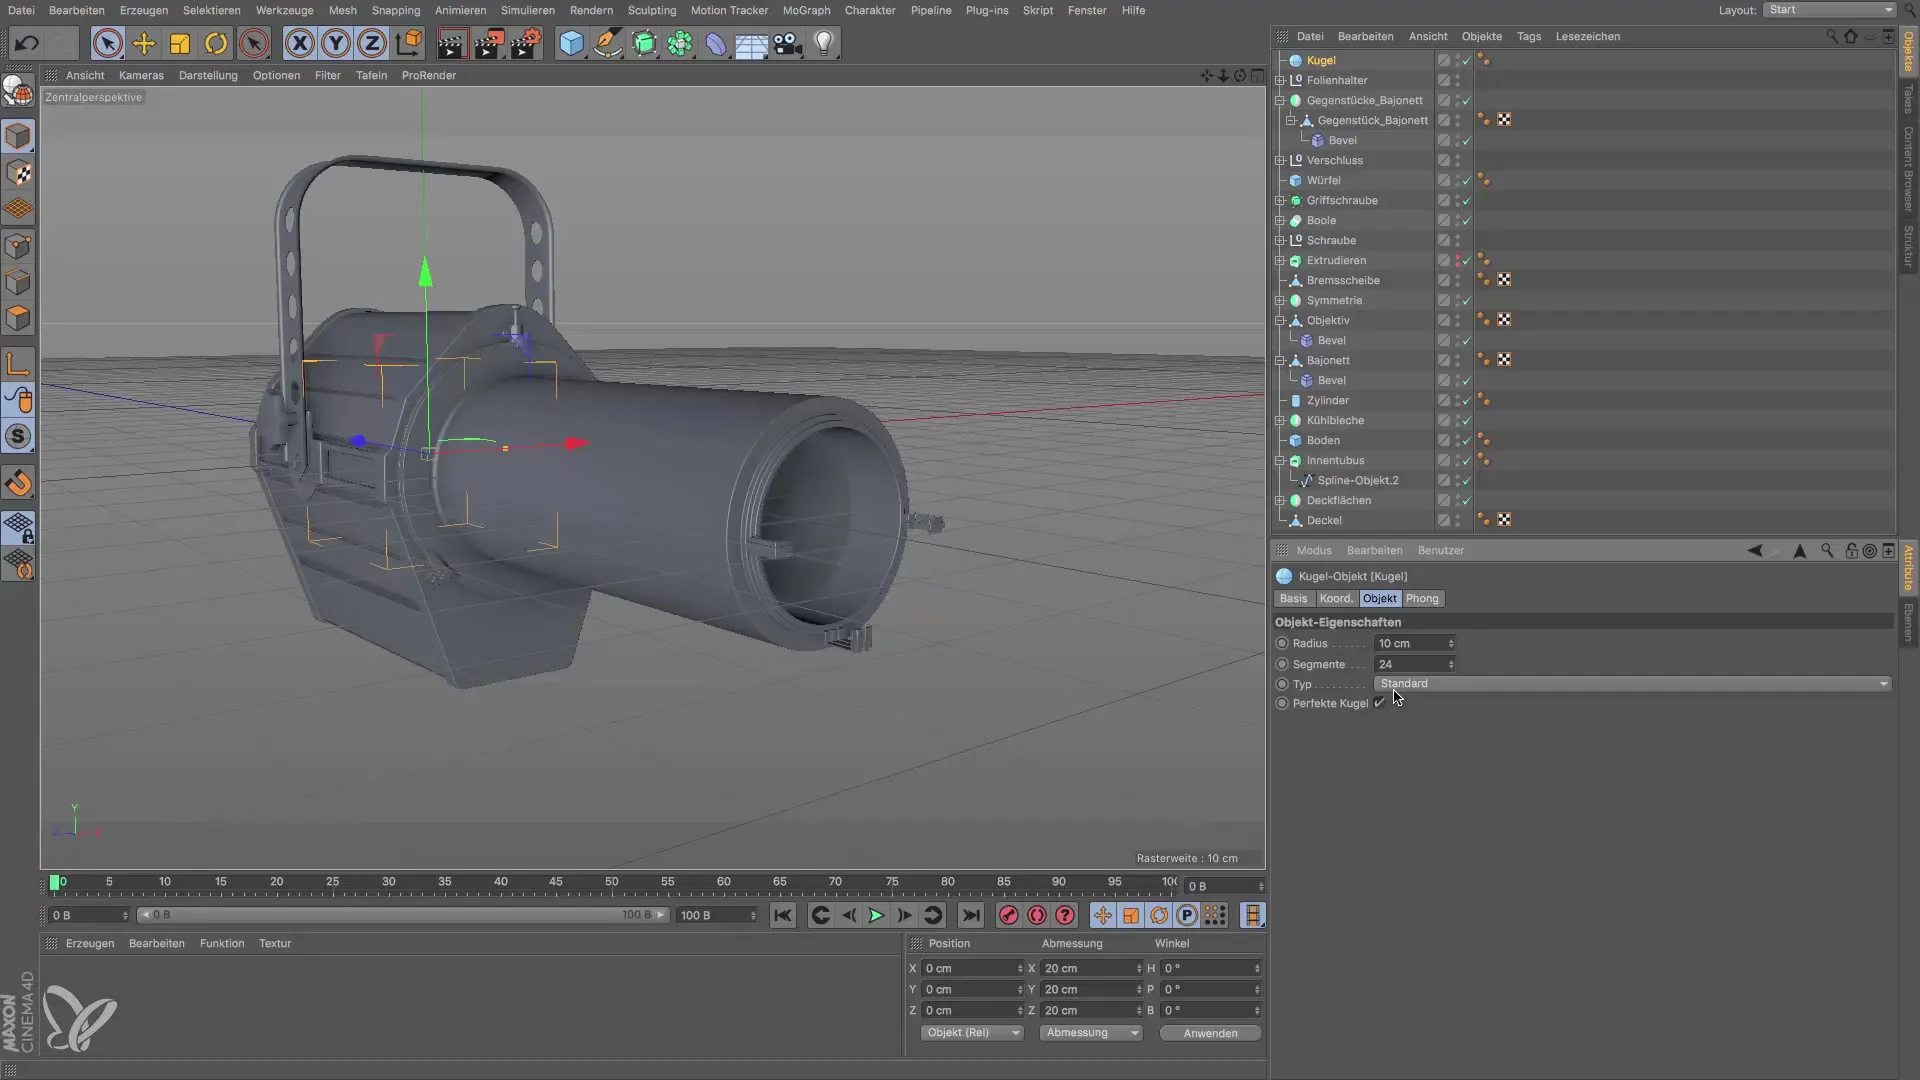
Step 6: Add Front Lens To complete your model, you should insert the so-called front lens. You can simulate this by creating a hemisphere that serves as a reflection. Make sure the lens is in the correct scale: a radius of about 10 cm should suffice. Once it's in the right place, switch to object editing and adjust as needed.
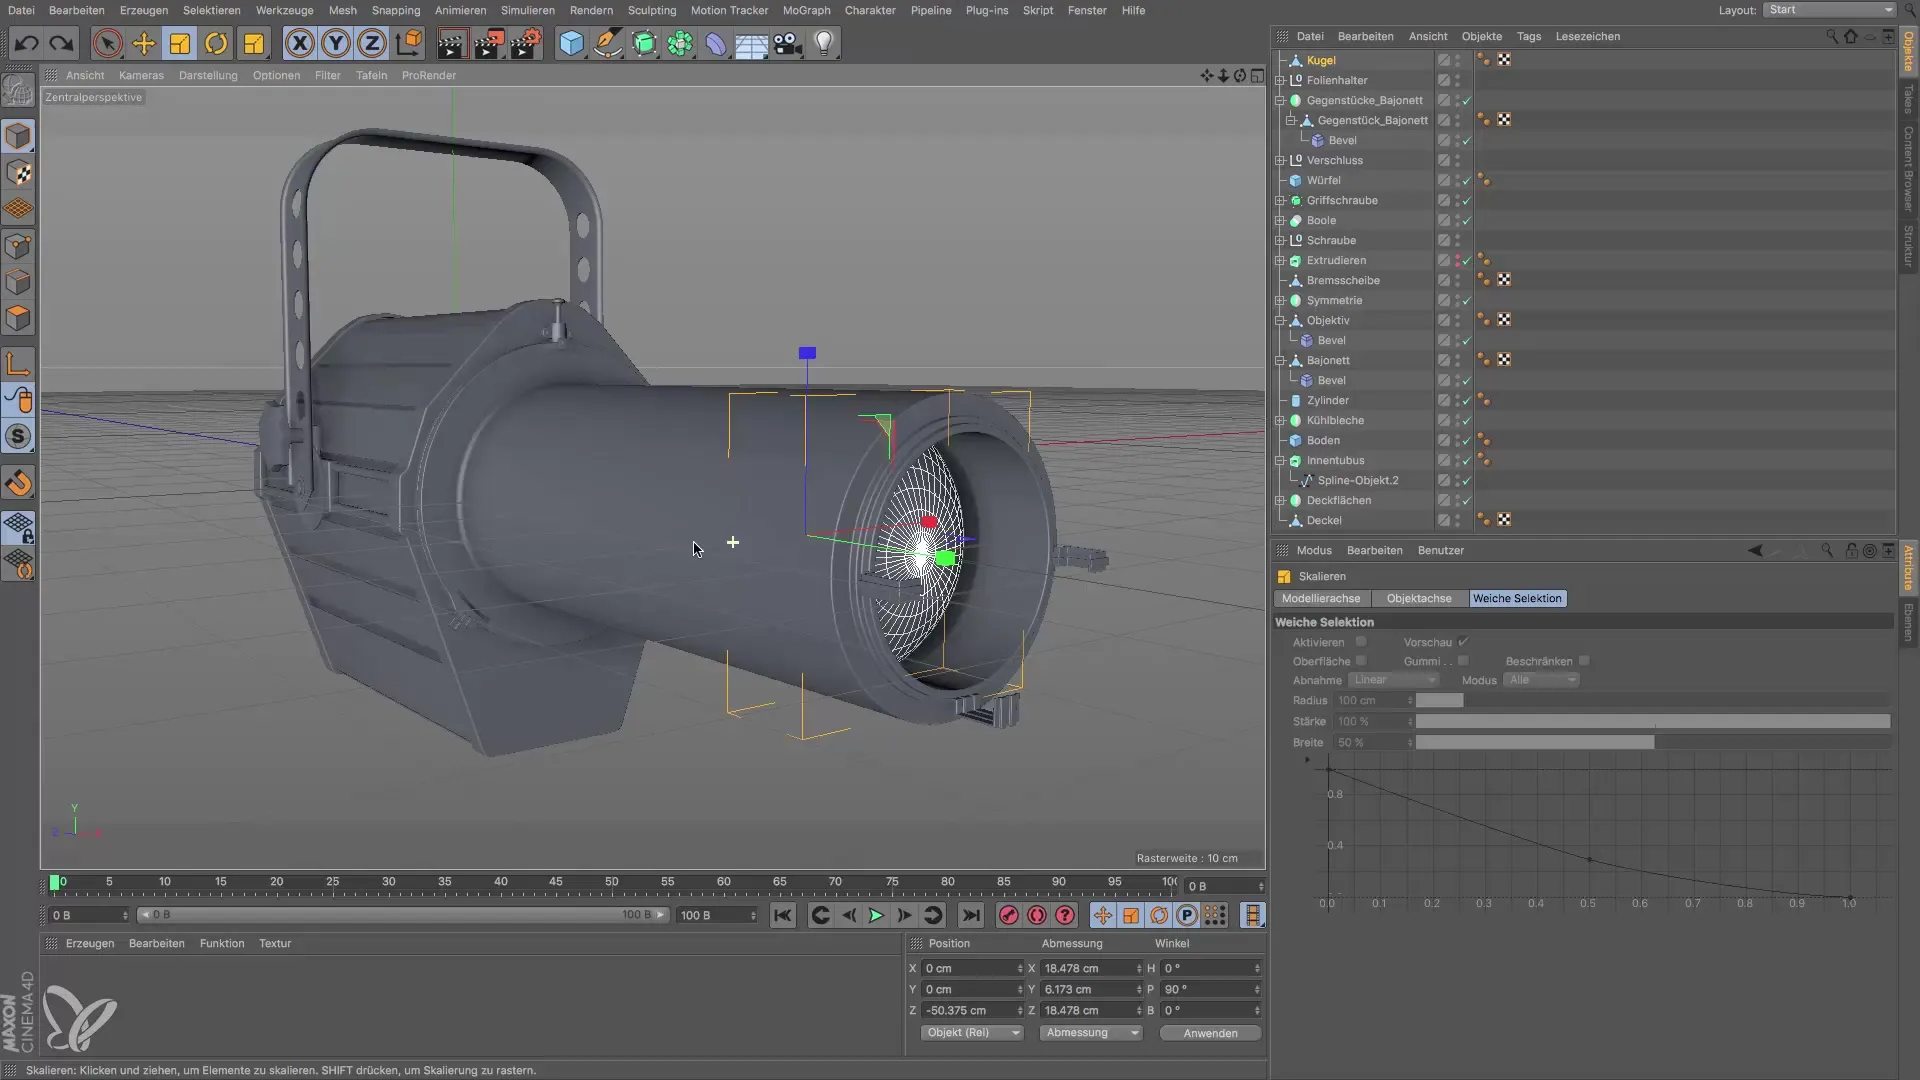
Step 7: Review and Final Adjustments Finally, review your entire model. Go through each step again to make sure everything is in place and no detail work has been overlooked. This may influence the scaling of objects to better integrate them into your landscape.
Summary – Guide to Adding 3D Objects in Cinema 4D
Through the above steps, you have now learned how to effectively add existing 3D objects to your Cinema 4D scene. You can easily import additional elements using the file add function and refine your model to achieve an impressive end result.
Frequently Asked Questions
How do I insert an existing object into a scene?Use the "Load" command in the file menu to import existing objects into your active scene.
Can I adjust imported objects?Yes, after adding an object, you can adjust and position it in edit mode.
What kind of details should I pay attention to when modeling?Make sure to add small technical details and features that make the model appear more realistic and functional.
