The integration of conversion-tracking in Google Ads is an essential step to measure the success of your online advertising. If you have already worked with Google Ads and want to efficiently track your conversions on a thank-you page, you are in the right place. This guide will take you step by step through the setup of your conversion tracking using Google Tag Manager.
Key Insights
- To use conversion tracking in Google Ads, a tag must be created in Google Tag Manager.
- The conversion ID and label from Google Ads are crucial for proper integration.
- The trigger should be configured to track only on the thank-you page of the contact form.
Step-by-Step Guide
1. Copy Conversion ID and Label from Google Ads
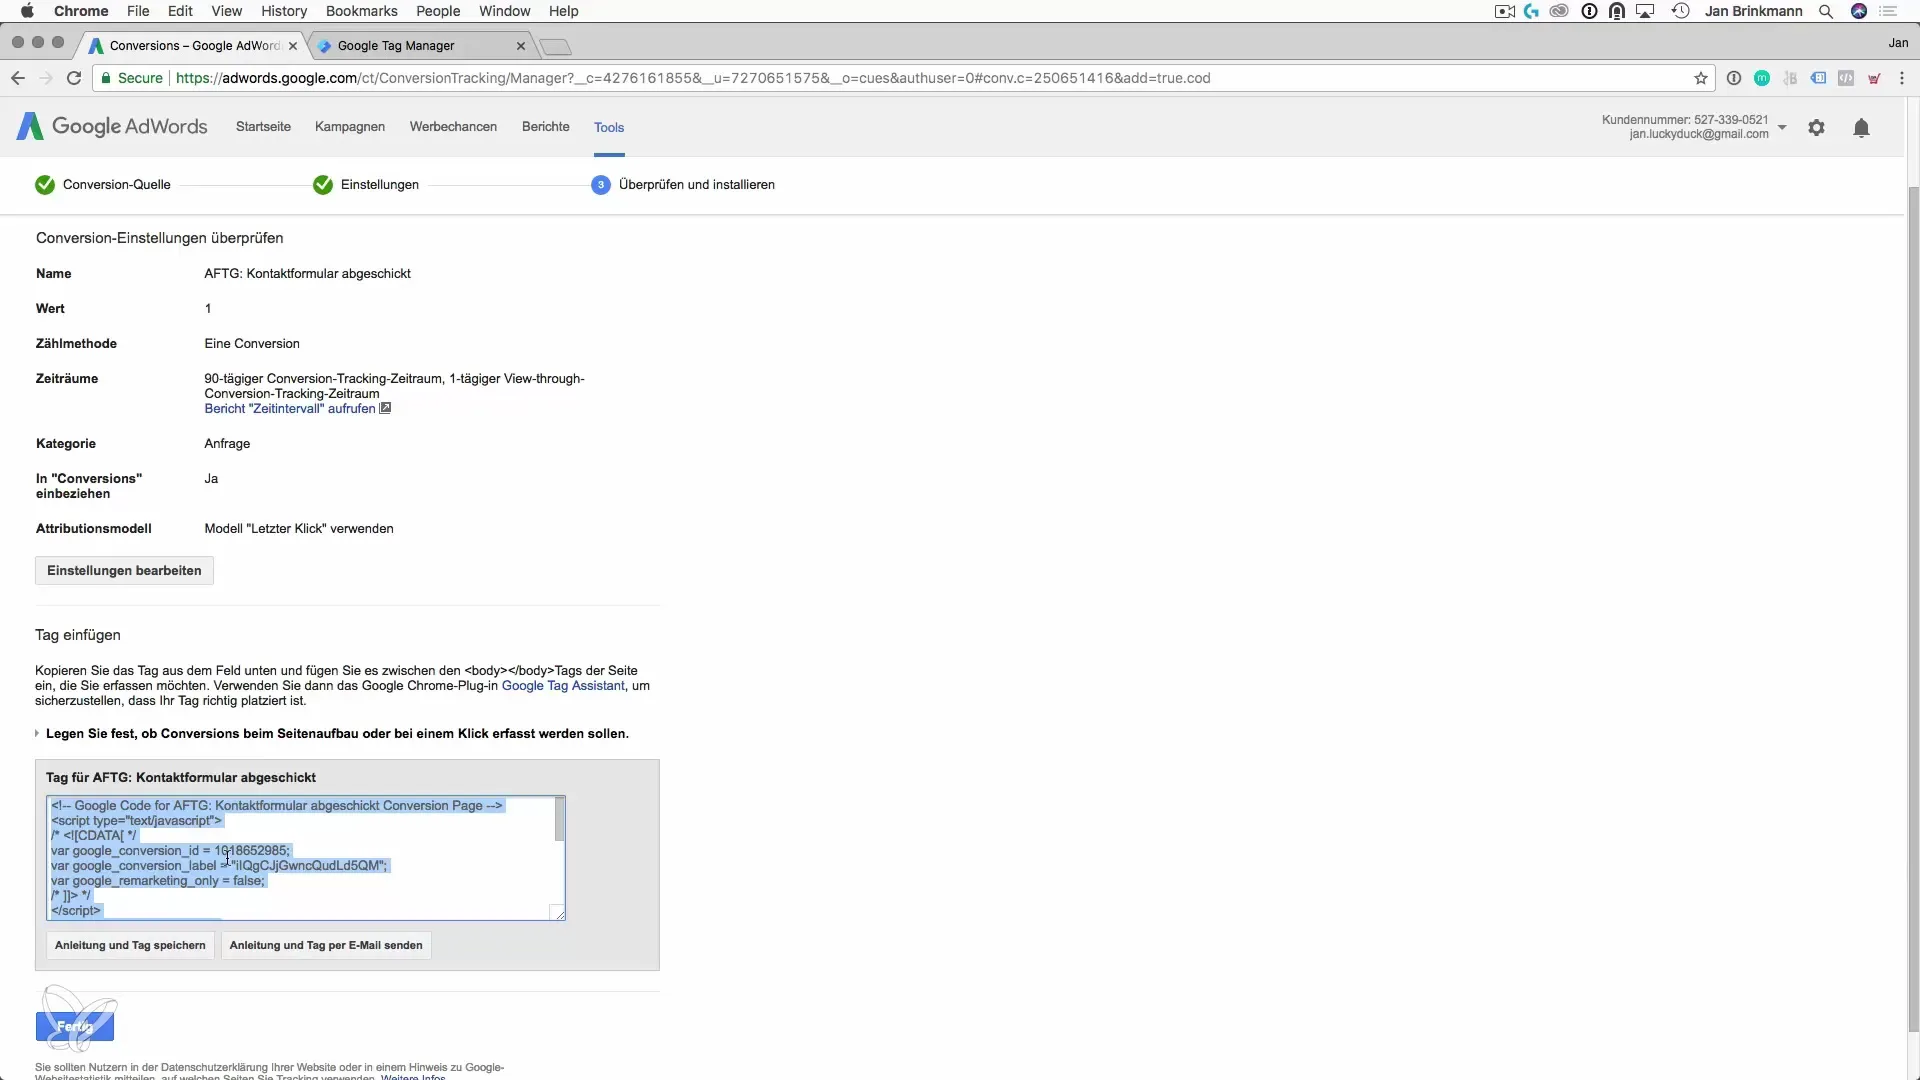
First, you need to copy the conversion ID and label from Google Ads. Go to your Google Ads account, navigate to the conversion settings, and find the relevant information. It is important to copy the ID and label accurately, as they are needed for tracking.
2. Open Google Tag Manager and Create a New Tag
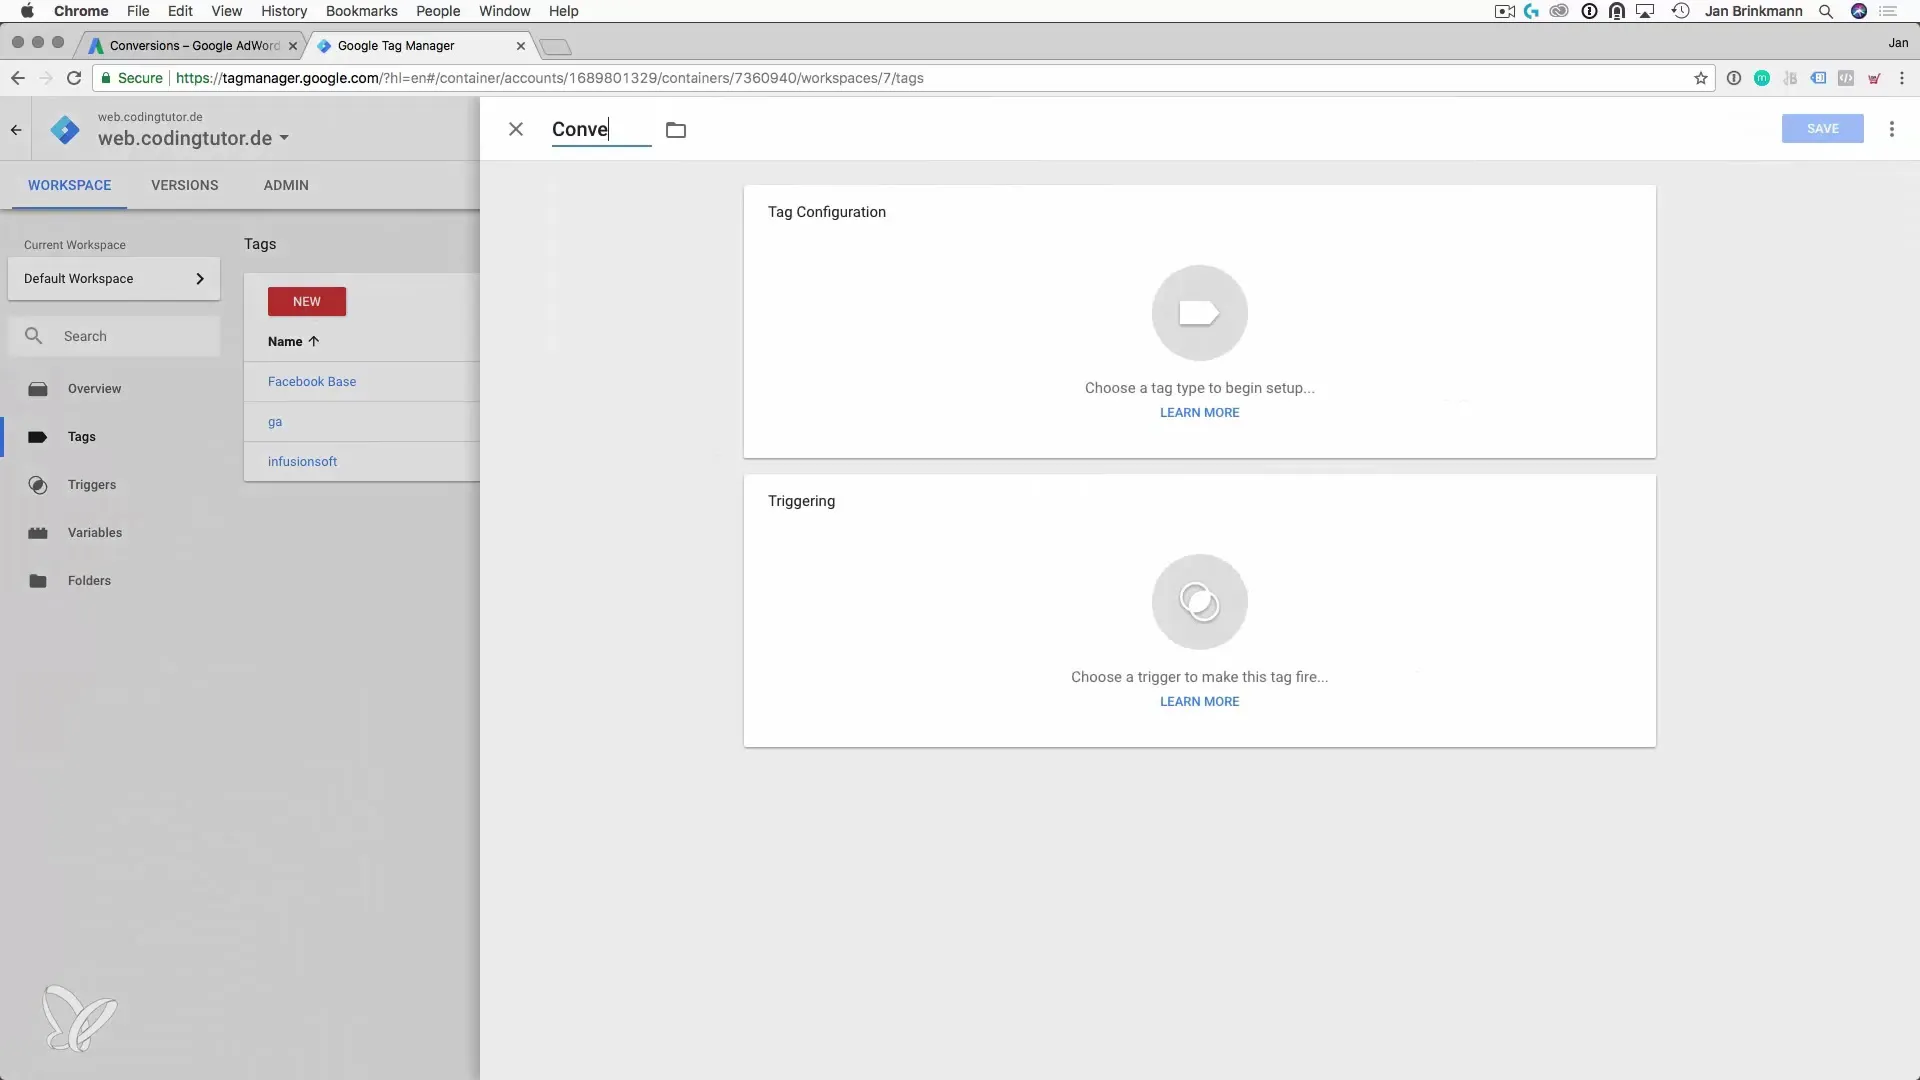
Open the Google Tag Manager. Here you can create a new tag for conversion tracking. Click on “Create New Tag” and name it, for example, “Conversion Contact Form”.
3. Tag Configuration
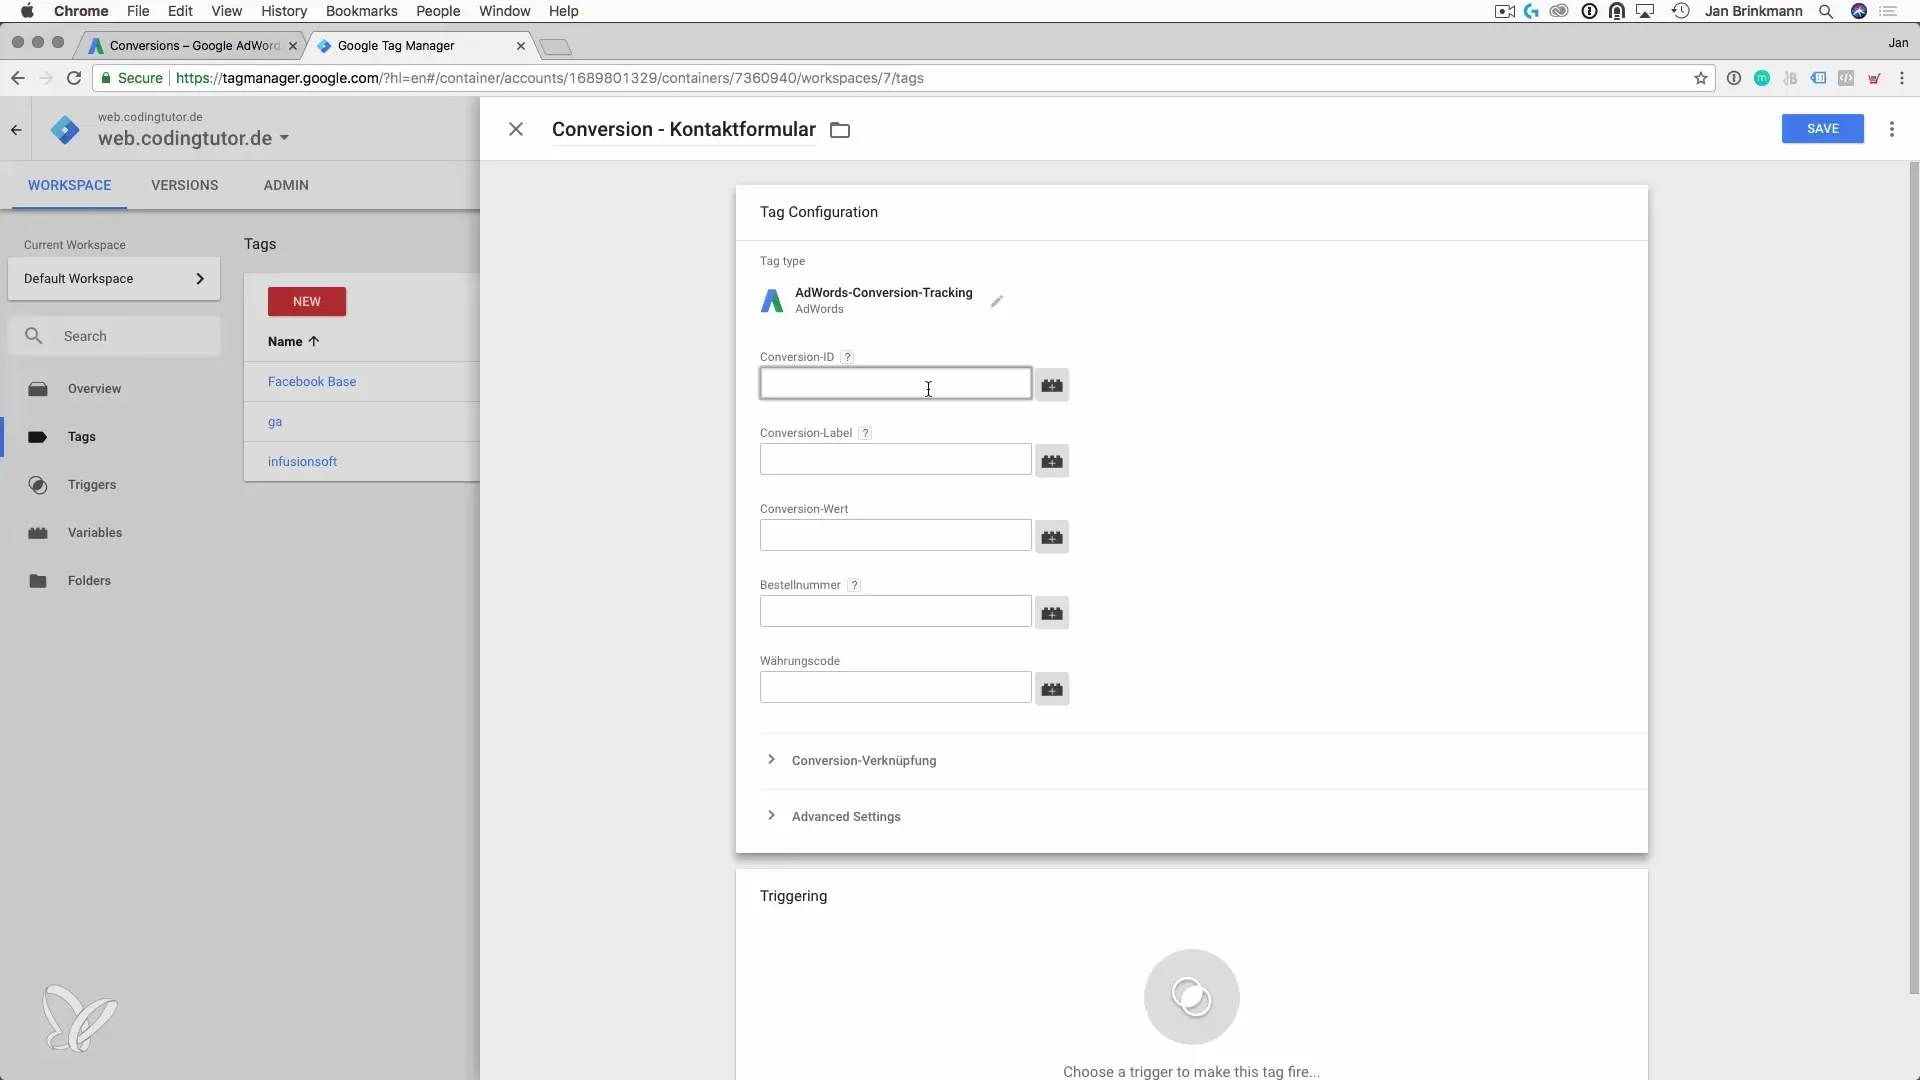
You should now set up the tag configuration. Choose the option for Google Ads Conversion Tracking and paste the previously copied conversion ID and conversion label. This information is essential for Google Ads to recognize the correct conversion.
4. Set Up Trigger for the Tag
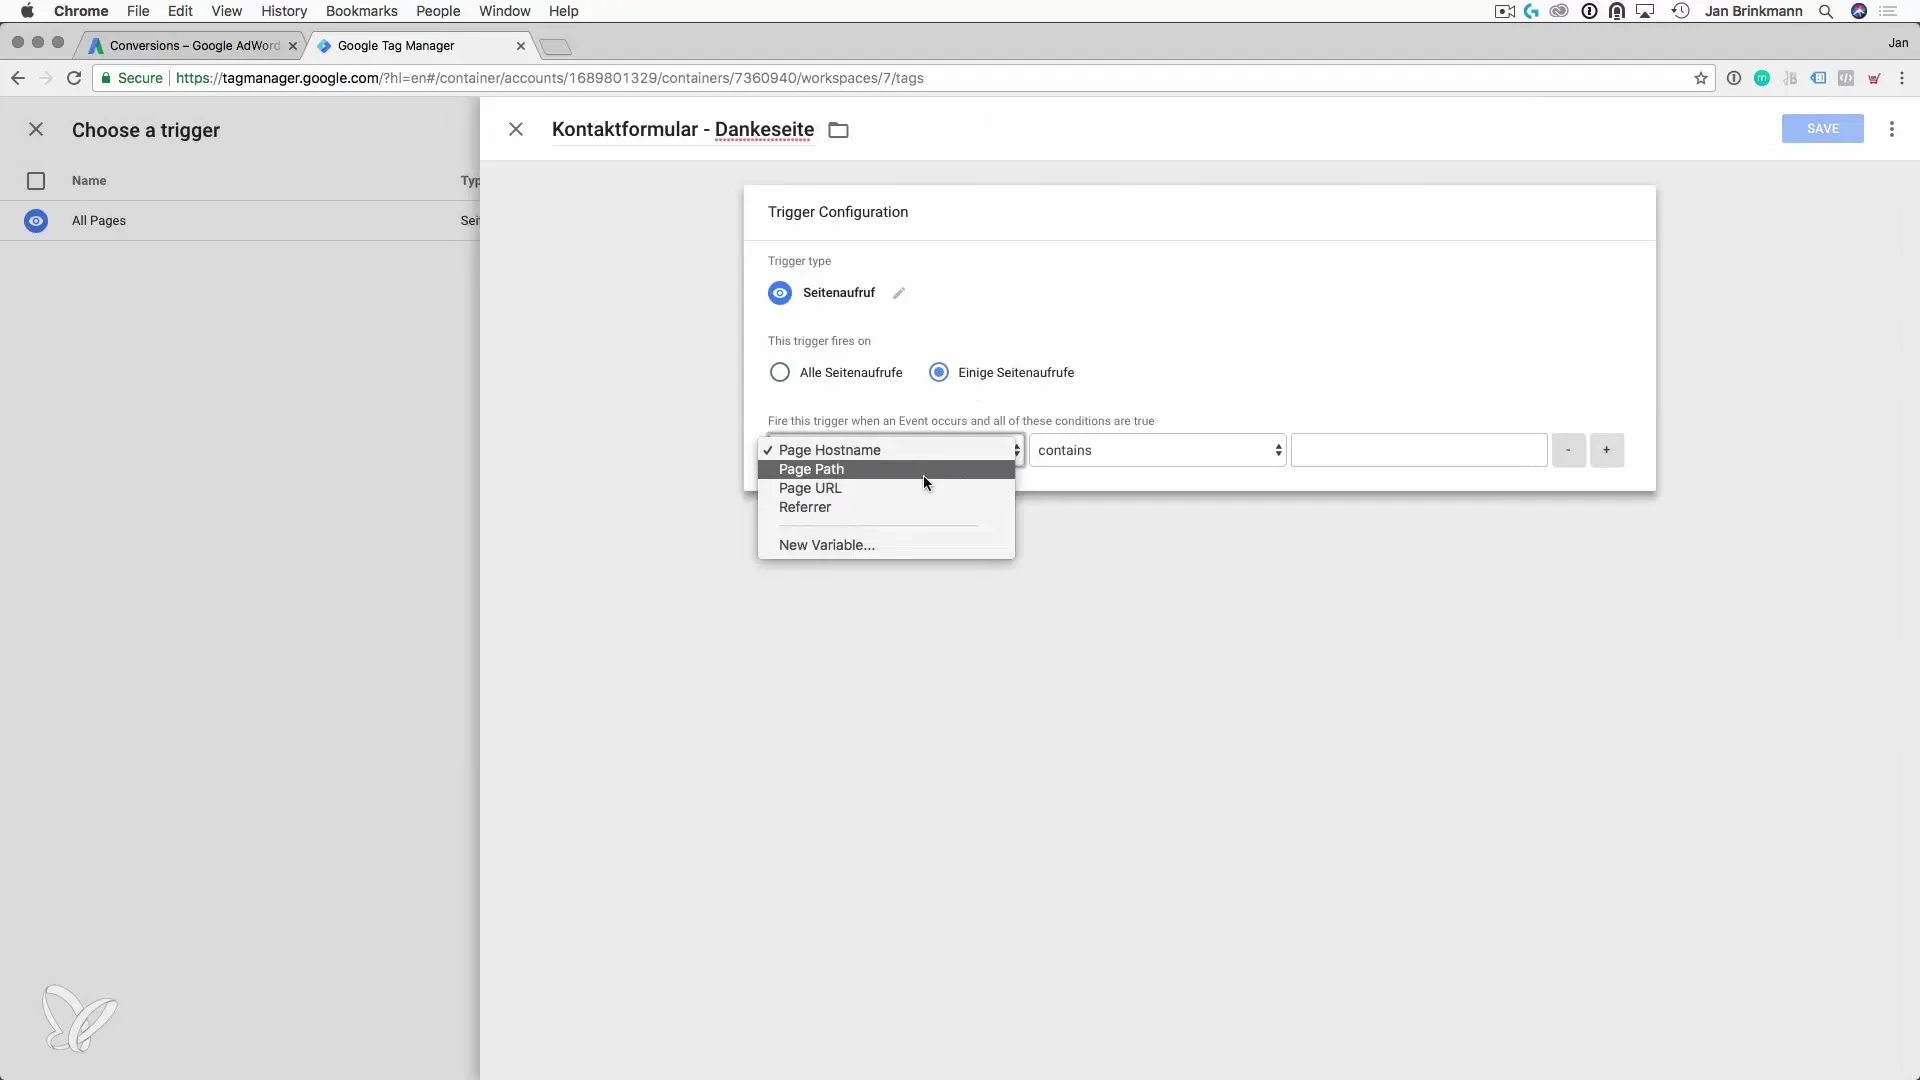
The next step is to define the trigger, which determines when the tag should be activated. In this case, the tag should only be triggered on the thank-you page of the contact form. You do this by choosing the trigger configuration and setting a page view.
5. Adjust URL for Trigger
Now specify the URL of the thank-you page to accurately control the triggering of the tags. It is important that the URL is unique so that tracking only occurs on the thank-you page when the contact form has been successfully submitted.
6. Save Trigger and Publish Tag
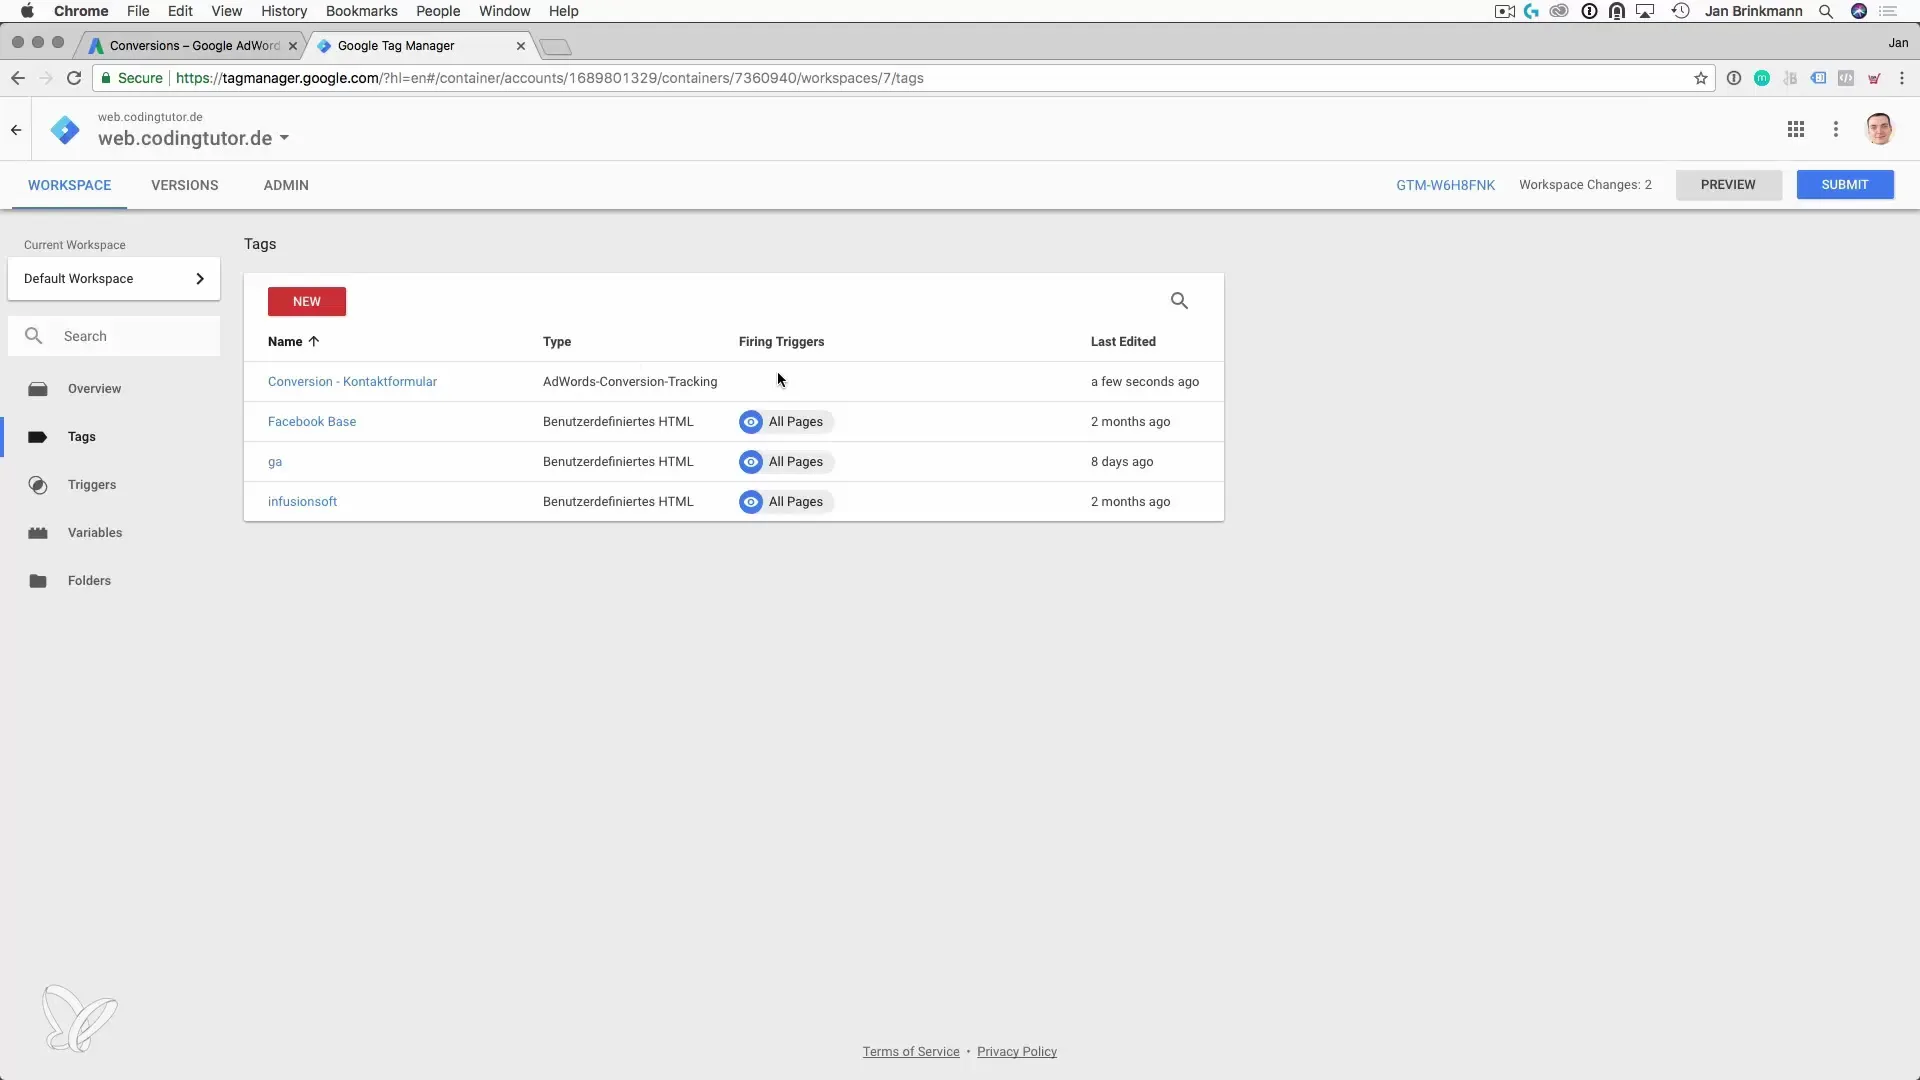
After you have adjusted the trigger configuration, save it. Go back to the tag to save that as well. You are now ready to publish the tag so that the tracking goes live.
7. Publish Tag in Tag Manager
Before you publish the Google Tag Manager, you should double-check that all information is correct. Click on “Publish” to make the changes live. This step is important to ensure that conversion tracking is active.
8. Test the Implementation
To ensure that the conversion tracking has been set up successfully, test the implementation. Visit the thank-you page after you have filled out the form, and check in your Google Ads account whether the conversion is being recorded correctly.
Summary – Guide to Conversion Tracking with Google Ads in Tag Manager
In this guide, you have learned how to set up conversion tracking for Google Ads using Google Tag Manager. From copying the conversion ID to publishing your tag – each step is crucial for the success of your tracking system. With proper implementation, you can accurately measure and optimize the success of your marketing campaigns.
Frequently Asked Questions
How do I create a conversion in Google Ads?A conversion can be created in Google Ads under “Tools & Settings” and then “Conversions”.
Why do I need Google Tag Manager?Google Tag Manager makes it easier to manage tags and tracking without programming knowledge.
How do I test conversion tracking?Visit the thank-you page after submitting the contact form and check in your Google Ads account if the conversion has been recorded.


