Masks are essential in Photoshop for making targeted edits to images. They allow you to hide or highlight areas of a layer without losing the original data. This is especially useful when you want to perform complex image manipulations. In this guide, you will learn how to effectively use masks to experiment with colors and black-and-white effects, achieving creative results.
Key Insights
- Masks enable non-destructive editing in Photoshop.
- A mask can either make areas visible or invisible based on their color (black for invisible, white for visible).
- You can invert and adjust masks at any time to achieve your desired effects.
Step-by-Step Guide
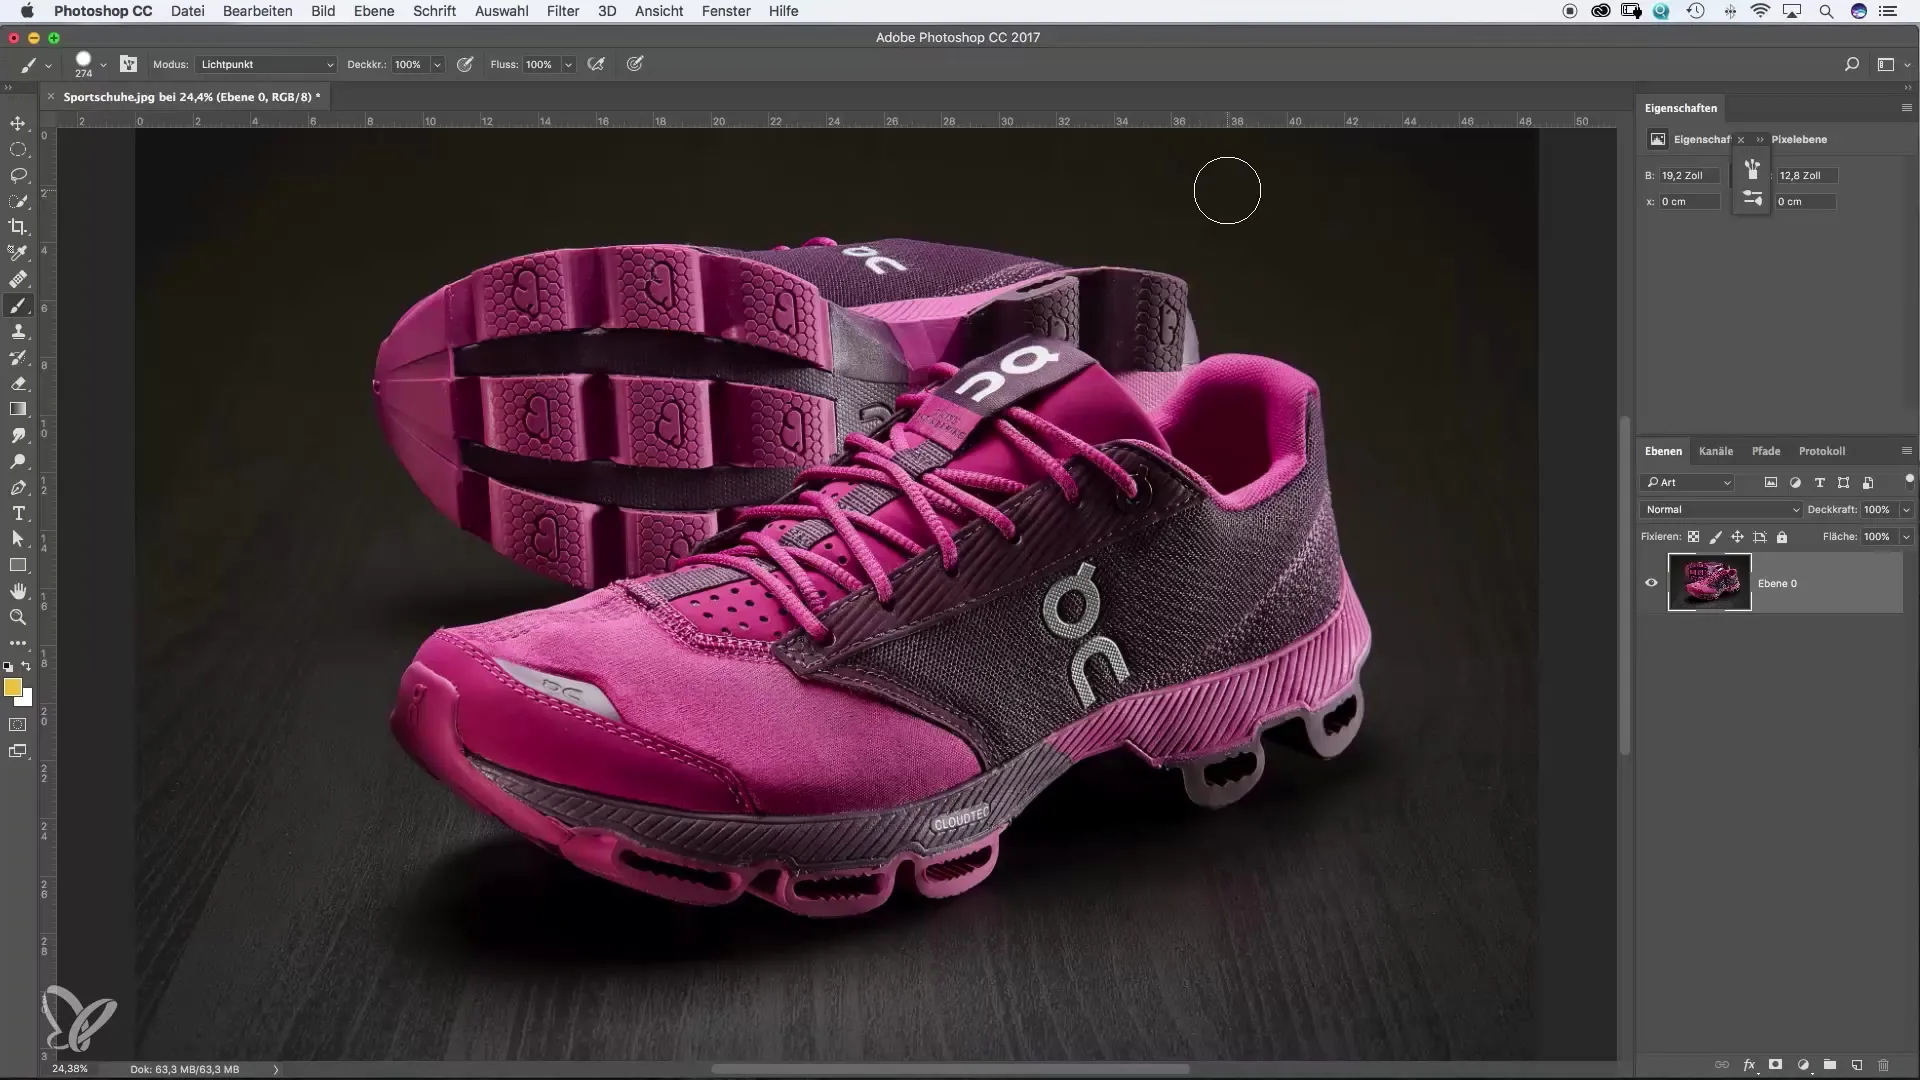
Create Image and Duplicate First, select an image you want to edit. In this tutorial, I have chosen an image of Mike Göring from a product photography training. To work with masks, first duplicate the layer by holding down the Alt key and dragging the layer upwards. This way, you have two identical layers available.
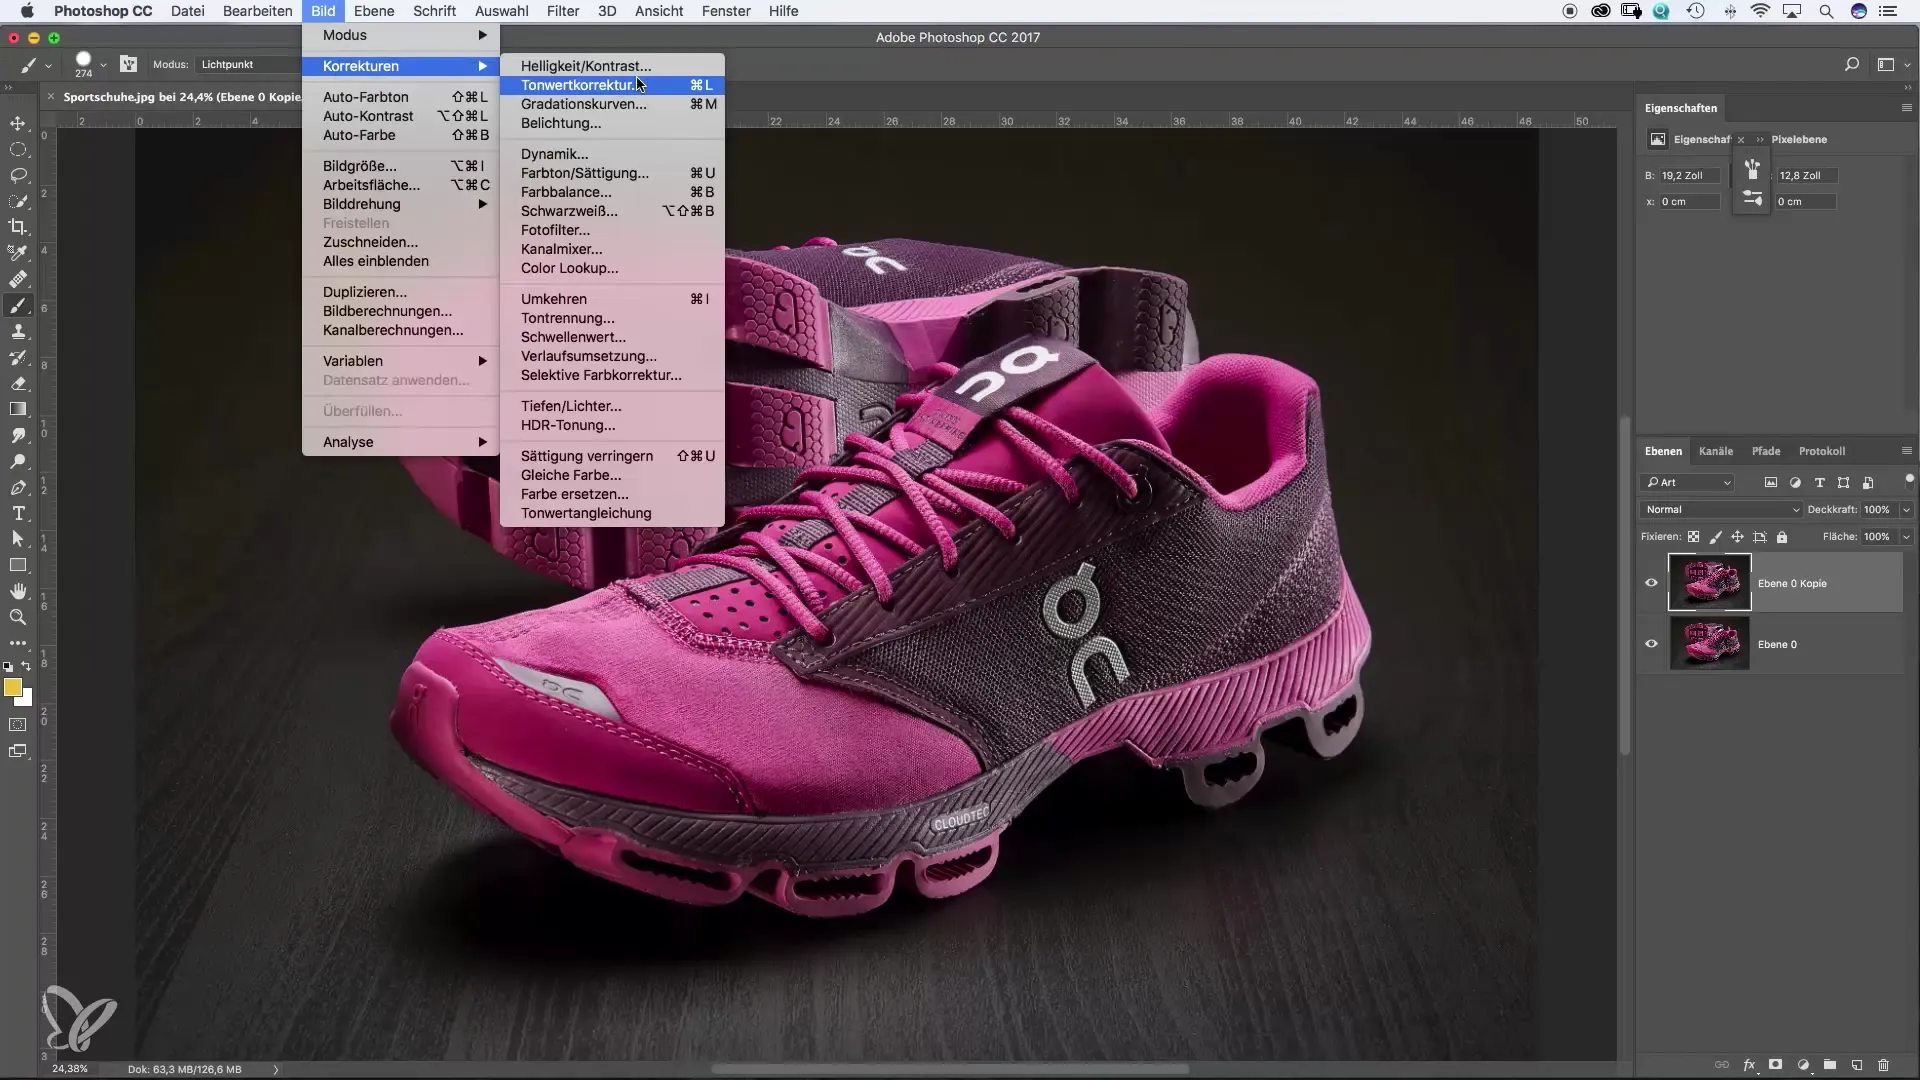
Apply Color Corrections The goal is to keep only a specific part of the image in color. In my example, I will convert the upper duplicate layer into a black-and-white image. For this, go to the image adjustments and select the “Black and White” option. Now the entire image will be displayed in black and white.
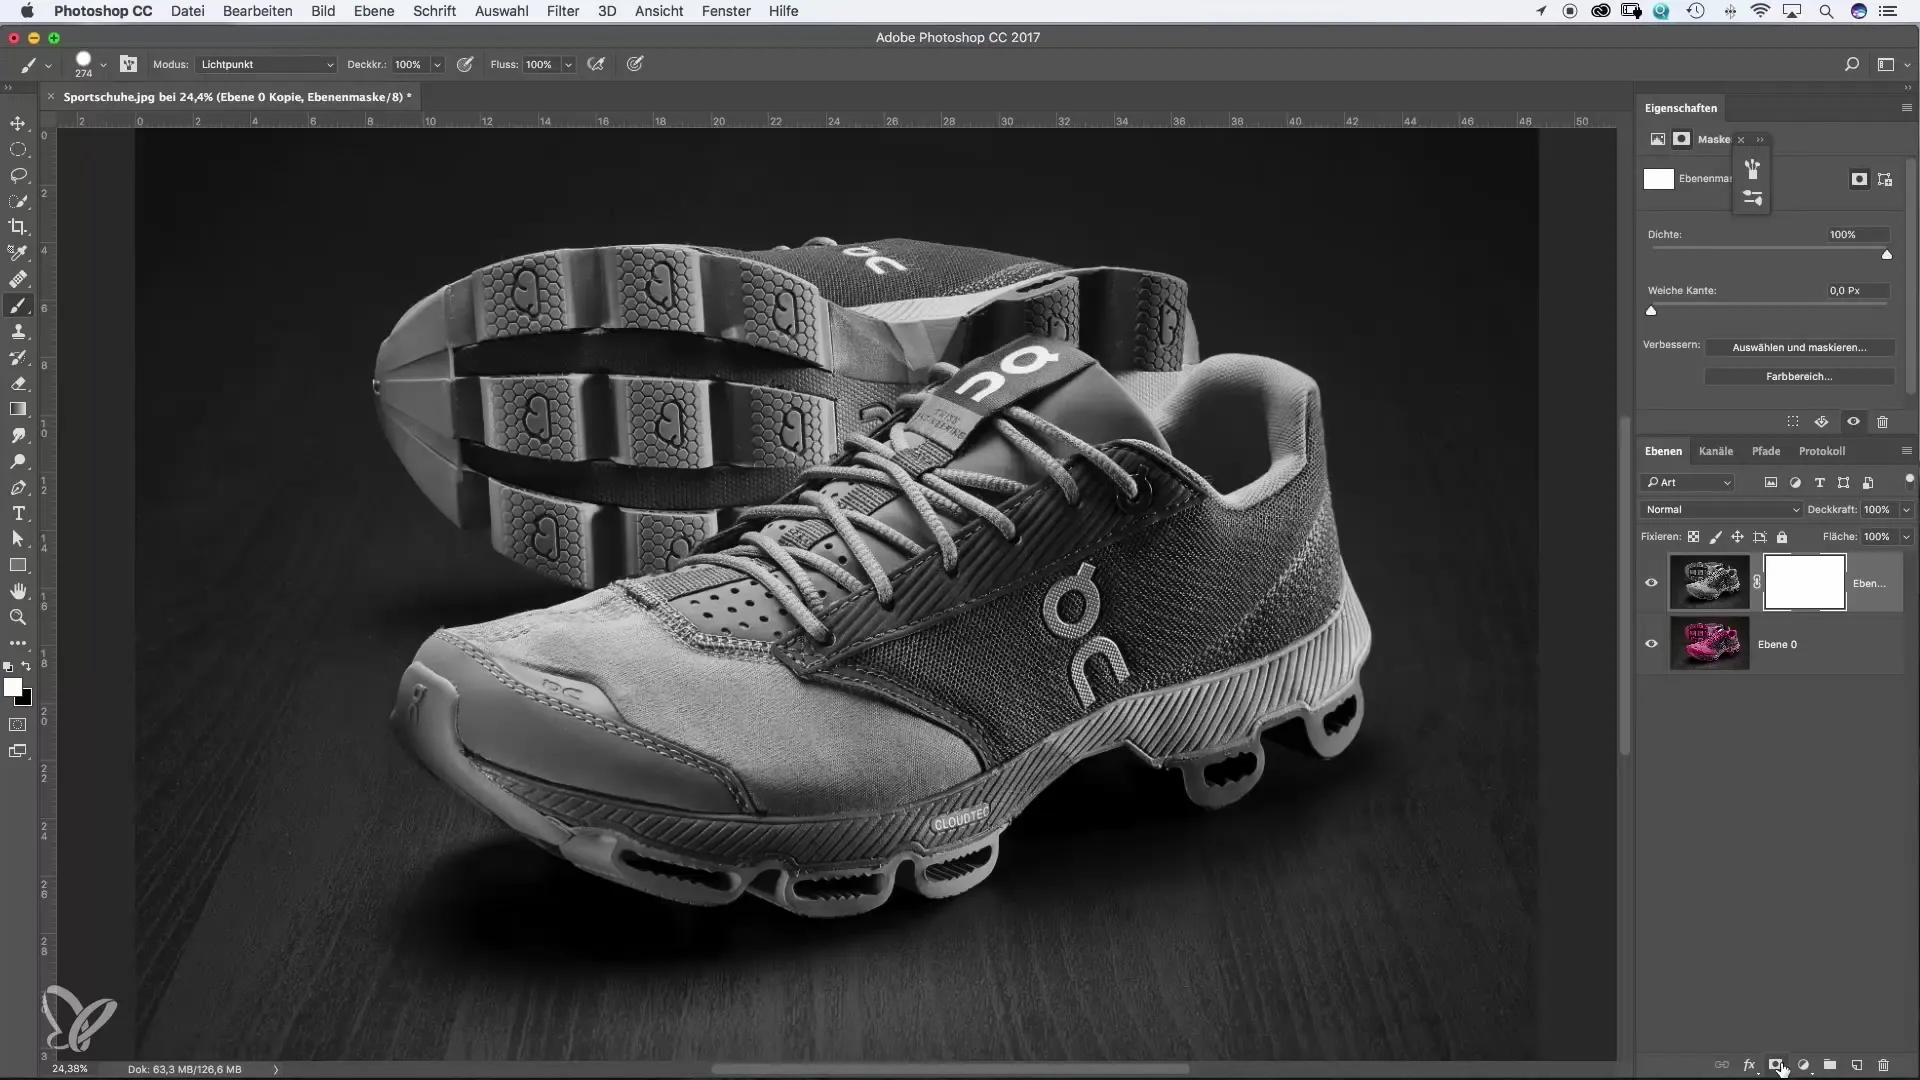
Add Mask To add a mask, click on the mask icon in the layers palette. This looks like a rectangle with a small circle in the center. After clicking the icon, nothing visible happens at first. But this is perfectly normal. It means the mask is active.
Understanding Masks The principle of masks can be imagined as light and darkness. Where there is white, the layer will be visible; where there is black, it remains hidden. If you invert the mask (using Command+I or Control+I), it turns black and the shoe becomes visible while the other layer is hidden.
Edit Mask Now comes the creative part! You can edit the mask with the brush tool in white or black. When you paint on the mask with white, that area becomes visible, and when you paint with black, that area becomes hidden.

Adjusting Details To work more precisely, zoom in closer to the image so you can accurately overlap the edges of the shoe. This is important to ensure a clean transition. Be careful with the shoelaces and other details to make sure the effect looks realistic.
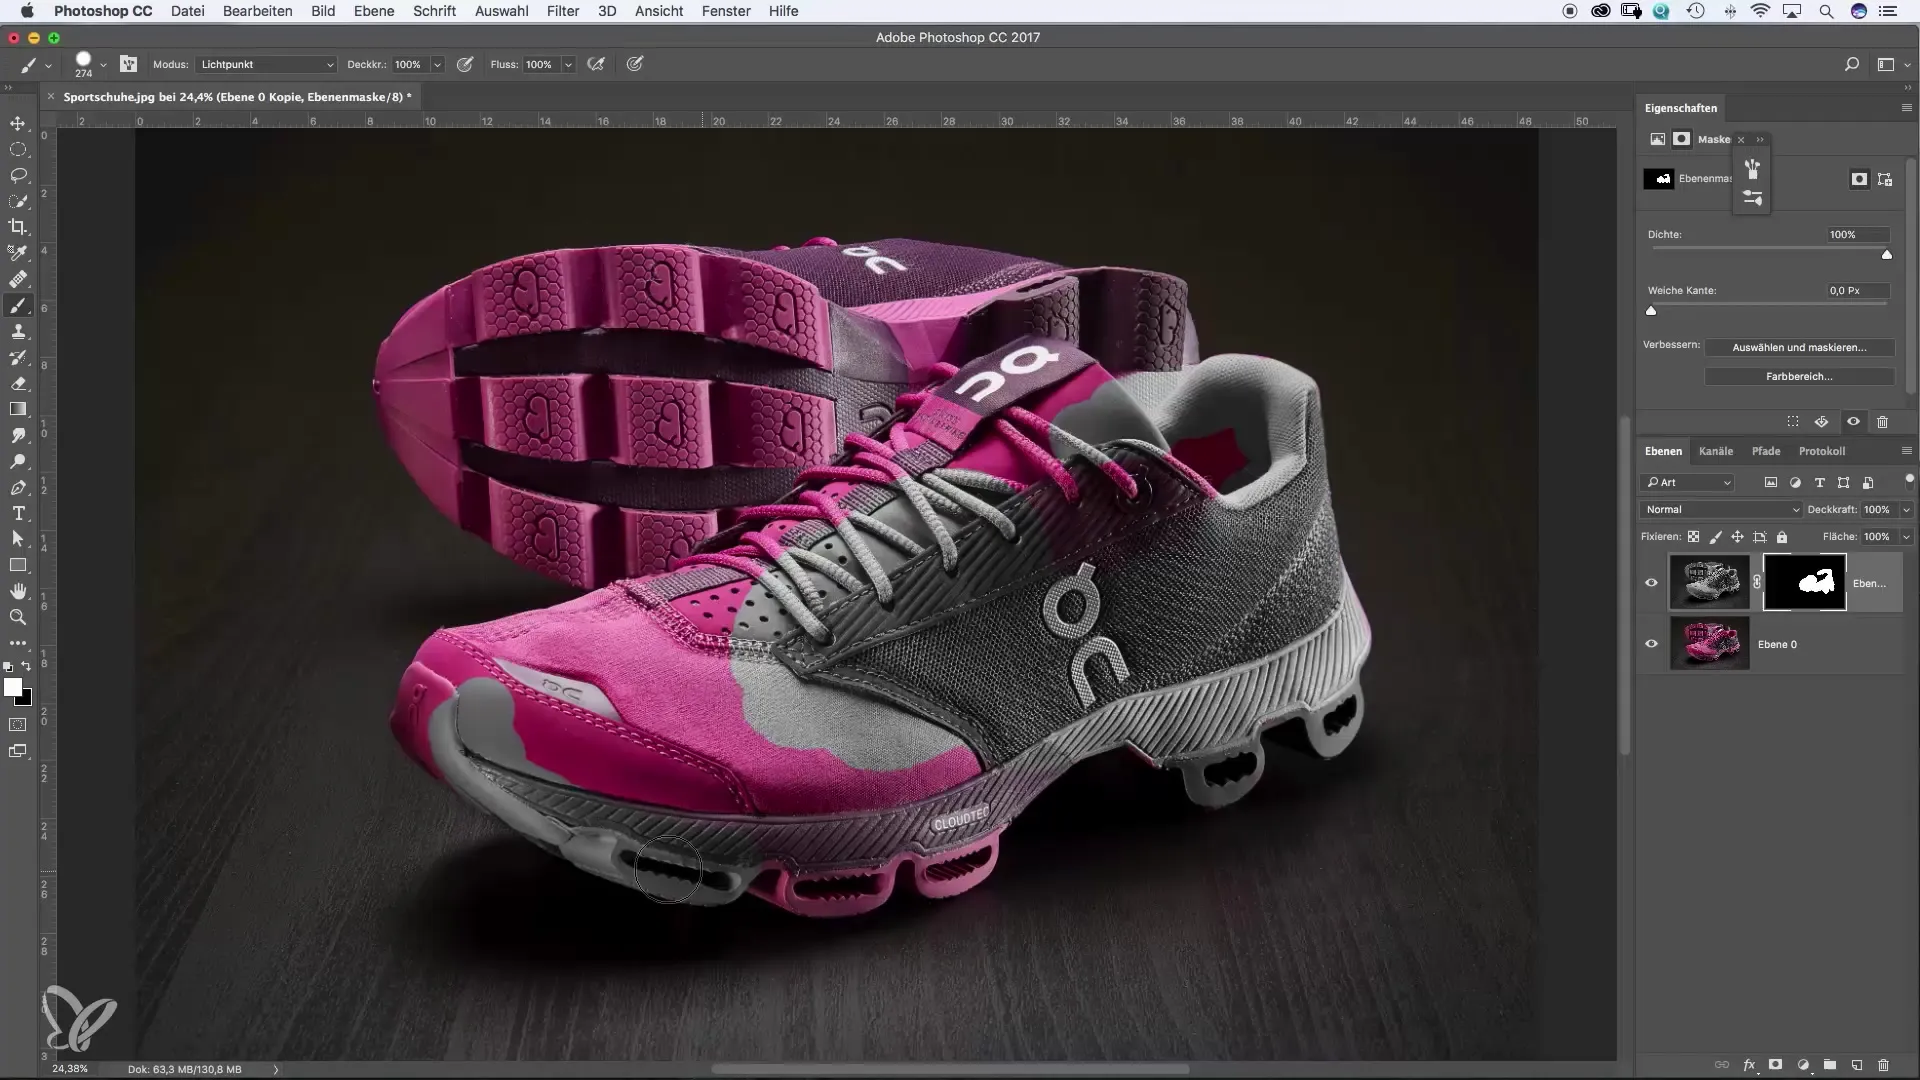
Check Mask Hold down the Alt key and click on the mask to check the areas. You will now see where the color is visible (white) and where it is hidden (black). Here, you can make changes to ensure the shoe is represented perfectly.
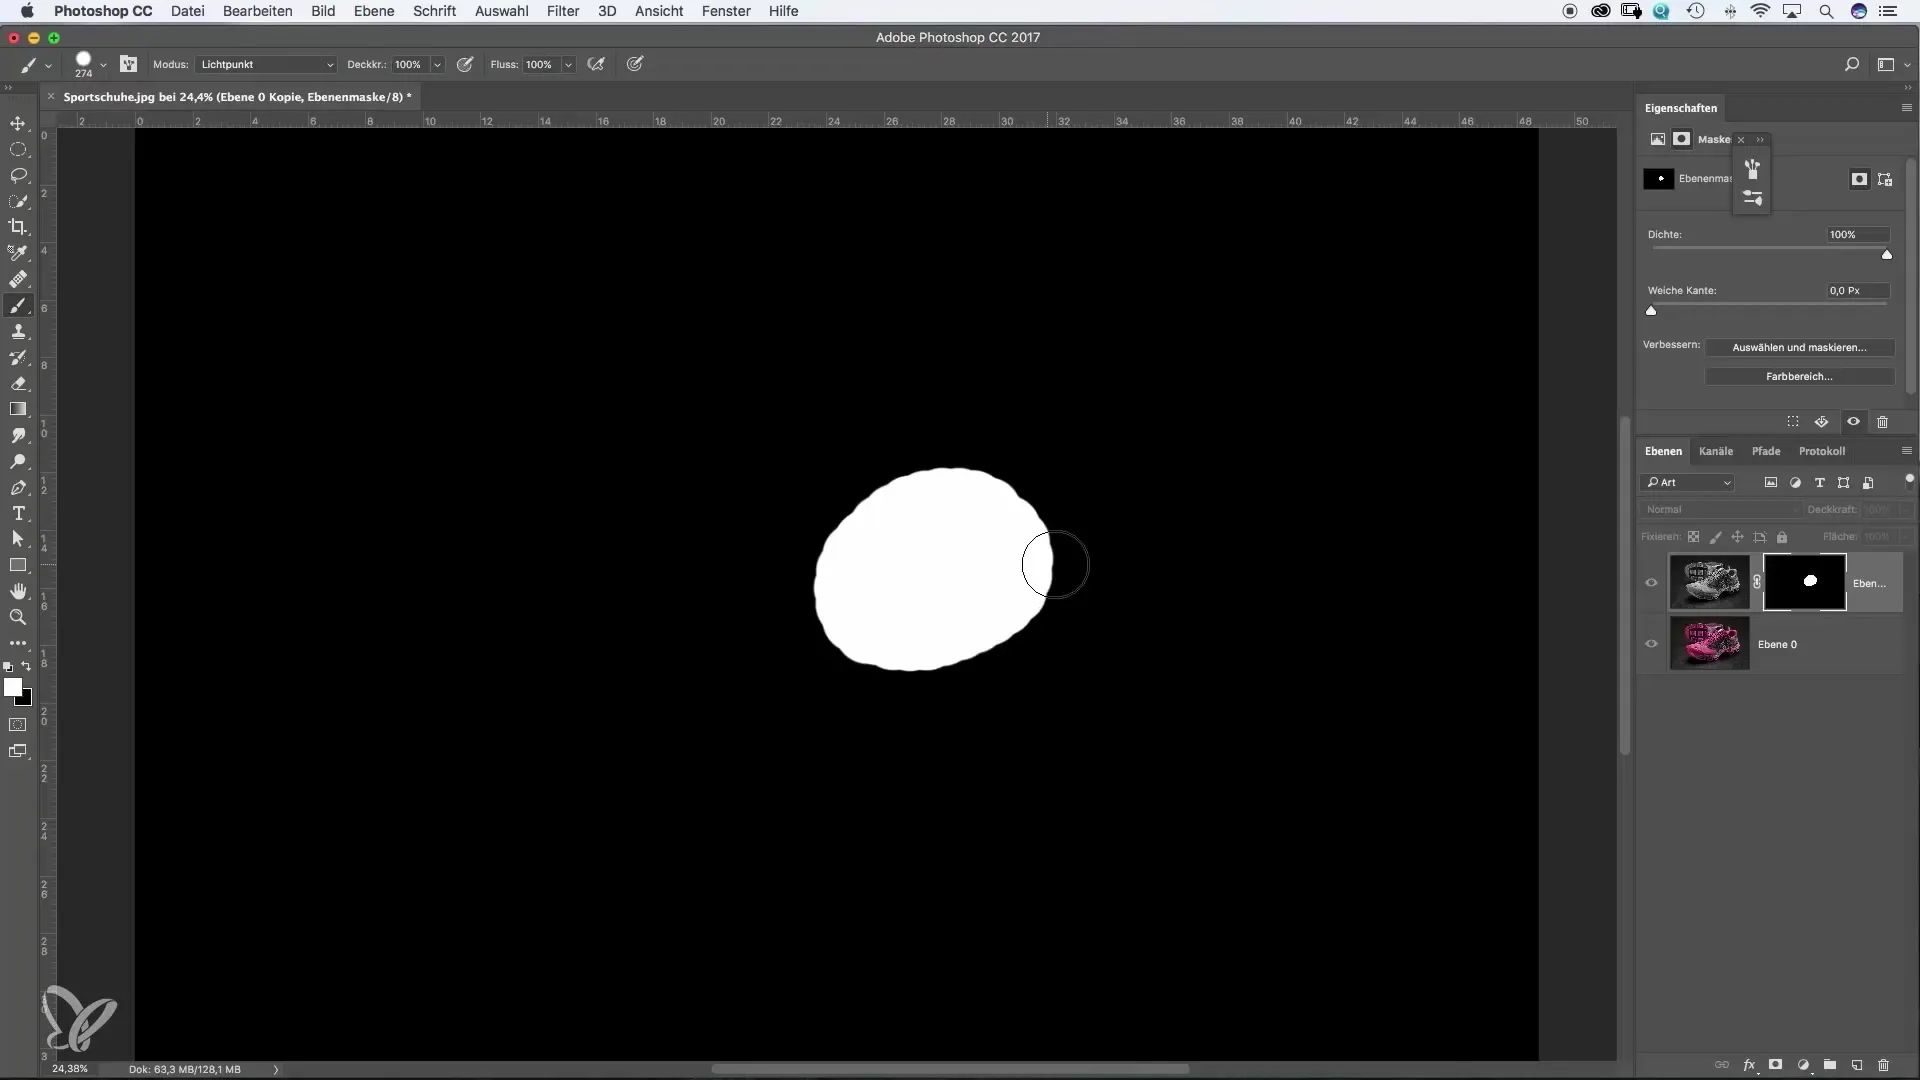
Final Adjustments If you invert the mask (using Command+I or Control+I), the shoe in the background becomes black-and-white while the foreground remains in color. This gives you the flexibility to design the image according to your wishes. Now you can also make adjustments if your client needs a specific color for the shoe.
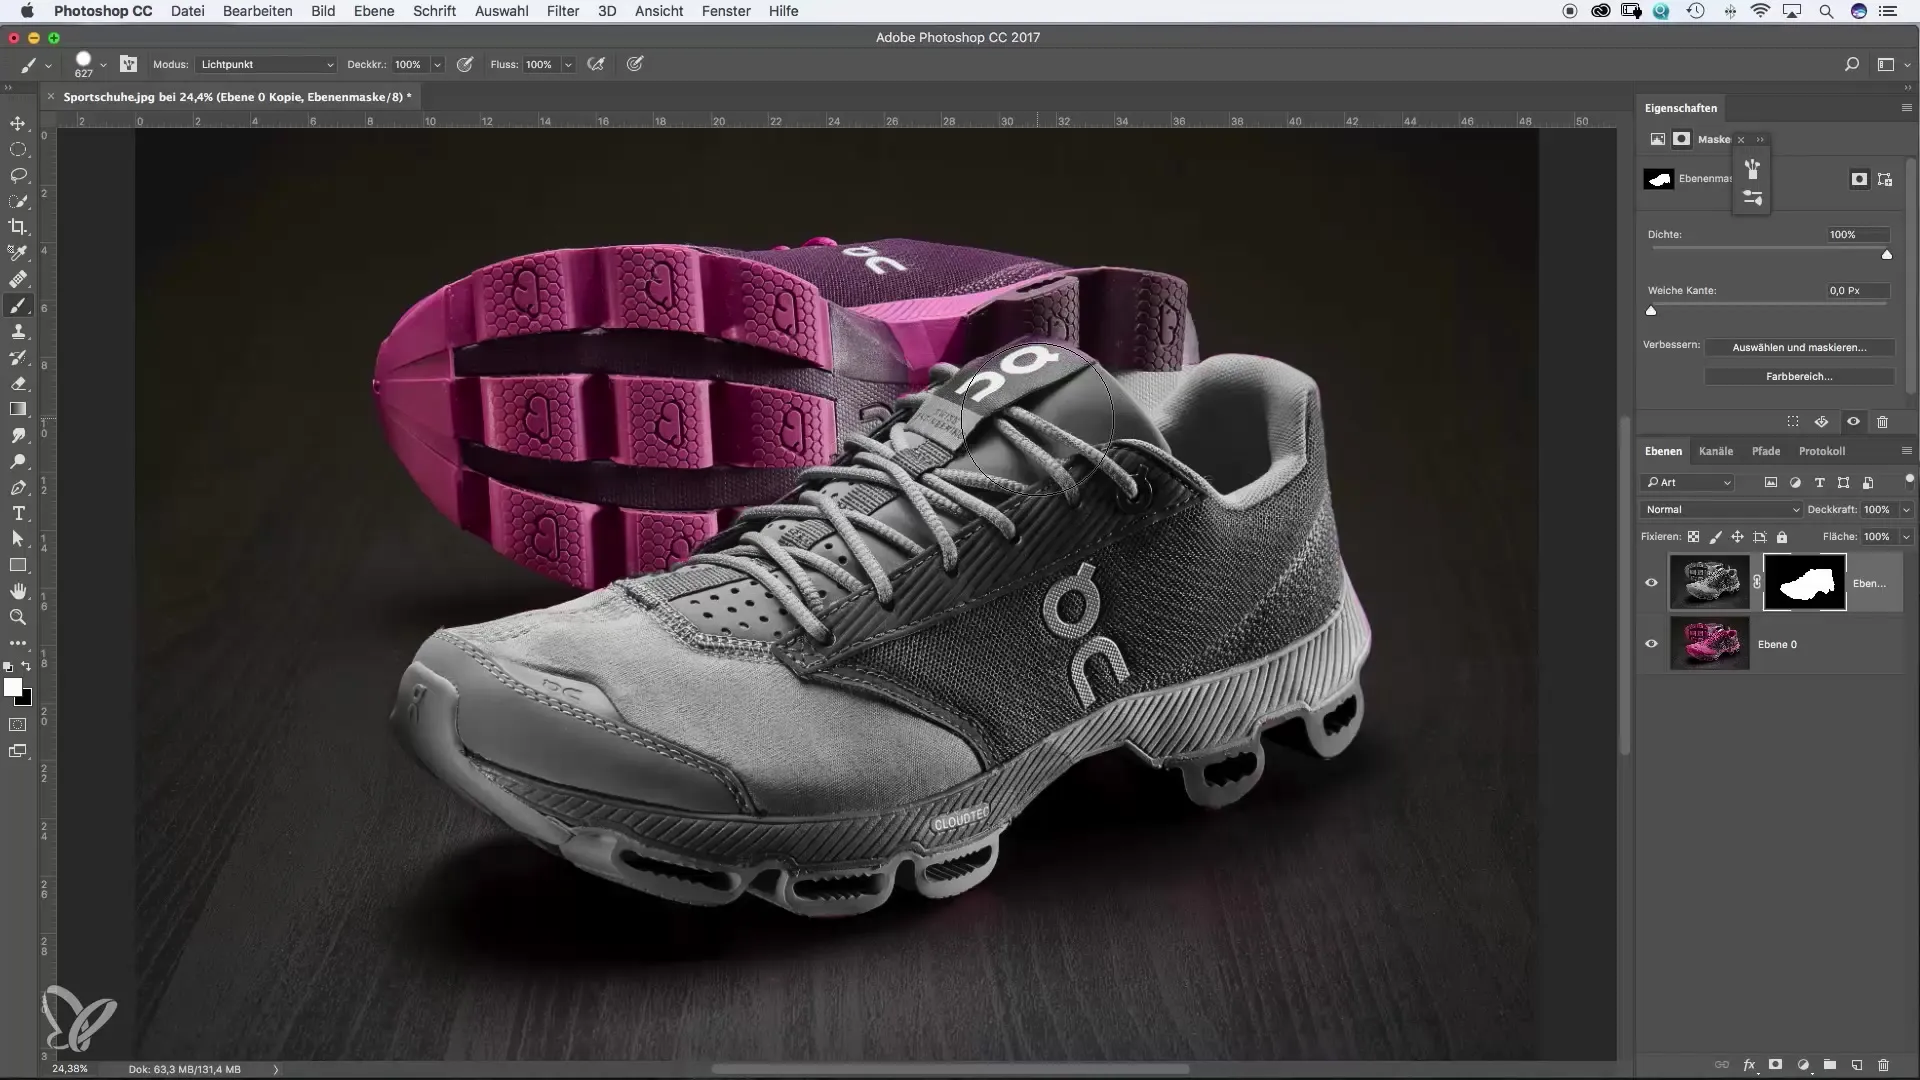
Work Creatively One of the best features of masks is their flexibility. You can always go back and make adjustments by editing or inverting the masks. This allows you to engage in creative and dynamic image editing. You should keep in mind the simple logic of masks for your future projects.

Summary – Photoshop Masks: Creative Working with Layers
In this guide, you have learned how important masks are in Photoshop and how they can help you make creative and flexible image edits. You can use masks to highlight or hide specific areas, thus creating dynamic images that are both professional and appealing.
Frequently Asked Questions
What is a mask in Photoshop?A mask in Photoshop is a tool that allows you to hide or reveal areas of a layer without altering the original data.
How does a mask work?A mask is either black or white. Black indicates the invisible parts, while white indicates the visible parts.
Can I adjust a mask at any time?Yes, you can edit and adjust masks at any time to change the visibility of layers as you wish.
What happens if I invert a mask?When inverting a mask, the visibility settings are reversed: areas that were previously visible become invisible and vice versa.
Can I delete a mask?Yes, you can delete or deactivate a mask from the layers palette if you no longer need it.


