Photoshop is a powerful tool with countless possible adjustments and preferences. These settings can significantly affect your workflow, especially if you are new to the program or want to deepen your knowledge. This guide will walk you through the basic yet crucial preferences you can configure to ease your start in Photoshop.
Key Takeaways
- Start with Photoshop’s default configuration and adjust the settings later.
- You can change the user interface to your preferences, making work much more comfortable.
- Configuring performance, especially when RAM is limited, can boost your efficiency.
- Increase the history states to track more steps in your workflow.
Step-by-Step Guide
To set up the key preferences, follow these steps:
1. Open Preferences
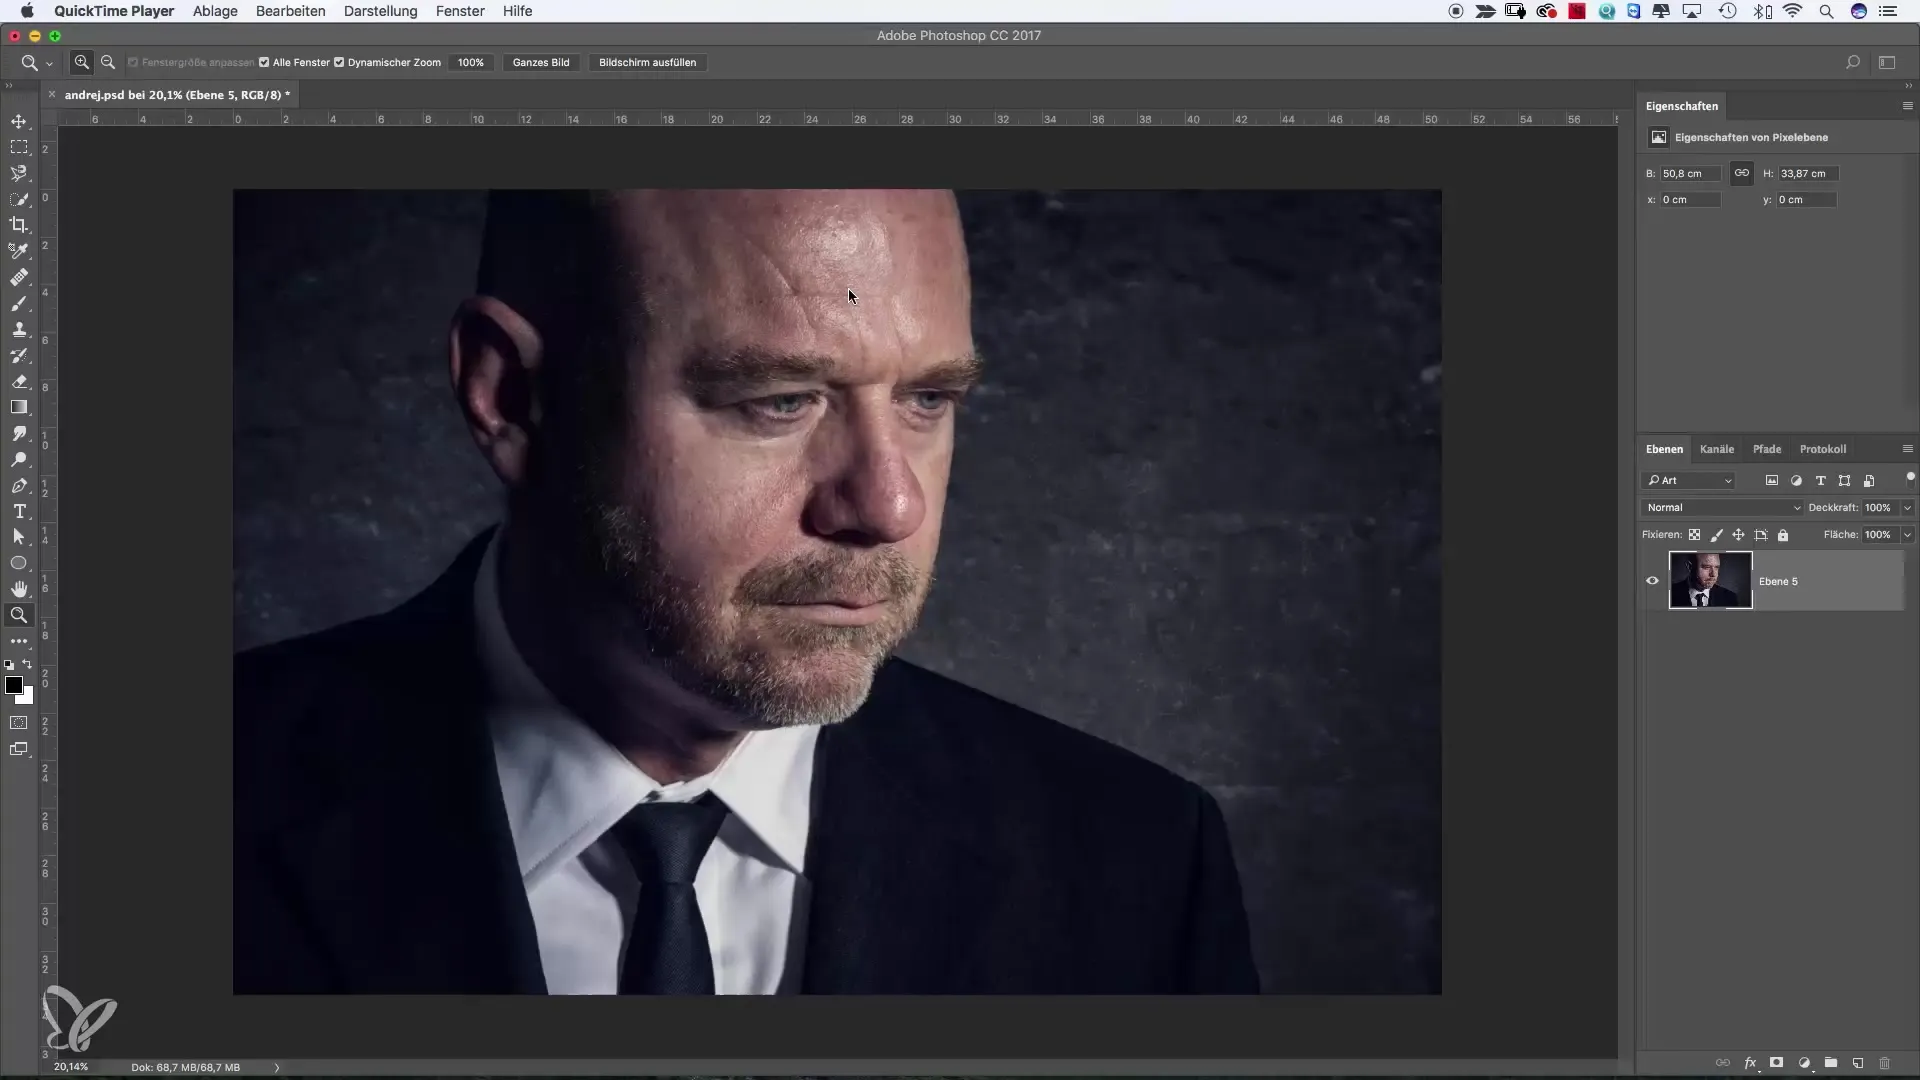
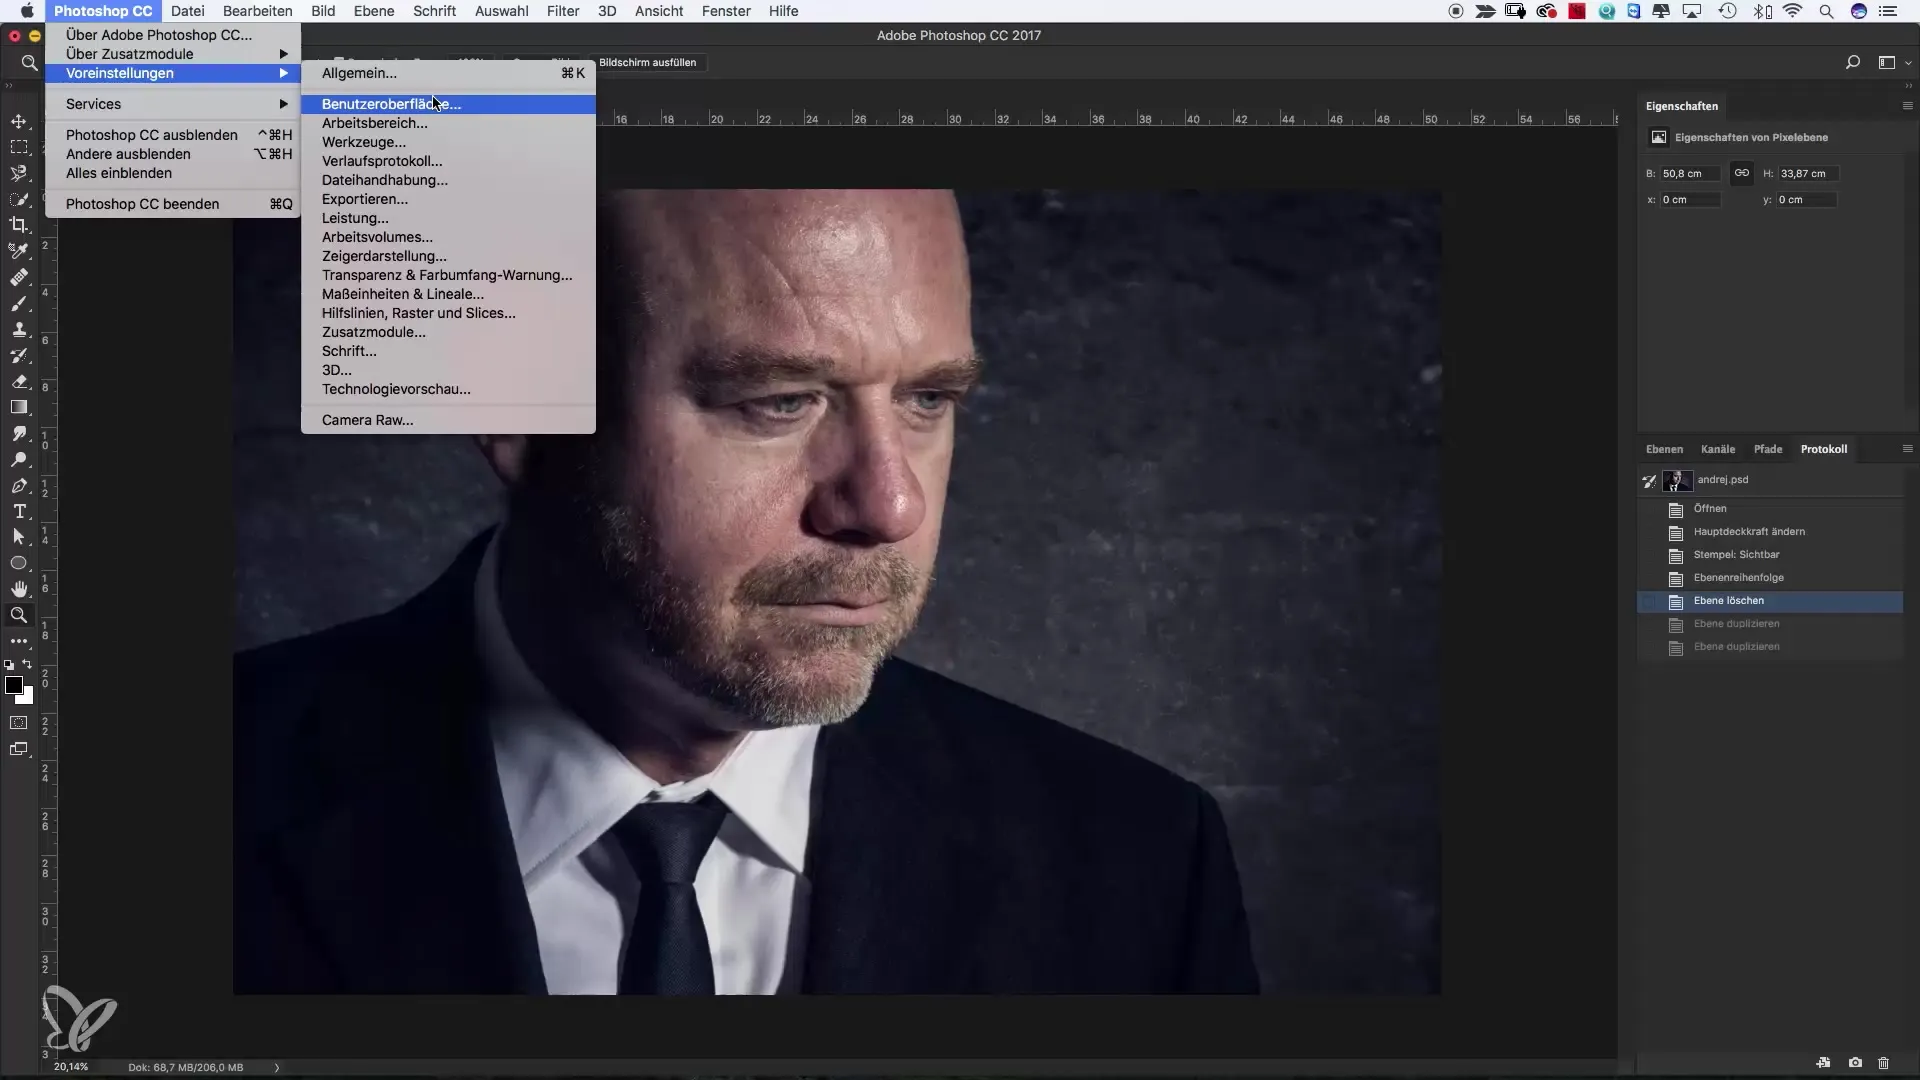
First, you need to access the preferences. Launch Photoshop and go to the “Edit” menu. Then select “Preferences” from the dropdown. Here you can make a variety of adjustments that benefit your workflow.
2. Customize the User Interface
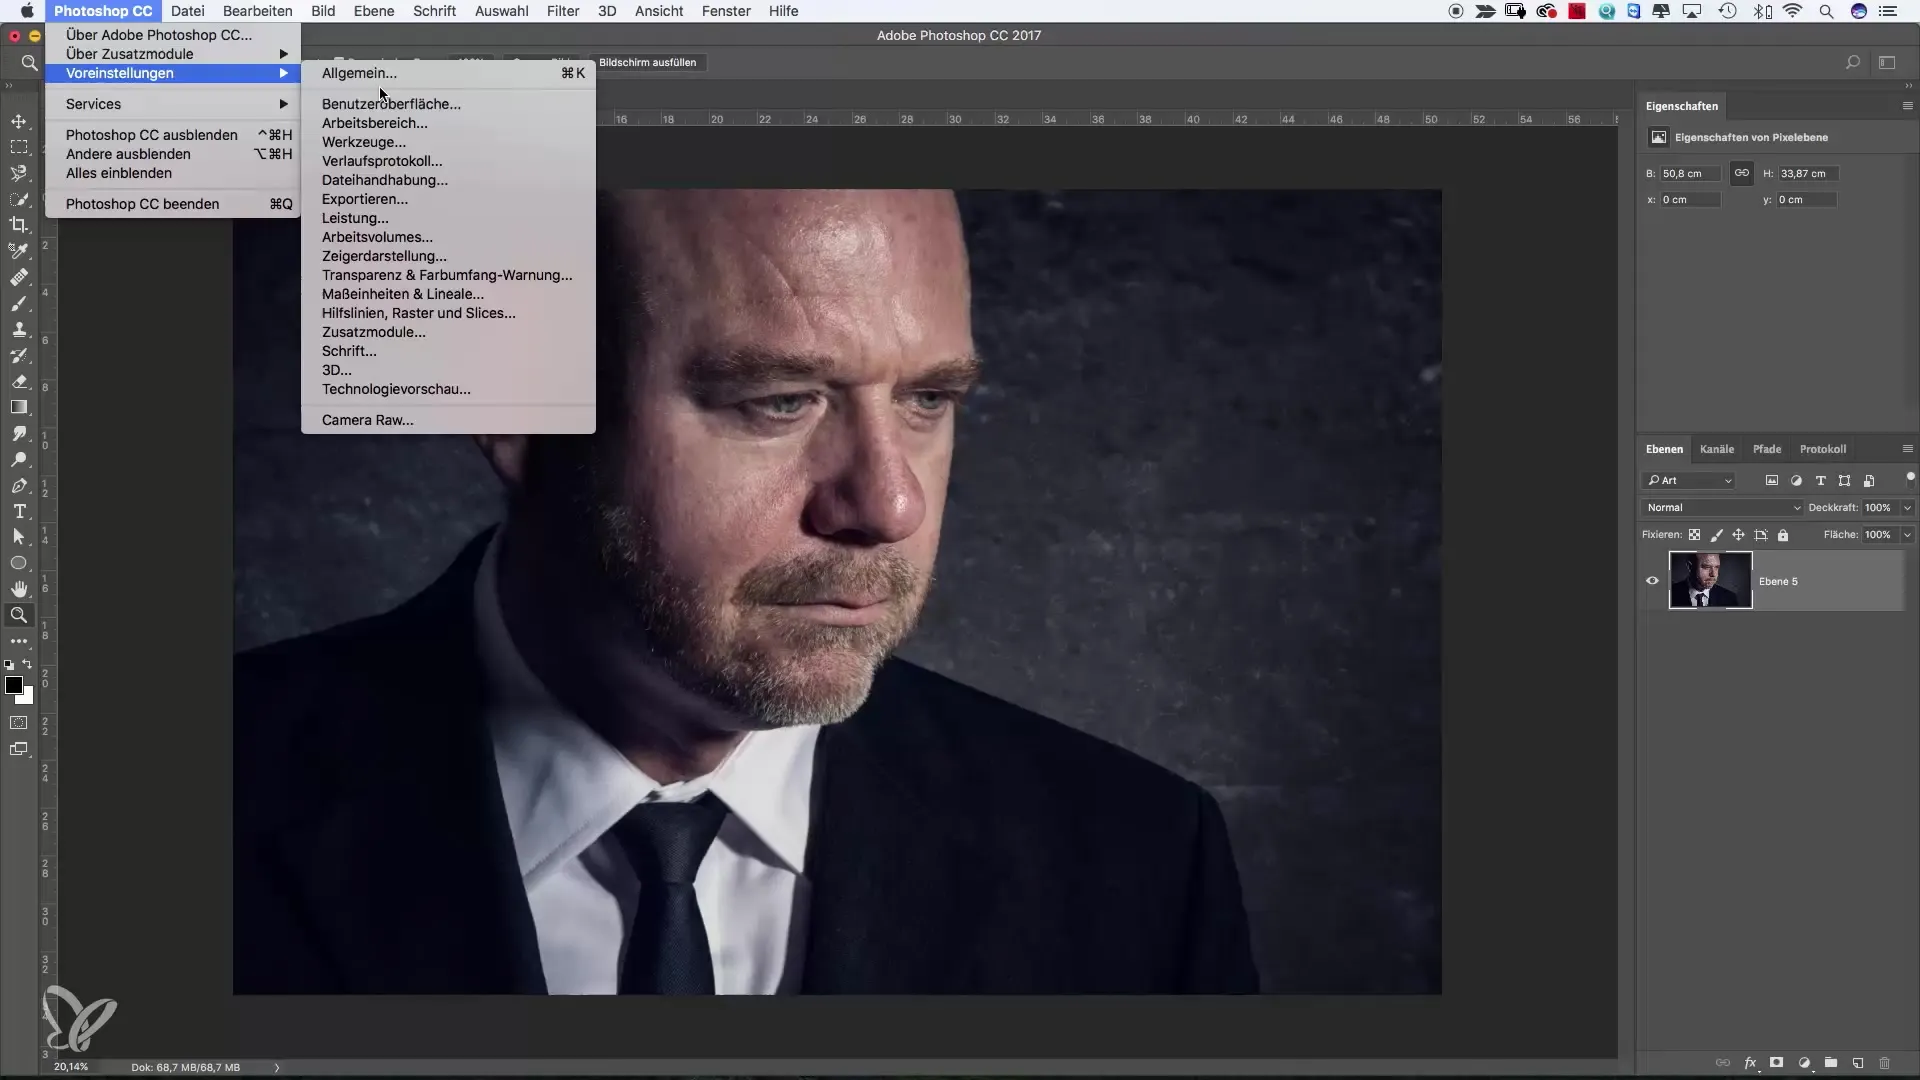
An essential aspect of improving your productivity is the user interface. Under the “Interface” section, you can adjust the interface color scheme. For example, you can choose between dark gray or light gray. Many users find that a darker interface is less distracting, especially when working with images.
3. Change Highlight Color
Another useful feature is adjusting the highlight color. Here you can set how selected areas are color-coded. By setting it to blue, it becomes easier to quickly identify and distinguish active layers.
4. Configure Performance
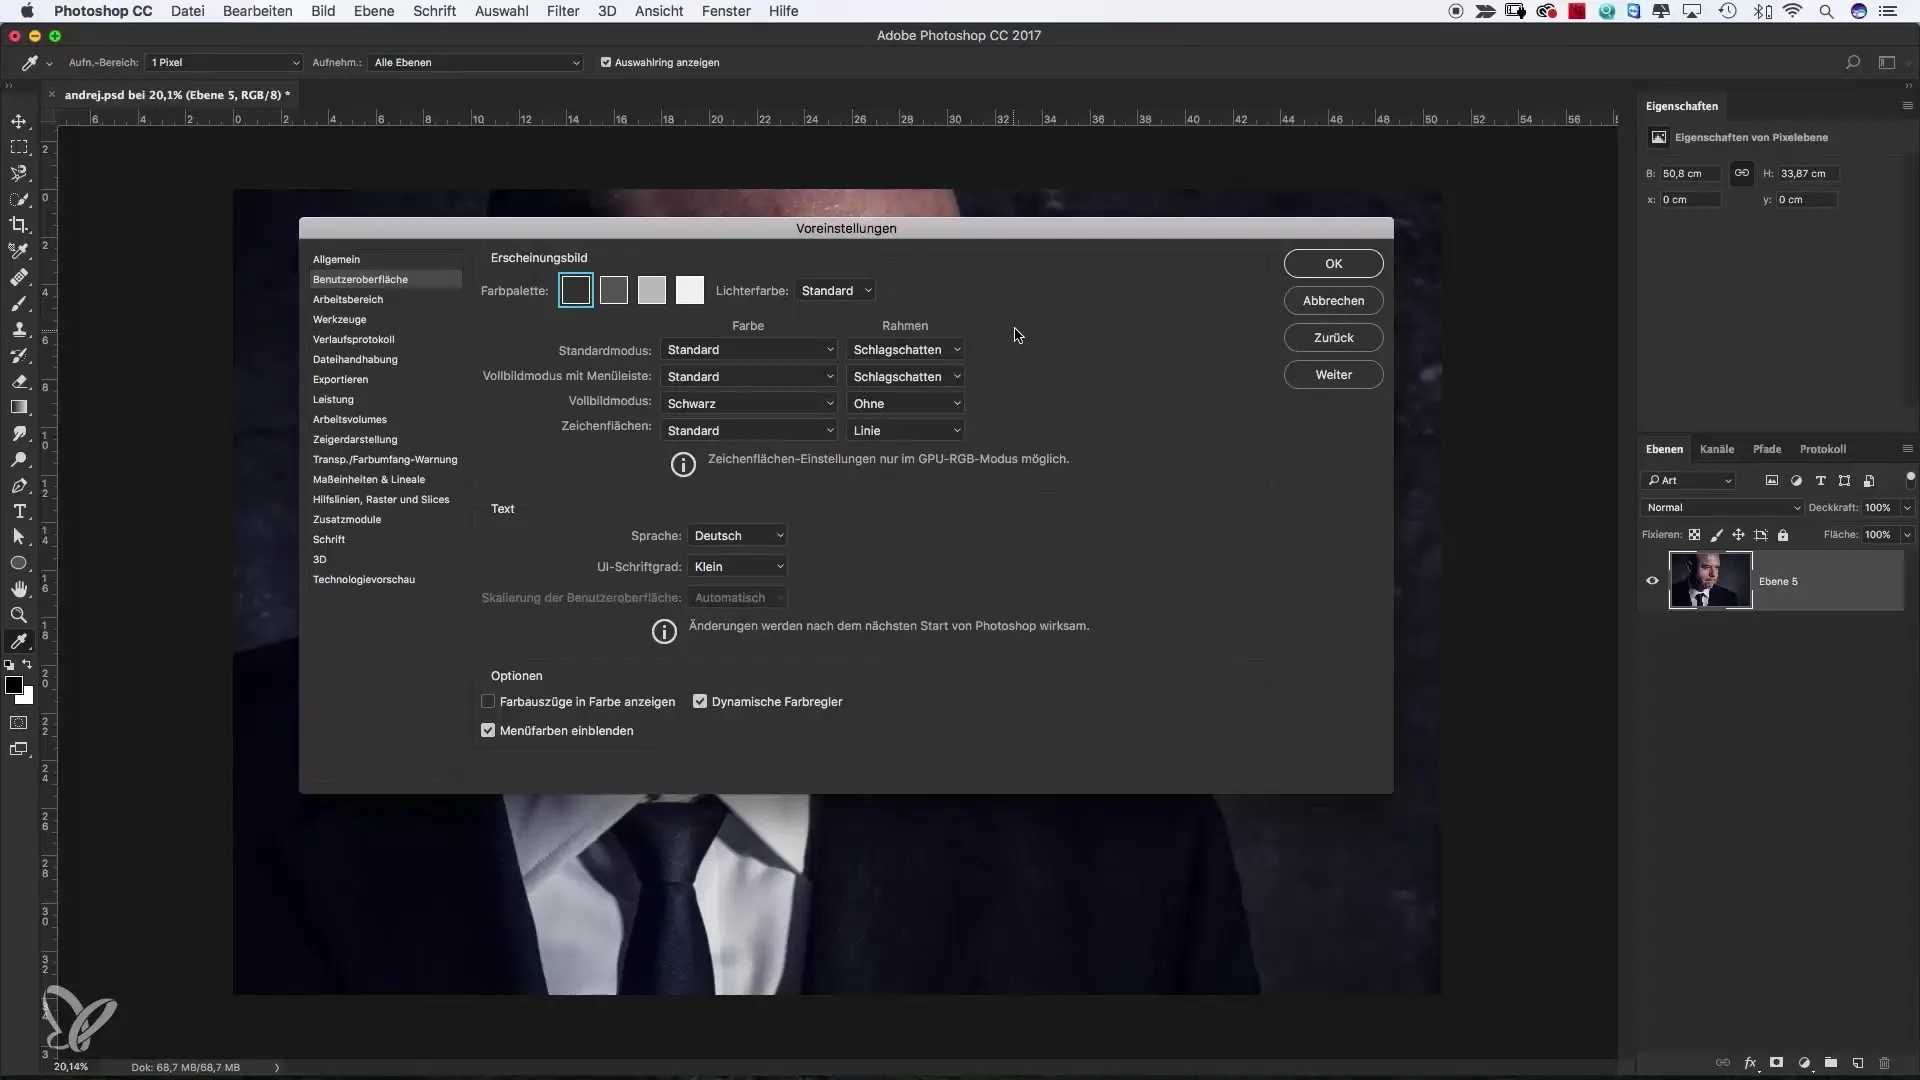
To ensure that Photoshop runs optimally on your computer, go to the “Performance” section in the preferences. Here you can specify how much RAM Photoshop should use. On a powerful machine, it is advisable to allocate more resources for a smoother-running program.
5. Increase History States
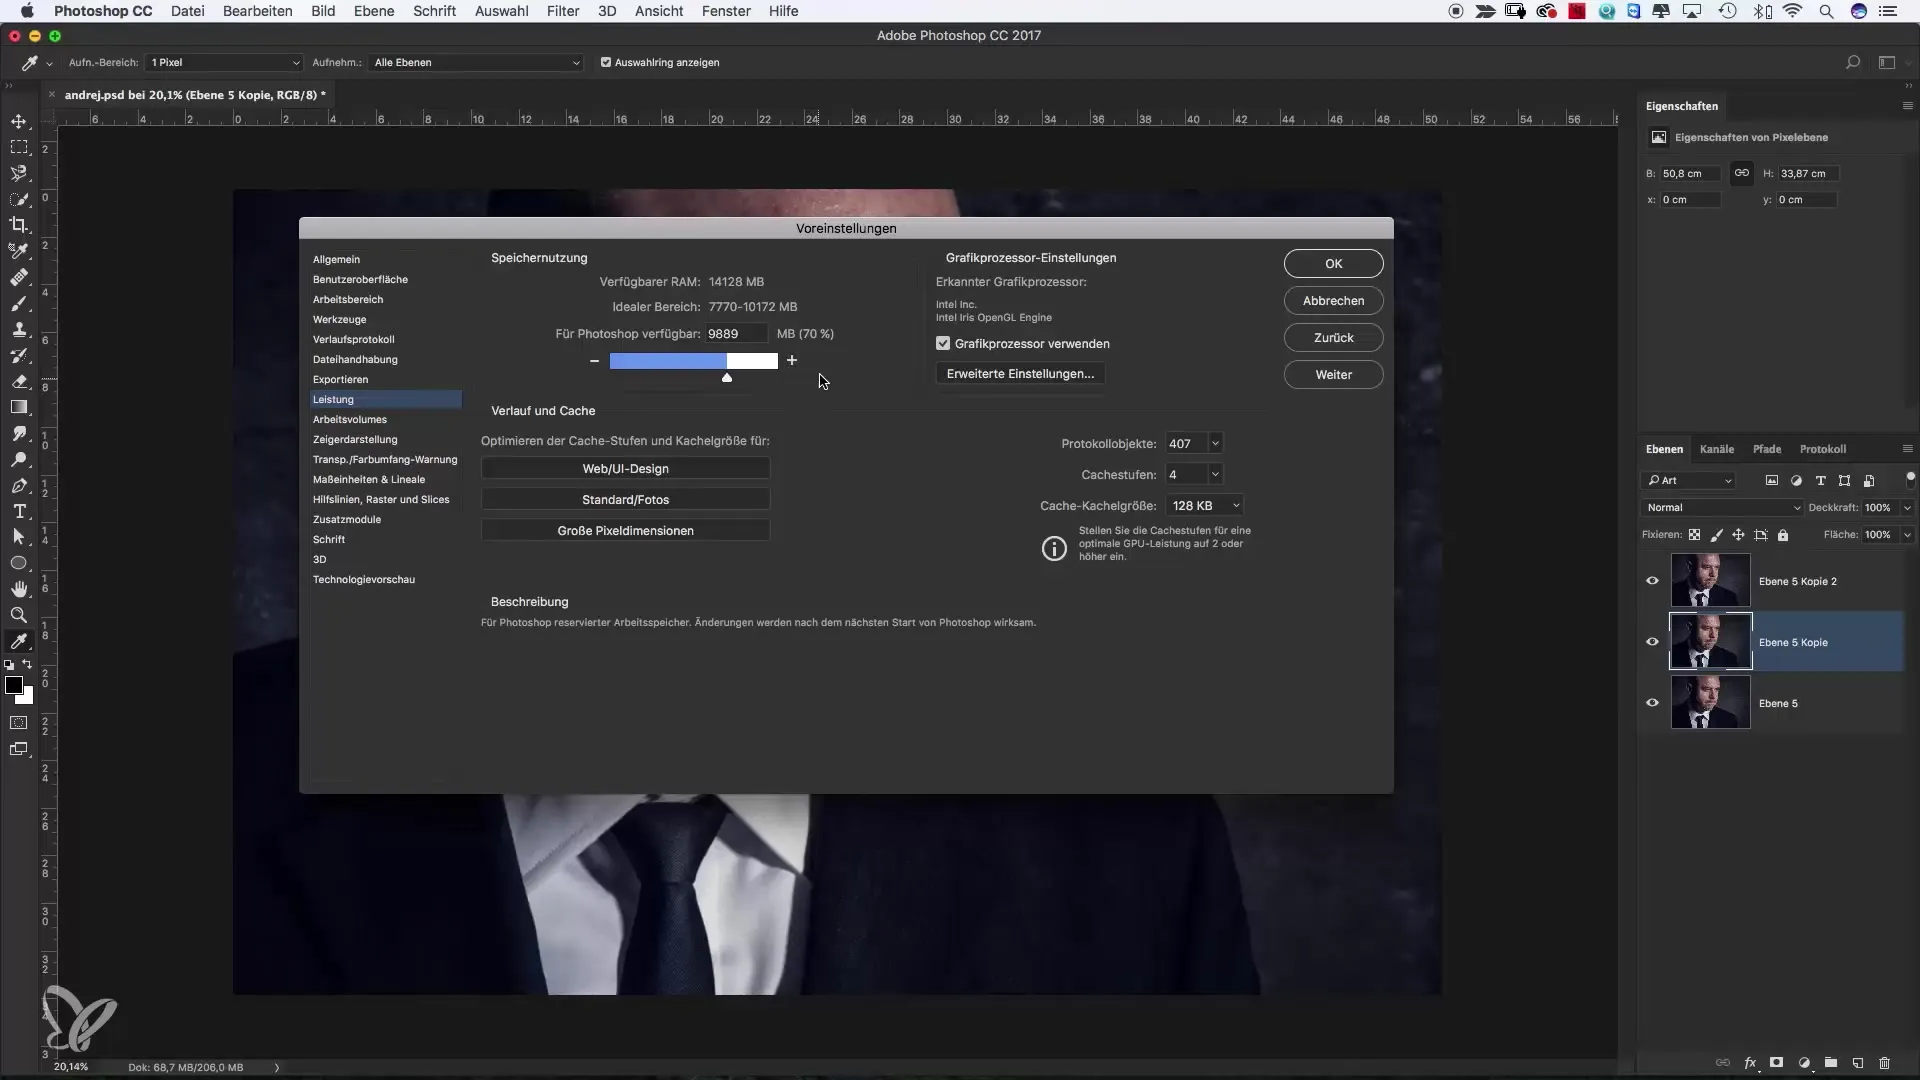
Another important point is the history states. By default, Photoshop can save up to 50 steps that you can undo. If you experiment a lot, it is recommendable to increase this number. Go to the “Performance” section and set the history states to 100 or more. This allows you to undo multiple editing steps if something goes wrong.
6. Set Scratch Disks
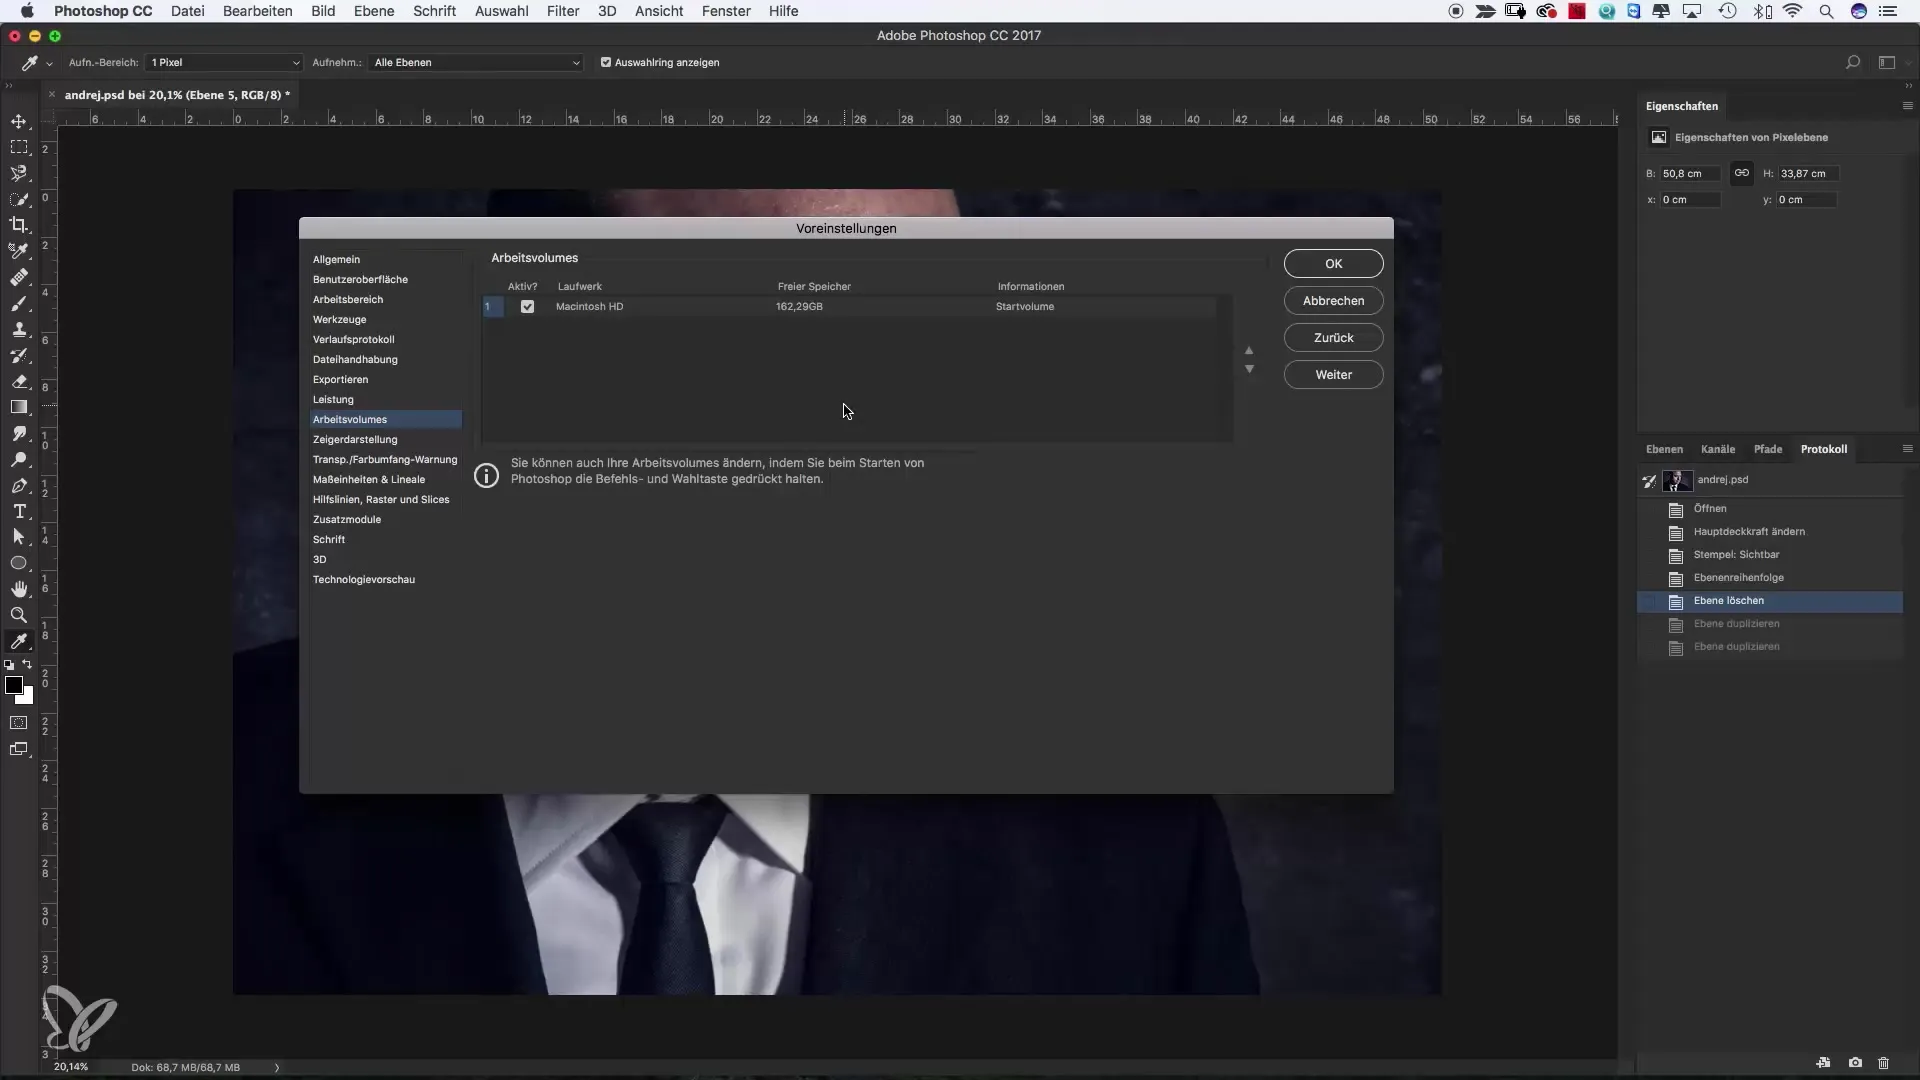
Advanced users can also specify which drive Photoshop should use for its scratch files. If you have a separate SSD, this can significantly reduce load times and improve performance.
7. Change Cursor Display
Another customization option is the cursor display. If you like, you can switch from a standard brush cursor to a crosshair or other icons, which can be beneficial depending on your workflow.
8. Work According to the Model
After you have made these basic adjustments, I recommend that you start by working with Photoshop itself. Take the time to get to know the features and understand how to best work with the tools and layers before making any further in-depth changes.
Summary – Adjusting Preferences in Photoshop
With the right preferences, you lay a solid foundation for your work in Photoshop. By customizing the user interface, configuring performance, and increasing the history states, you can improve your workflow and work more efficiently. Don’t hesitate to experiment with the different settings to find out what works best for you.
Frequently Asked Questions
How can I change the user interface in Photoshop?Change the settings under “Interface” in the preferences.
Why should I increase performance in Photoshop?A higher performance setting allows more efficient work, especially with resource-intensive tasks.
Can I save more than 50 history states?Yes, you can increase the history states in the preferences up to 400.
How can I customize my cursor display?Go to the preferences and select the desired cursor display.
Do I need to be a professional to make these settings?No, these preferences can easily be adjusted by beginners as well.


