Photoshop is a powerful tool used for a variety of creative tasks. One of its central tools is the Brush. Whether you want to paint, cut out content, or retouch, the Brush is an indispensable aid. In this tutorial, you will learn how to master the various Brush settings in Photoshop to effectively express your creative ideas and improve your skills.
Key takeaways
- The Brush is one of the most important tools in Photoshop with a wide range of applications.
- You can adjust the Brush size, hardness, color, opacity, and flow.
- Different Brush presets can be created and edited.
- There are additional creative uses for the Brush, such as combining brushes and customizing their properties.
Step-by-Step Guide
Select and Configure the Brush
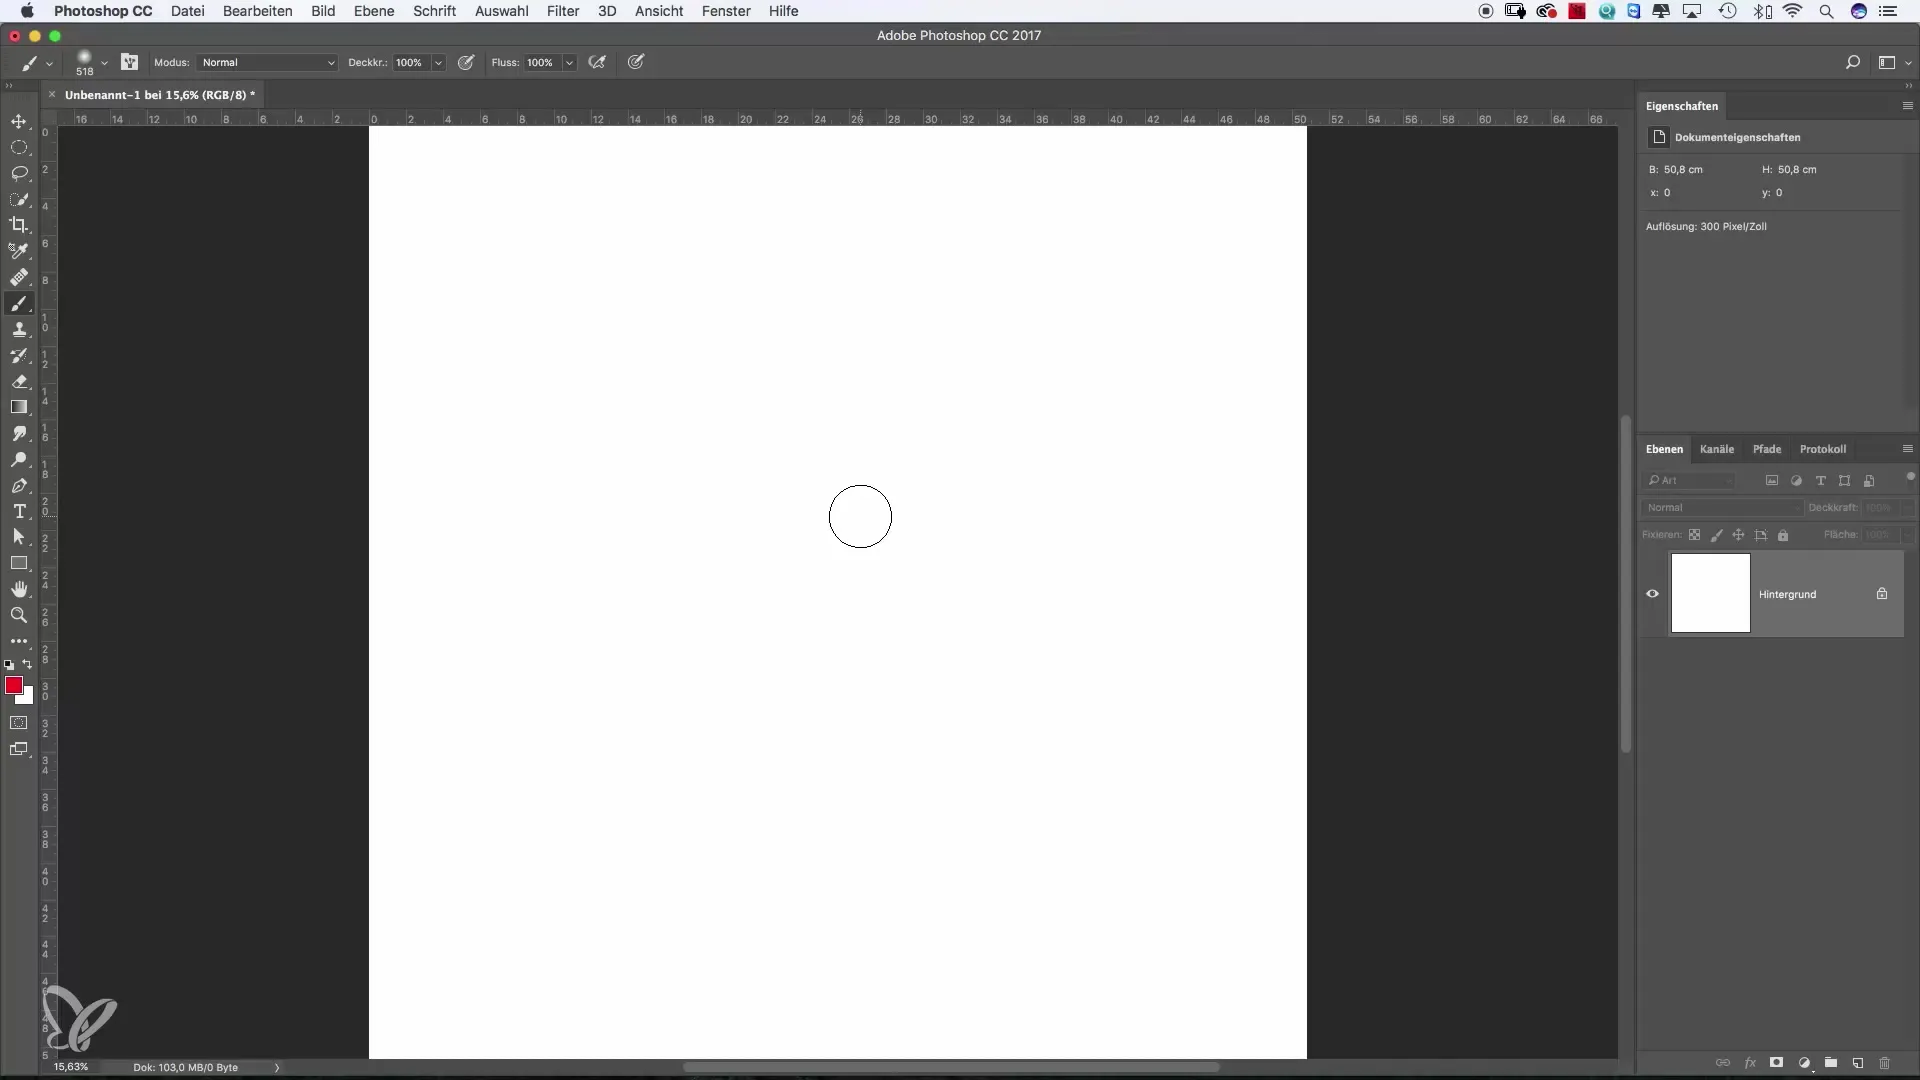
First, you should select the Brush from your toolbar. You will see a circle on your screen that represents the current Brush size. This circle gives you an initial idea of how large the brush stroke will be. To choose the Brush color, simply click on the color icon in the toolbar. Here you can select from a variety of colors, ranging from RGB and HSB to hexadecimal color codes.
Selecting and Applying Color
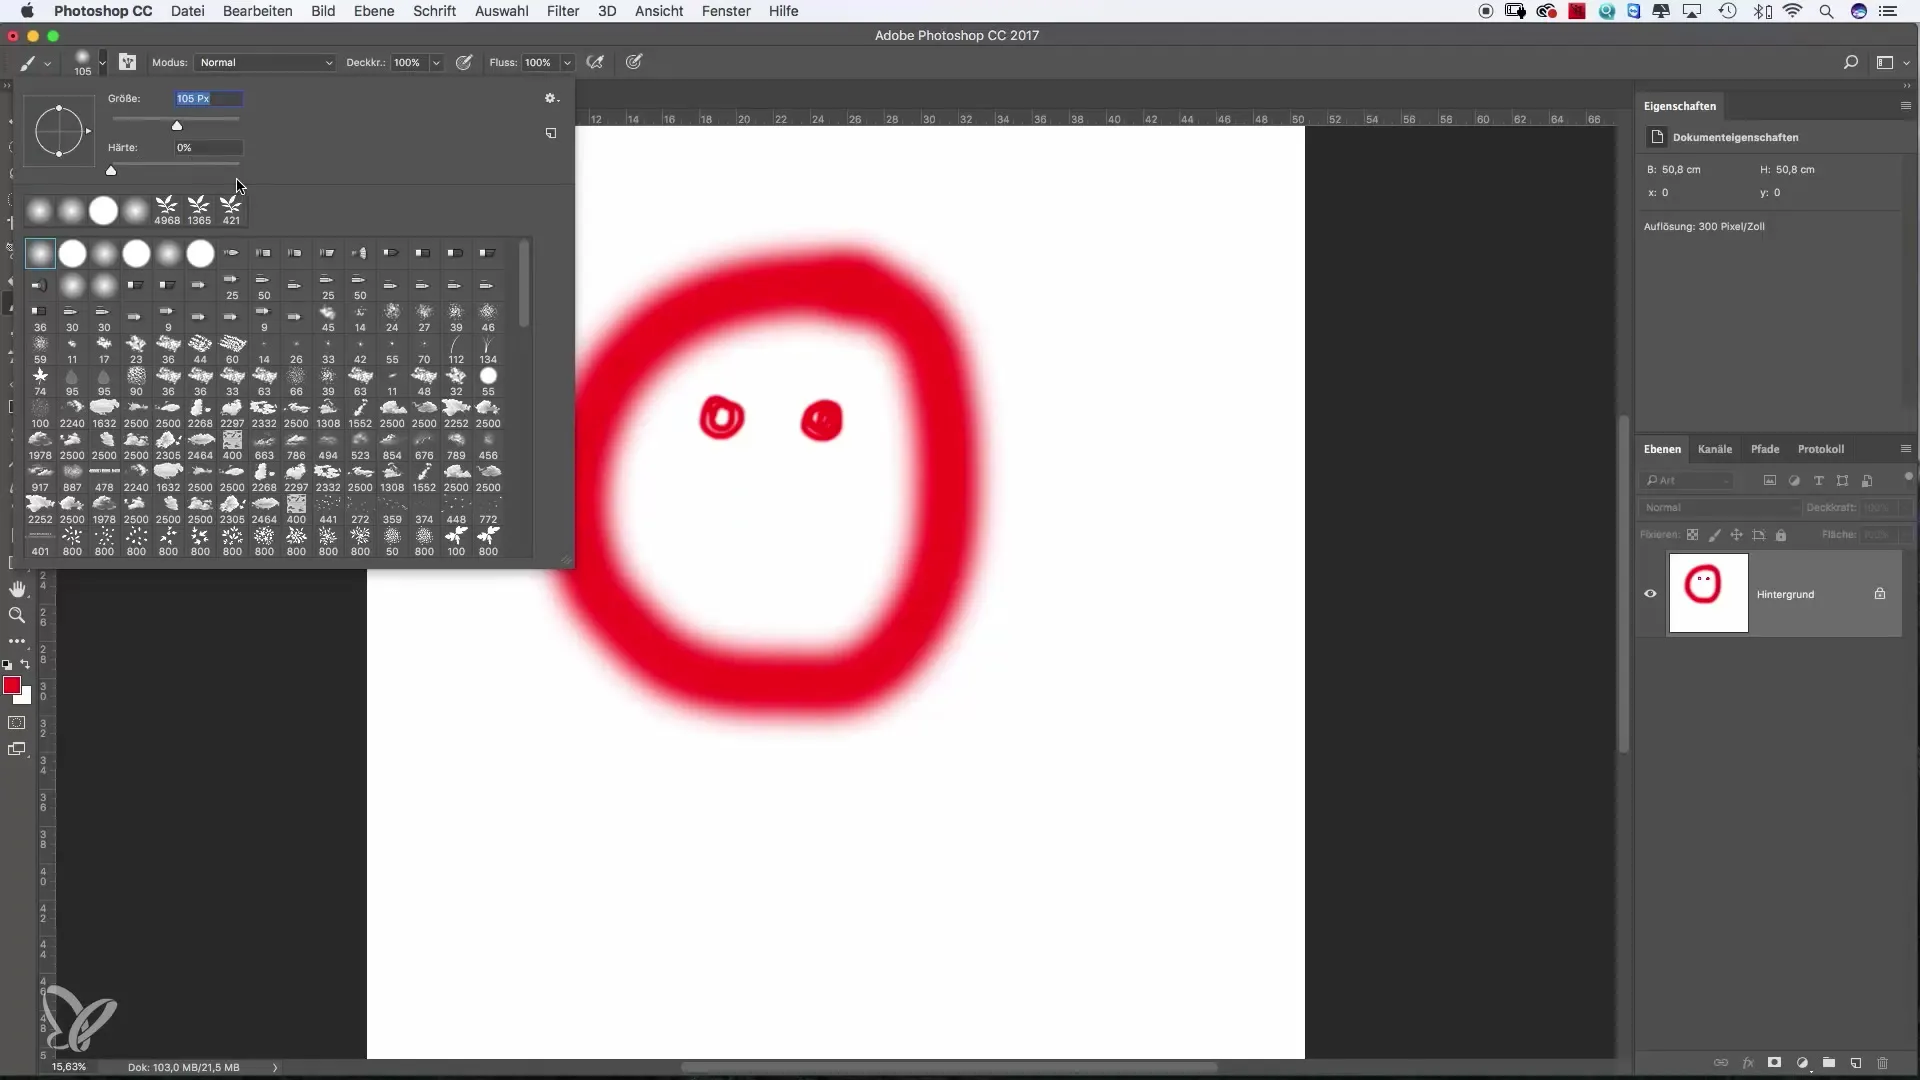
After you have chosen your desired color, you can start painting directly on the image. Experiment with simple shapes like smileys or other motifs. You will notice that the brush paints very softly. This is due to the default settings. You can use this “soft” effect intentionally or adjust it to create a harder edge.
Changing the Brush Size
To change the Brush size, go to the options at the top of the workspace and move the size slider. Note that when you decrease the size, the displayed size changes, but not the hardness of the Brush. A smaller brush can still appear soft. It’s useful to try out different sizes to see which best suits your project.
Adjusting Brush Hardness
An important attribute of the Brush is its hardness. You can find a slider here that allows you to set the hardness from 0% (very soft) to 100% (very hard). Try moving the slider and adjust the hardness for different painting techniques to see the effect. Do a few tests and observe the differences in stroke quality.
Adjusting Size with Alt and Ctrl Keys
A quick way to adjust the Brush size is to press the Alt and Ctrl keys and click on your image. While holding down the mouse button, you can intuitively vary both the size and hardness of the Brush by dragging. This method is especially useful when you need different brush sizes quickly.
Changing Opacity
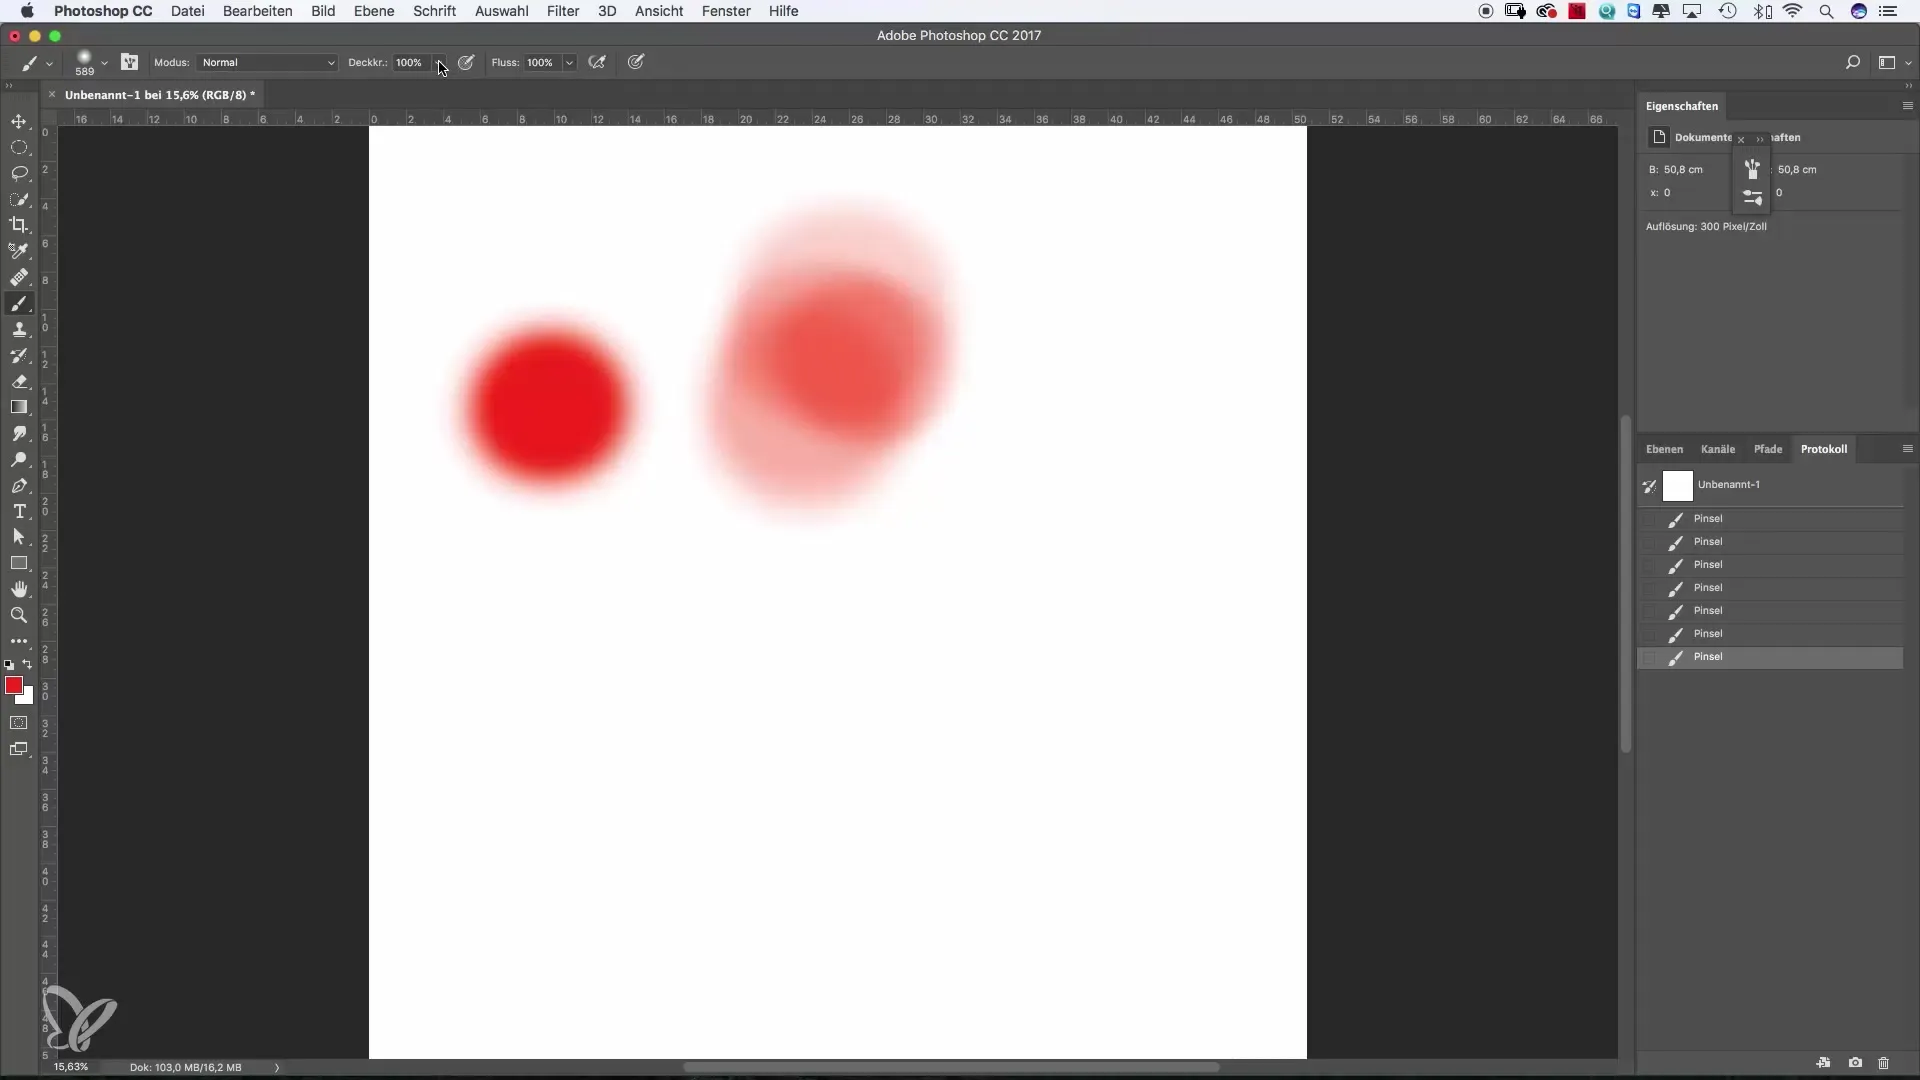
Opacity is another important element that determines the transparency of your brushstroke. Set the opacity to a lower value to achieve smoother color transitions. You can adjust the opacity directly in the workspace or paint incrementally on your image to gradually increase color density. At first, you can start with about 20% opacity and then gradually increase it.
Adjusting Flow
Flow works similarly to opacity but has a different effect. While opacity determines the intensity of a stroke, flow controls how often the paint is applied when painting. A low flow value lets you paint over an area until you achieve the desired effect. Try it out and compare the results with opacity.
Saving and Modifying Brush Presets
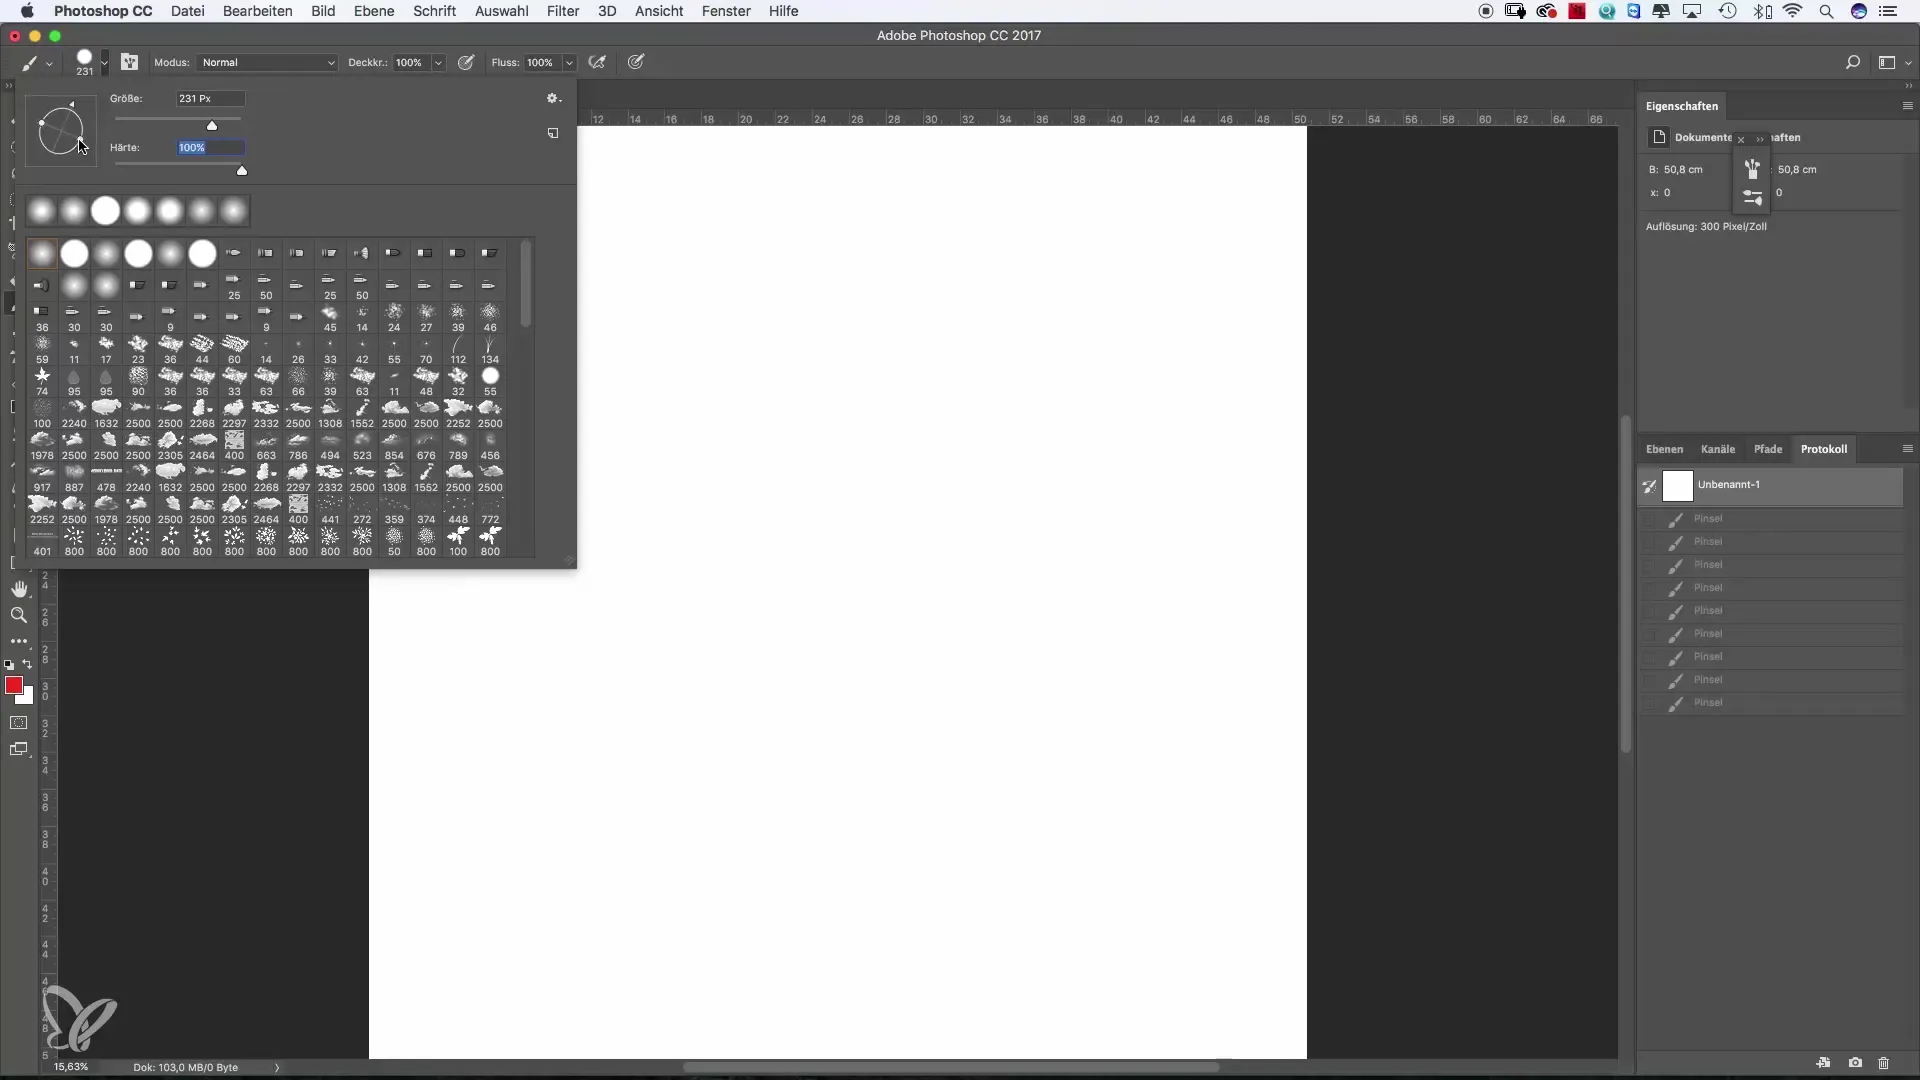
Photoshop already includes many predefined brushes that are suitable for different purposes. You can also create and customize your own brushes. Through the Brush menu, you can add settings like scattering and brush shape to your favorites. This way, you can quickly access your preferred brushes without having to set them up each time.
Combining Brush Properties
One of the most amazing features of Photoshop is the ability to combine different brushes. In the Brush Properties, you can experiment with various settings. Here you will find special options that can dramatically change how your brush behaves.
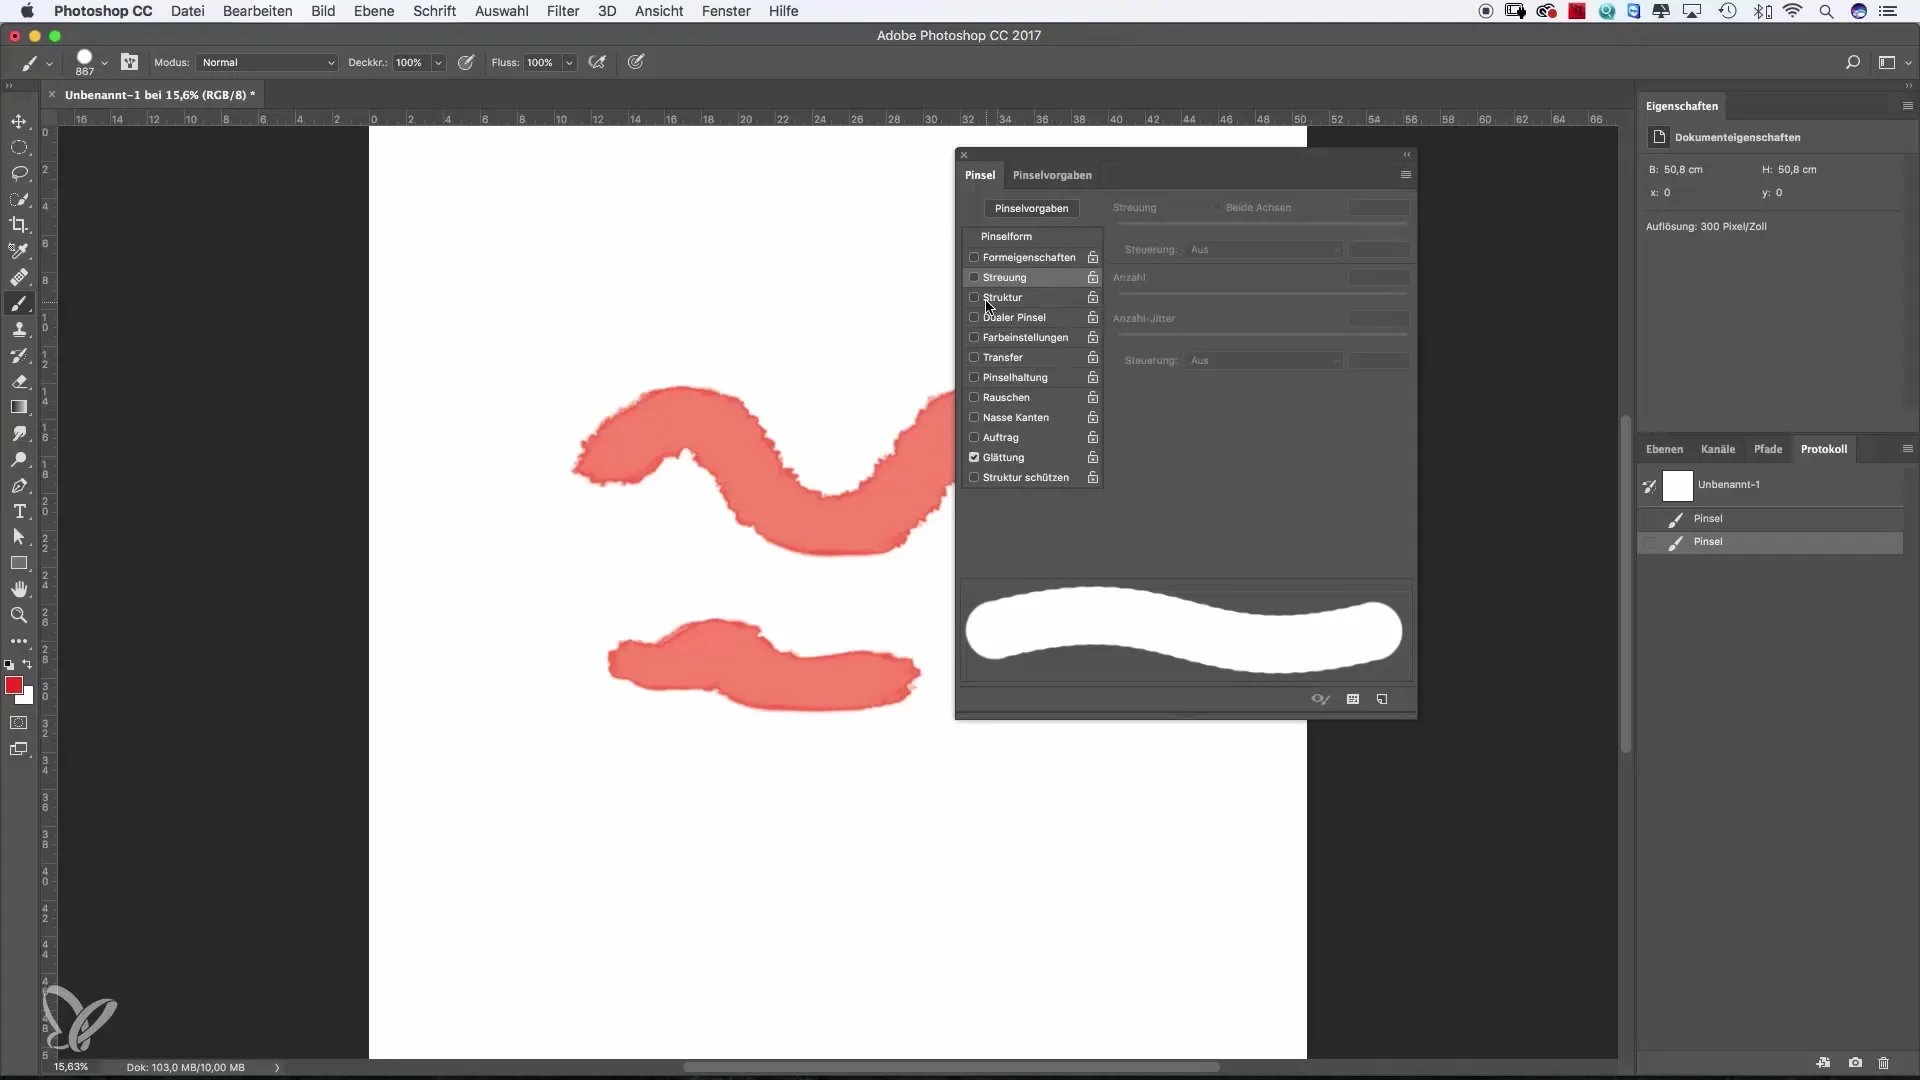
Previewing Brush Properties
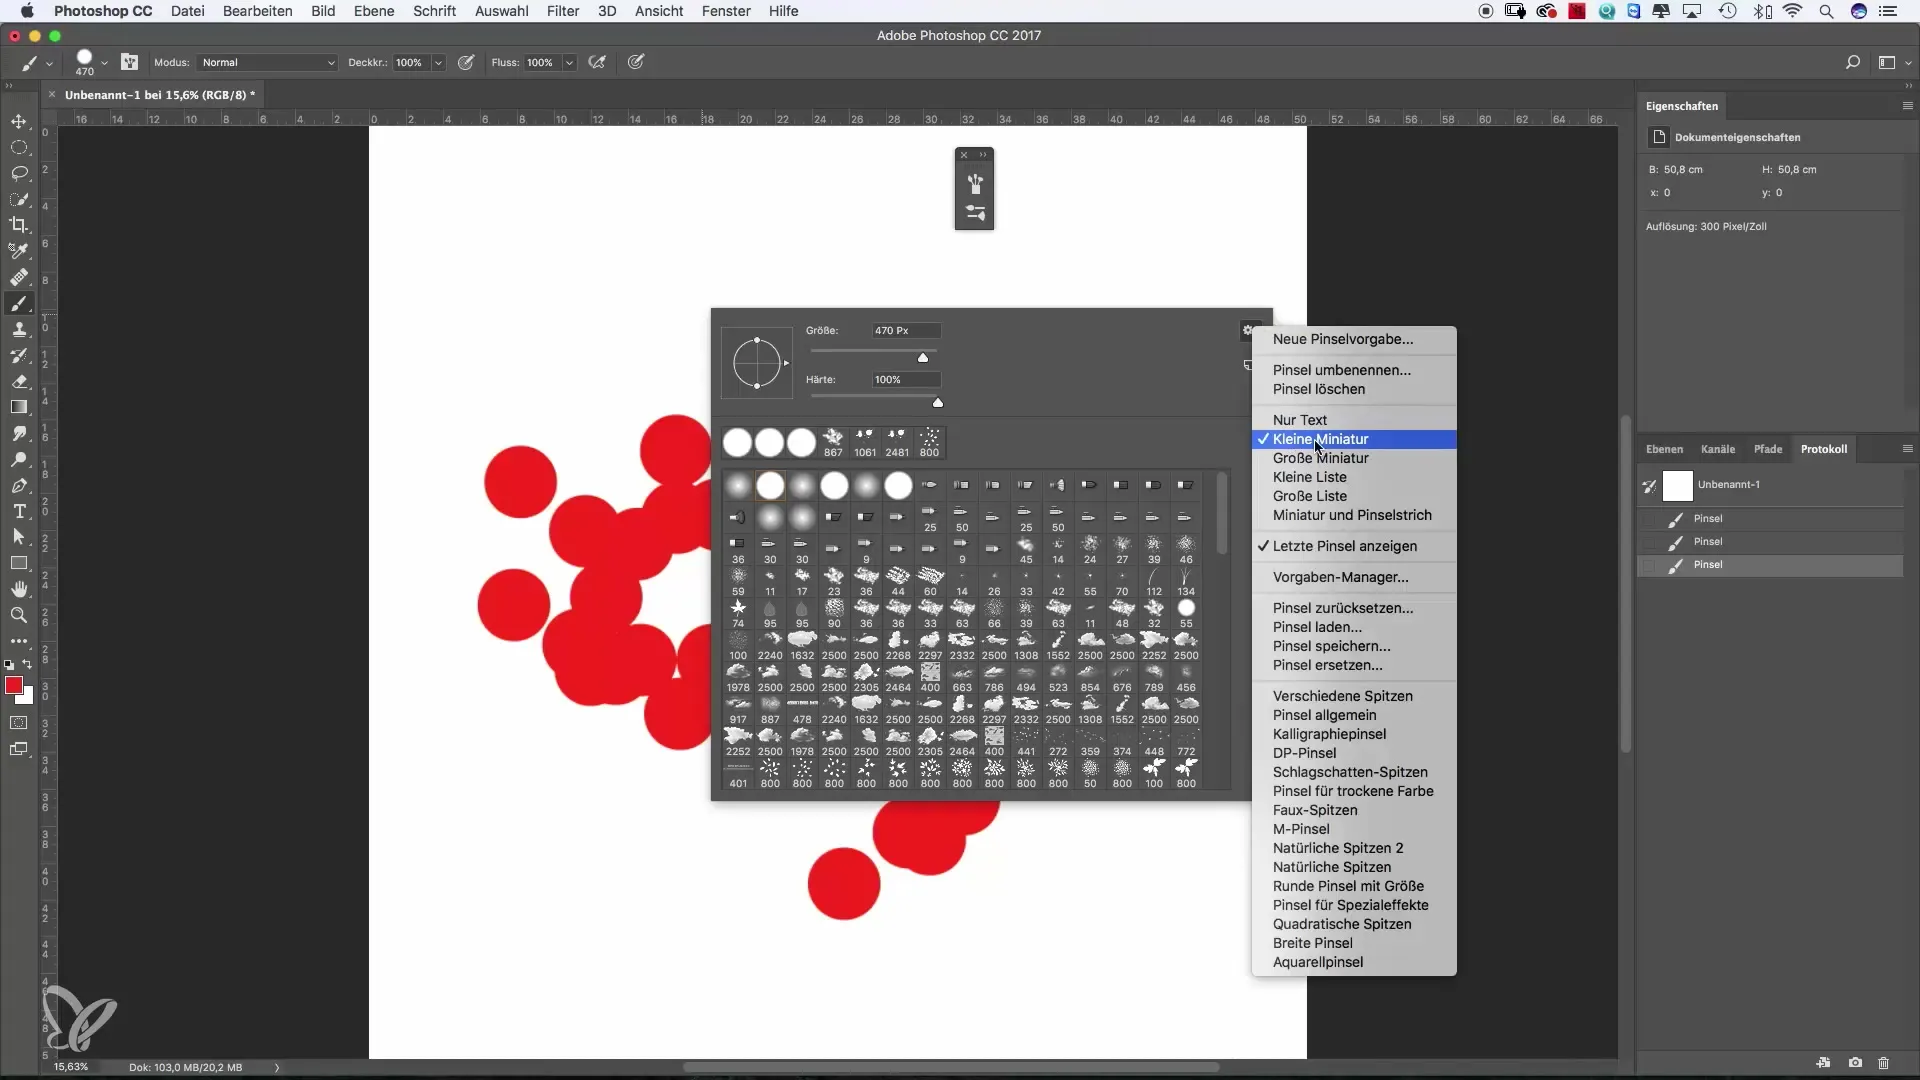
Right-clicking on your image brings up a brush preview window. Here you can easily choose from various brushes that are naturally suited to different styles. By enabling the large thumbnail view, it becomes easier for you to compare brush properties and select the one that best fits your project.
Summary – Using the Brush in Photoshop Effectively
Mastering the Brush settings in Photoshop is a crucial step on your path to creative work. Whether you want to create painterly illustrations, Enhanced Designs, or impressive graphics, customizing the Brush to your specific needs is straightforward. With the skills you’ve learned, you can turn simple designs into outstanding artworks and quickly see progress in your abilities.
Frequently Asked Questions
How do I change the brush color?Click the color icon in the toolbar and choose your desired color.
How do I adjust the brush size?Use the size slider in the top workspace or press Alt and Ctrl and drag on the image.
What is the difference between opacity and flow?Opacity determines the transparency of a stroke, while flow controls how many overlapping paint layers are applied when painting.
Can I create my own brushes?Yes, you can create and customize your own brushes and save them in your brush menu.
How do I find my saved brushes?You can find your saved brushes in the brush menu under 'Presets'.


