To work efficiently with Photoshop, it's important to master the basic tools correctly. In particular, the Quick Selection tool can help you remove backgrounds quickly and precisely, without wasting much time. In this guide I'll show you how to work effectively with this tool.
Key Takeaways
- The Quick Selection tool is ideal for quickly selecting and removing backgrounds.
- It's important to refine the selection with the Refine Edge tool, especially for complex subjects like hair.
- You can make manual adjustments to ensure the selection looks perfect.
Step 1: Image Preparation
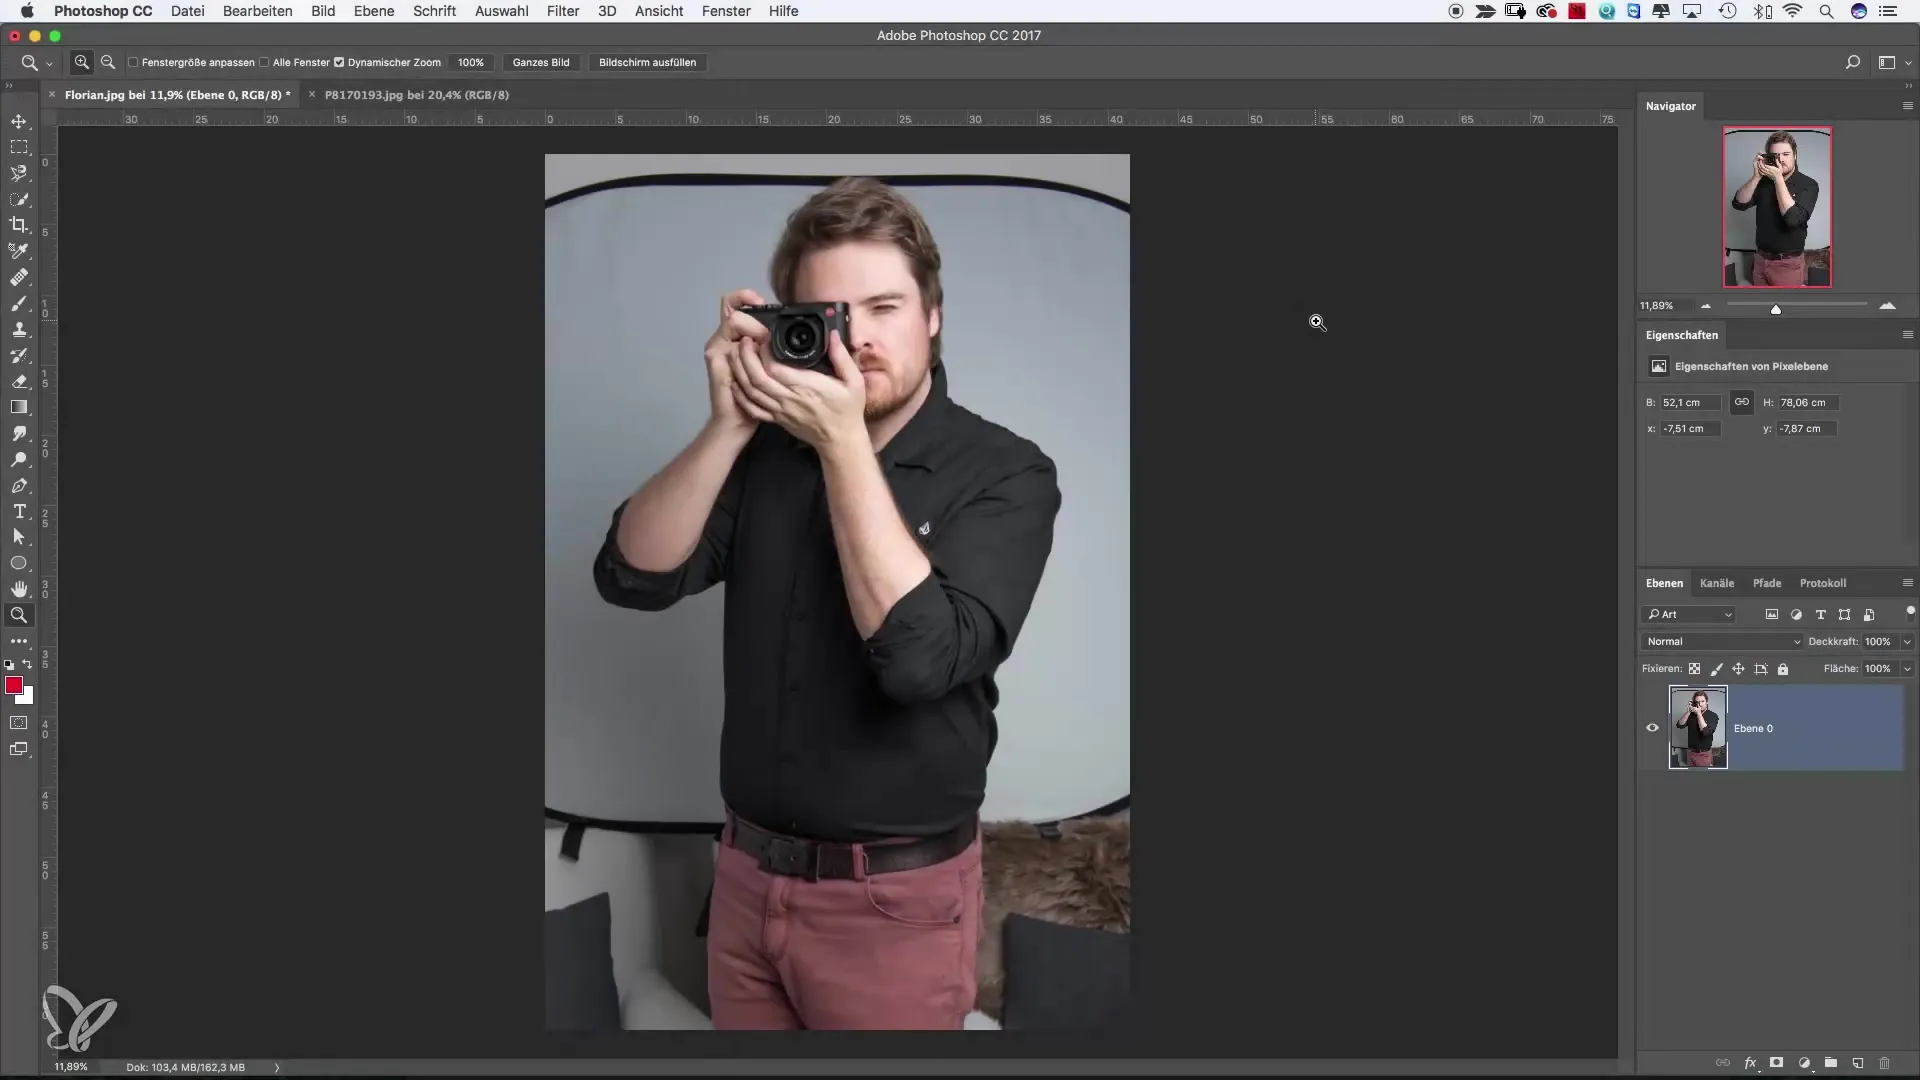
First, you need an image that you want to edit. In my example, I have a subject showing a colleague standing in front of a distracting background. You can open the image in Photoshop and get it ready to start editing.
Step 2: Add a Background Layer
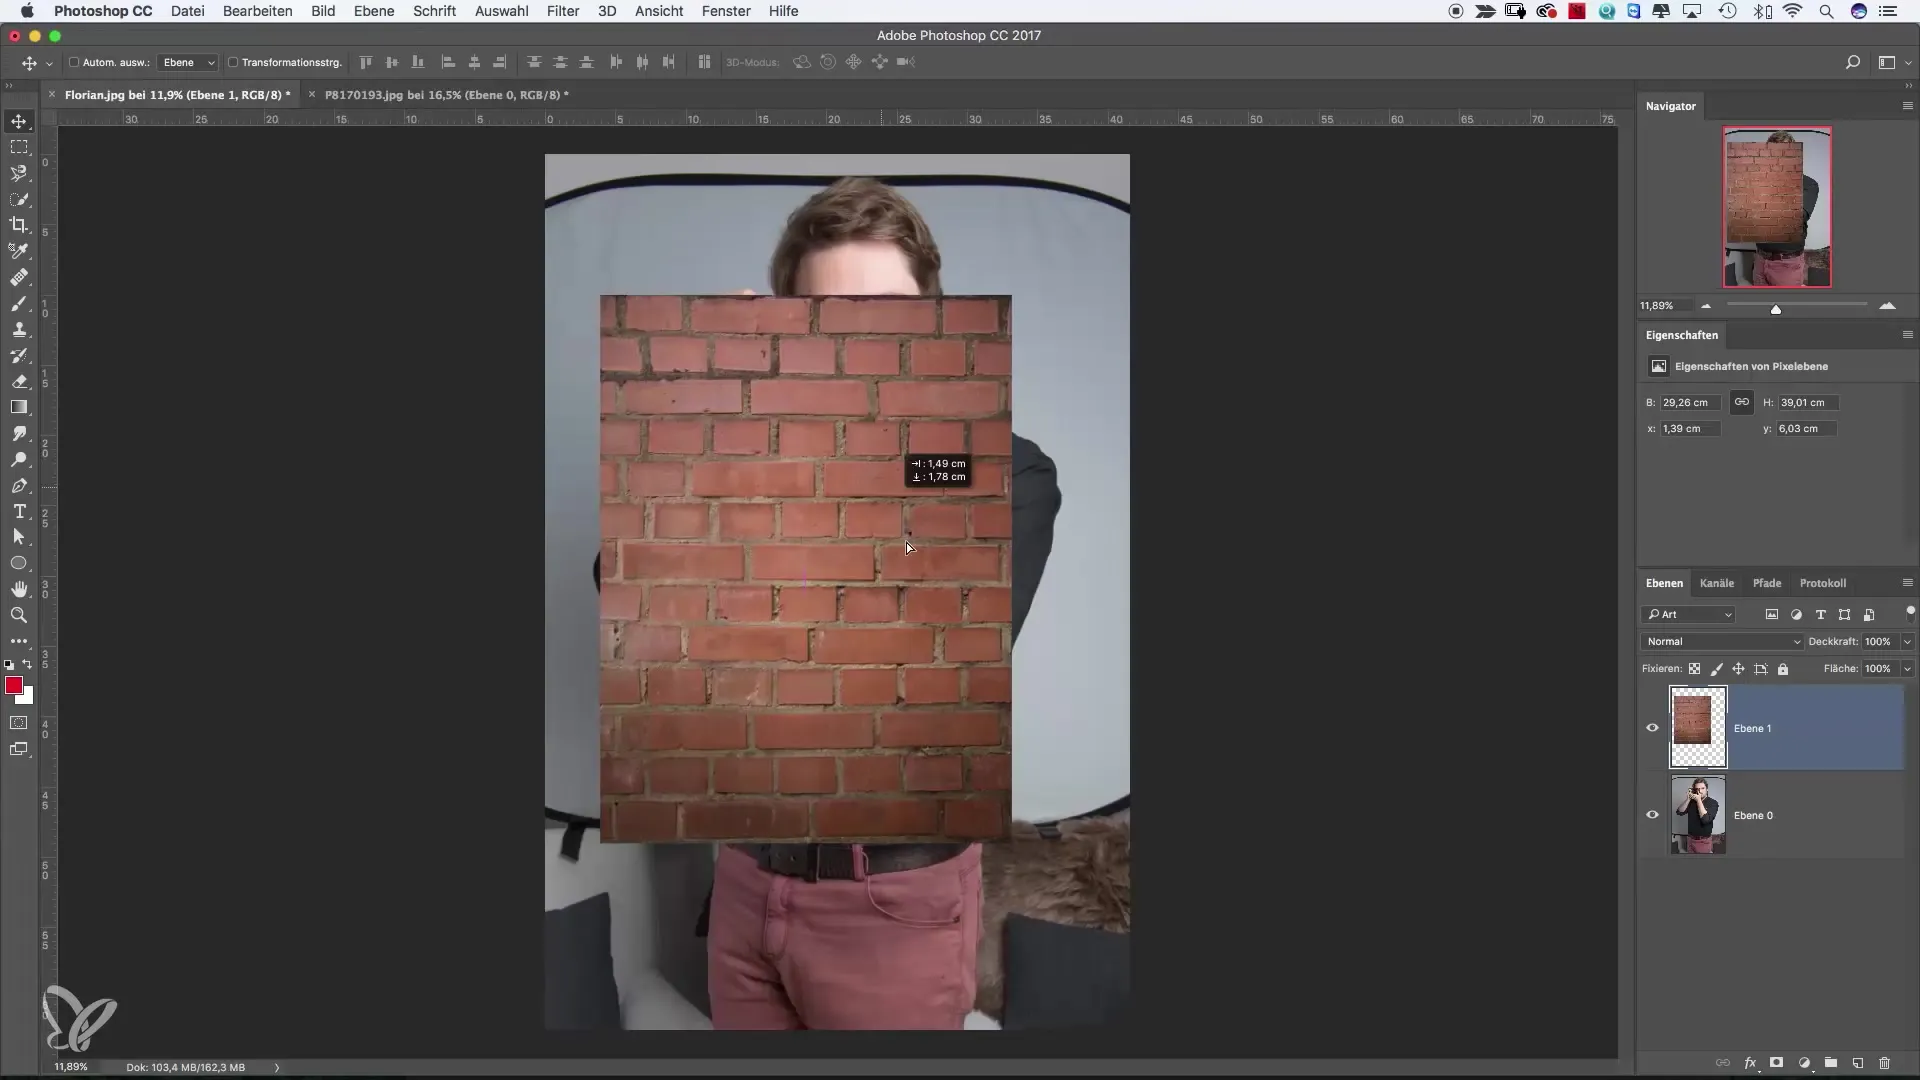
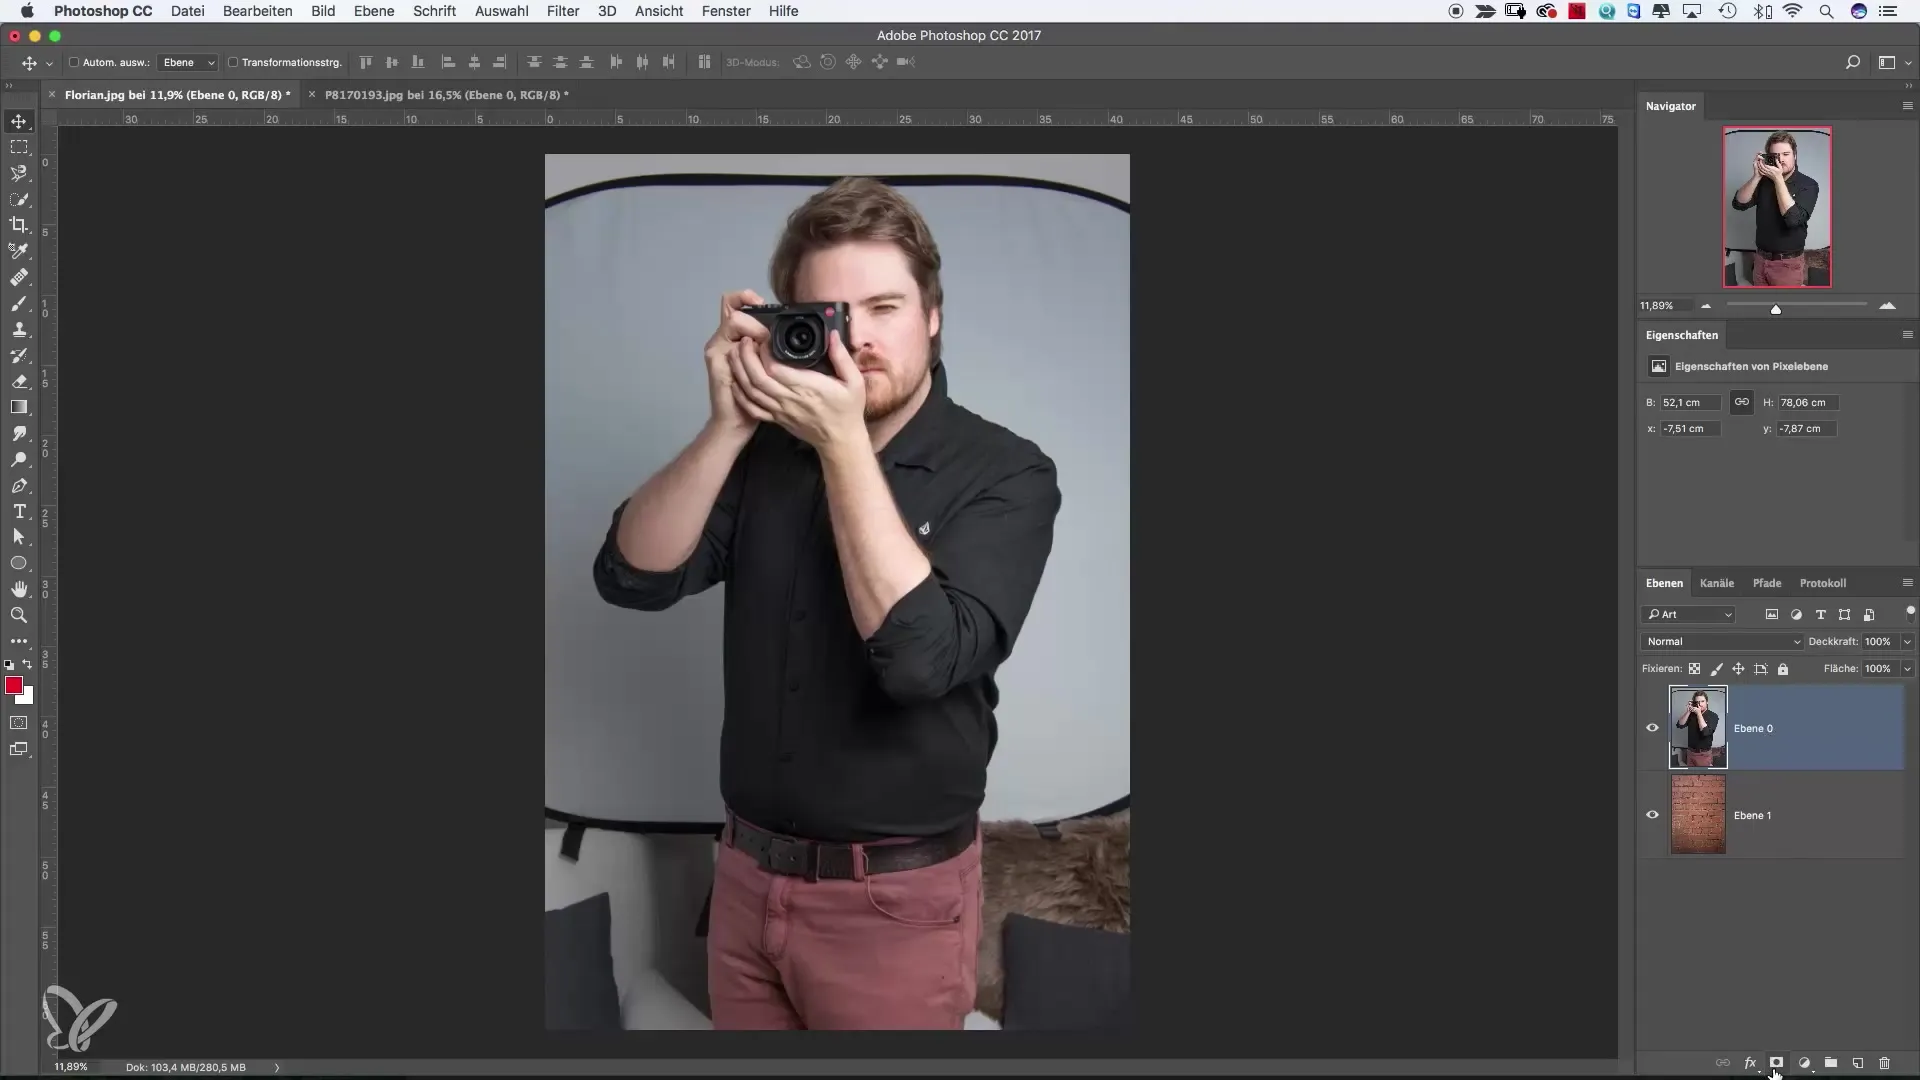
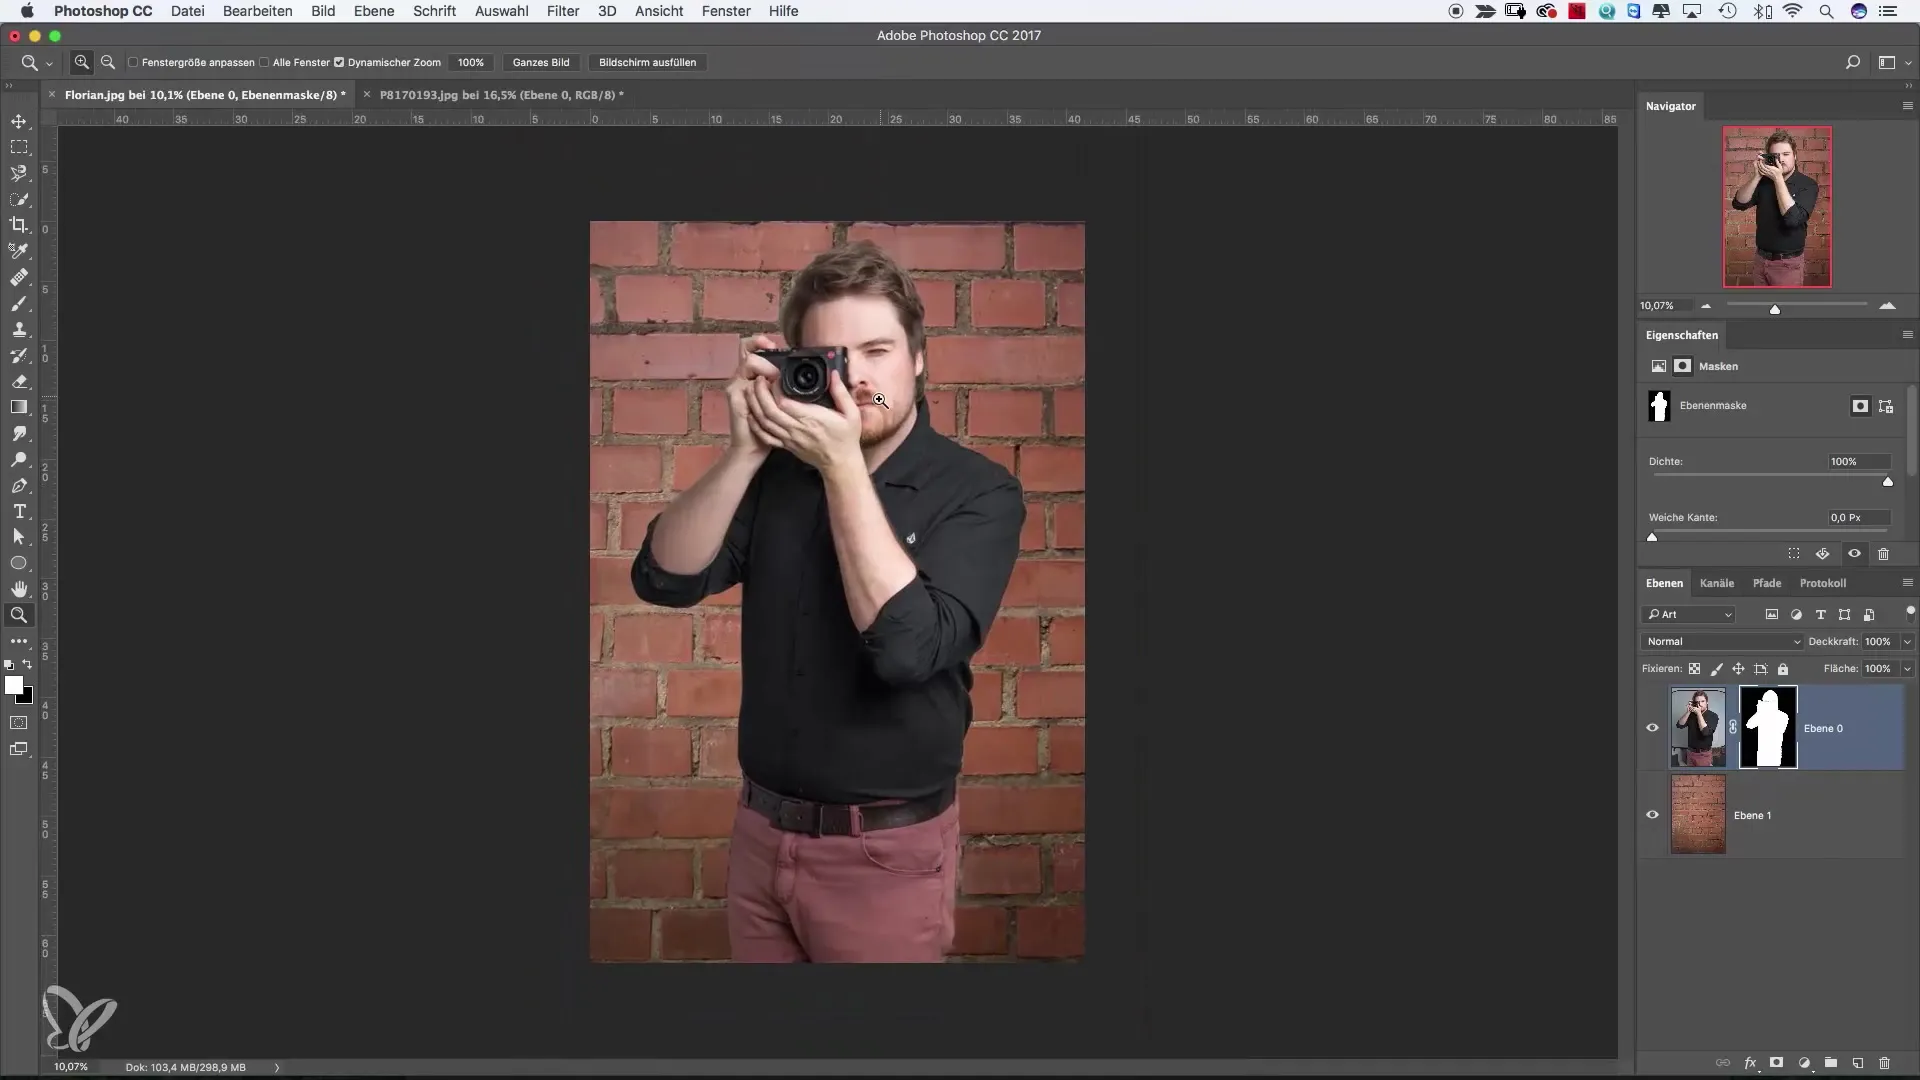
To replace the background of the subject, you first need to create a new background layer. I recommend choosing a suitable background image – for example, a brick wall. After adding the new layer, drag it below the layer with your subject. This will instantly make your image look more professional.
Step 3: Create a New Empty Layer
Now create a new empty layer above the image layer containing your subject. This layer will be used to perform the masking. It's important to make sure the mask is selected before you start making the selection.
Step 4: Selection and Masking
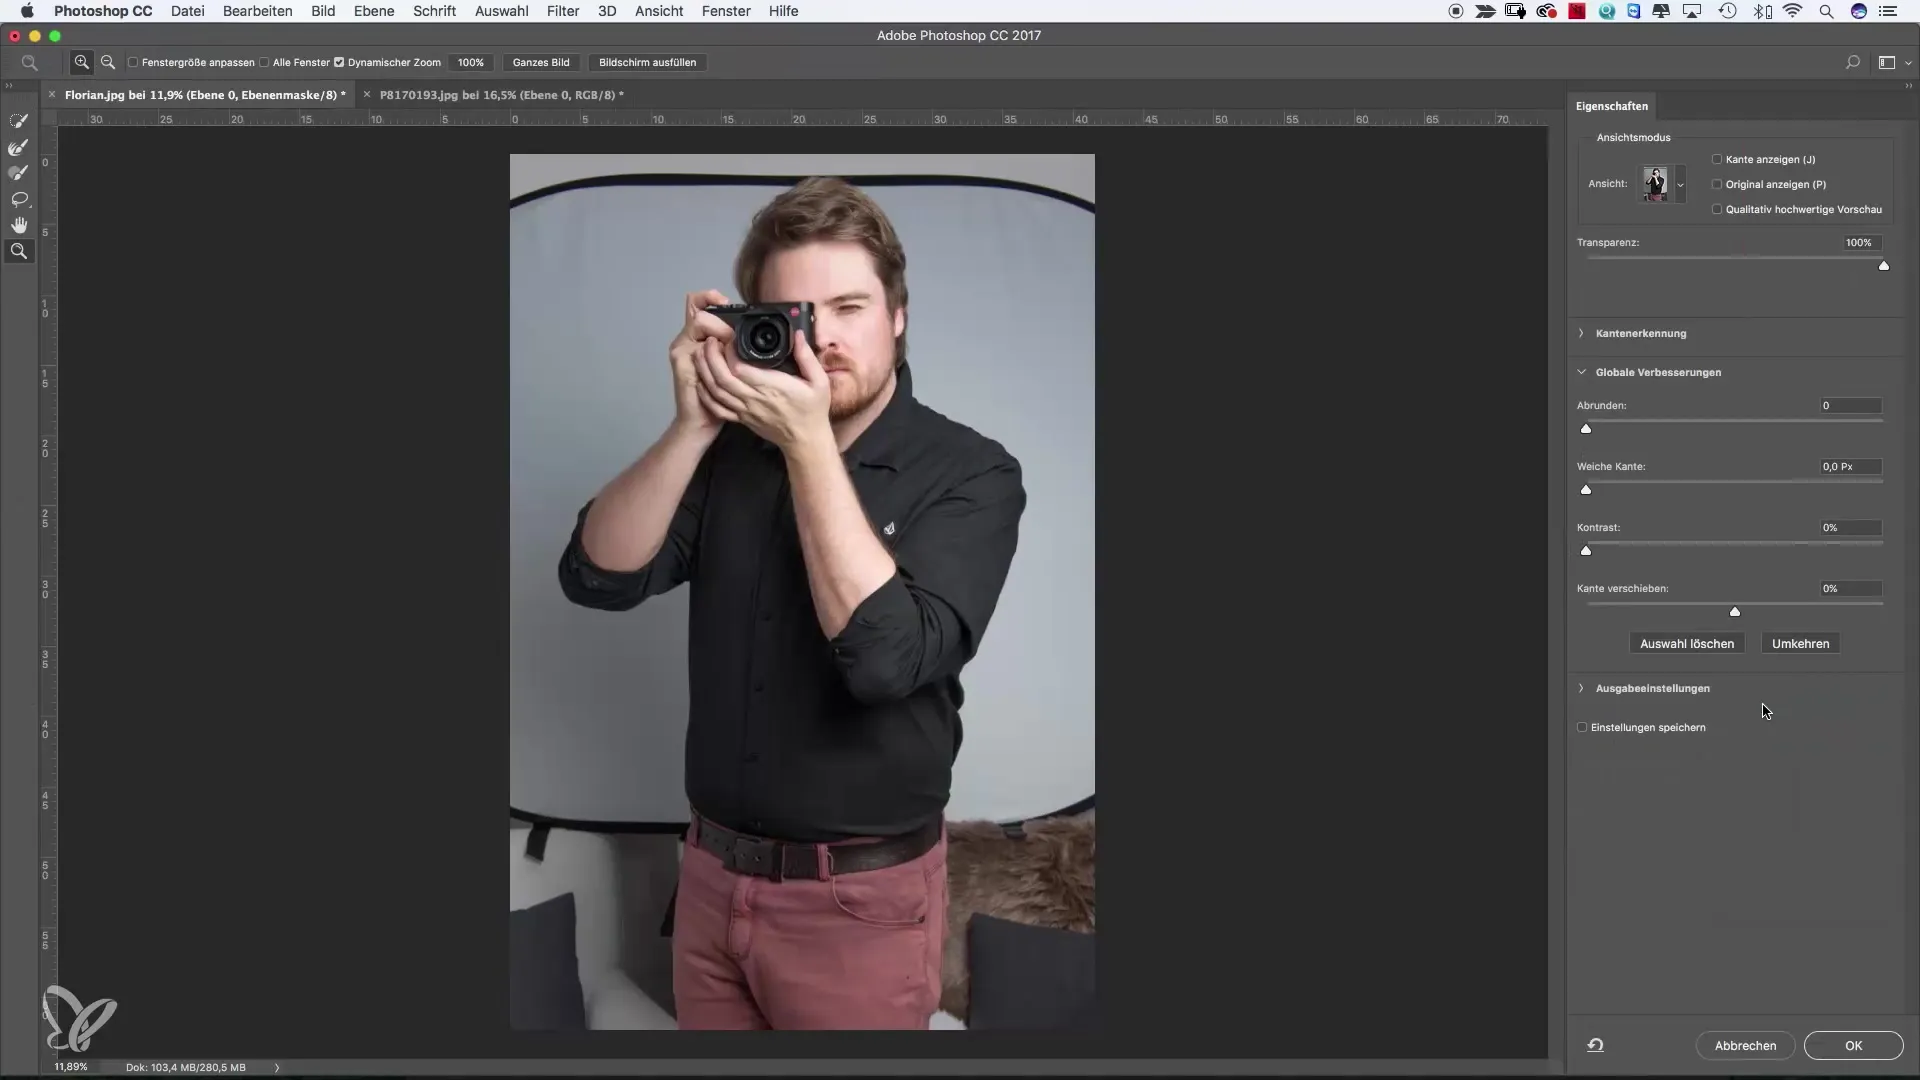
Right-click on the subject layer and choose the "Select and Mask" option. A new dialog window will open where you can make your selection.
Step 5: Use the Quick Selection Tool
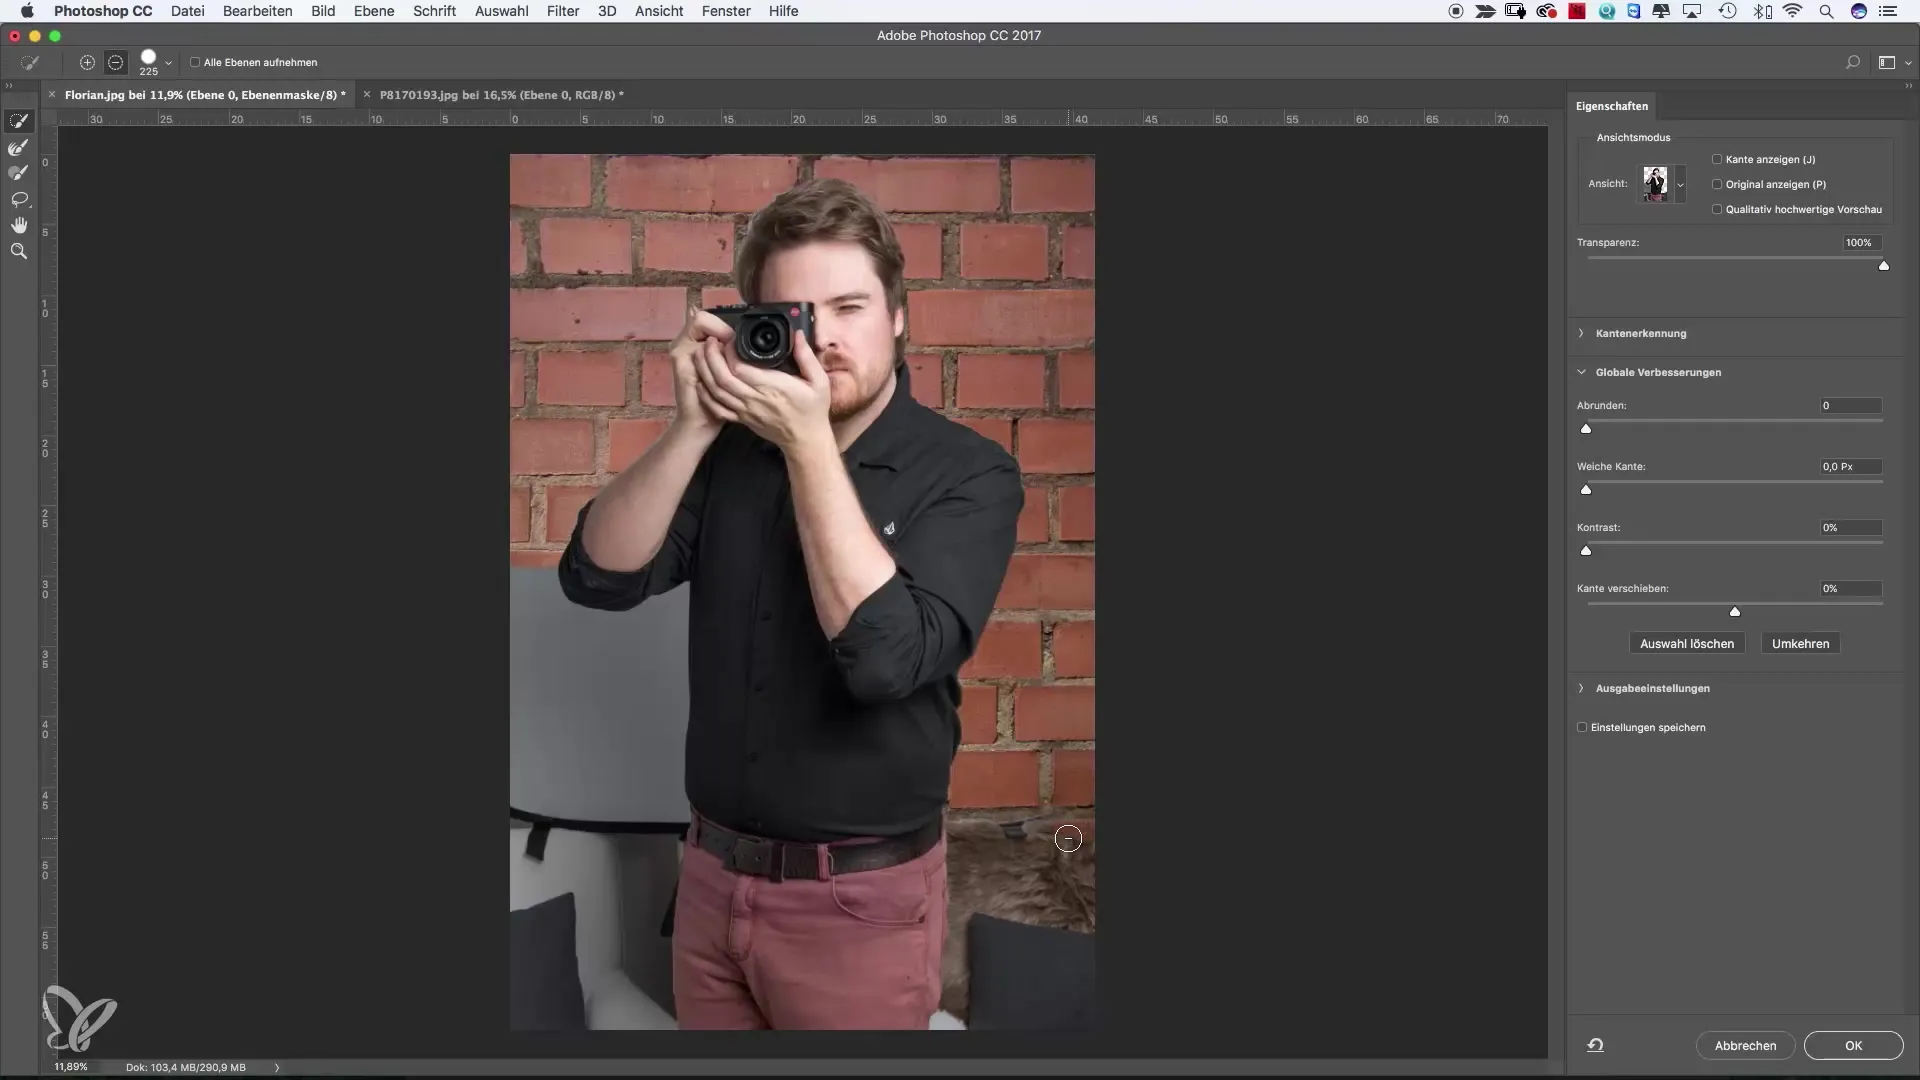
Select the Quick Selection tool to remove the background. Make sure to press the minus key to deselect the unwanted background. You can adjust the size of the tool as needed while moving over the areas you want to remove.
Step 6: Make a Precise Selection
Brush over the areas you want to subtract. Be sure to make the selection step by step, working on one area at a time. This often leads to better results than editing everything at once.
Step 7: Refine the Selection
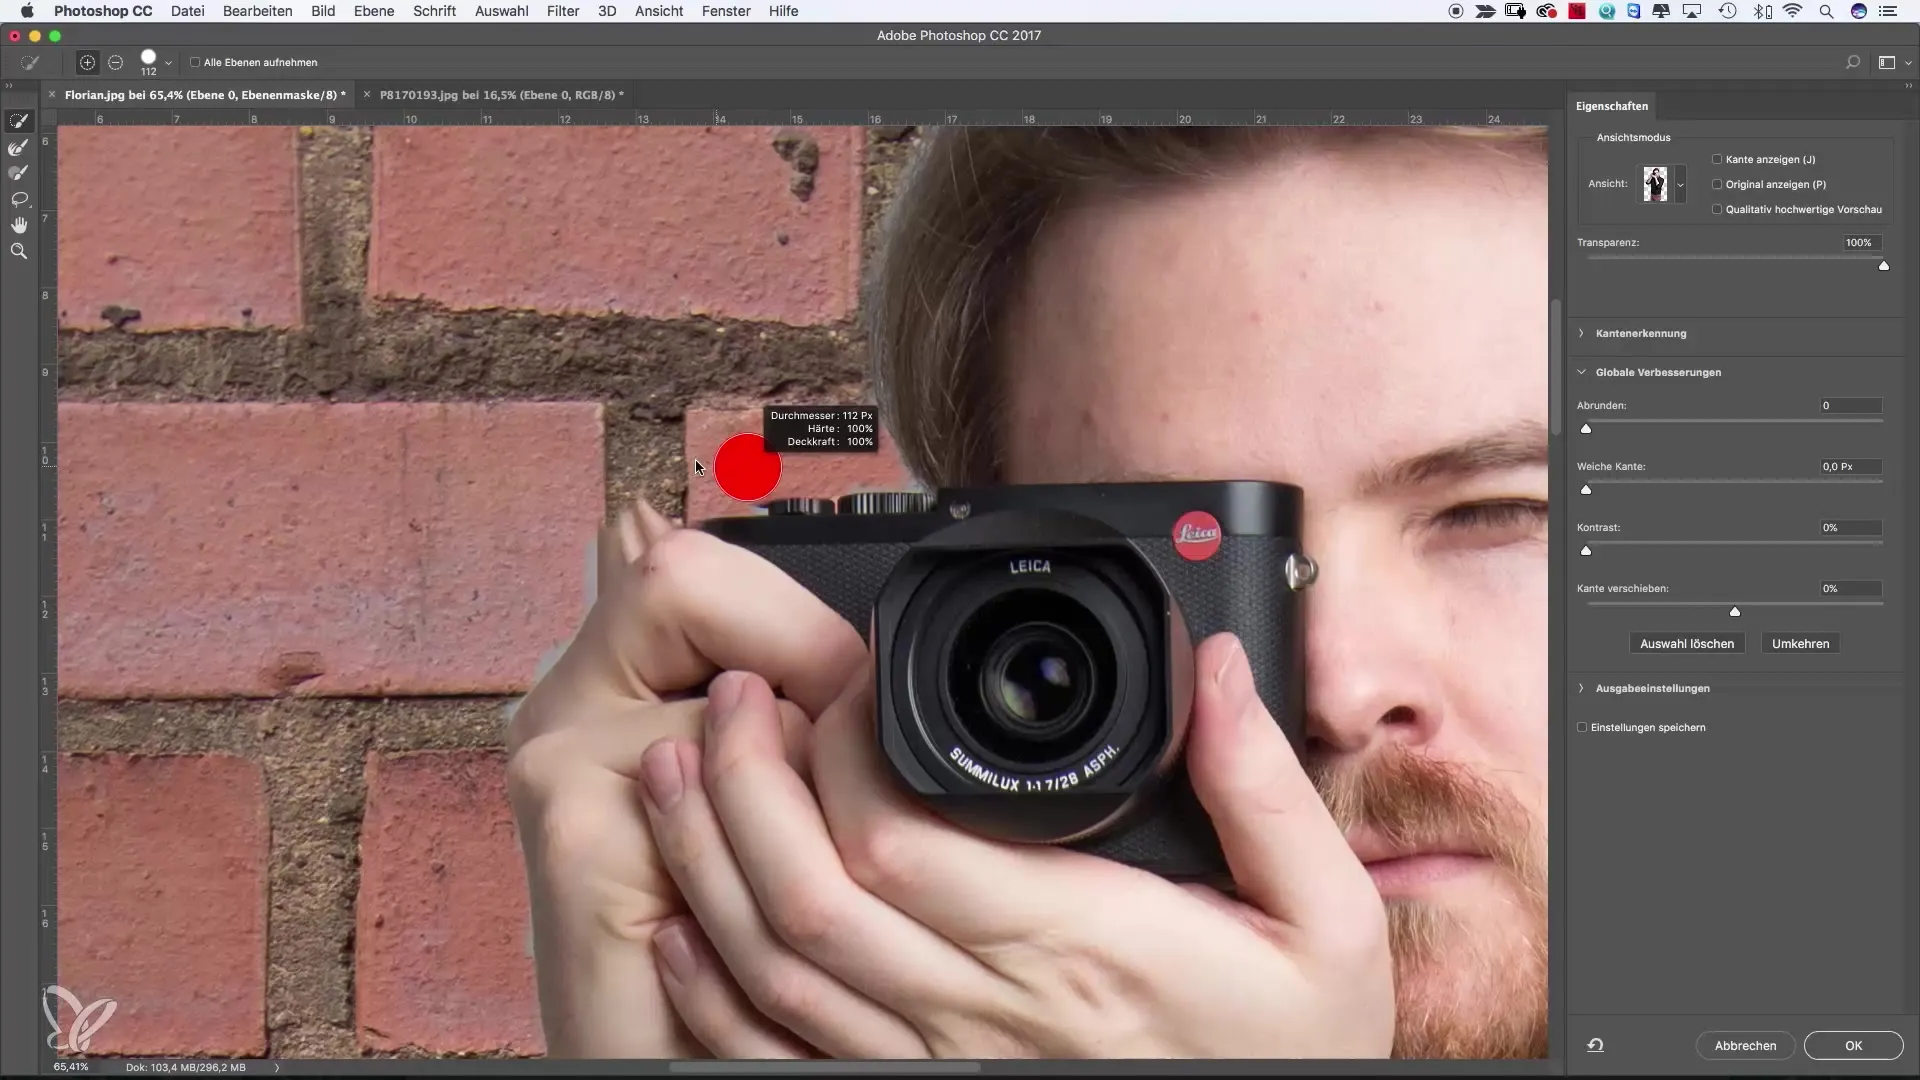
Now it's time to refine the selection. You'll likely notice that the image doesn't look perfect yet. That's normal and easy to fix. With the Quick Selection tool, you can subtract more parts of the background or add positive areas, such as missing fingers.
Step 8: Refine the Edges
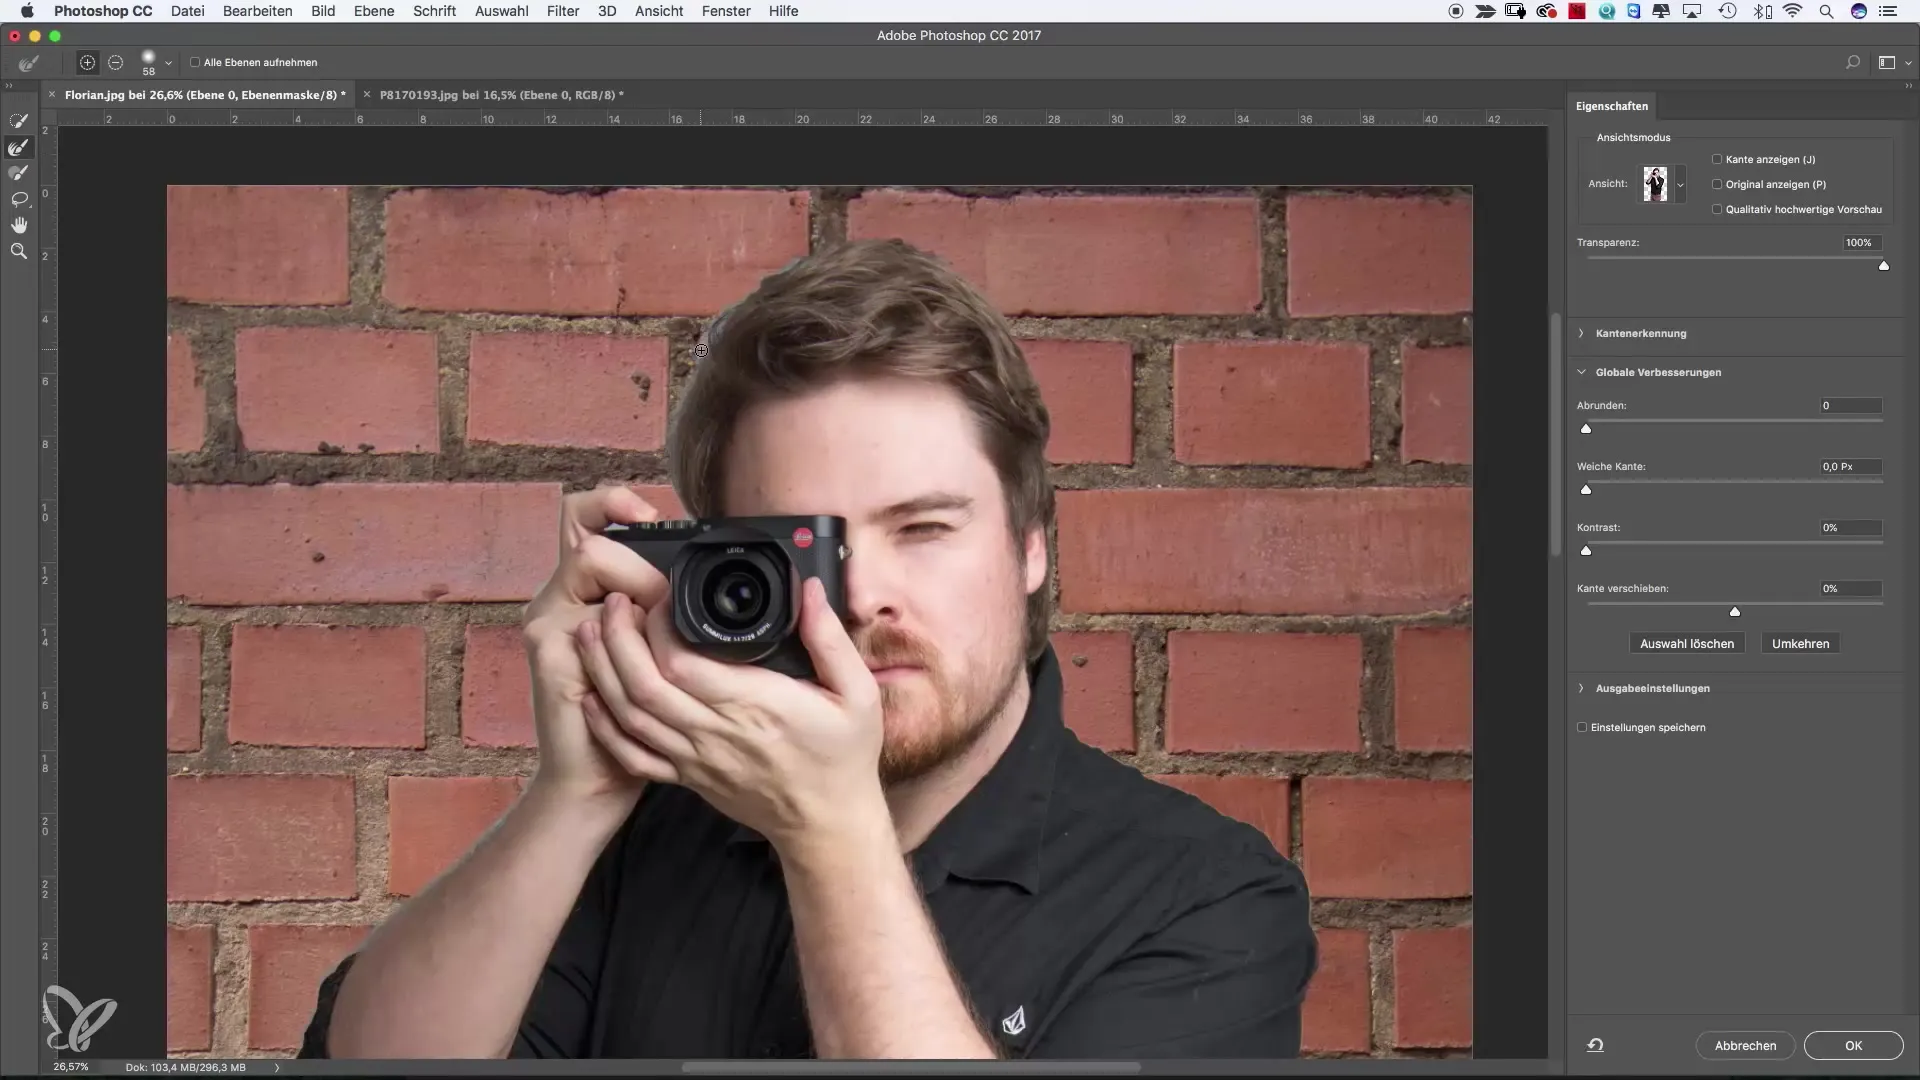
Once the selection is mostly complete, switch to the Refine Edge tool to perfect the edges of your subject. Brush over areas that might be blurry or inaccurate. Photoshop will automatically attempt to render these in more detail.
Step 9: Adjust the Preview
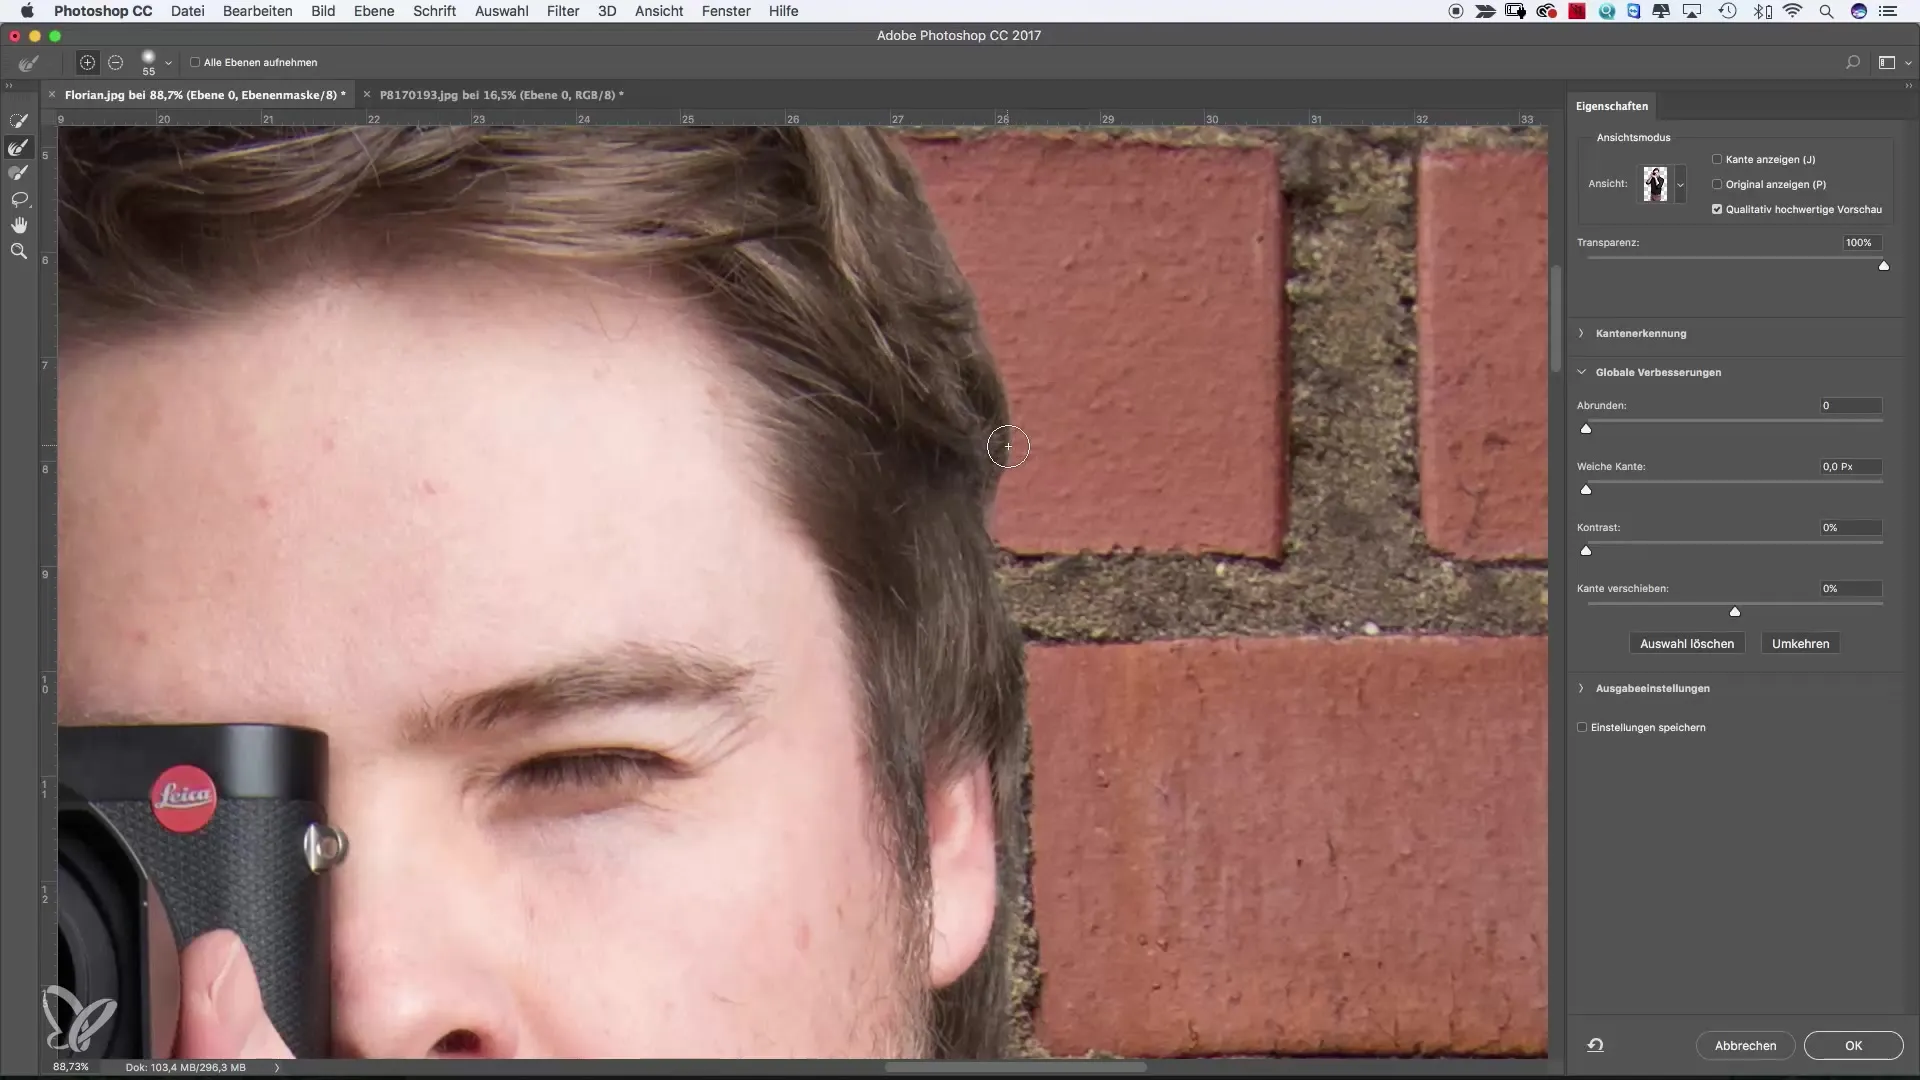
Depending on your computer’s performance, you can set the preview to "High Quality" to get a more accurate representation of your selection. However, keep in mind that this requires more computing resources.
Step 10: Final Review
After making all adjustments, take one last look at the selection. Also use the option to view the mask against different backgrounds to ensure everything looks perfect.
Summary – Quick Selection in Photoshop: Explained Step by Step
You’ve now learned how to efficiently remove backgrounds in Photoshop using the Quick Selection tool. By understanding the various features and tools, like "Select and Mask" and the "Refine Edge tool," you can significantly improve your image editing skills.
Frequently Asked Questions
What is the Quick Selection tool?The Quick Selection tool in Photoshop allows you to quickly and precisely select areas of an image to edit or remove.
How can I undo a selection?You can undo a selection by using the keyboard shortcut Command Z (Ctrl Z on Windows).
Are the results always perfect?Not always; sometimes you need to manually refine or use the Refine Edge tool to achieve precise results.
Can I adjust the selection after I've created it?Yes, you can adjust the selection at any time. You can go back or add new areas to the selection.


