With the Masking Mode in Photoshop, you can create targeted selections that allow you to make precise adjustments to your images. This technique is especially useful when it comes to highlighting fine details or editing unwanted elements. In this guide, you will learn step by step how to effectively use the Masking Mode to improve your photo editing skills.
Key Takeaways
- The Masking Mode allows you to make targeted selections and edit them afterward.
- Soft brushes are essential to achieve natural transitions.
- Choosing the masked areas is crucial for the final result of your selection.
Step-by-Step Guide
Before you work with the Masking Mode, open your portrait image in Photoshop. This image will serve as the basis for all steps.
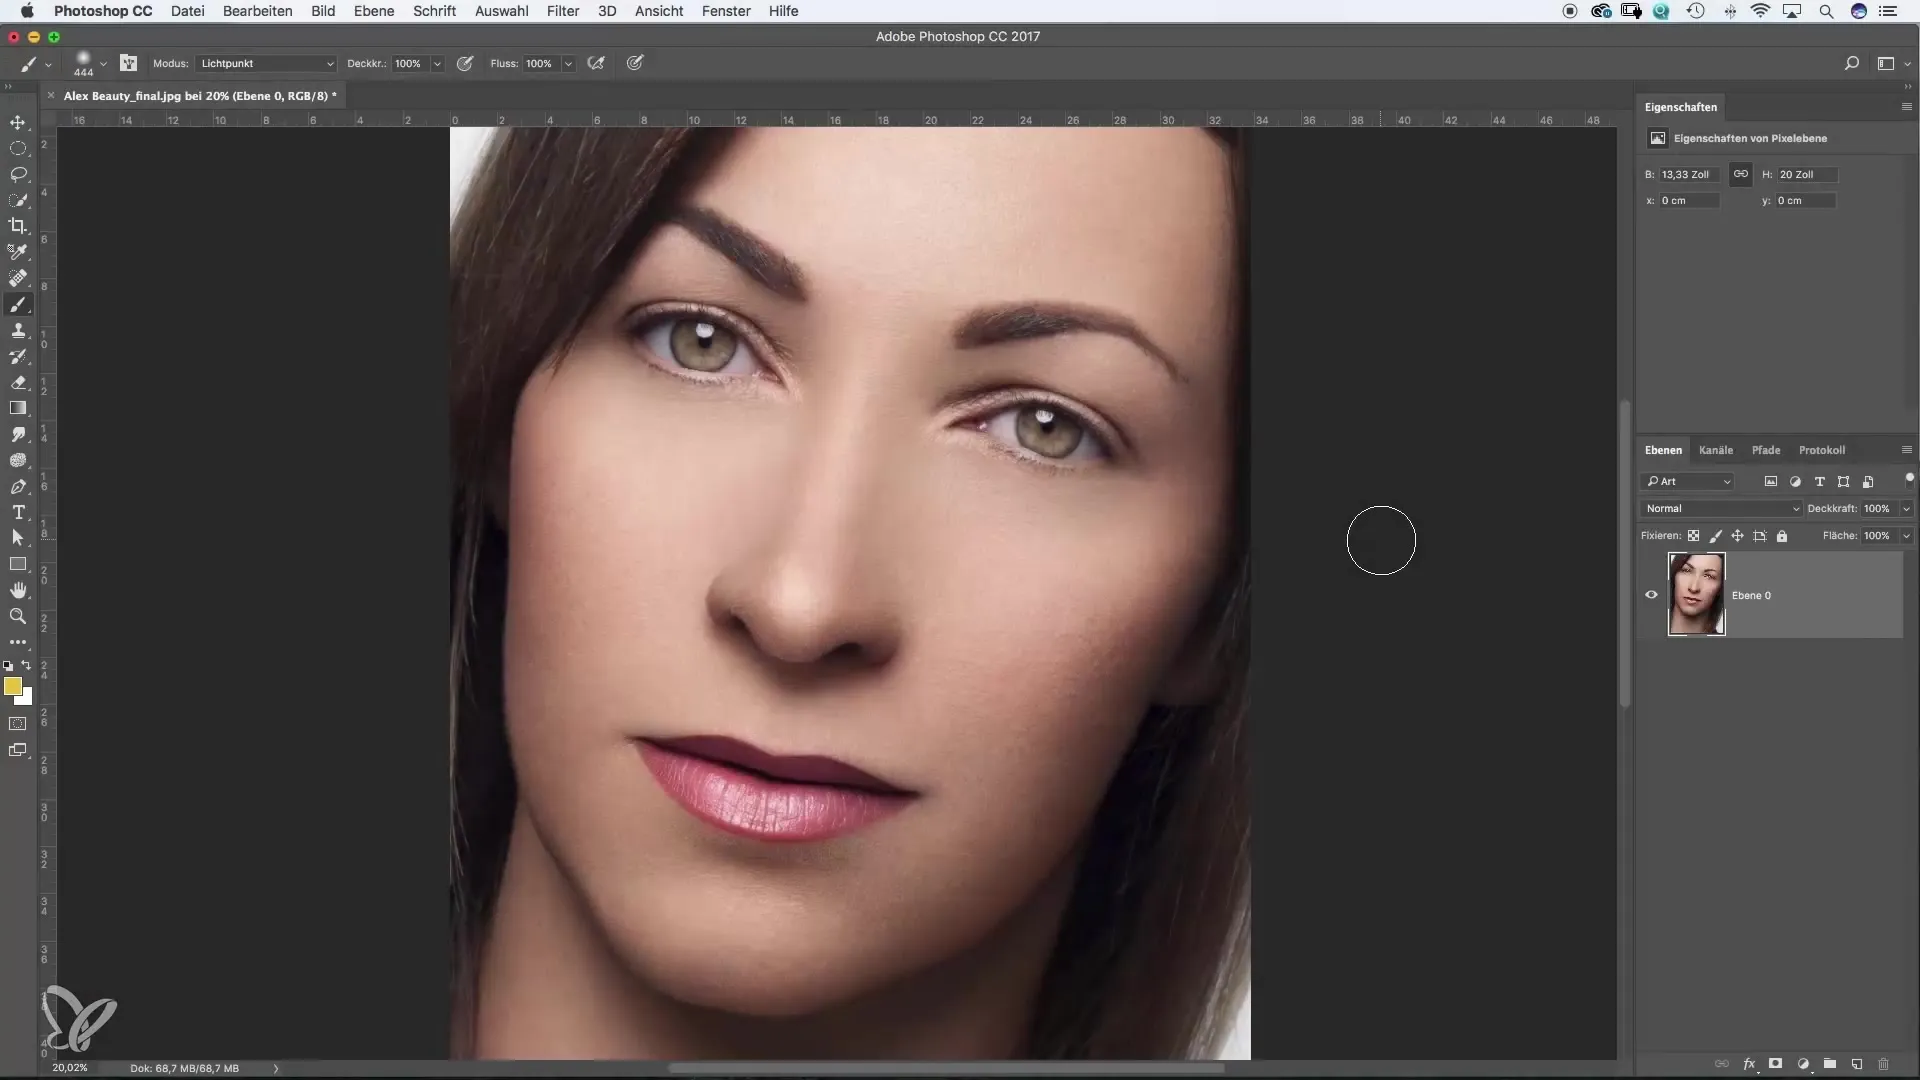
Step 1: Create Masks
To make specific adjustments, you must first select the areas you want to edit. In this case, you want to modify the lips slightly. To do this, use the brush and make sure the opacity is set to 100%.
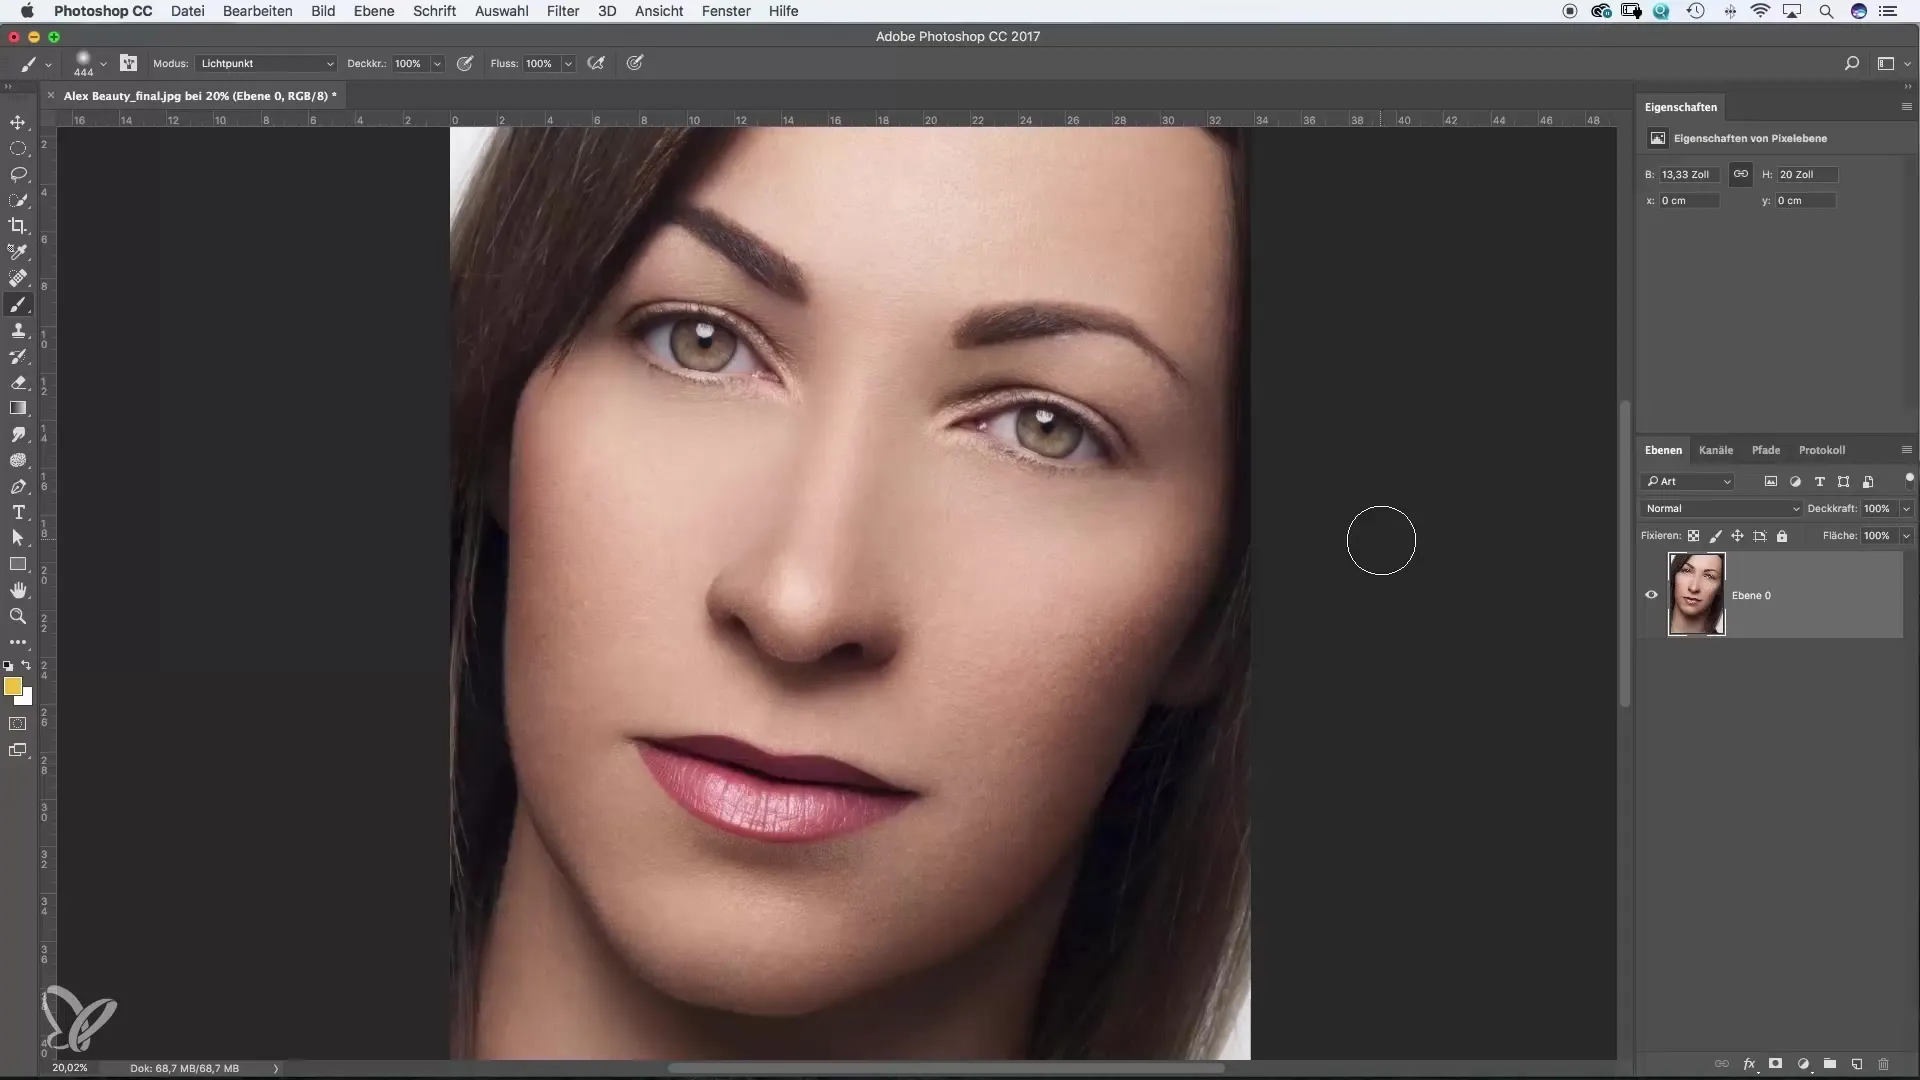
Step 2: Activate Masking Mode
Activate the Masking Mode by clicking on the corresponding icon. A dialog box will open where you can set the color for the selected areas. Red is generally used, but you can adjust the color according to your preference.
Step 3: Select the Lips
Start painting over the lips. Keep in mind that your brush should be set to soft. This allows for smooth transitions and prevents hard edges. Graphic errors, such as an unnaturally appearing selection, often occur when the brush is set too hard.
Step 4: Error Correction
If you have accidentally selected areas like the nose, you can switch the color to white or press the X key to toggle between adding to and subtracting from the mask.
Step 5: Confirm the Selection
Once you have made the selection, verify it. The visible area may initially appear sharp, but it should be soft—don’t worry, it’s just a display issue. If you’re unsure, step back and check the selection properties again.
Step 6: Copy the Selection
To apply the changes, copy the selected area to a new layer. This is done by pressing Command + J (Windows: Control + J).
Step 7: Make Adjustments
Now you can adjust the lips to the desired size and even rotate them to create a harmonious overall look. The change becomes obvious when you move the selection up or down accordingly.
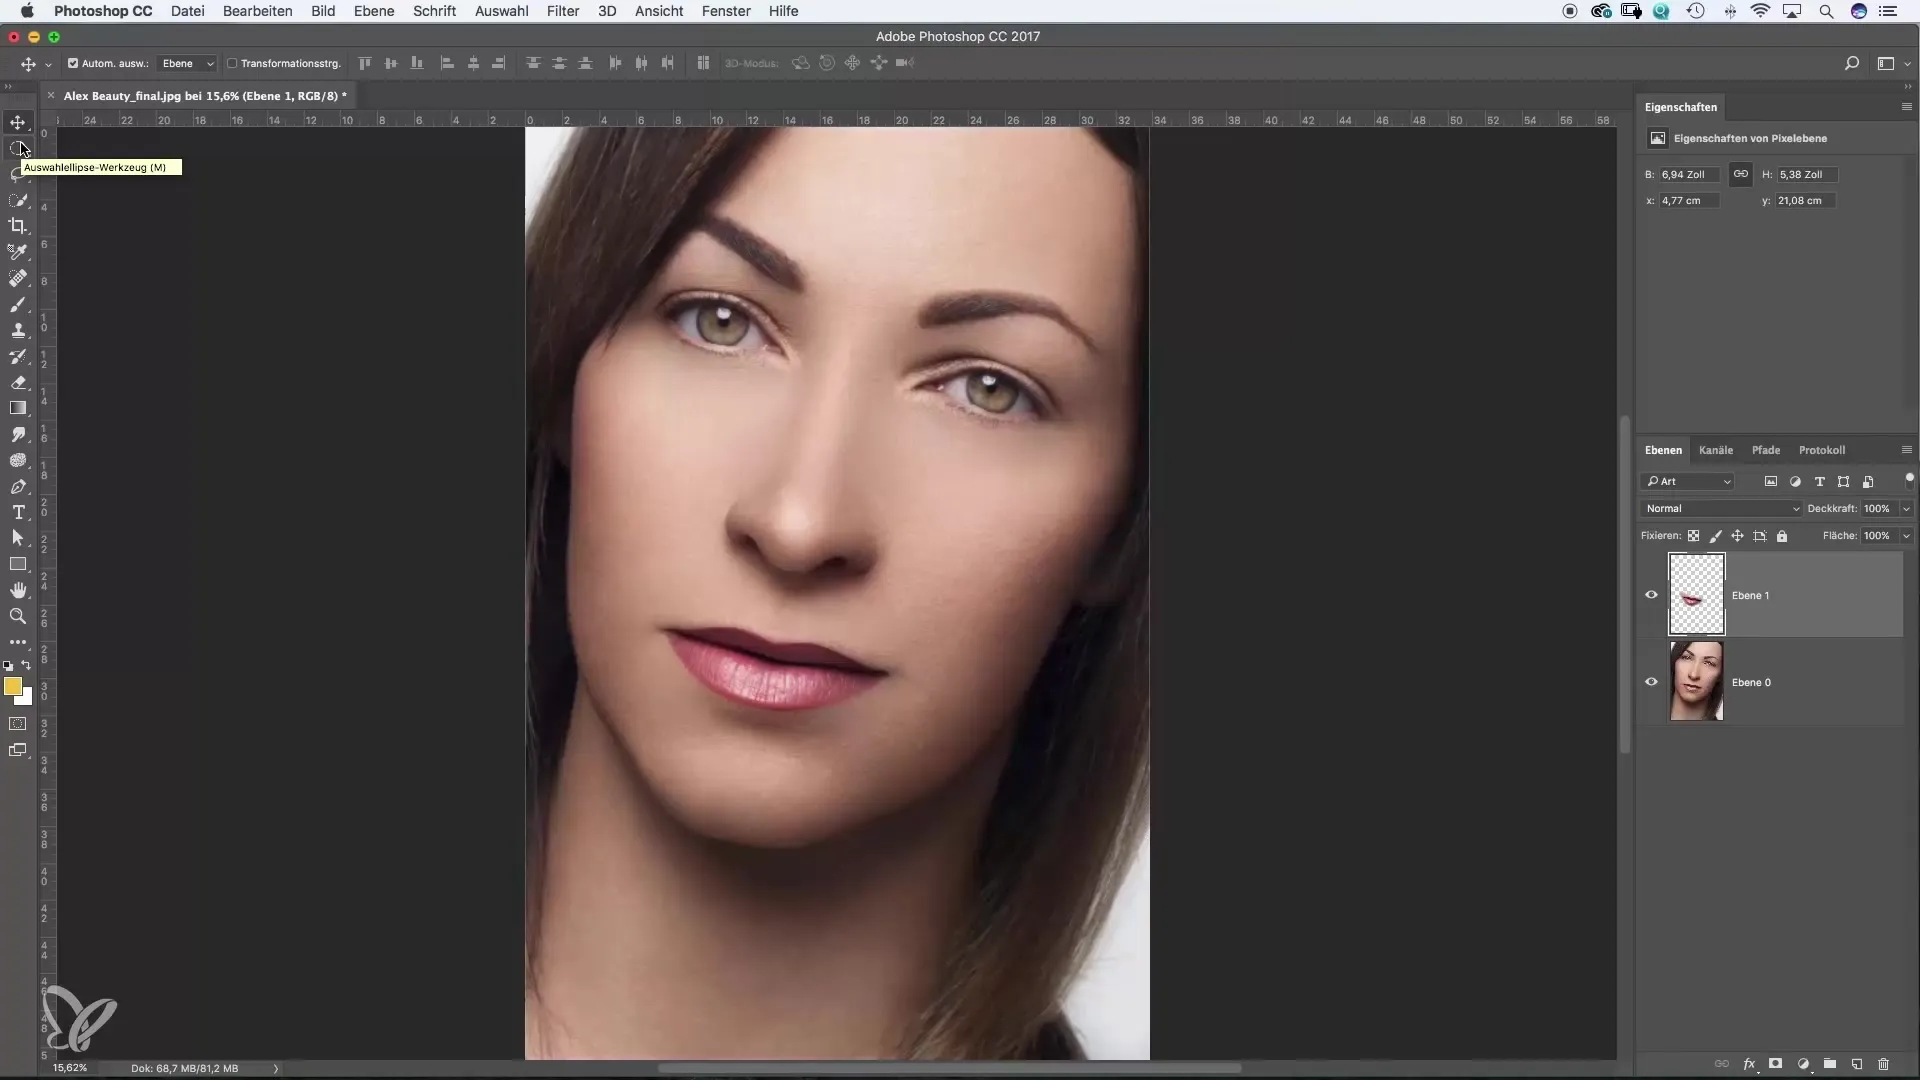
Step 8: Repeat the Process
To improve symmetry, repeat the process for other areas, such as the mouth. This leads to more harmonious results. Always make sure to perform the selection with a soft brush.
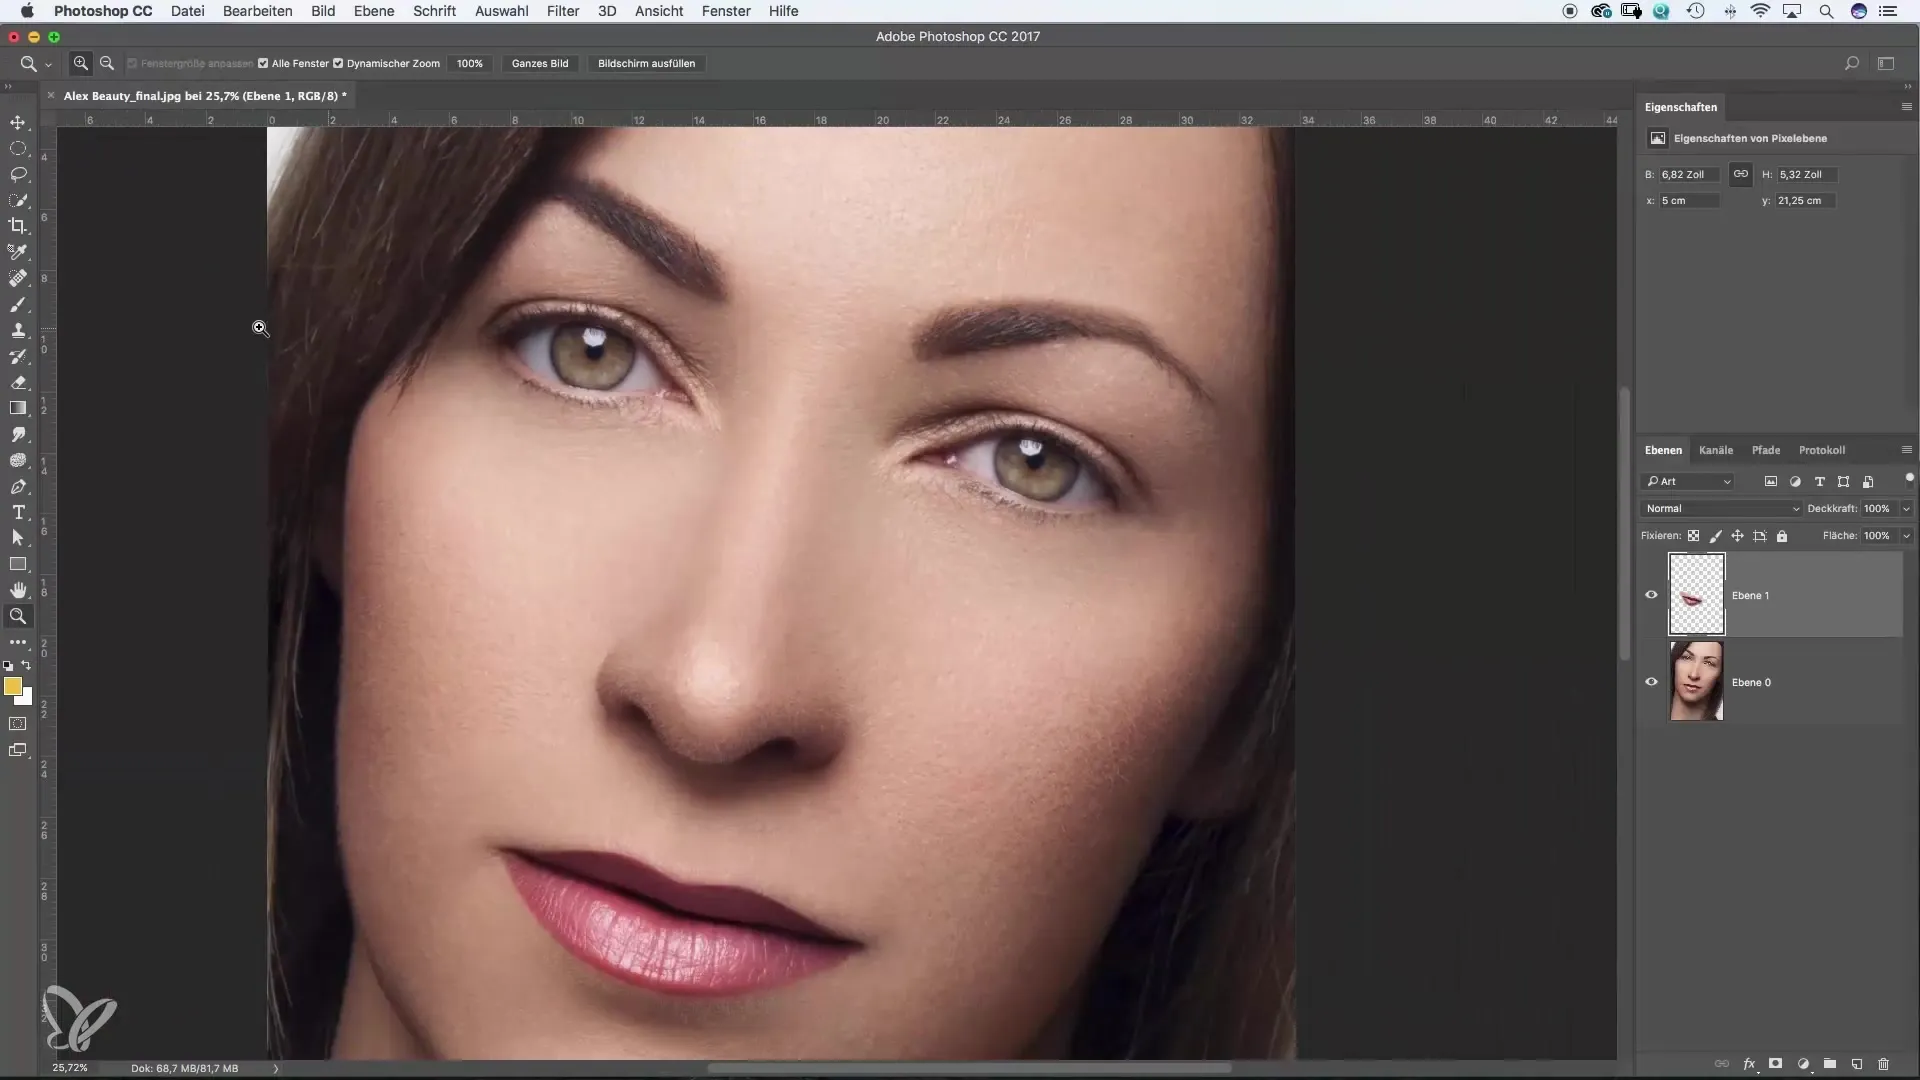
Step 9: Optimize Masking Options
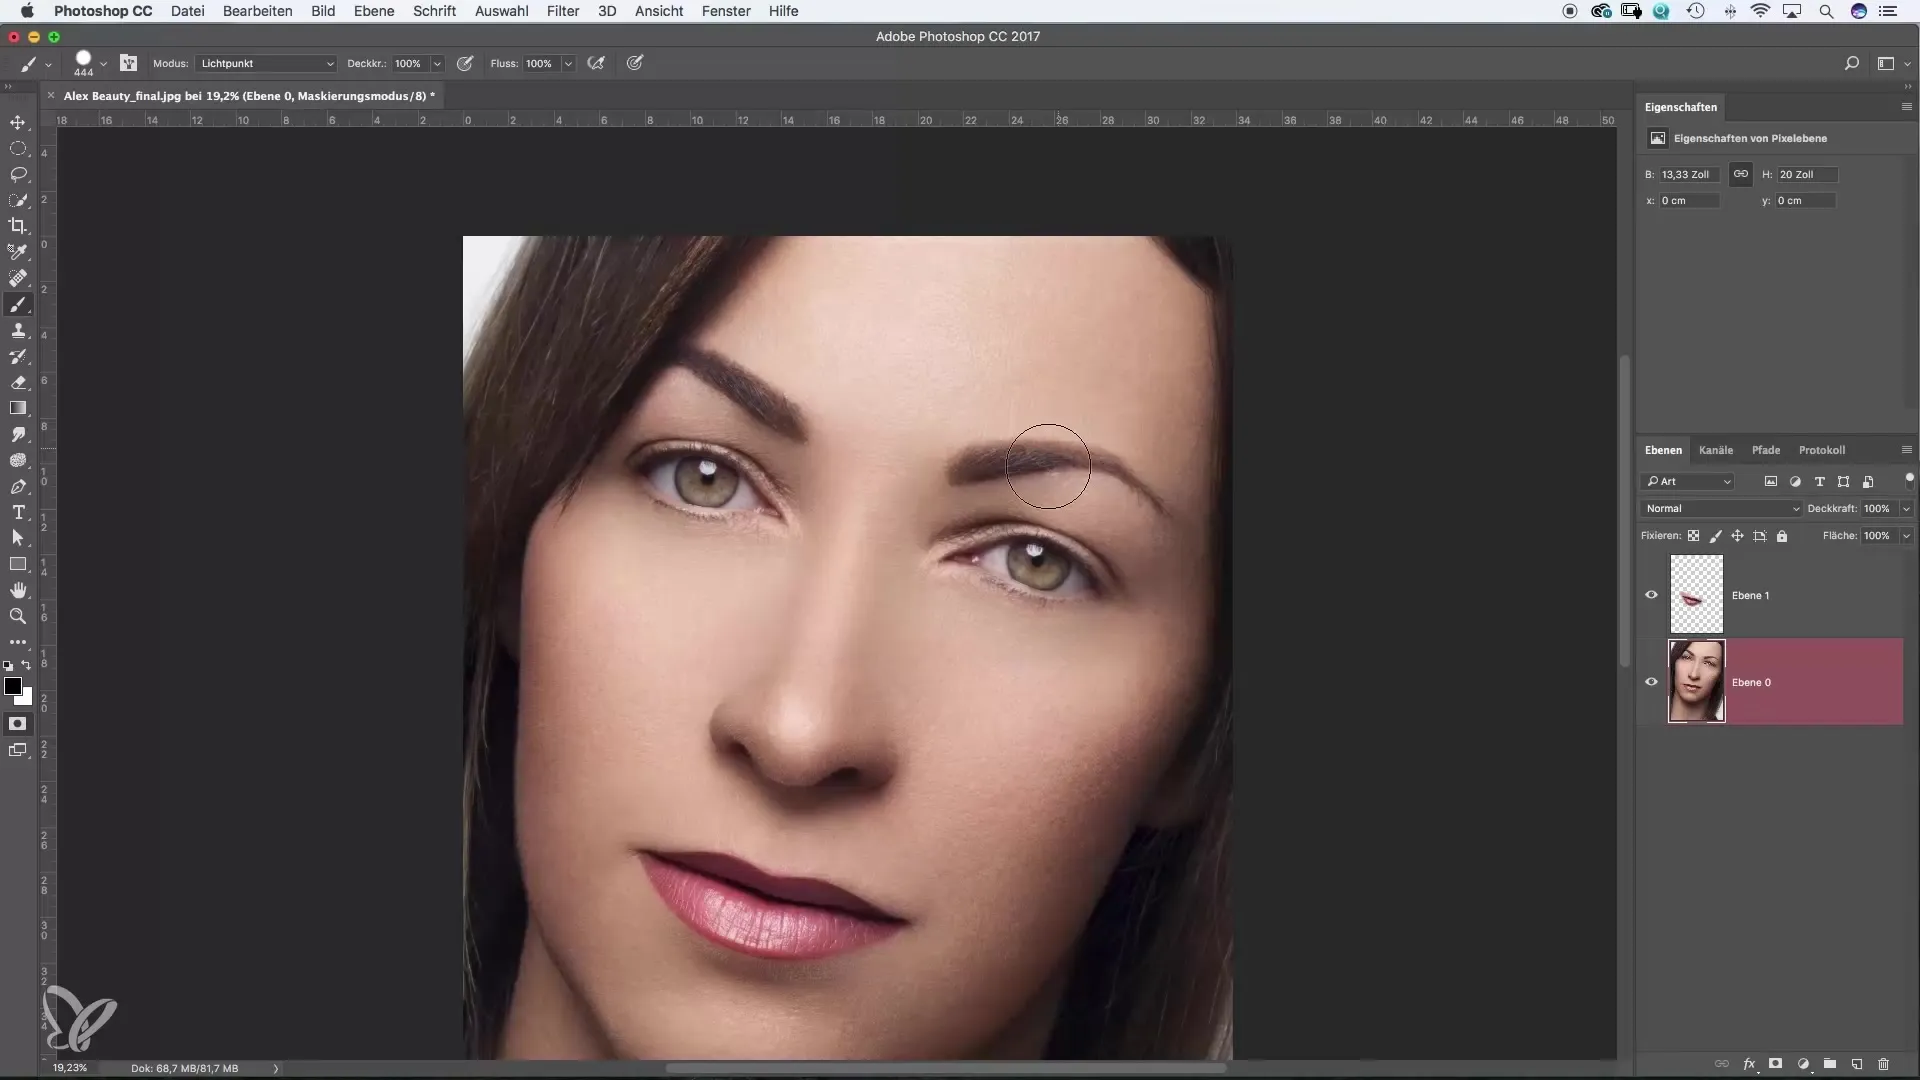
If you’re working with the default masking options and your image doesn’t look the way you want at the end, check the settings. The Masking Mode should be set to “selected areas” to avoid unnecessary masks.
Step 10: Visualize Adjustments
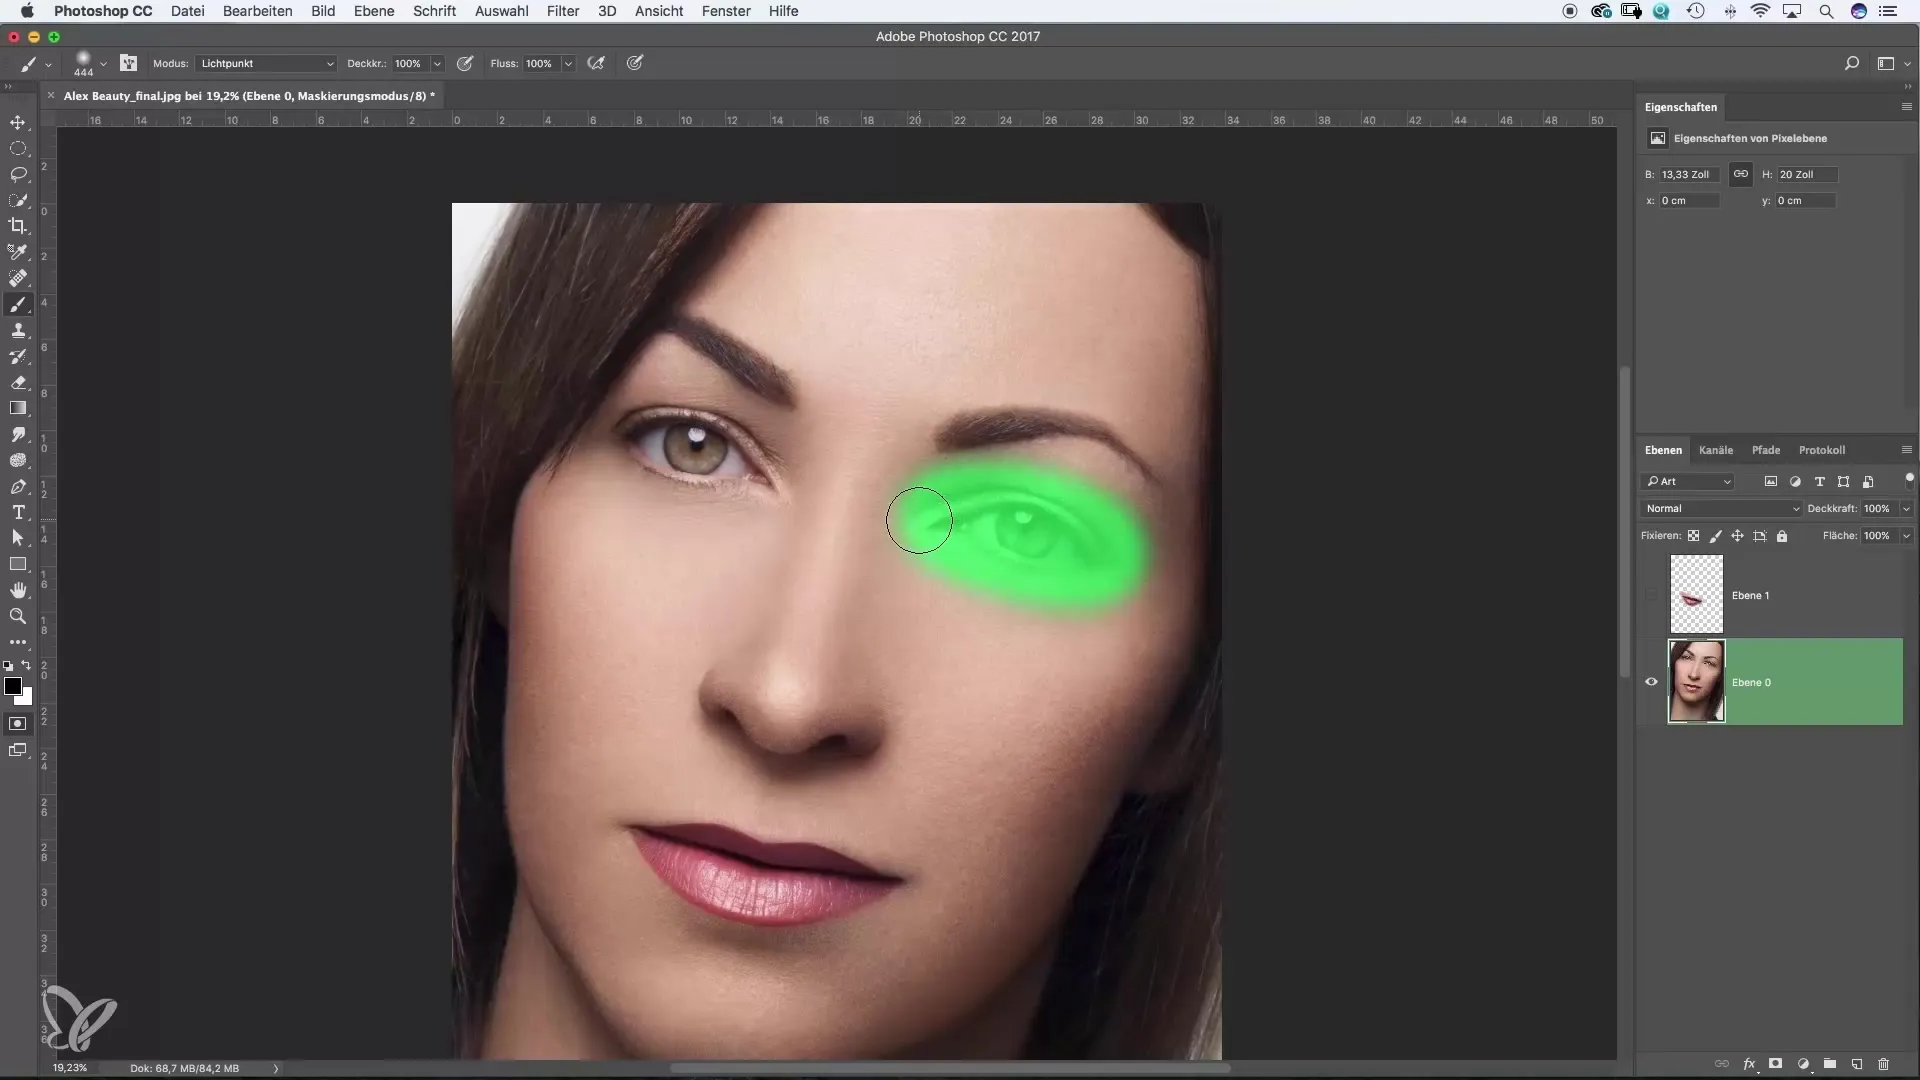
If you’re not happy with the color chosen for the masked areas, you can adjust it according to your preferences. Try different colors and opacities until you achieve the result that appeals to you the most.
Summary – Photoshop Masking Mode: Step-by-Step Guide
With this guide, you have the ability to use the Masking Mode in Photoshop to make targeted selections. Be sure to work with soft brushes and carefully choose the masked areas. This way, you can effectively adjust your photos and give them the finishing touch.
Frequently Asked Questions
How does the Masking Mode work in Photoshop?Masking Mode allows you to create targeted selections to make image adjustments.
Why are soft brushes important?Soft brushes provide smooth transitions and prevent hard edges in your selections.
Can I change the colors in Masking Mode?Yes, you can adjust the color of the selected areas at any time, and you can also change the opacity.
What do I do if I accidentally masked an area?Use the X key to toggle between adding to and subtracting from the mask, or set the brush color to white to remove unwanted areas.
How do I copy my selection to a new layer?Press Command + J (Windows: Control + J) to copy the selection to a new layer.


