Working with digital drawing tools can be a fascinating experience, especially when you apply the right technique. If you work with Photoshop and want to tap into the full potential of your graphics tablet, it is important to understand the difference between traditional drawing with a mouse and drawing with a graphics tablet. You will find that brush-pressure can unleash your creativity and help you create more vibrant artworks. In this guide, you will learn how to leverage this difference in Photoshop for your own projects.
Key Takeaways
- A graphics tablet enables more precise stroke control and pressure variation.
- Brush-pressure significantly alters the appearance of your digital art.
- The transition from mouse to graphics tablet can be challenging at first but pays off after a short adjustment period.
Understanding the Difference Between a Mouse and a Graphics Tablet
Before you begin the practical steps, it's important to understand the basics. Most users typically work with a mouse or trackpad. The possibilities offered by a graphics tablet are often underestimated. With a graphics tablet, you have control over variables like pressure and tilt, which creates greater dynamism when drawing.

The graphics tablet is operated with a pressure-sensitive pen that allows you to draw intuitively and fluidly. The pen registers pressure and movement on the tablet surface, giving you a more natural drawing and painting experience than is possible with a mouse.
Step-by-Step Guide to Using Brush Pressure in Photoshop
1. Selecting the Brush in Photoshop
Launch Photoshop and select the brush from the toolbar. It is usually located on the left side of the screen. You can also press the "B" key to quickly select the brush.
With the brush tool, you can adjust the brush's size and shape, giving you the flexibility to create different strokes. You can find these settings in the top menu bar.

2. Using the Graphics Tablet Compared to the Mouse
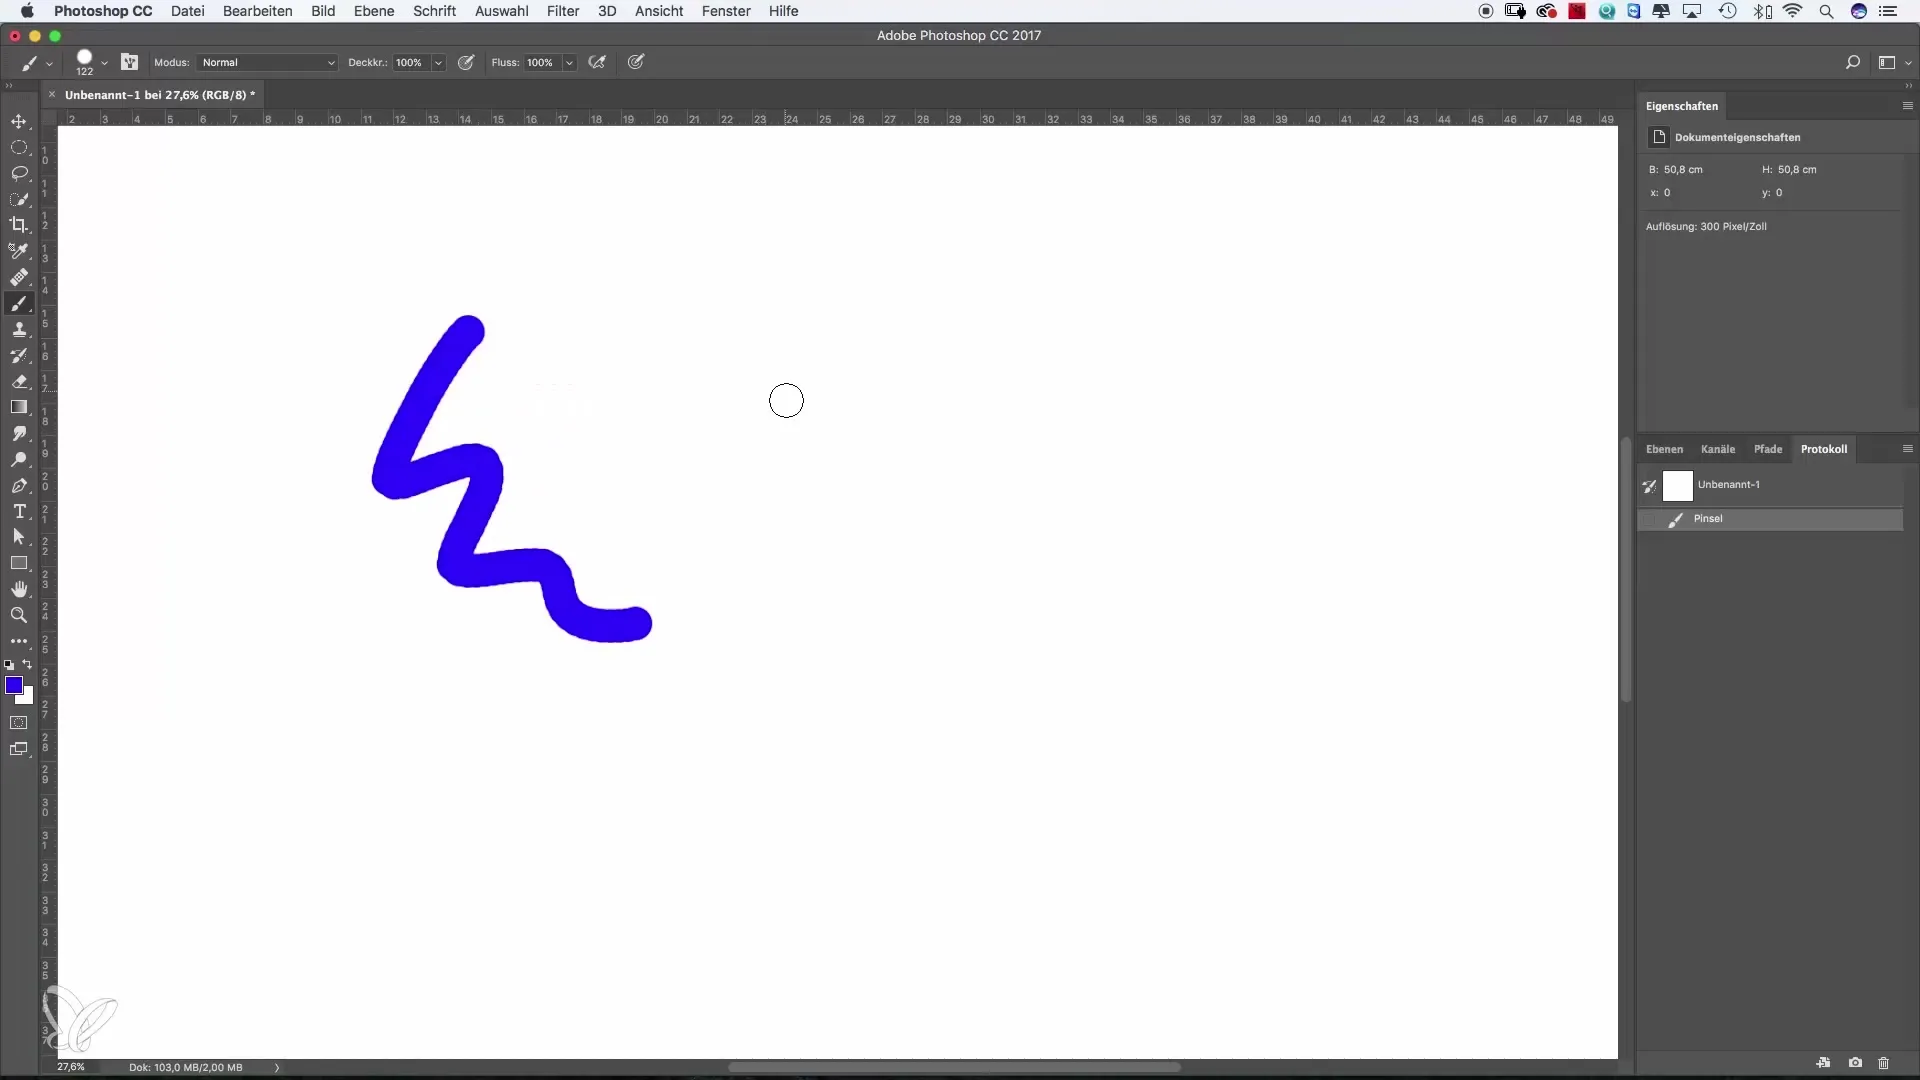
Now comes the crucial moment where you will experience the difference between the mouse and the graphics tablet. Try drawing a simple line or shape with the mouse. Pay attention to how the stroke feels and how much control you have.
Next, pick up your stylus and do the same. You will notice that the lines look more dynamic and engaging with the graphics tablet. The flow and movement in your strokes are much smoother.
3. Enabling Pressure Sensitivity
To fully leverage the effectiveness of the graphics tablet, you need to enable pressure sensitivity. To do this, go to the brush settings at the top of the window and activate the "Pressure for Size" option. This gives you the ability to vary the thickness of your lines by applying different levels of pressure.
Now that you have enabled pressure sensitivity, try drawing the lines again. You will notice the change: when you press the pen down, the line becomes thicker, and when you release the pressure, the line becomes thinner.
4. Applying Pressure Sensitivity to Opacity
In addition to size, you can also enable pressure for opacity. This is especially useful when you want to create softer transitions in your work. Activate the pressure function for opacity in the brush settings and make a new test drawing.
While you paint, practice varying the pen pressure. Press firmly at first to produce a rich, thick color, then gradually release the pressure to create softer transitions.
5. Combining Pressure for Size and Opacity
The combination of pressure for size and pressure for opacity opens up a whole new dimension in drawing. When both are enabled, you have the ability to control both stroke weight and transparency through your hand pressure.
This can be especially useful when creating complex images or refining details. Experiment with different styles and observe how your drawings evolve.
Conclusion on Brush Pressure in Photoshop
By combining pressure sensitivity with pen-based drawing, you can create more vibrant and expressive artworks in Photoshop. Switching from the mouse to the graphics tablet may be challenging at first, but the benefits far outweigh the effort. You will experience how much more creative control you have and how much easier it is to translate your ideas into digital art. Take the leap and experiment with a graphics tablet—the difference will be worth it.
Summary – Effective Use of Brush Pressure in Photoshop Thanks to a Graphics Tablet
A graphics tablet helps you effectively use brush pressure in Photoshop to create more dynamic, expressive artworks.
Frequently Asked Questions
How do you enable pressure sensitivity in the brush tool?You enable pressure sensitivity in the brush settings at the top of the window and select the "Pressure for Size" option.
Can I also use pressure sensitivity for opacity?Yes, you can also enable pressure sensitivity for opacity to create softer transitions in your artwork.
How long does it take to get used to using a graphics tablet?It usually takes a few days to adapt to the new input method, but after about four days you can better take advantage of its benefits.
Should I buy an expensive graphics tablet right away?It’s better to test a more affordable graphics tablet first before investing in a more expensive model.


