When working with Cinema 4D, you will quickly notice that applying colors and textures to geometrical objects may seem intuitive, but often leads to unexpected results when rendering. Especially with the use of the Vertex color tag, it can happen that the painted colors do not become visible as desired. In this guide, I will show you how to ensure the connection between your material, the Vertex map effect, and the actual material to achieve stunning visual effects.
Key Takeaways
- The Vertex color tag must be connected to a layer shader to make the colors visible.
- Building a custom layer shader allows exemplary material combinations.
- Proper lighting is crucial to showcase the loaded textures well.
Step-by-Step Guide
To understand the correct techniques and steps, follow the instructions below precisely.
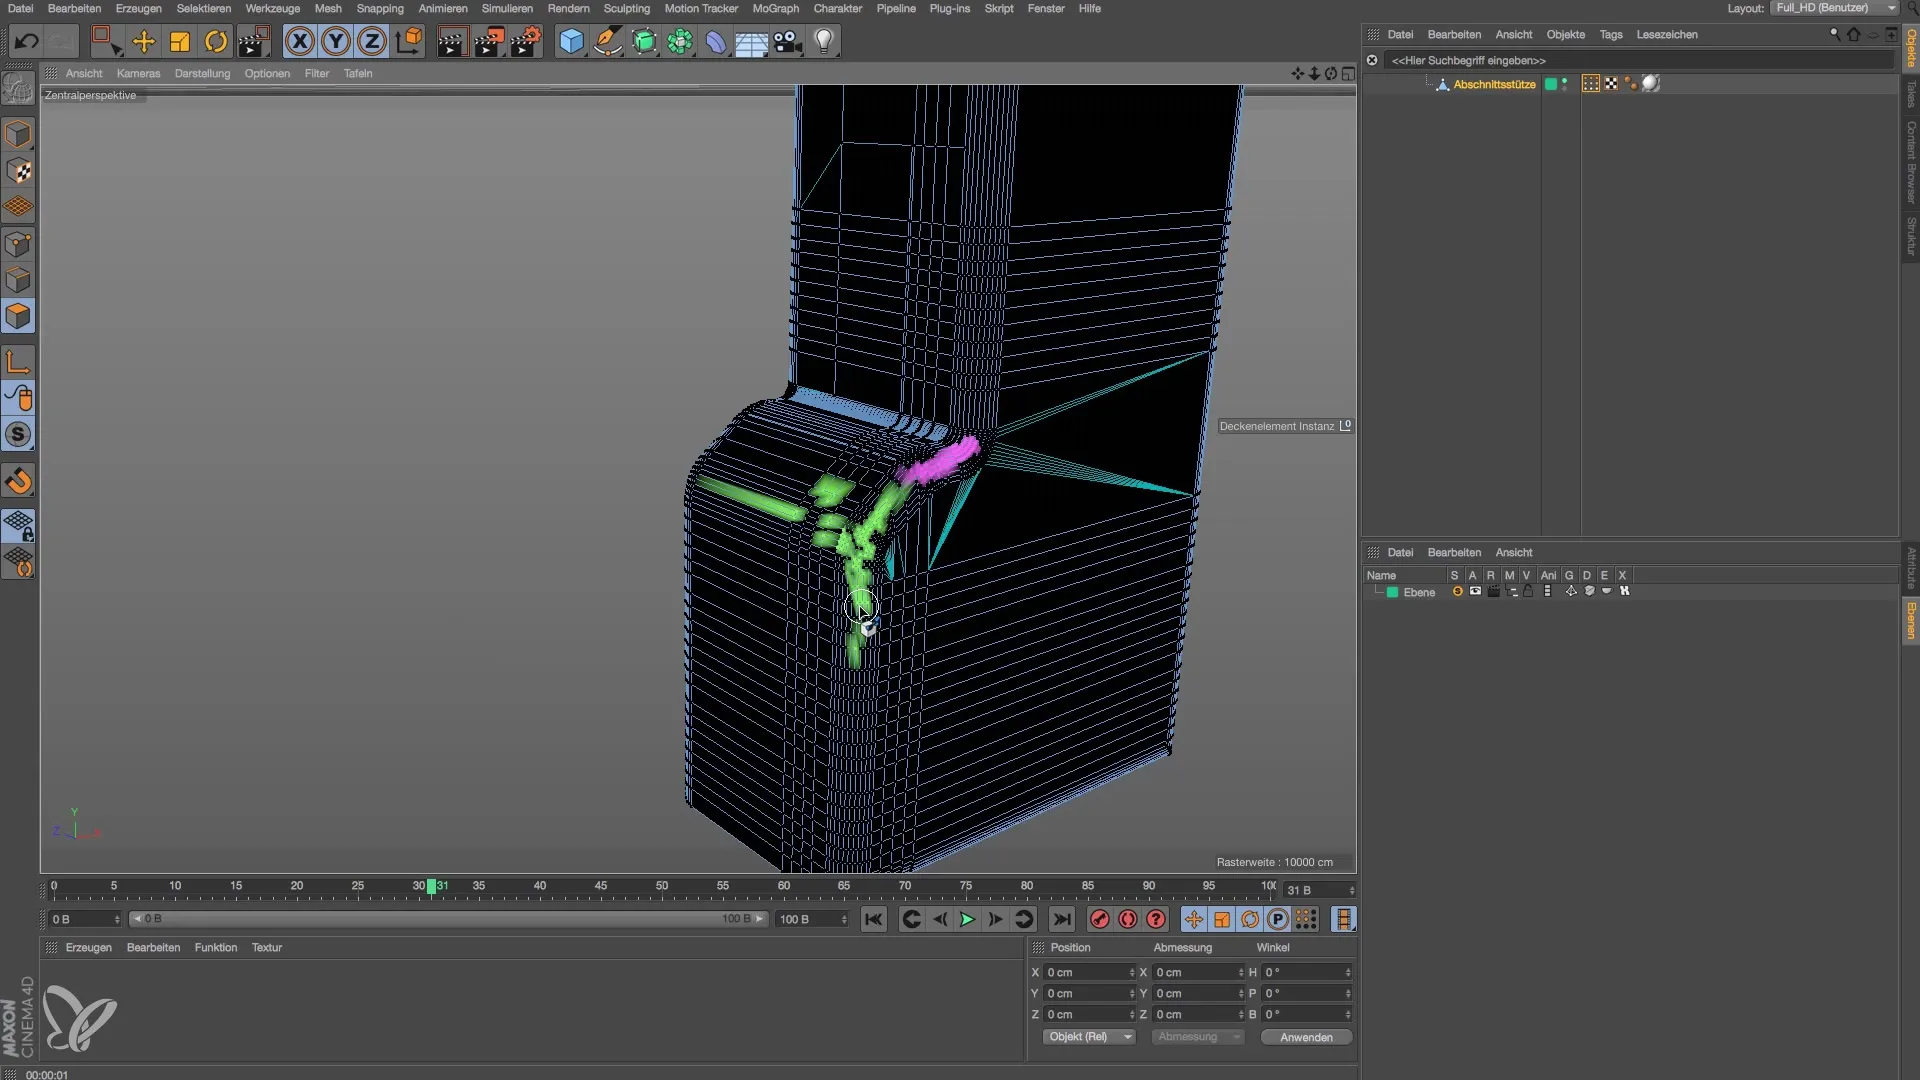
Start in your Cinema 4D project by switching to solo mode to isolate the specific geometry you want to work with. Here you can easily adjust the colors and materials.
To ensure that the painted vertices are also visible when rendering, you must first check the Vertex color tag and attach it to the corresponding geometry. If you make a change, test the rendering.
If you want to adjust the material for the object, double-click on the material you are editing. In the properties, you will find the option to modify the material and adjust the relief as well as reflectivity.
To effectively link the painted colors, it is necessary to place the material into a layer shader. This allows you to combine multiple materials without losing the details of the original material. So, create a new layer shader.

Now enter the material editor view and drag the previously created material into the layer shader. You will find that this gives you more flexible control over your material.

Now it's time to add the Vertex Map effect to your shader settings. Go to the shader effects within the layer shader and select Vertex Map.
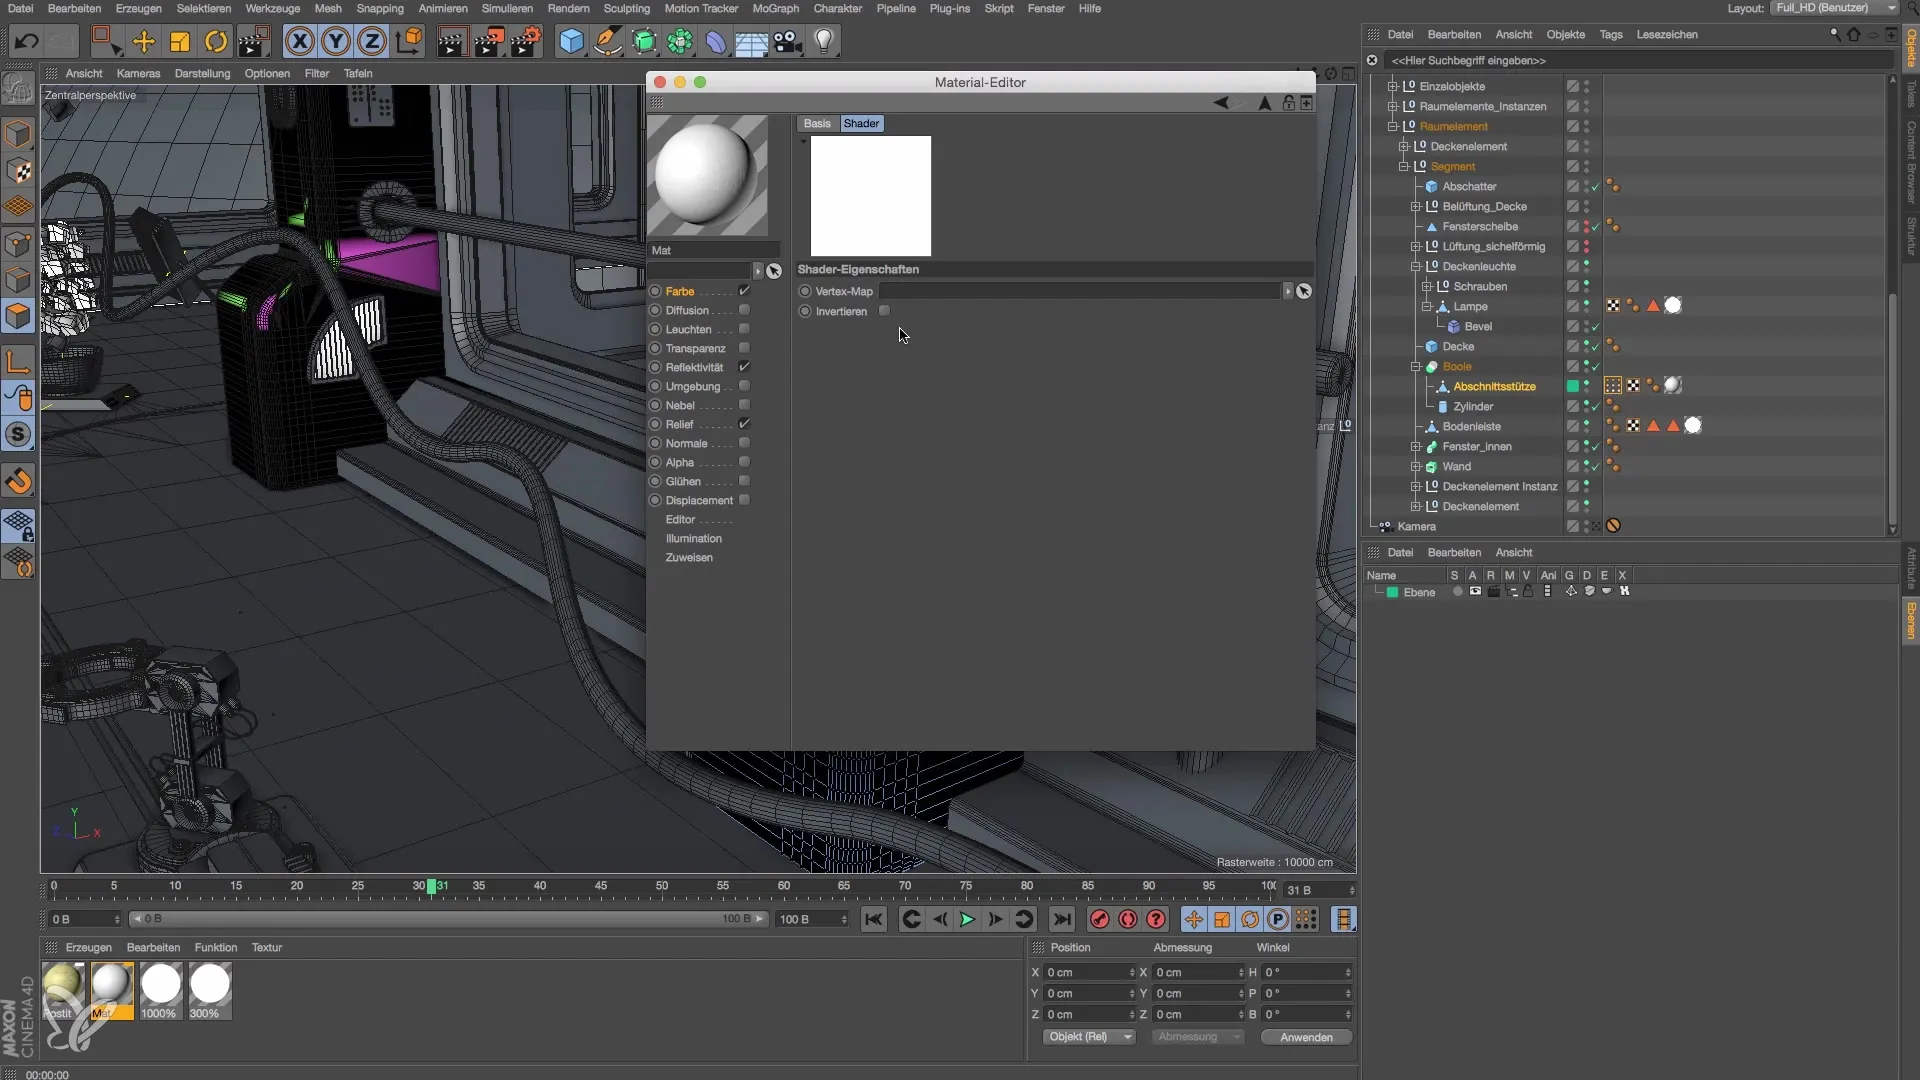
After you have added the Vertex Map effect, make sure to click on the small white icon next to the effect. This allows you to pull in the previously created Vertex Map tag.
With the successful integration of the Vertex Map effect into your layer shader, you are now ready to test your material. Render a section to check if the new colors are visible.

If you did everything correctly, you should now see during rendering that the colors from the Vertex color tag are clearly displayed on your object. Be sure to optimize the lighting, as this is crucial for the visibility of the colors.

It is important to check the intensity of the lighting and the color variations in the shader settings. To achieve the desired visual effect, experiment with the light sources in your scene.
Summary – Modeling and Lighting a Space Station in Cinema 4D with Vertex Maps
By correctly combining material, layer shader, and pixel colors, you can achieve impressive results in Cinema 4D. The integration of Vertex Maps allows you creative freedom to create detailed and engaging visual effects in your projects. A careful review of the light sources ensures that your colors stand out and your models appear vibrant.
Frequently Asked Questions
How do I ensure that the Vertex color tag is visible?You need to connect it to a layer shader to make the colors visible.
Can I use multiple materials in the layer shader?Yes, a layer shader allows you to combine as many materials as you want.
How can I optimize the lighting in my scene?Experiment with different light sources and their intensity to achieve the best results.
