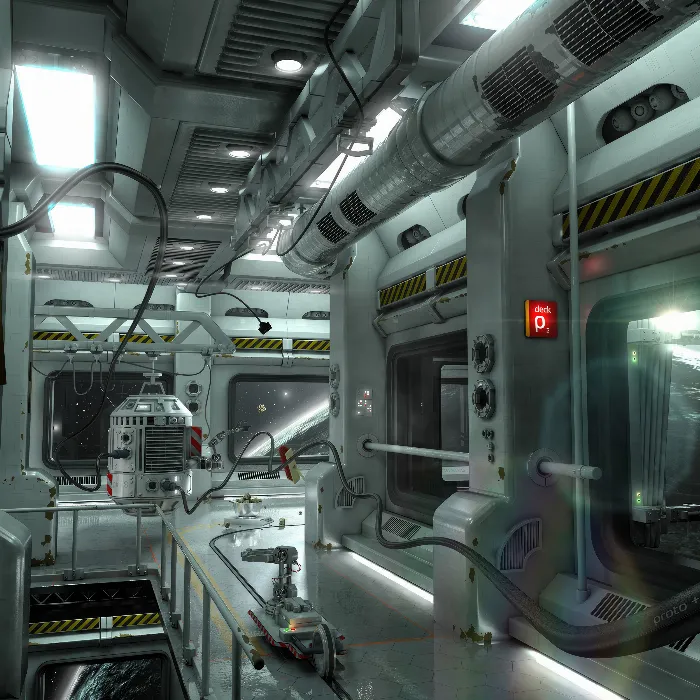
The lighting of a scene in 3D software like Cinema 4D is crucial for visual performance. When working with polygons that have a luminous material, Global Illumination (GI) plays an essential role. It ensures a more realistic distribution of light and highlights the materials. In this tutorial, I will show you step by step how to brighten the scene and what options are available to you.
Key insights
- Always use Global Illumination when working with luminous materials.
- Increase the gamma for a brighter scene without changing the light source.
- There are significant differences between increasing gamma and adjusting the light intensity of the material.
Step-by-step guide
1. Set up basic lighting
Start with the basic lighting for your project. You can use luminous materials to significantly influence the ambiance of your scene. Adjusting the light sources changes the overall impression of the lighting.
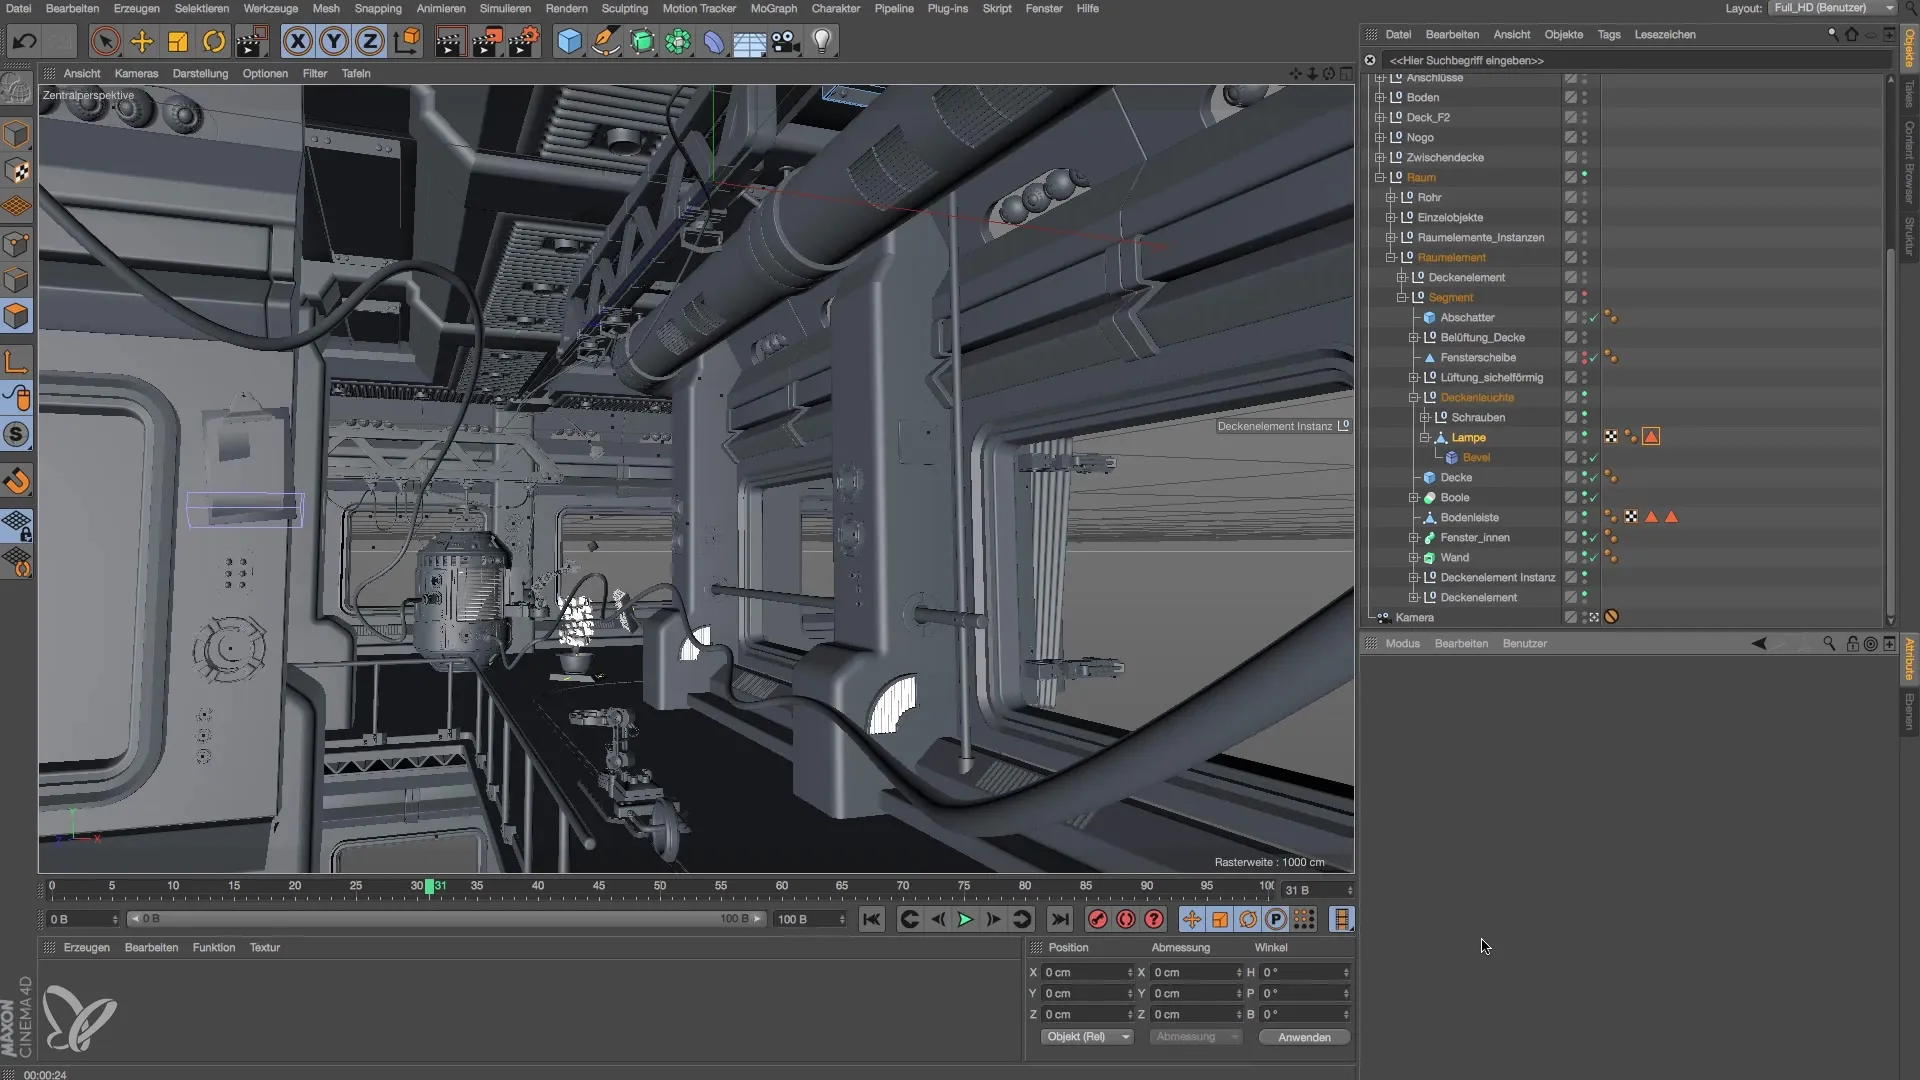
2. Create a luminous material
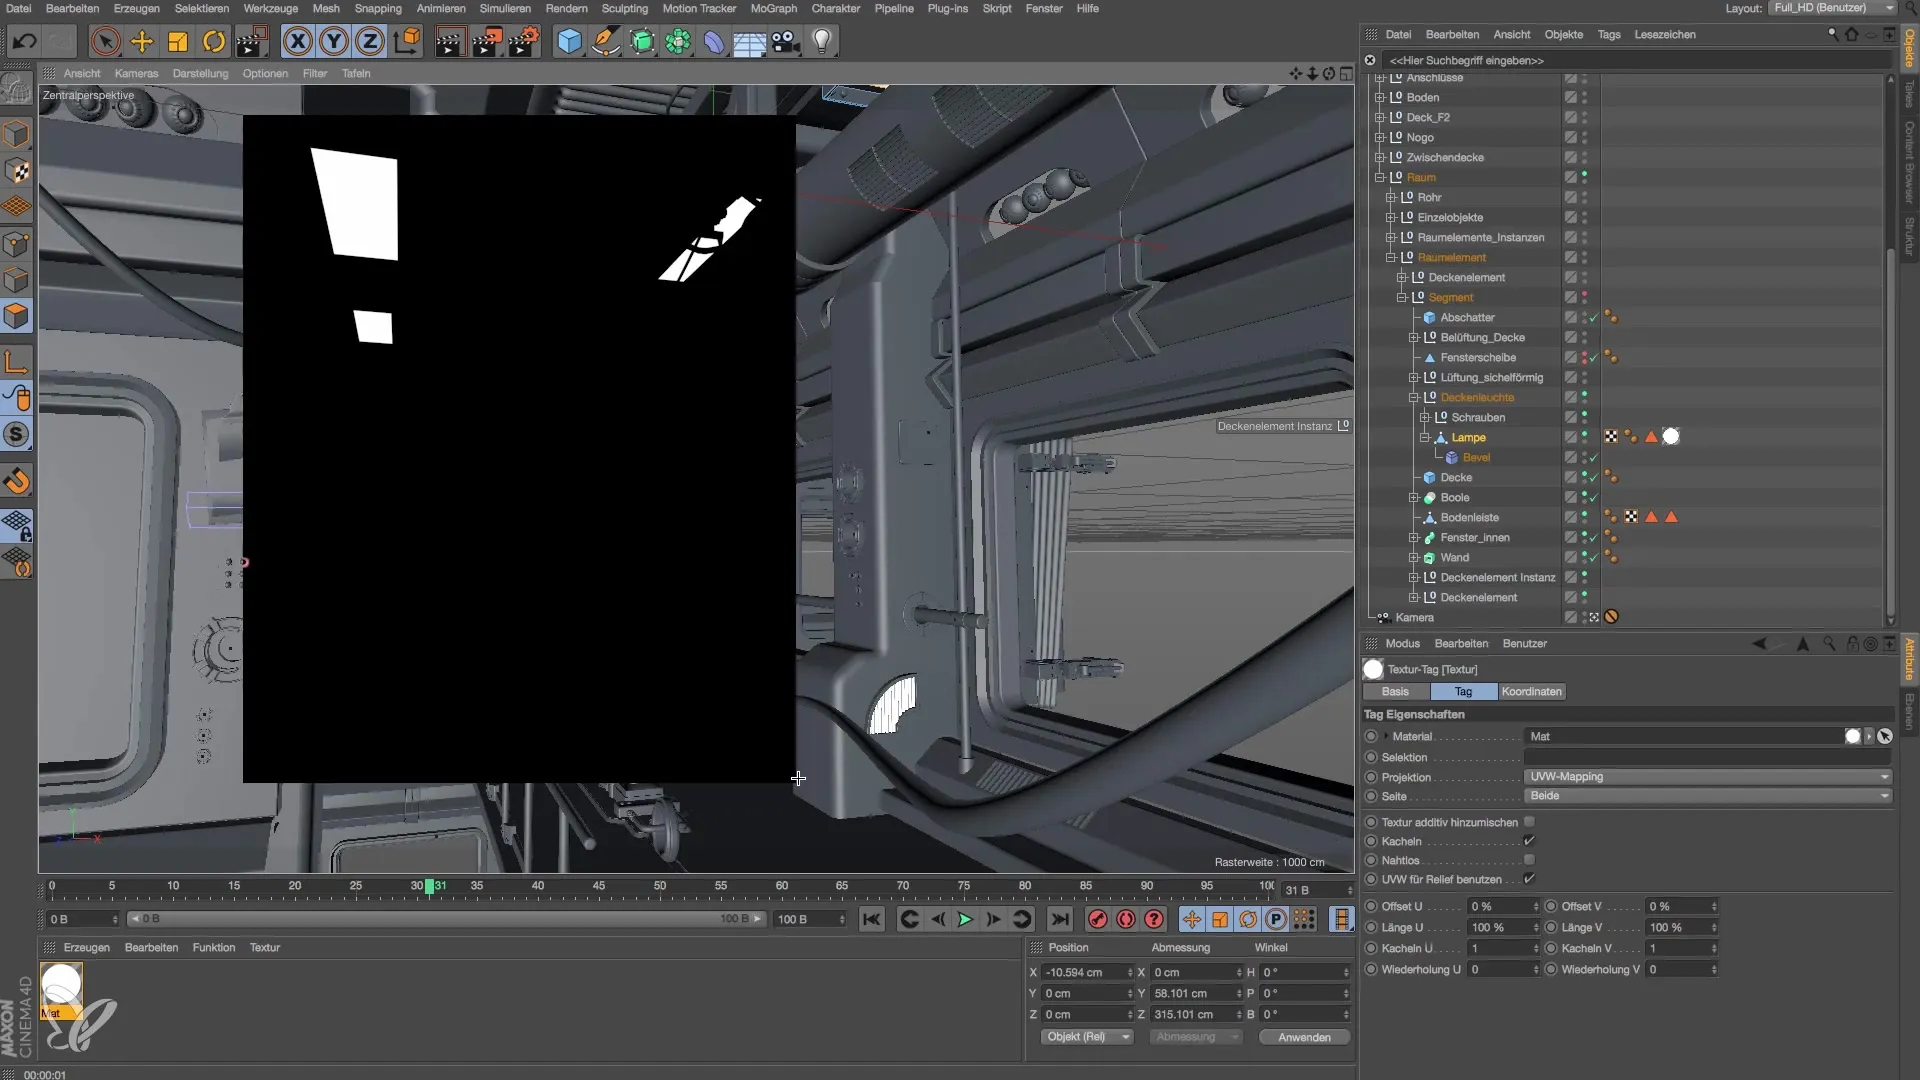
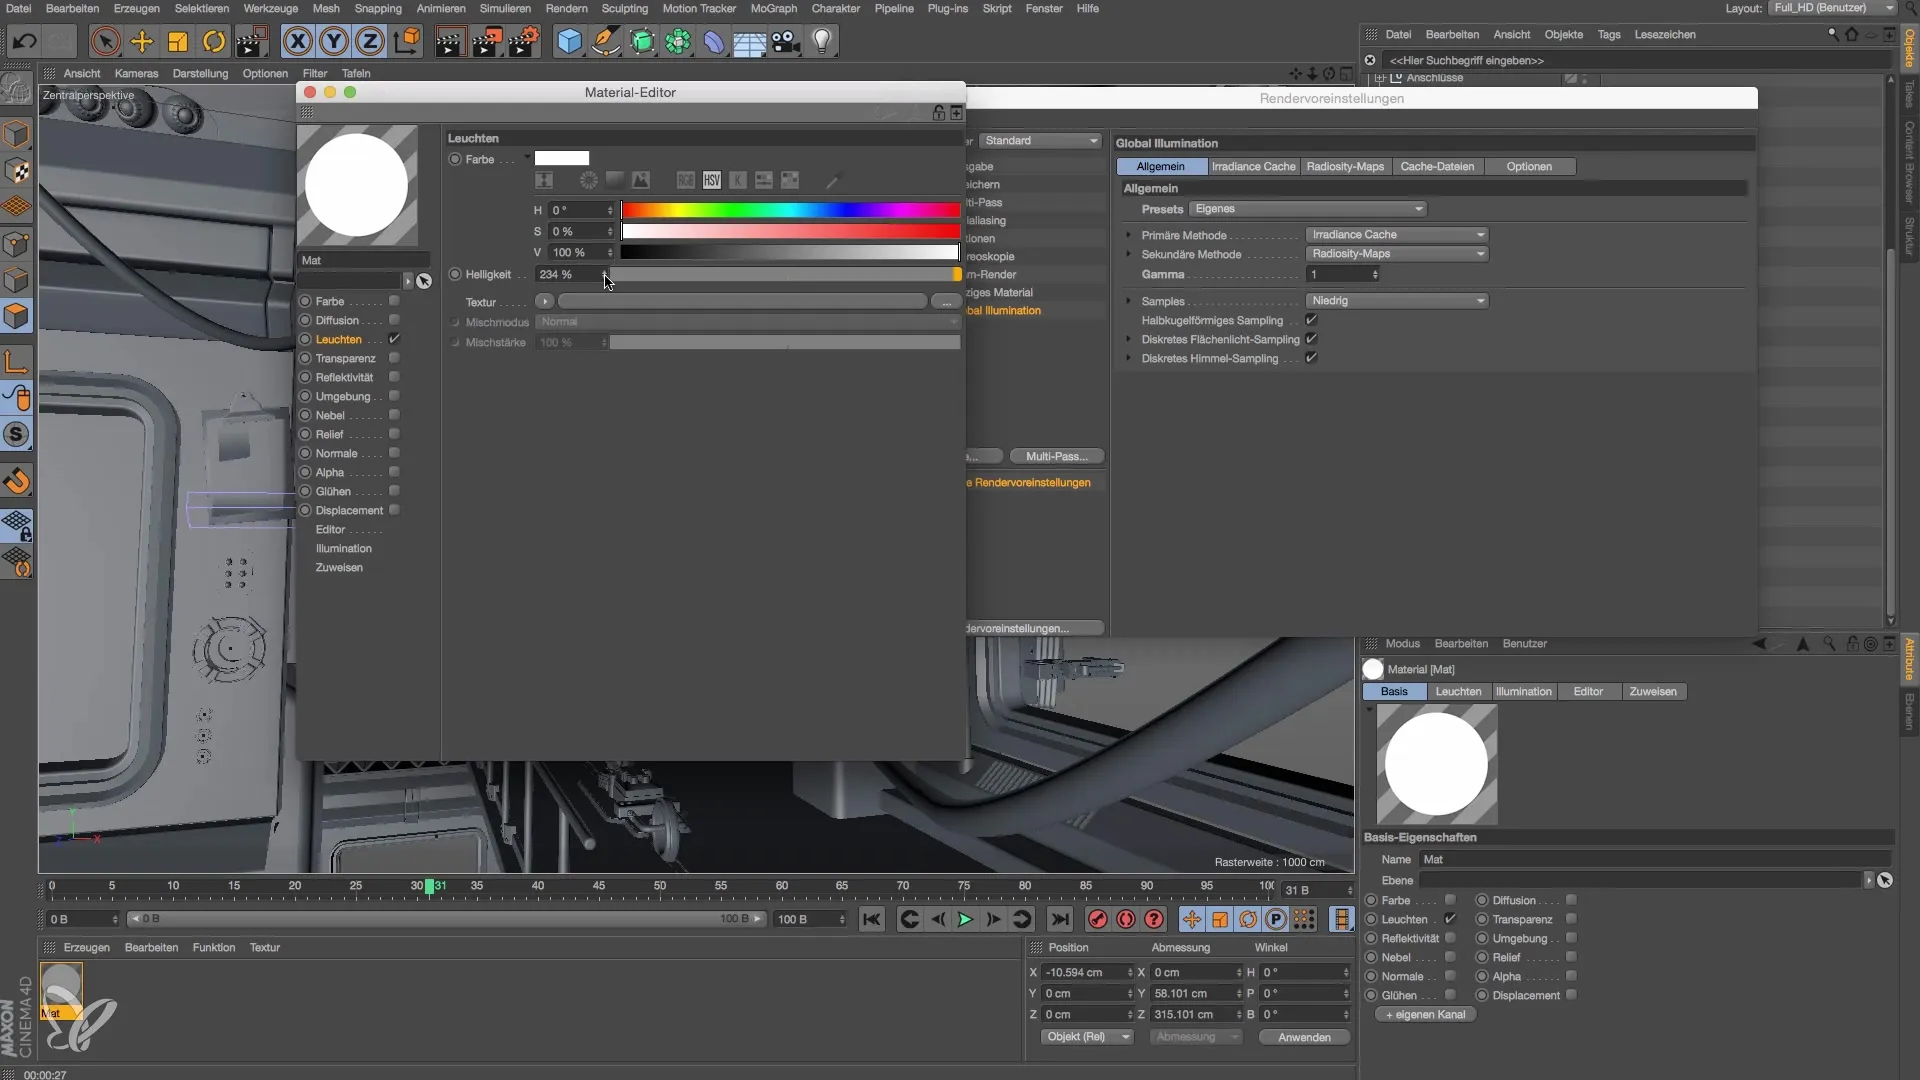
Open the material manager and create a new material. Disable reflectivity and color, and enable the luminance channel. This setting is important to correctly represent the light source.
3. Add a light source
Apply the created material to the desired objects to activate the light source. Make sure that the material instances are correctly assigned.
4. Activate Global Illumination
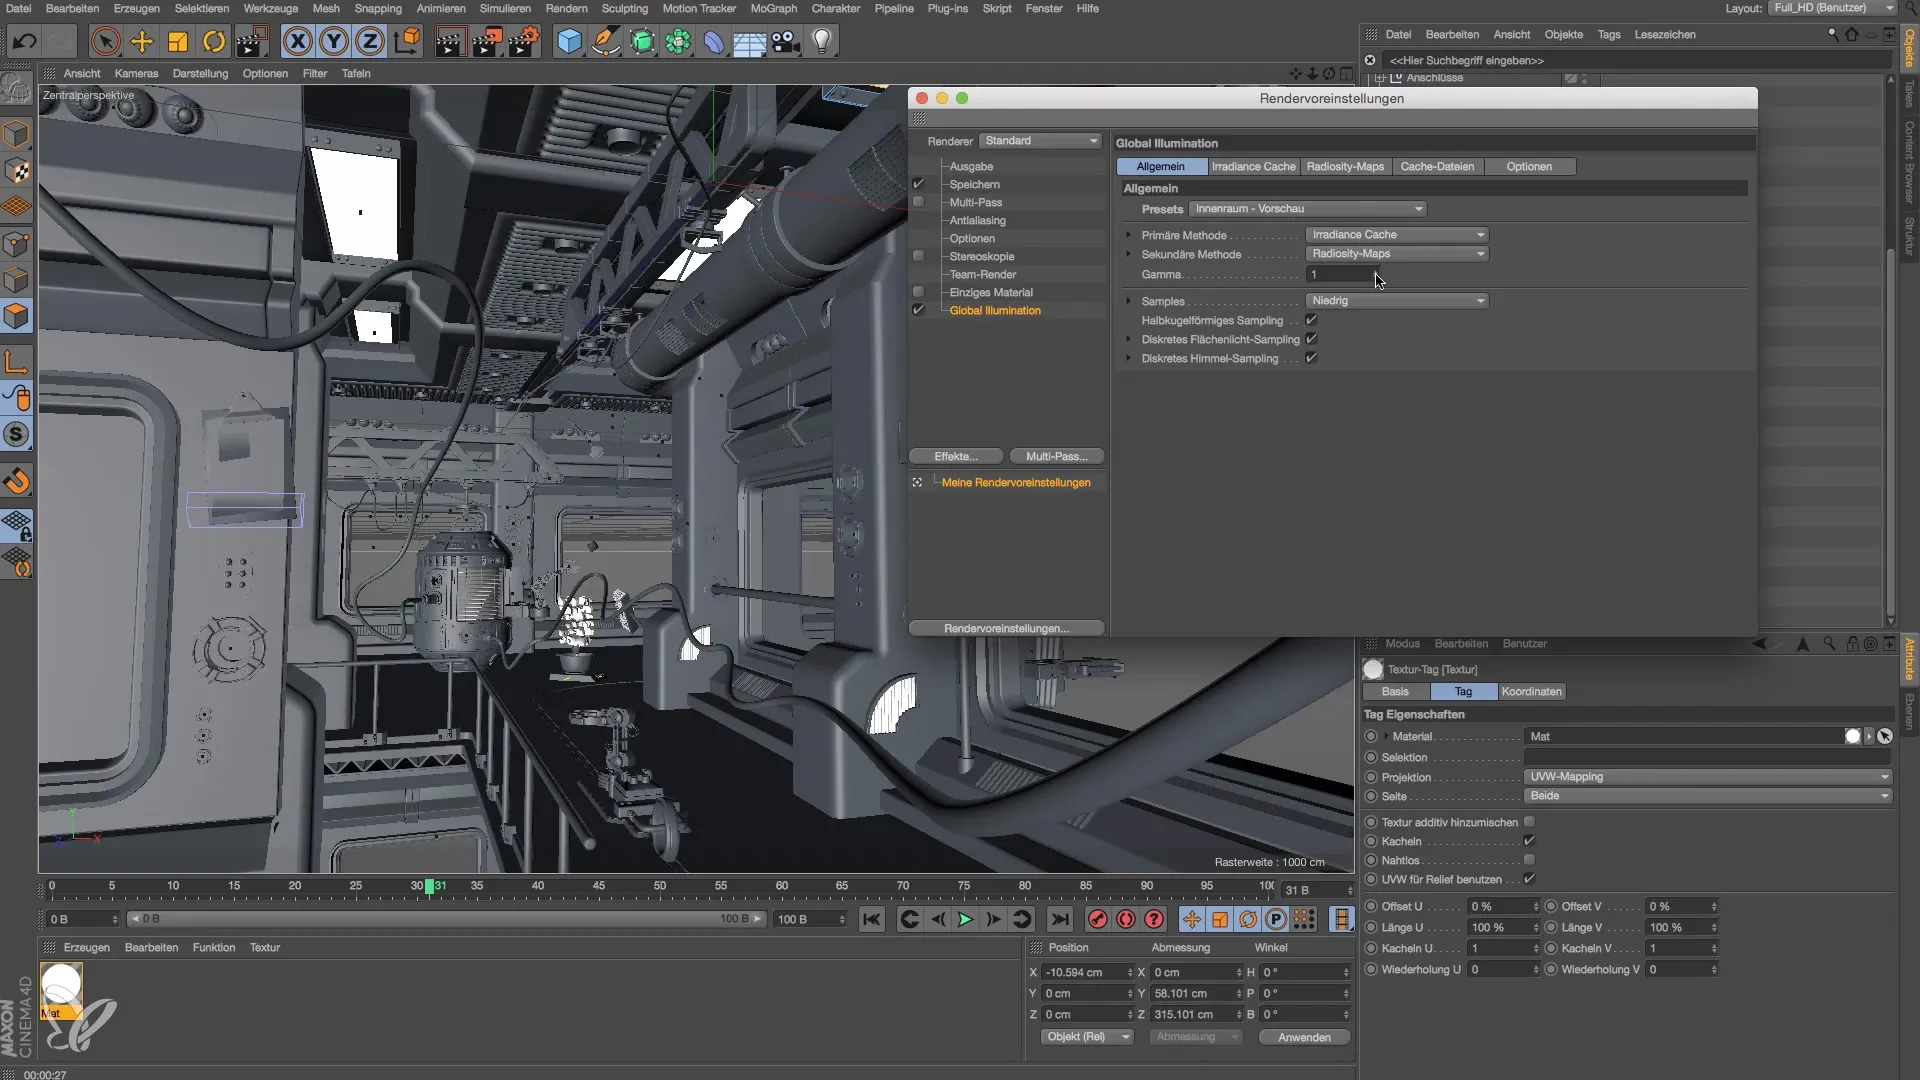
To make your material actually glow, you need to enable Global Illumination in the render settings. Go to the effects and activate the GI function. This ensures that the light emanates from your material and is calculated correctly.
5. Adjust render settings
Set the render settings to a resolution of 1280 x 720 pixels. This will give you a good comparison when you adjust the brightness in later steps.
6. Increase gamma
To increase brightness, go to the GI settings and increase the gamma. A value of 3 can already lead to a significant brightening effect. It influences the evaluation of light and makes your scene appear brighter.
7. Change material intensity
You can now also directly adjust the light intensity of the material. Set the value from 100% to 300% and observe the differences in lighting. This gives you an idea of how strong the light is reflected in the scene.
8. Compare results
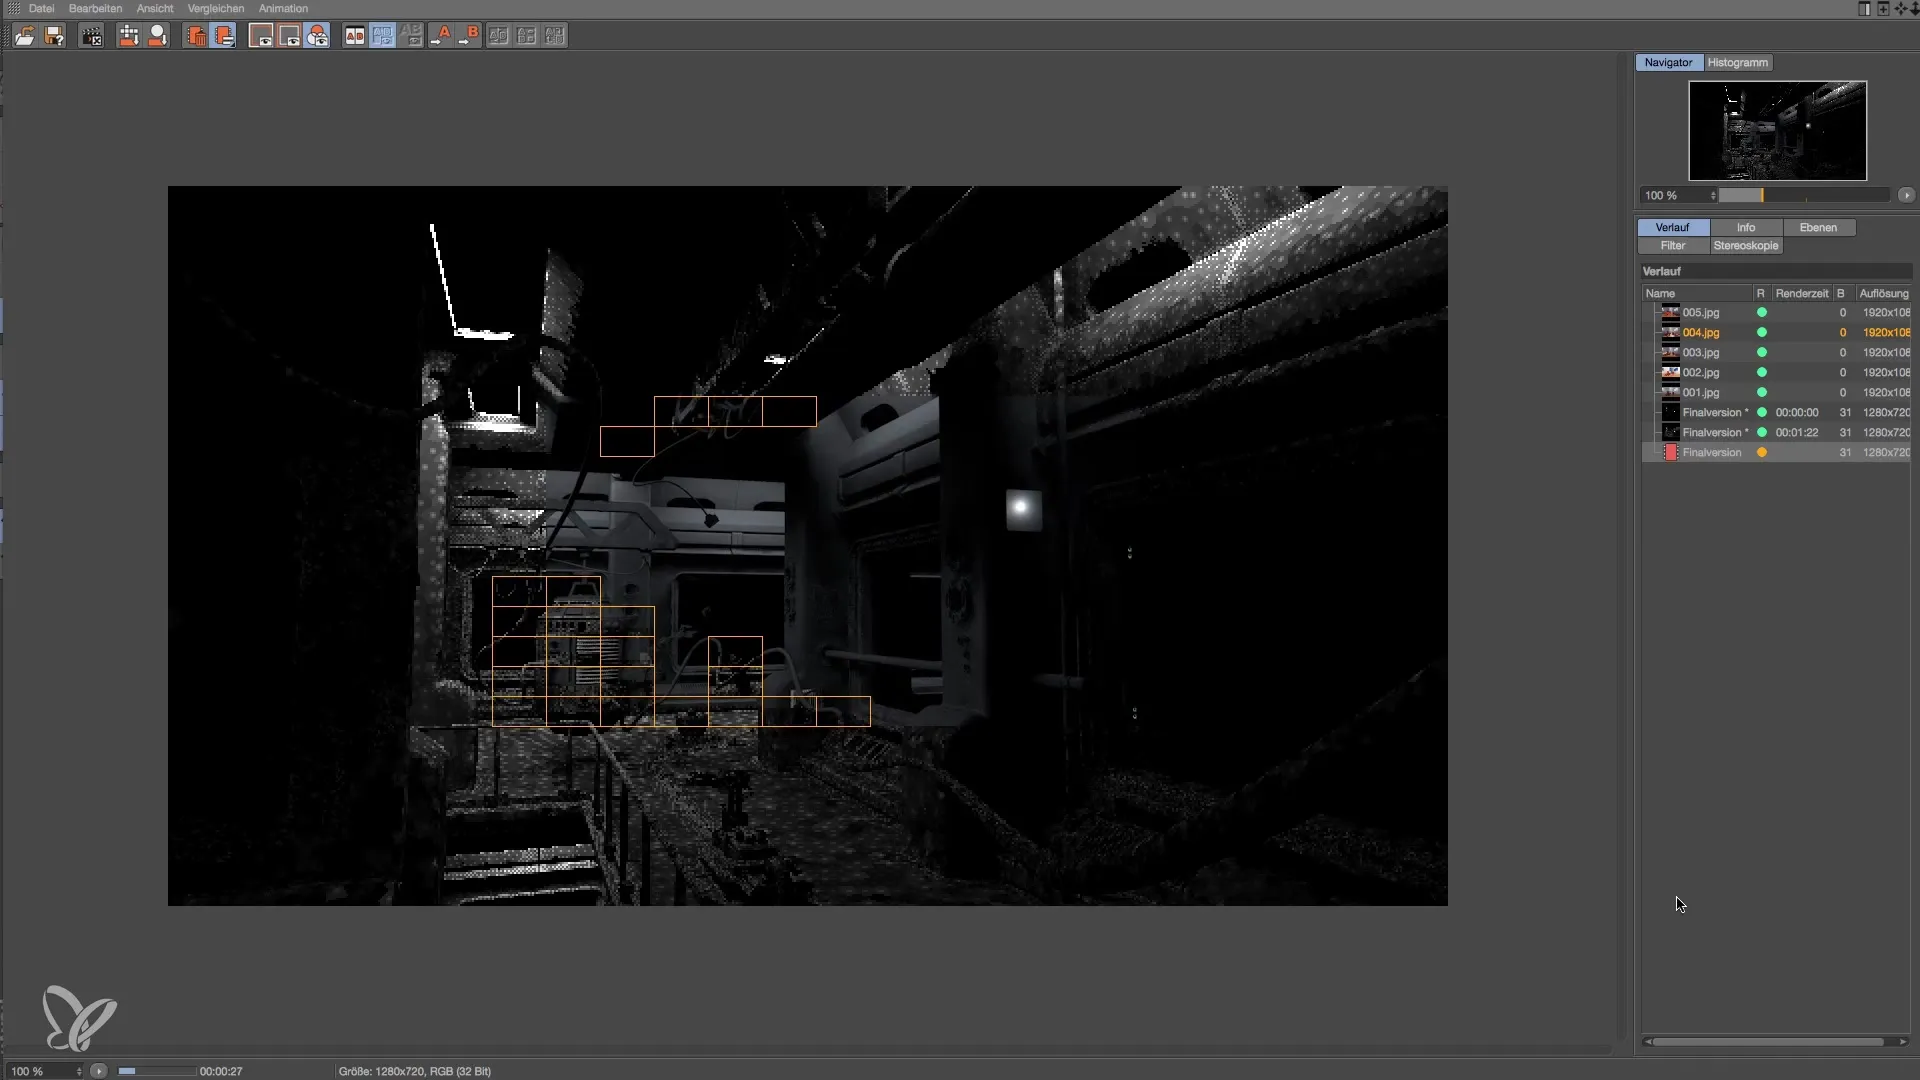
Once you have completed your rendering, compare the two scenarios: one with increased gamma and one with increased light intensity. You will notice that the light distribution is significantly different.
9. Final rendering
Reset the gamma back to the default value of 1 and now render the final image. Notice that the lighting is now much more balanced and the different areas of the scene are better highlighted.
Summary – Modeling and lighting a space station in Cinema 4D: Basics of lighting
With the right settings in Global Illumination, adjusted gamma and light intensity, you can significantly influence the lighting of your 3D scene. Experimenting with these values is the key to achieving appealing visual results.
Frequently Asked Questions
How do I activate Global Illumination in Cinema 4D?Go to the render settings and enable GI under effects.
What happens when I increase the gamma?Increasing the gamma ensures that light in your scene is evaluated more strongly, which increases brightness.
Should I always use Global Illumination?Yes, when working with luminous materials, Global Illumination is essential.
How can I adjust the light intensity of my material?Double-click on the material in the material manager and change the light factor in the luminance channel.
