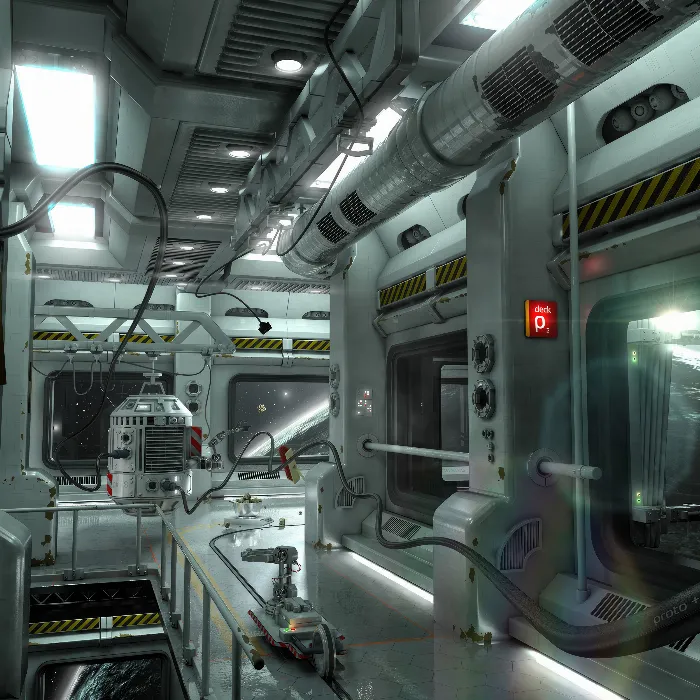
Rendering an impressive space station in Cinema 4D is the first step in creating a visually appealing 3D scene. Once you have rendered your image, it’s about adding that final touch of realism and atmosphere in Photoshop. This guide will show you how to use effective techniques in Photoshop to add light source glow, as well as vignettes and color dynamics to bring your scene to life.
Key Insights
- With professional edge length and render settings, you can improve the fidelity of your scene.
- Glows can make the light sources appear more realistic.
- A vignette and adjustments in color dynamics give the final touch to the image.
Step-by-Step Guide
First, load the rendered image into Photoshop. Make sure to select a high resolution, about 6000 pixels for the long side. This fidelity will allow you to showcase all the intricacies of your scene well.
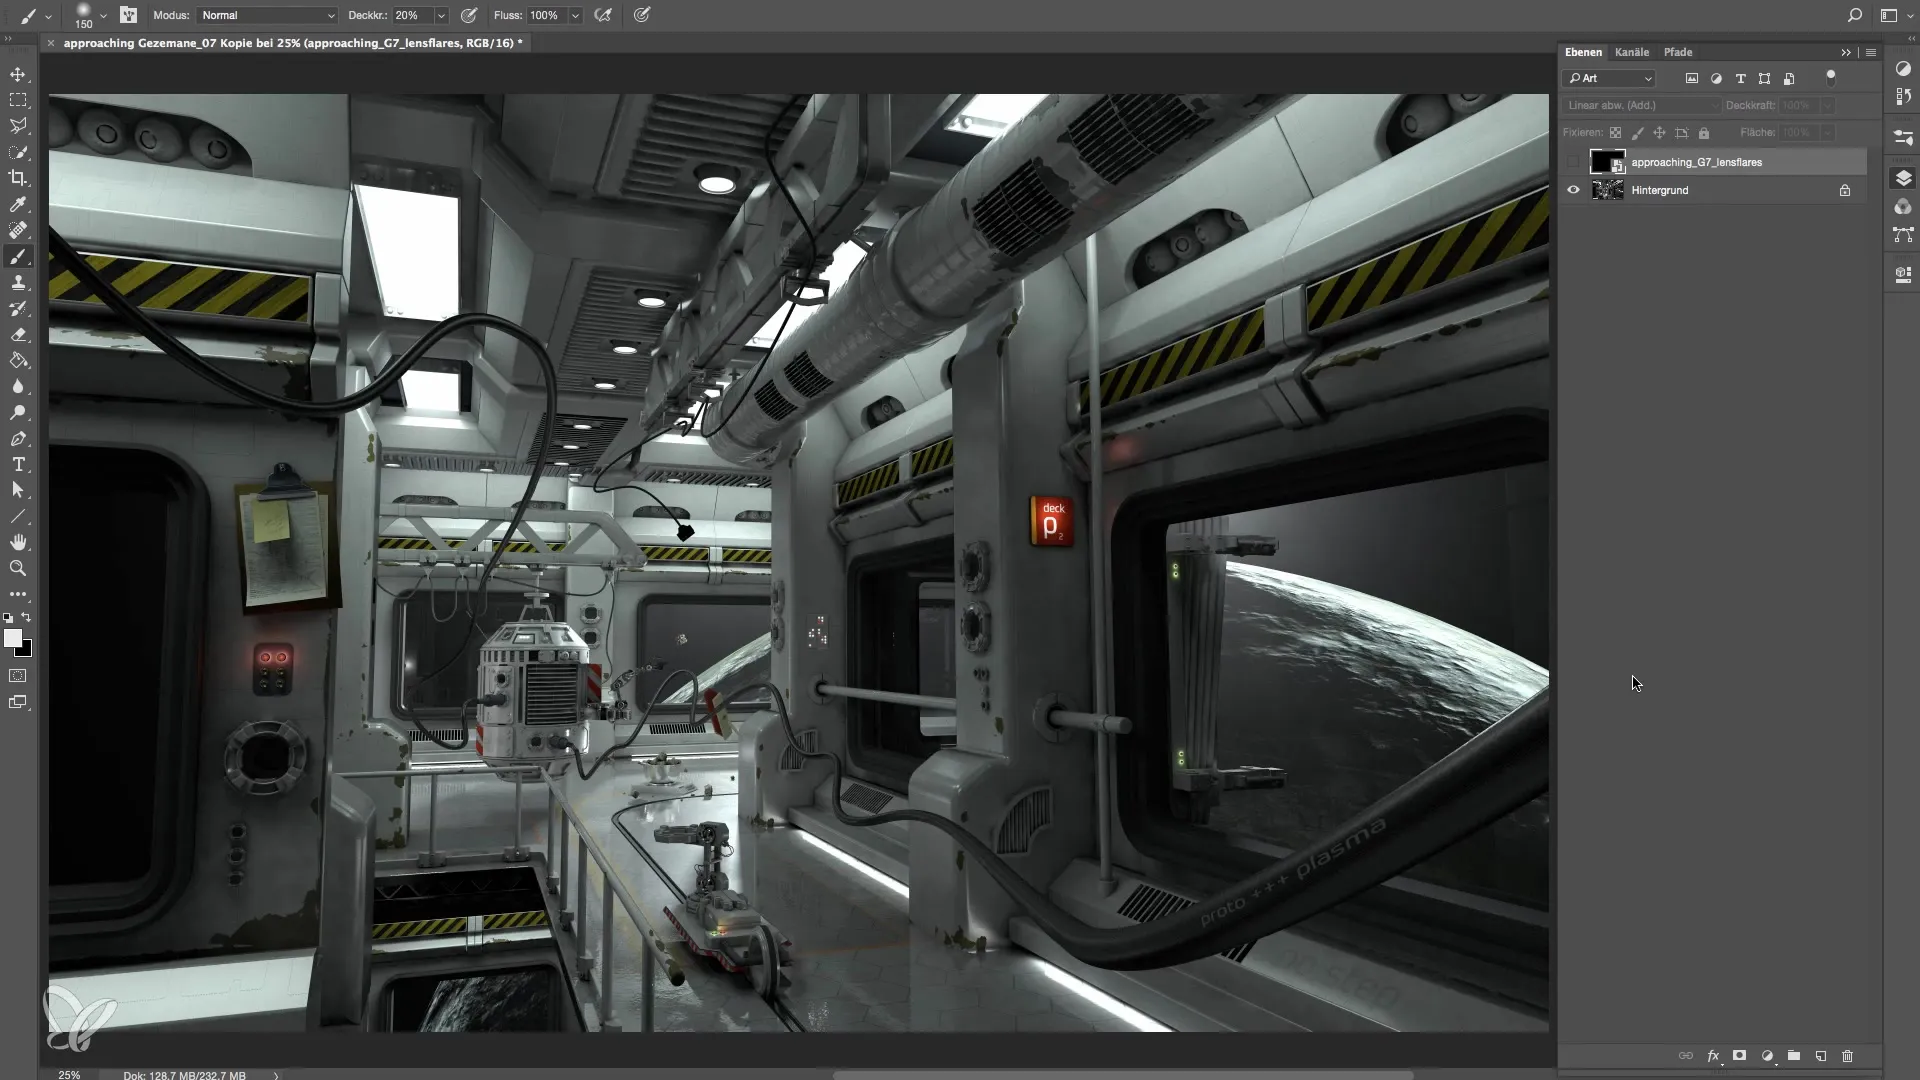
Once you have loaded the image, check the render quality. Ensure that the highlights are well defined and the shadow areas are not too grainy. It is advisable to use a higher sample setting to minimize render blotches.
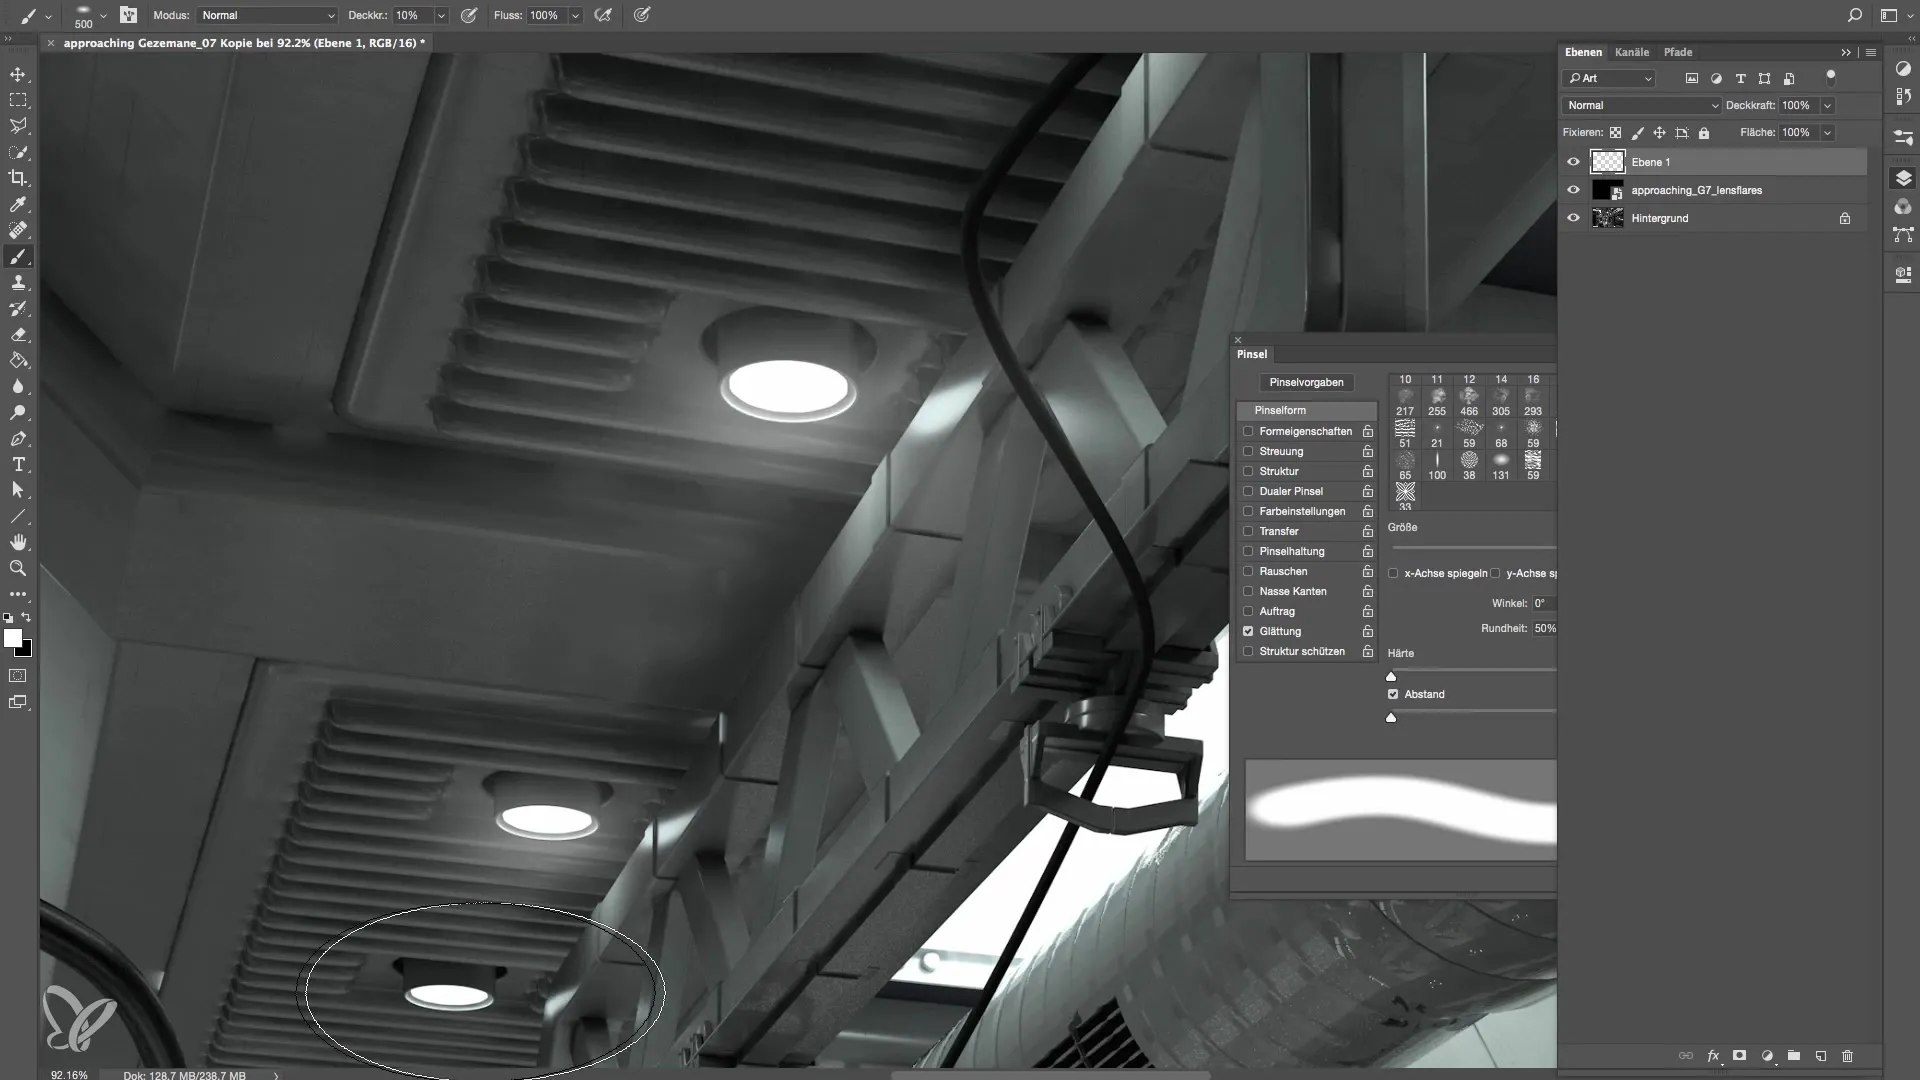
Now, to create the glow of your light. You will create a new layer in Photoshop and use a brush. Be sure to select a brush with a hardness of 0%. This provides a softer look for the glow.
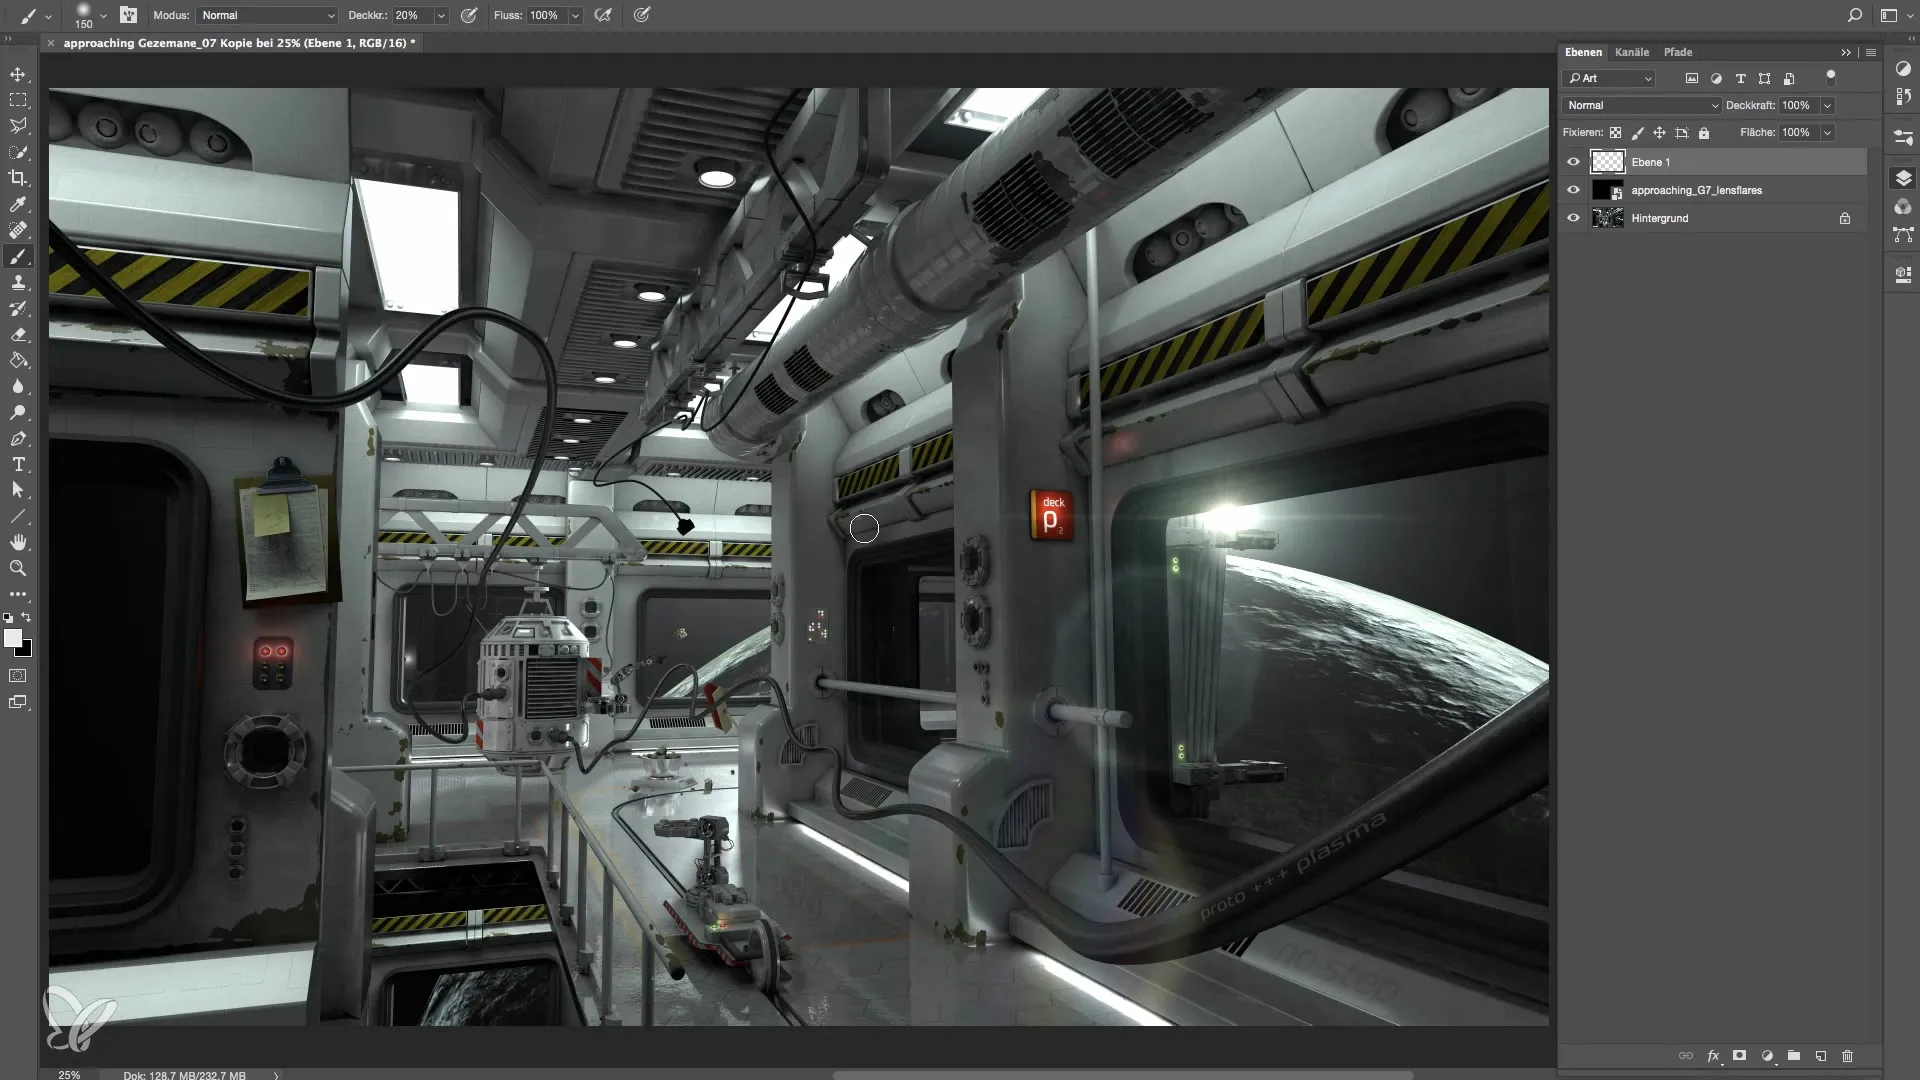
Use a bright hue to glow the light sources. Be sure to work with an opacity of only 10% and gradually paint the light sources larger. This will make the glow more realistic and resemble real light sources.
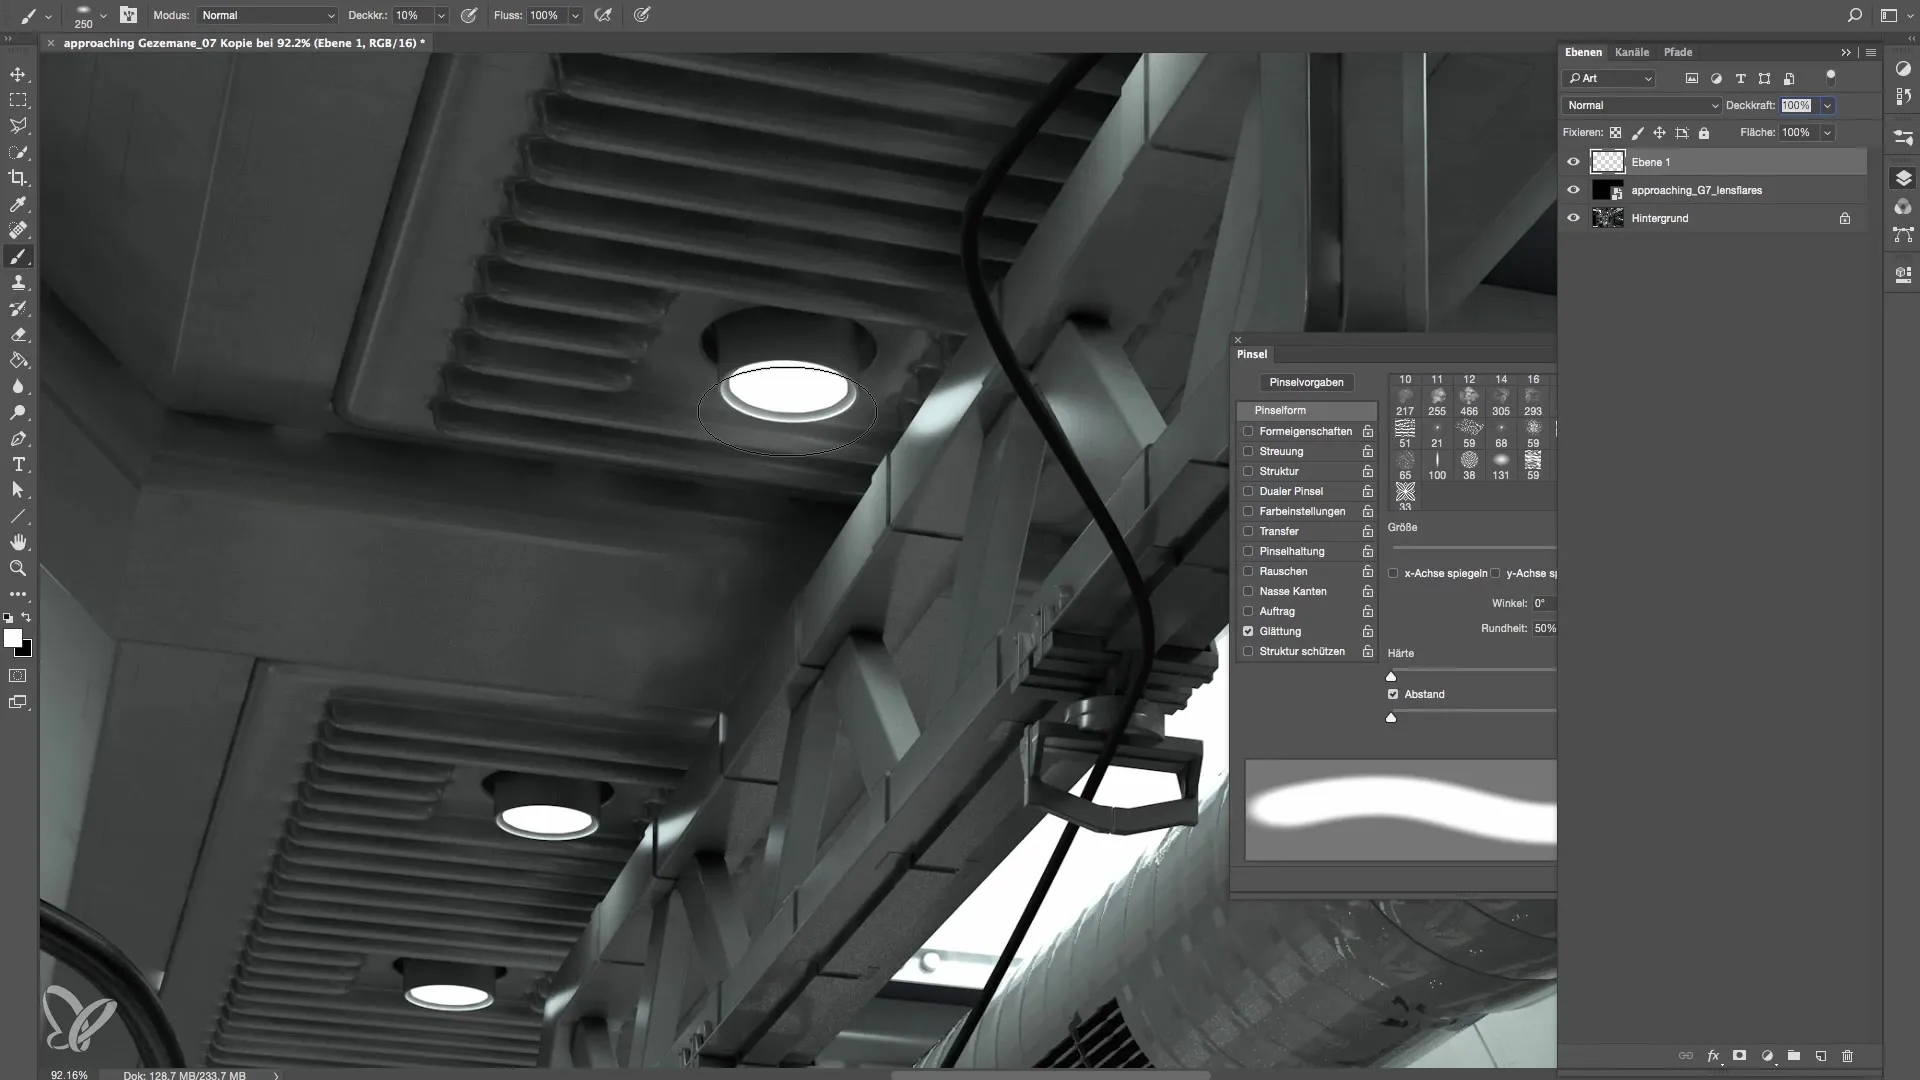
You can apply the same procedure to other light sources in your scene. You can combine all glows into a single layer, which makes later editing easier.
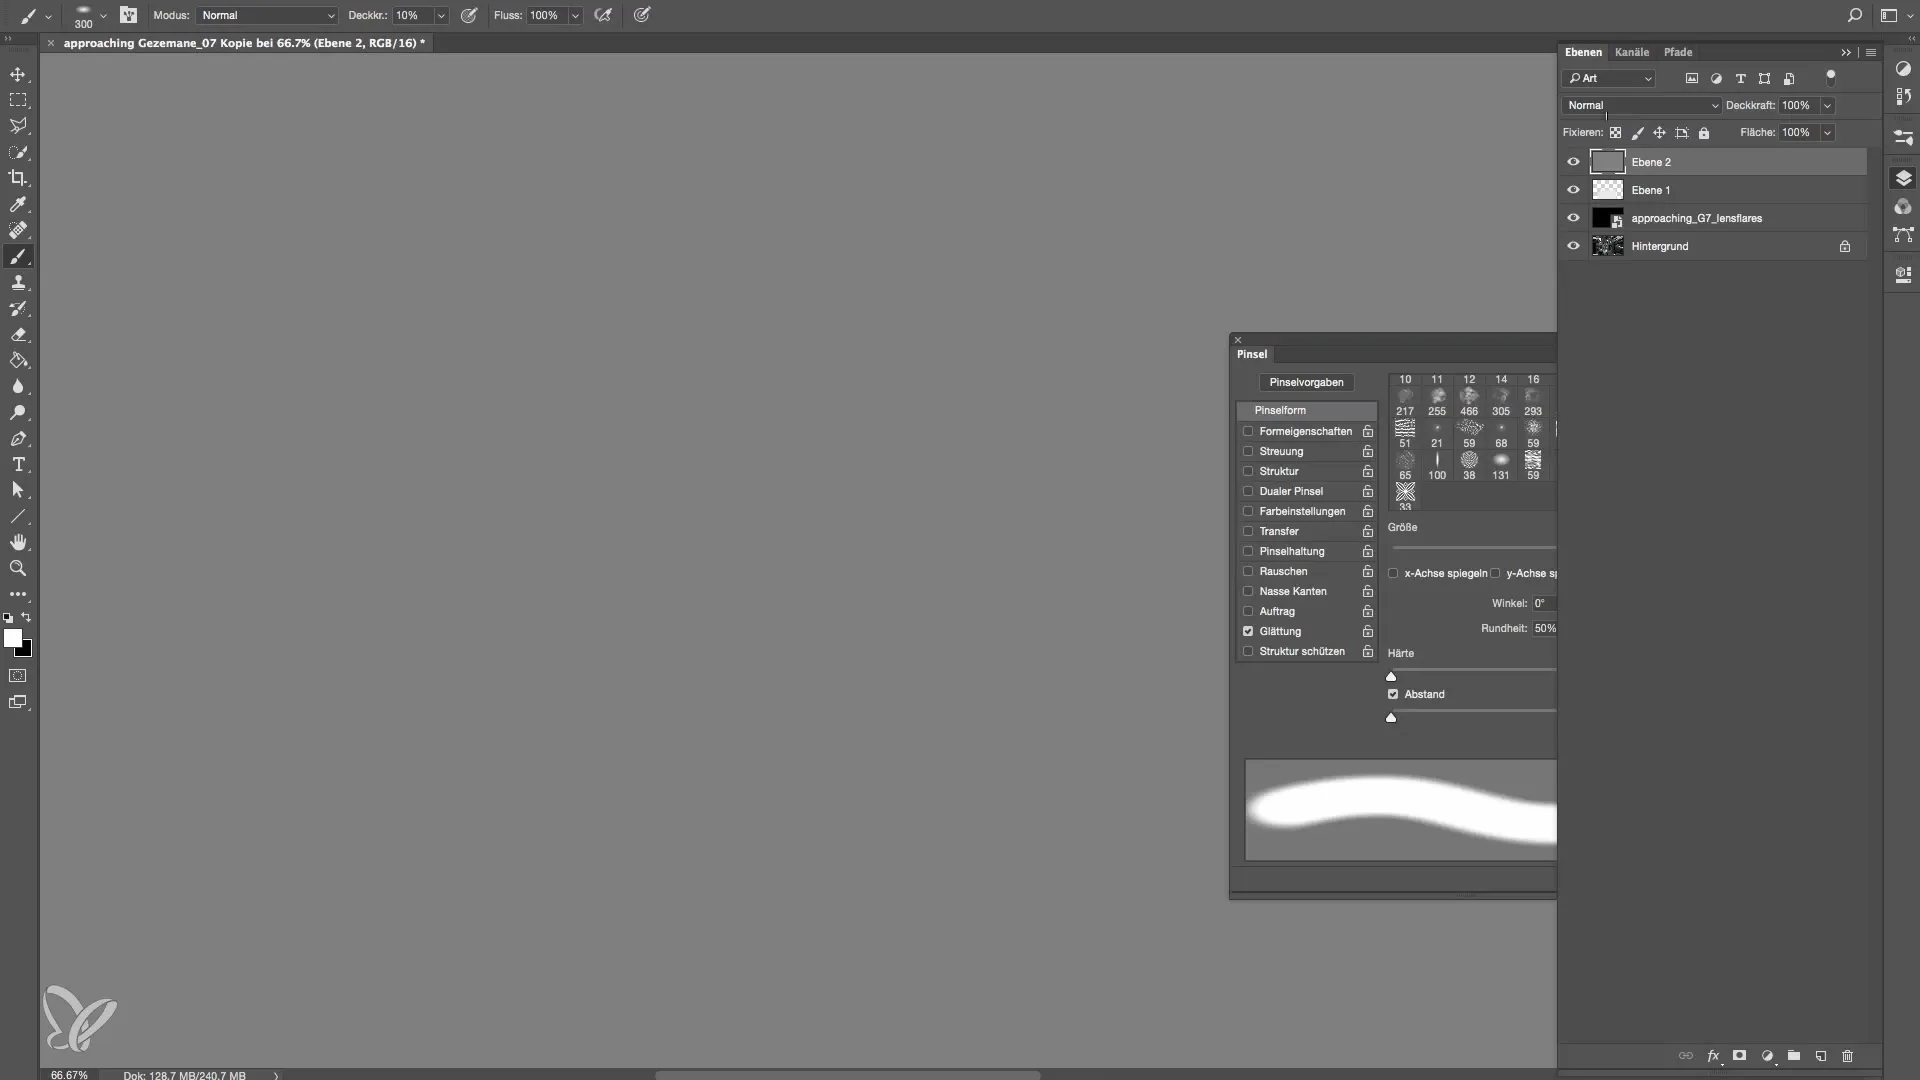
To make the radiance of the light sources look even more natural, you can fill a new layer with mid-gray. Then set the layer mode to “screen” to enhance the effect of the light sources. You can also work with the colors to adjust the light according to the light source.
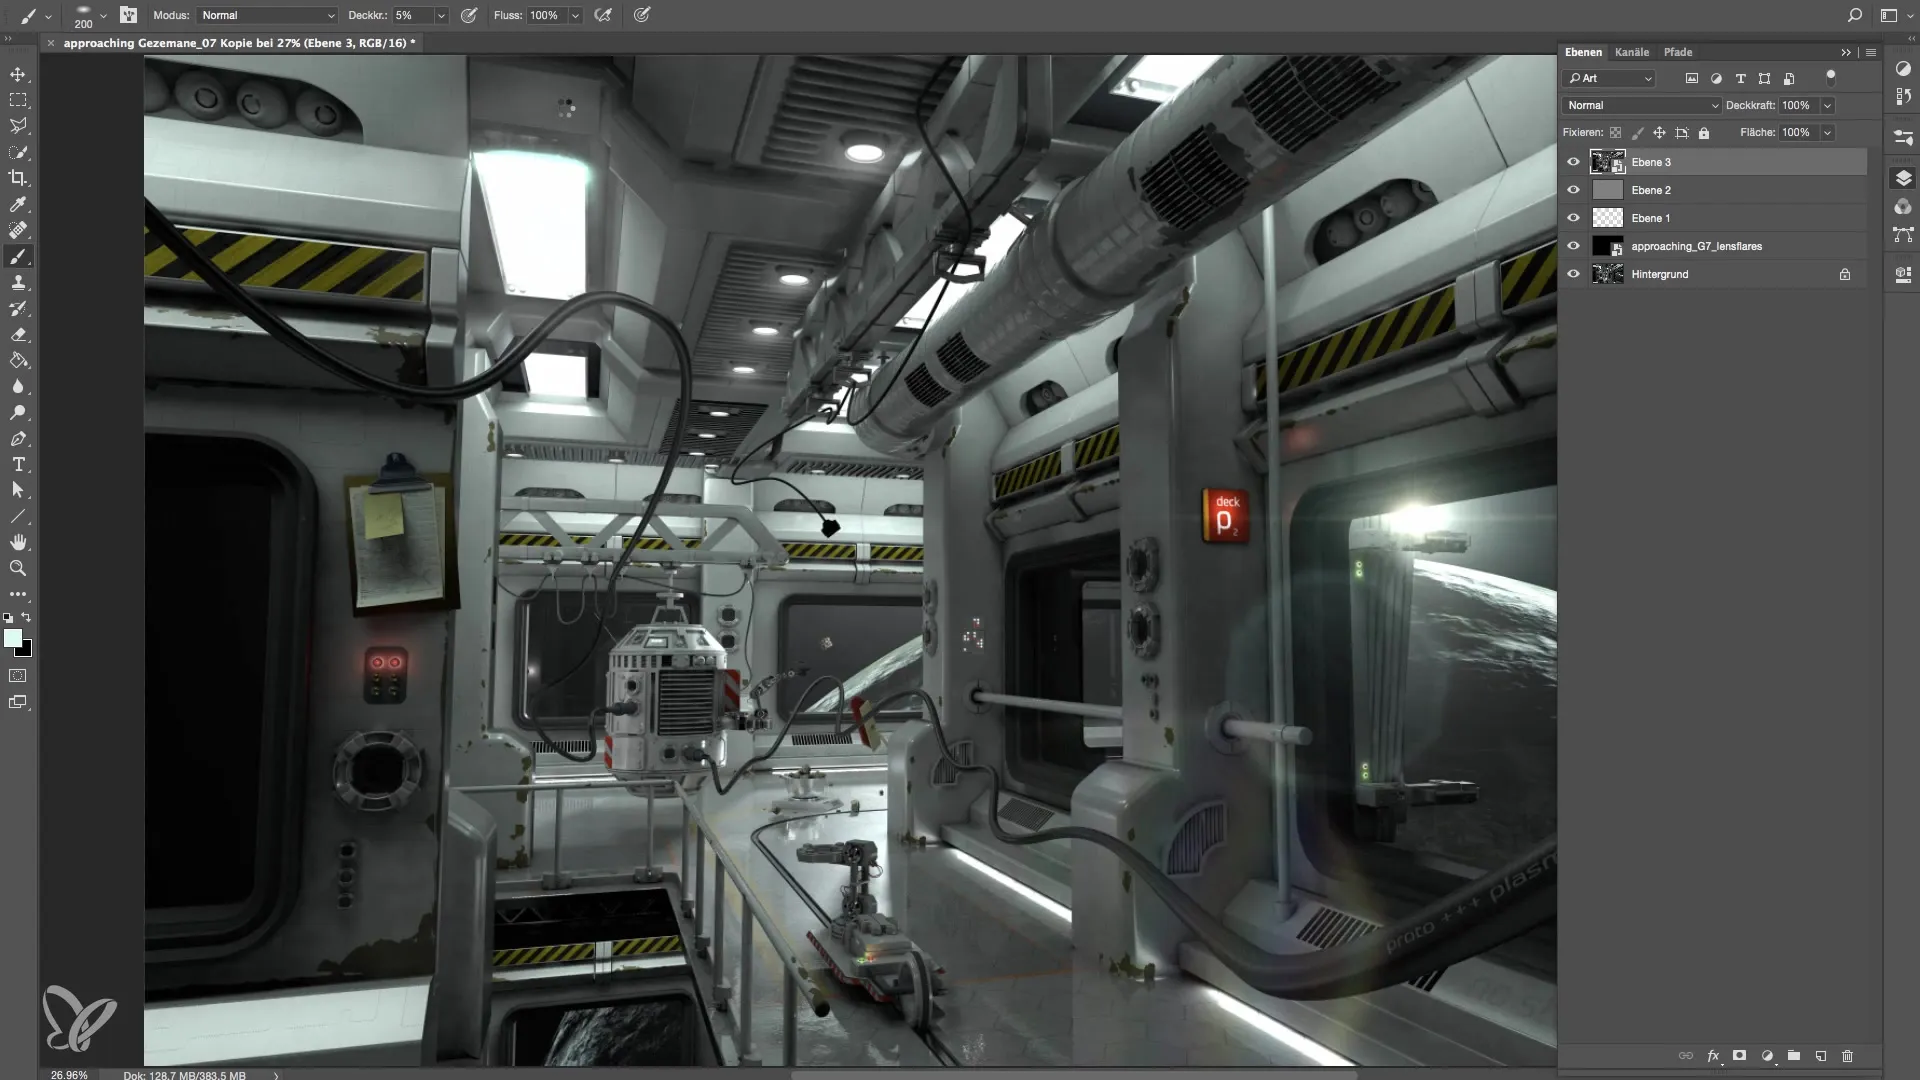
Now let’s talk about the vignette: This makes your scene appear even more alive and focused. Use the Camera Raw Filter to make the final adjustments. You can tweak the dynamics and contrast to improve the image quality.
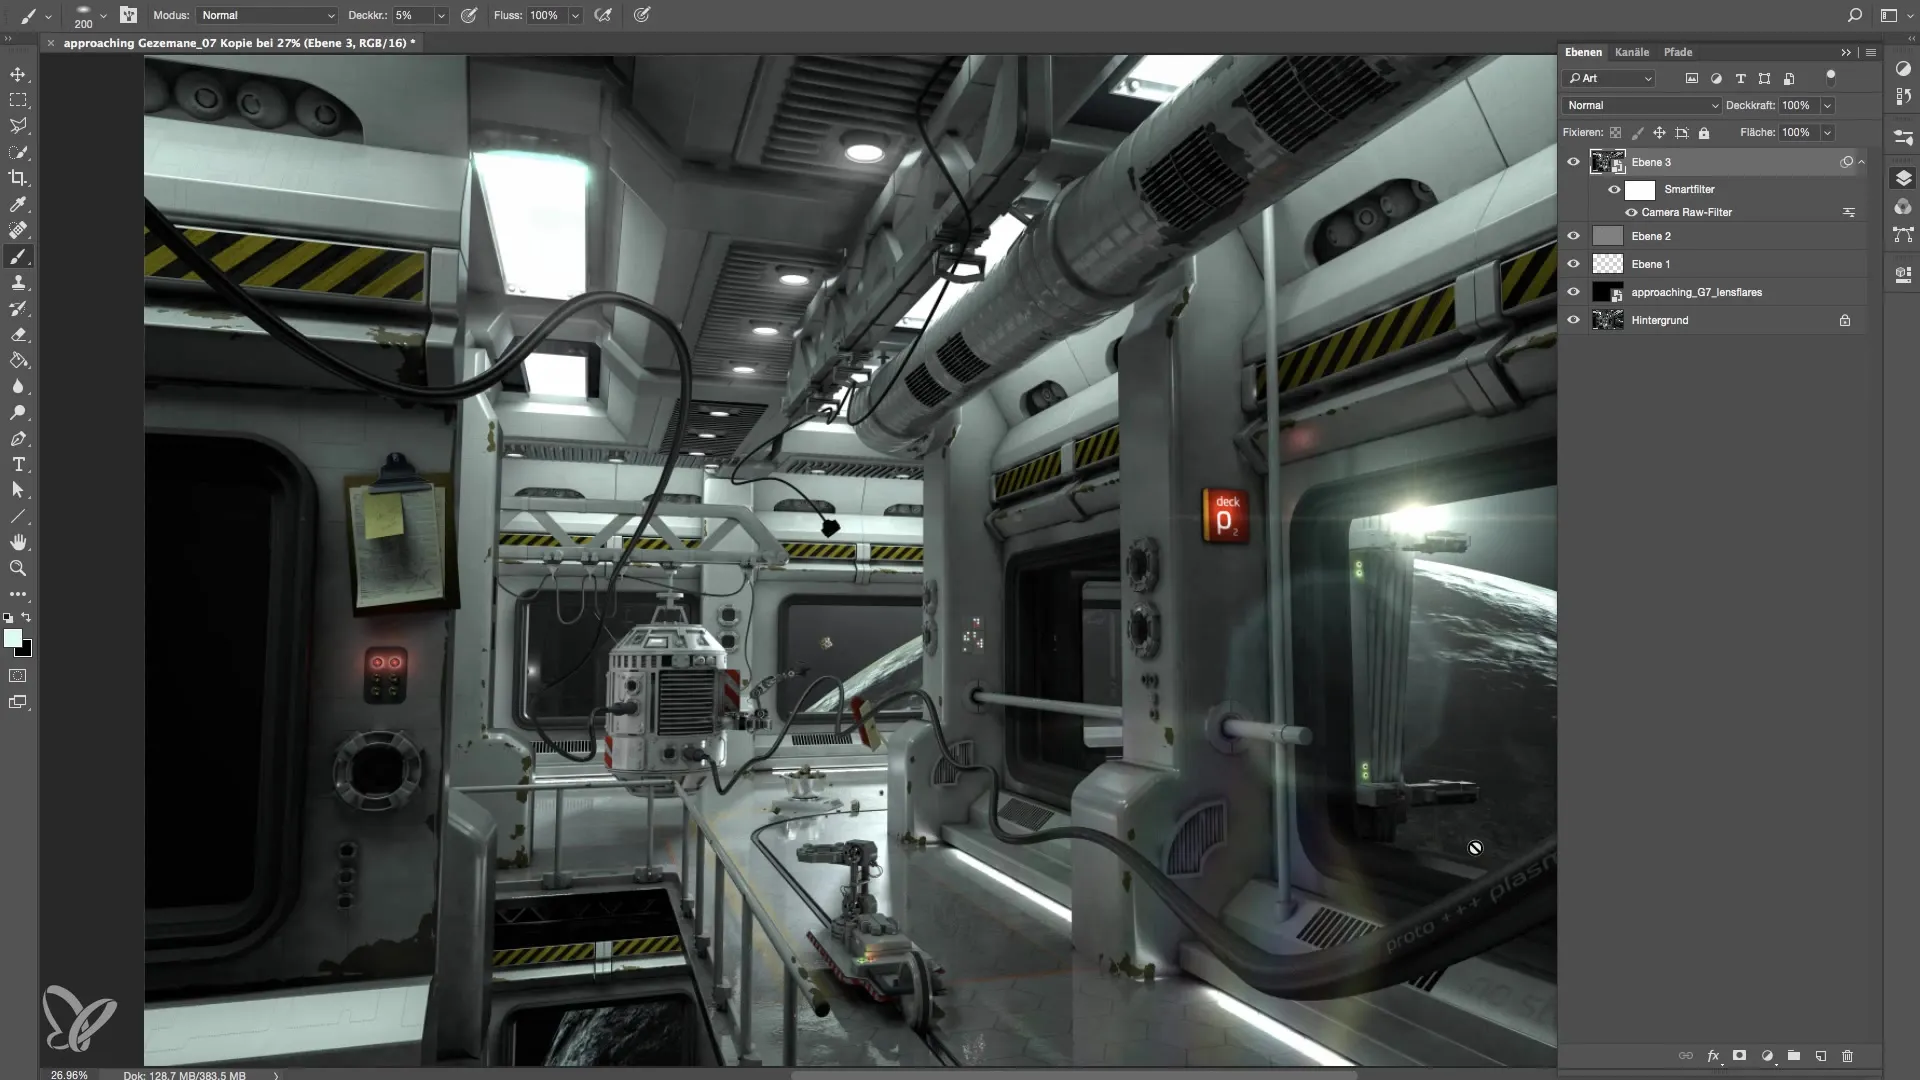
Finally, you should convert the entire image into a smart object. This way, you can make adjustments later at any time without affecting the original content.
Once all adjustments have been made, you can save the final composition. You should now have an appealing, detailed, and atmospherically rich scene.
Summary – Practice in Cinema 4D: Space Station Lighting and Modeling
Through this step-by-step guide, you have learned how to refine a rendered space station in Photoshop with glows and vignettes. These techniques not only help you to add more atmosphere to your image but also significantly enhance the quality and realism of your 3D models.
Frequently Asked Questions
How can I improve the quality of my renderings?Practice higher sample settings and pay attention to edge lengths when rendering.
Which program can I use for lens flares on Windows?There are several alternatives to LensFlare Studio that you can find for Windows.
How do I create a vignette in Photoshop?Use the Camera Raw Filter and play with the contrast settings to create a vignette.
