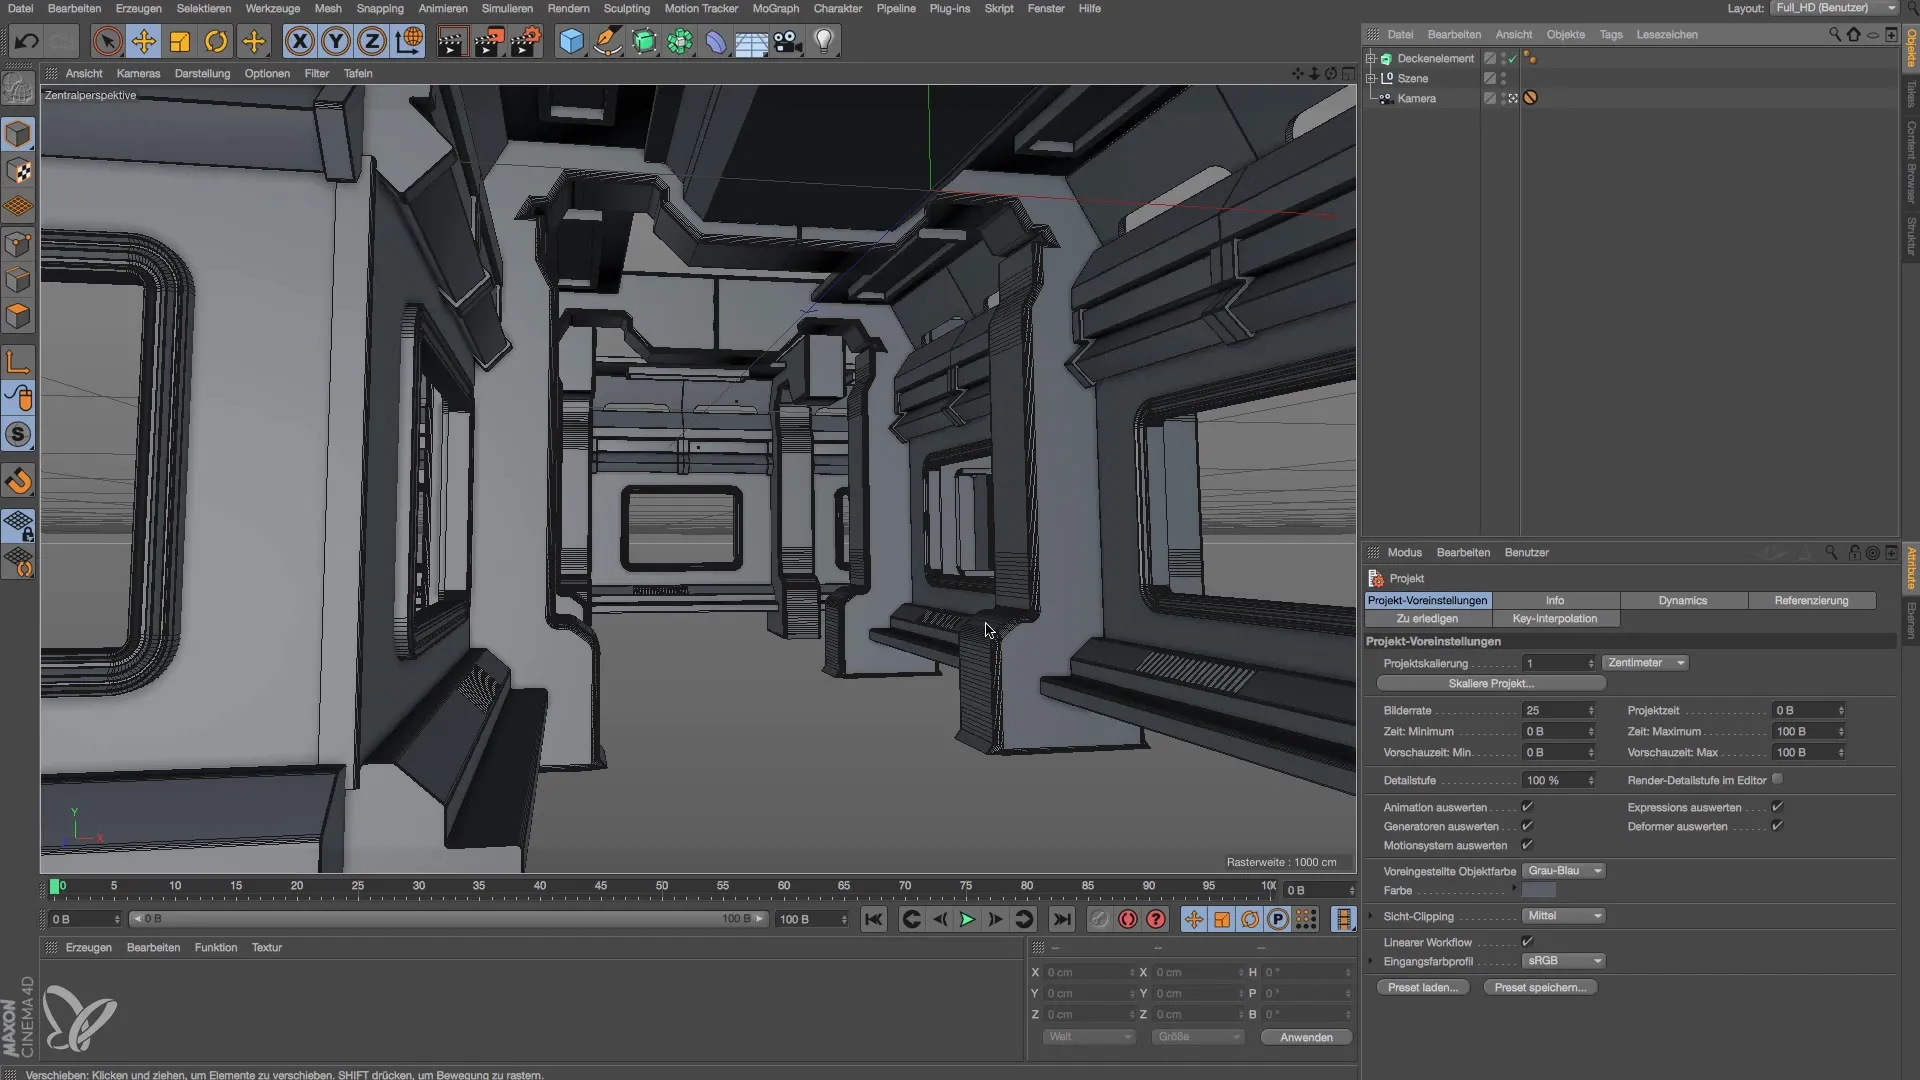
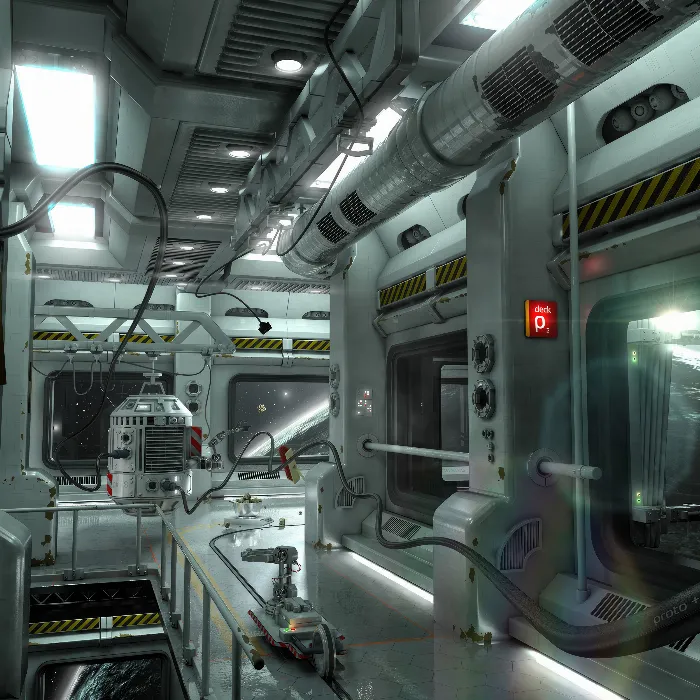
You are well on your way to completing your space station in Cinema 4D. In this guide, we focus on developing a technically challenging ceiling element that will impress with the use of spotlights. The goal is to create a realistic lens for a modern space station.
Key Insights
- The use of snapping for precise placement of elements is crucial.
- The transitions of the light sources should be effectively designed through polygon connections.
- Adjusting the segmentation and shapes creates a harmonious light distribution.
Step-by-Step Guide
Start by designing the ceiling element. You will notice that this not only enhances the lighting but also significantly upgrades your space station model. Let's go step by step.
Step 1: Create a New Project and Select the Cube Tool
Open Cinema 4D and create a new project. Select the Cube Tool to shape the basic form for your ceiling element. Set the dimensions of the cube to 150 cm in the X direction, 20 cm in the Y direction, and 0 cm in the Z direction.

Step 2: Adjust Segmentation
To ensure an even distribution of the light sources, adjust the segmentation of your cube. Set the segments in the X direction to 8, in the Y direction to 1, and in the Z direction to 14. This allows for a uniform structure required for the light source later.
Step 3: Create the Light Discs
Create a new disc that will act as a light source. Ensure that the disc is smaller in diameter and fits precisely into one of the segments. Maintain the dimensions accurately to ensure a perfect fit in terms of light distribution.
Step 4: Activate Snapping
Activate the snapping tool to position the light disc precisely on the surface of your cube. Make sure you have 2D snapping and point snapping activated, as this makes placement significantly easier.
Step 5: Add Multiple Light Discs
After placing the first light disc, select it and duplicate it while holding down the Control key. Place the two additional discs at the desired positions on the ceiling.
Step 6: Adjust Segmentation of Light Discs
To create the right proportions between the light discs and the overall object, adjust the segmentation of the light discs to 36 segments. This will achieve a uniform distribution of light.
Step 7: Connect Objects
Once all light discs are placed, you need to connect them into a new object. To do this, select all light discs and go to "Connect Objects and Delete". This simplifies the later editing of the light object.
Step 8: Use the Polygon Pen
From version R16, you can use the polygon pen to connect the edges of the light discs. Be sure to select the correct edge, as this significantly affects the quality of the geometry.
Step 9: Model the Lamp
Now create the shape of your lamp by extruding and inner extruding. Experiment with this shape to optimize the design of your ceiling elements.
Step 10: Finalization and Adjustment
Copy your designed lamp and attach it to the ceiling. Make adjustments to ensure it is correctly positioned. You can also edit the elements in line mode to prevent impurities.
Step 11: To Conclude
Check your entire construction from different perspectives and ensure that everything looks as desired. Add any additional details to optimize the design.
Summary – Modeling and Lighting a Space Station in Cinema 4D
This guide shows you how to design impressive ceiling lighting in your space station with simple steps. You will learn how to effectively use snapping and polygon connections to achieve realistic and functional light distribution.
Frequently Asked Questions
How can I place the light sources more efficiently?Use the snapping tool to ensure that the light sources are precisely positioned. Activate both 2D and 3D snapping.
Can I add additional lighting elements?Yes, you can add as many light discs as you like; however, be mindful of the balance of brightness.
What Cinema 4D version do I need for the polygon pen?The polygon pen is available in Cinema 4D version R16 and later.
How do I copy objects in Cinema 4D?You can copy objects with Command + C (Mac) or Ctrl + C (Windows) and use Command + V or Ctrl + V to paste.


