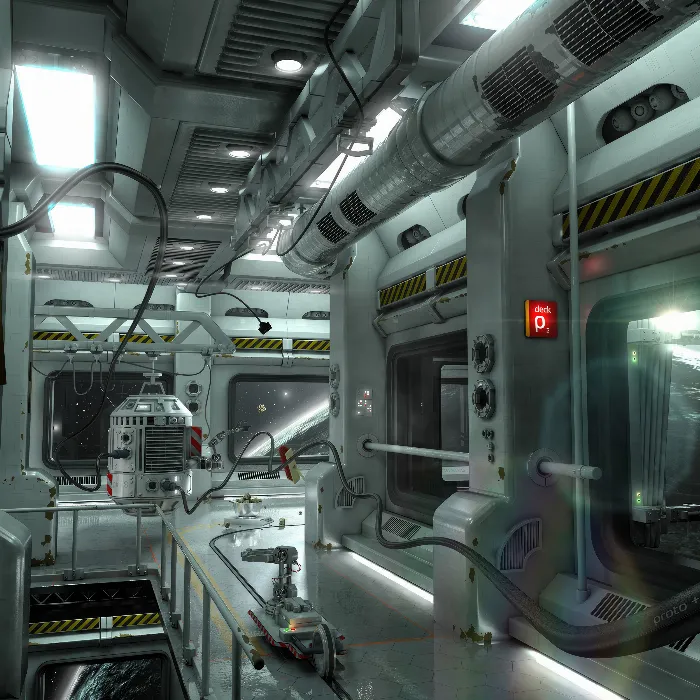
The creation of materials in Cinema 4D opens up versatile possibilities to make your 3D objects more vibrant and realistic. Instead of simply applying colors, you harness the power of new materials and Alpha channels to achieve outstanding visual effects. In this guide, you will learn step by step how to work with Alpha-Maps to represent materials effectively in your space station.
Key Insights
- You can apply specific materials to geometries using Alpha-Maps.
- Vertex colors provide flexibility to achieve different material effects.
- An appealing material design requires not only a color but also relief and textures.
Step-by-Step Guide
To start creating an Alpha-Map in Cinema 4D, you first need to create a suitable material and activate the Vertex color map.
Step 1: Create Material
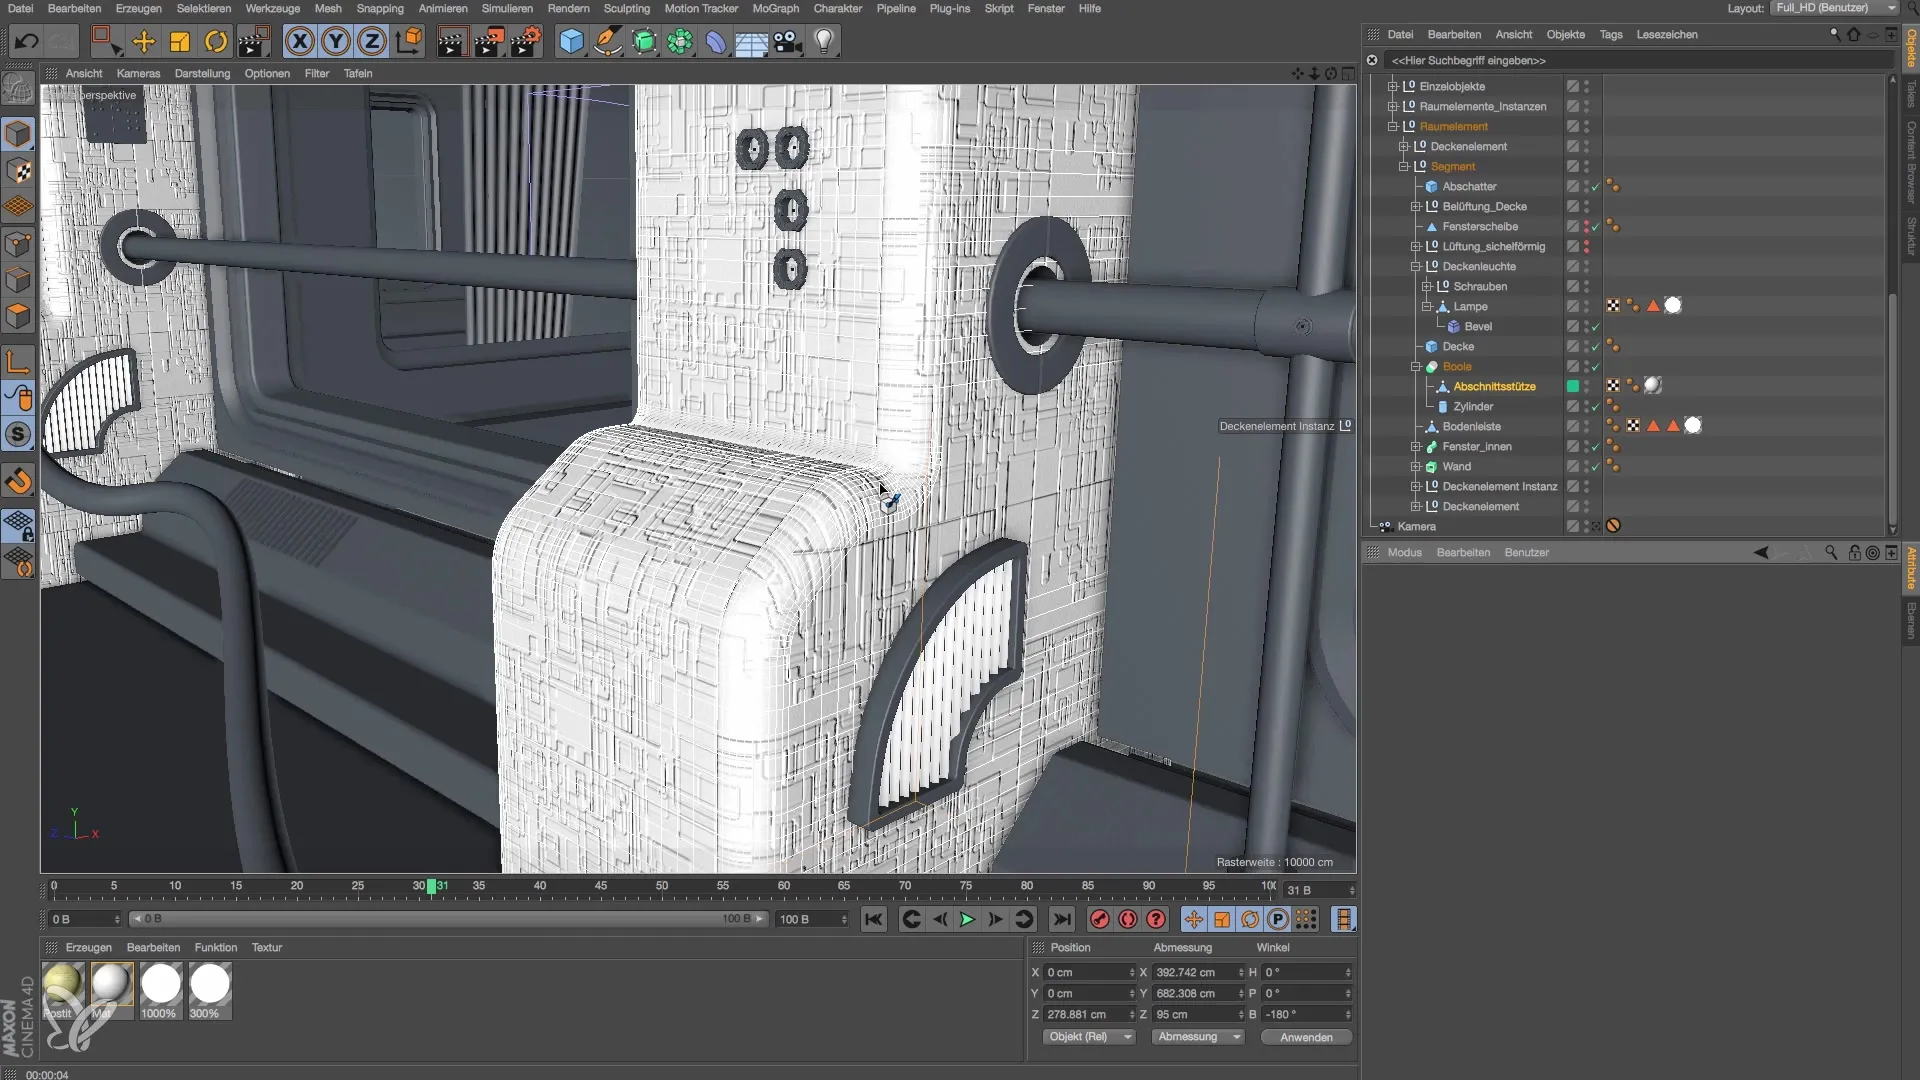
First, you create a simple material that you can adjust later. Go to the material manager, right-click, and select "New Material". The new material should have a dark finish to support future effects.
Step 2: Activate Alpha Channel
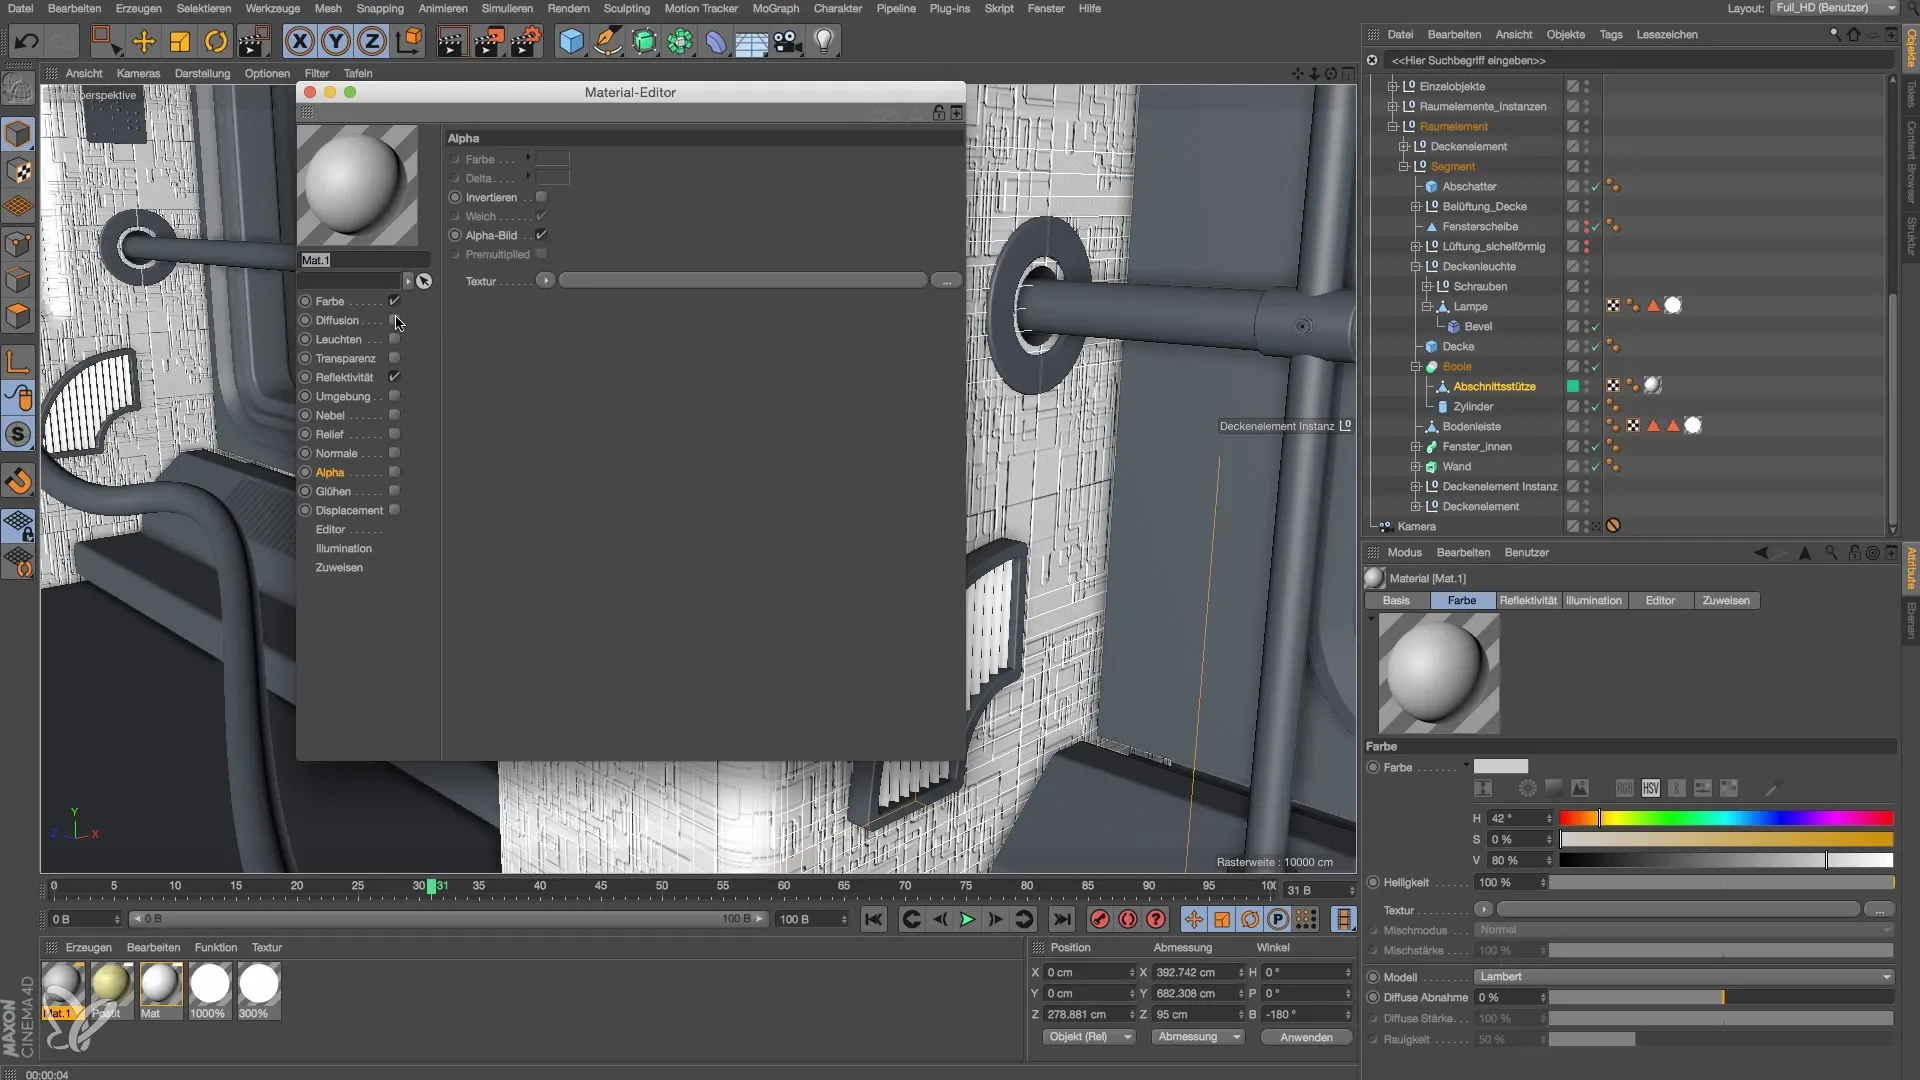
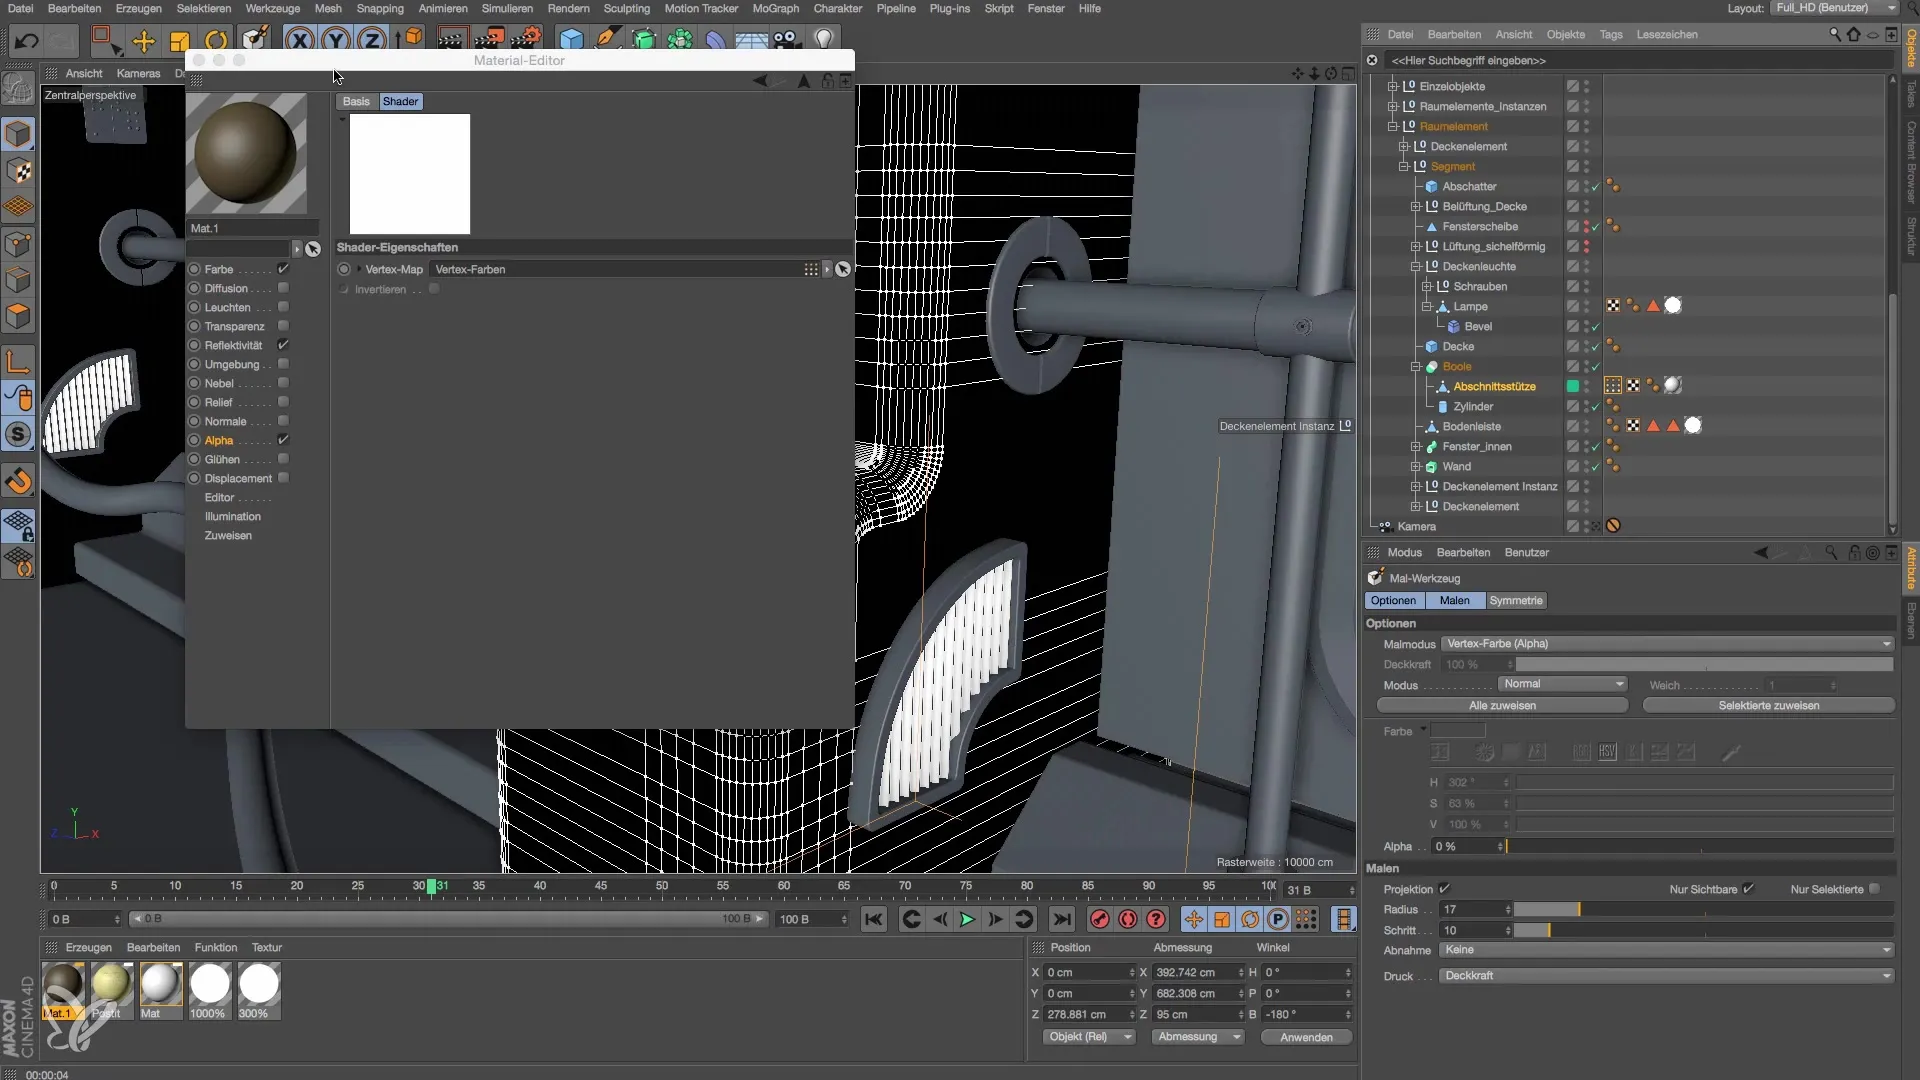
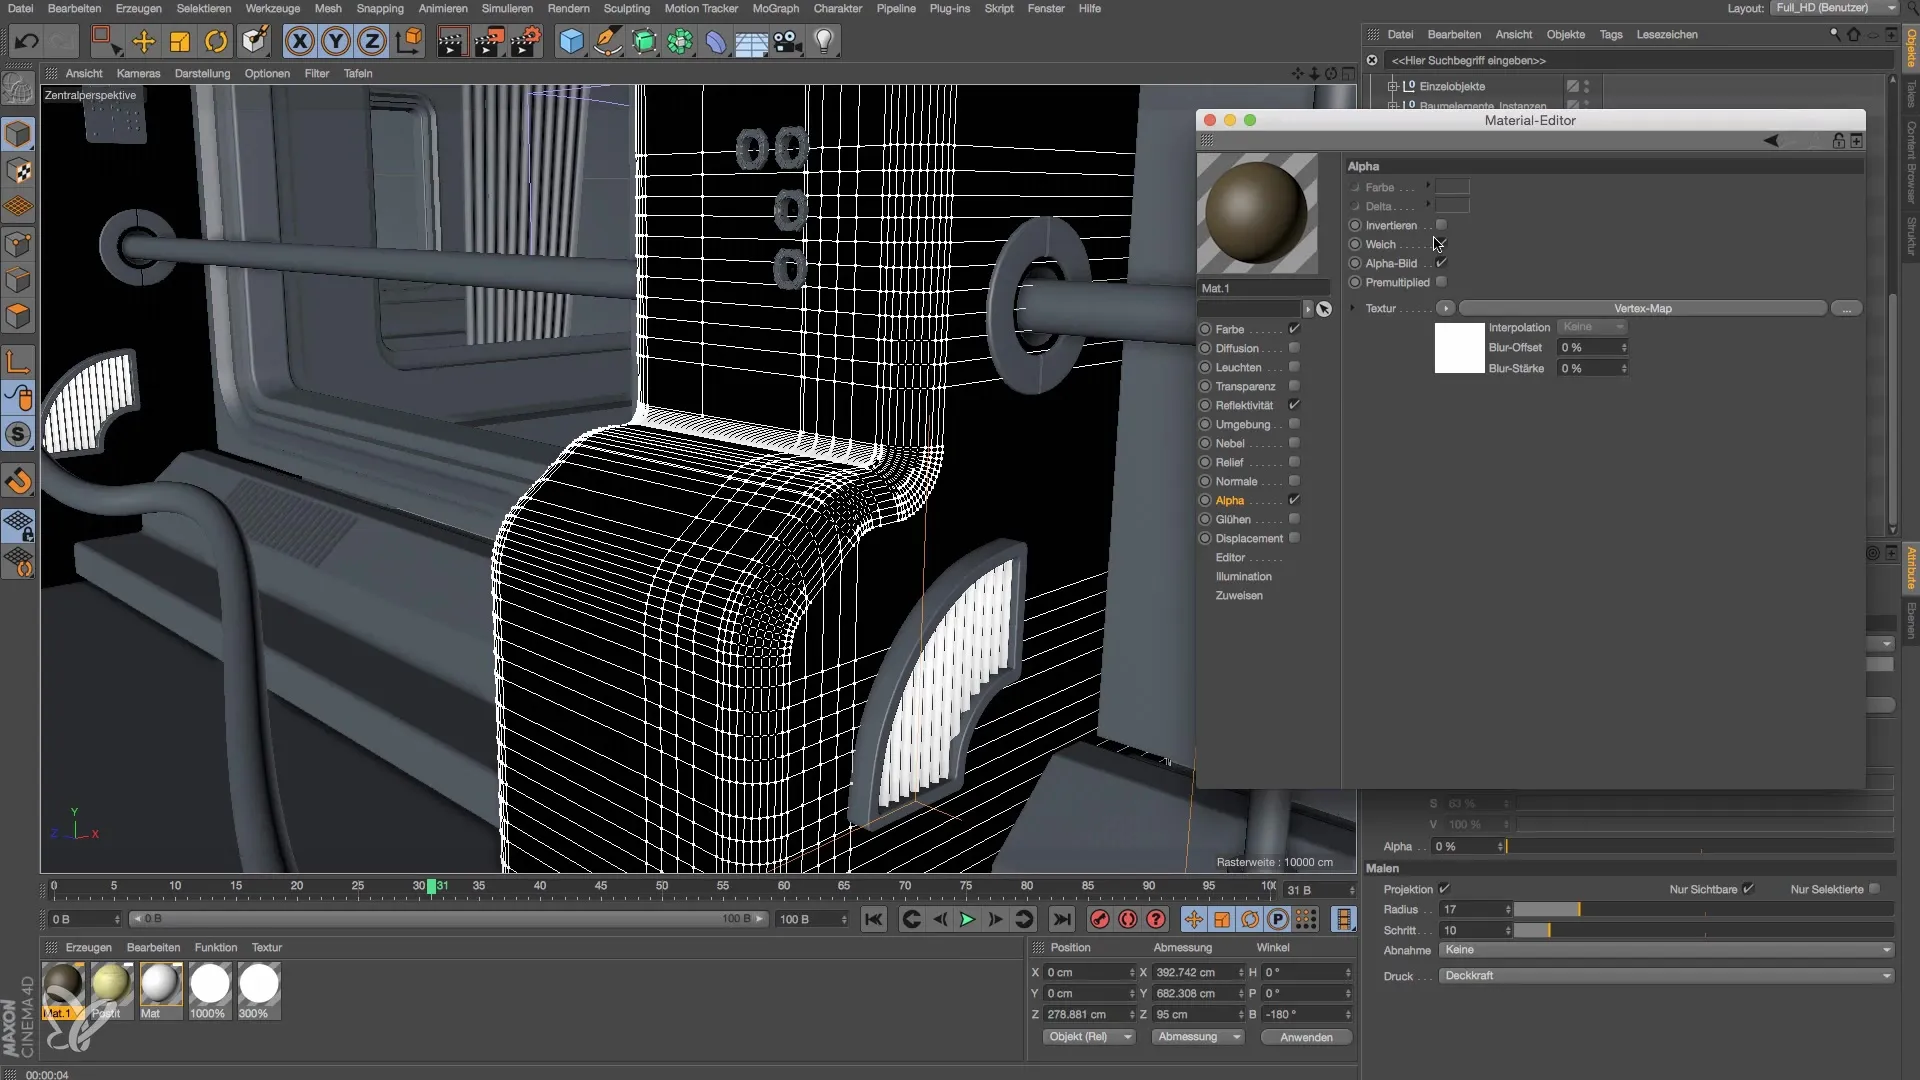
Open the material settings and activate the alpha channel. This allows you to control not only the color but also the visibility of the material later. It is also important to add the "Vertex Map" effect, which will allow you to define the Alpha-Map precisely later on.
Step 3: Add Vertex Colors Tag
Now you need to add the Vertex Colors tag to your object. To do this, select your object in the scene and go to the tags. Add a new "Vertex Colors" tag. This gives you the necessary tools to control your material.
Step 4: Activate Alpha Painting
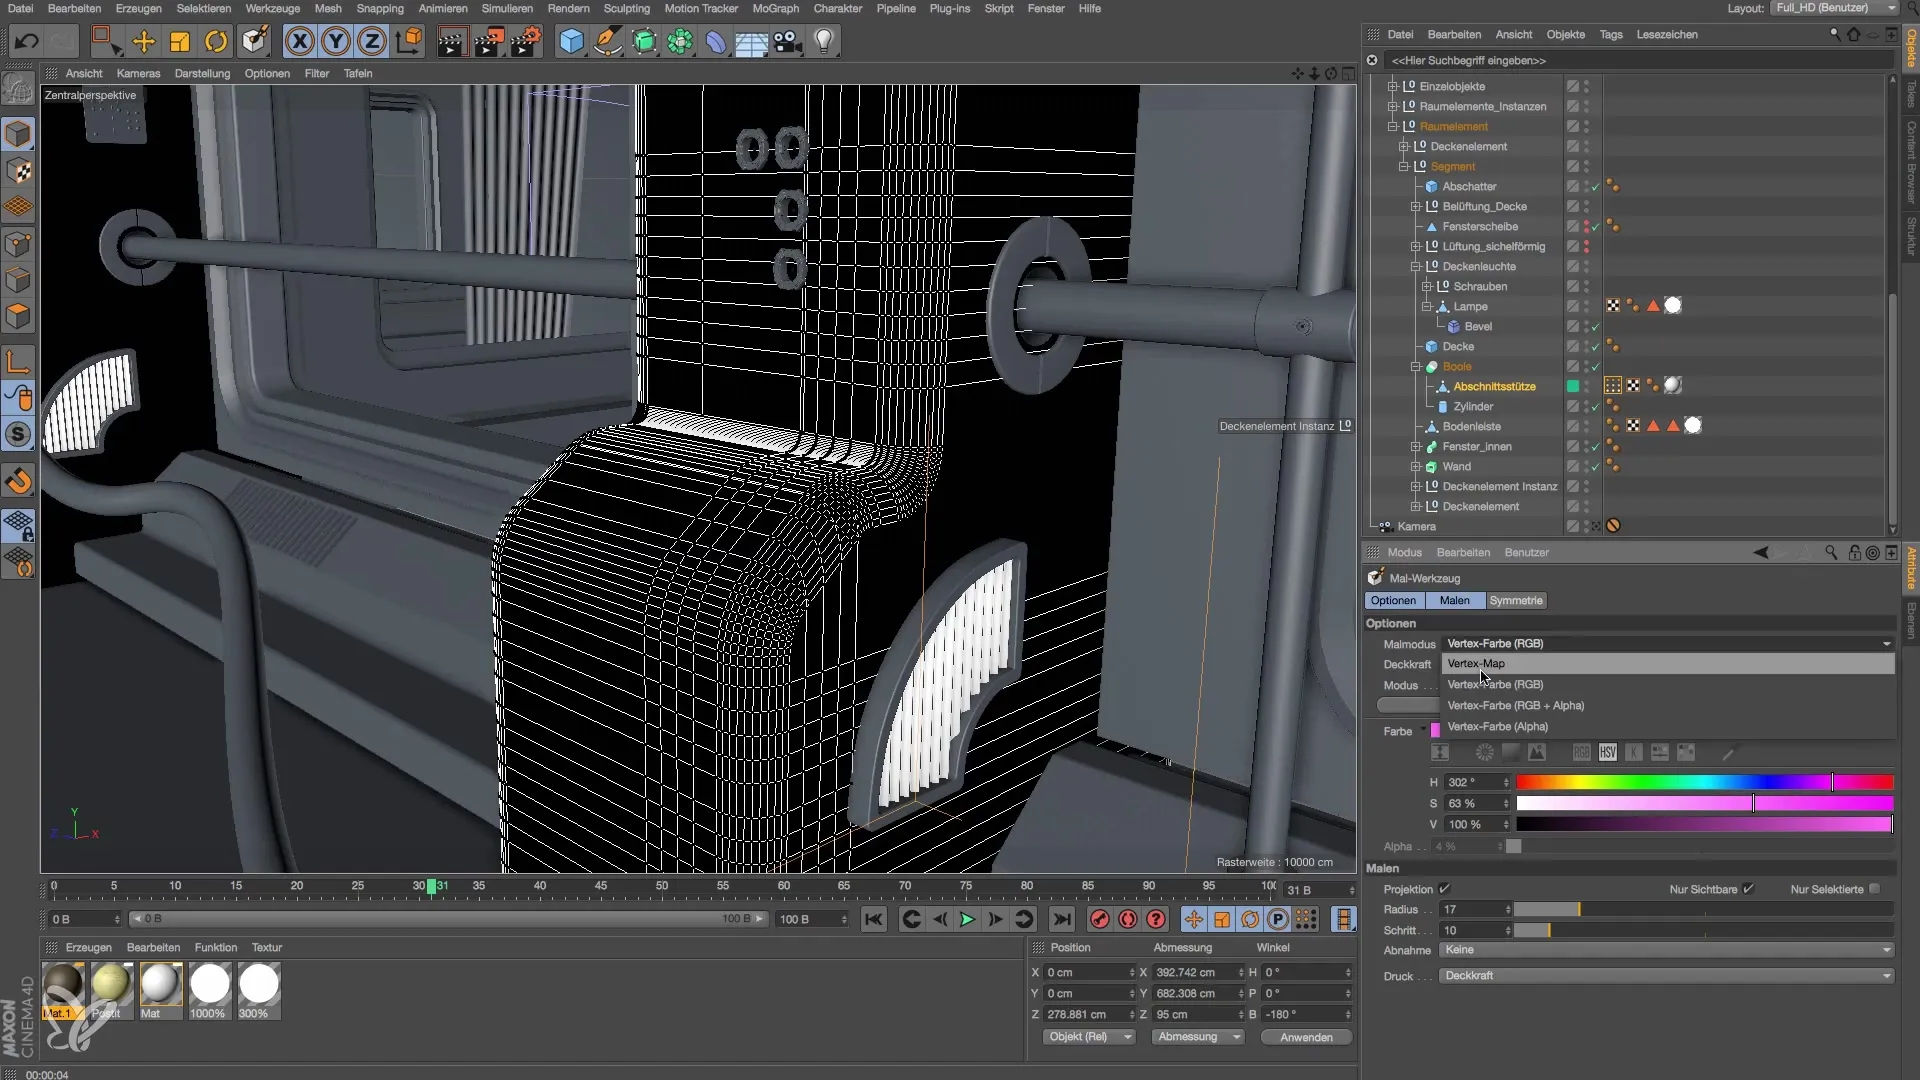
Instead of simply performing a color mapping, you now need to switch to Alpha painting mode. You can find this setting in the Vertex Colors tag. Here, you can activate the Alpha painting tools and start painting.
Step 5: Adjust Alpha Value and Paint
You can now roughly paint over your geometry. Set the Alpha value to a low percentage to check how the material behaves. Painting with the Alpha value controls the visibility of your new material – white means visible, black means invisible.
Step 6: Add Vertex Map to Material
After you have created your Alpha-Map, you need to link it to the material. Drag the Vertex Map into the Alpha channel of your material. You can rename the Vertex Map to improve clarity, especially when working with multiple tags.
Step 7: Invert and Assign
Since you want the material to be visible only in the painted areas, you need to invert it. You can achieve this through the appropriate settings in the Vertex Colors tag. Then assign the material to your object.
Step 8: First Rendering
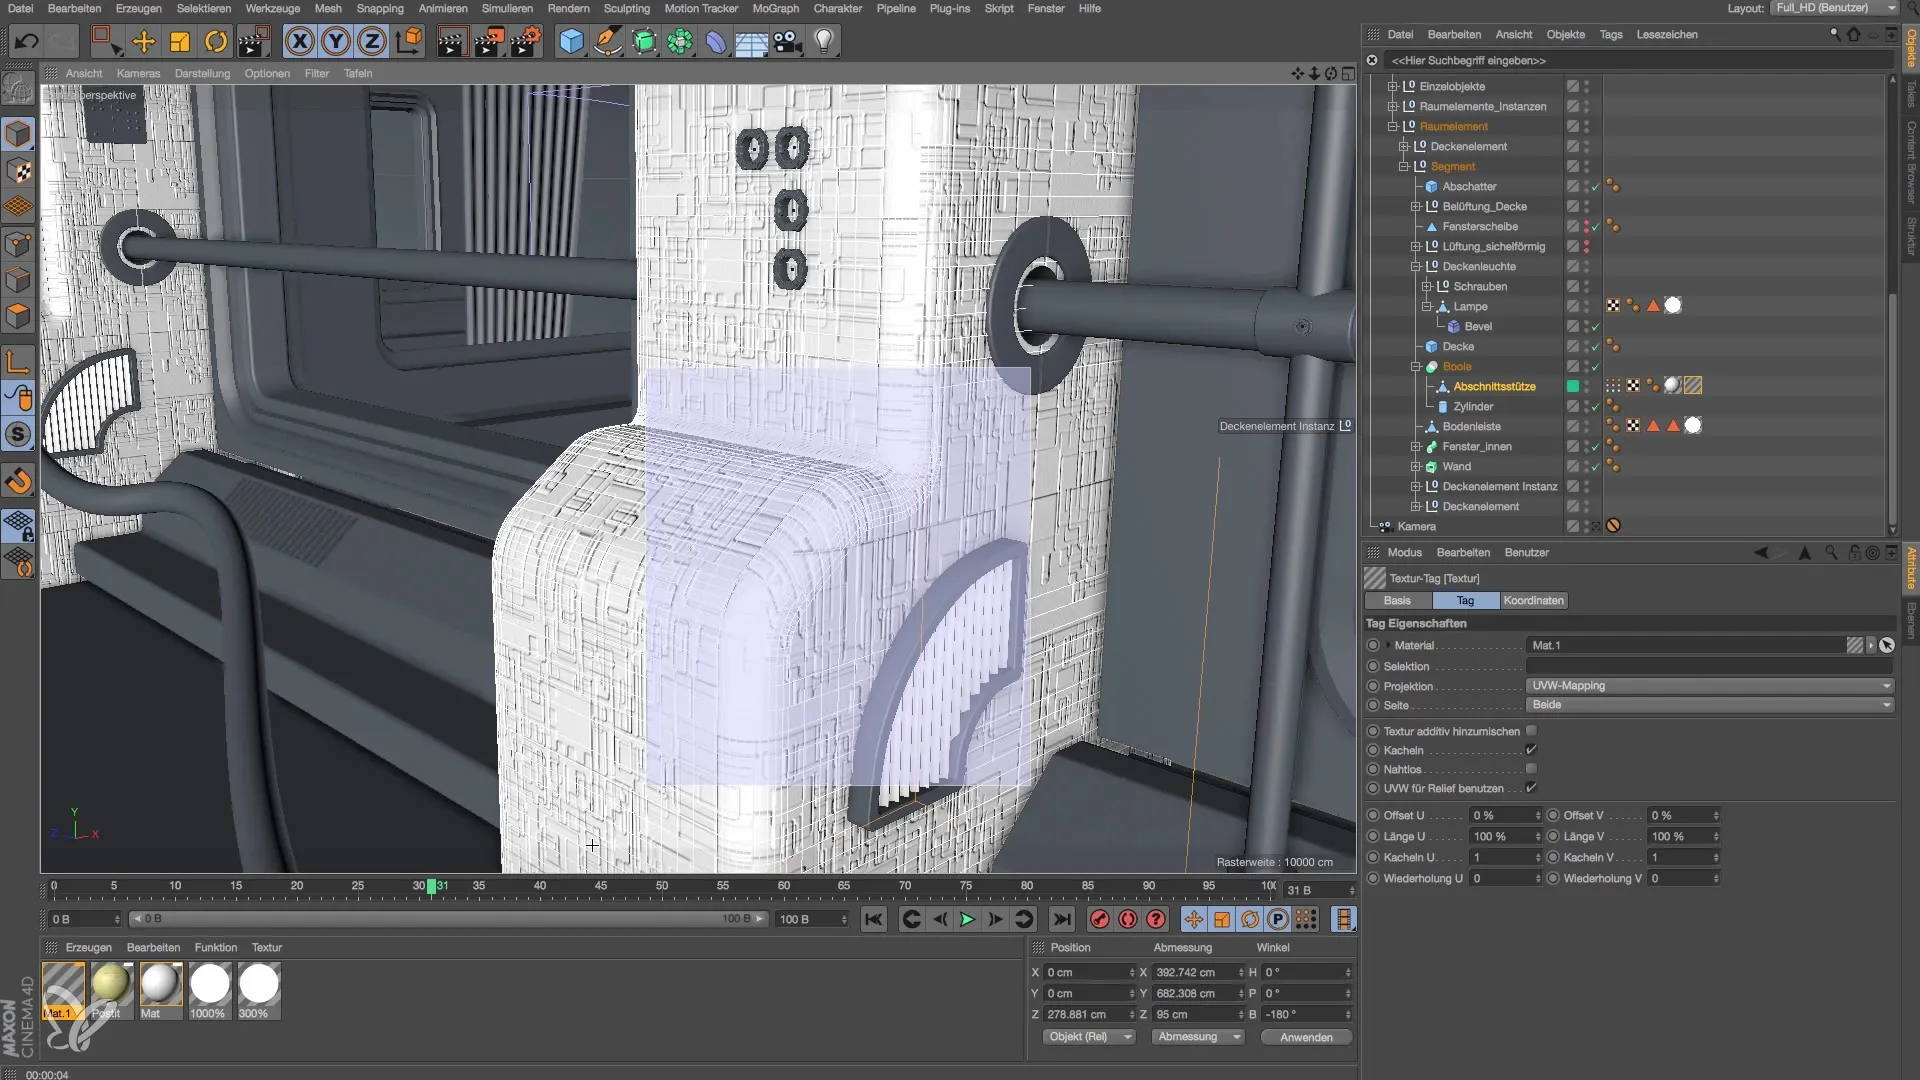
Once everything is set up, start a first rendering. It is important to check how the settings look in the preview. You may need to make some adjustments to achieve the desired effect.
Step 9: Adjust Materials
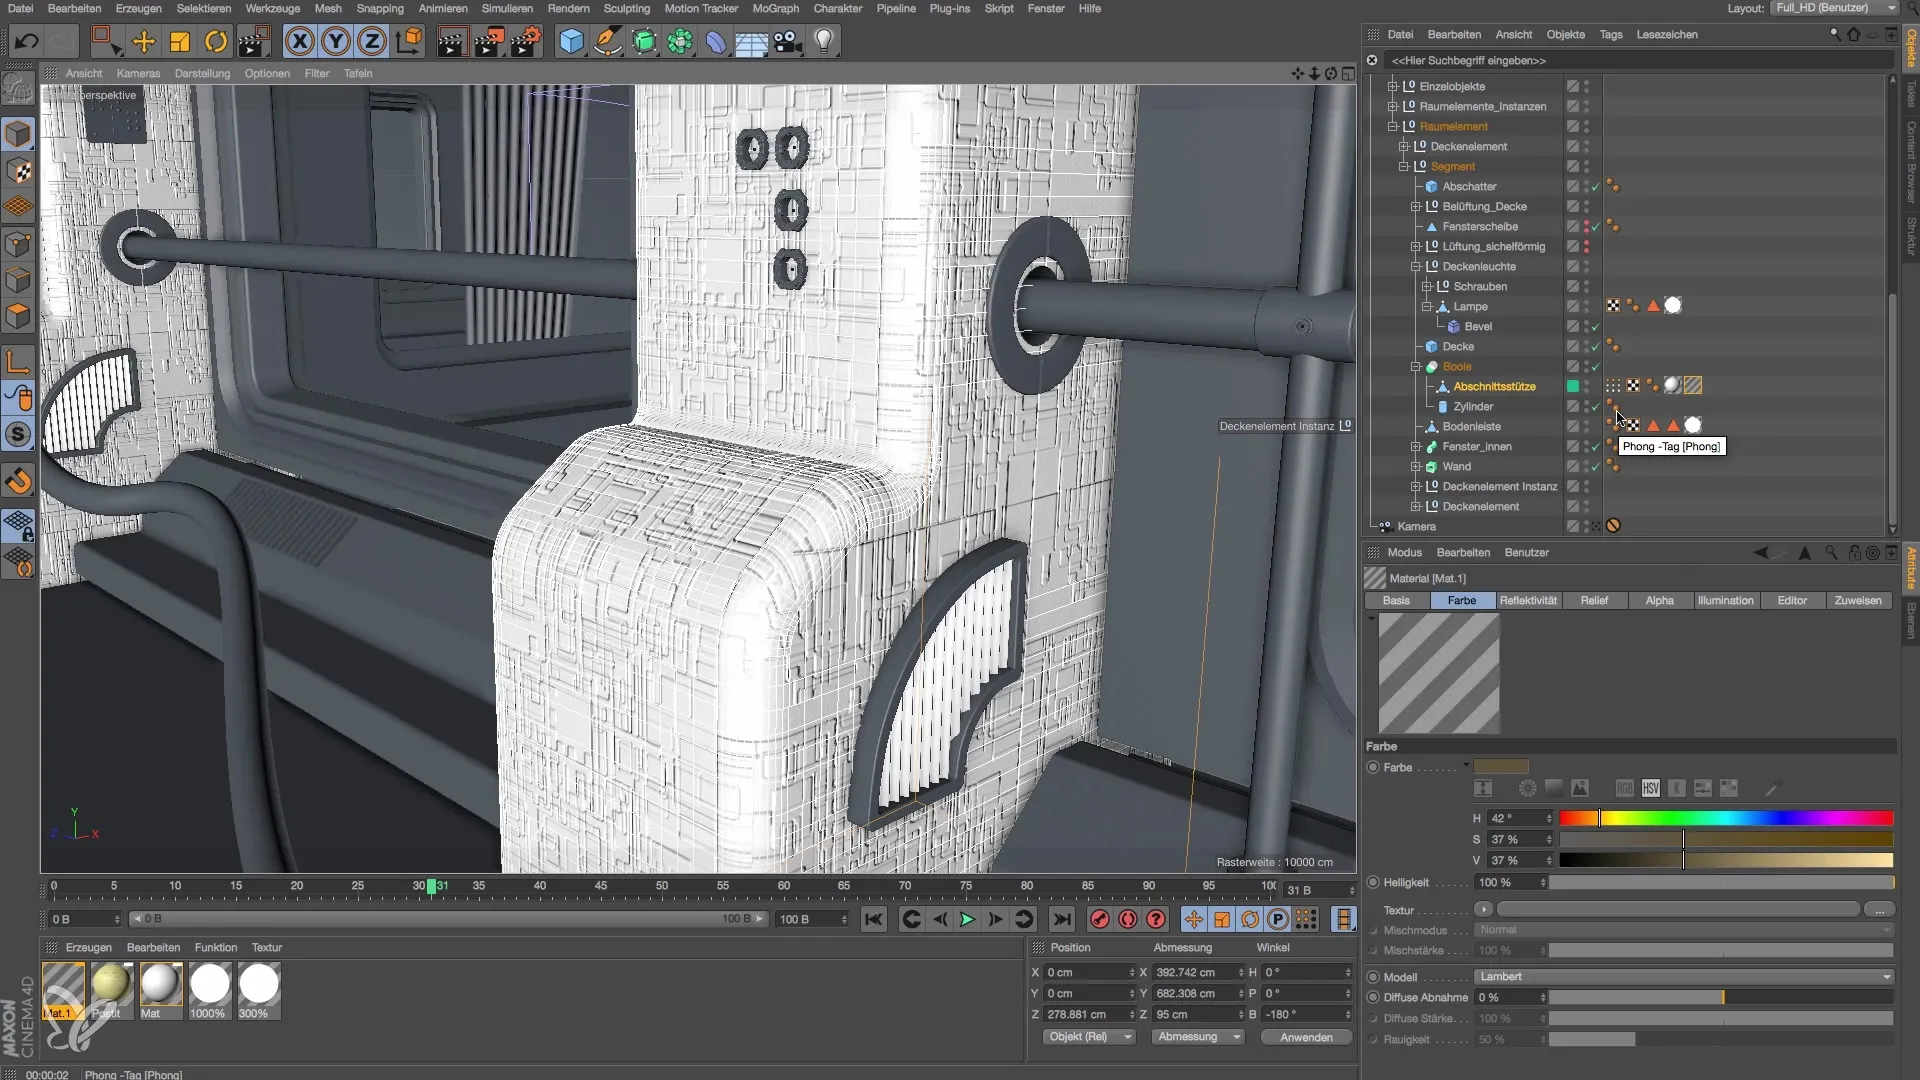
Now you can make further adjustments to the material. Integrate relief into your shader to give the material more depth. You can do this by adding a texture in the relief channel to make the surface more interesting.
Step 10: Final Rendering and Fine-tuning
After you have completed all desired adjustments, perform a final rendering. Ensure that the material reacts properly to light and delivers the desired results. Here, you can also consider adding additional textures or further refining the material's structure.
Summary – Modeling and Lighting a Space Station in Cinema 4D – Creating Alpha Map
In this guide, you have learned how to apply different materials to your geometry through the use of Alpha Maps in Cinema 4D. You have seen that the combination of Vertex Colors tags and adjusting material values helps you create realistic and appealing surfaces. The creative use of Alpha Maps opens up numerous possibilities for impressive 3D models.
Frequently Asked Questions
What is an Alpha Map?An Alpha Map controls the visibility of a material in a certain area of the model.
How do I add a Vertex Colors tag?Select your object, go to the tags, and add a new Vertex Colors tag.
How can I improve the quality of my material?By integrating relief textures, you can enliven the surface and create depth.
