Sometimes it is necessary to separate an object from the background in order to use it as a standalone element. This process is called “cutting out” and is possible with many image editing programs. In this tutorial, I will show you how to cut out an object using Photoshop. The steps are similar regardless of which image editing program you use, but I will explain specifically in relation to Photoshop.
Main insights
- Cutting out means separating an object from the background.
- You can use the lasso tool in Photoshop for this.
- Make sure to save the image in PNG format to preserve transparency.
- Vector graphics are a great way to obtain sharp images.
Step-by-Step Guide
To cut out an object, follow these steps:
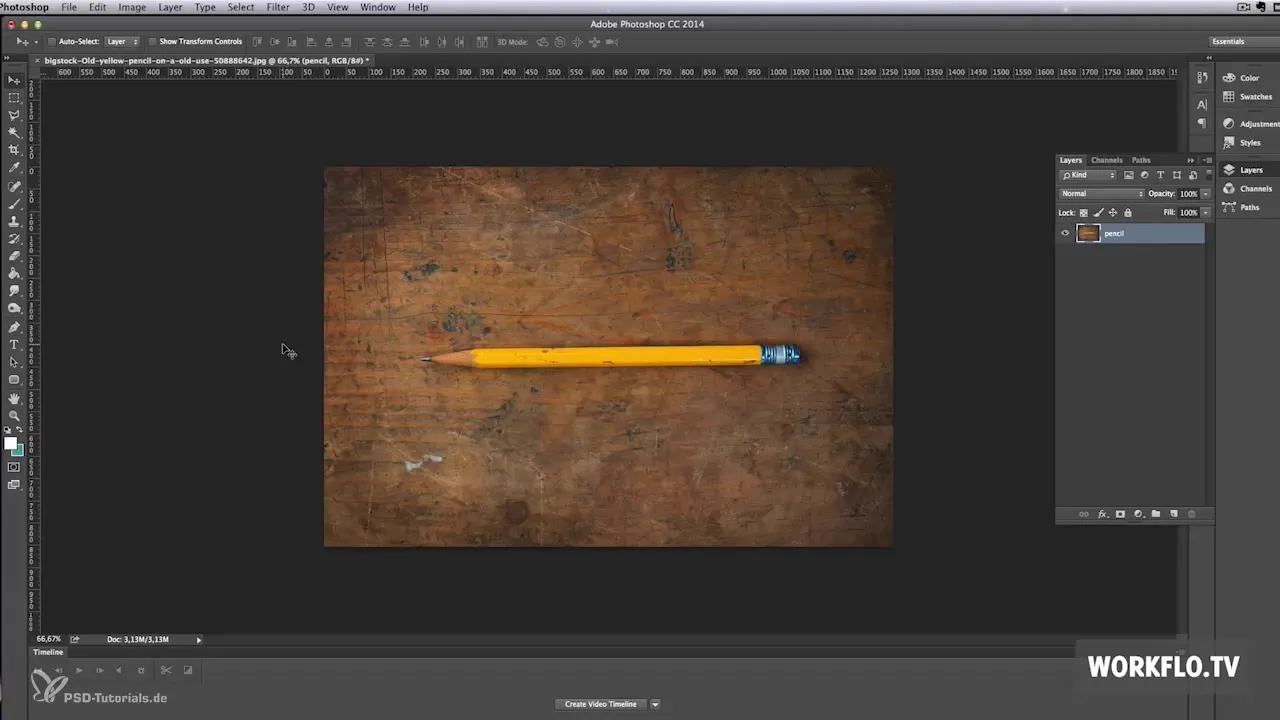
First, open your image in Photoshop. Once you have loaded your image, consider which object you want to cut out. In this tutorial, we will use a pencil.

Activate the lasso tool from the toolbar. With it, you can draw a selection around the pencil you want to cut out. Be as precise as possible when drawing the selection to minimize the background and clearly separate the object.
After you’ve created the selection, copy it using the shortcut Command + C. This saves the selection to the clipboard.

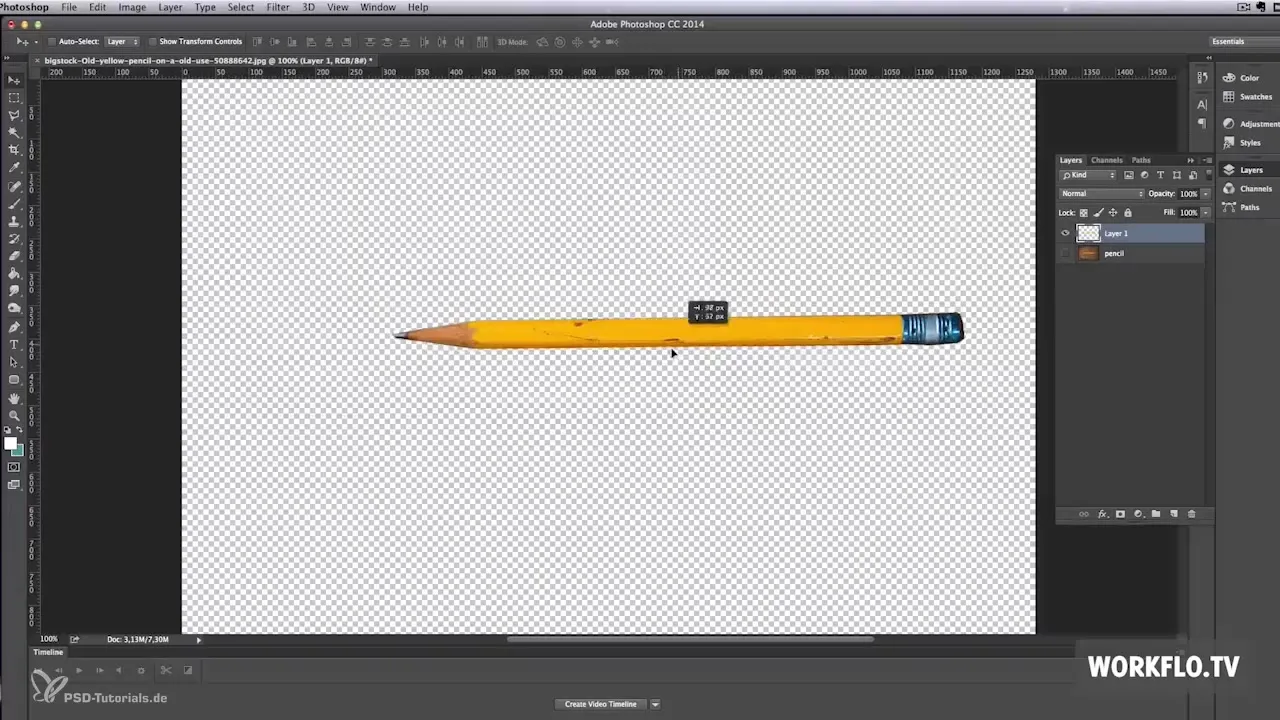
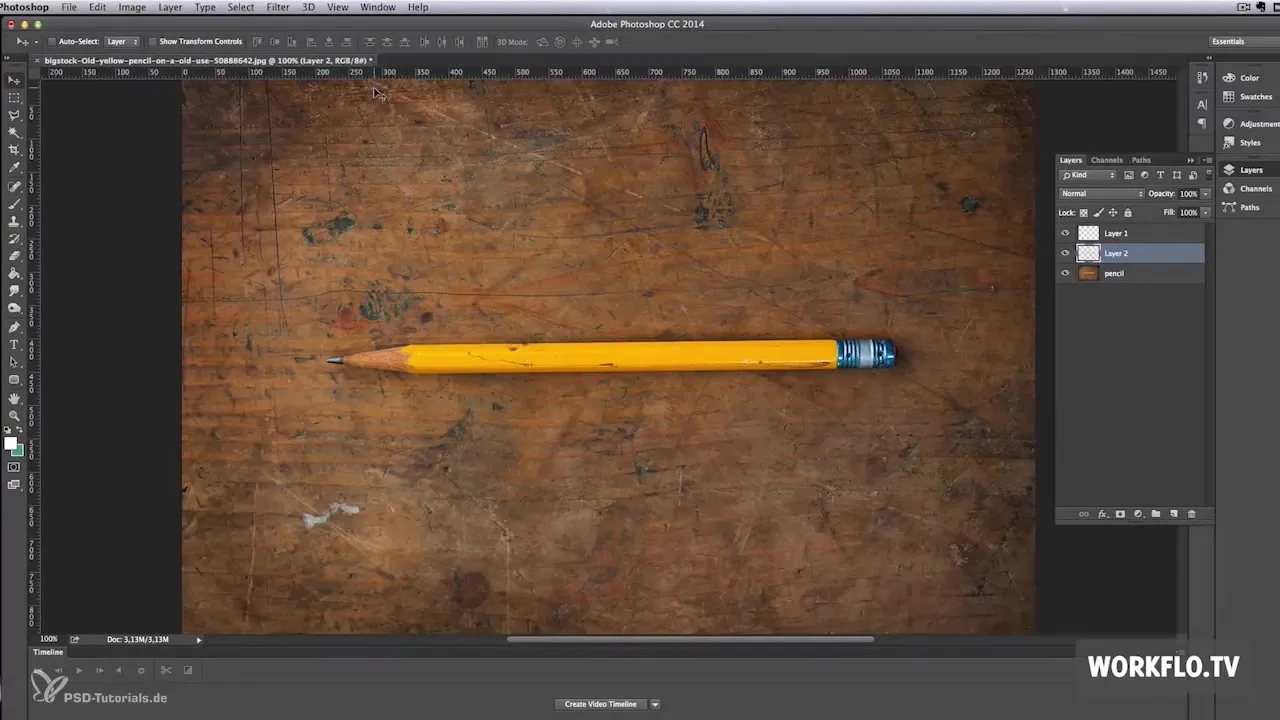
Now create a new layer to paste the cut-out object into. You can either use Command + N or go to the menu and select “Layer” and then “New Layer.” Then paste the selection with Command + V.

Alternatively, you can also select “New Layer via Copy” directly in the “Layer” menu to save the selection as a new layer. It has the same effect.

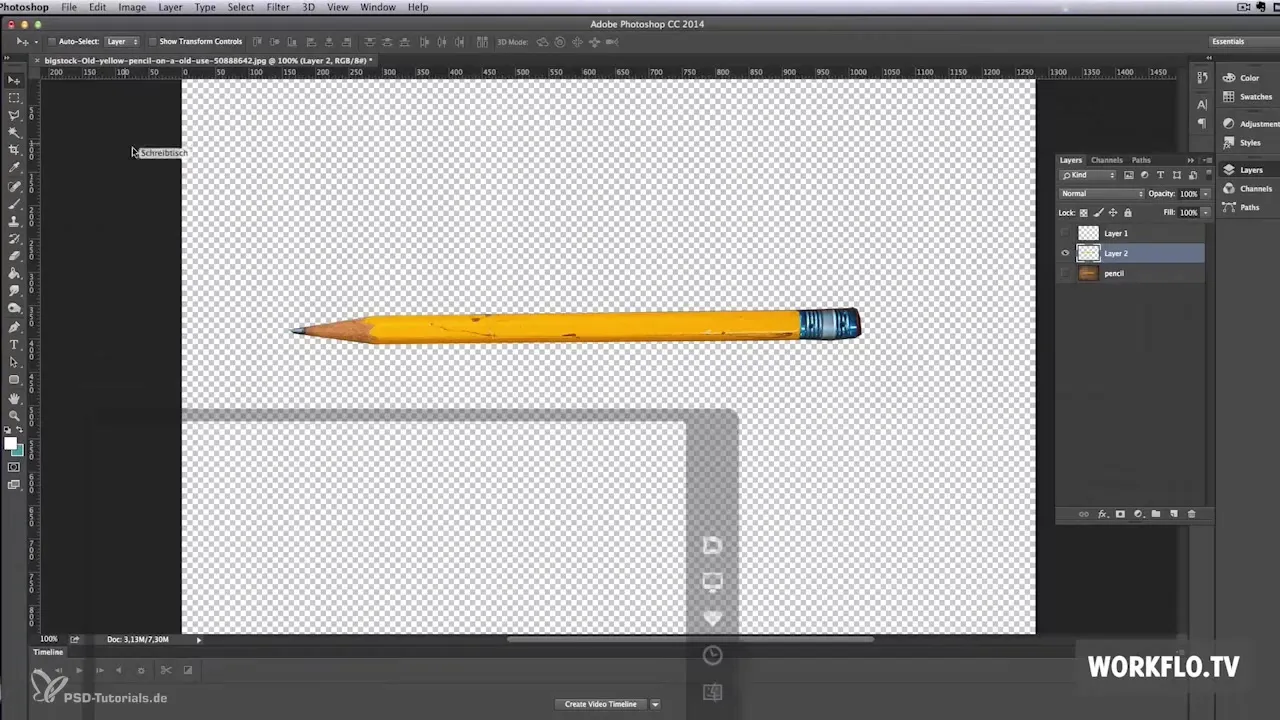
Ensure that the background is transparent so you can use the object in another presentation. This means that you will ultimately need to save the image in PNG format. The JPEG format will not work here as it does not support transparency and the background would be white.

After saving the image in PNG format, you can import the cut-out pencil into your presentation in Prezi. You can move and adjust it as needed to make your presentation more interesting.

Make sure to also use transparency when working with other images or icons in your presentation to achieve an appealing result.
If you are looking for high-quality vector graphics, I can recommend two websites. The first is vectorstock.com, where you have access to thousands of professionally designed vector graphics. Prices typically range from 1 to 5 dollars.

The second recommended site is graphicriver.net, where you can find more than 142,000 vector graphics. Just click on the “Vectors” tab to see the large selection.

If you have a subscription with a major stock agency, check there to see if vector graphics are included in your offering.
In the next video, you will learn how to quickly and easily create a video from your Prezi presentation. Thank you for joining me today!
Summary – Cutting Out Image Elements in Photoshop
In this guide, you learned how to cut out an object using Photoshop. The steps are simple and quick to implement, allowing you to enhance the visual appeal of your presentations. Remember to use the PNG format when saving to preserve transparency. Quality is key, so don't hesitate to use high-quality vector graphics.
Frequently Asked Questions
How can I cut out an object in Photoshop?Use the lasso tool to select the object and copy it to a new layer.
What format should I choose to keep transparency?Save your image in PNG format.
Can I apply the same process in other programs?Yes, the steps are similar in other image editing programs.
Where can I find high-quality vector graphics?Two recommended sites are vectorstock.com and graphicriver.net.


