In the new update of ZBrush 2020, several features have been introduced that provide effective support for your work on meshes. The “Cam Silhouette” and the “Cam View” are two such innovative tools that help you visualize information about your model and improve your spatial overview. These features can assist you in making more precise adjustments to your model.
Key Insights
- Cam Silhouette displays your model's silhouette, allowing you to better assess its outline.
- Cam View enables quick alignment and switching between different views.
- The customization options in the settings help you optimize the representation of your models.
Step-by-Step Guide
1. Introduction to Cam Silhouette
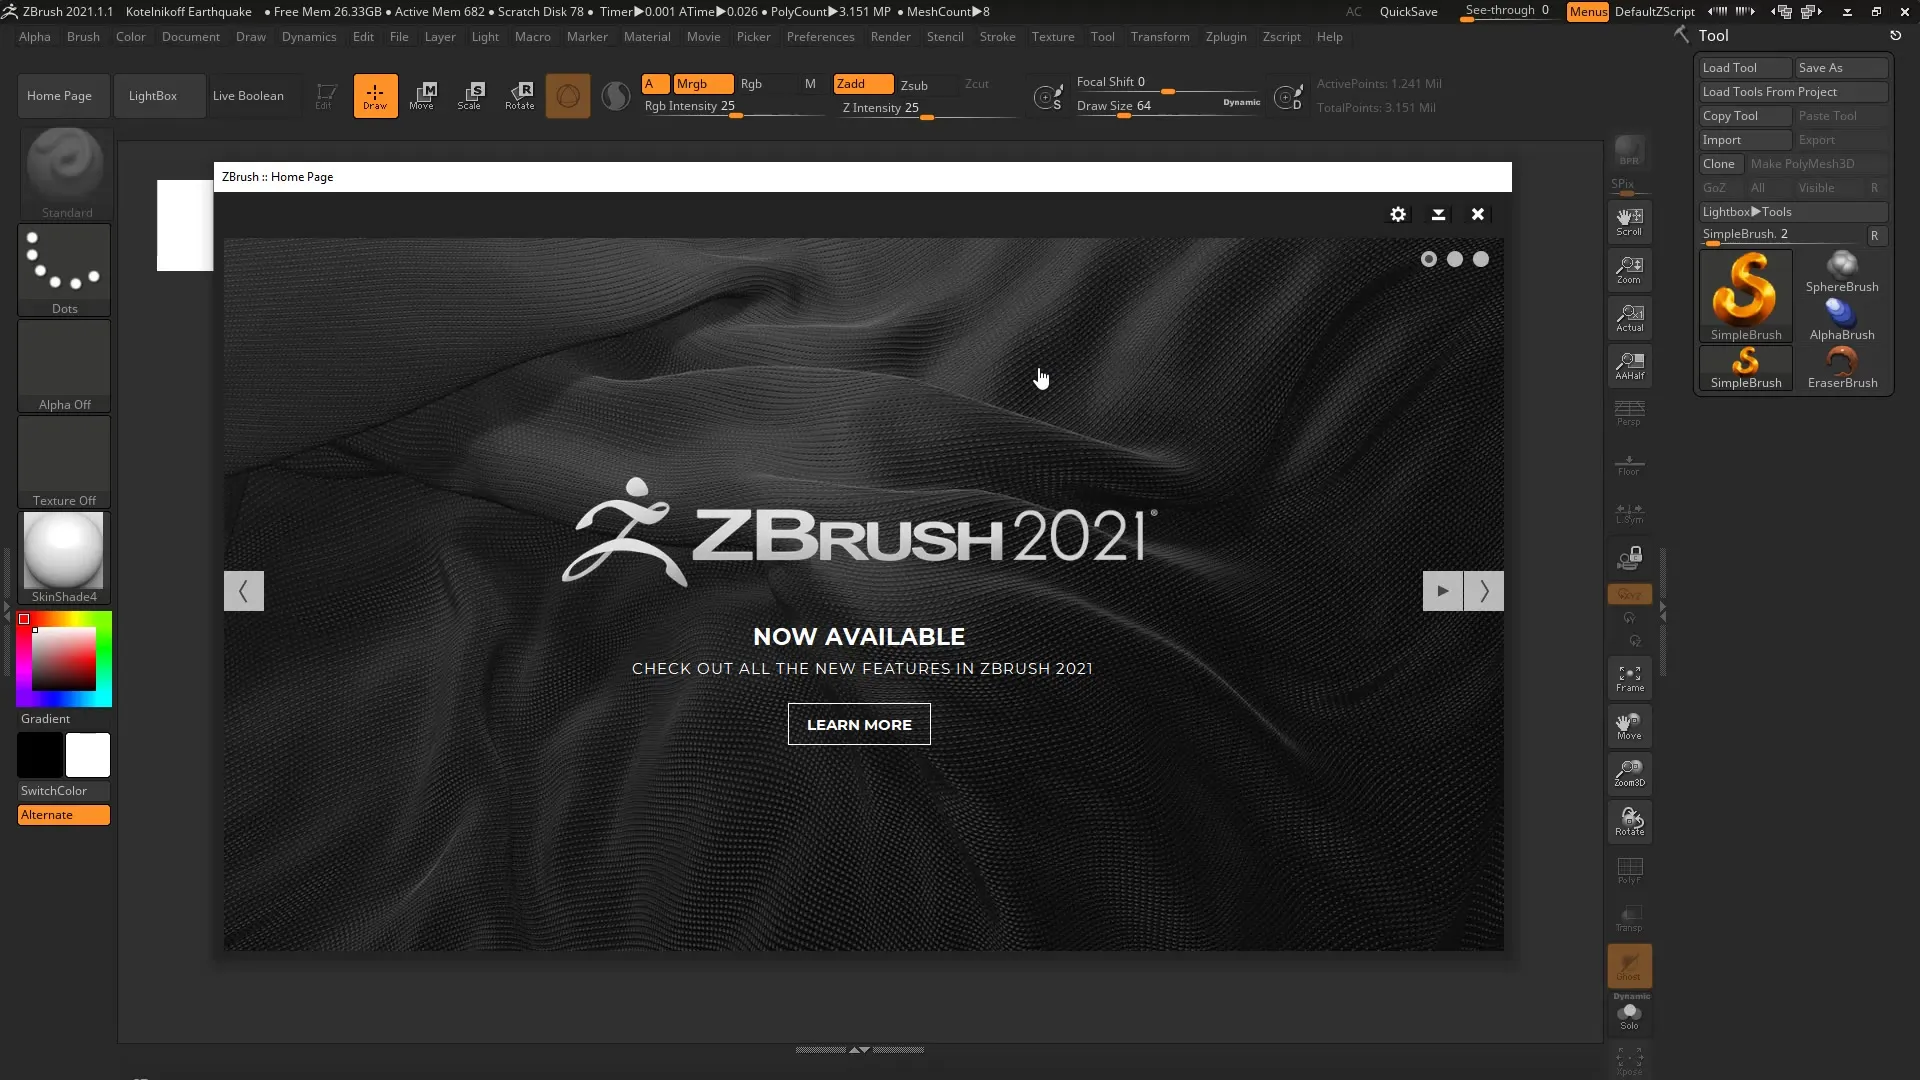
Start ZBrush and open your project. You can customize the homepage to display only the necessary information. These adjustments make it easier for you to access the Cam Silhouette.
2. Creating a New Project
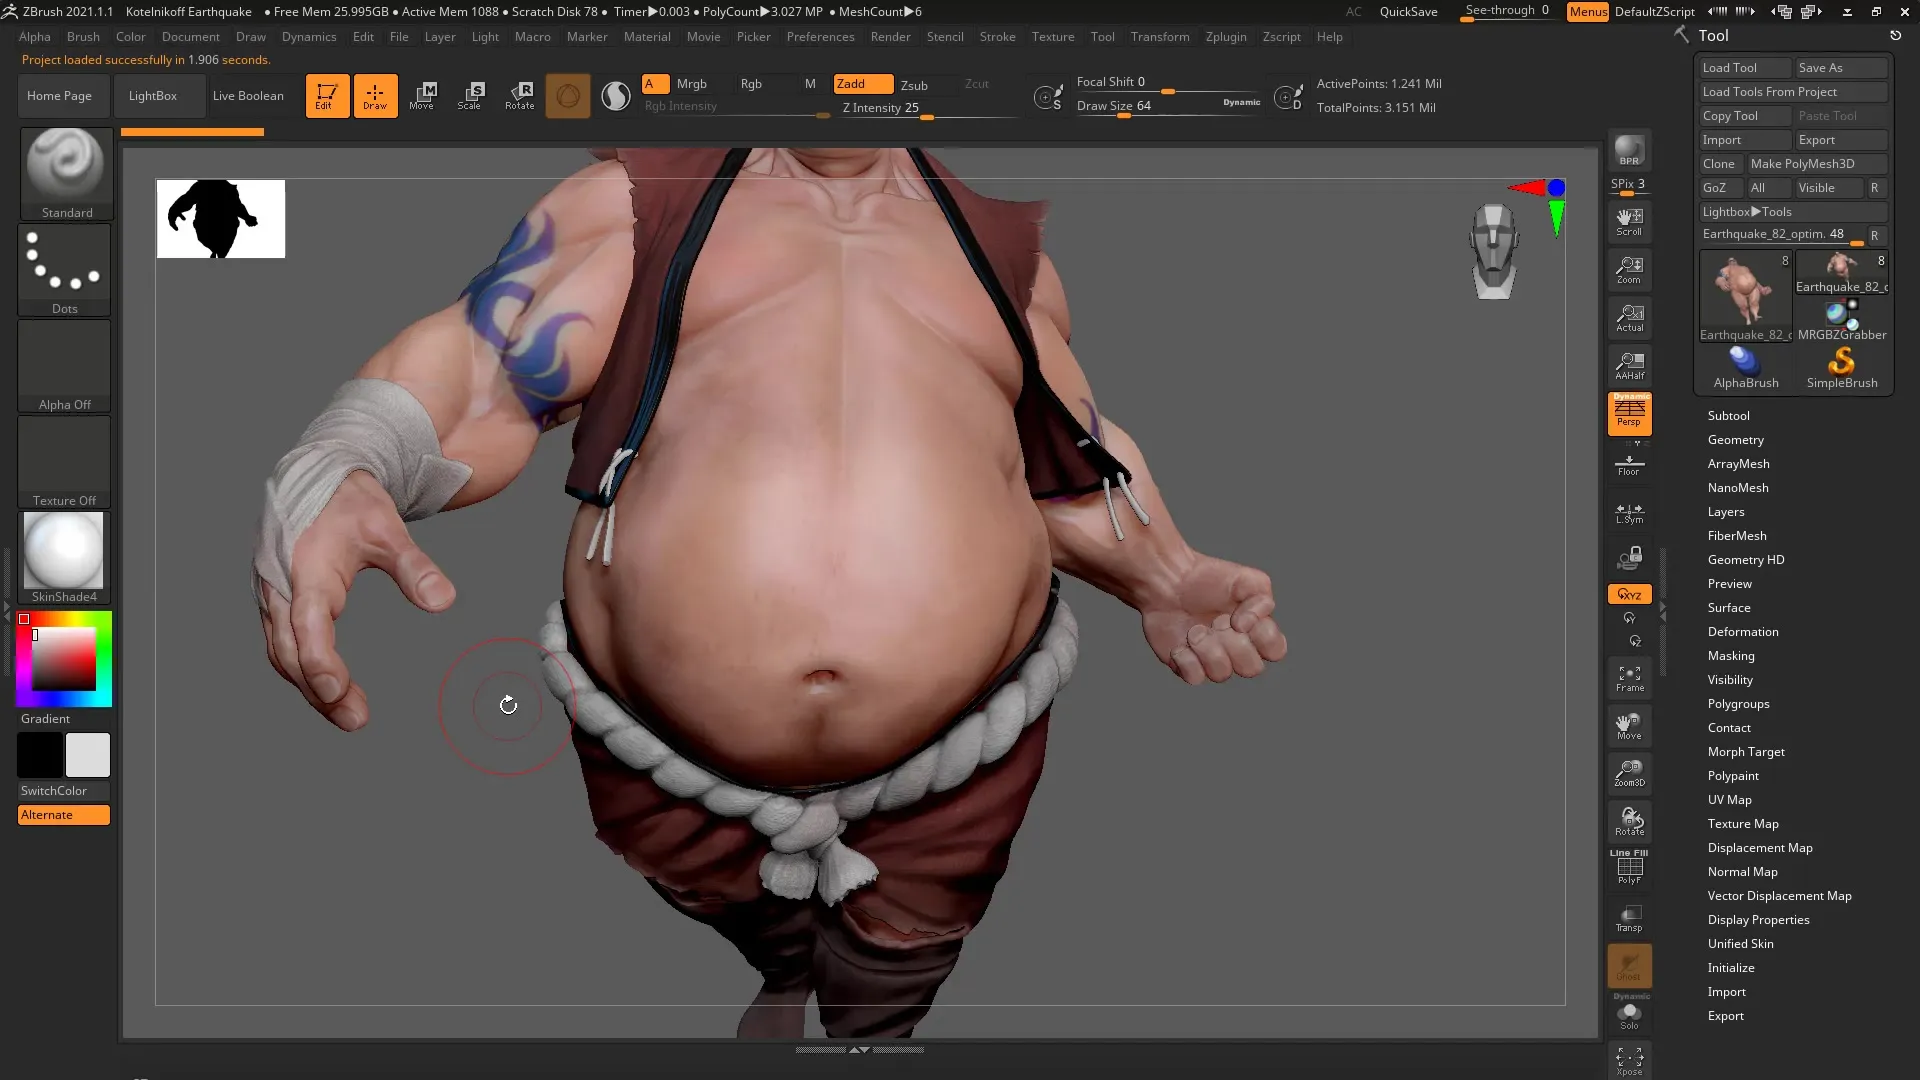
Open a new project to understand the functions in a practical context. A good example of this is the “earthquake” mesh. You can easily place it using the F key to make optimal use of the workspace.
3. Overview of Cam Silhouette
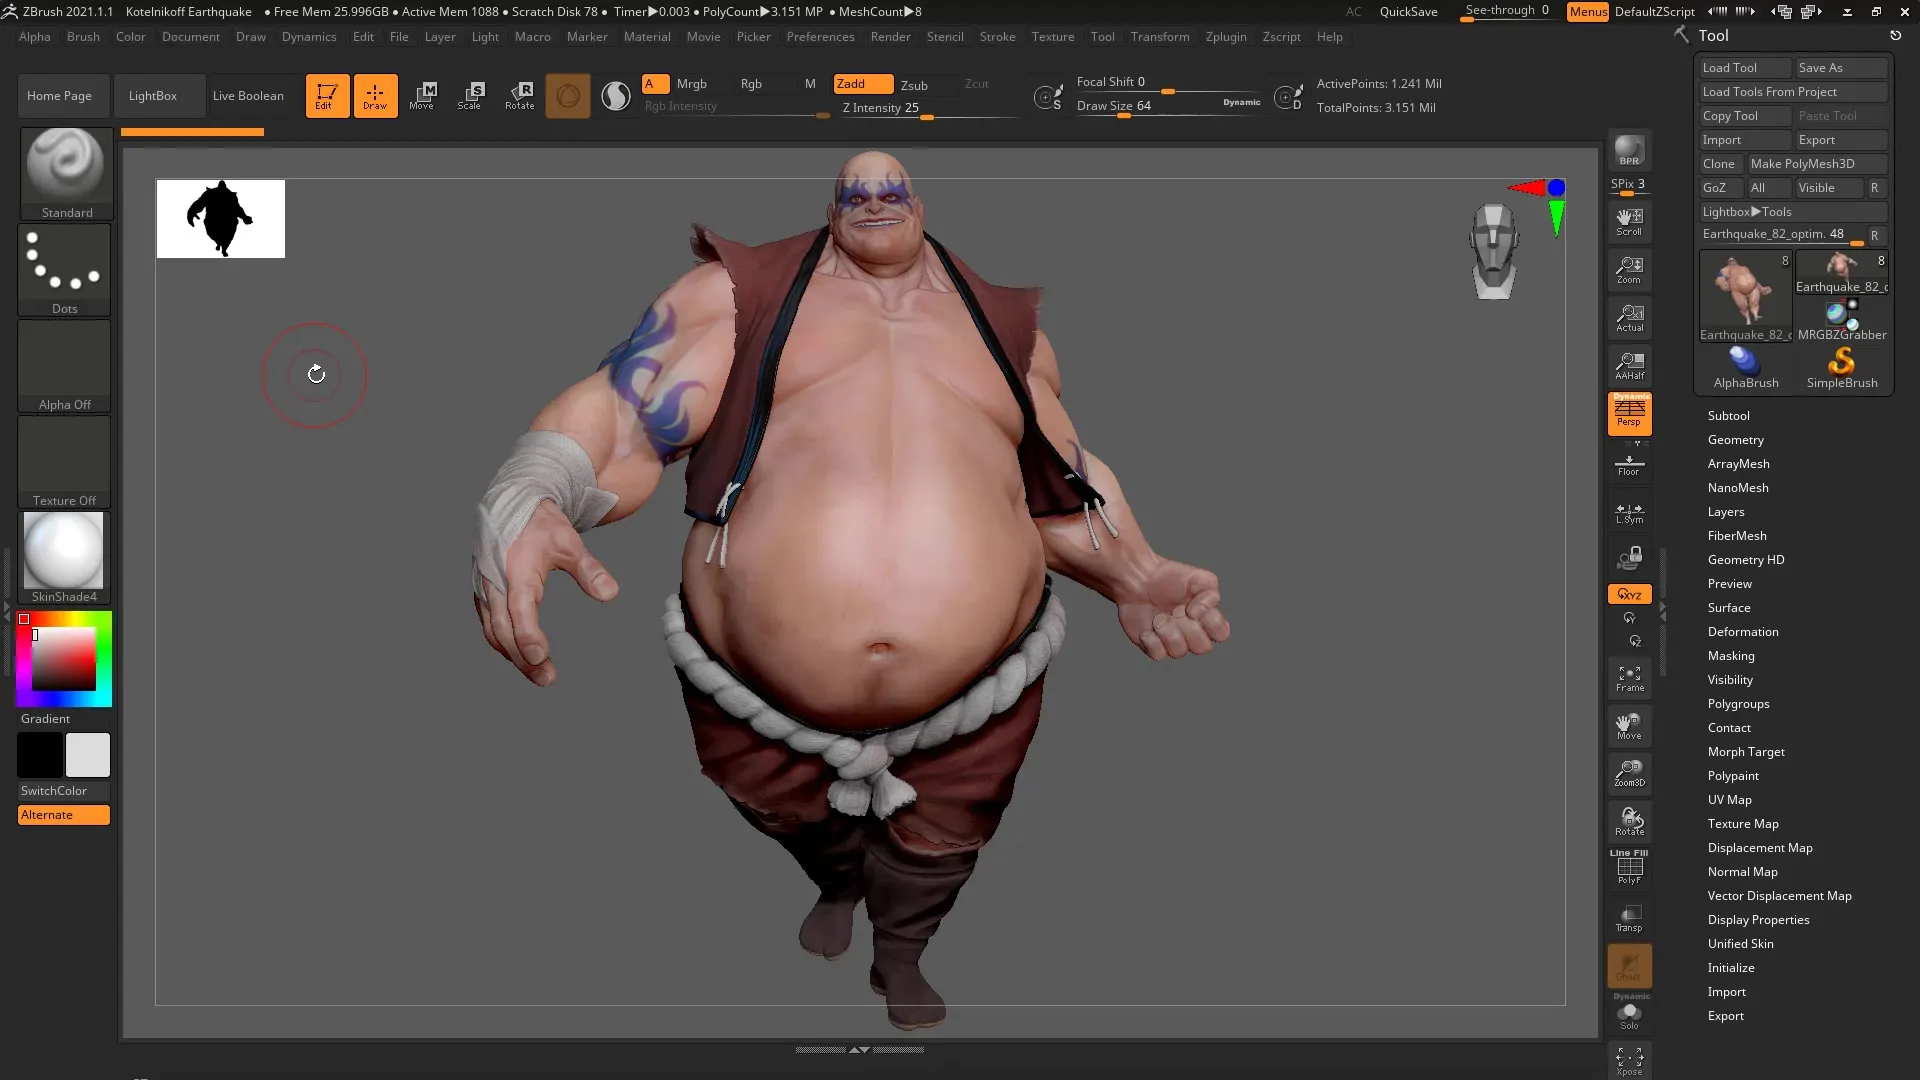
On the left side of the Viewport, you see the Cam Silhouette, which displays the outline of your model. This feature is particularly useful for capturing the overall geometry of your model and ensuring that the side views are also consistent.
4. Setting Silhouette Properties
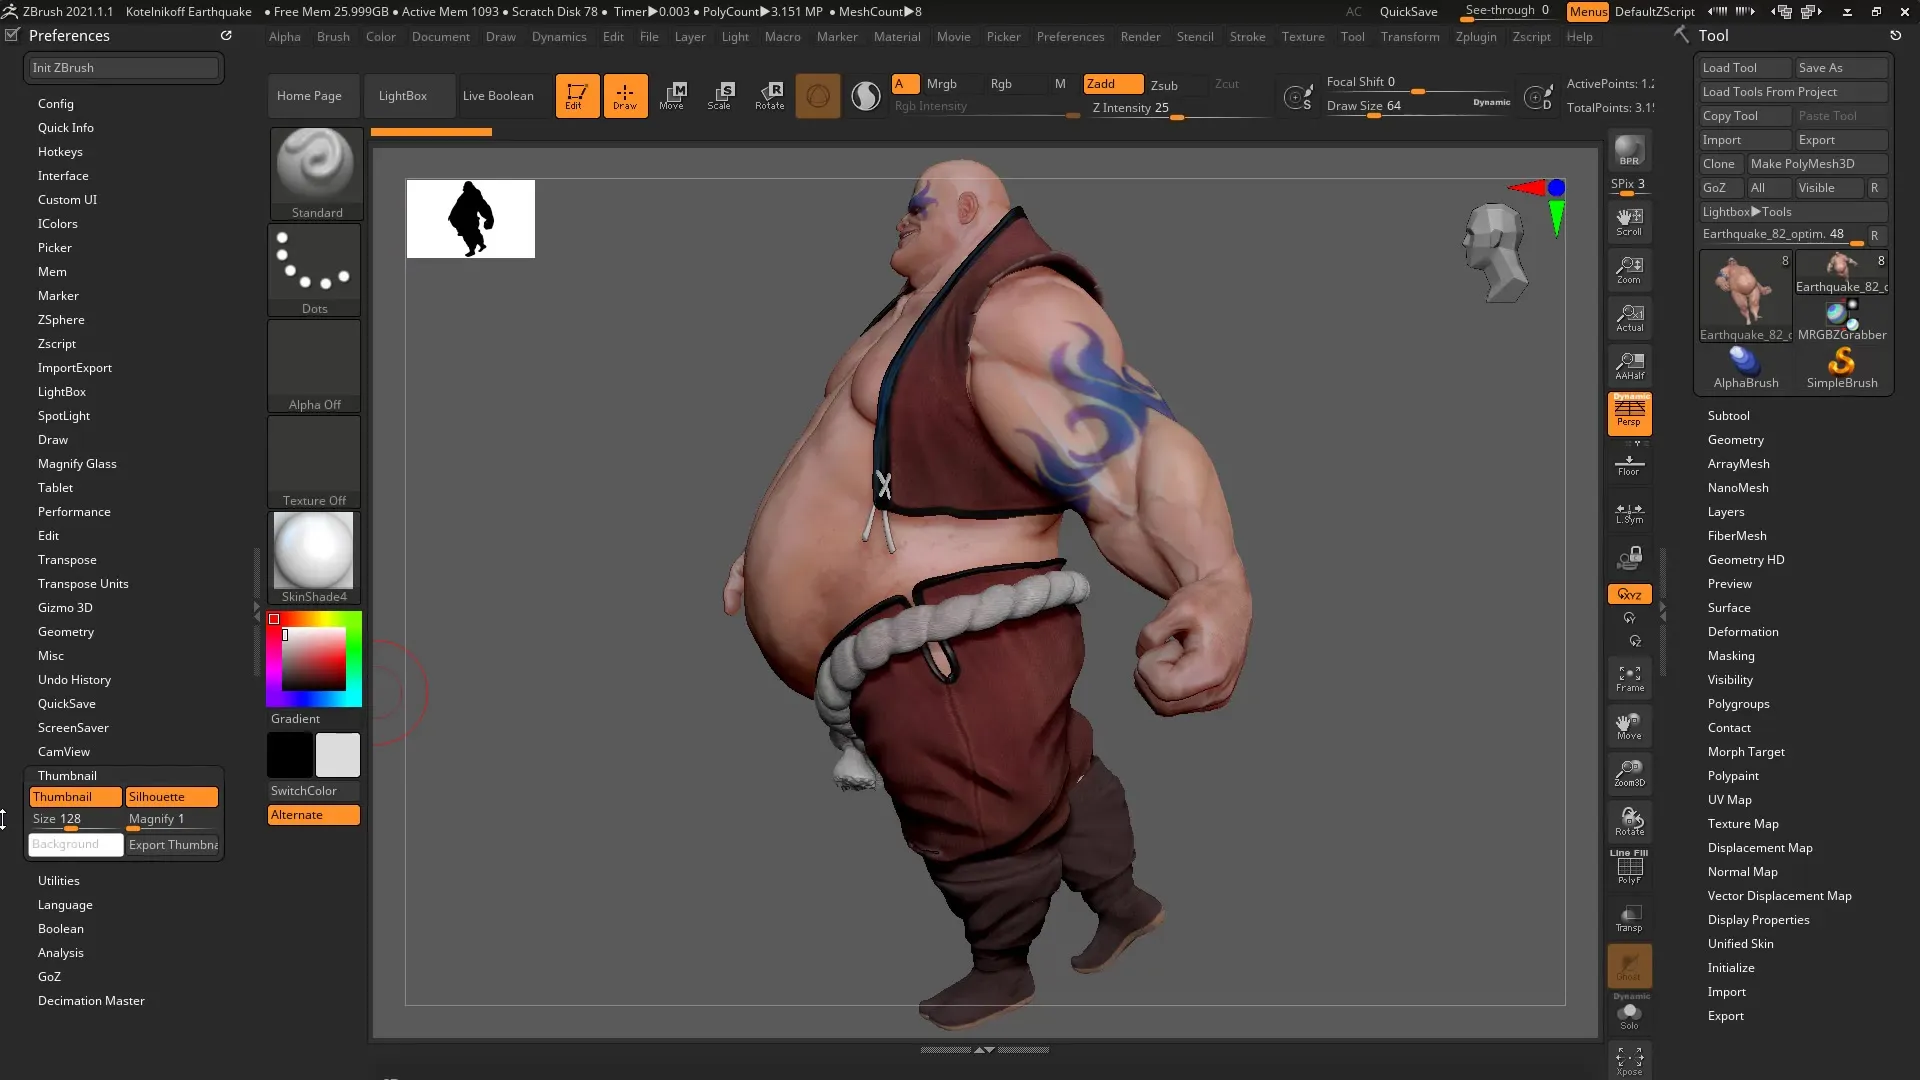
It is important to adjust the silhouette to your needs. Go to Preferences and select Thumbnail to make adjustments. You can fully disable the silhouette or show the entire figure.
5. Adjusting Size and Colors
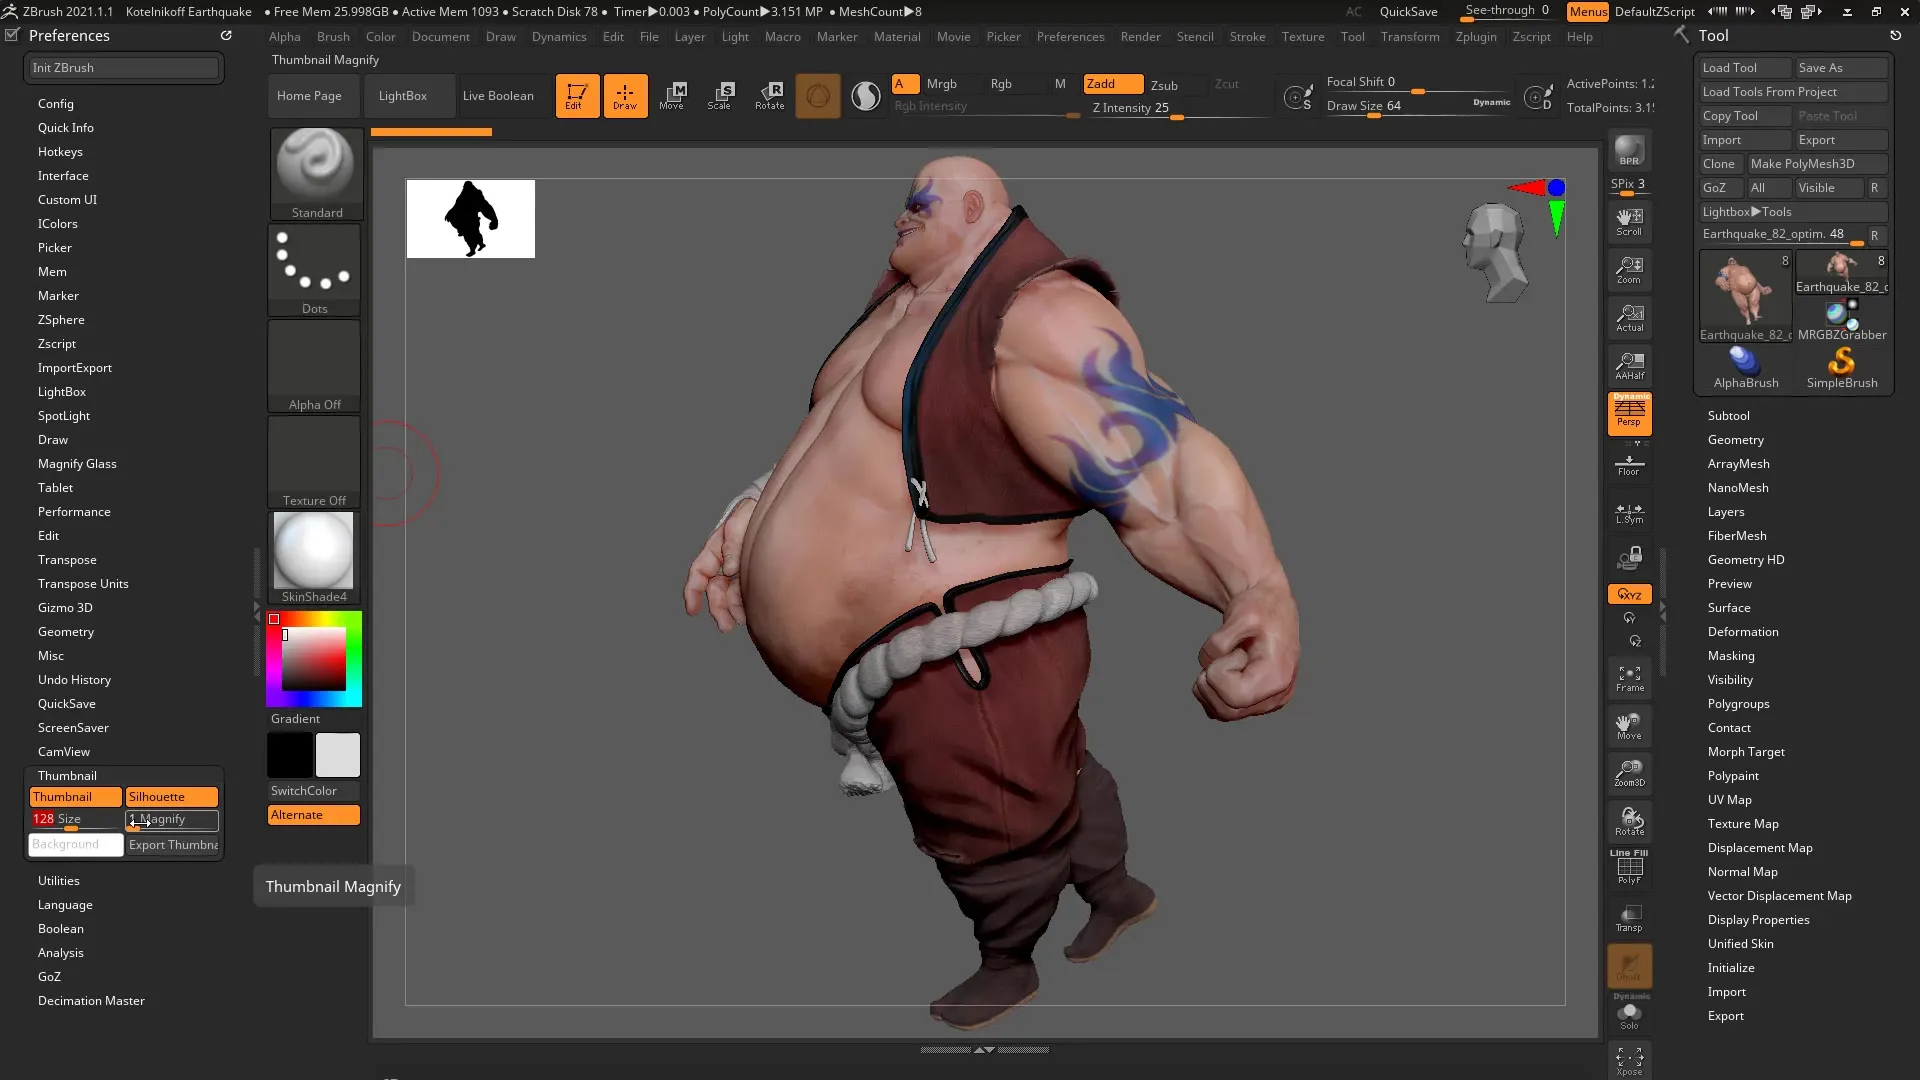
Depending on your needs, you can change the size of the silhouette and adjust the background color. By default, the size is 128, but you can increase or decrease it to present the silhouette more clearly.
6. Exporting Thumbnails
If you are satisfied with your silhouette, you can export it to save or use it in other projects. This can help you have quick access to your recent works.
7. Introduction to the Cam View Function
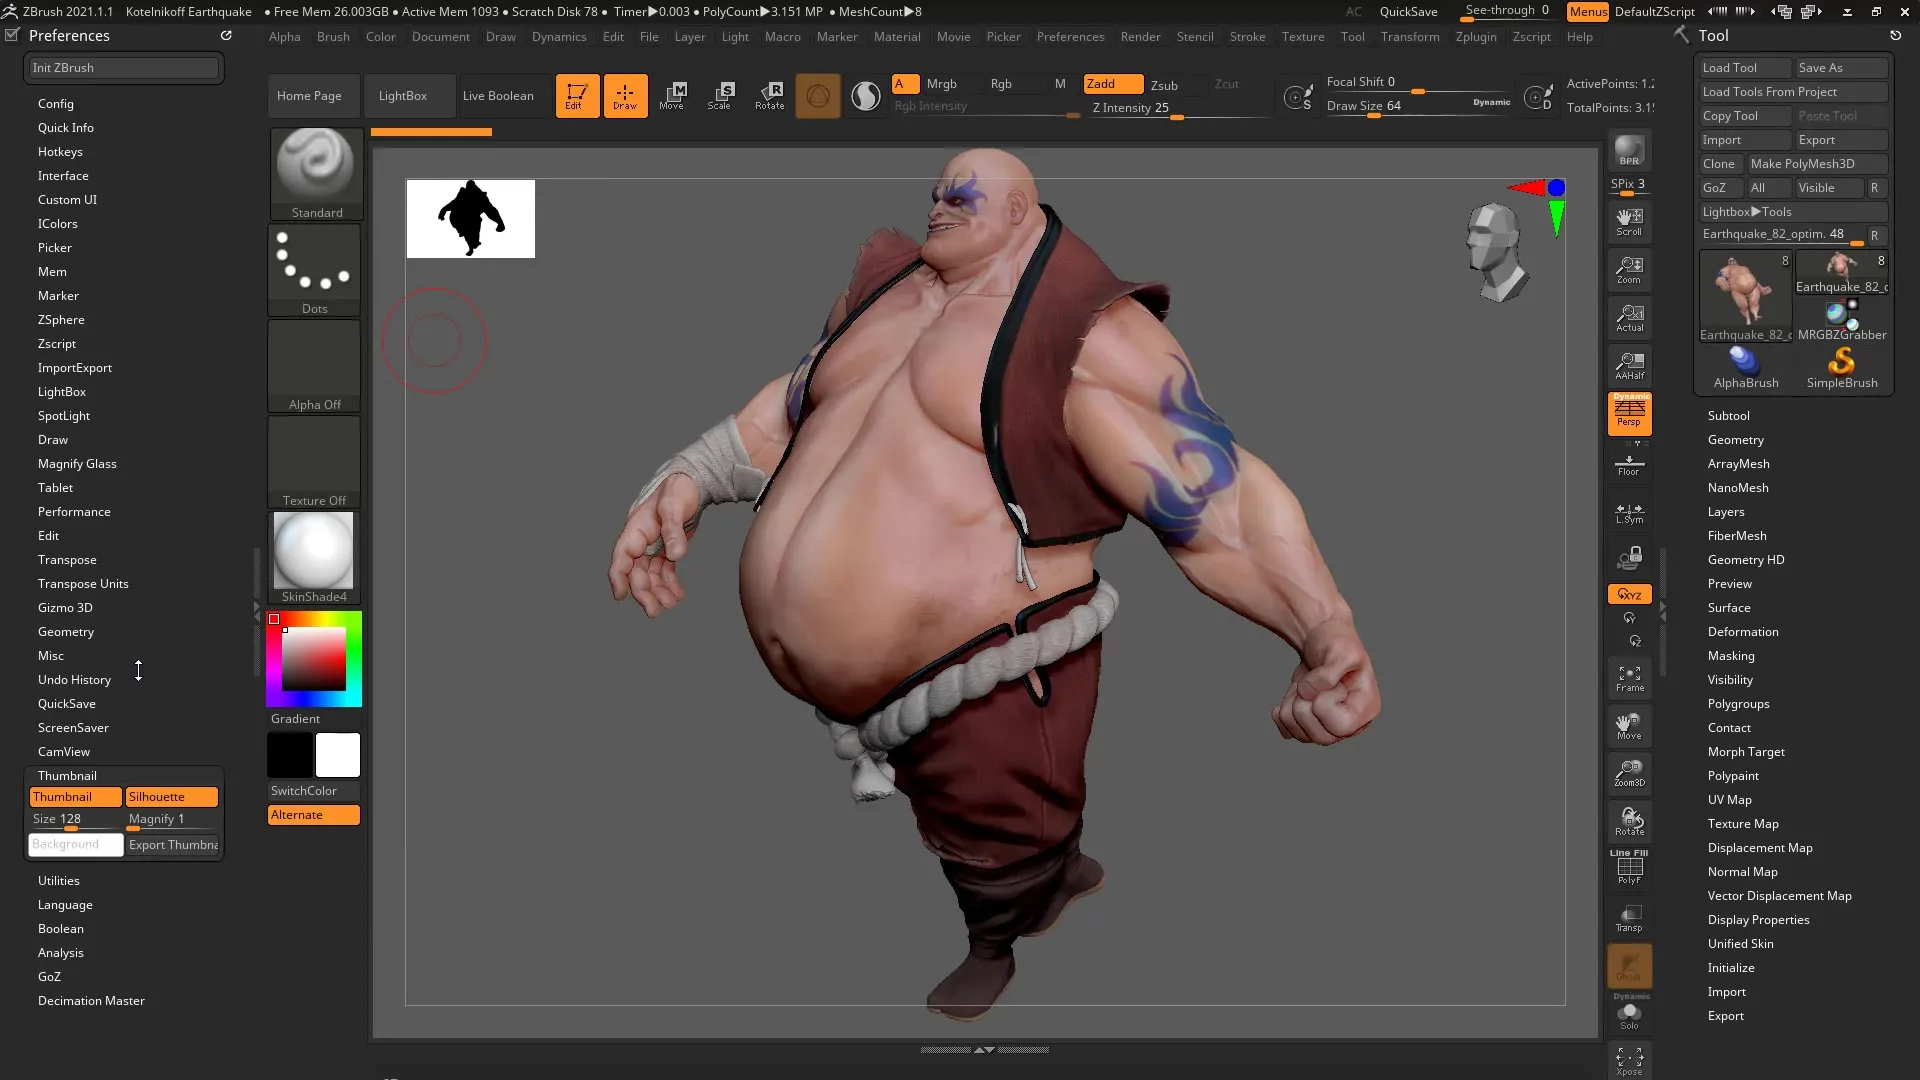
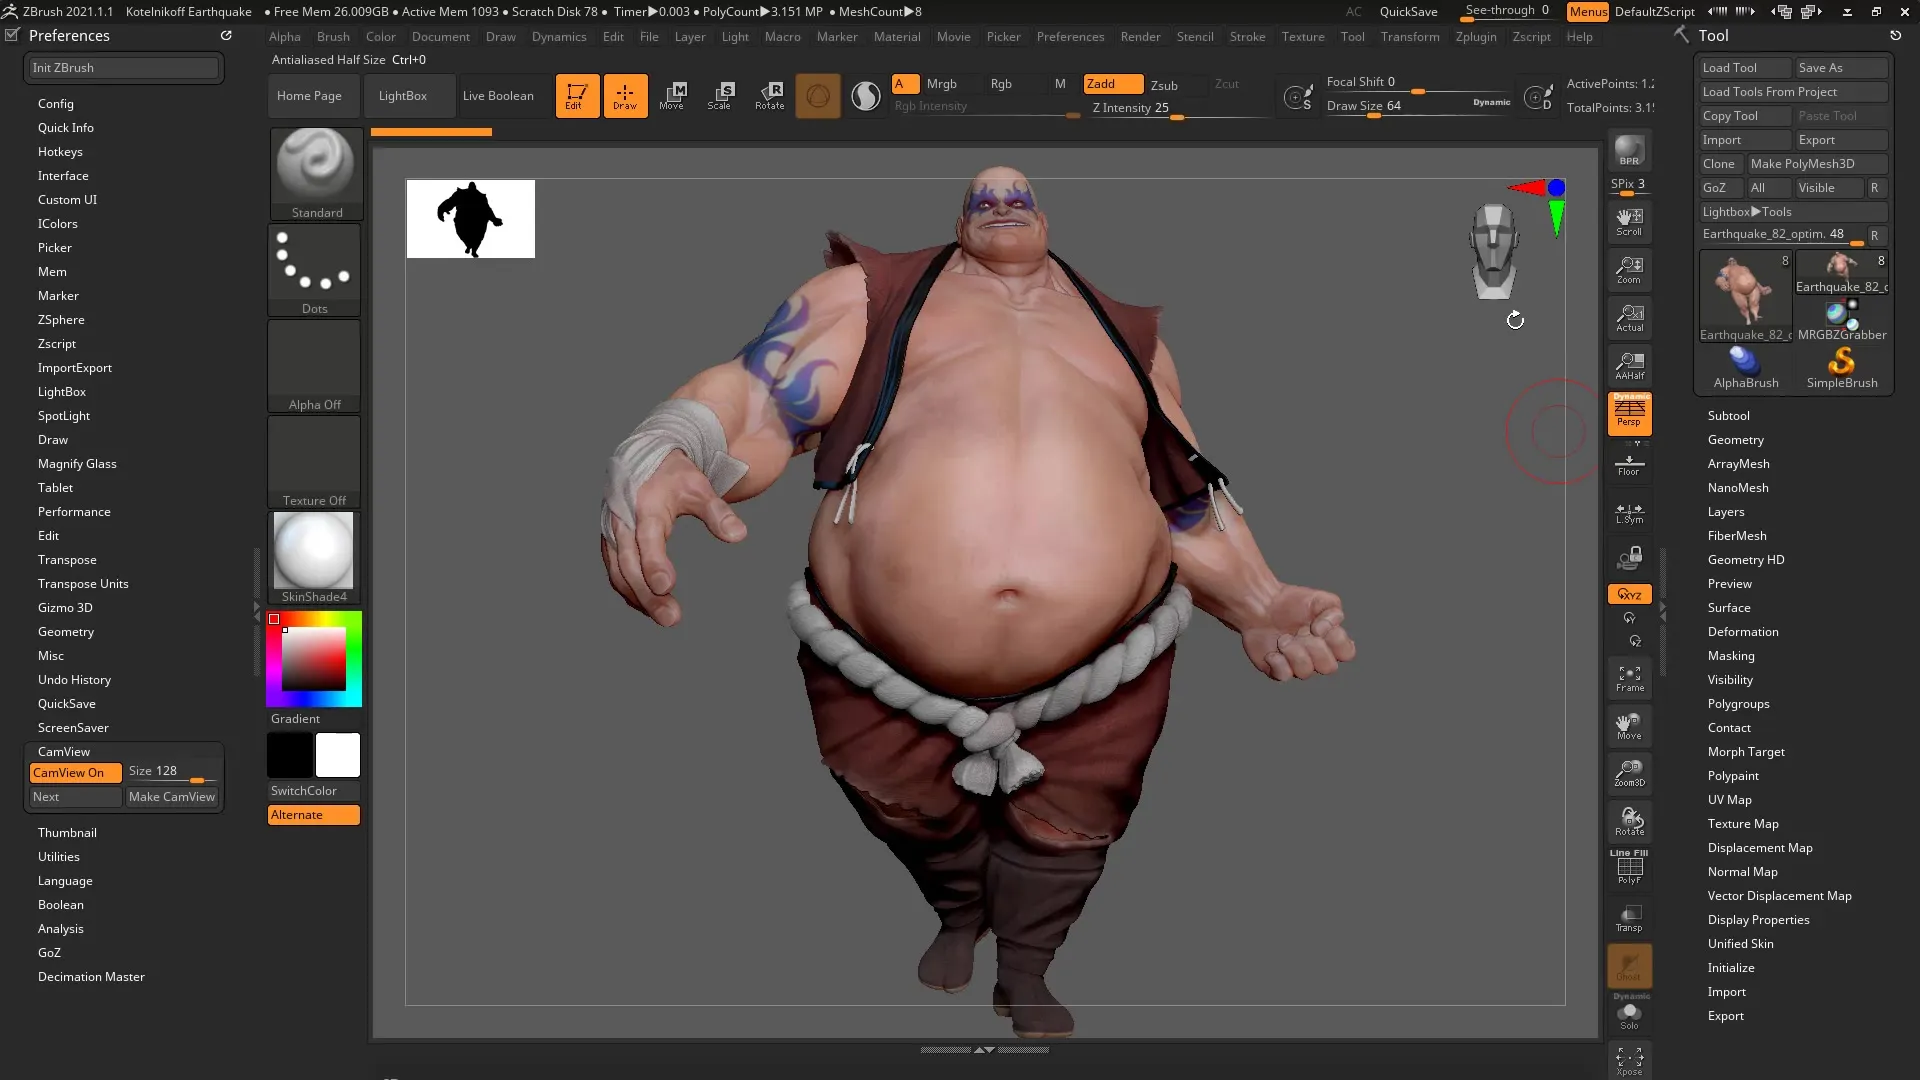
Another helpful feature is the Cam View. This allows you to easily align your model. Click on your model in the viewport and use the mouse to rotate the view as desired.
8. Using the View Options
Use the various view options to switch between the front, side, and top views. This increases your flexibility when working on complex models and helps you quickly adjust the perspective.
9. Personalizing the Views
If the view of the figure bothers you, you have the option to further customize it. In the “Next” menu, you can try out various abstract shapes and design the view according to your preferences.
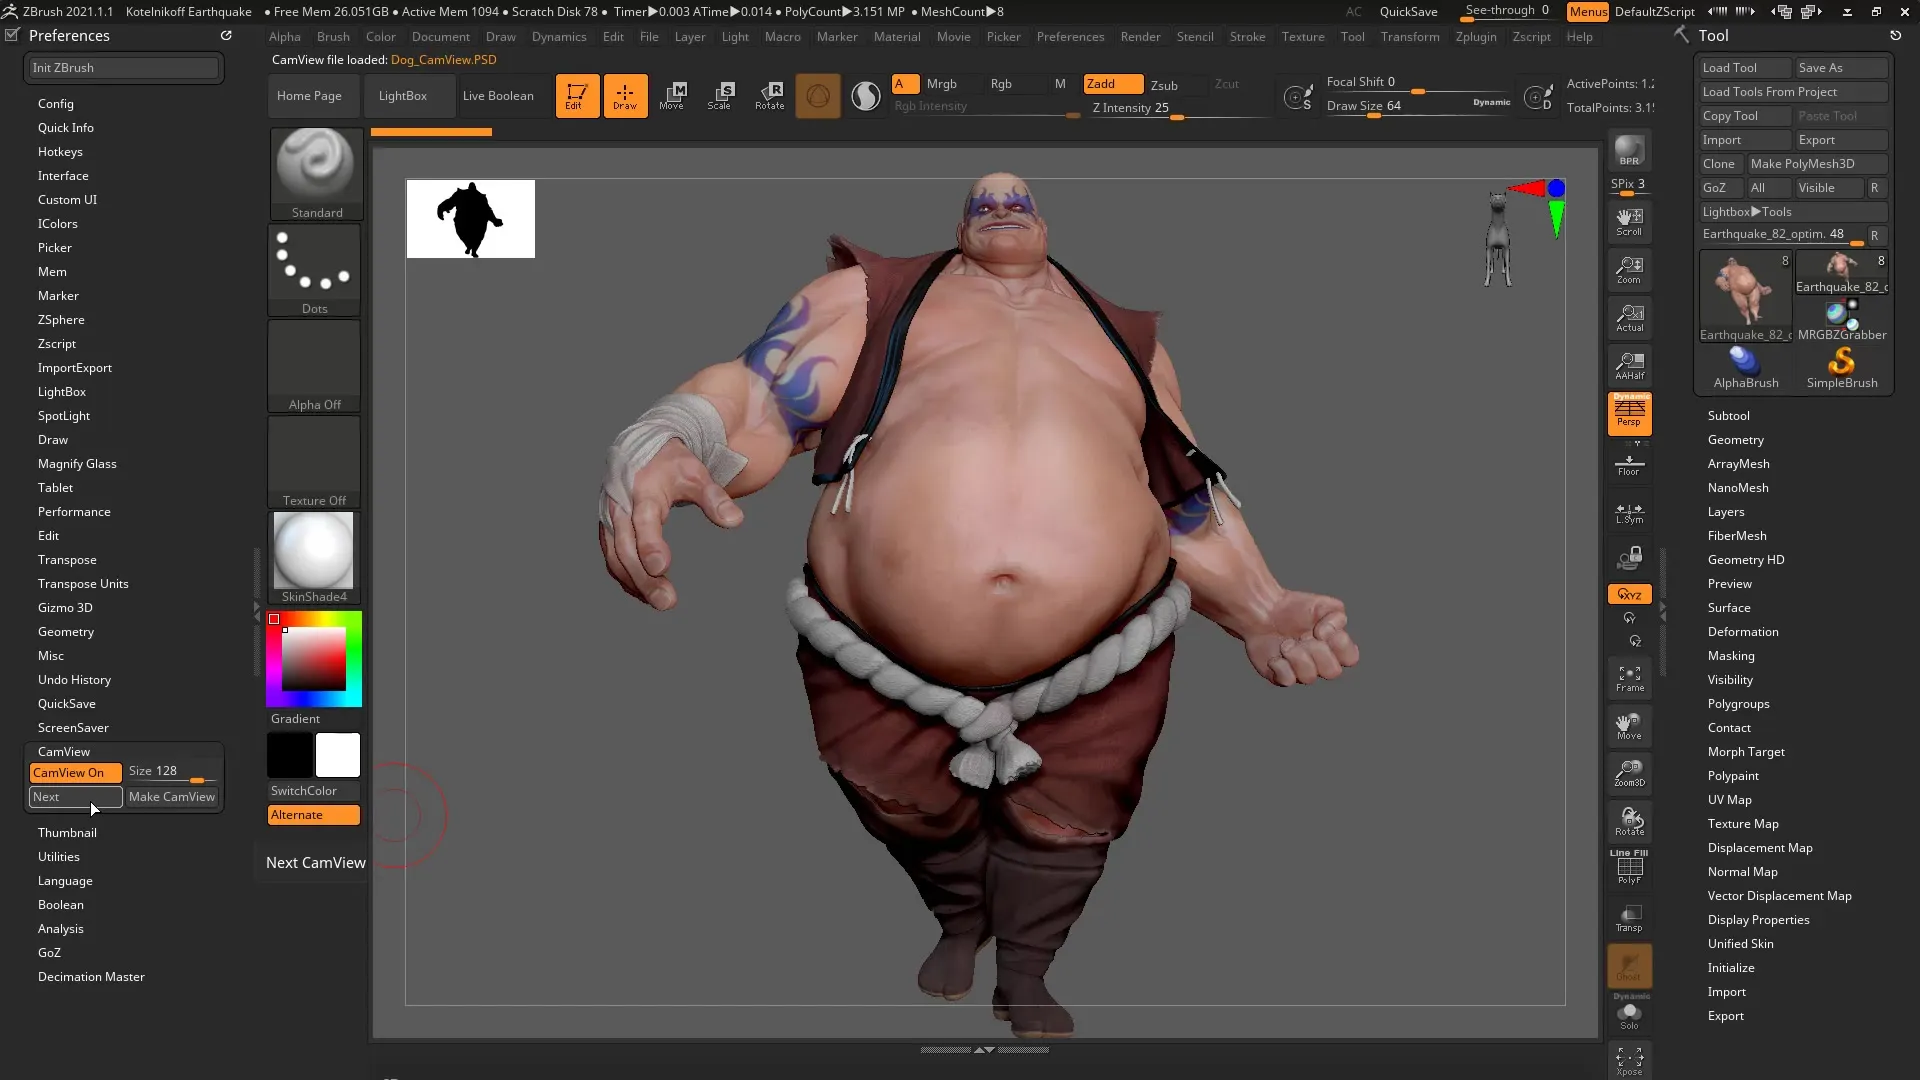
10. Utilizing Axis Alignments
A practical feature is rotating around the axes. You can easily adjust the views with a right or left click, allowing you to quickly focus on the desired model.
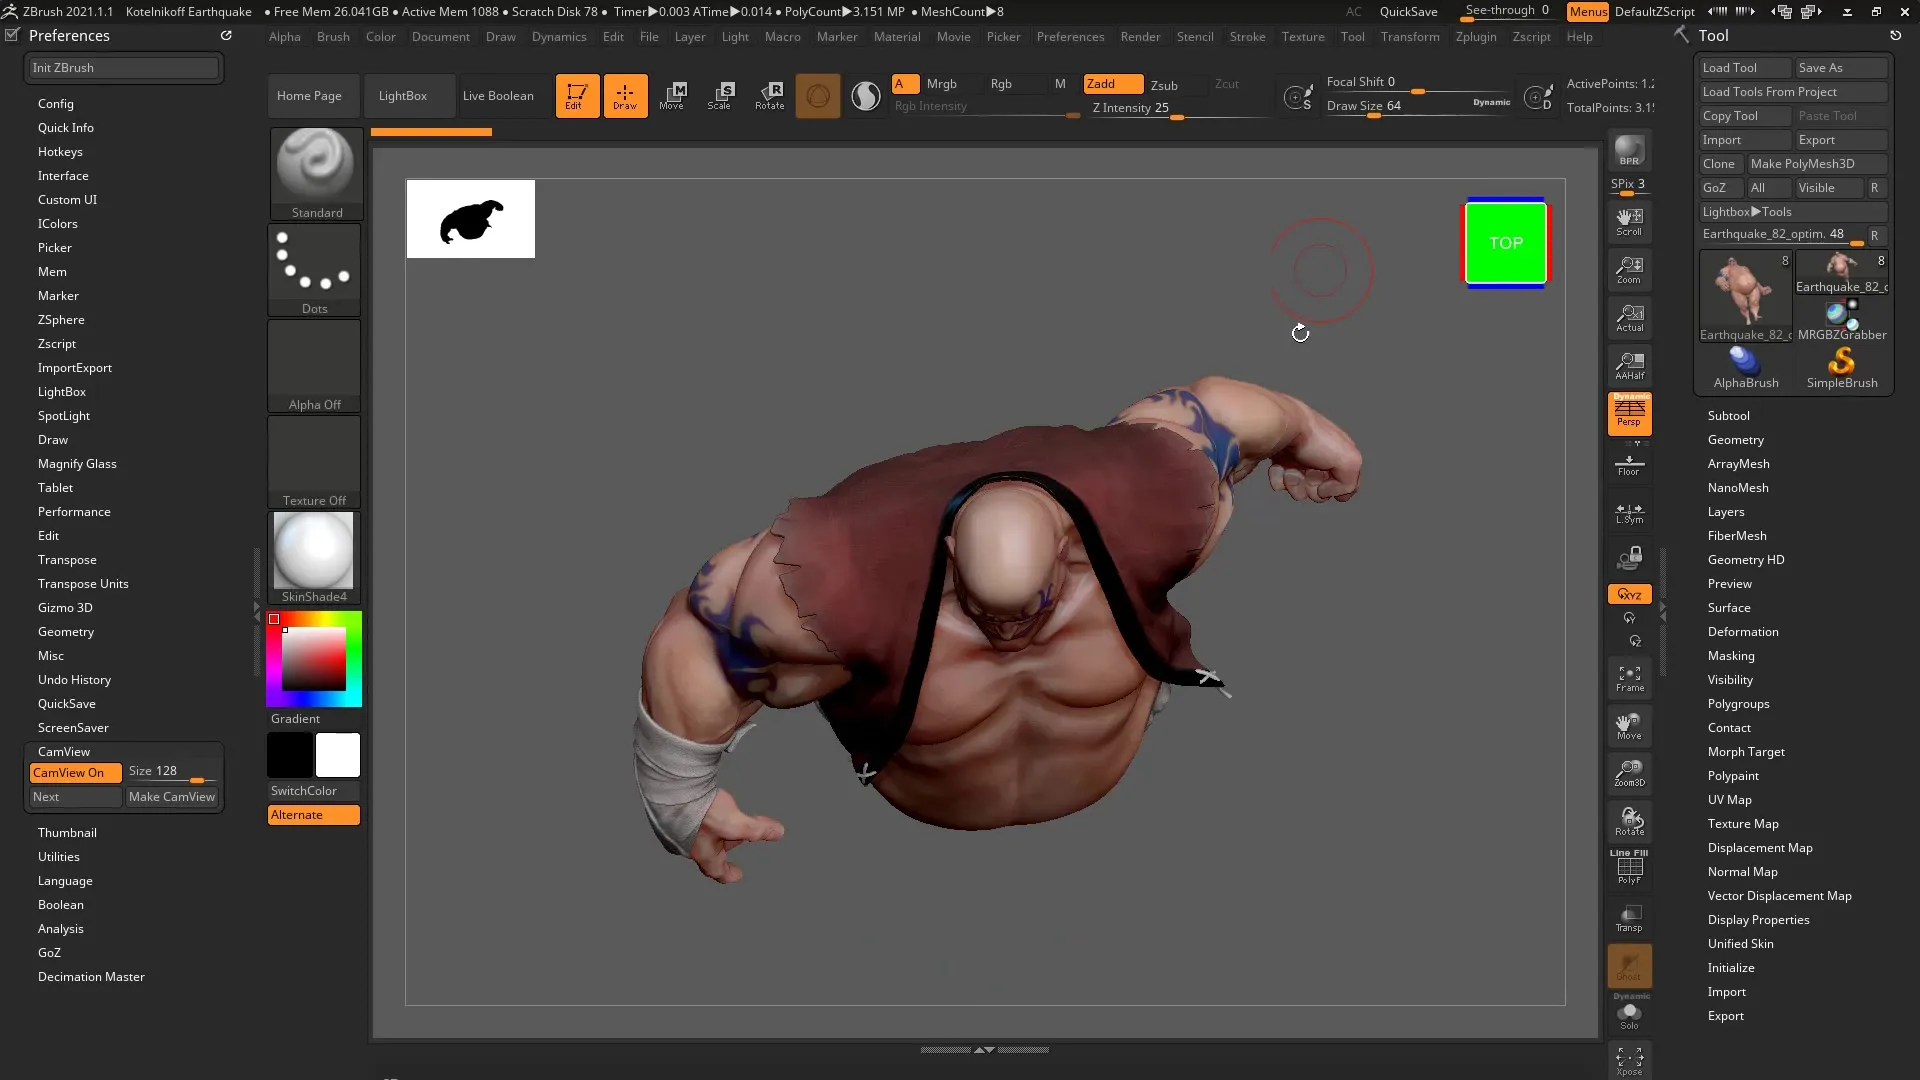
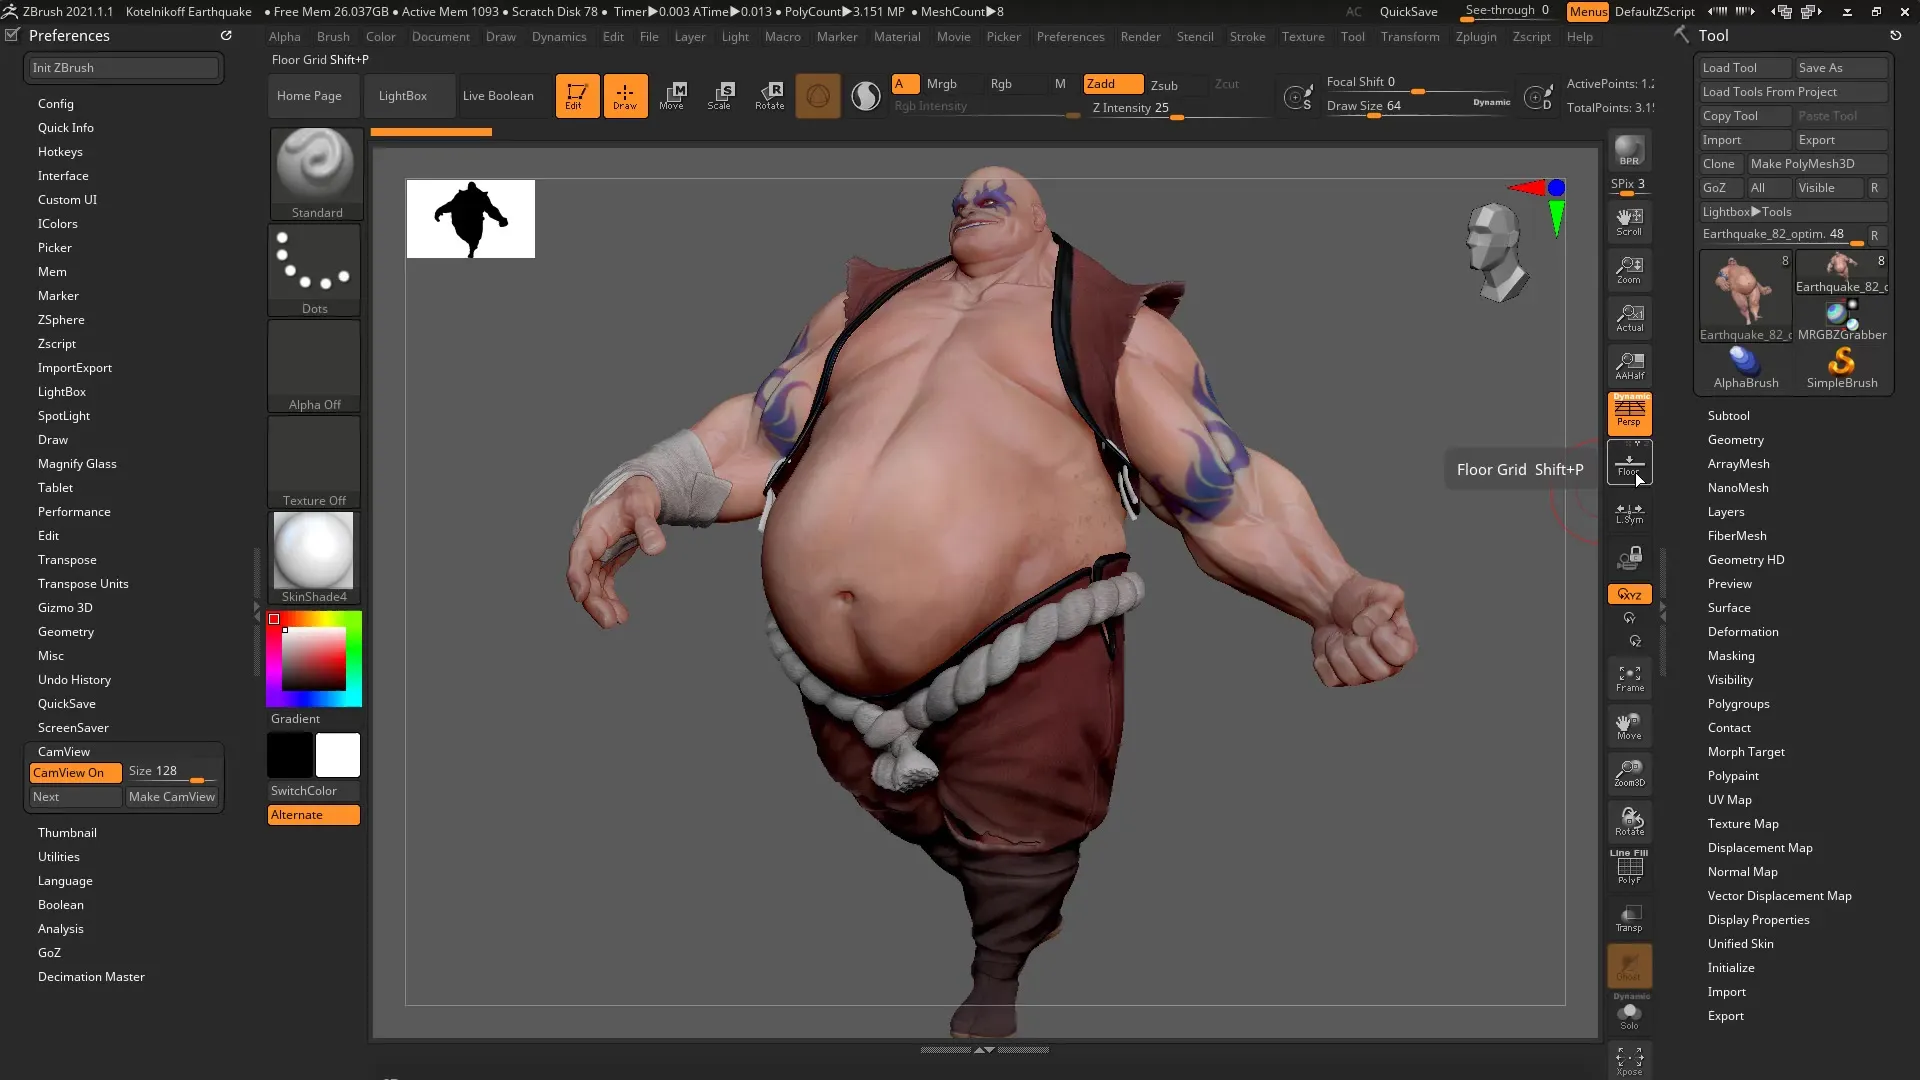
11. Visibility of Other Models
When working with subtools, it can be beneficial to be able to display different perspectives and views. This allows you to maintain an overview and make more precise adjustments.
Summary – ZBrush 2020: Cam Silhouette & Cam View in Detail
The introduction of the Cam Silhouette and the Cam View in ZBrush 2020 has significantly improved the way you work with 3D models. With these two features, you can effectively analyze the silhouette of your model and adjust the views to work faster and achieve more accurate results.
Frequently Asked Questions
What is the Cam Silhouette?The Cam Silhouette displays the outline of your model and helps you better assess its shape.
How does the Cam View function work?The Cam View allows for an easy top view and quick alignment of your model.
Can I adjust the silhouette colors?Yes, you can adjust the background color and silhouette size in the Preferences.
Is there an export function for thumbnails?Yes, you can export your customized silhouettes as thumbnails.
Why are the views important?The different views help ensure that the geometry of your model looks correct from all perspectives.
