Would you like to take your digital graphic work to the next level? The Cloth Brushes in ZBrush give you the ability to effortlessly integrate fascinating details into existing fabrics and dynamically deform objects. In this tutorial, I will show you how to make the most of the various step-by-step features of these tools.
Main Insights
- With the Cloth Brushes, you can quickly add realistic fabric details.
- The TransposeCloth Brush allows dynamic deformations of objects.
- Optimize the settings for firmness and self-collision to achieve the best results.
Step-by-Step Guide
To master the application of the Cloth Brushes, follow these steps:
1. Selecting the Cloth Brushes
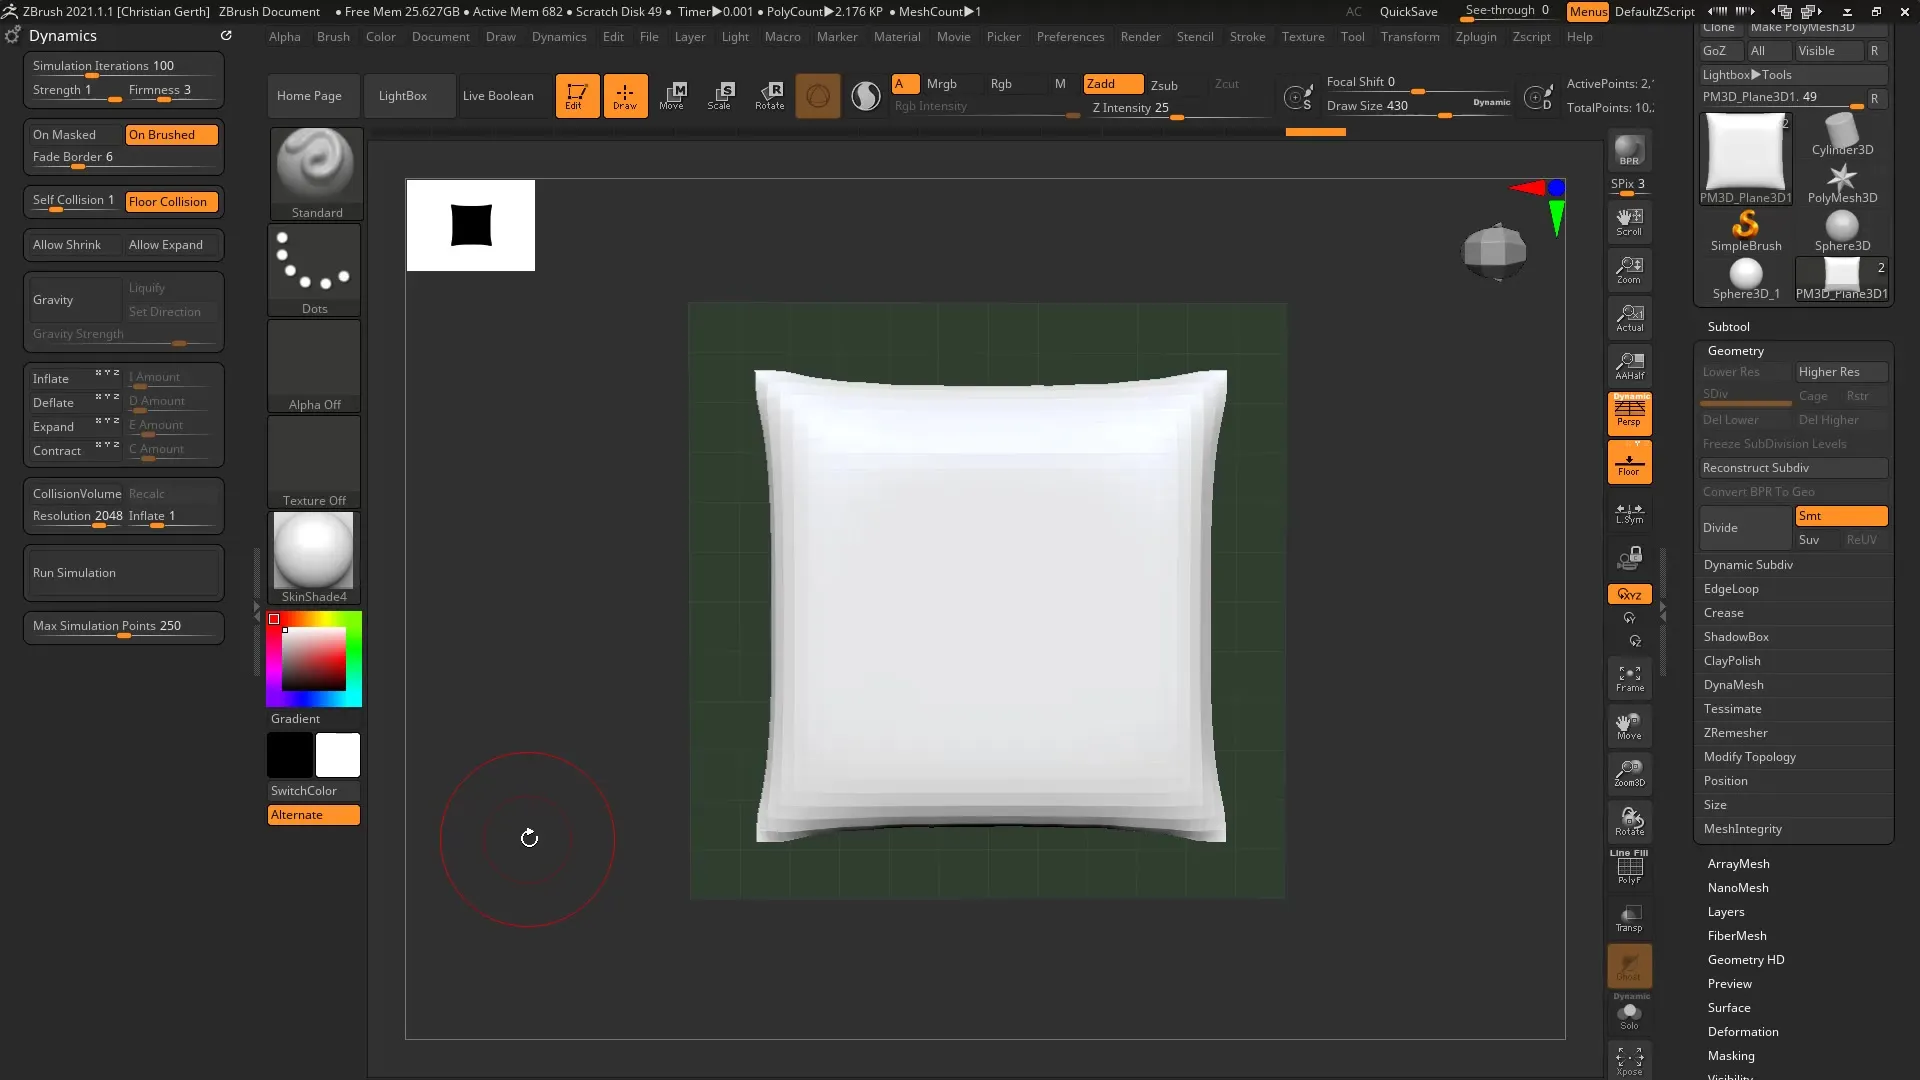
Start ZBrush and open the Brush menu. Press the “C” key to display a variety of Cloth Brushes, from “Clo Ball” to “Clo Wind.” These brushes work efficiently with the Dynamics.
2. Create a Base Object
For this tutorial, we will use a simple pillow model that you created earlier. Select the pillow and choose a suitable Cloth Brush. I prefer the “Hook Brush.” Begin to work on your model.
3. Adjust the Geometry
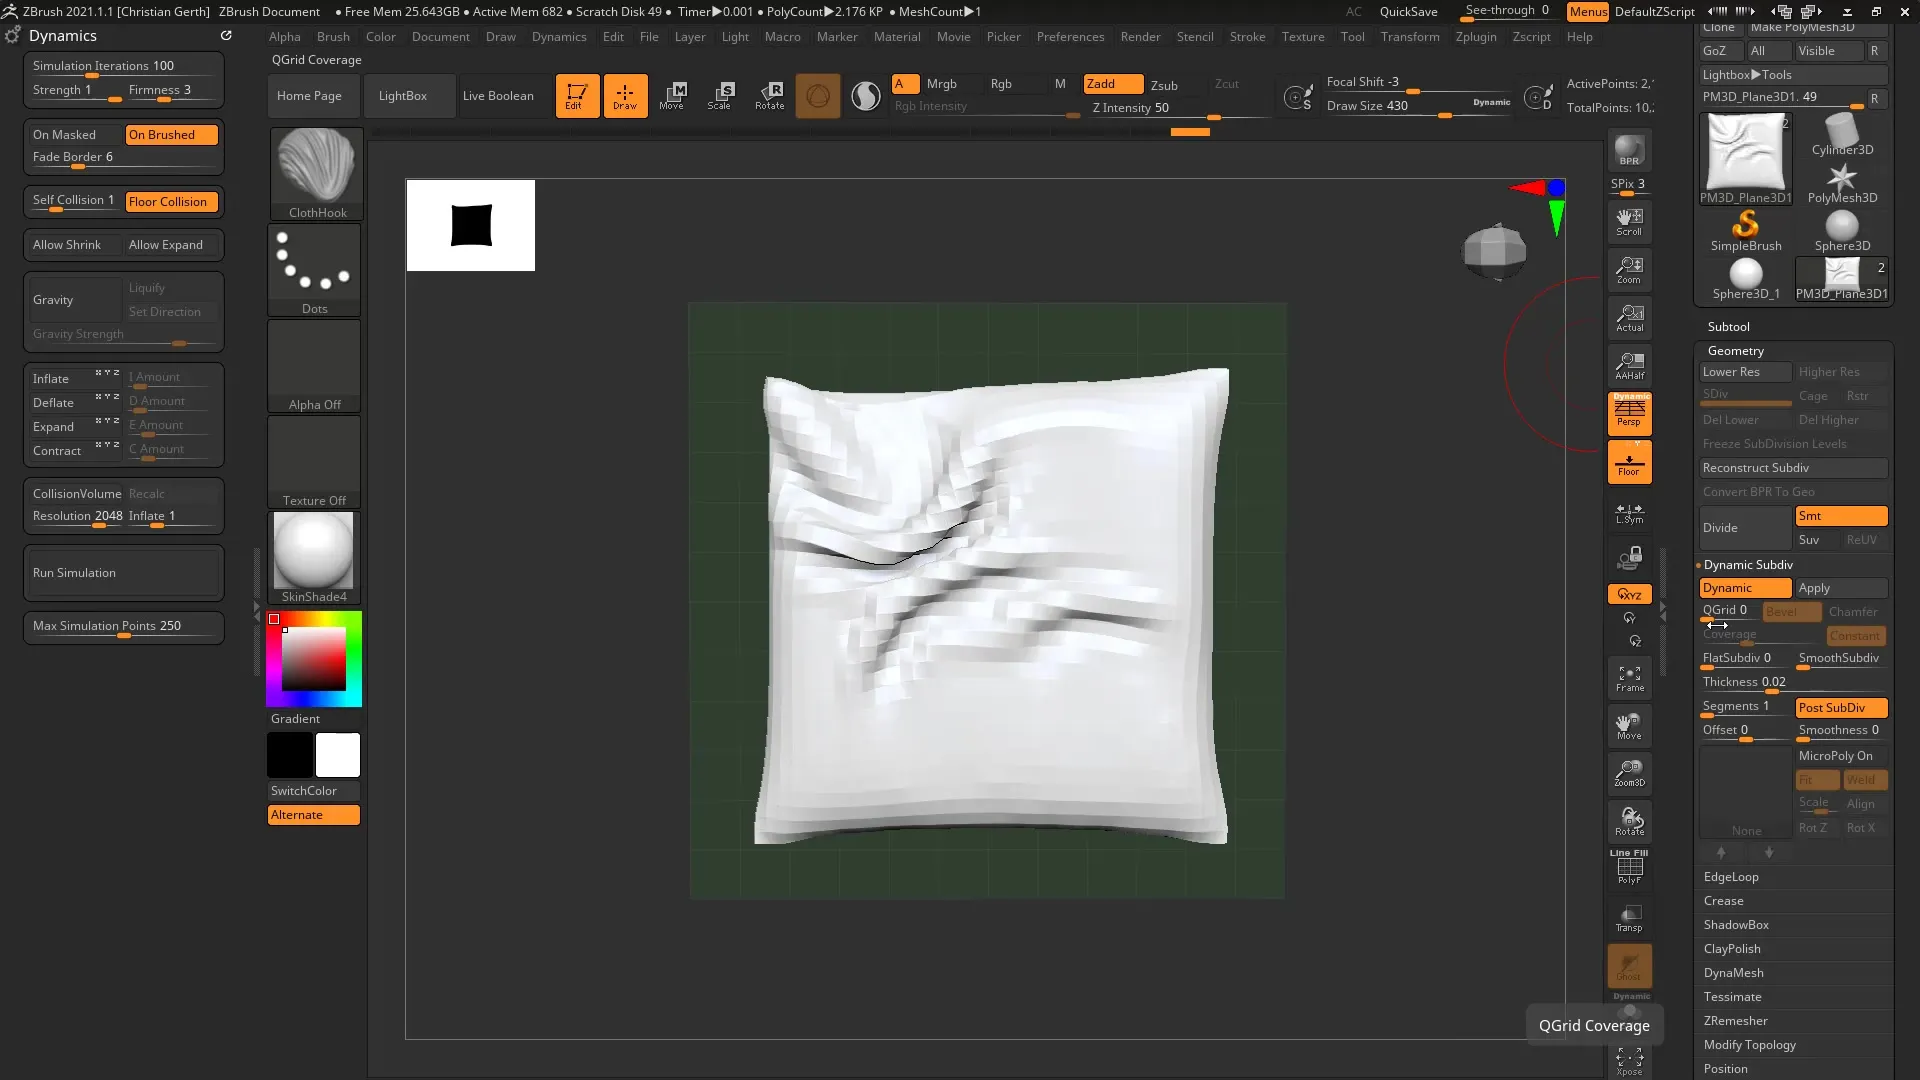
You may need more geometry to better refine the details. Use the dynamic subdivisions to refine the geometry of your model so that the results become more appealing.
4. Brush Size and Settings
You can adjust the size of the brush as usual. Make sure that your firmness setting is not too high, as this can hinder editing. Also, reduce the self-collision to work more smoothly.
5. Try Other Brushes
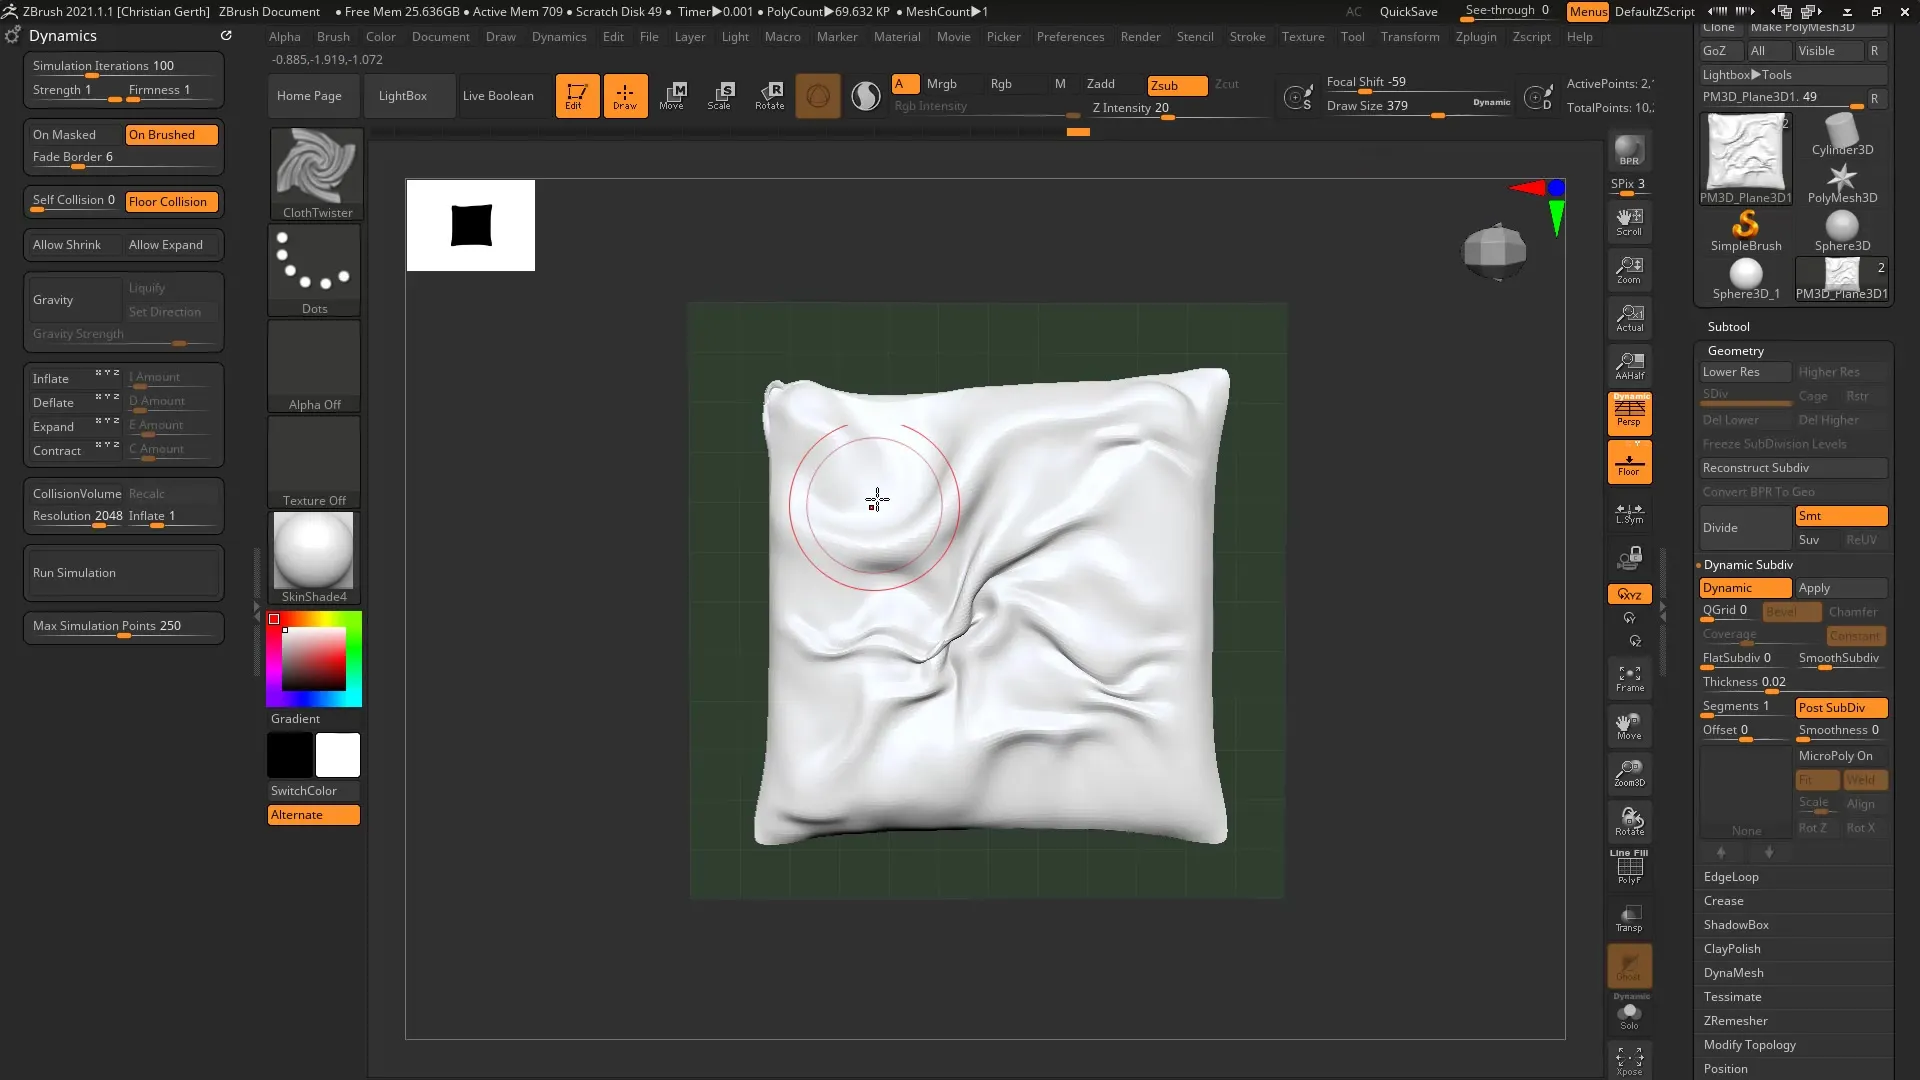
In addition to the “Hook Brush,” there is also the “Twist Brush.” This allows you to create creative folds in your fabric. Be careful not to overload the geometry to avoid affecting your system's performance.
6. Keep Dynamic Subdivision in Mind
Your system has limits regarding the number of points it can process. Be aware that you shouldn’t exceed 50,000 polygons, as this can heavily burden your computer.
7. Fine-Tune the Details
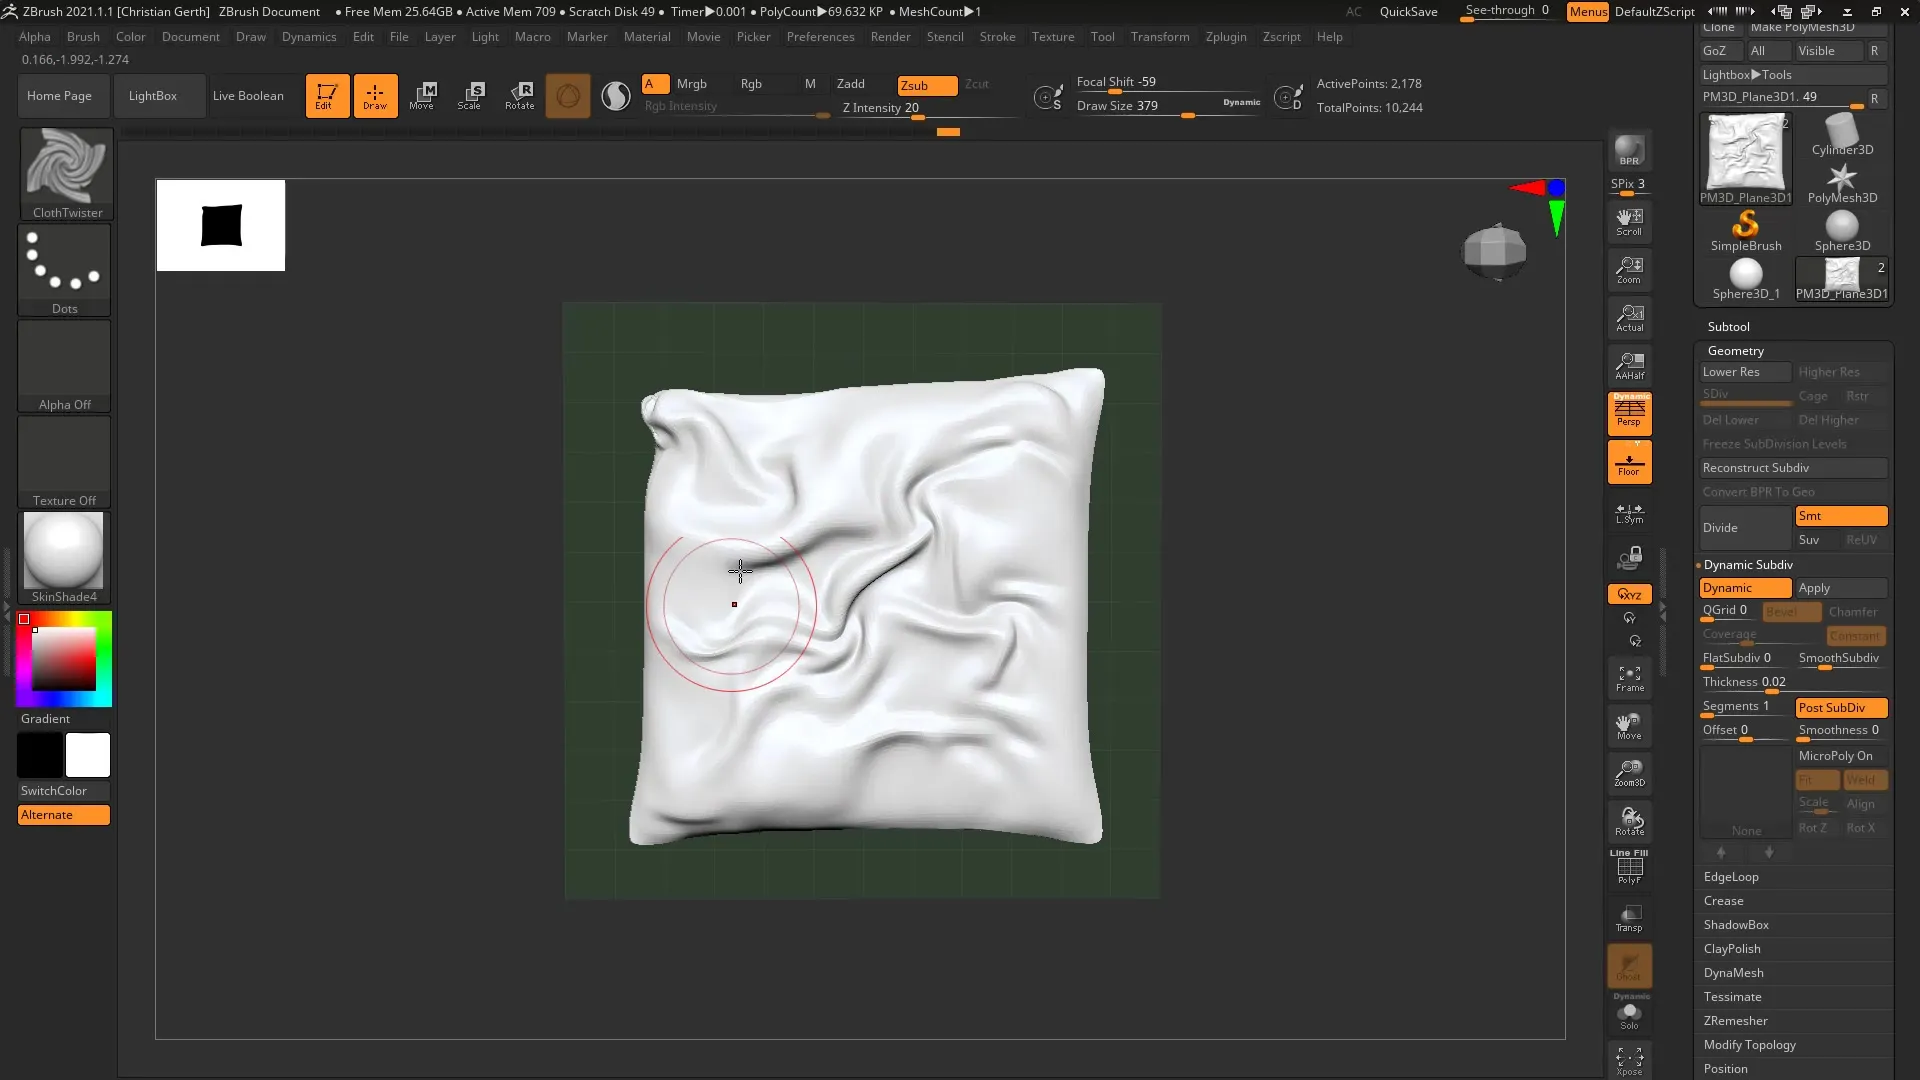
If you are sure that your geometry is still manageable, you can start adding fine details. Ensure that the level of detail is not too high, as this can negatively affect performance.
8. Use Masking
To edit specific areas of your model, you can use masking. Masking helps exclude certain parts of the model from editing while applying the dynamics to other areas.
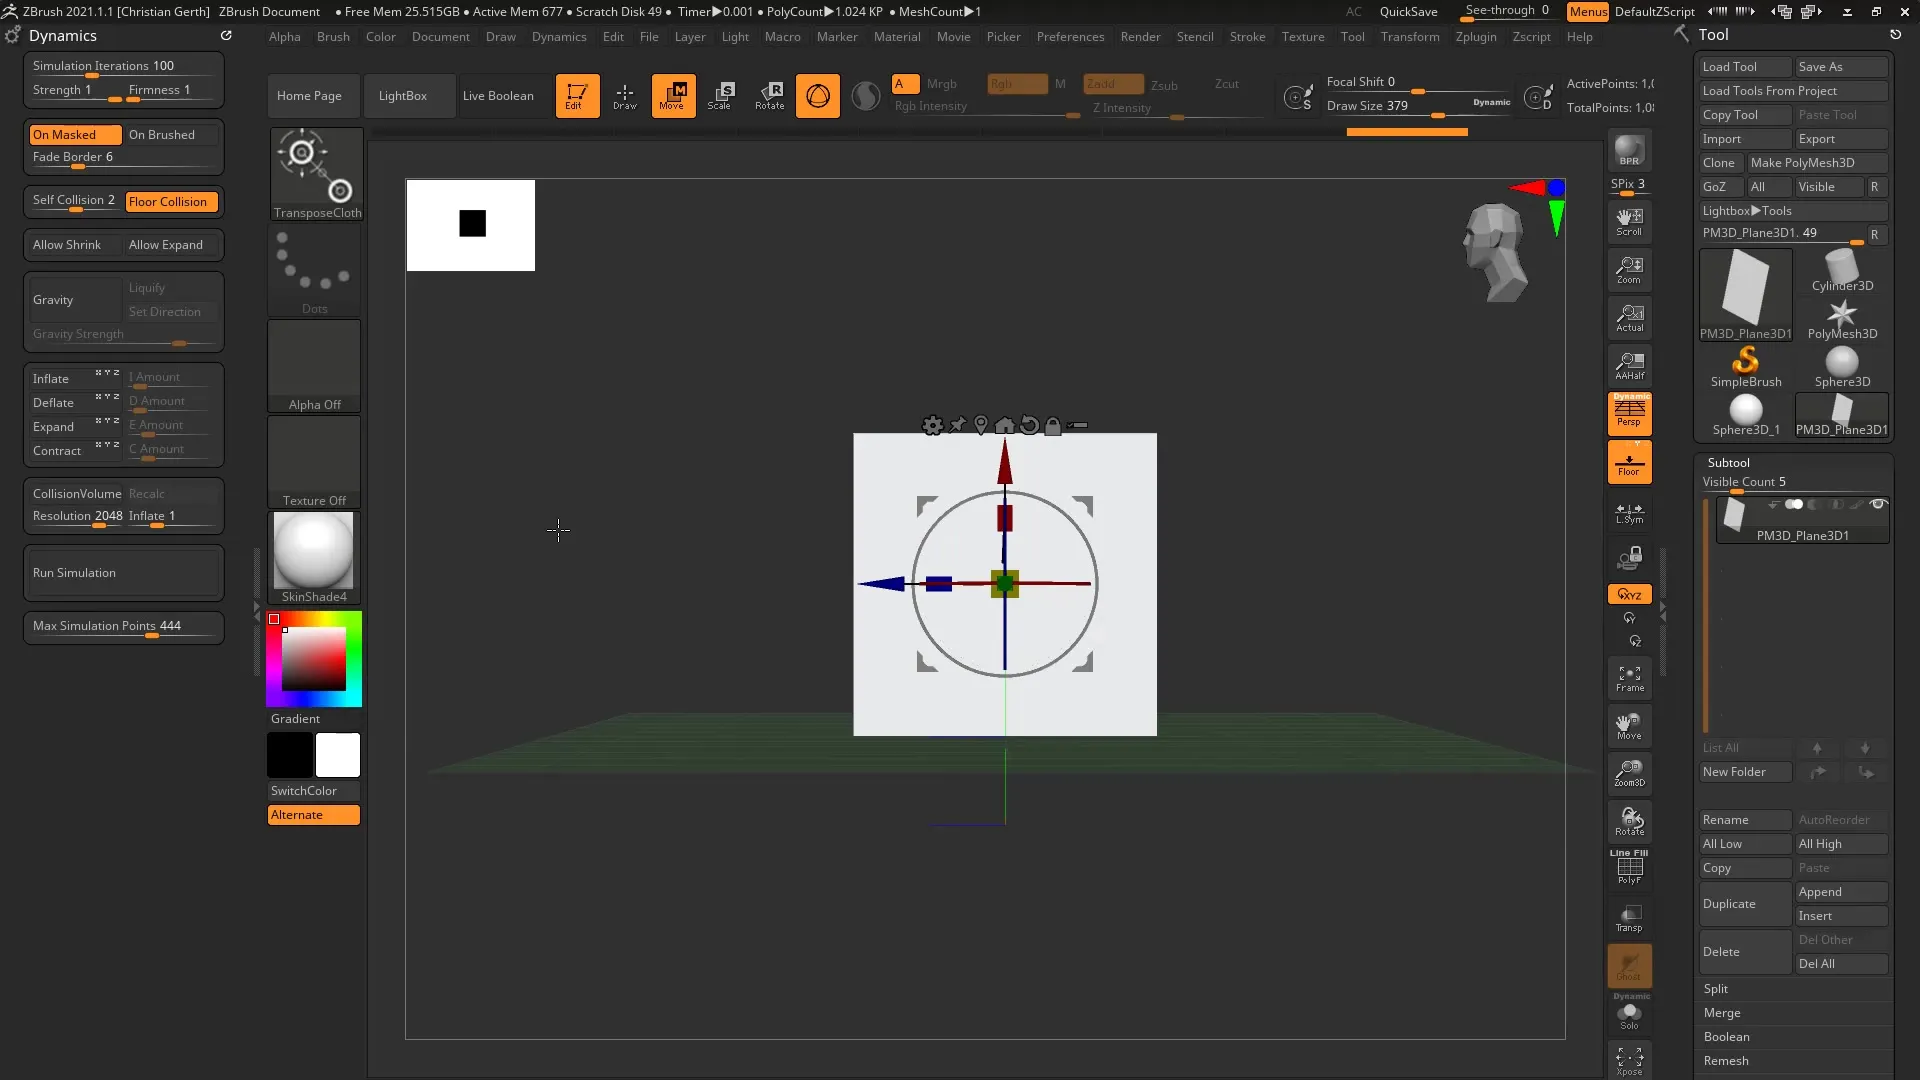
9. Apply the Transpose Close Tool
The Transpose Close Tool is very useful for editing fabrics. Move areas to create realistic folds and shapes. Its functions allow you precise editing of the pillow model.
10. Creating Rolls or Specific Shapes
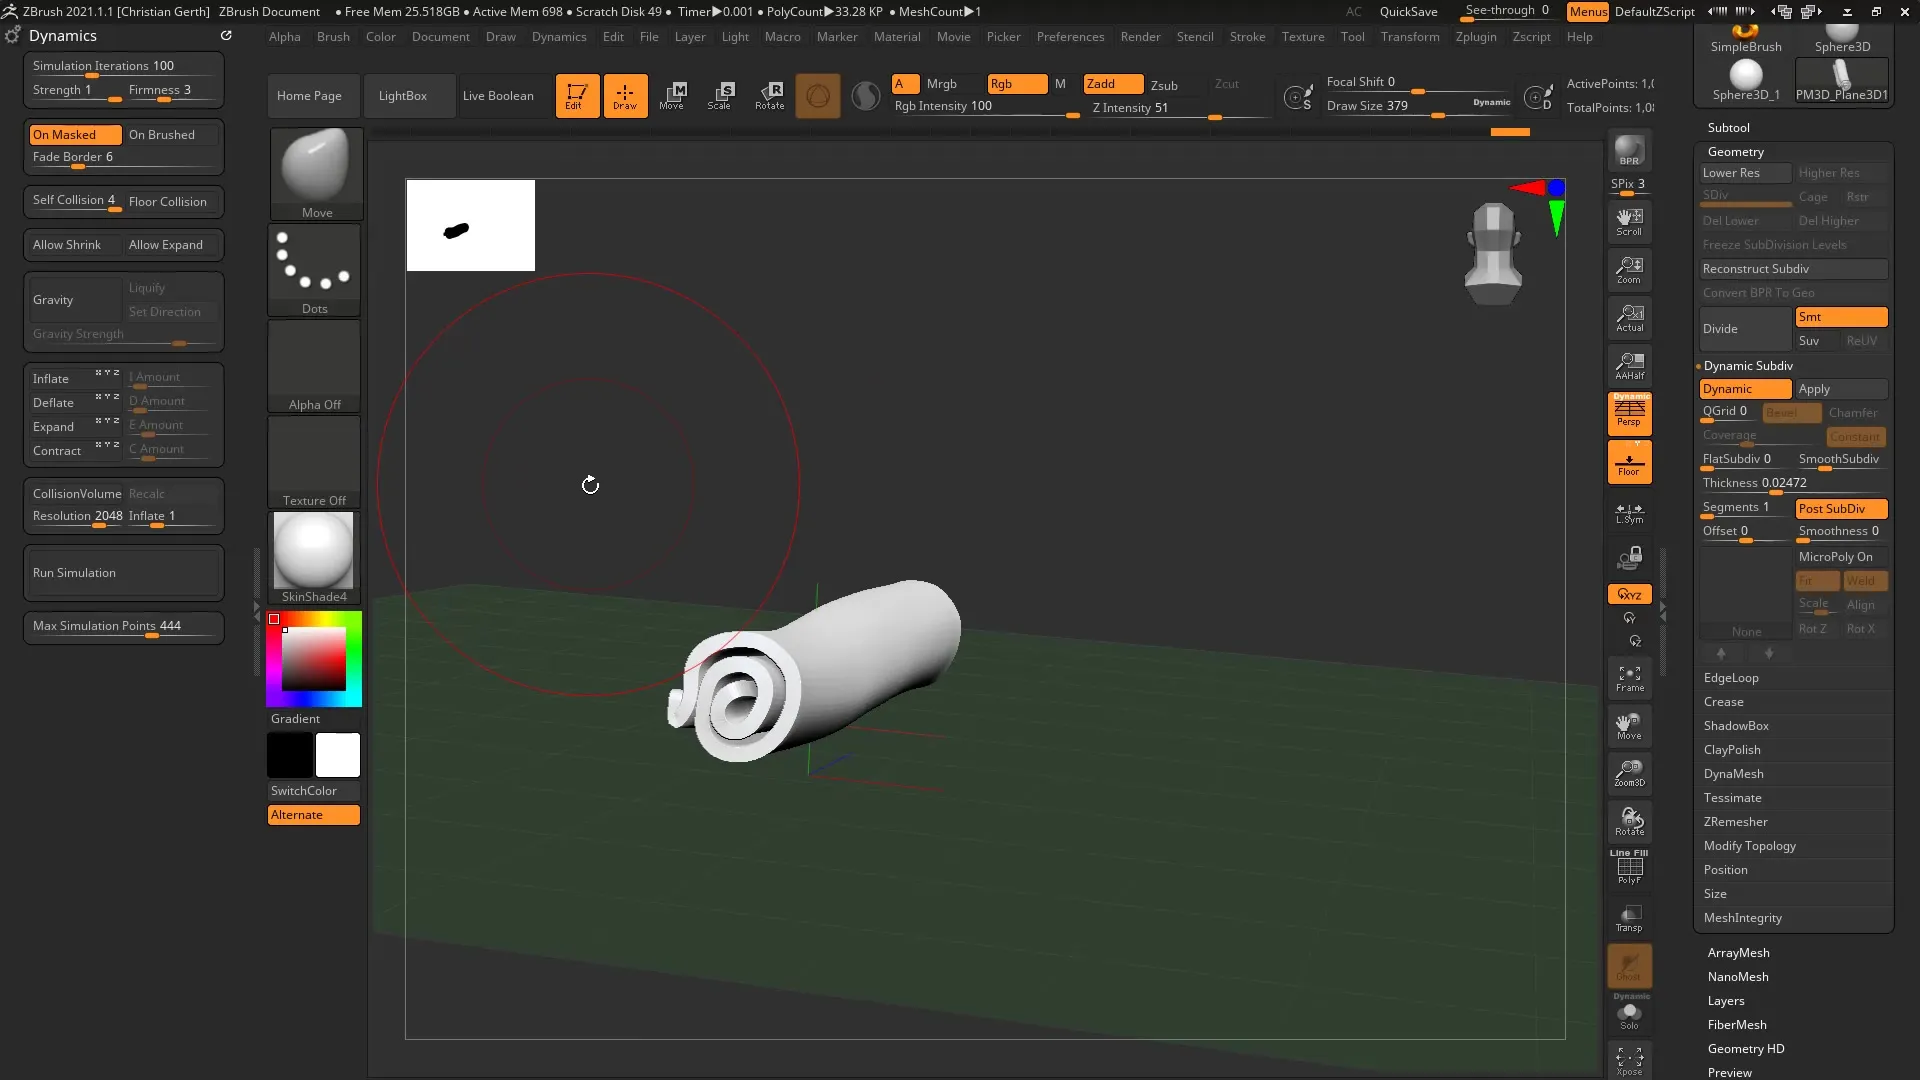
With the combination of the Transpose Close Tool and the masking functions, you can create extraordinary shapes like rolls. Experiment with the settings to achieve the best result.
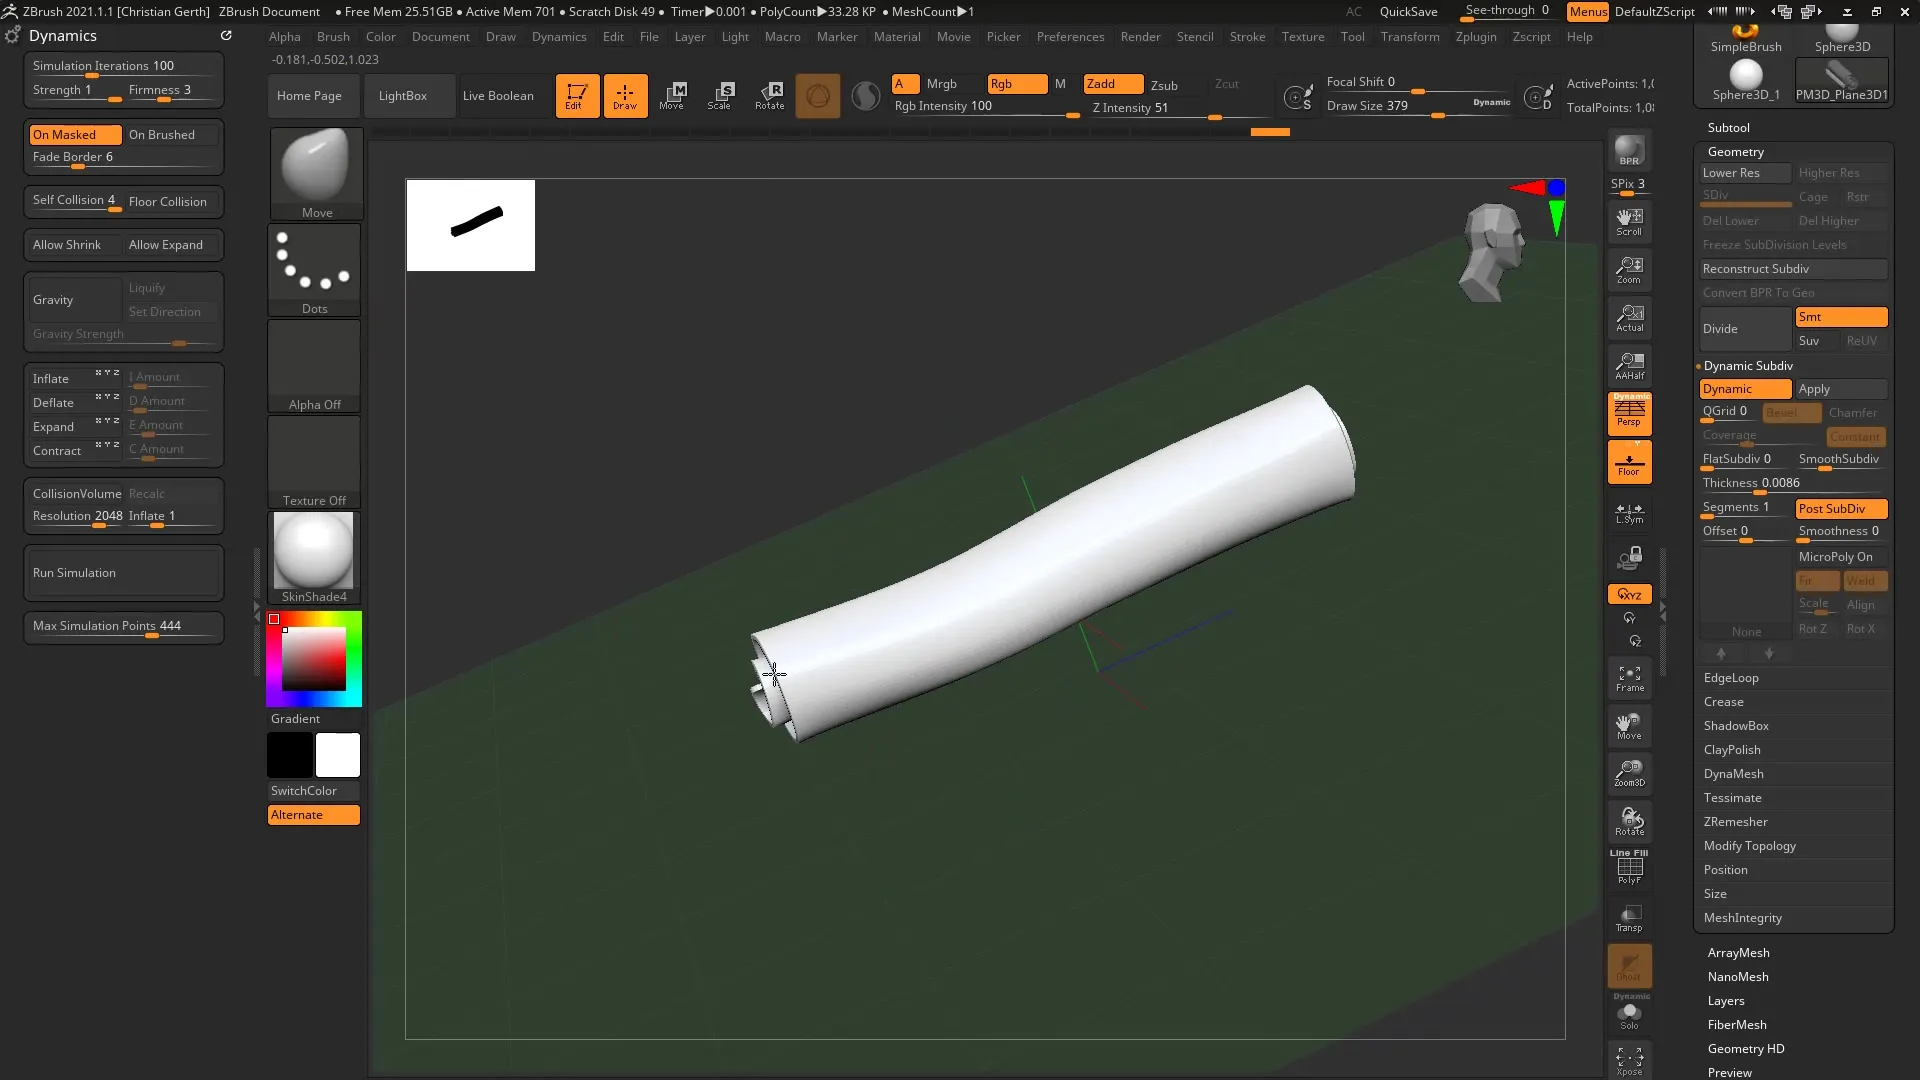
11. Final Result
Once you are satisfied with your adjustments, take a look at your work. You have the option to experiment with more brushes or finish your model.
Summary – ZBrush 2021: Application of the Cloth Brushes for Dynamic Fabric Deformations
In this tutorial, you learned how to use the Cloth Brushes in ZBrush efficiently to achieve fascinating details in your digital fabrics. With the right settings and techniques, you can create dynamic, realistic shapes.
Frequently Asked Questions
How do I choose the right Cloth Brush?Look at the different brushes in the brush menu and select the one that meets your needs.
What is the optimal firmness setting?A setting of about 2 to 3 is usually ideal for editing fabrics.
How can I optimize my system's performance?Keep the polygon count below 50,000 and reduce detail levels when your system starts slowing down.
Can I use masking tools?Yes, masking helps you control specific areas and improves editing capabilities.
What role do dynamic subdivisions play?They facilitate the creation of more complex geometries while also impacting performance.
