In the area of 3D modeling, ZBrushoffers strong support for artists with its comprehensive tools. The introduction of Nanomeshinstances in ZBrush 2021provides you with a new way to manage geometry efficiently while also allowing you to customize details as needed. In this tutorial, you will discover how to effectively utilizeNanomesh instances as I guide you step by step through the process.
Key Insights
- Nanomesh instances allow you to add details without significantly increasing the polygon count.
- You can transform and modify base models to customize your designs.
- Working with individual polygons for Nanomesh instances improves the organization and flexibility of your projects.
Step-by-Step Guide
To get the most out of the new Nanomesh instances, follow these steps and take advantage of the features that ZBrush offers.
1. Basic Setup
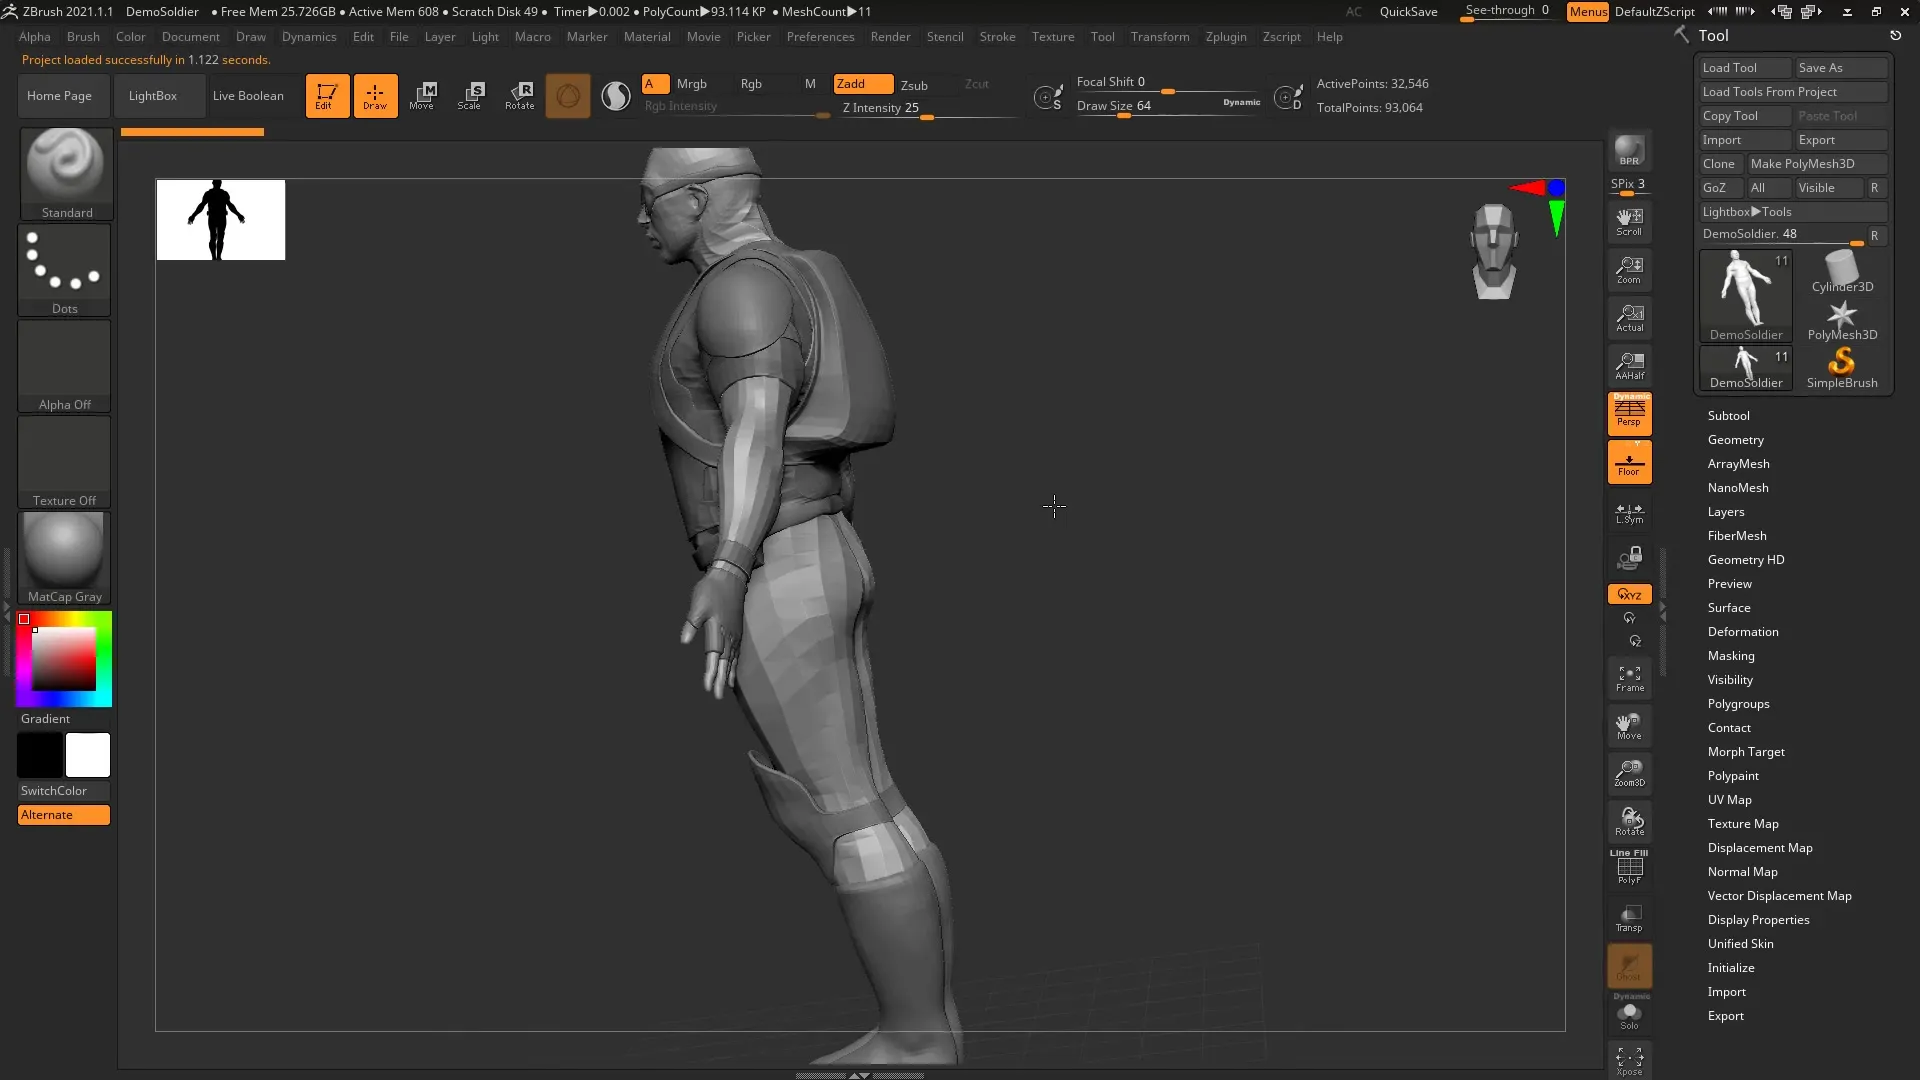
First, start with an already existing model, such as the demo soldier, in ZBrush. This template helps you precisely add details where you want them.
2. Modifying the Model
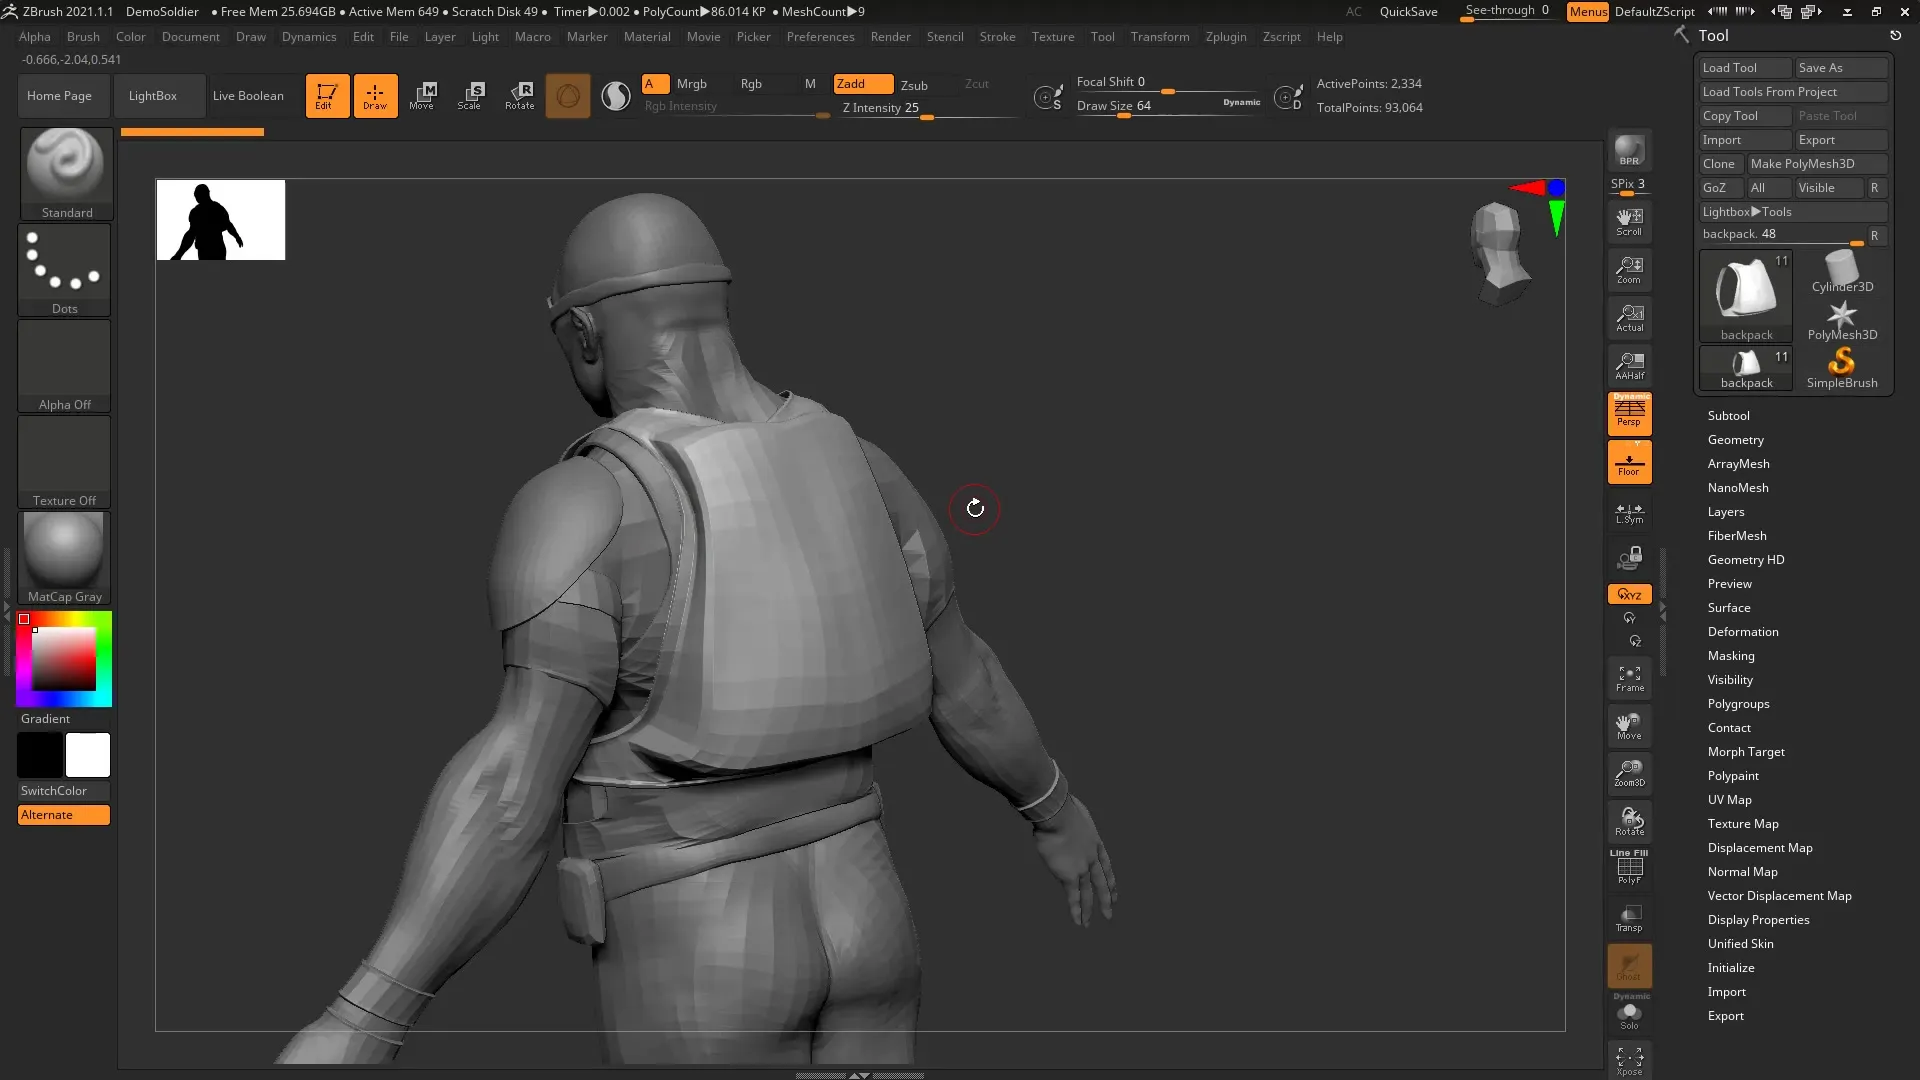
Begin by adding some details to the back of the demo soldier using the Insert Mesh Brushes. Make sure that the existing subdivision levels are not affected, as this could complicate your adjustments.
3. Creating a Geometry Base
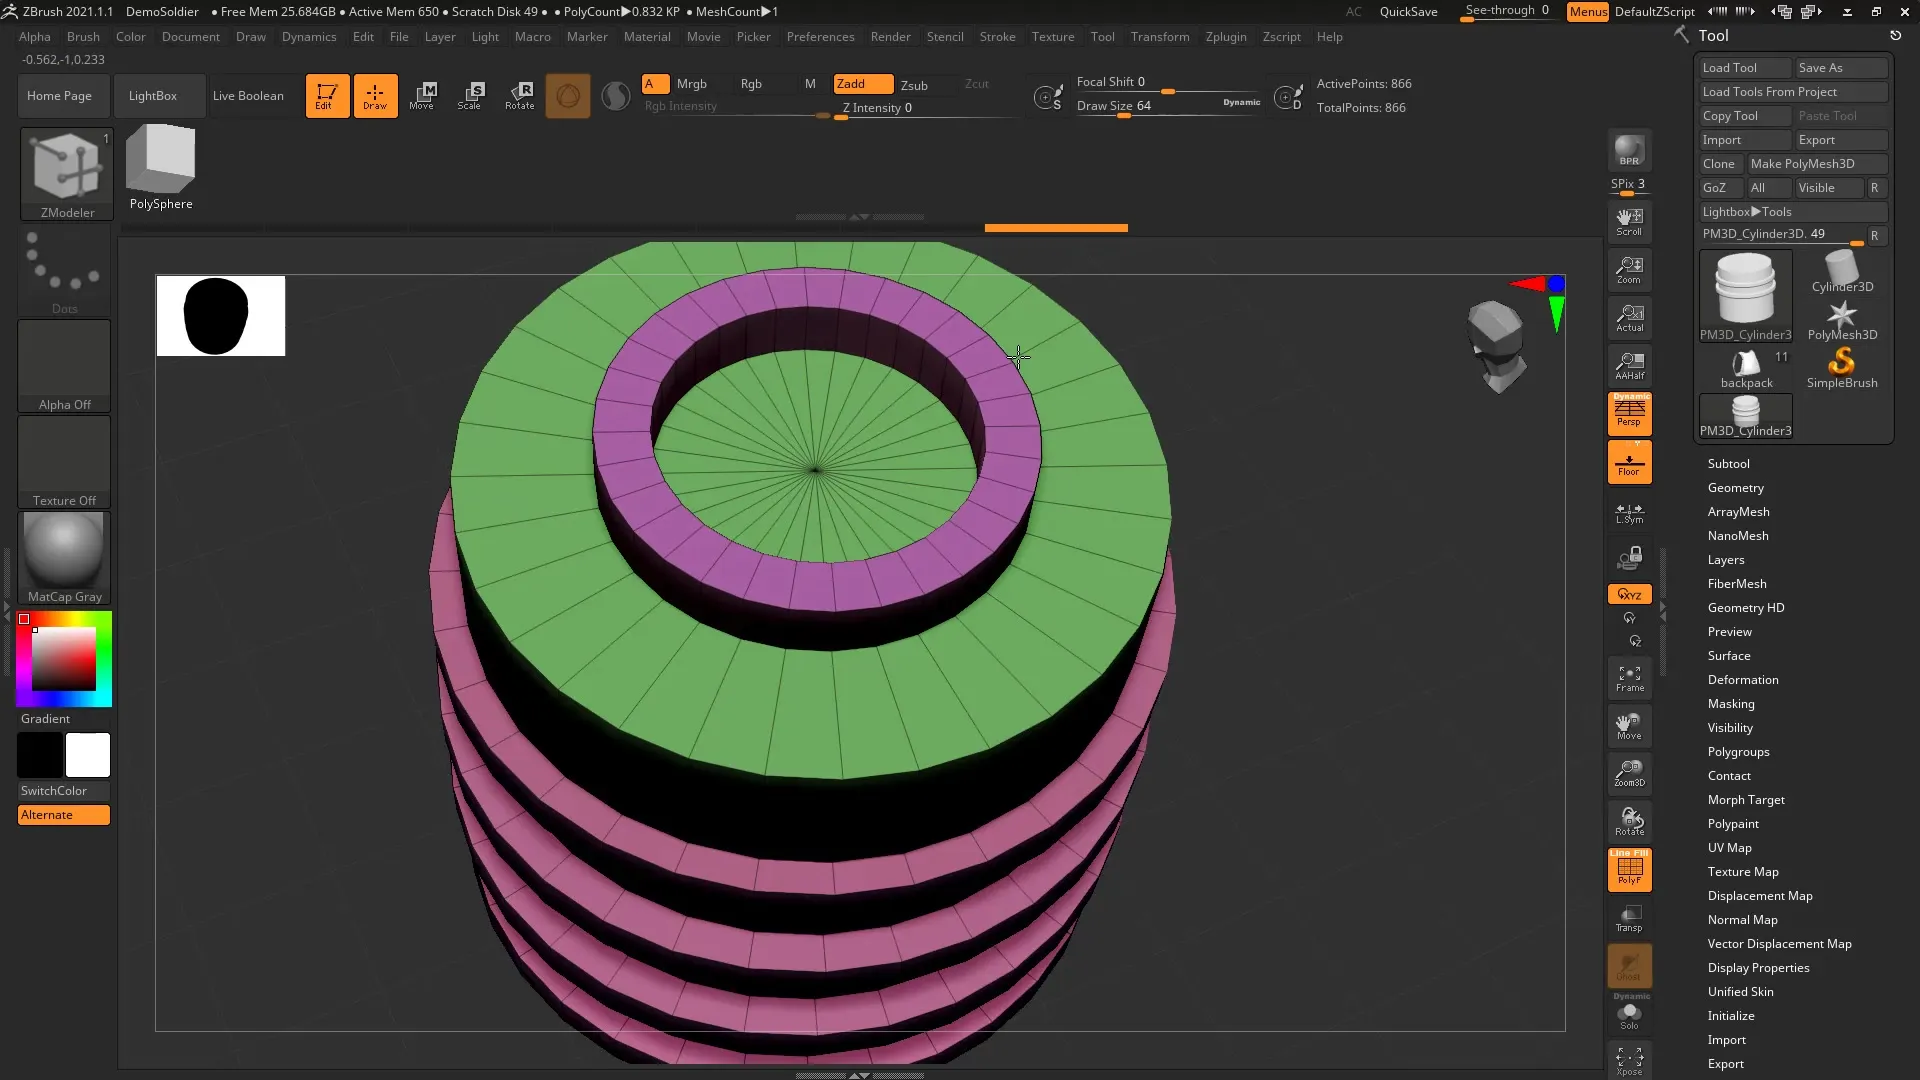
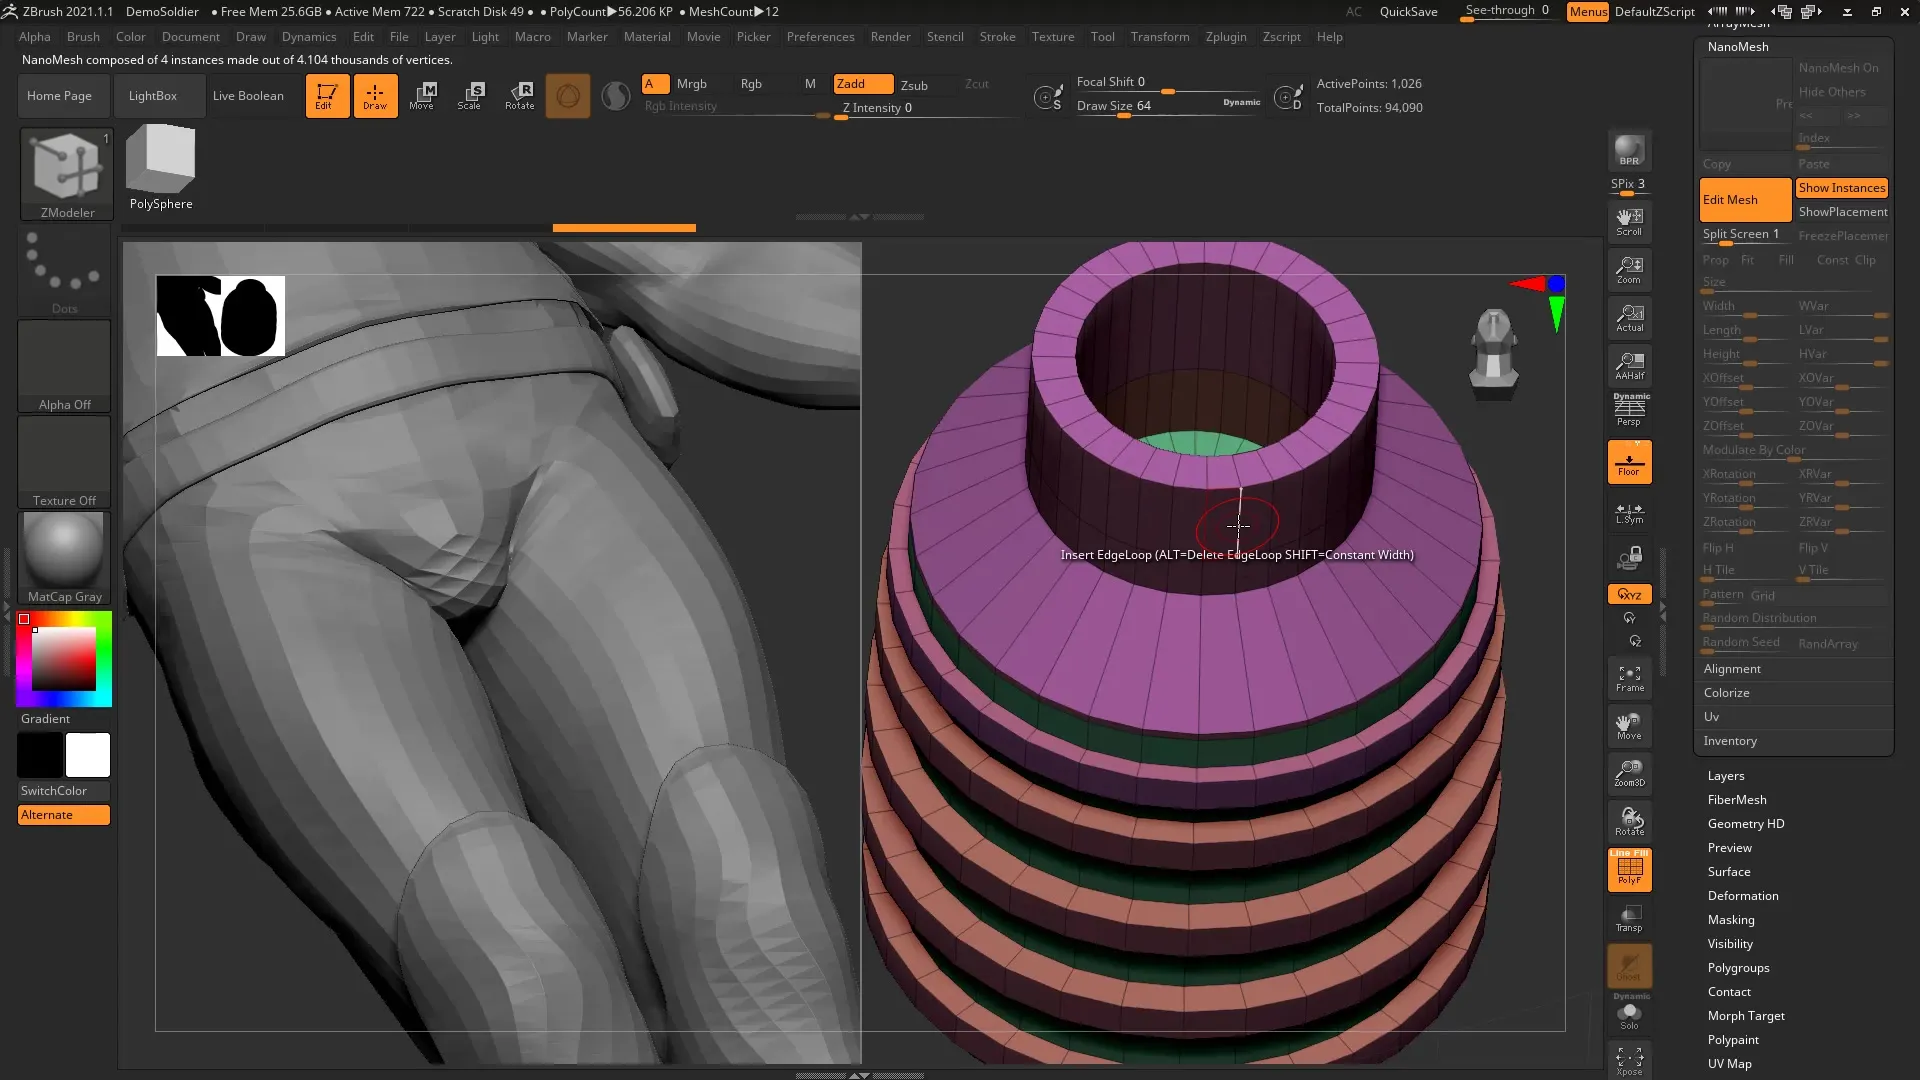
Create a cylinder that you convert into a polymesh. By working with the Z-Brush modifier, you can pull poly-loops for specific geometry to make the shape of your object more varied.
4. Converting to an Insert Mesh Brush
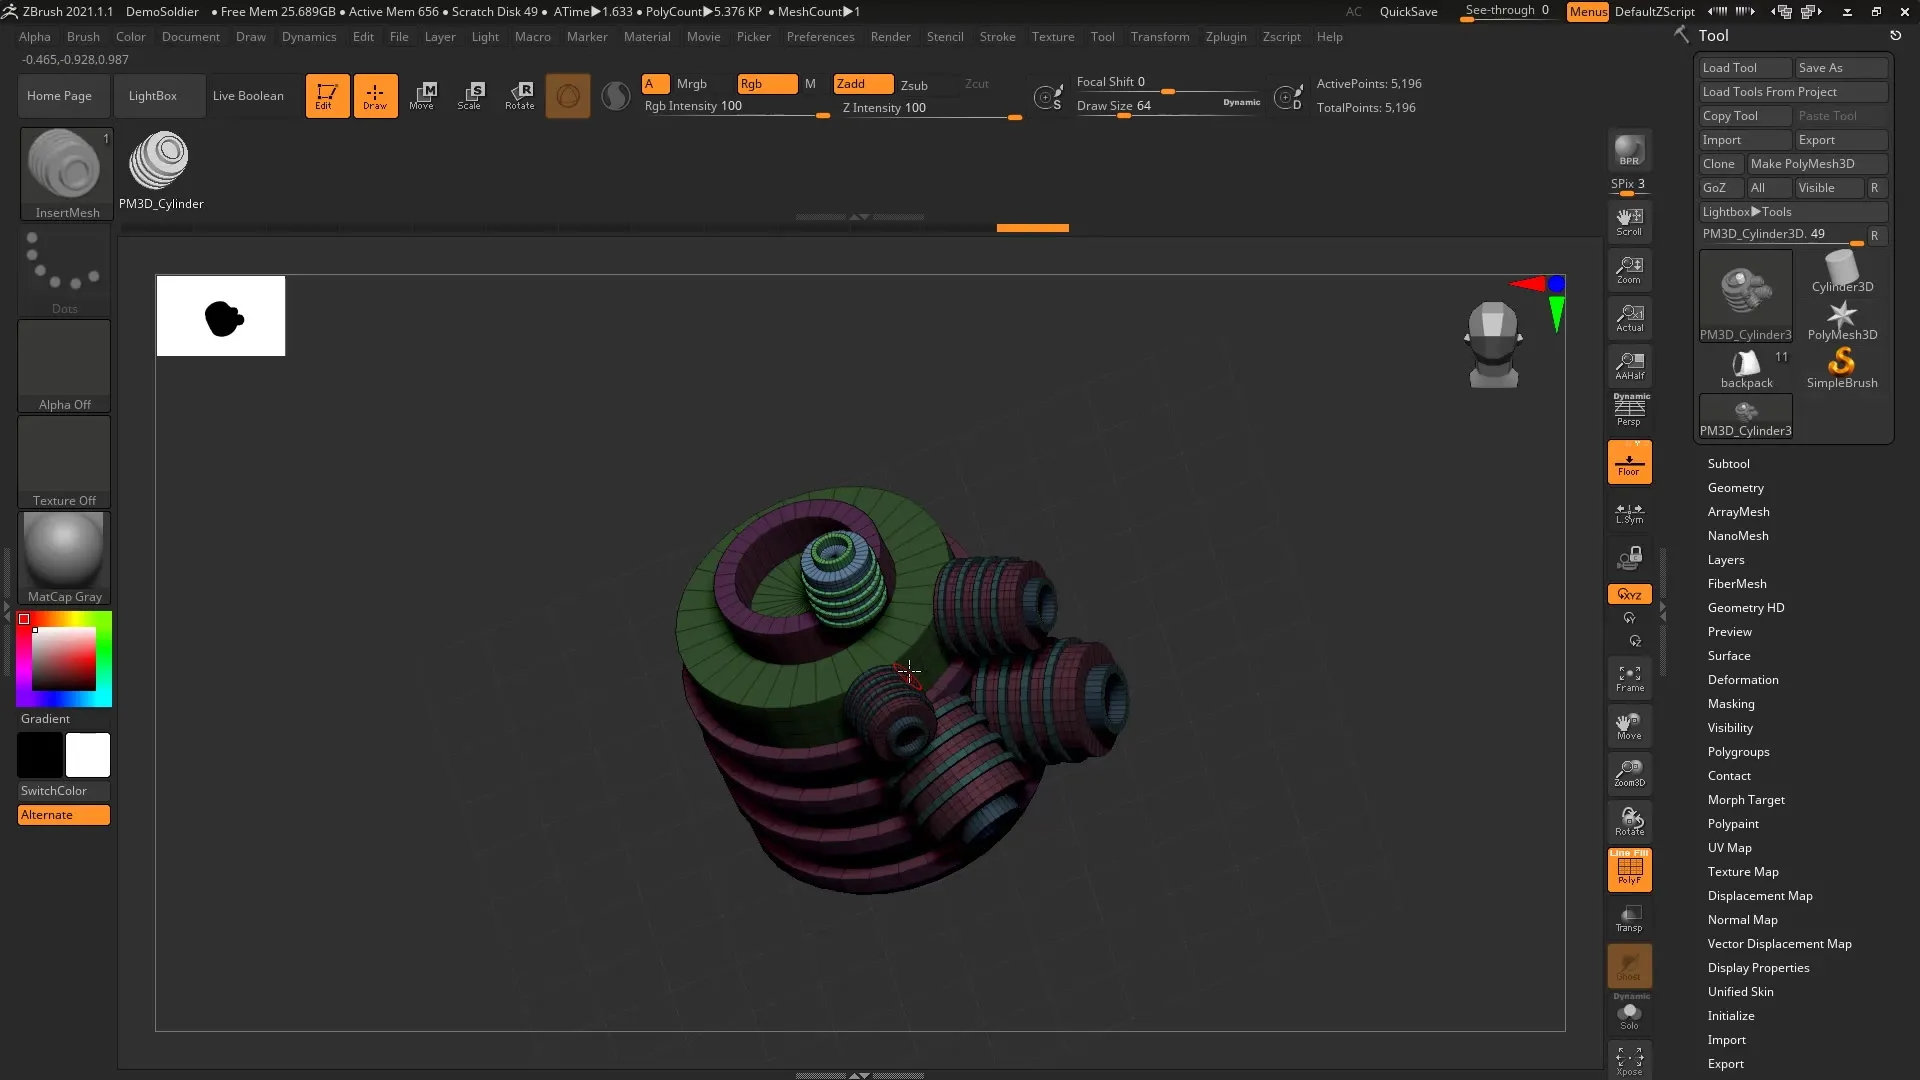
Now it’s important to transform the model into an Insert Mesh Brush. It’s crucial to ensure that there are no subdivision levels present, as you will want to modify this instance later.
5. Converting to Nanomesh
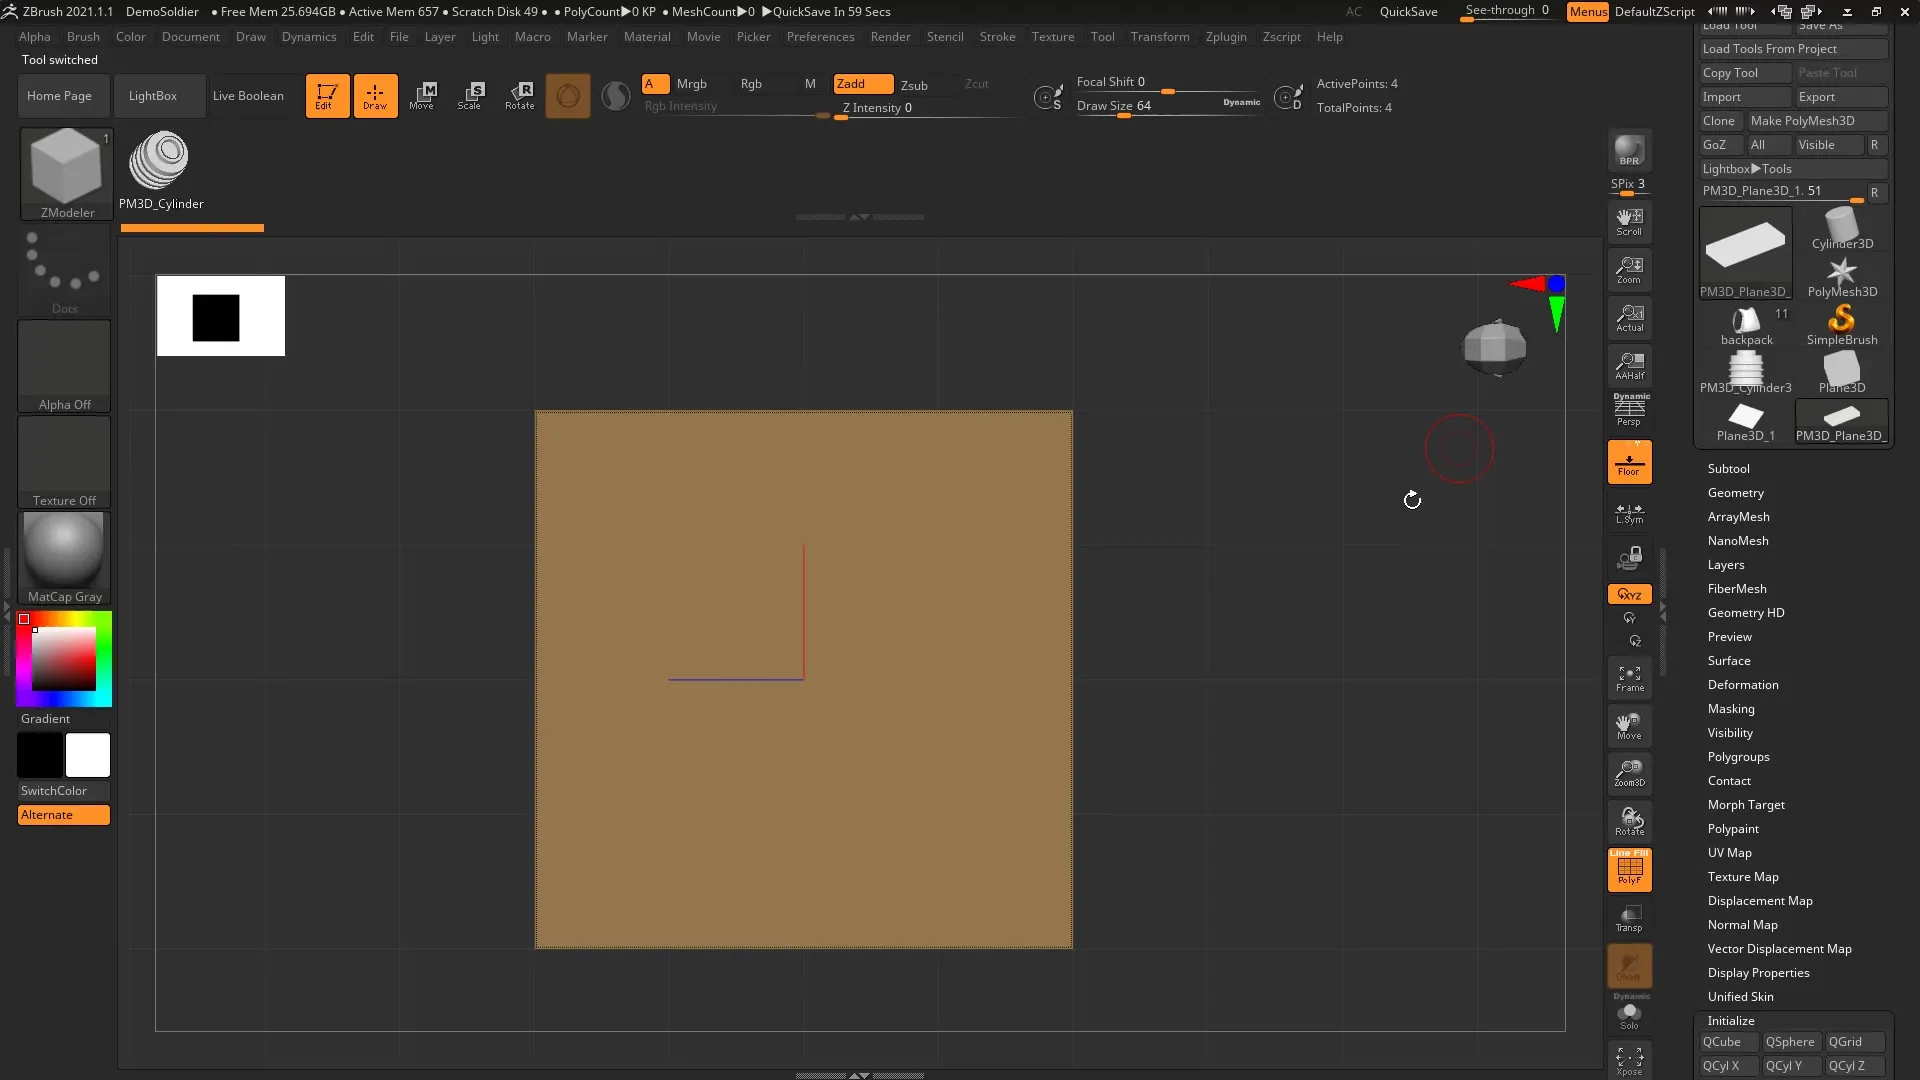
To use your model as a Nanomesh, select a simple polygon. This is done by creating a plane and adjusting it to serve as a base surface. Afterwards, convert the plane into a polymesh.
6. Inserting the Nanomesh
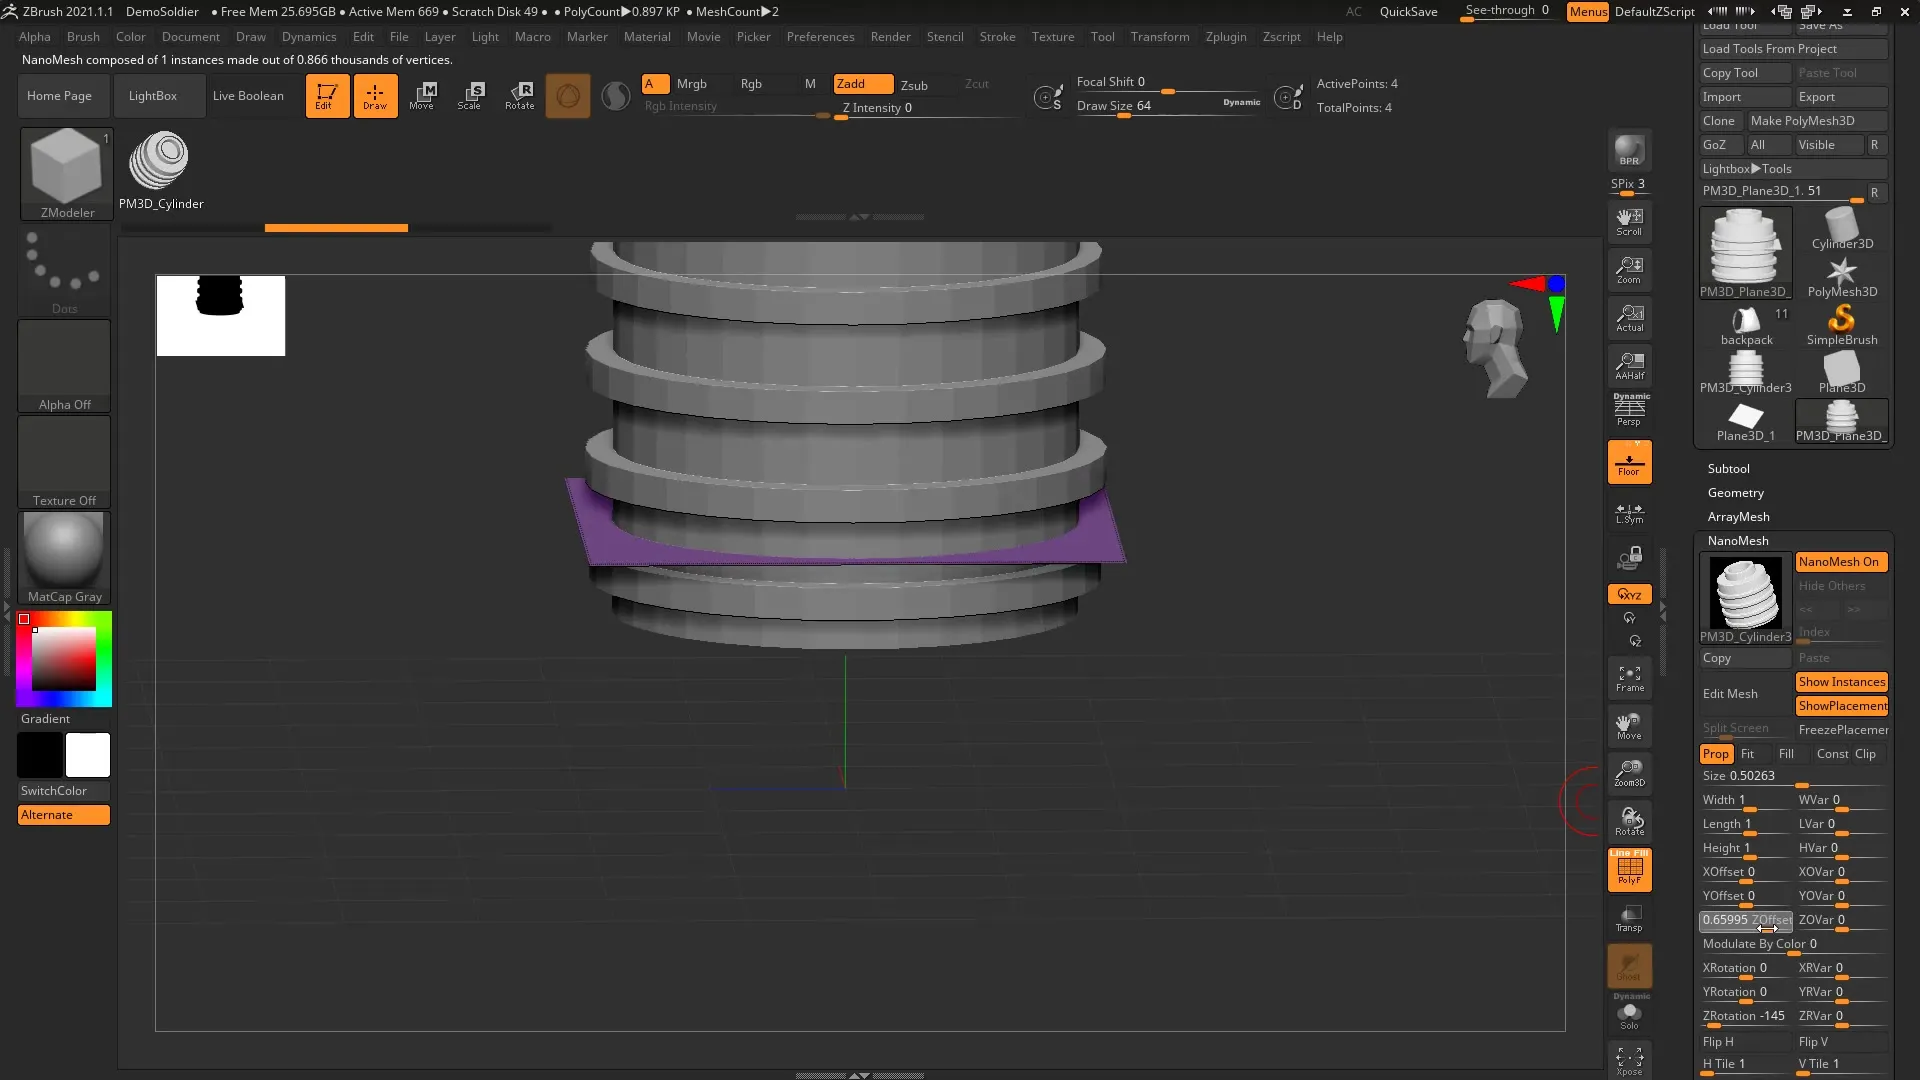
You can now apply the Nanomesh to the newly created polygon. Be sure to adjust the offset for positioning so that it appears in the desired spot on the soldier's back.
7. Creating the Instance
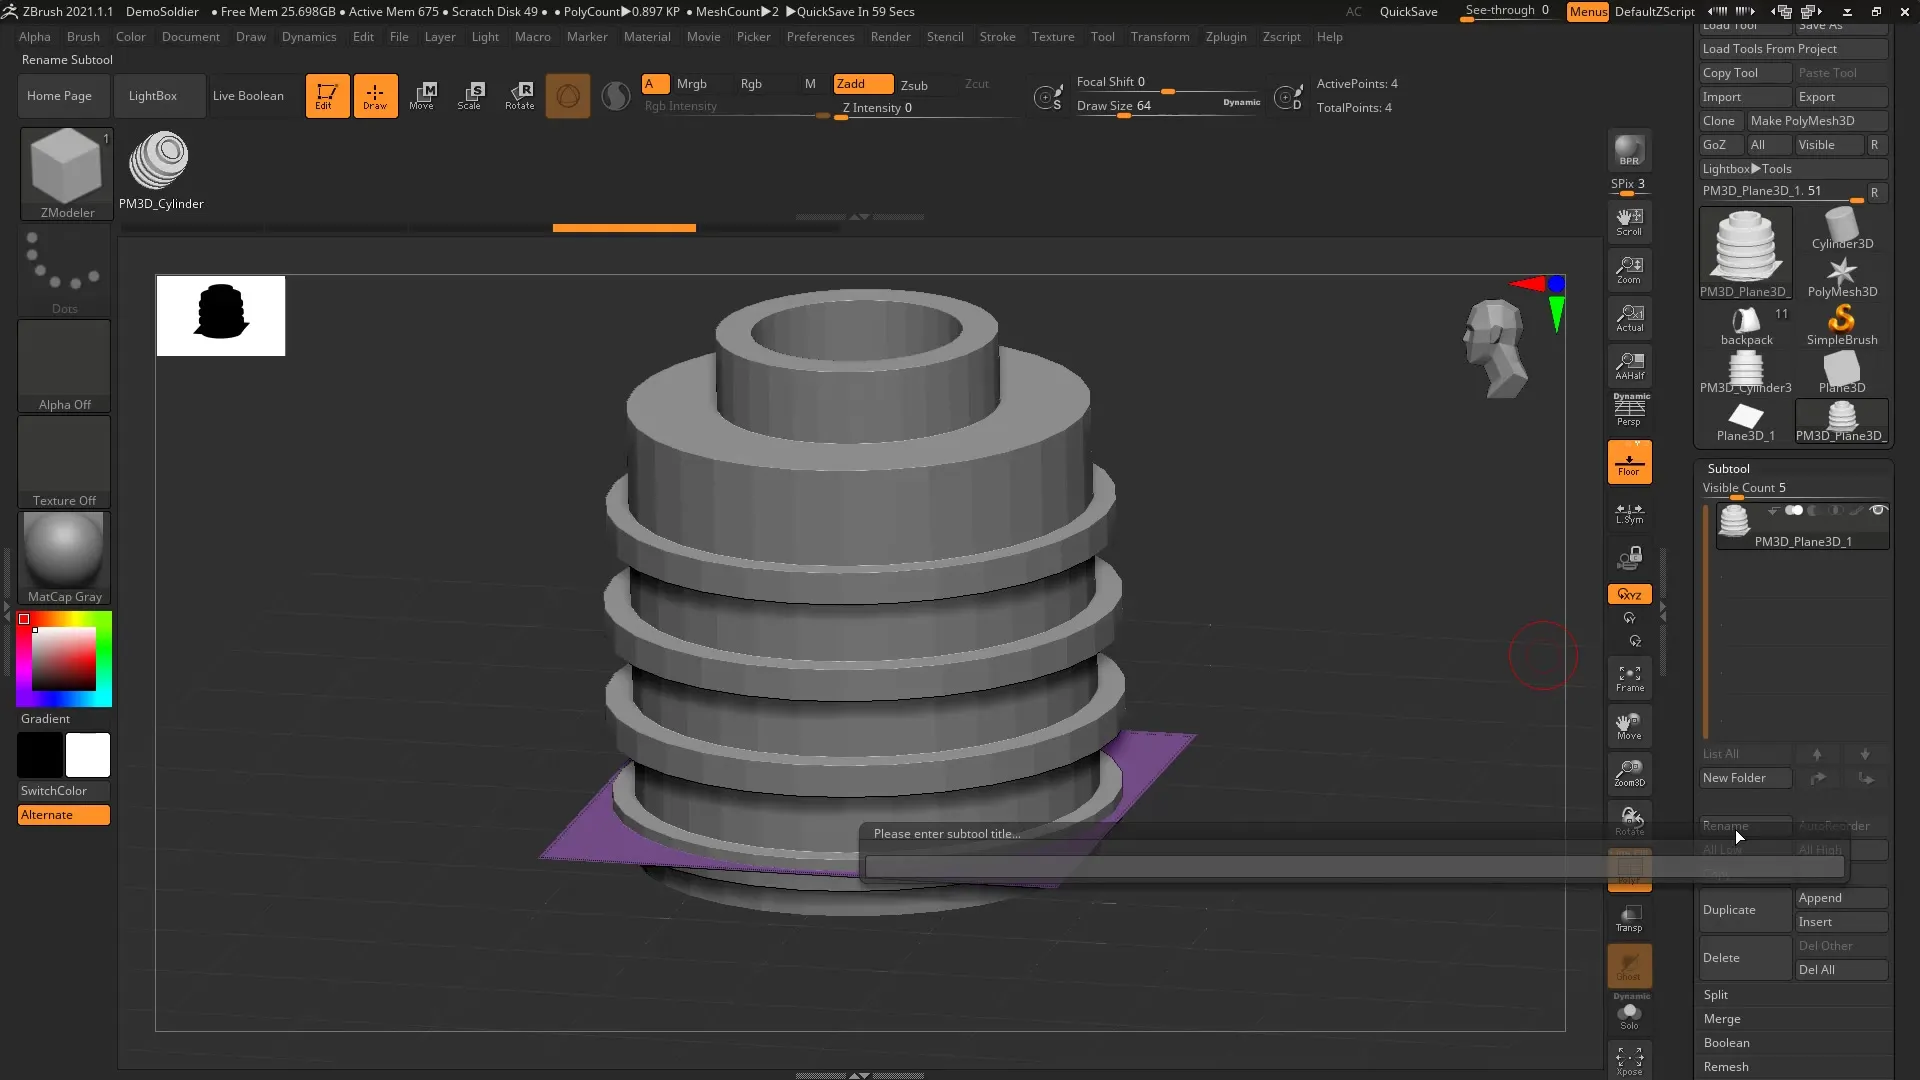
Name your subtool to facilitate management, and add your polygon subtool to the demo soldier. This sets the foundation for your instances.
8. Adjusting the Instances
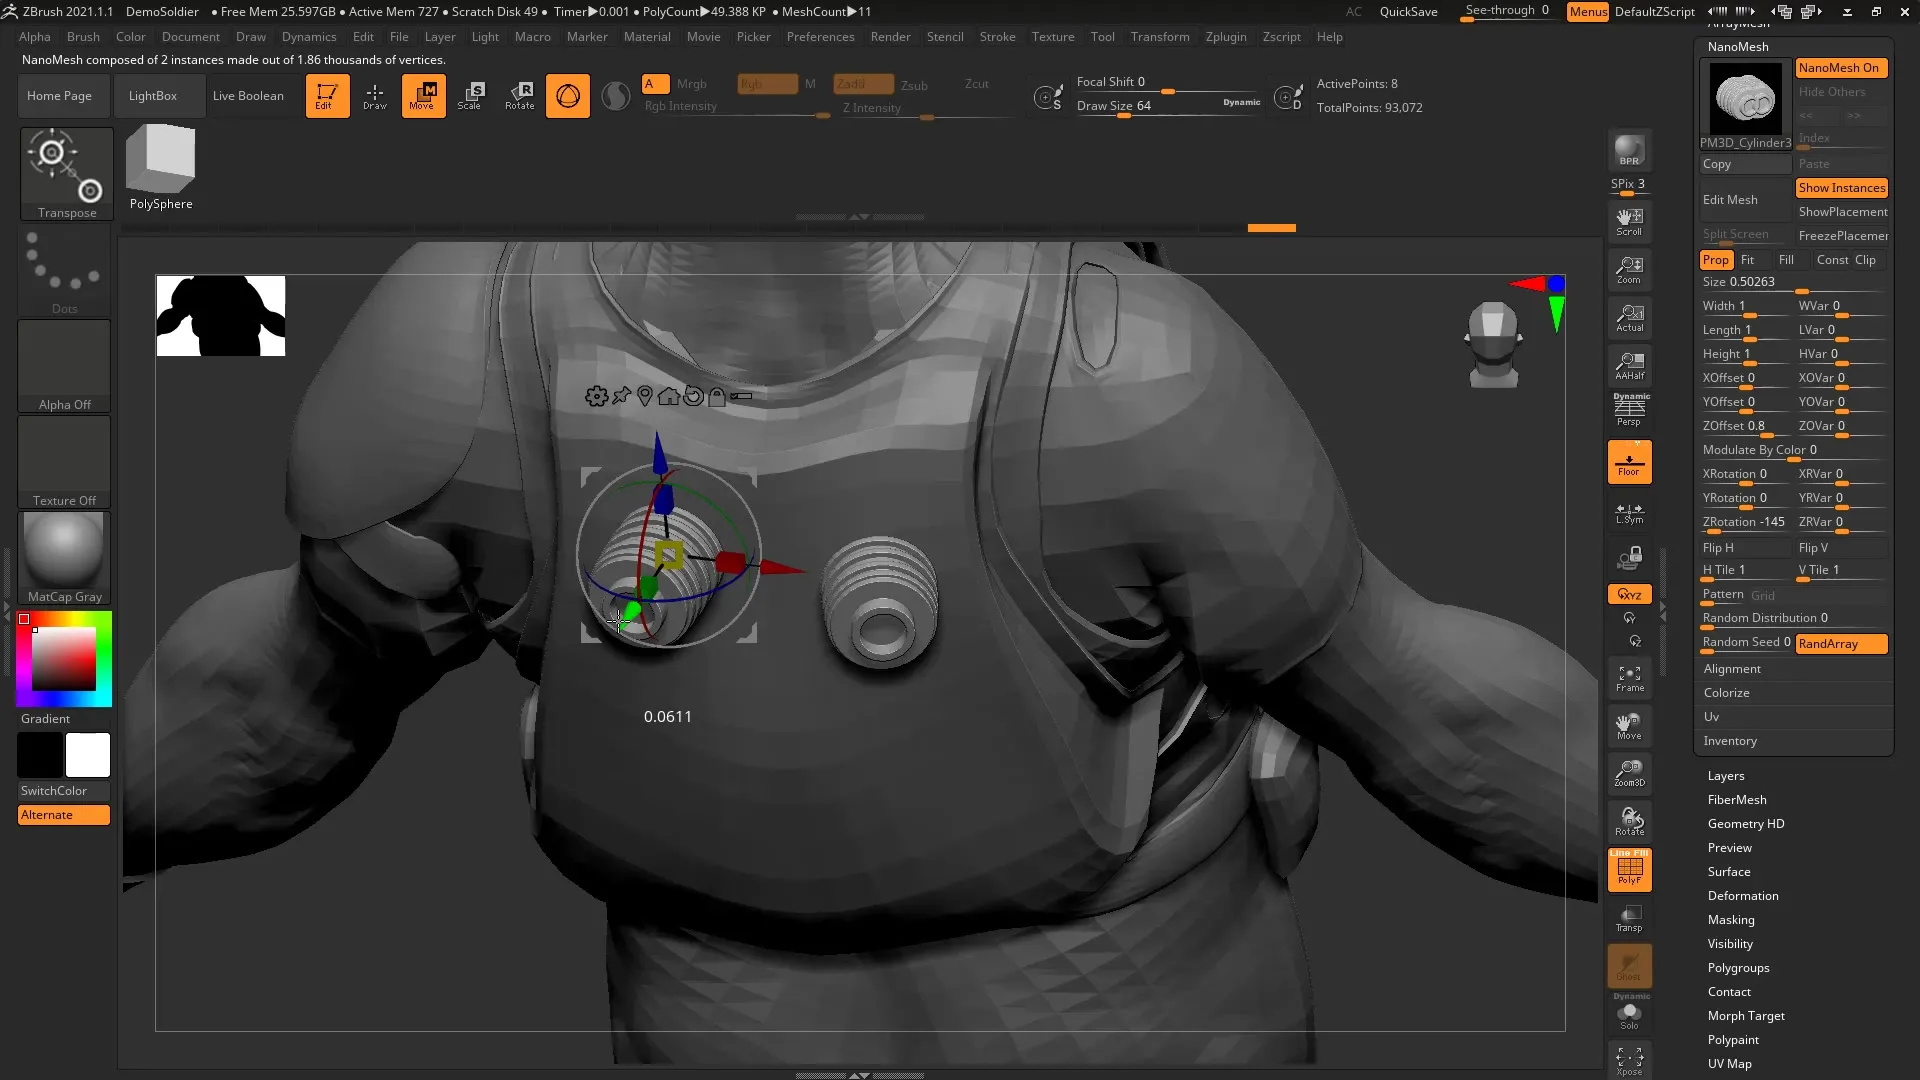
With the Move tool, you can now create instances. Hold down the control key while moving an instance to create copies.
9. Checking the Instances
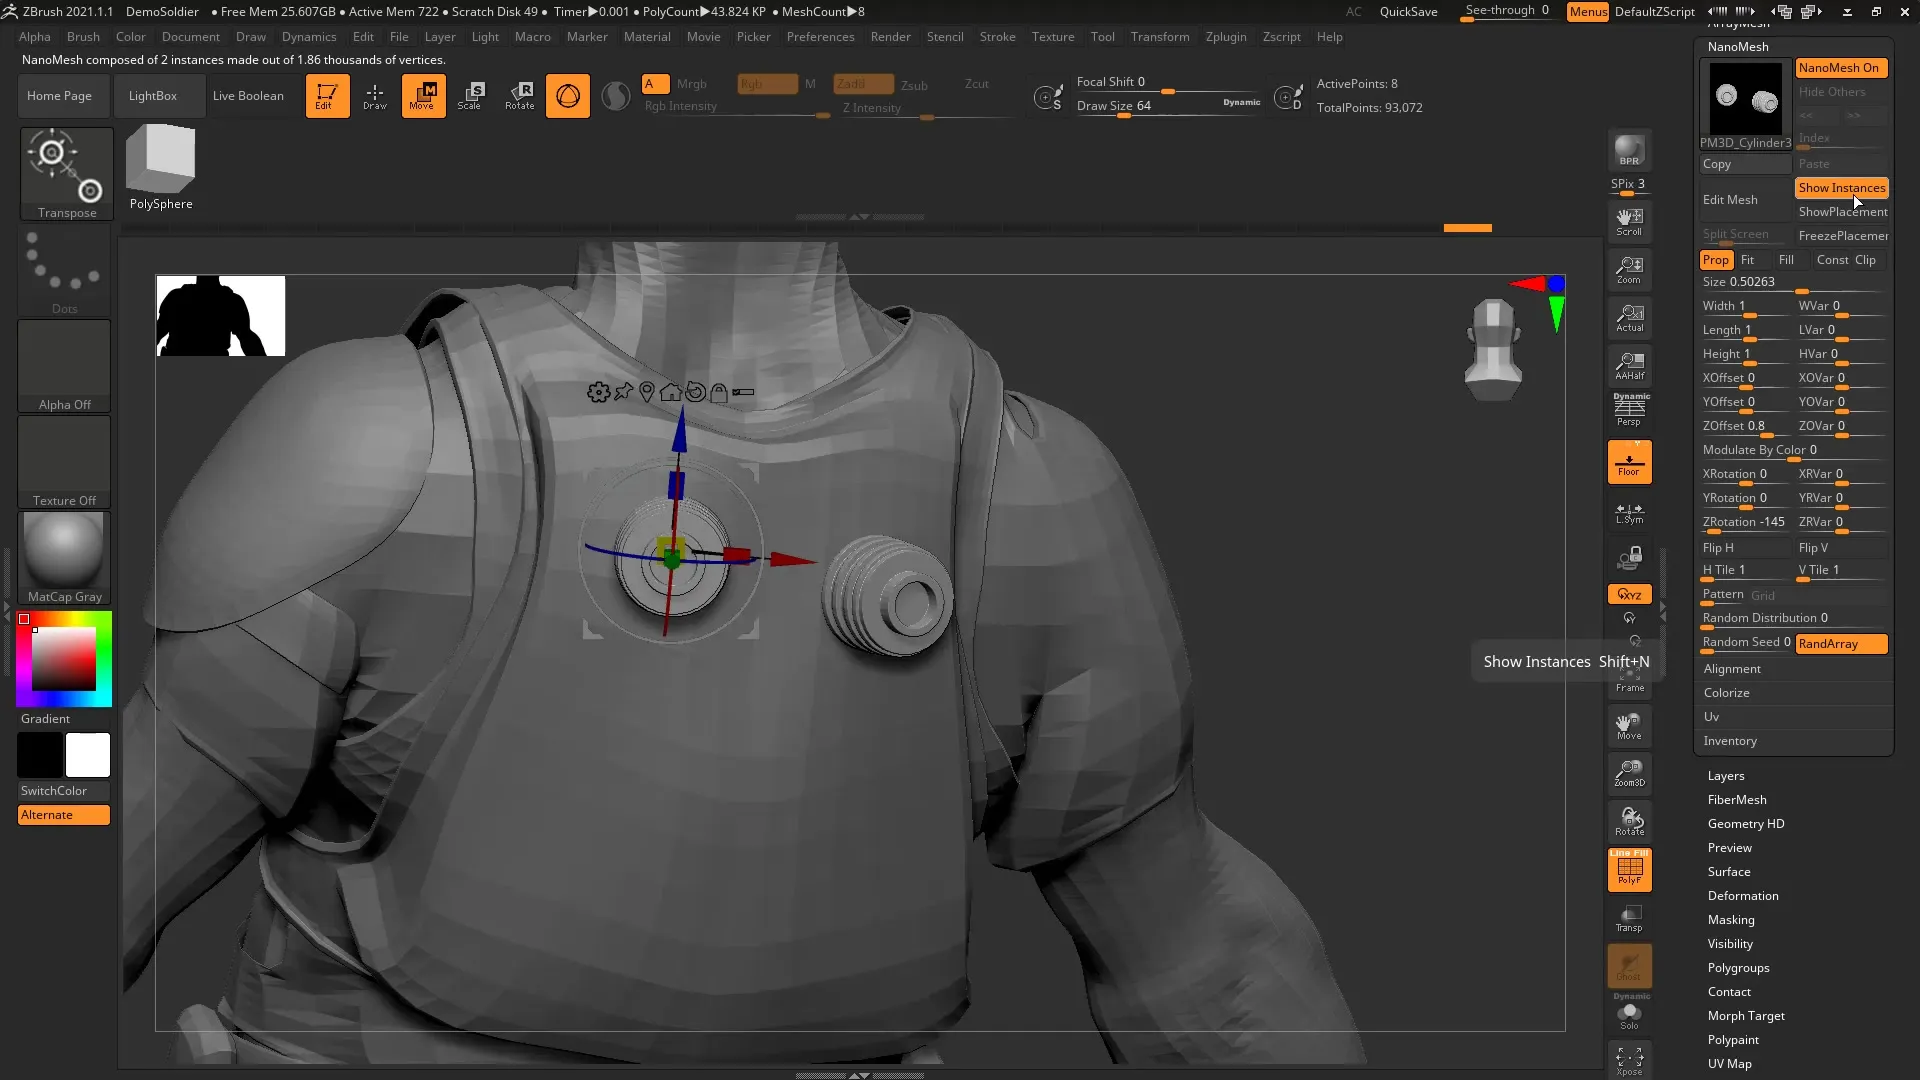
Make sure that the Show Placement feature is enabled to check the placement of your Nanomesh instances. This allows you to catch errors early on.
10. Fine-Tuning and Adjustments
Use the editing function to adjust all your instances at once. Add additional details as needed or modify the existing geometry to refine your model.
11. Final Touches
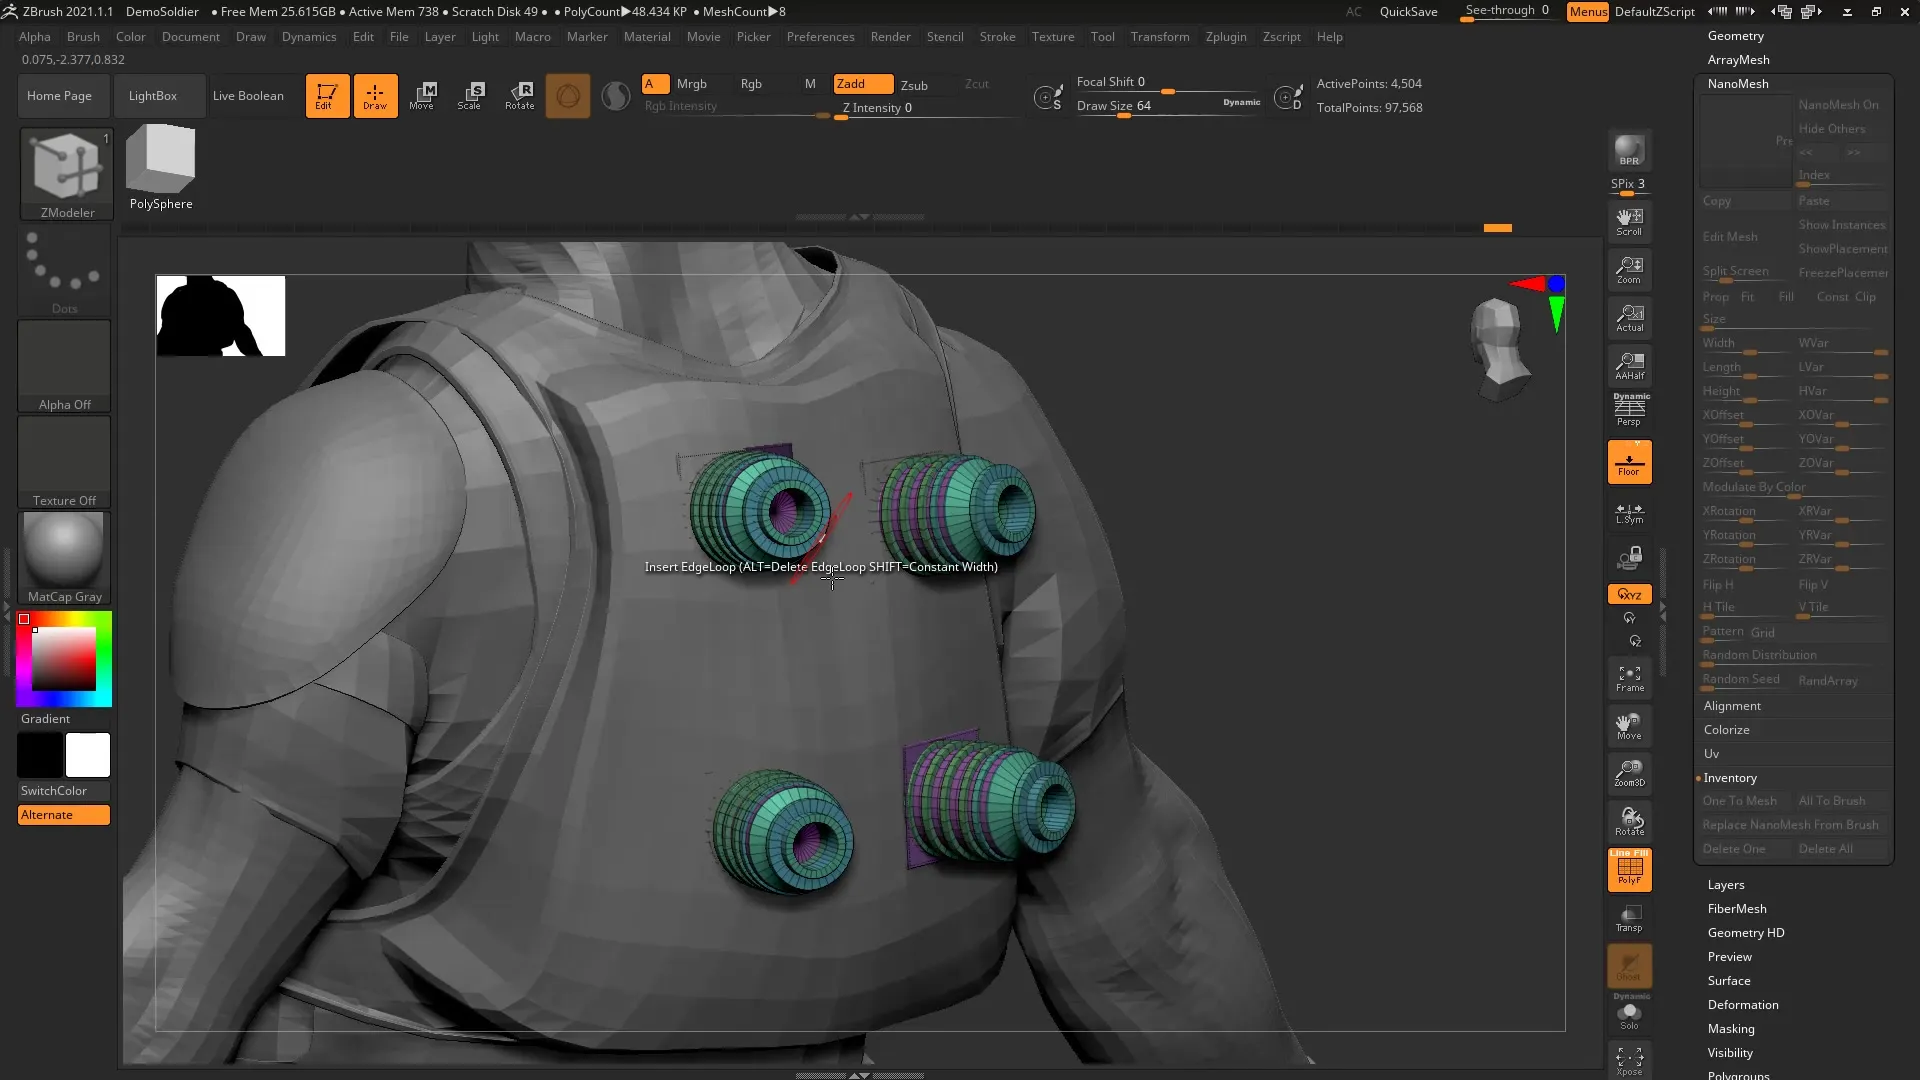
Once you are satisfied with the model and have made all changes, you can convert all instances into the main model if necessary. Note that this increases the polygon count.
Summary - ZBrush 2021: A Complete Guide to Nanomesh Instances
Nanomesh instances in ZBrush 2021 give you the ability to add details to your 3D models without unnecessarily increasing the polygon count. By creating and adjusting basic geometries, you gain a lot of flexibility in your workflow.
FAQ
How do I create a Nanomesh instance in ZBrush?You can create a Nanomesh instance by inserting a single polygon and then applying the Nanomesh to it.
What should I consider regarding Subdivision Levels?Make sure that your object has no Subdivision Levels when converting it into an Insert Mesh Brush.
Can I modify my instances afterward?Yes, instances can be edited at any time as long as you use the editing tools in ZBrush.
What happens when I convert instances into the main model?The instances will then be merged into your model, which increases the polygon count and makes them unalterable.
How can I organize my models if I have many instances?It is helpful to name the subtools and enable the placement options for Nanomesh so you can keep track of everything.


