ZBrush allows you to save your projects not only as ZBrush files but also as image files. This is particularly useful for getting a quick overview of your work. Instead of feeling lost in a sea of.ZPR files, you can save the projects as GIF or PNG. In this guide, I will show you step by step how to effectively use this feature and transform your ZBrush projects into organized image files.
Key Insights
- The new save options in ZBrush allow you to export 3D projects as GIF or PNG.
- These image files make it easier to locate and compare projects in the file manager.
- When opening the image files in ZBrush, all 3D data is retained.
Step-by-Step Guide
To save a ZBrush project as a GIF or PNG, start with your existing project. I will use the demo project "Earthquake" in this guide, which should be familiar to you.
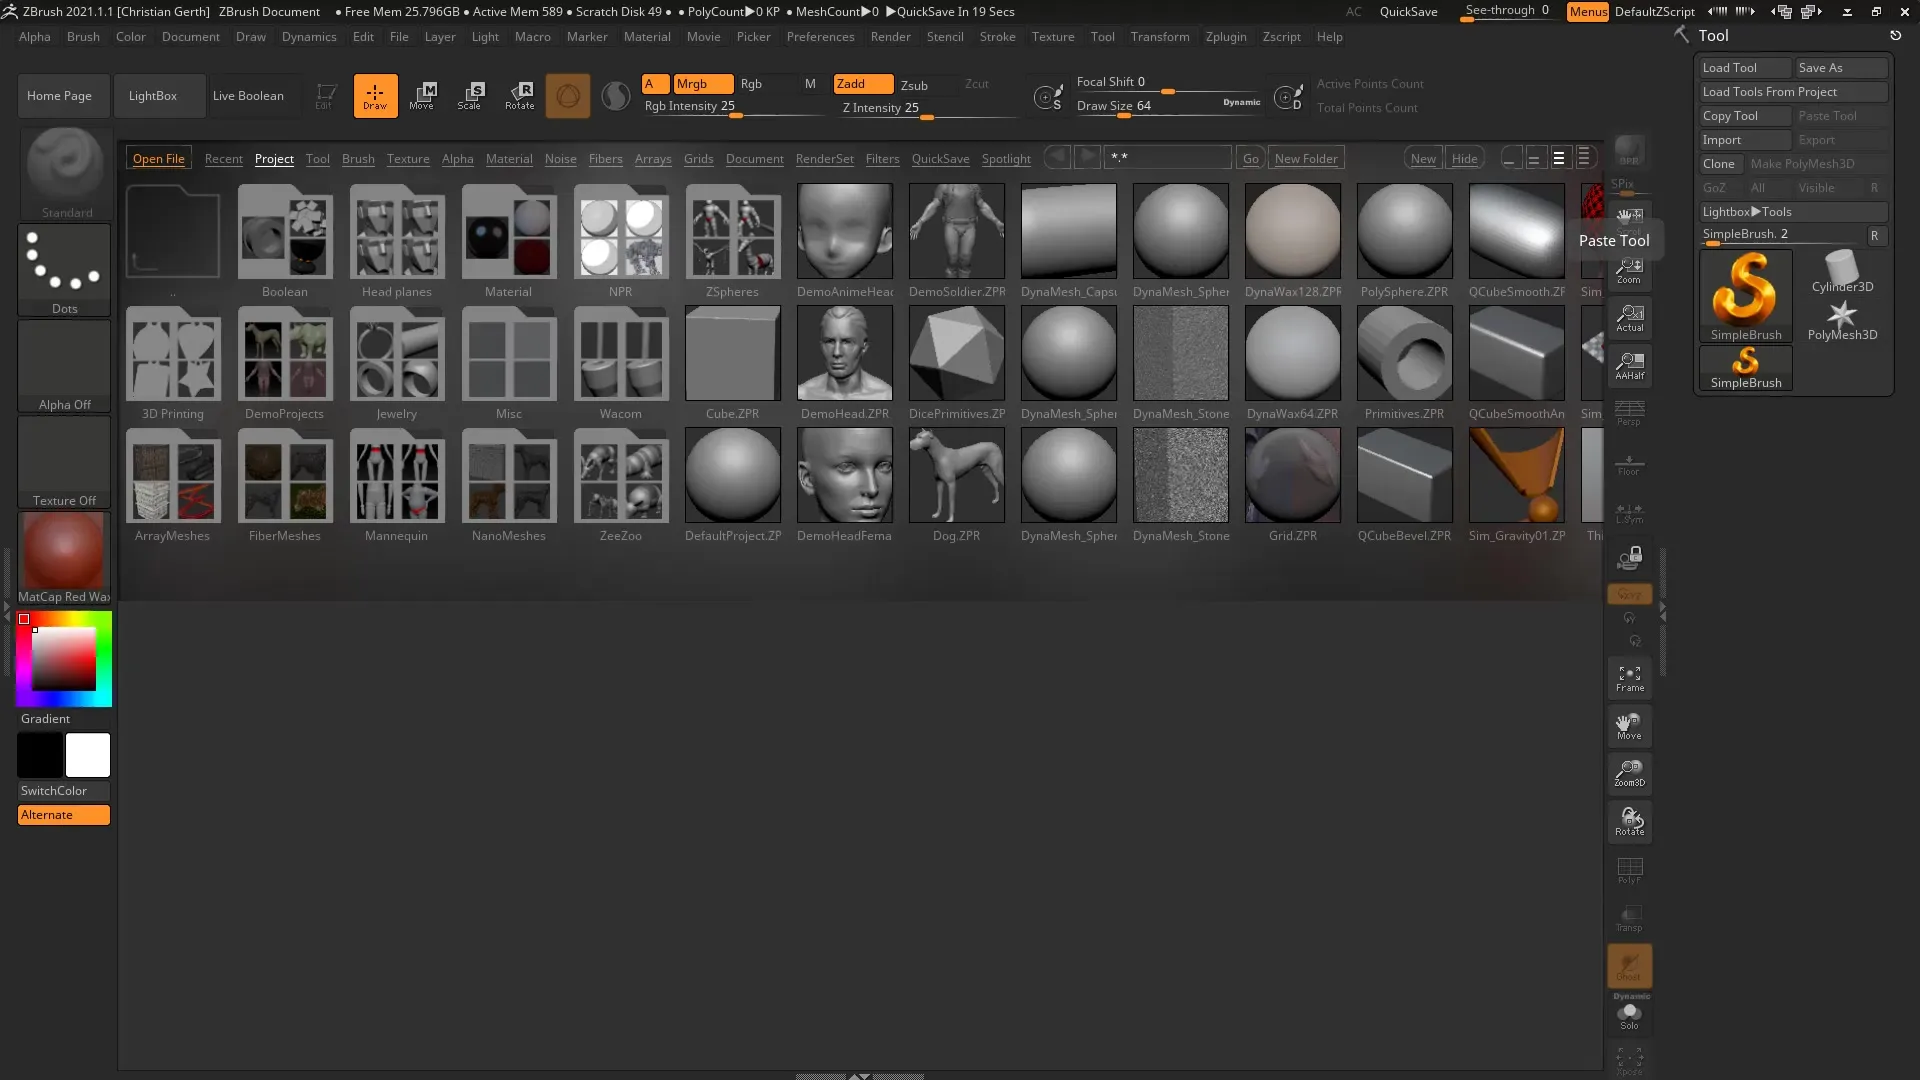
First, select the "Save As" option in the "File" menu. You want to save your entire project and not just individual subtools or images.
In the save dialog, you can select various formats. In addition to the standard format for ZBrush projects,.ZPR, you will also find the new options for GIF and PNG, which are associated with "iMage3D".
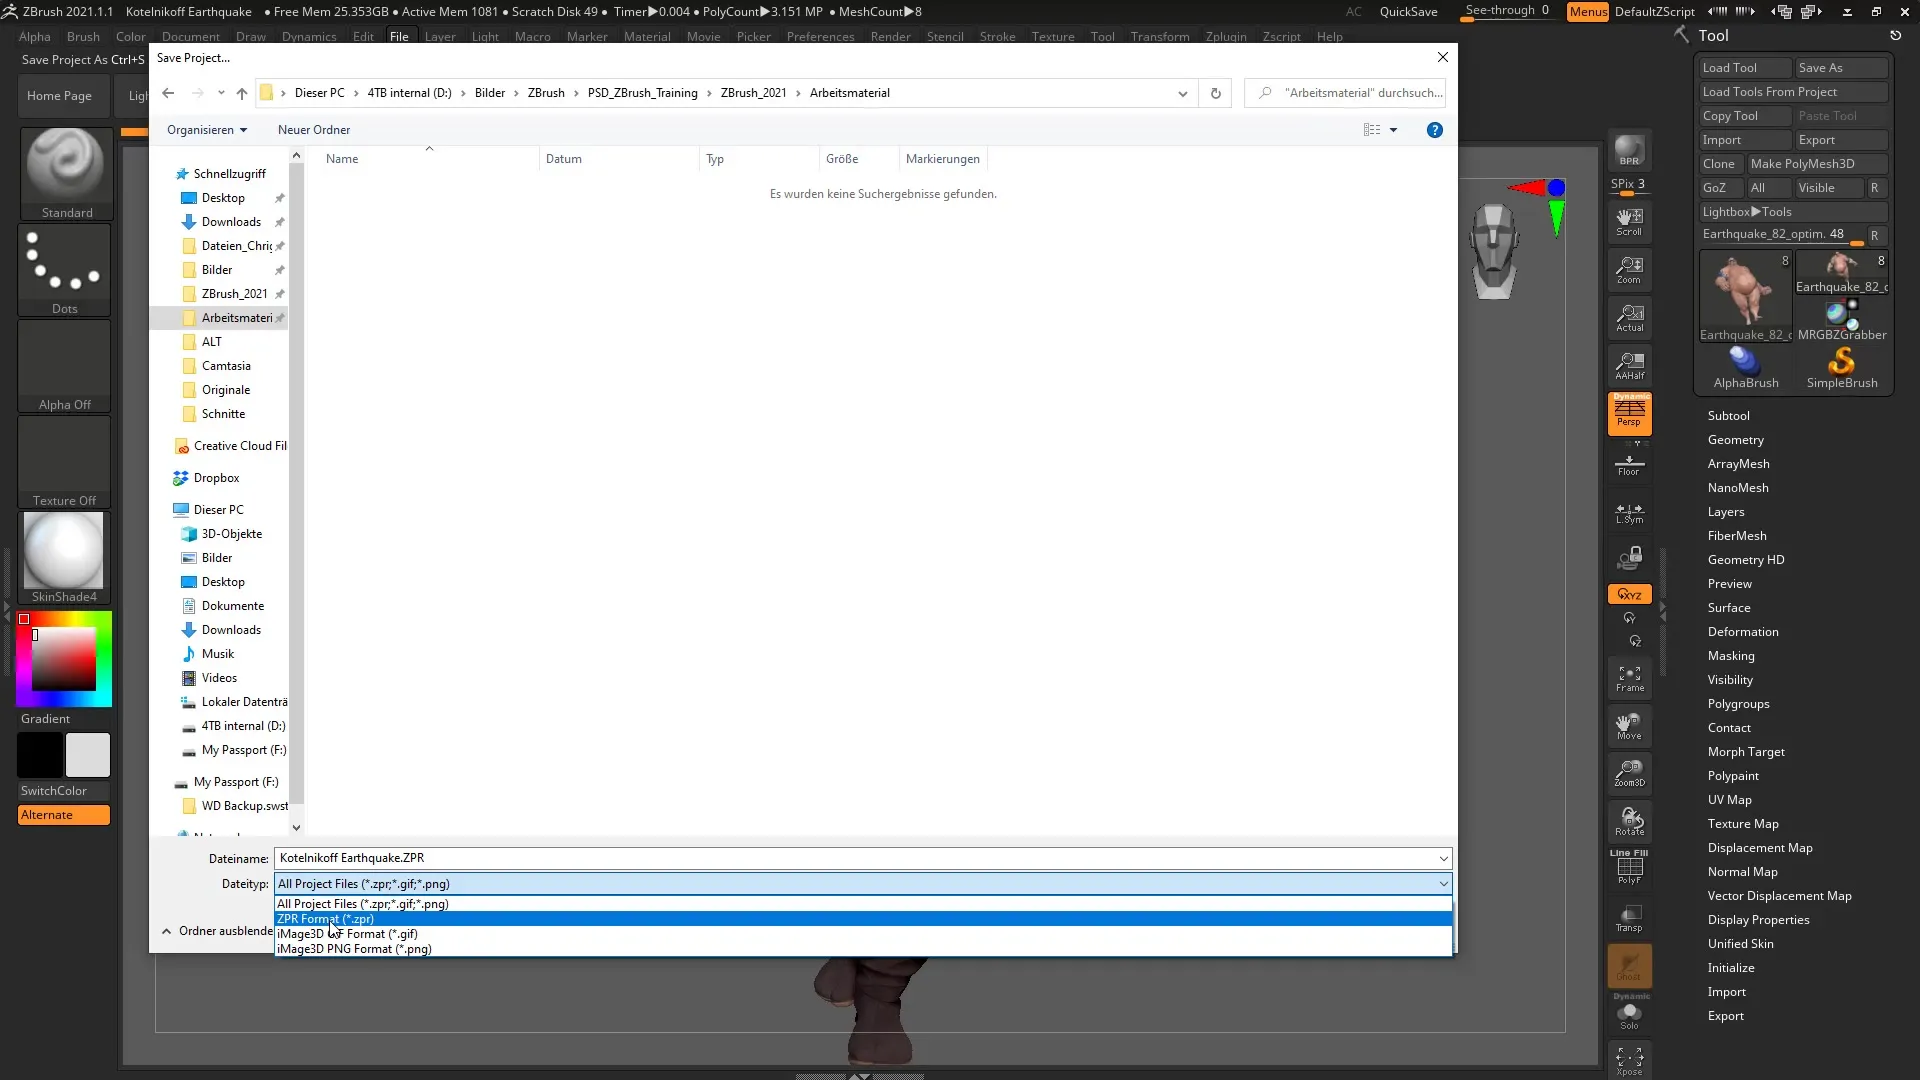
Select whether you want to save your 3D object as a GIF or PNG. I recommend trying the GIF format first, as it offers a good size and quality.
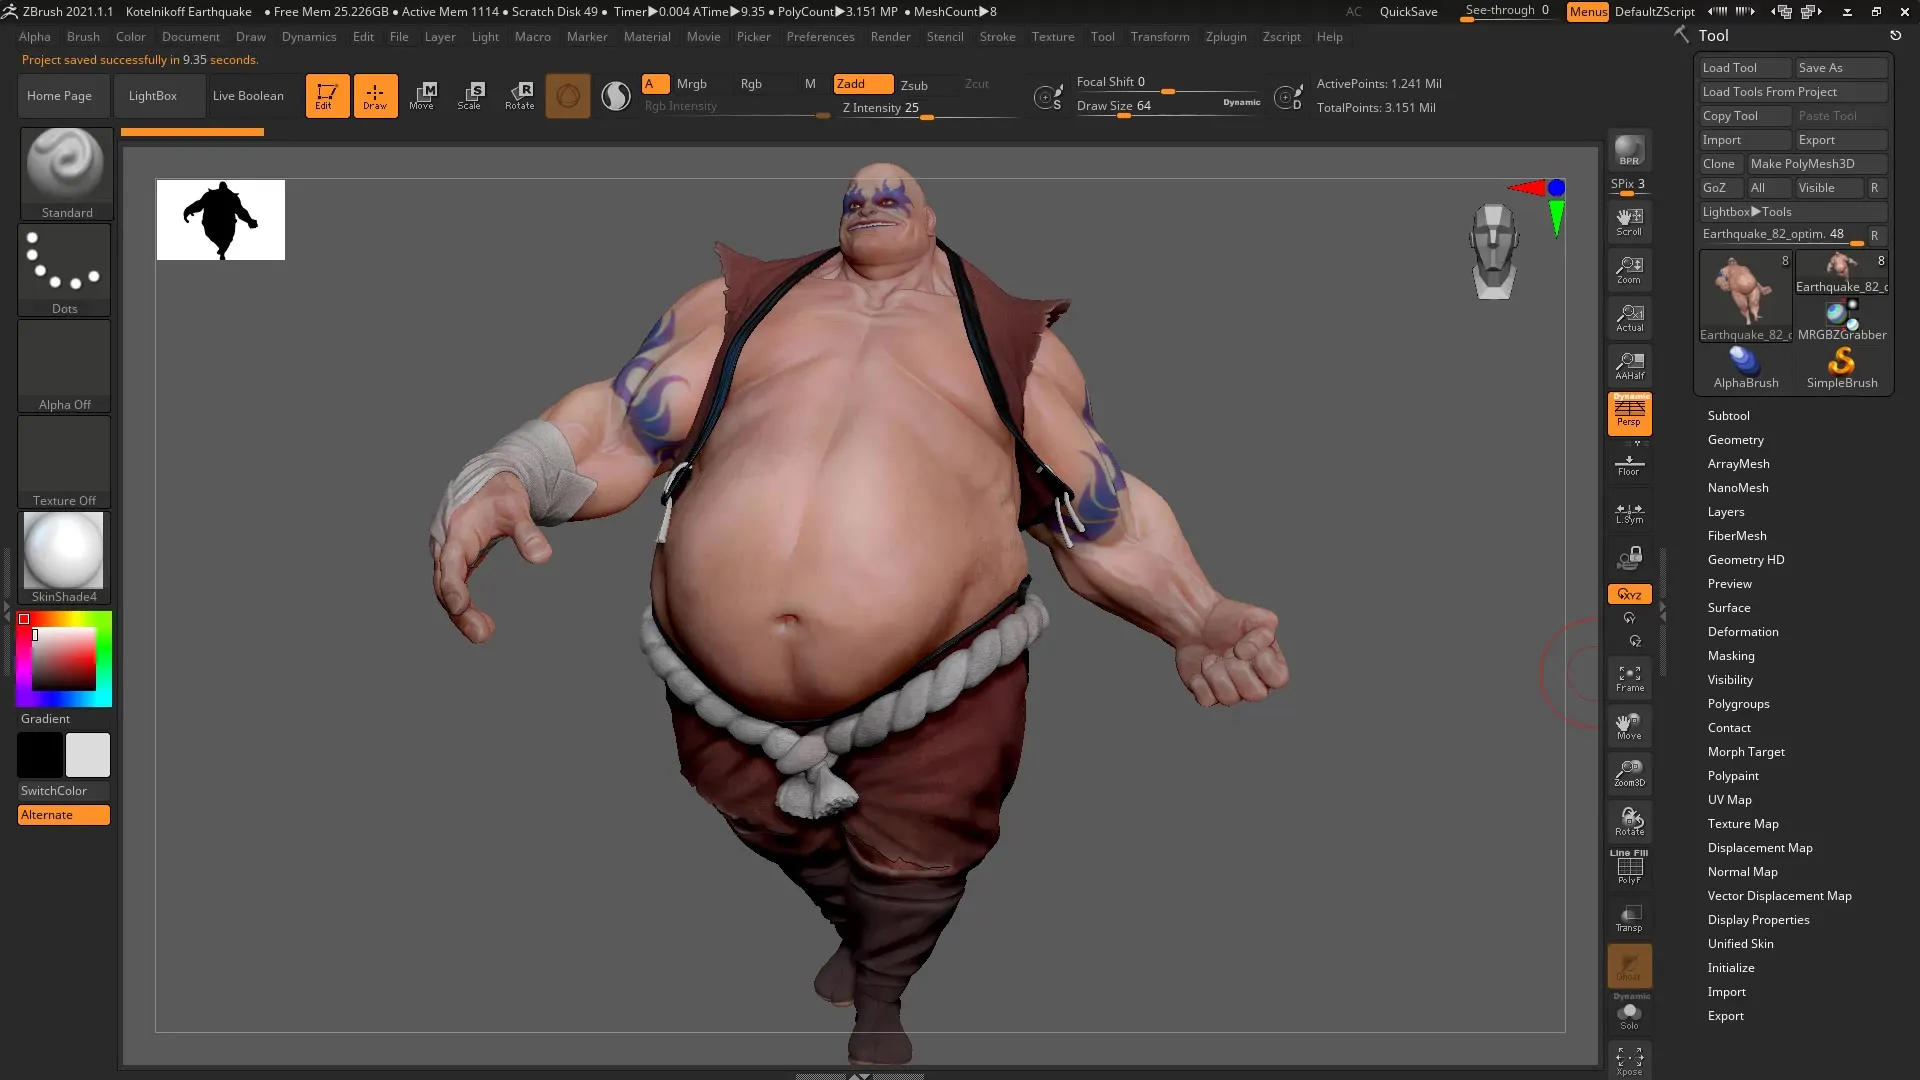
The saving process may take a little longer since it is a 3D file and not just a simple image. Once you have completed the saving process, go to the location where you saved the file, in this case, in your working materials.
Here you can see the different saved files. I recommend trying out all the options – both the GIF and the PNG. This way, you can compare which format you prefer.
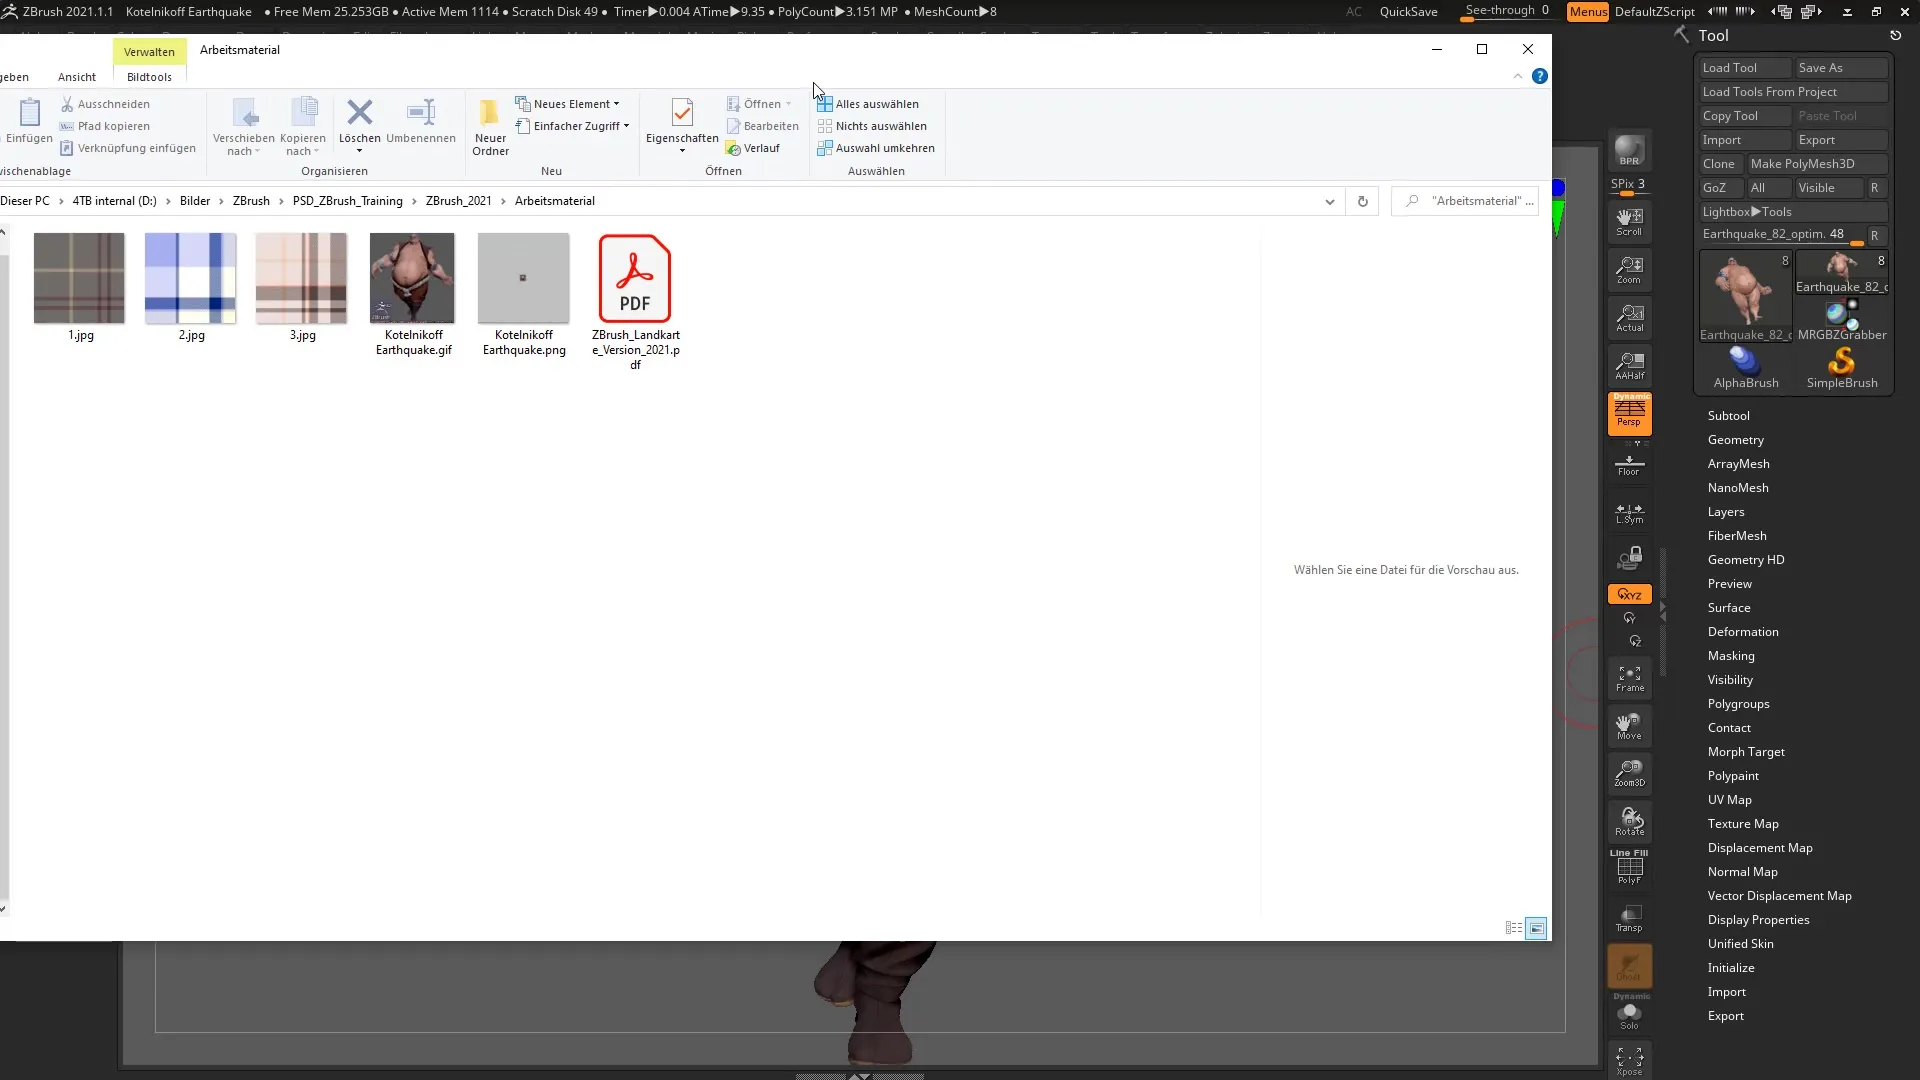
To organize your files better, you can change the view in your file manager to "Extra Large Icons". This allows you to have a better view of the saved images.
If you have many ZBrush projects with similar names, you can use the new image formats to check what is behind the files. The GIF file gives you a quick glance at the content of the project.
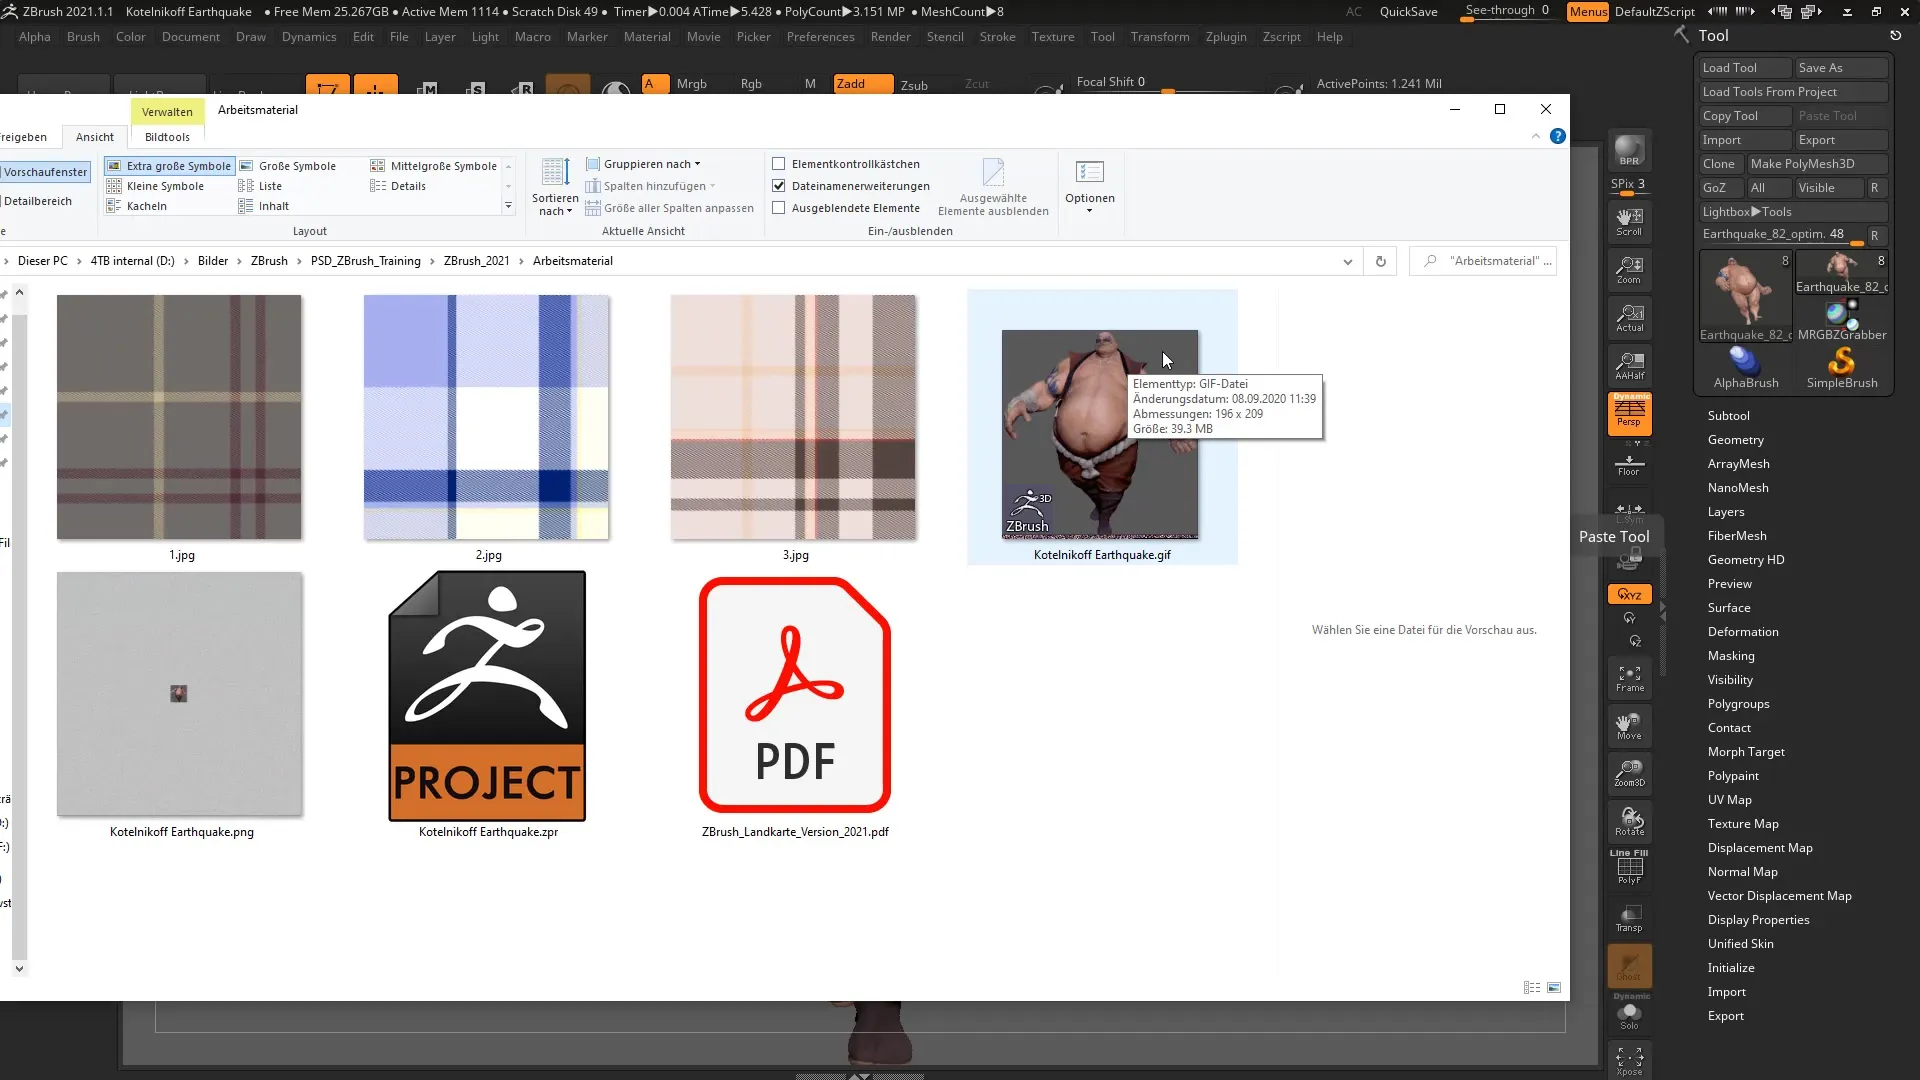
The GIF is usually significantly smaller than the original ZBrush file, making it easier to manage your projects.
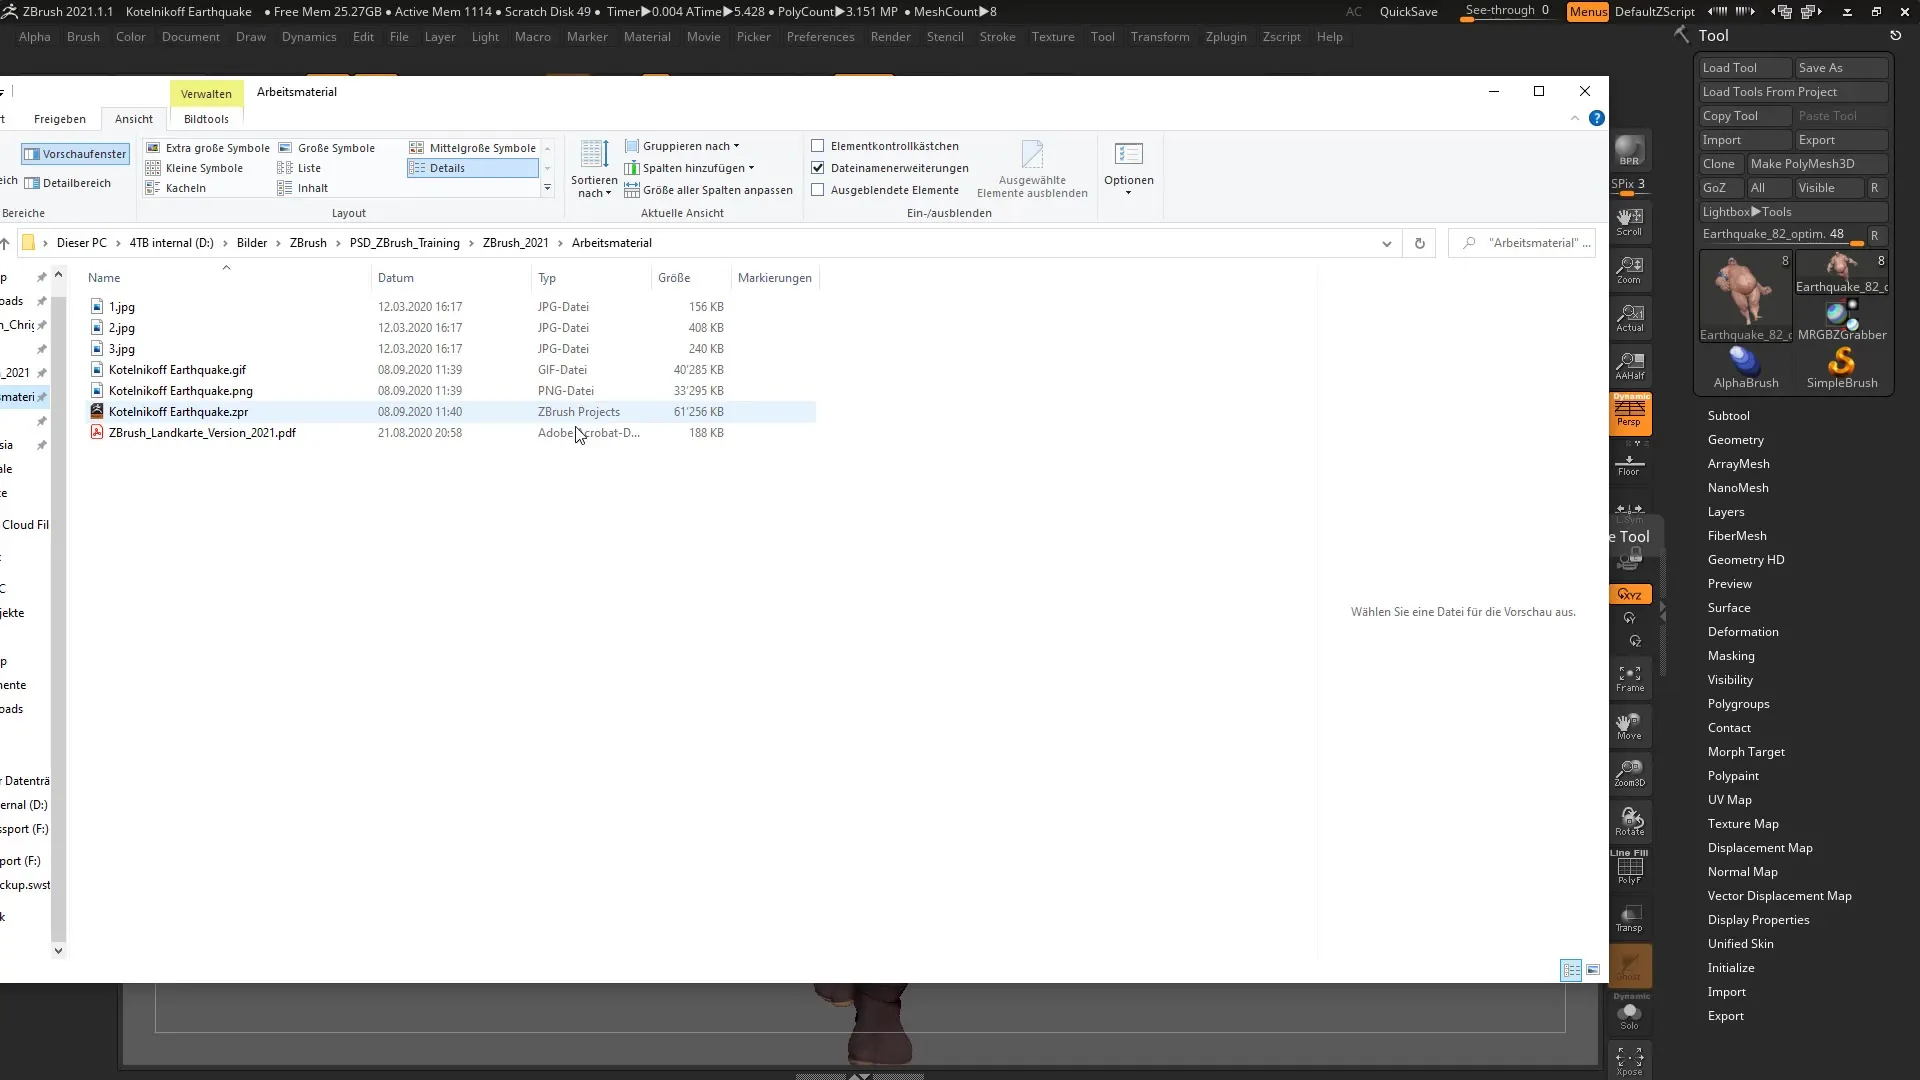
In some cases, it might make sense to choose the PNG file. This has a different file size and quality compared to the GIF file, which may be better suited for certain applications.
However, it is important to mention that such image files are not ideal for social media. The file size can be large, which makes sharing difficult.
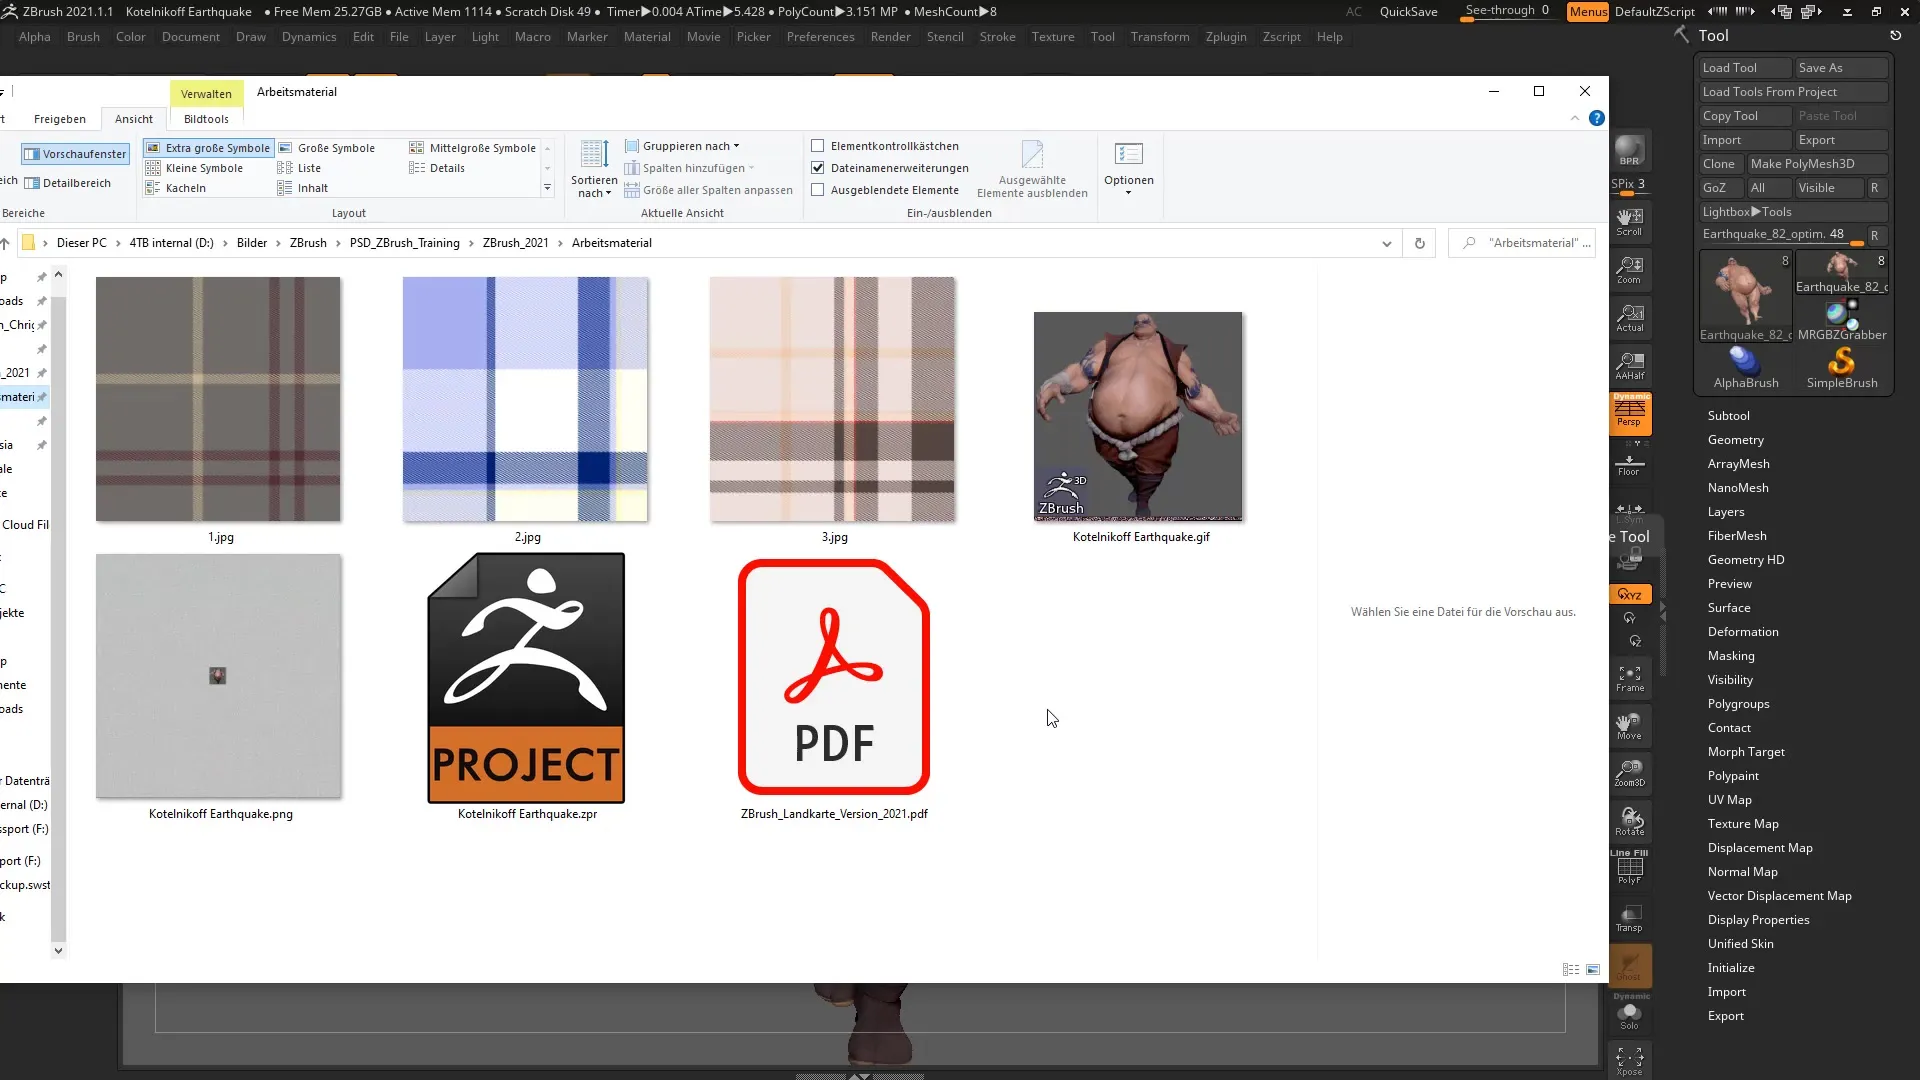
If you now want to open another project, you can select the respective image file. ZBrush will retain the 3D data even when you reopen the image.
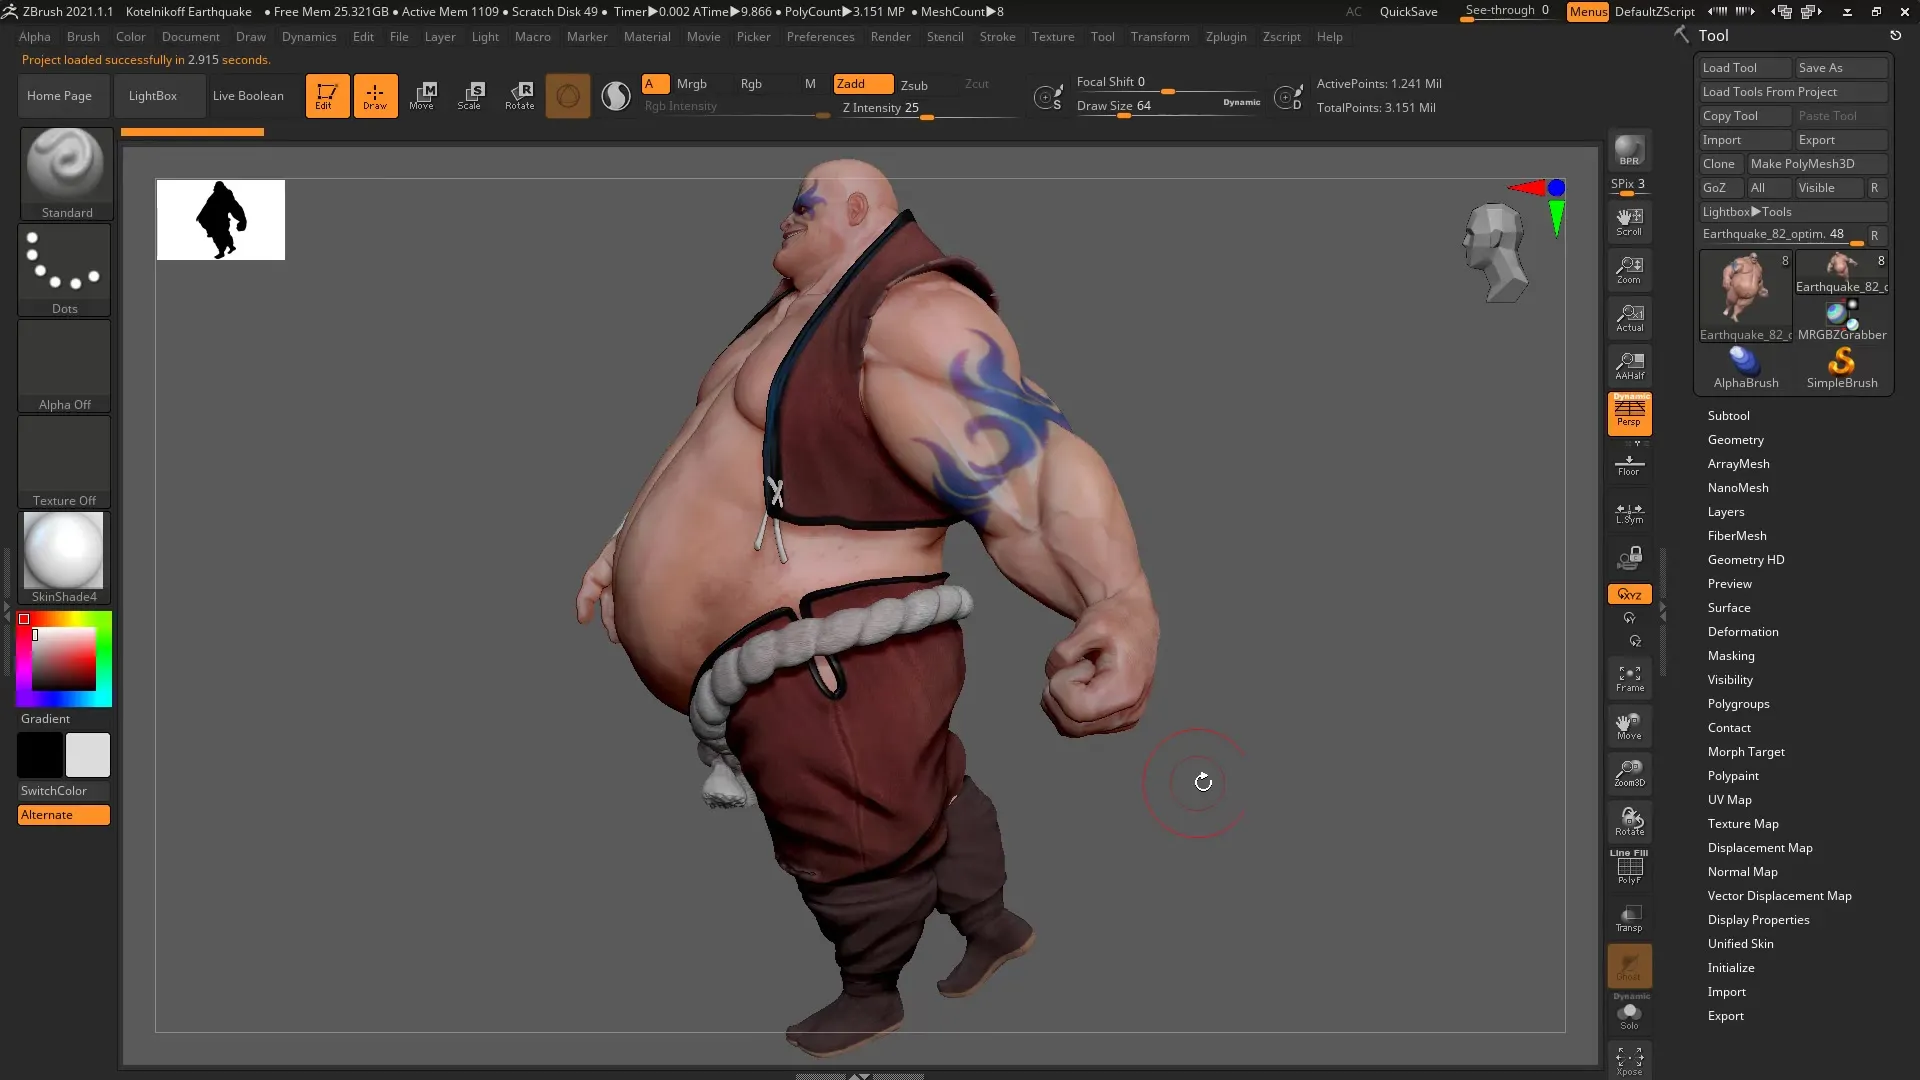
The image file may be saved as a GIF, but when opened in ZBrush, it is interpreted as a 3D file.
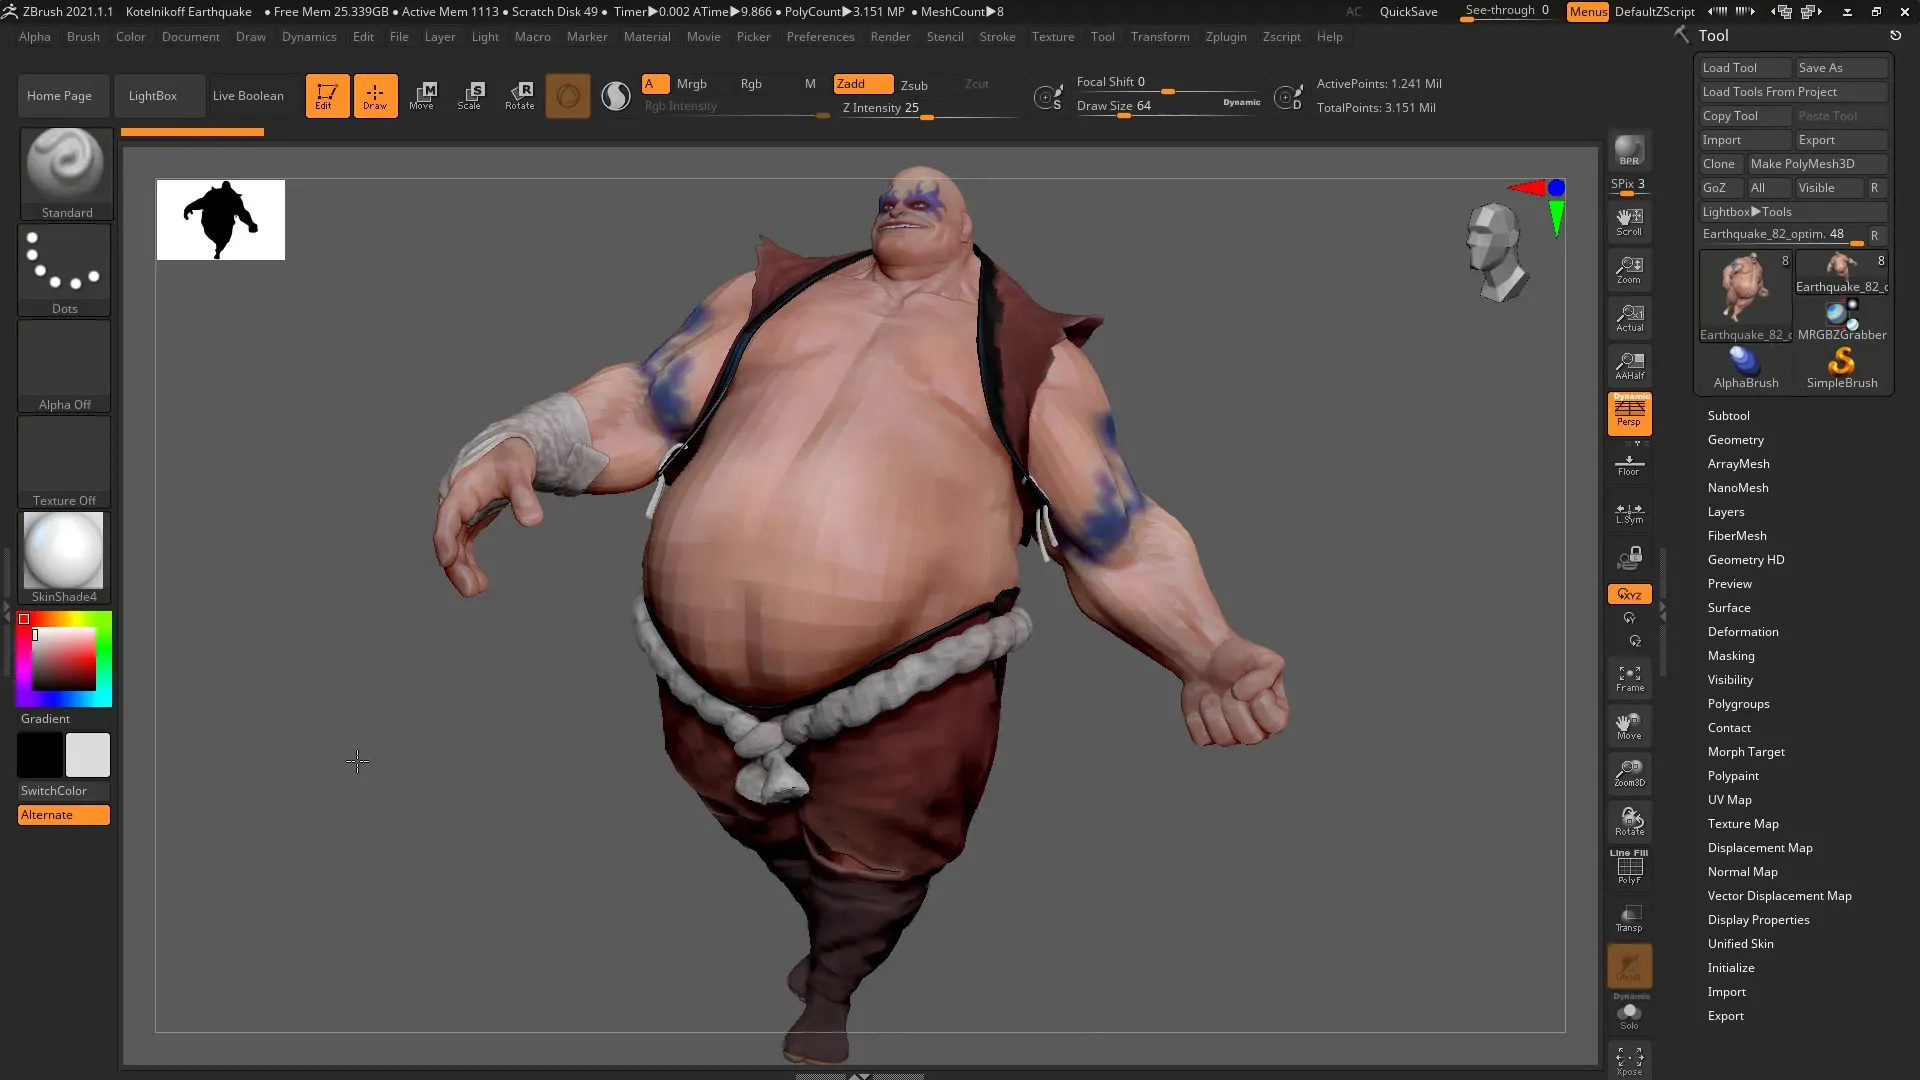
This was an overview of how to effectively use the new saving options of ZBrush in your daily work.
Summary – Saving ZBrush Projects as Image Files – Guide to Using iMage3D (GIF/PNG)
In this guide, you have learned how to save your ZBrush projects as GIF or PNG. This feature improves the clarity of your work and makes it easier to find projects in the file manager.
Frequently Asked Questions
How do I save my ZBrush project as an image file?Select "Save As" from the "File" menu and choose GIF or PNG format.
Are the 3D data retained when saving as an image?Yes, all 3D data is retained even when exported as an image file in ZBrush.
Why should I save my projects as image files?Image files offer better clarity and make it easier to find projects in the file manager.
Is the image quality different between GIF and PNG?Yes, the GIF format is generally smaller and may be more suitable for some applications, while PNG often offers a different file quality.
Can I also share the image files on social media?It is not recommended, as the file size may be too large for social media.
