Editing 3D models in ZBrush can take a lot of time and effort, especially with complex projects. However, with the features “History Recall Brush” and “History Projection,” you can effectively save time in your workflow. These two tools allow you to apply previous changes to your current mesh or transfer details of a complex model to a simplified mesh. This guide will take you step by step through the use of these functions.
Key Findings
- The History Recall Brush allows you to apply past edits to a current model.
- With History Projection, you can project details of a complex mesh onto a simplified model.
- These features save time and make it easier to adjust your models.
Step-by-Step Guide
First, you need to select a mesh in ZBrush to try out the new features. I recommend using a demo project like the “Demo Head,” which is included by default in ZBrush.
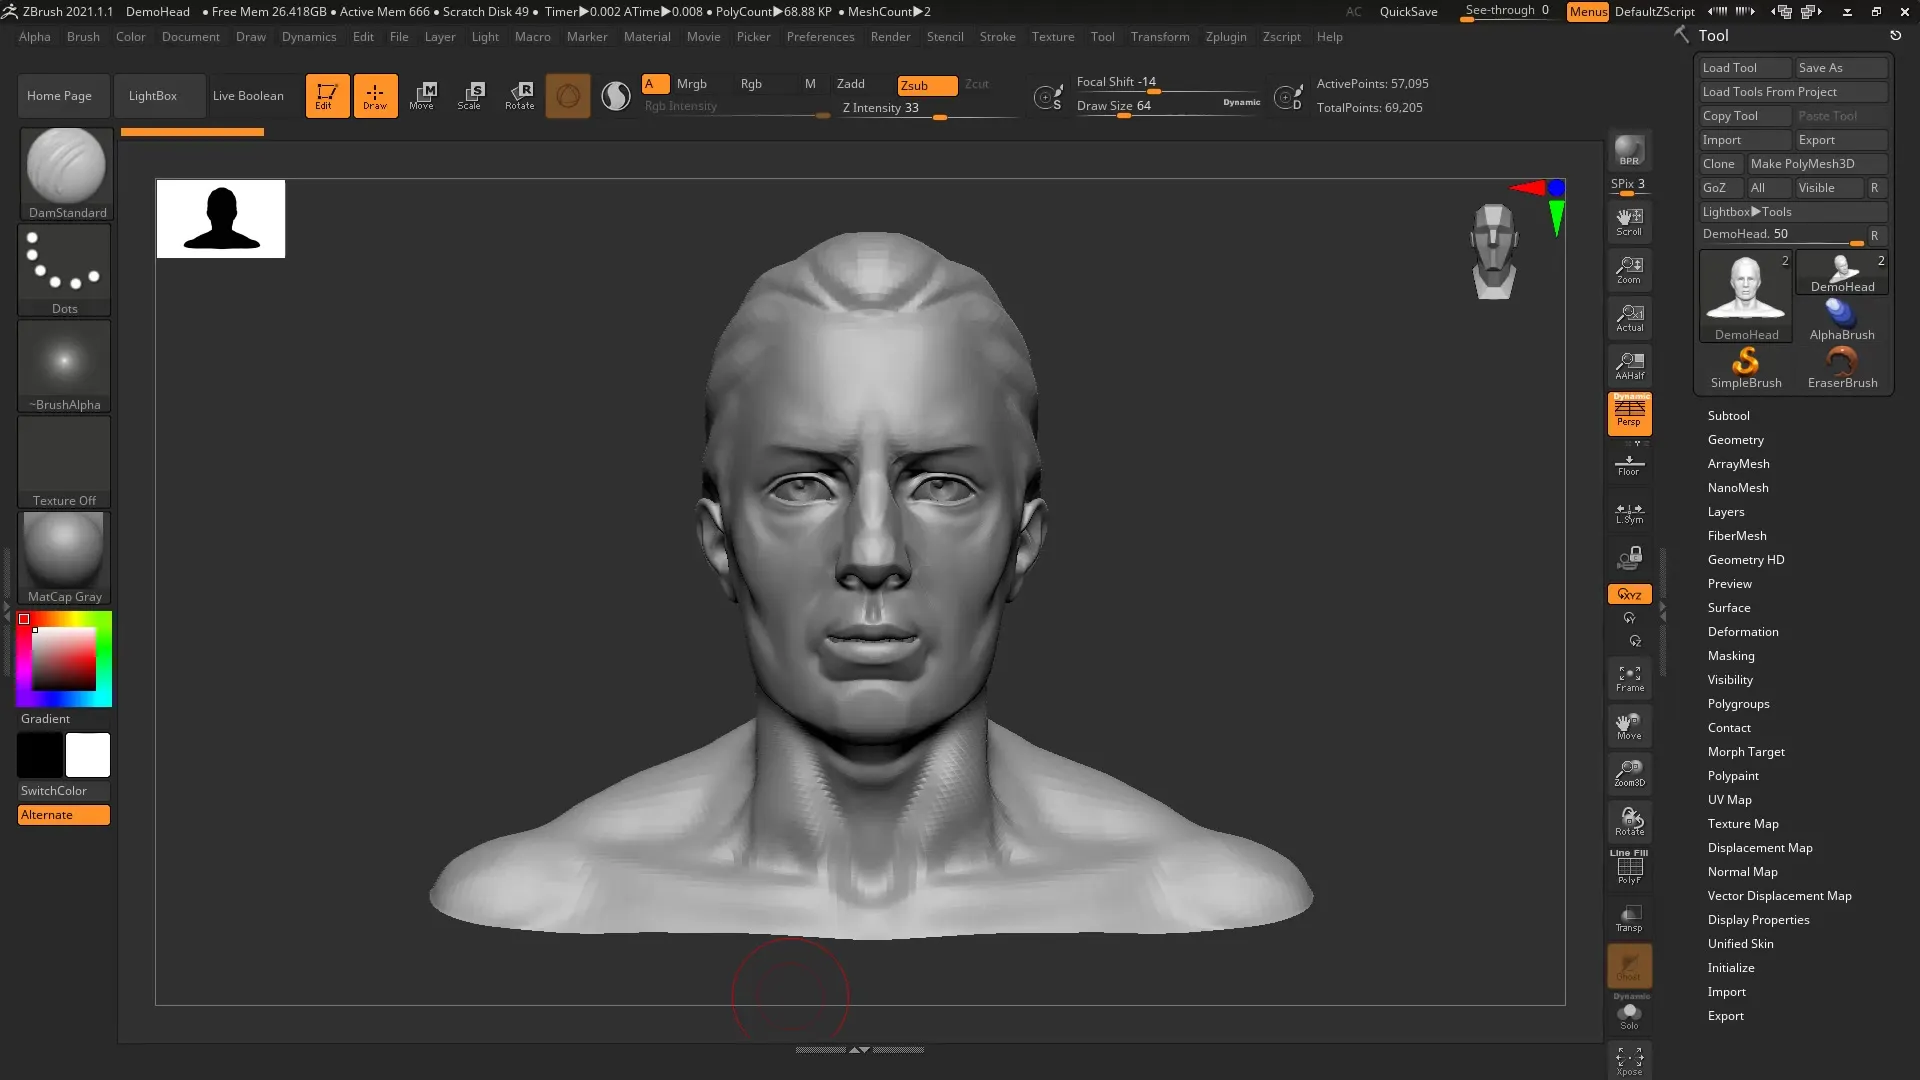
Step 1: Select Your Mesh
Open the Lightbox and select the “Demo Head” mesh. This mesh is ideal for demonstrating the new features. You can select it by searching for “Demo Head” in the Lightbox and then clicking “Load.”
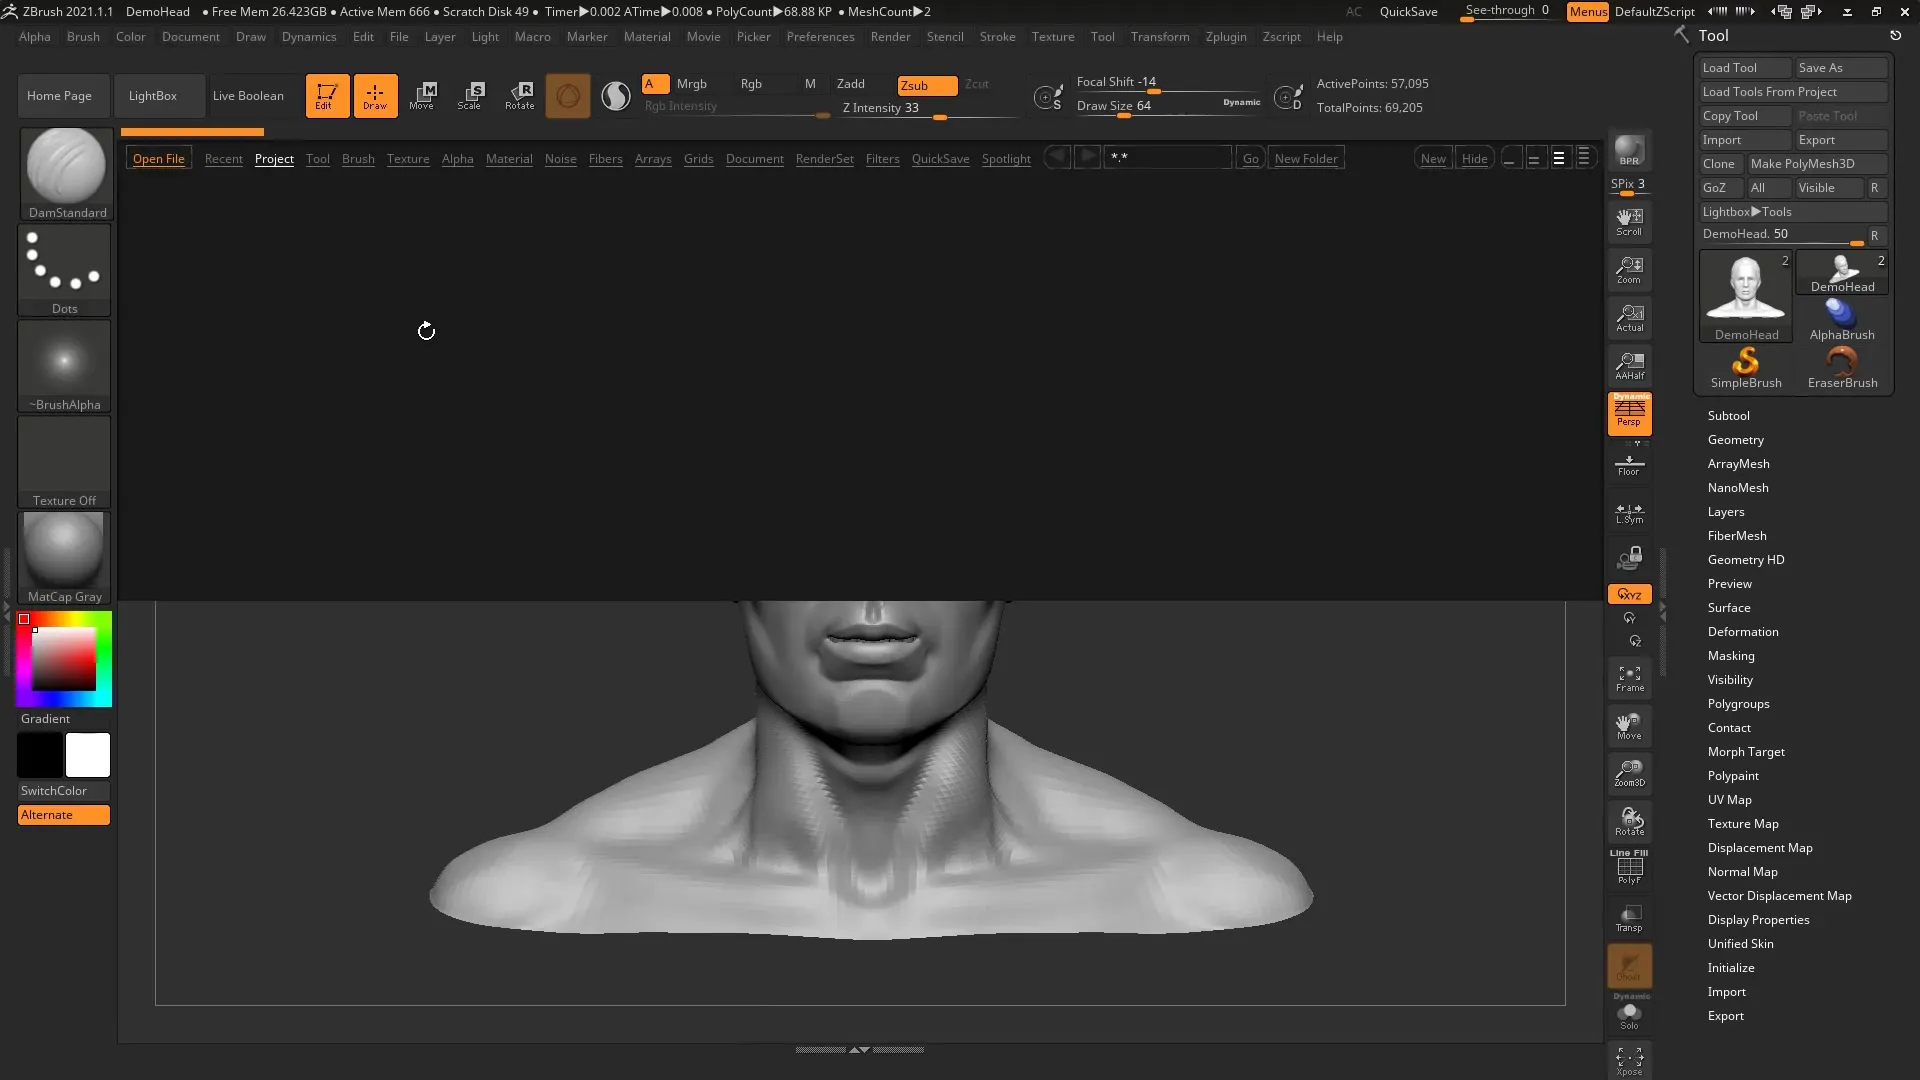
Step 2: Set Geometry Levels
Navigate to the geometry settings and remove all subdivision levels. This is not strictly necessary, but it helps you understand how the functions work with a base mesh.
Step 3: Make Initial Edits
Start with simple edits to your mesh. Use the “Clay Buildup Brush” to make the hair denser. You can edit the mesh in different areas to better demonstrate how the History Recall Brush works.
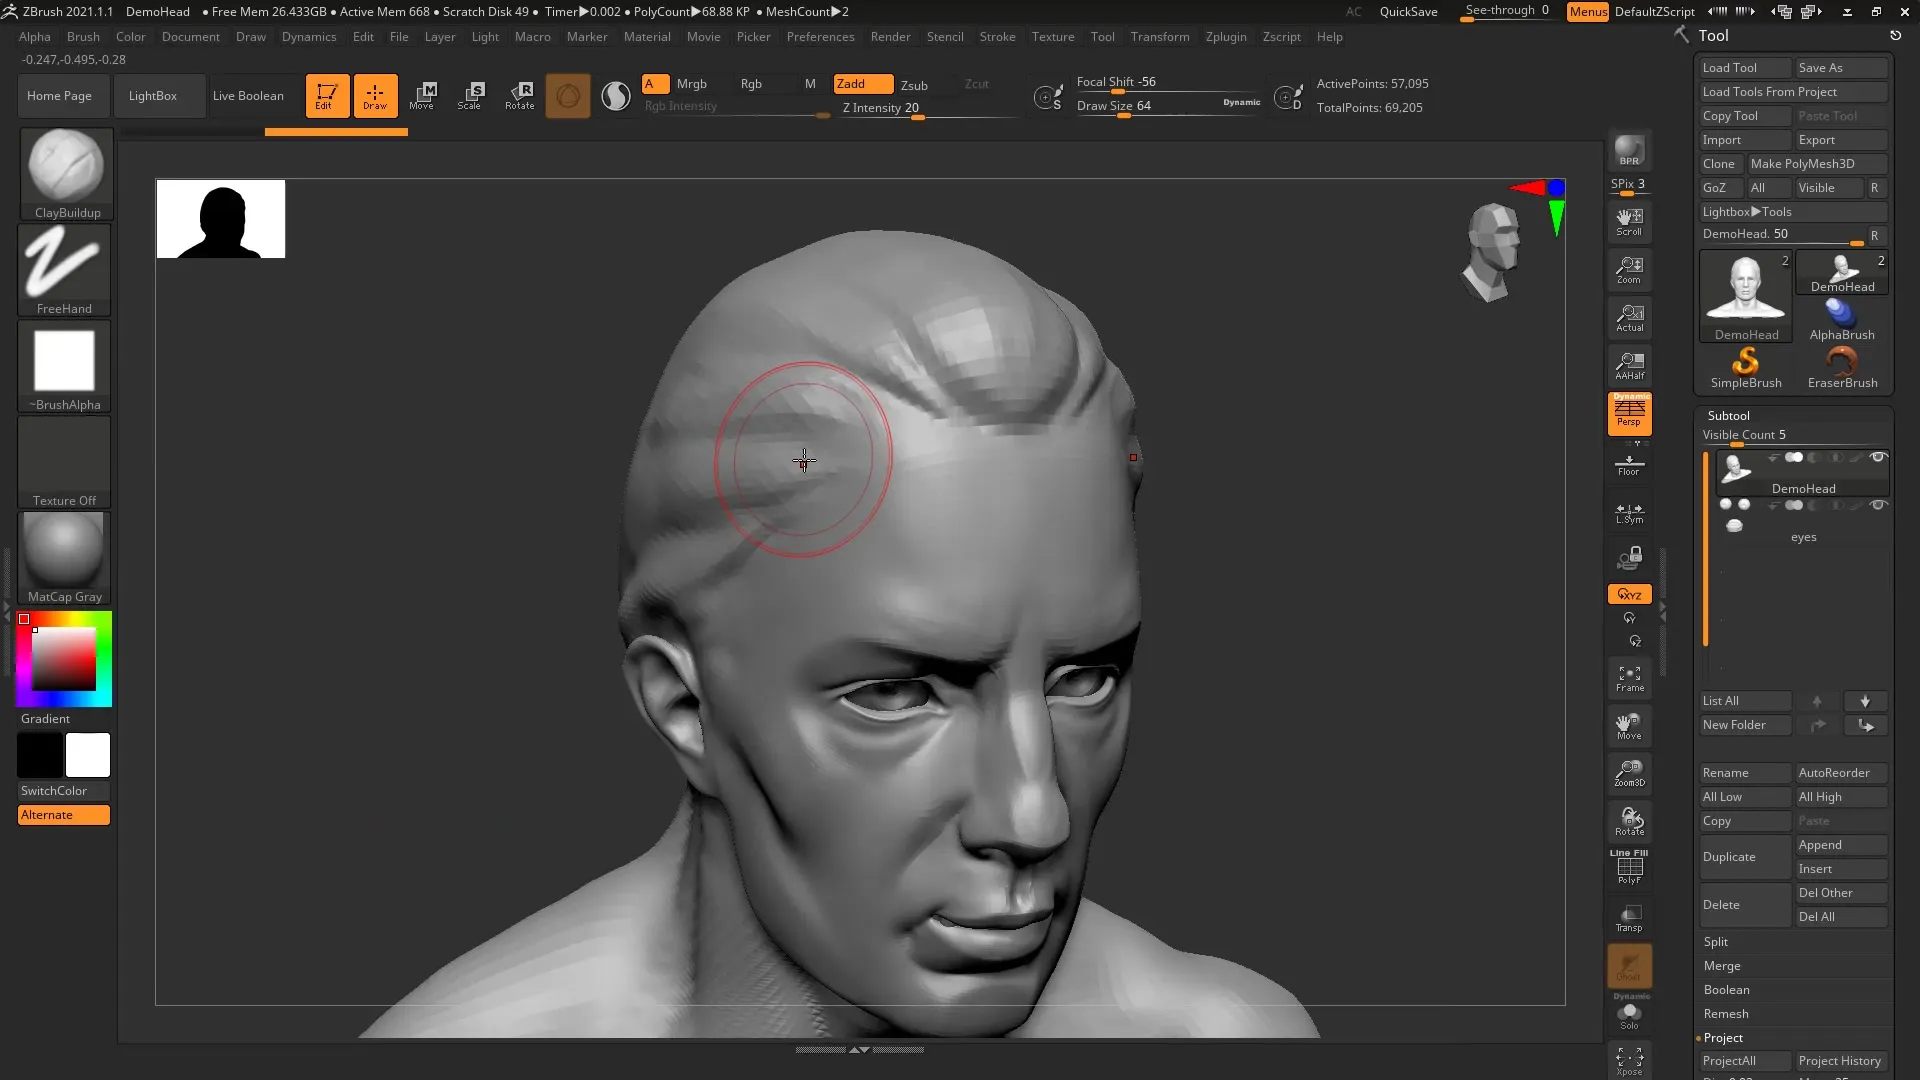
Step 4: Edit Multiple Areas
Continue and edit the eyes and mouth of your mesh. Be sure to highlight various details like the shape of the eyes and the corners of the mouth.
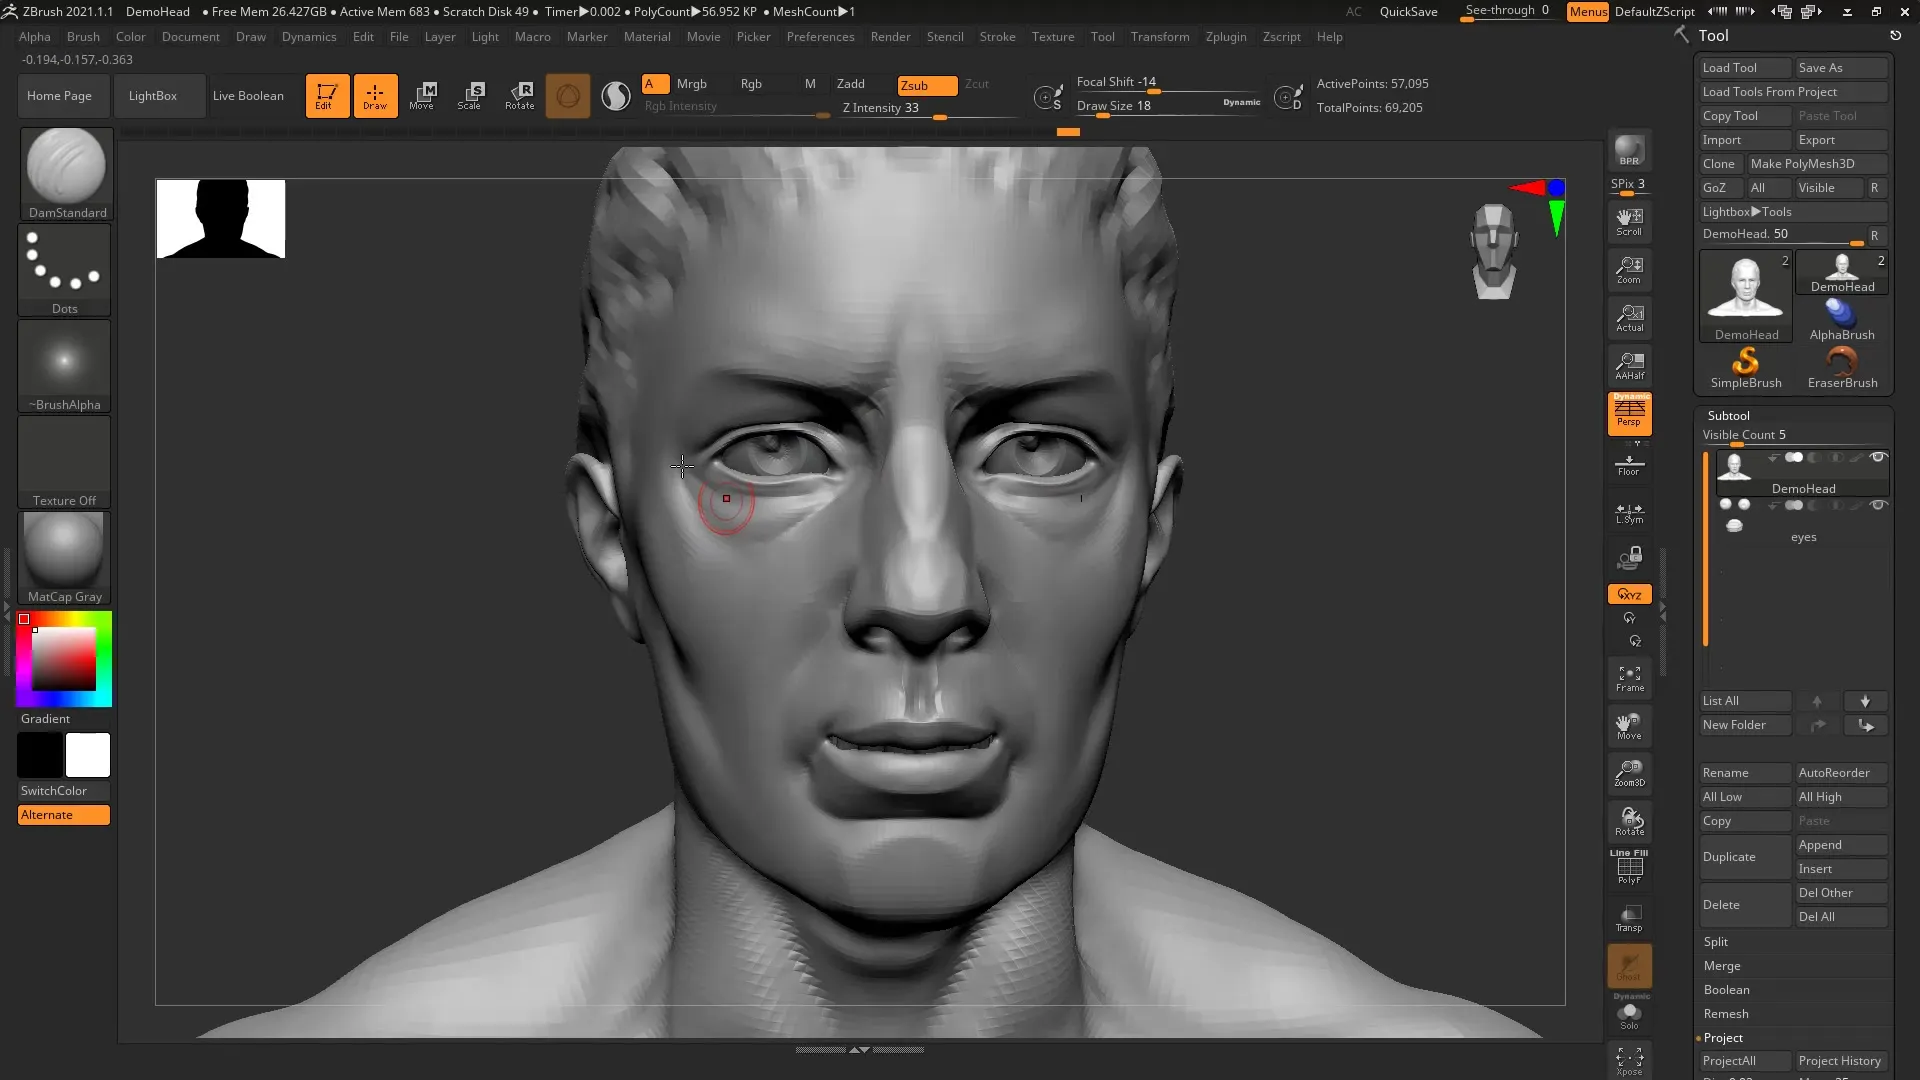
Step 5: Save Time Intervals
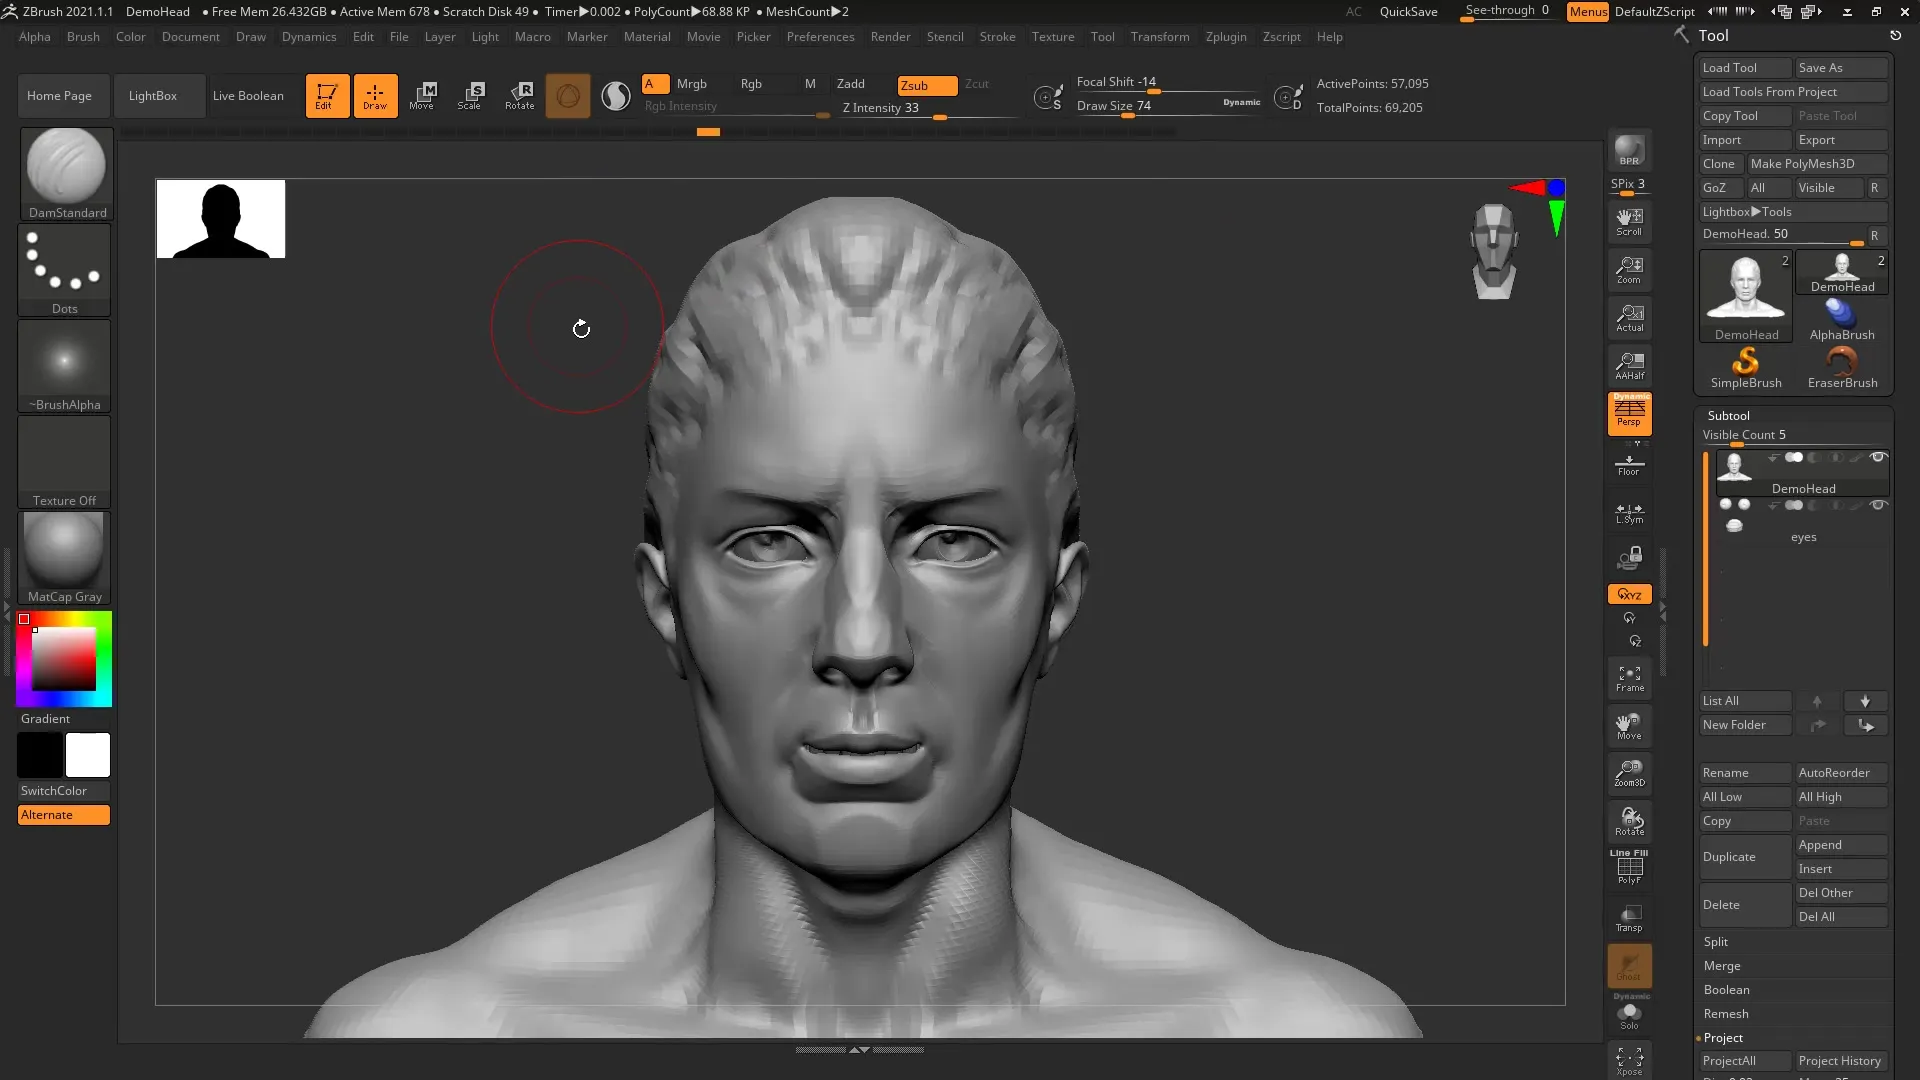
When you are done editing, you may notice that the eyes didn’t turn out as well. To fix this, use the feature to save a moment in your edit history. Hold down the control key and click on the desired timestamp in the timeline.
Step 6: Use the History Recall Brush
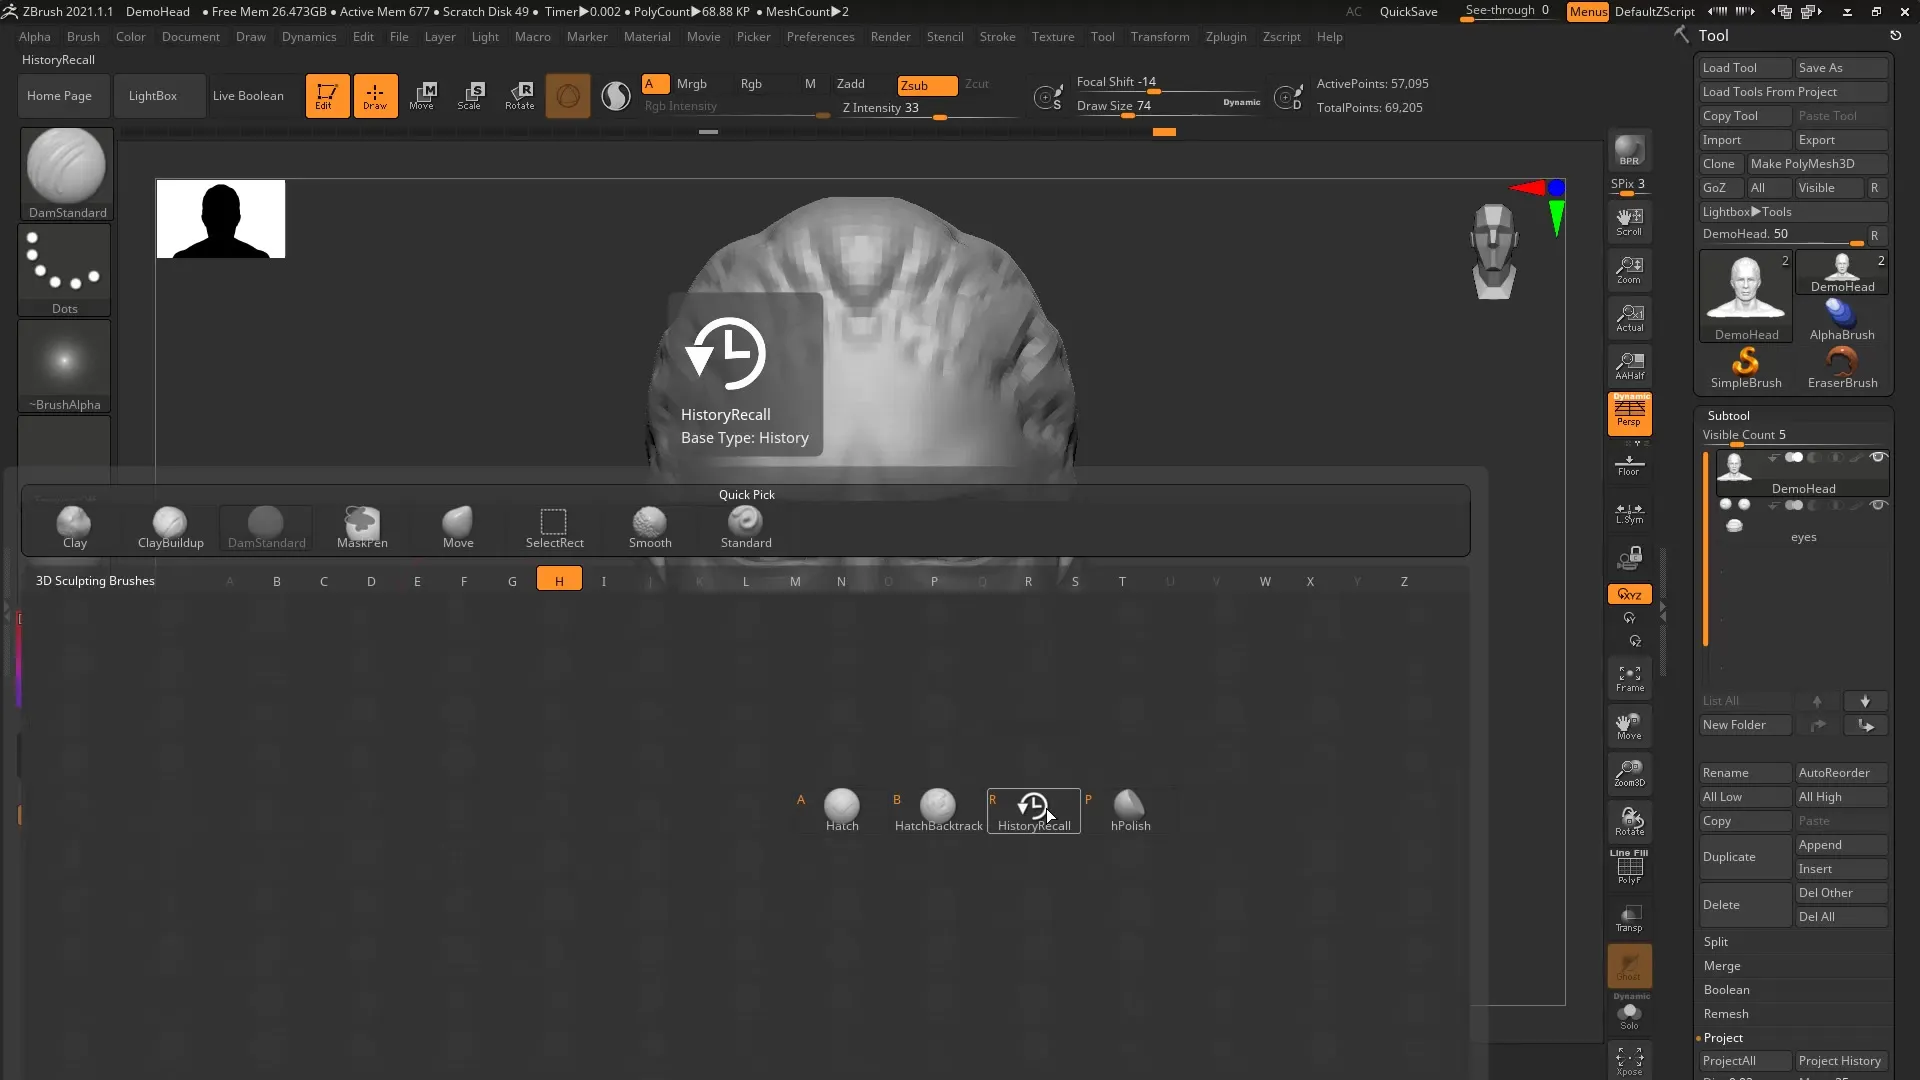
Select the History Recall Brush by opening the “Brushes” menu. Click on “History” and then on the brush. Now you can paint on the areas of the mesh where you want to revert to the previous state.
Step 7: Adjust Settings
If symmetry assistance is needed, make sure symmetry is turned off while editing the eyes. Press the X key to temporarily disable symmetry.
Step 8: Reset Details
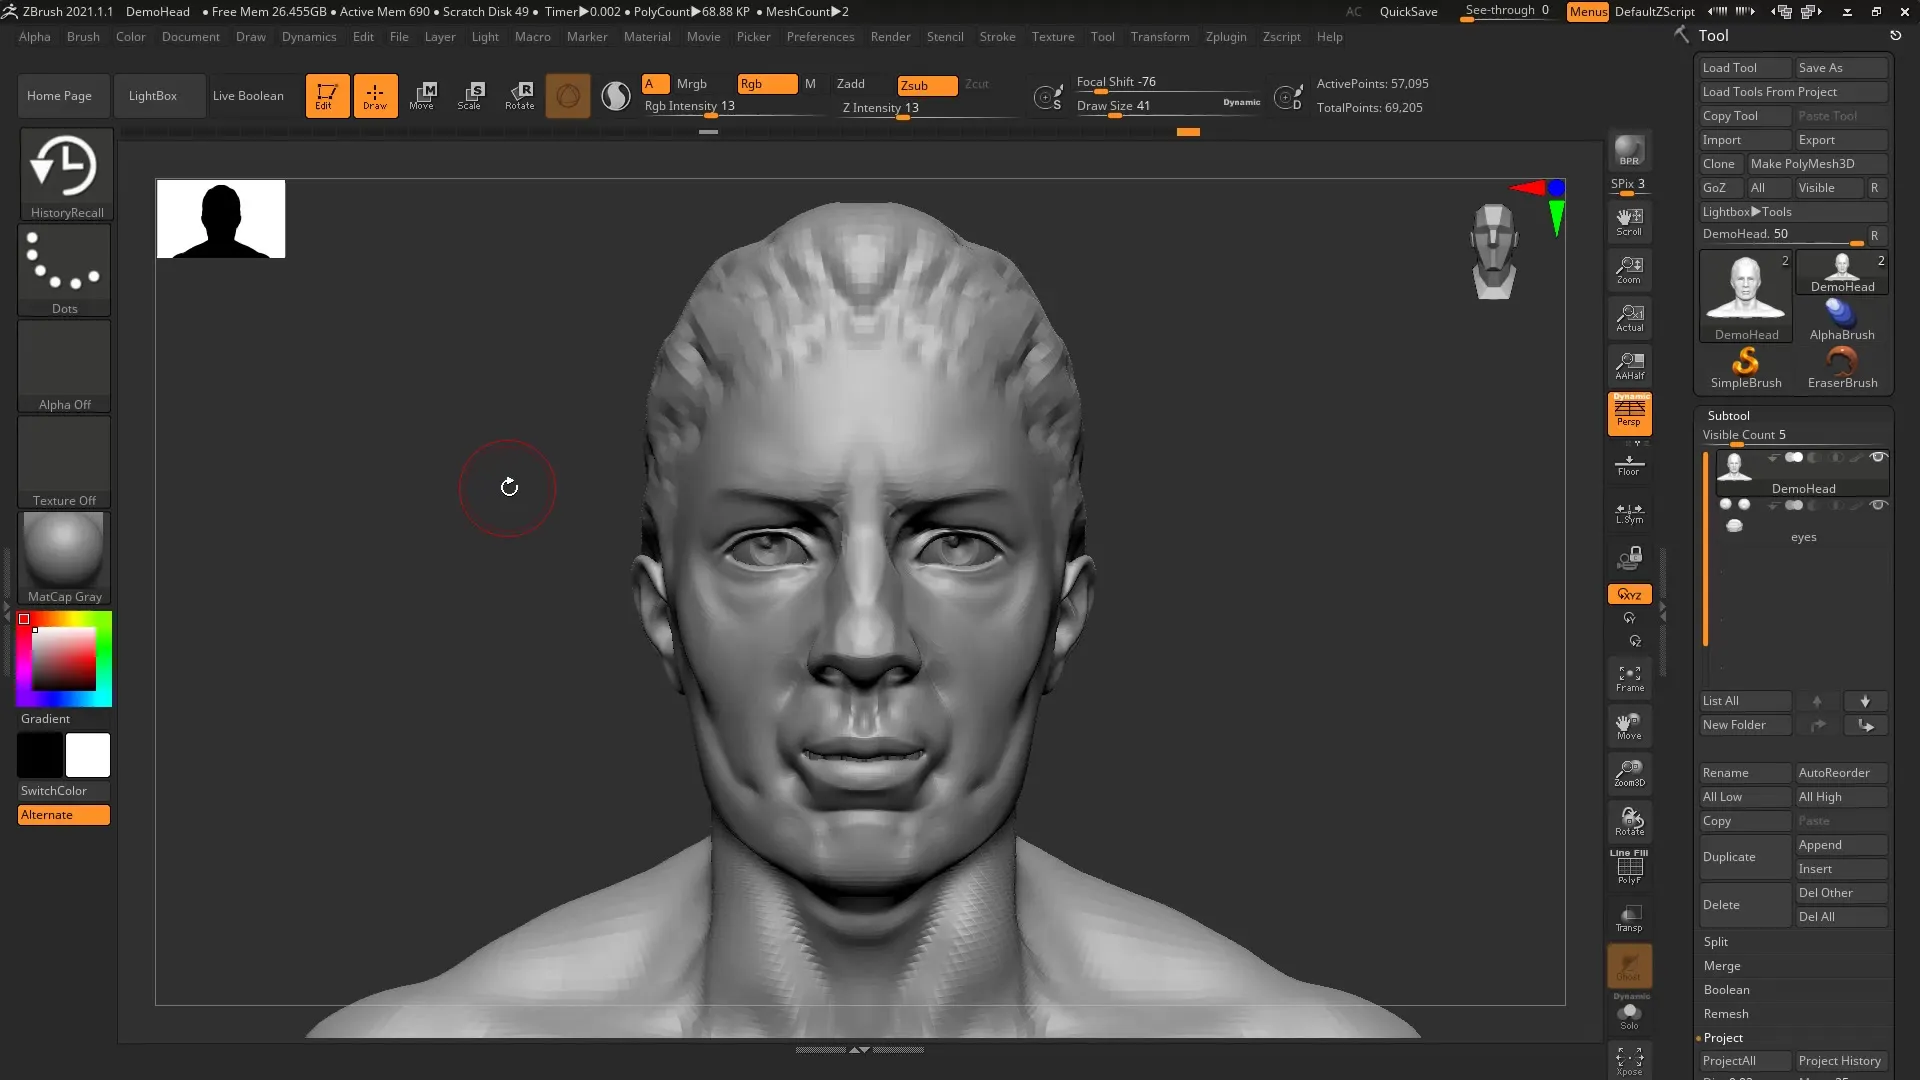
With the method described above, you can revert the eyes to the previous state you saved, while the mouth remains unchanged. This way, you have edited a specific area.
Step 9: Use History Projection
The next feature we’ll look at is History Projection. This allows you to transfer details from a dense mesh to a simplified mesh. You can particularly use this when you want to create a base mesh with fewer polygons.
Step 10: Adjust Mesh with Subdivision
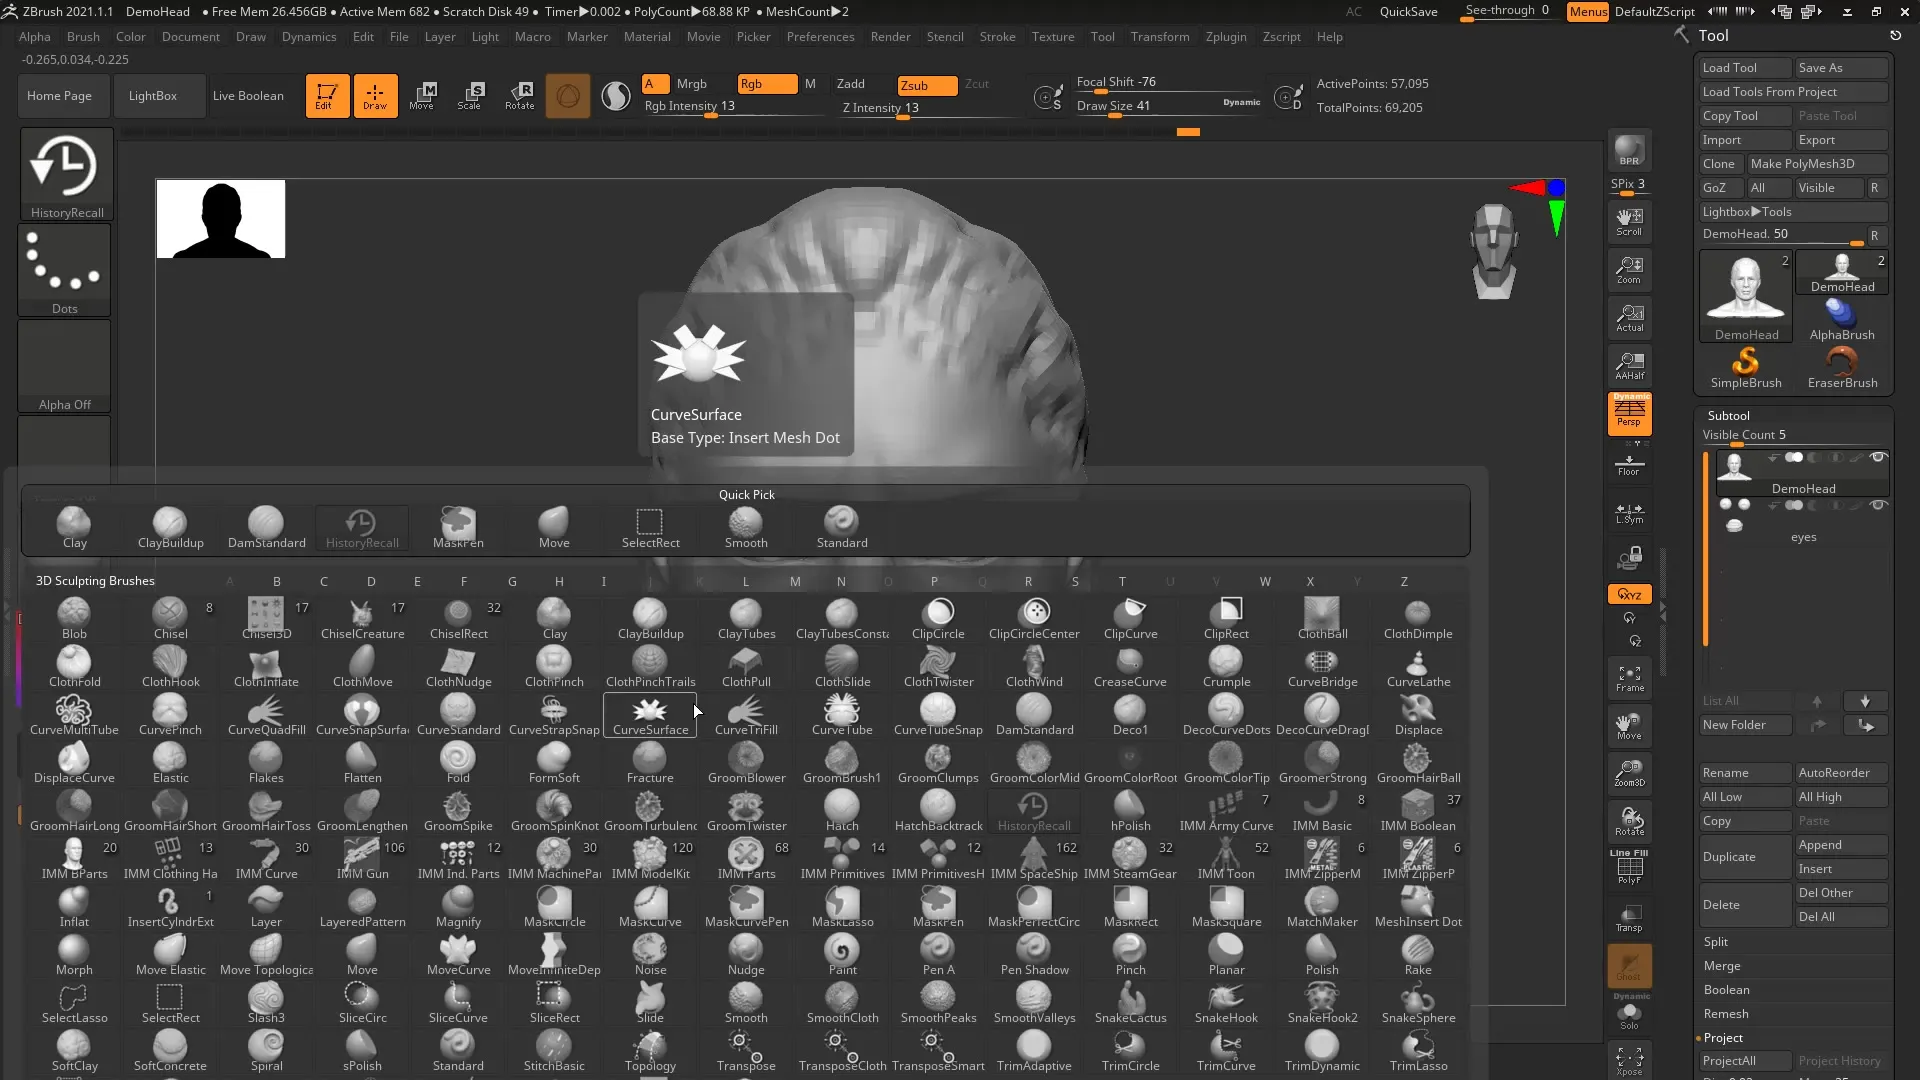
Go to “Project History” in the Subtool menu. This projects the details of your complex mesh onto the simplified version you created.
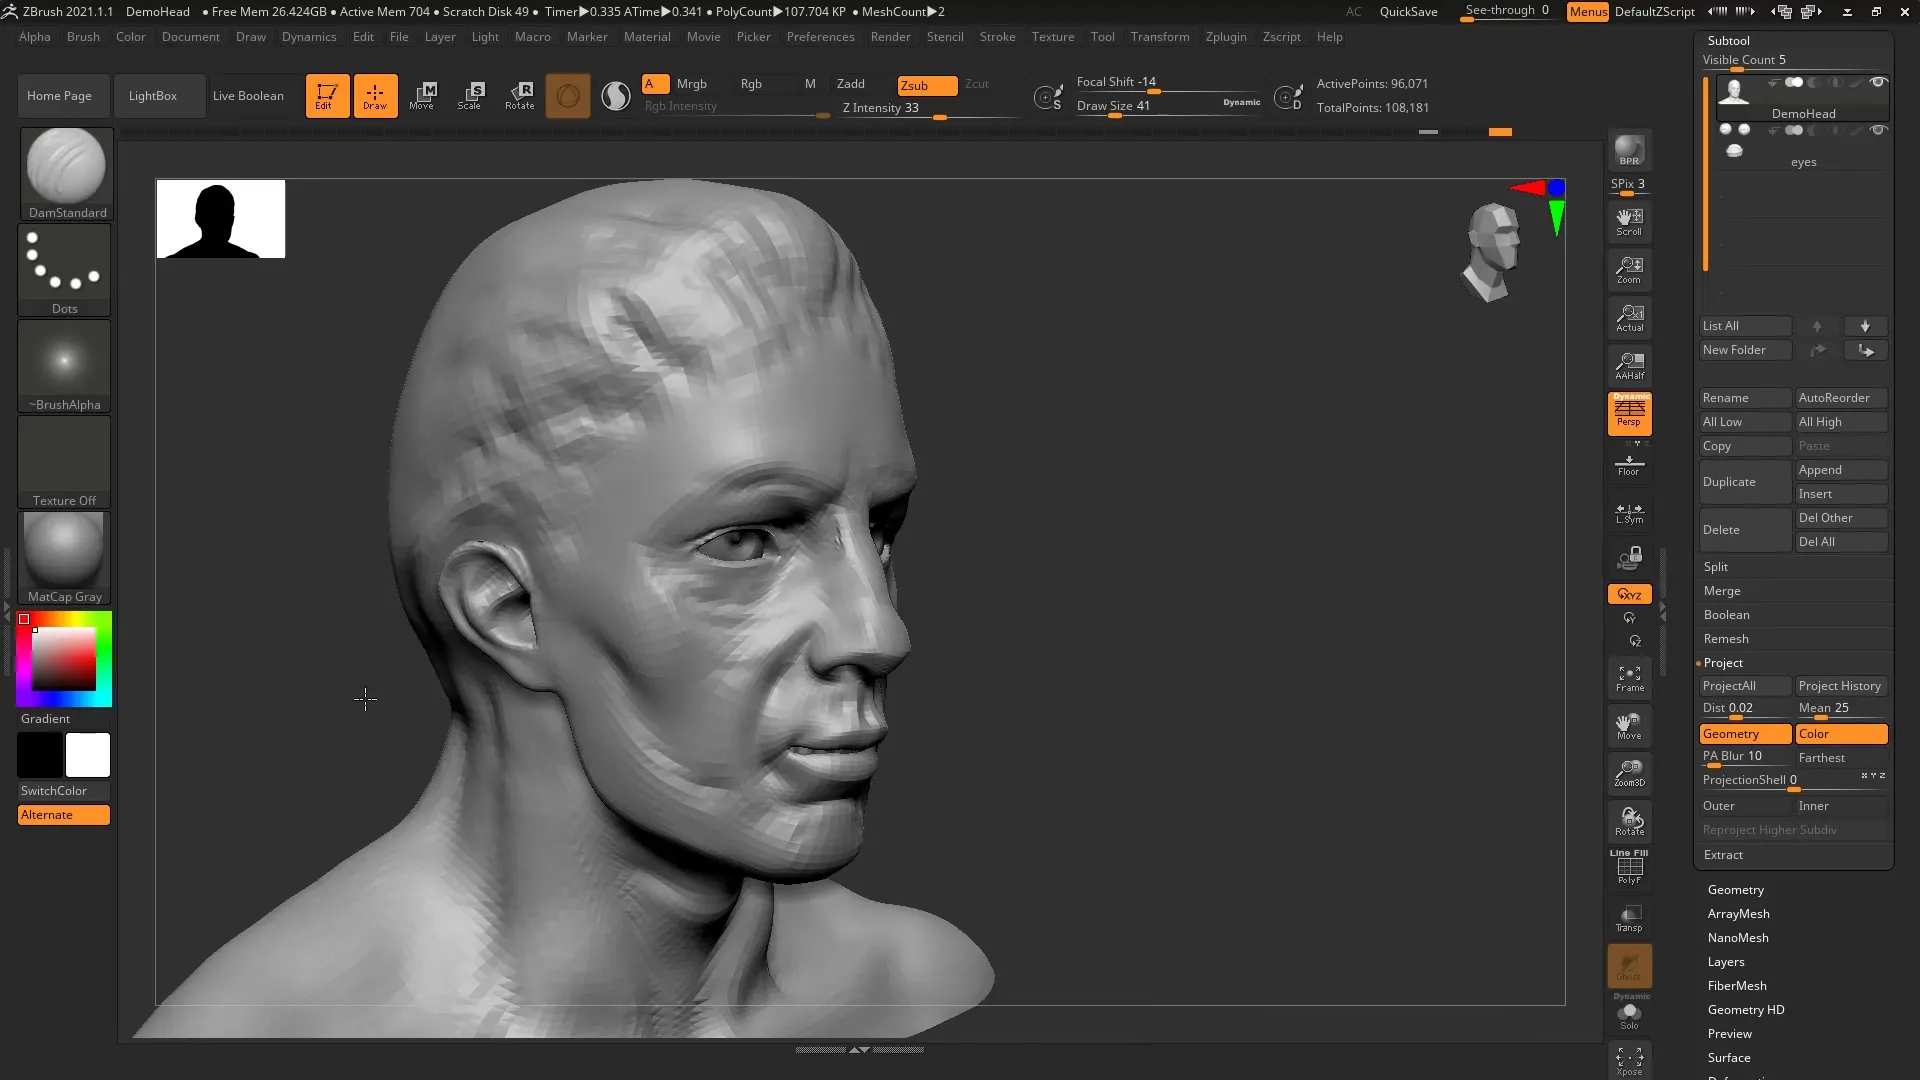
Step 11: Thoroughly Review the Process
Once you have completed the projection process, check how the details from the original model were transferred back to the simplified model.
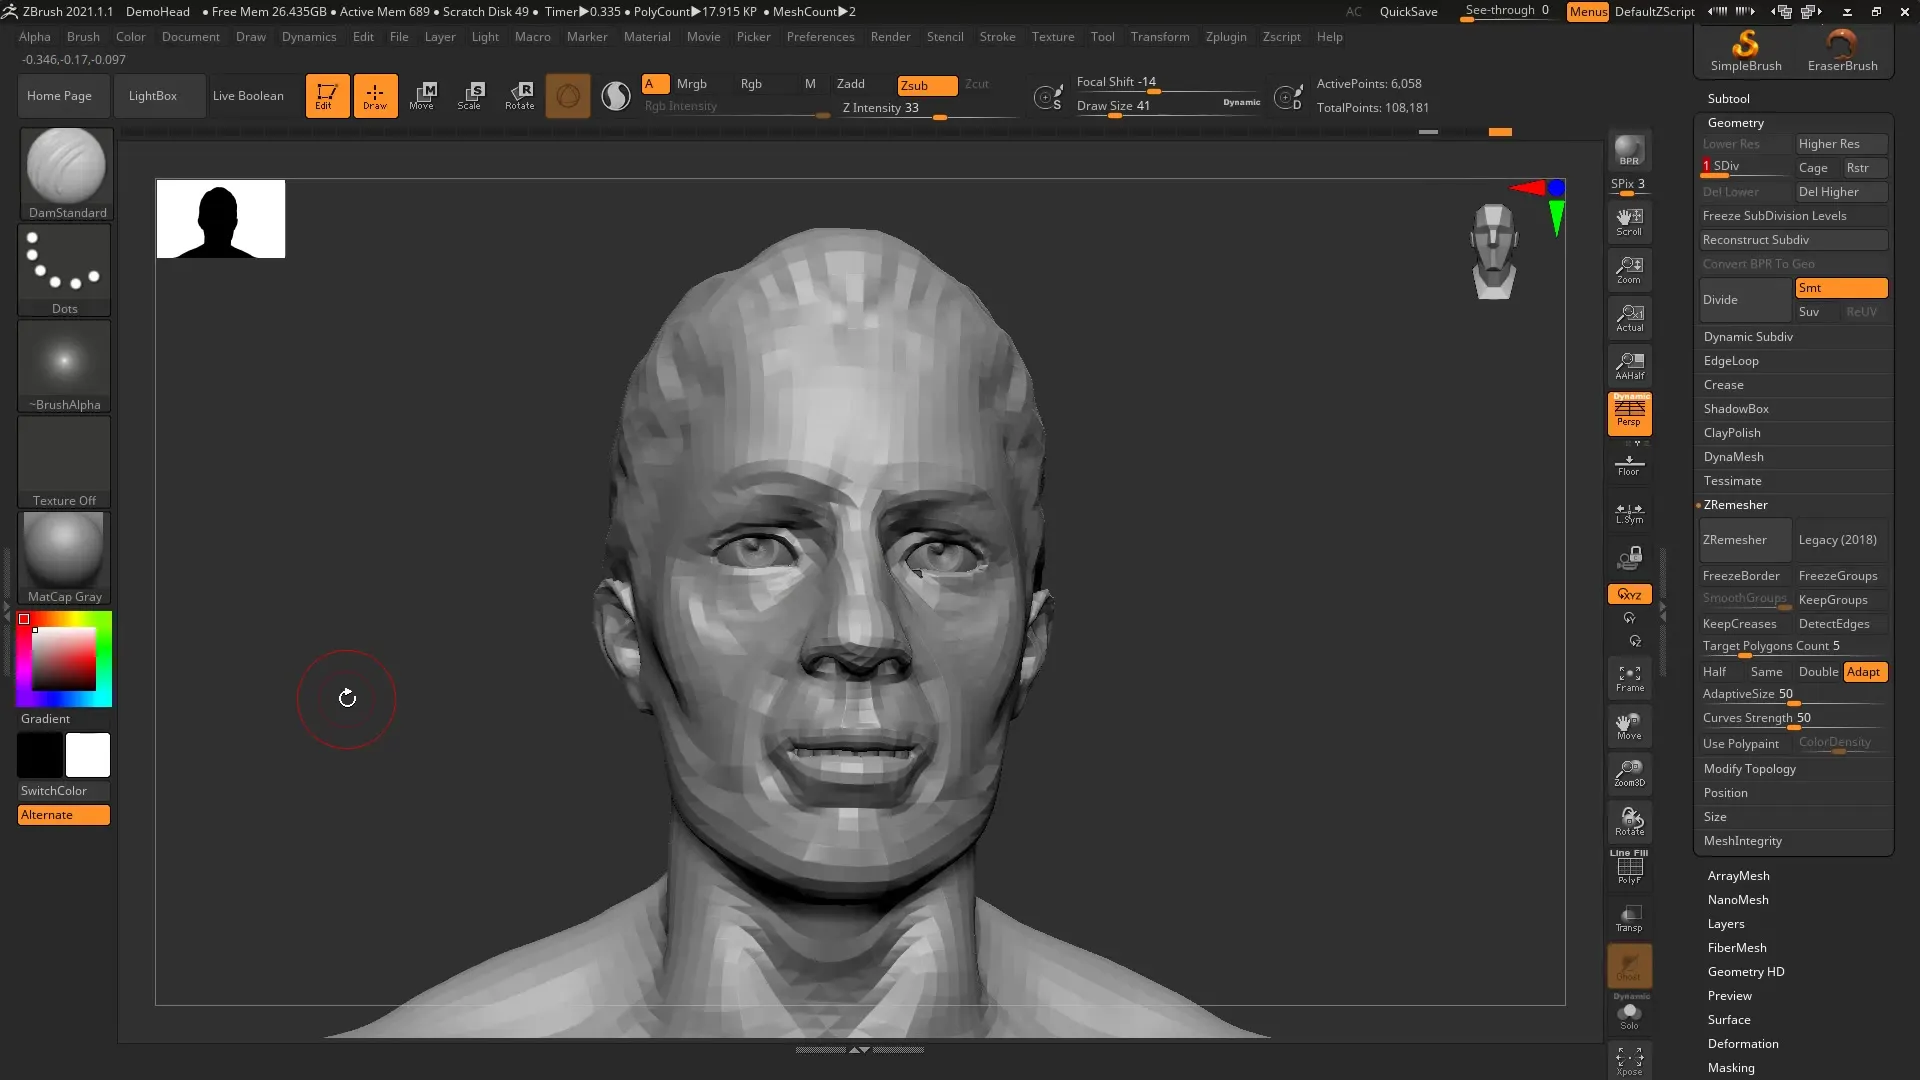
Summary – ZBrush 2020: History Recall Brush & History Projection – Guide
The History Recall Brush and History Projection features offer innovative ways to effectively edit and adapt 3D models. They allow you to remain dynamic throughout the design process and make changes with ease.
