ZBrushhas introduced a remarkable expansion for 3D modeling with the introduction of the “DynamicThickness” feature. This new feature allows you to assign an adjustable thickness to any surface of your mesh, achieving effective volumetric effects – and all in a non-destructive manner. Here you will learn how to optimally use Dynamic Thickness in your projects to achieve impressive results.
Key Insights
- Dynamic Thickness allows for the adjustment of surface thickness without permanent changes.
- The feature is ideal for creating organic and solid shapes.
- You can adjust the thickness at any time and even rearrange it without losing the original geometry.
Step-by-Step Guide
1. Preparations and Creating a Mesh
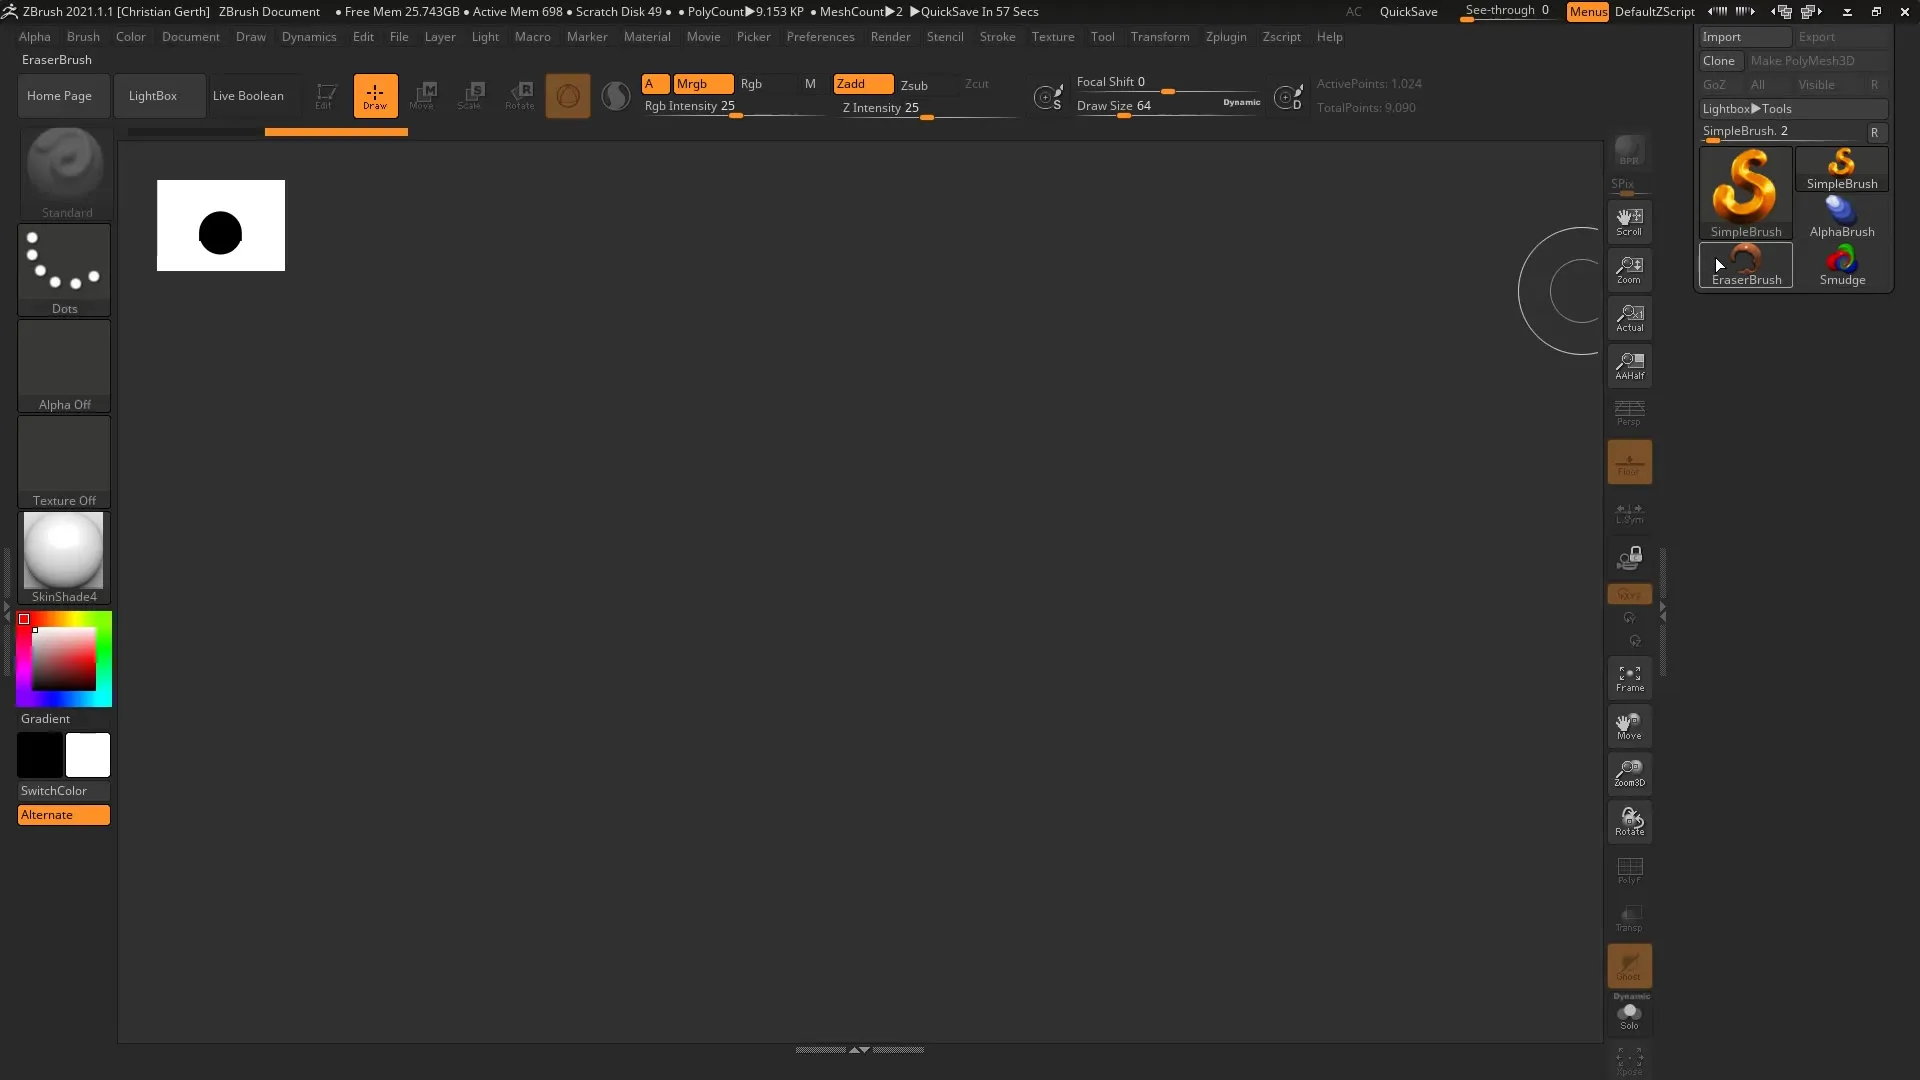
To work with Dynamic Thickness, start by creating a base shape. Launch ZBrush and add a sphere. Press the “T” key to enter Edit Mode. This will serve as a dummy object to demonstrate the feature.
2. Adding a Terrain
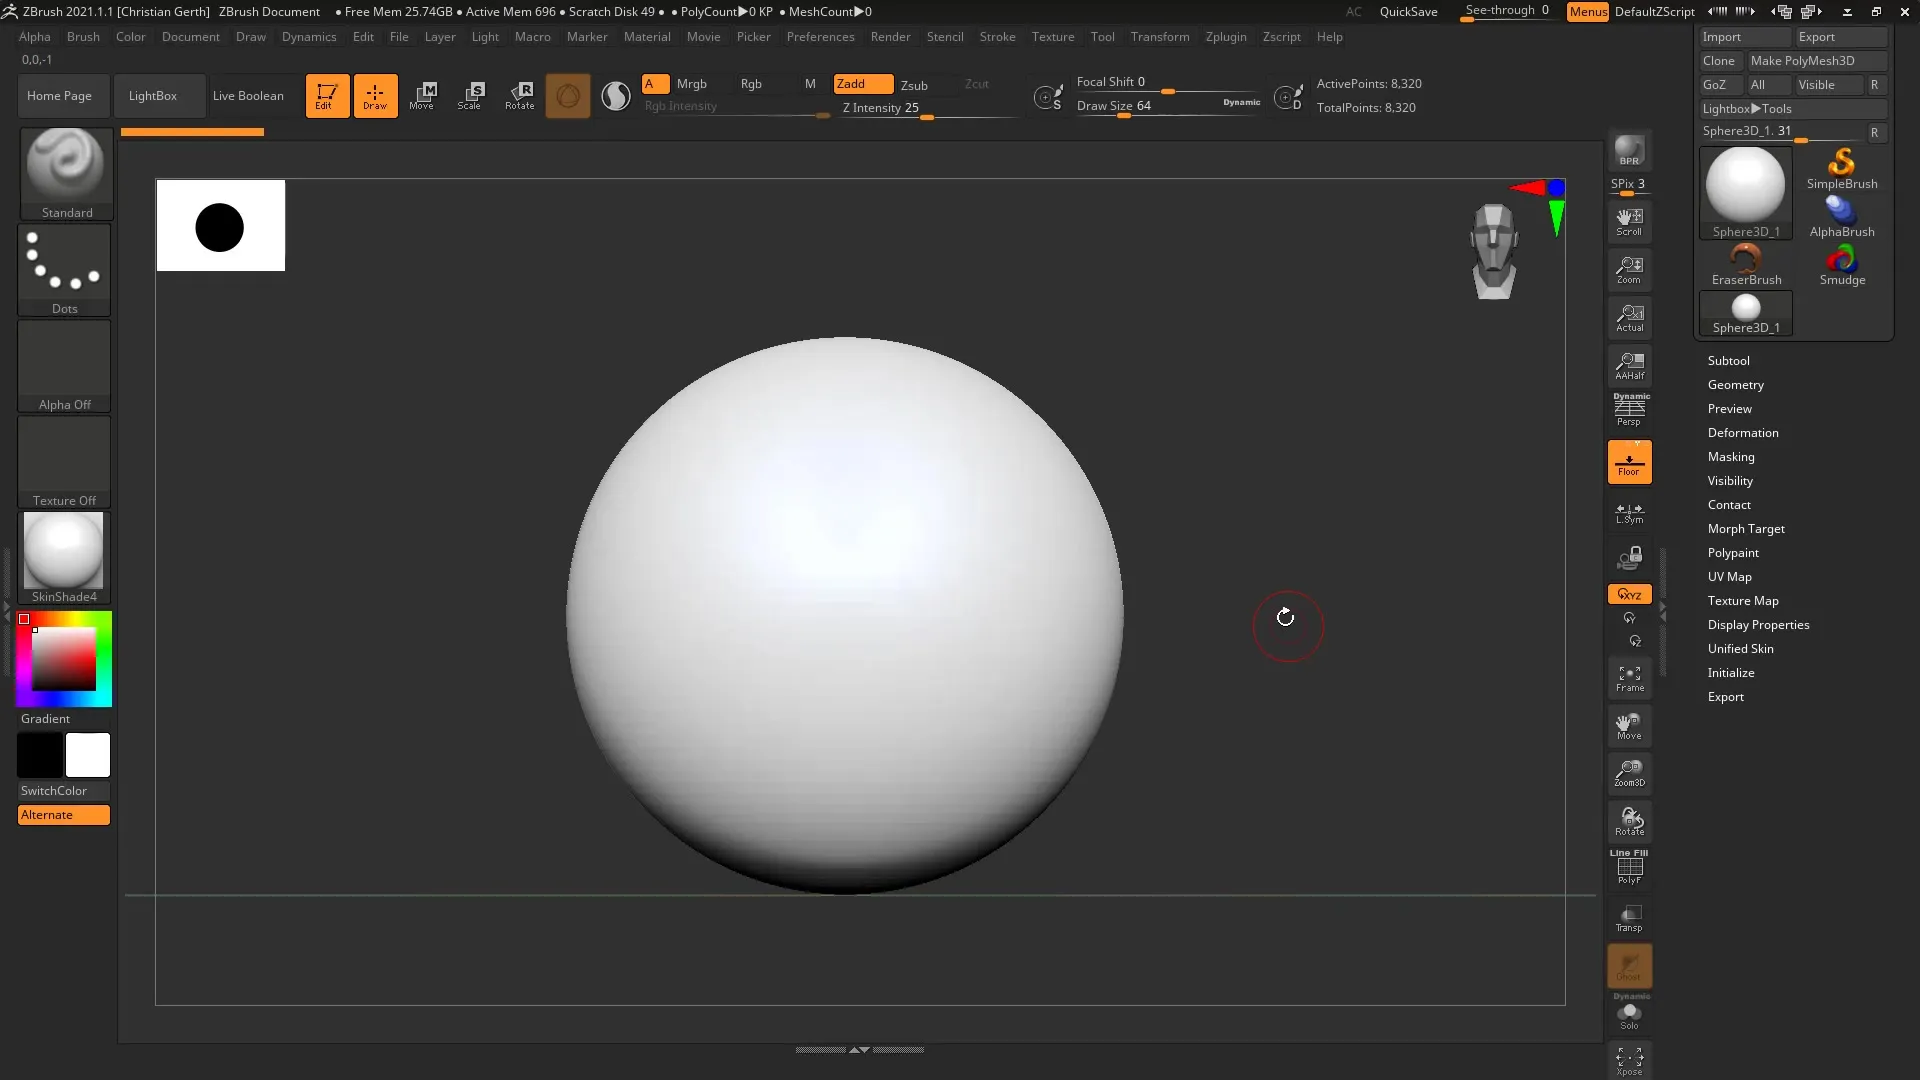
Add a terrain scene using “Append.” This surface is the main focus as you will adjust the thickness here. Place the terrain on the sphere; perfect alignment is not necessary. You will use this arrangement later in the Cloth Simulation.
3. Activating Transparency Mode
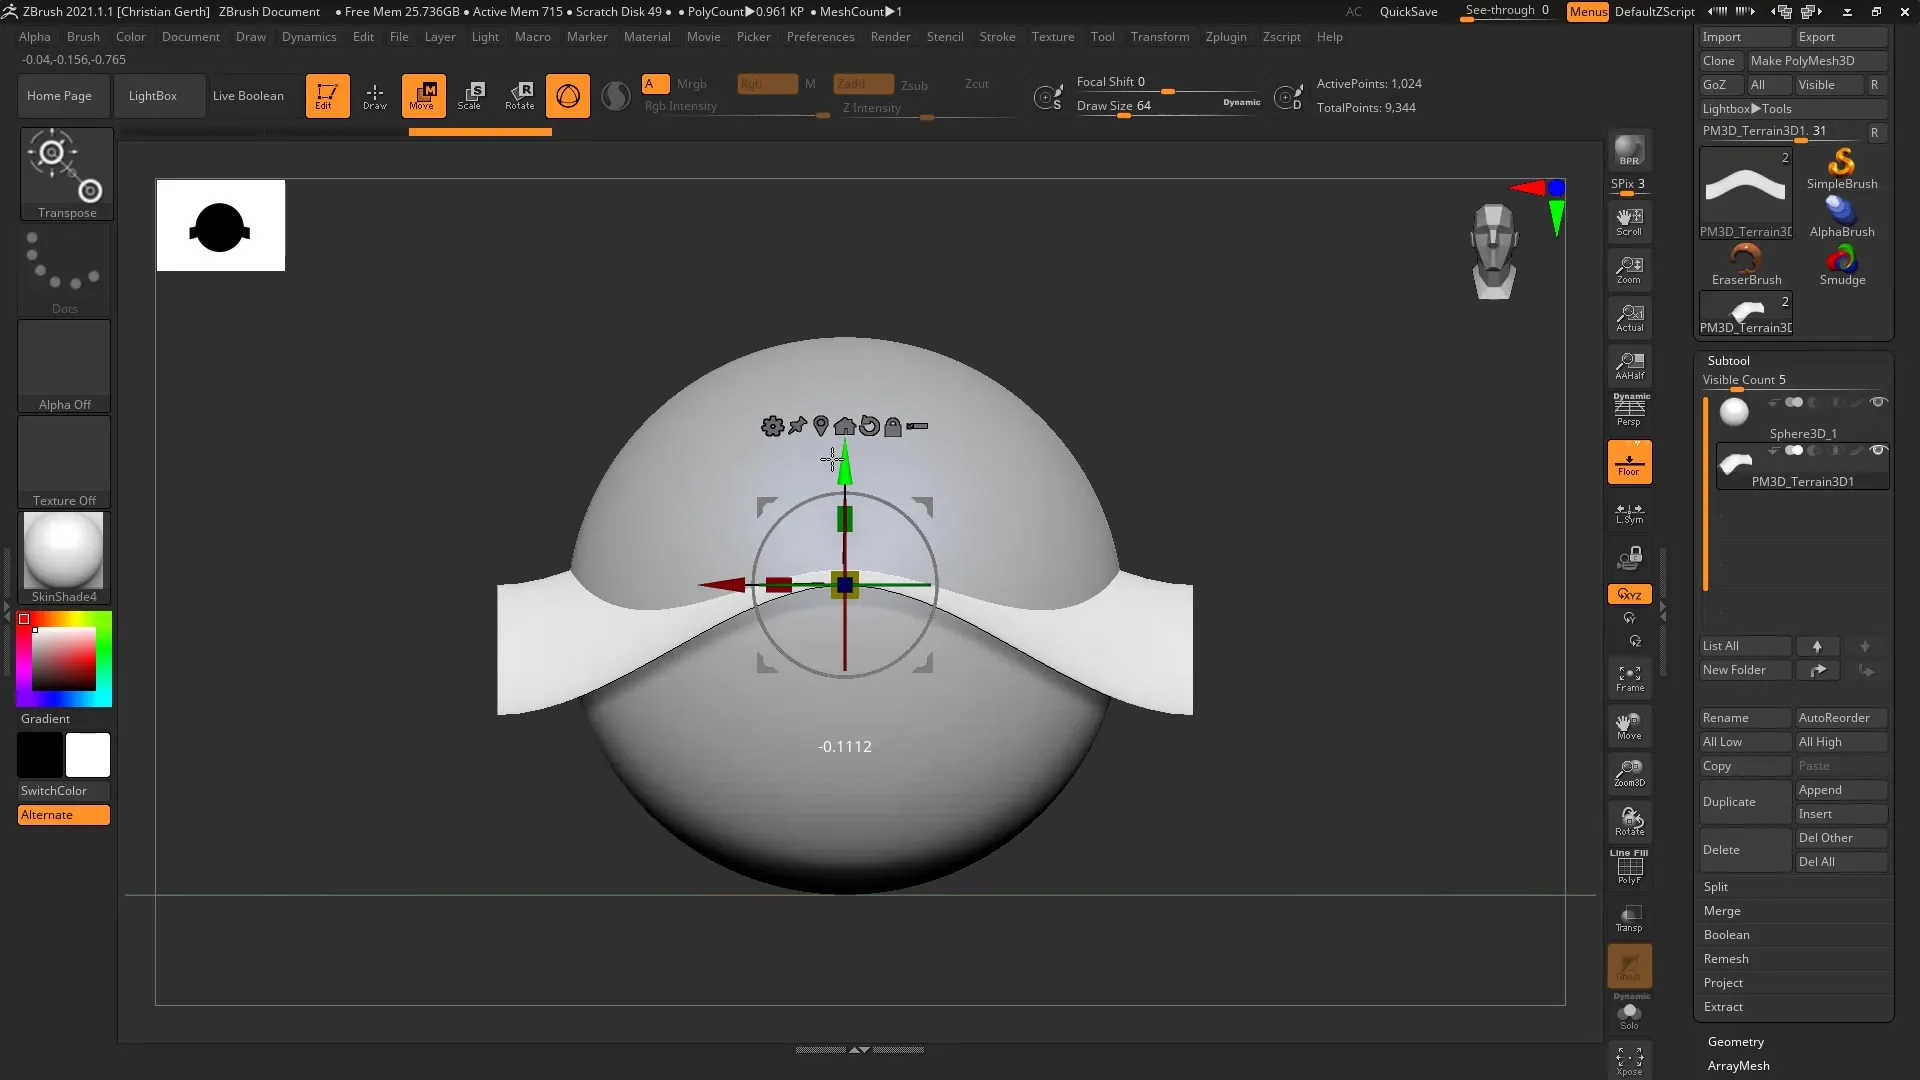
To have a better view of the edges, activate the transparency mode. This way, you can see exactly how the terrain sits on the sphere. This forms the basis for creating Dynamic Thickness.
4. Switching to Draw Mode
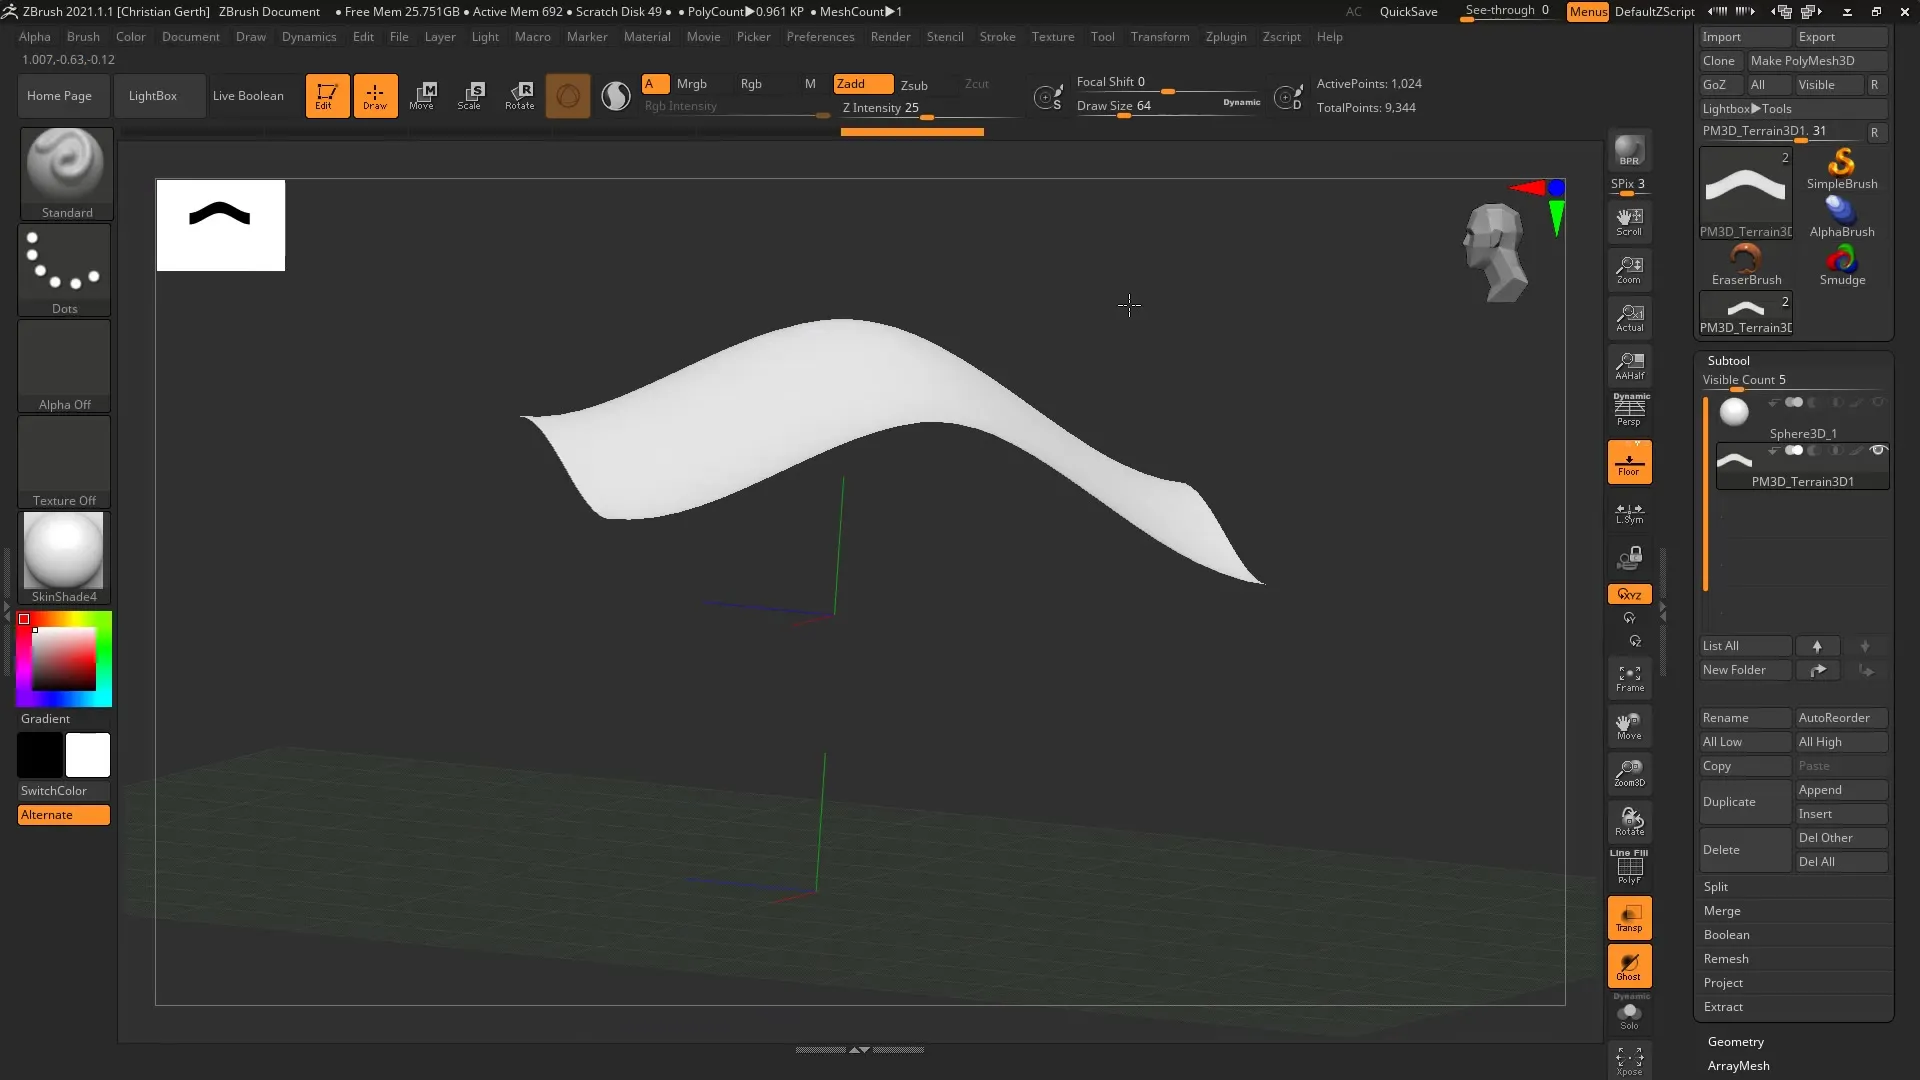
Go back into Draw Mode to edit the surface effectively. Now, it becomes visible how the geometry behaves, especially when viewed from different angles.
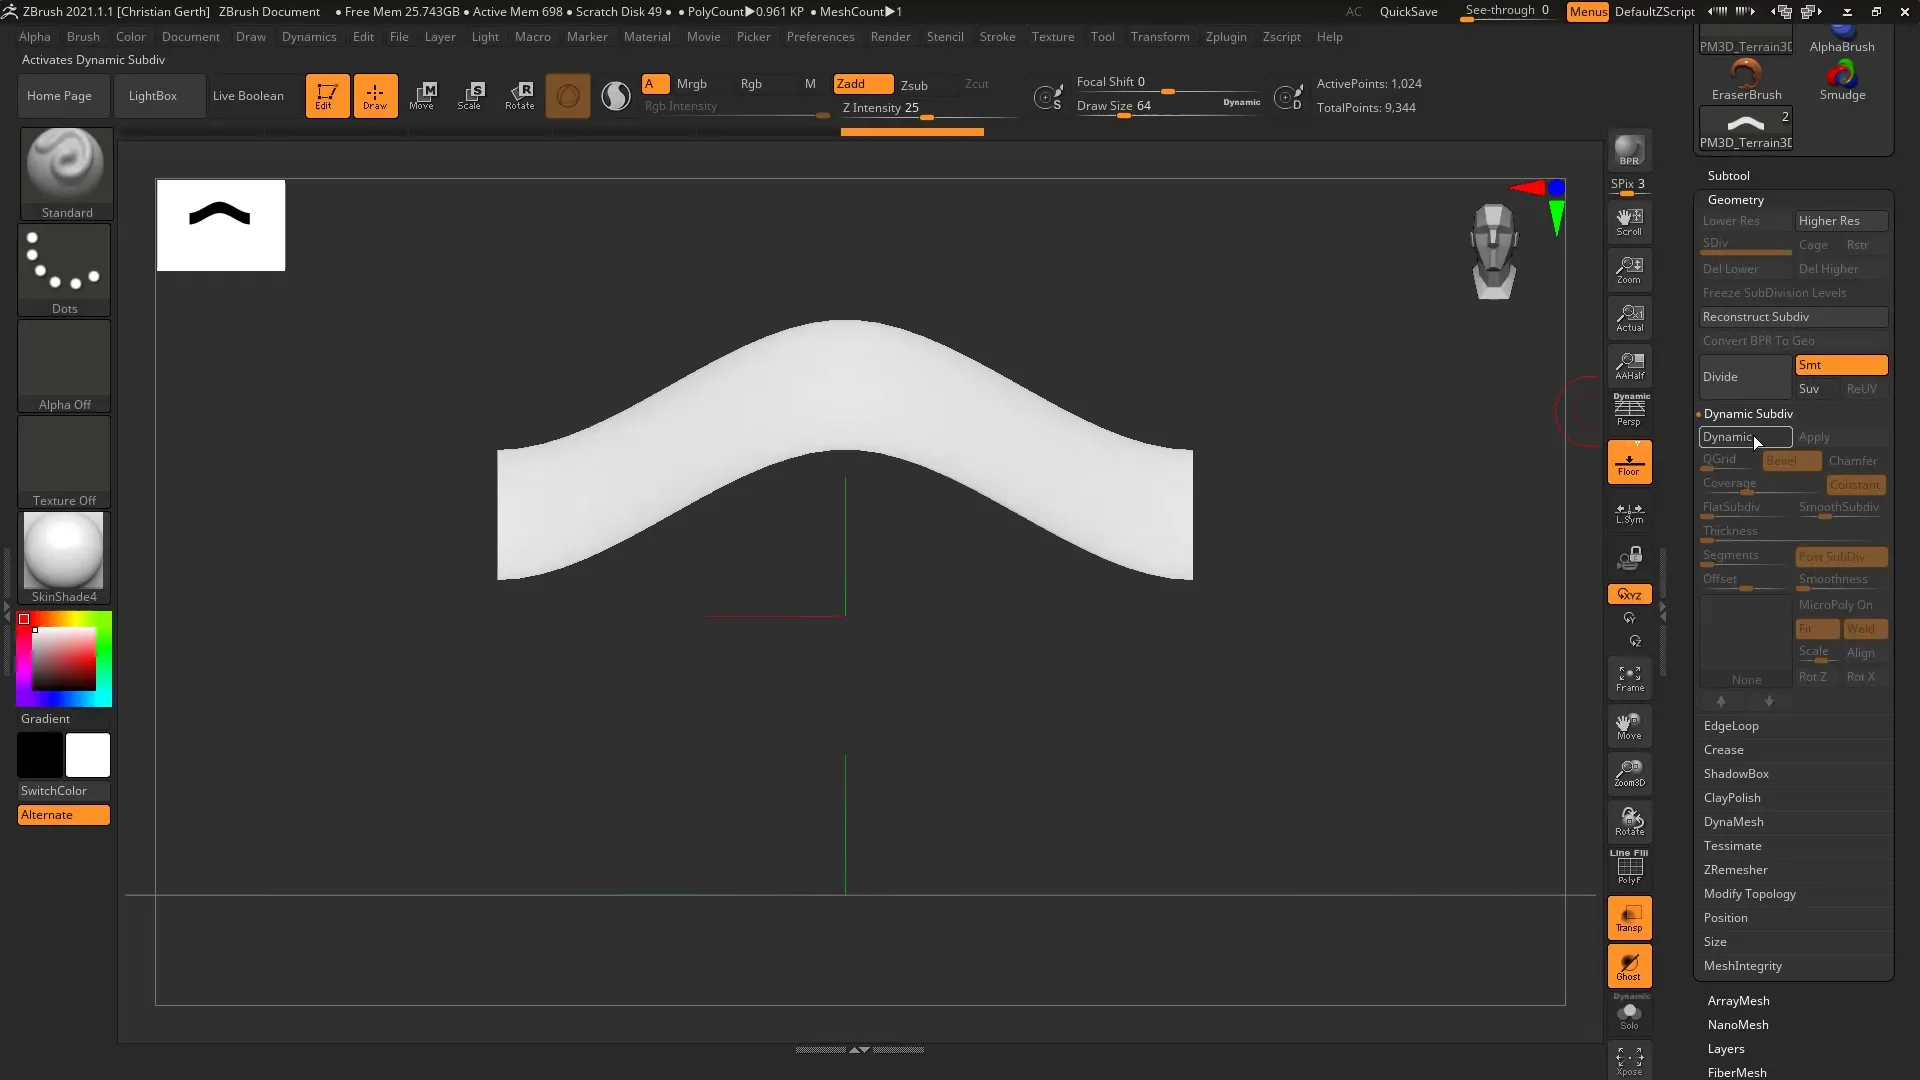
5. Recognizing Thin Geometry
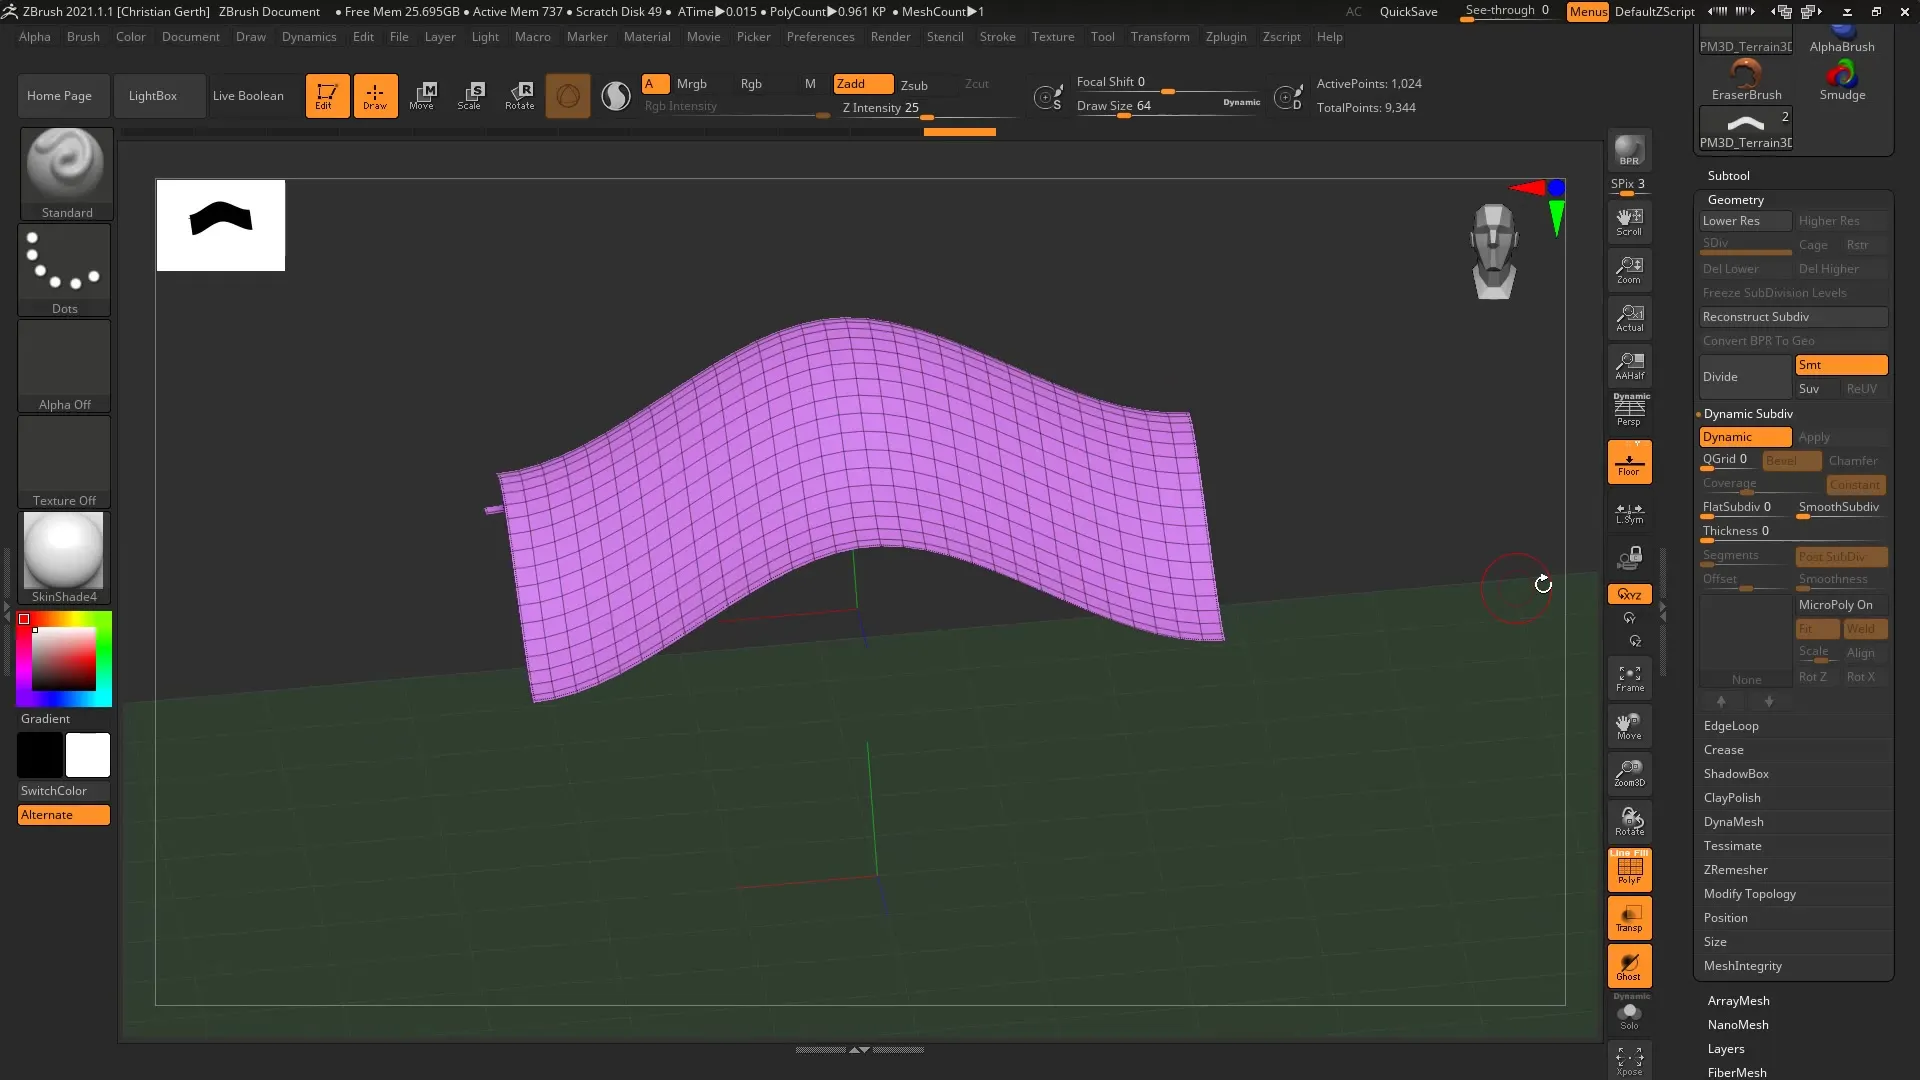
The surface initially appears as just a polygon, meaning it has no thickness. The goal is to give the mesh weight. Now go to the “Geometry” menu and find the “Dynamic Subdivision” option. This allows you to adjust the natural softness of the mesh without exceeding the original geometry.
6. Applying Dynamic Thickness
To apply the actual thickening, go to the “Dynamic Thickness” settings. Here you can make various adjustments to quickly create a thickness that matches your style.
7. Adjusting the Thickness
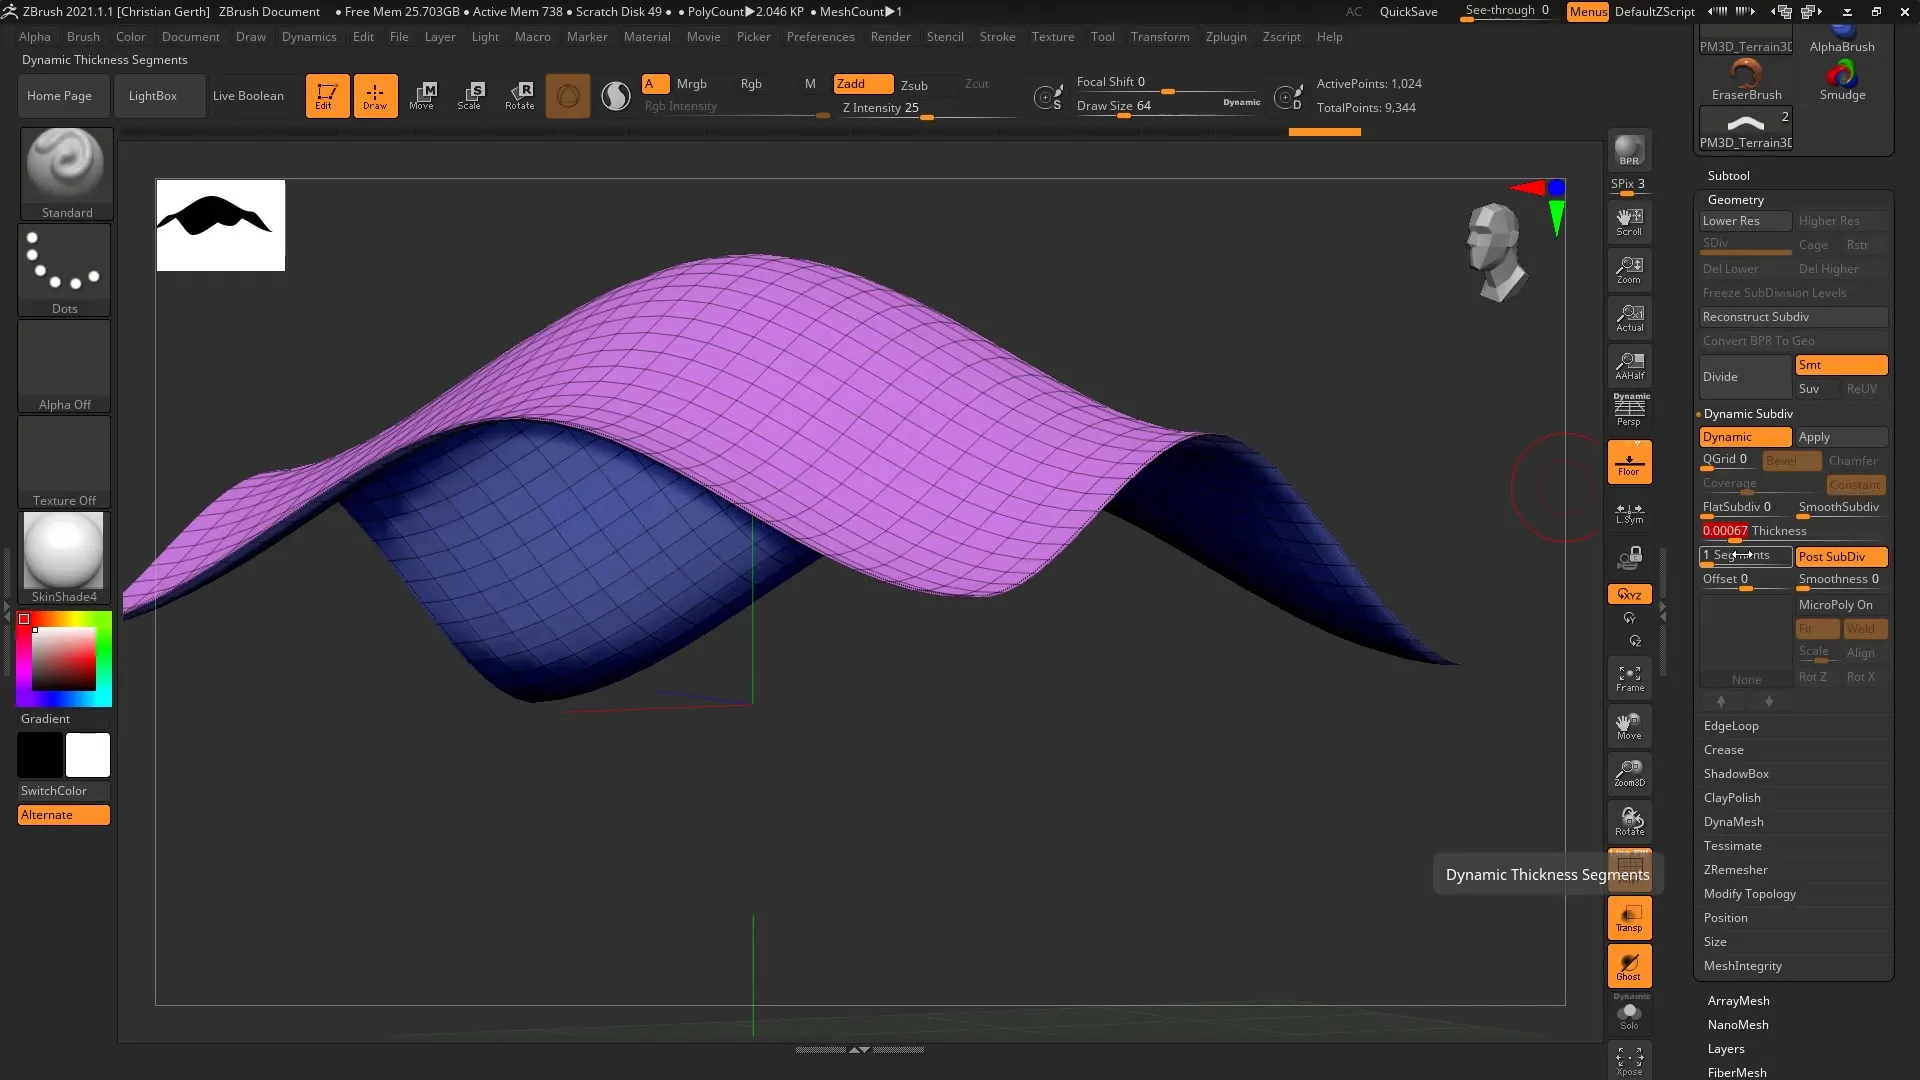
Use the thickness slider to set the desired thickness. Start with a value of 0.3 for a fine cloth and observe the changes in the mesh. You now have the flexibility to see immediately how the thickness affects the appearance.
8. Creating Segments
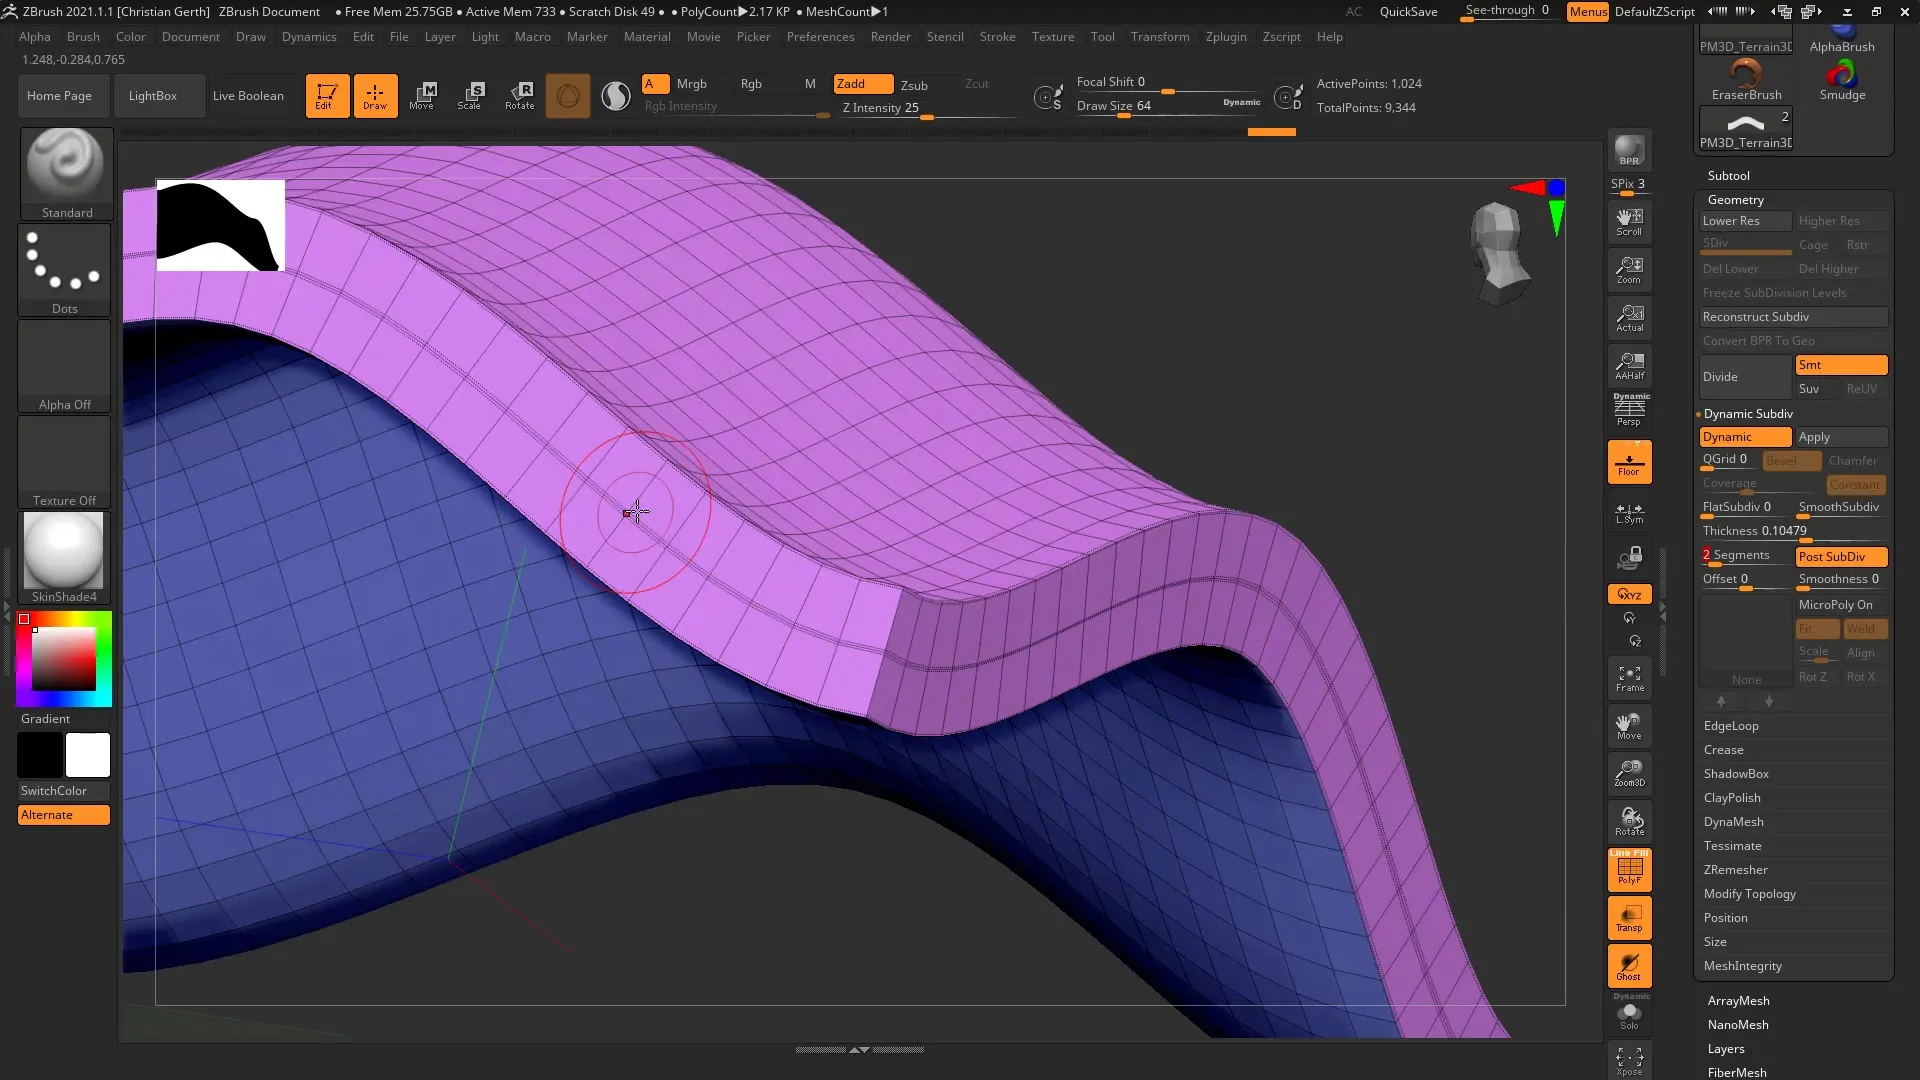
If you want to add more details, you can subdivide the mesh, creating segments. You can increase the number of segments to make the geometry more adaptable and add more complexity.
9. Entering Offset Values
You will be able to place the thickness dynamically depending on the offset setting. With an offset of +100, the thickness is placed above your original mesh, while a negative offset causes the thickness to shift down.
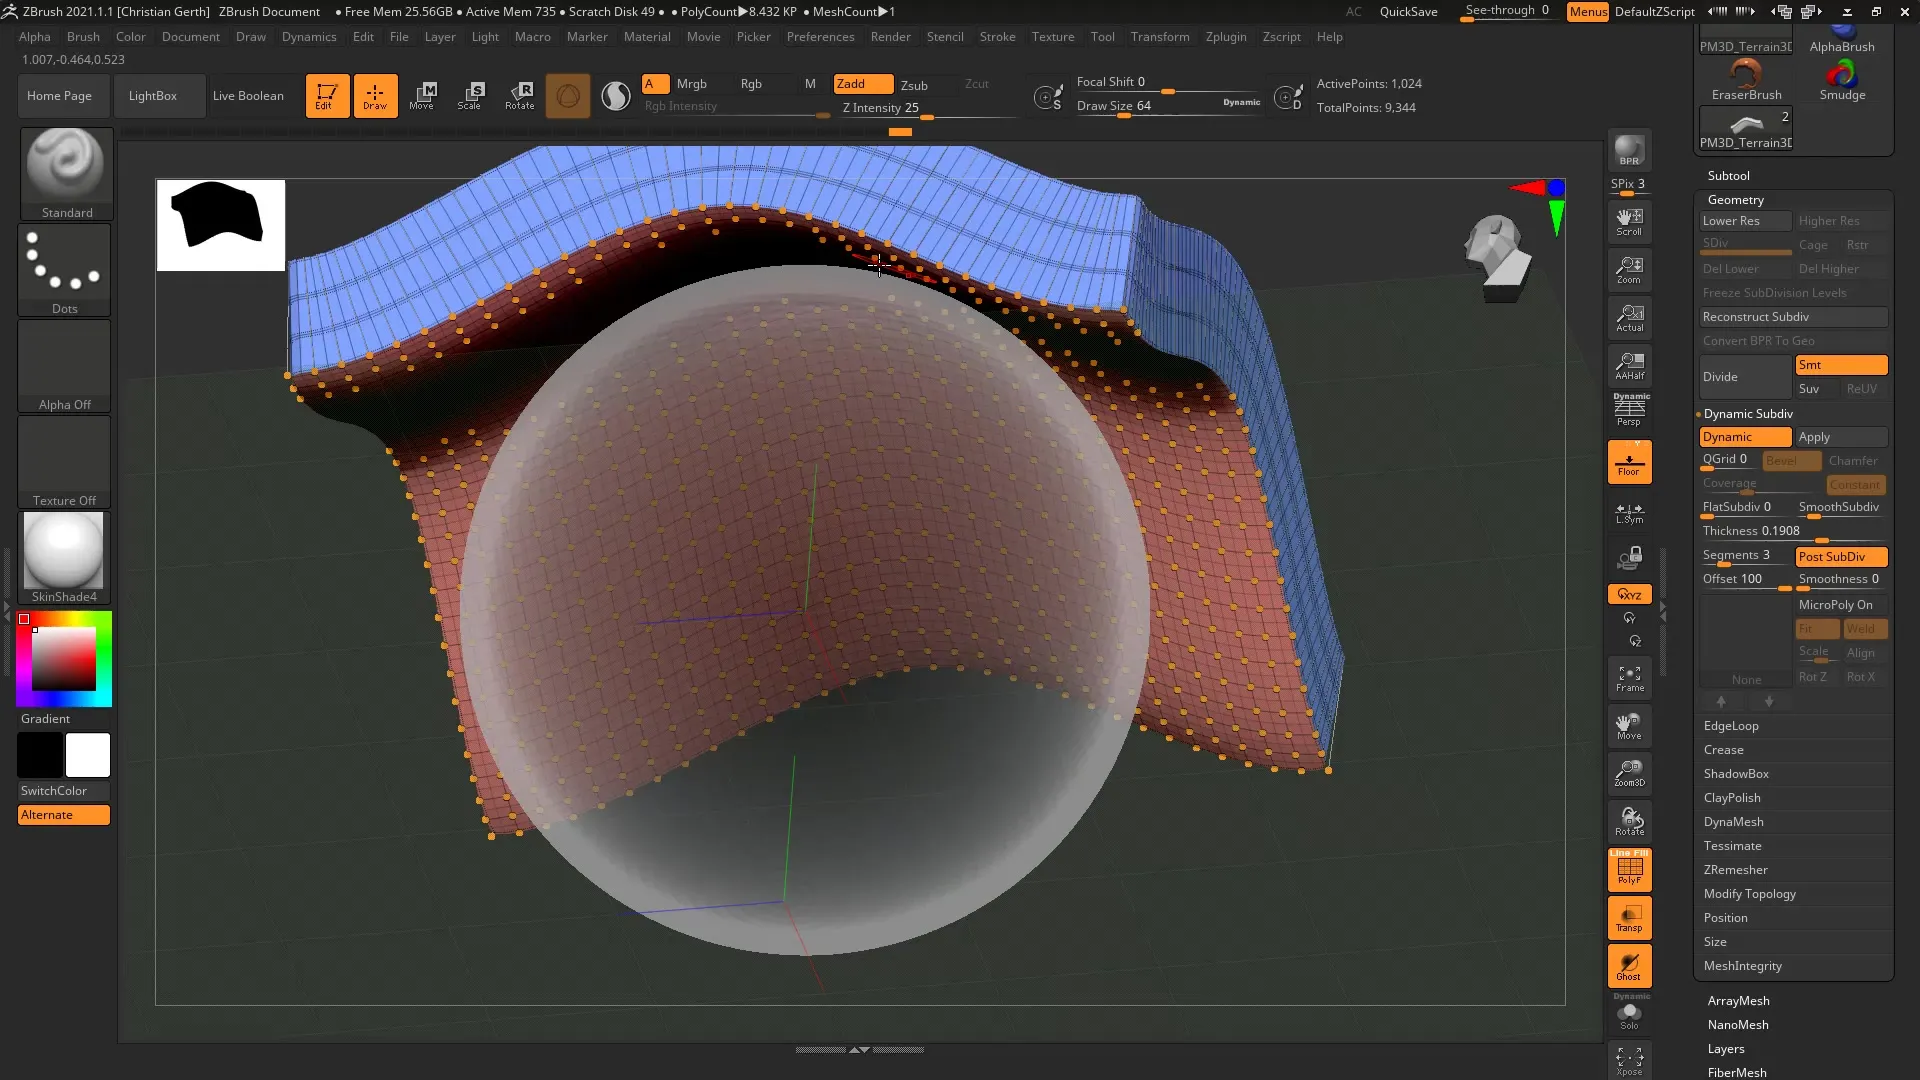
10. Fine-tuning the Thickness
Finally, you can further edit the thickness with the “Smooth” function to achieve the desired texture. Adjust the curves to optimize the final result.
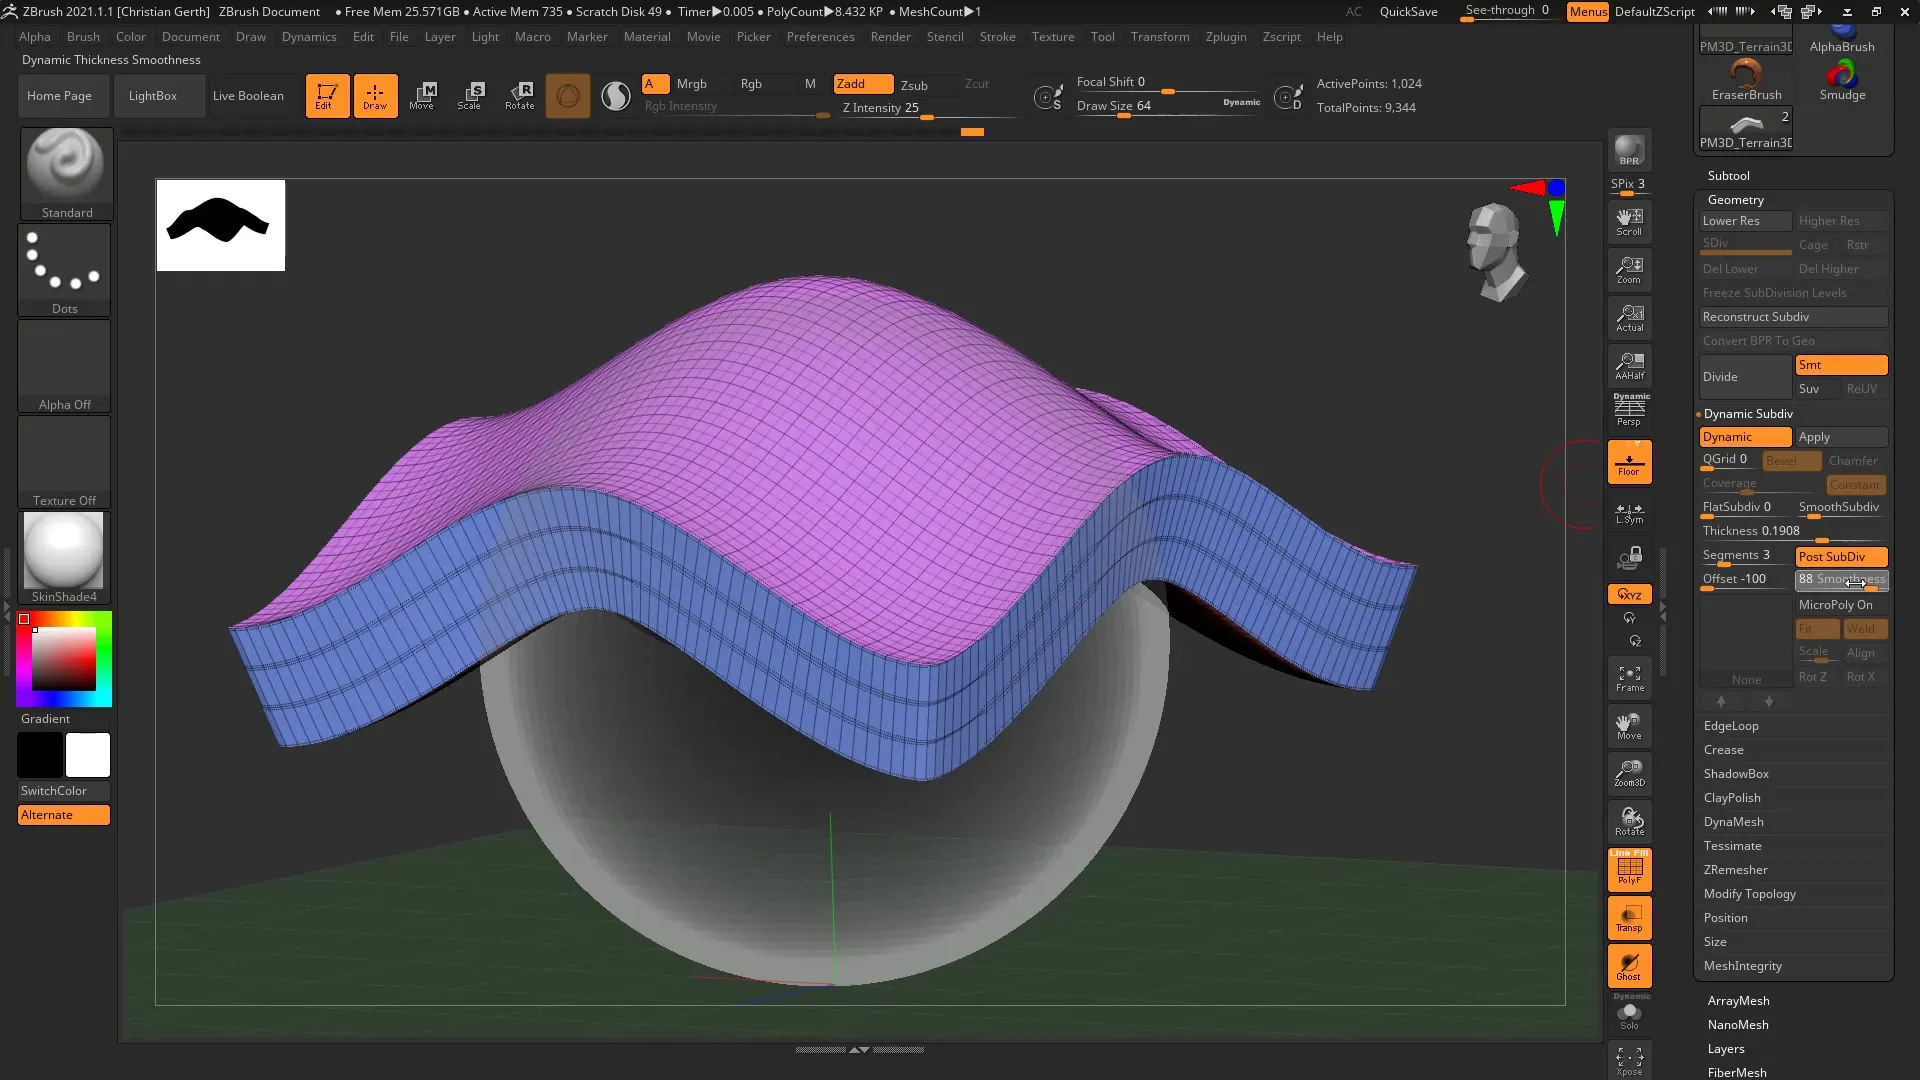
Summary – Applying Dynamic Thickness in ZBrush 2021
With Dynamic Thickness, you have a powerful feature to control the thickness of mesh surfaces in ZBrush. This tool offers you the flexibility to refine your designswithout making changes to the original geometry.
FAQ
How does Dynamic Thickness work in ZBrush?Dynamic Thickness allows you to dynamically set the thickness of surfaces while retaining the original geometry.
Can I adjust the thickness later?Yes, the thickness is non-destructive and can be changed at any time.
Do I need special settings to use Dynamic Thickness?You must ensure that you are working in the Geometry menu and activating the right options for Dynamic Subdivision.
What happens if I set a high offset value?A high offset value relocates the thickness above the original mesh, making it visible on the surface.
Where can I find the best settings for my mesh thickness?Experiment with the thickness slider and offset settings to find the values that suit your project.


