Are you ready to expand your 3D modeling skills with ZBrush? The ZeeZoo folder provides you a fantastic foundation for creating animal models. This collection of ZSphere models allows you to utilize a wide range of animals and modify them according to your ideas. In this guide, we will show you how to effectively use these templates to create a beautiful animal model.
Key Insights
- The ZeeZoo folder contains many pre-made ZSphere models of animals that you can customize.
- With the Adaptive Skin function, you can convert the base shapes into detailed meshes.
- By selectively hiding and grouping the subtools, you can simplify the editing of your models.
Step-by-Step Guide
Accessing ZeeZoo in ZBrush
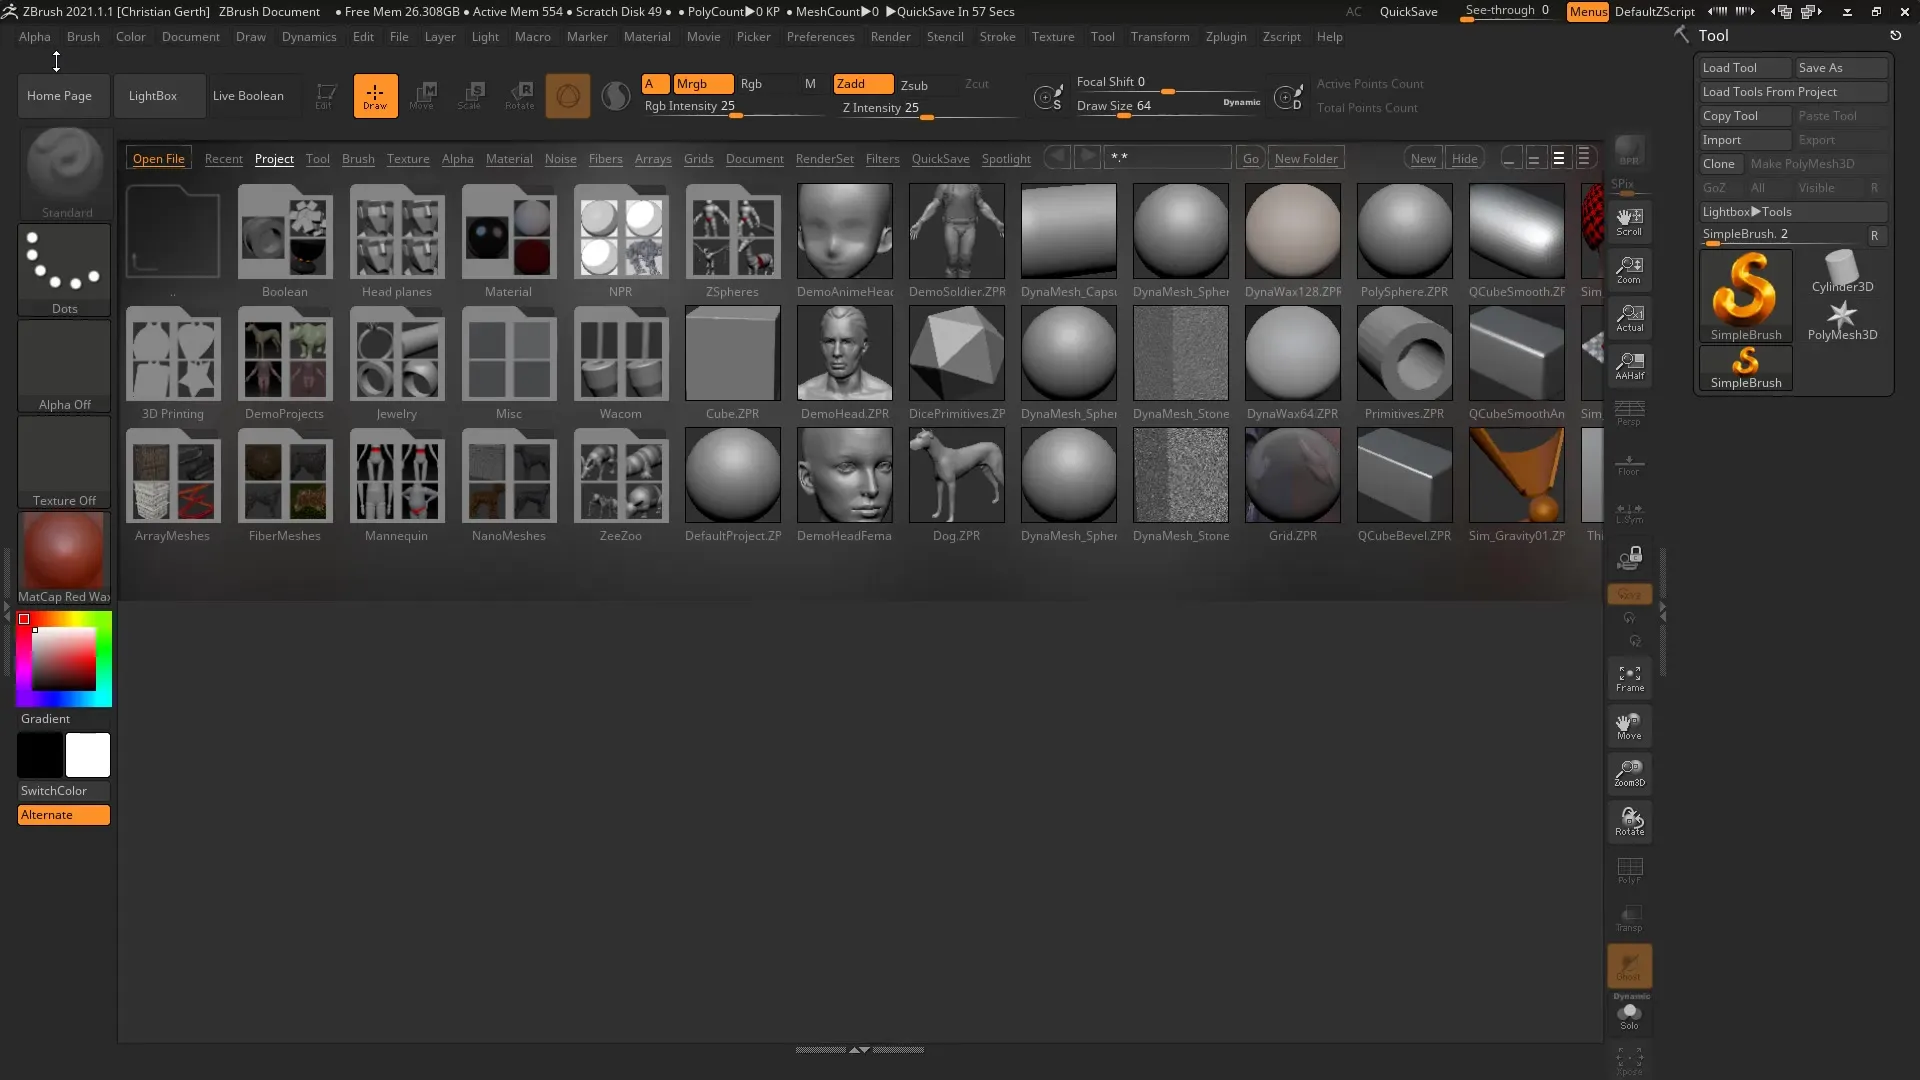
First, you need to find the ZeeZoo folder in ZBrush. You can search for it in the Lightbox or the project area. You will see that this folder contains a variety of animal templates that can help you get started. It is not just one simple model, but different animals like poodles, English bulldogs, and many more. These templates can help you unleash your own creativity.
Selecting and Customizing Your Animal Model
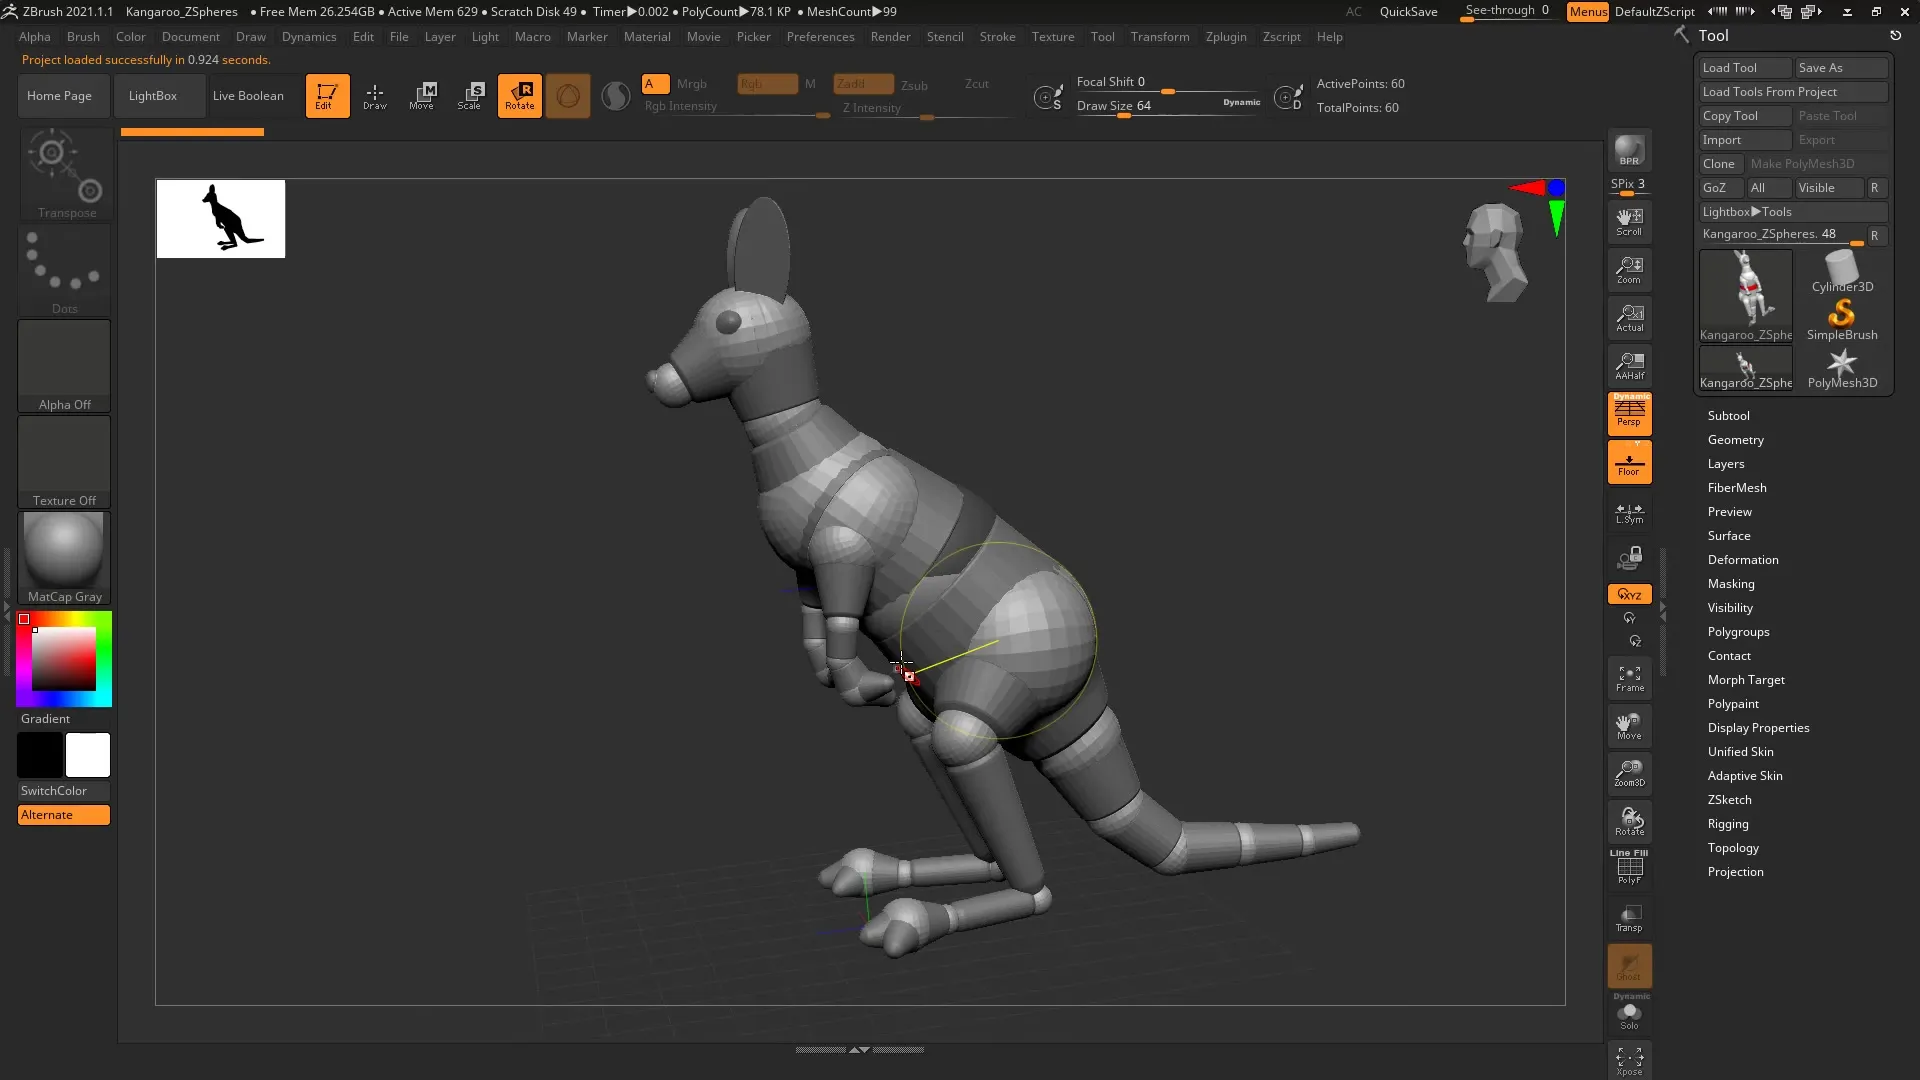
Once you have selected an animal, such as a kangaroo, you can start working on the shape. You can move the different Zpheres by selecting the Move function. Use this opportunity to adjust the proportions of the kangaroo. An important technique is to disable symmetry with the X key, allowing you to make more individualized adjustments.
Applying the Adaptive Skin
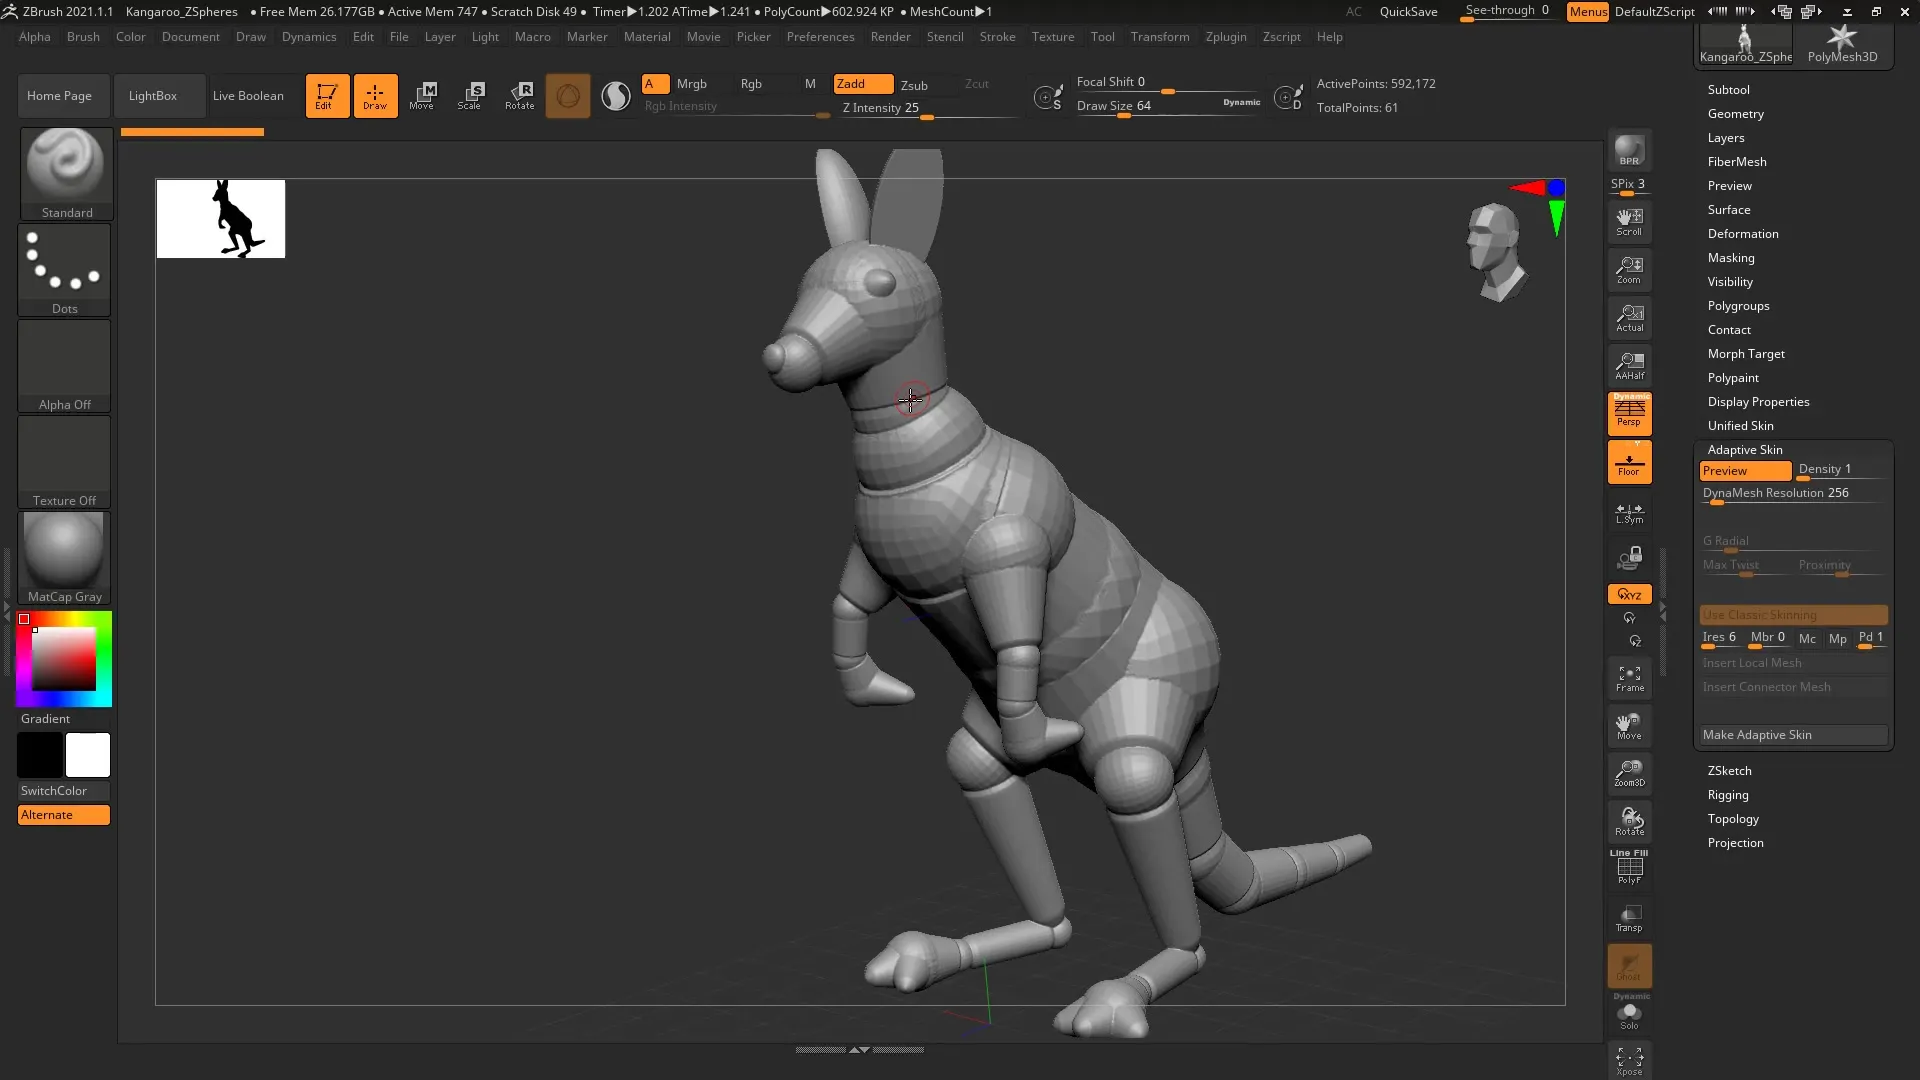
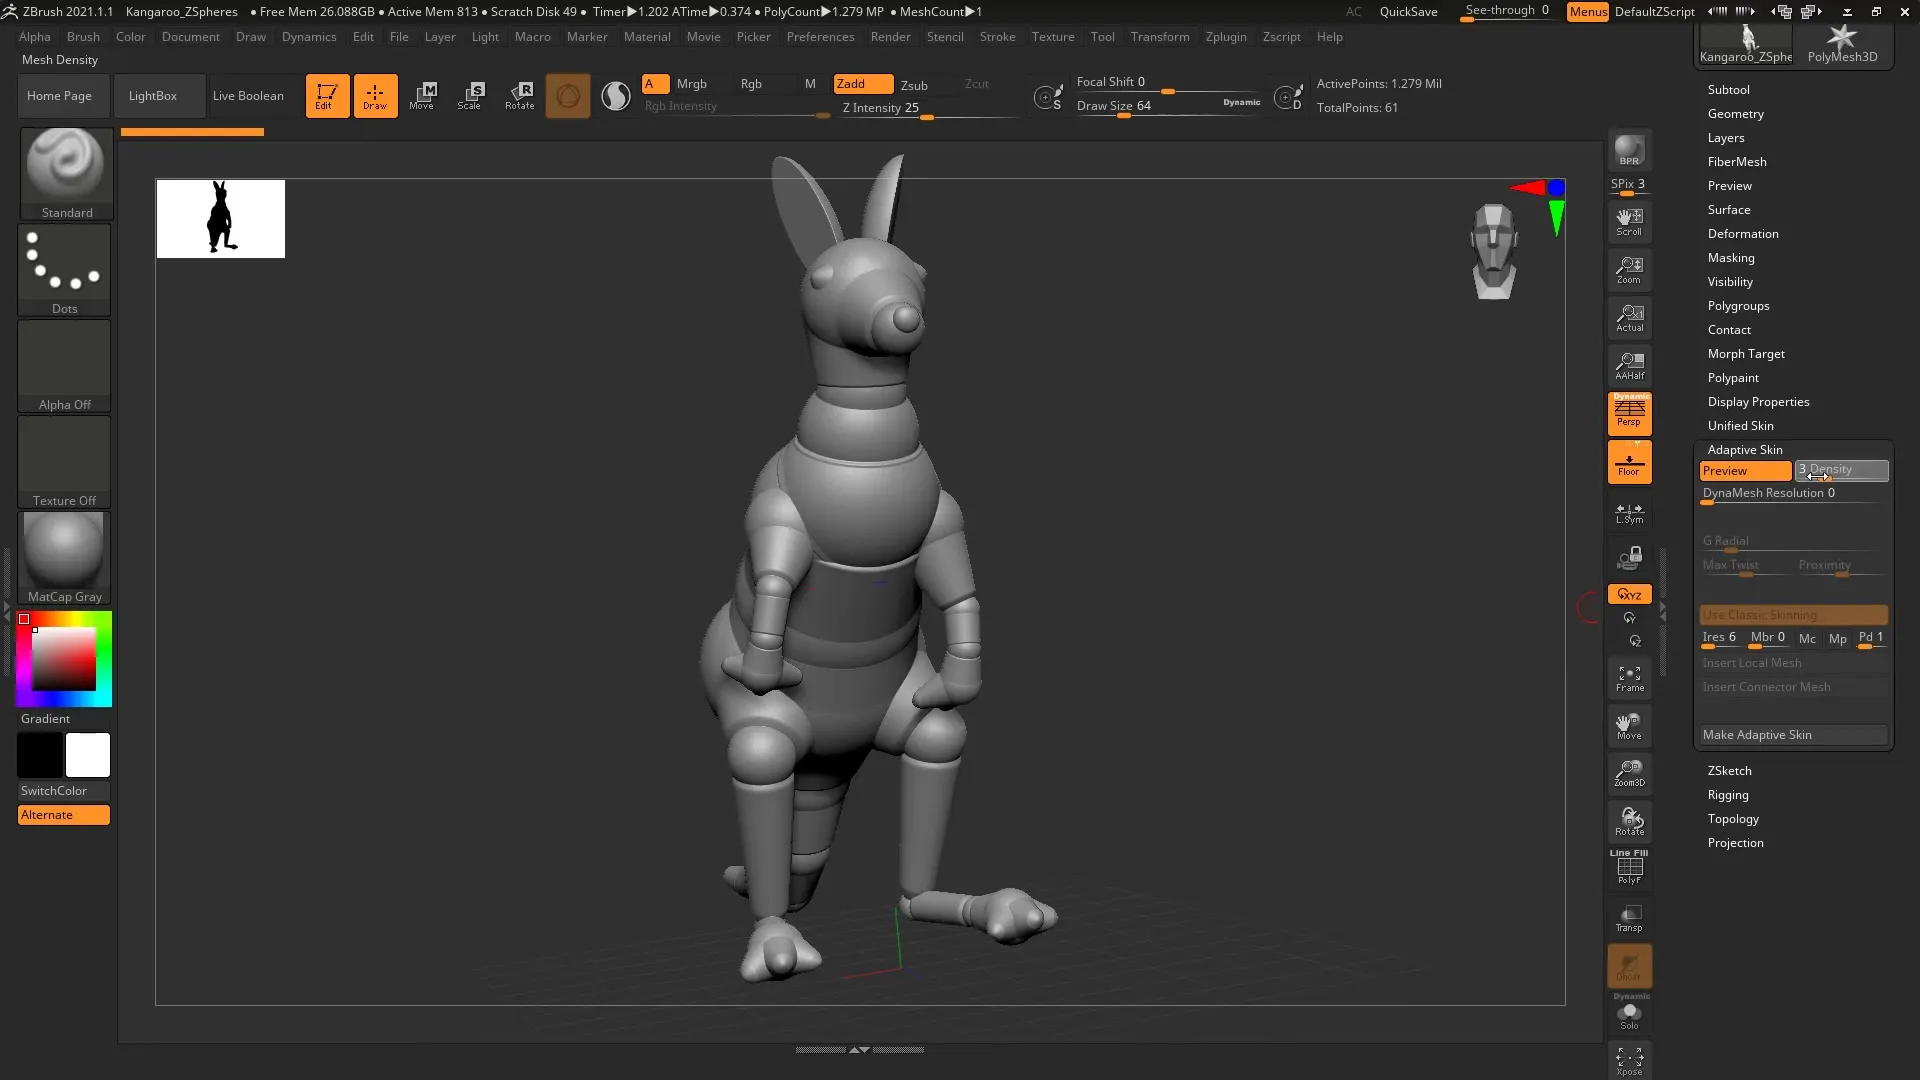
The next step is to convert your ZSphere structure into a mesh. You need to use the Adaptive Skin function. When you press "Preview", you'll get an initial view of your kangaroo. Make sure the base shape is clearly visible. The structure may still be imperfect, but the outline should already be correct.
Refining the Mesh Structure
To achieve a clean mesh, you should experiment with the density of the Adaptive Skin. It is recommended to reduce the density, perhaps to a value around 3, to obtain a clean base structure. Make sure to achieve optimal mesh quality before proceeding. This way, you can ensure that your final model looks good.
Grouping the Subtools
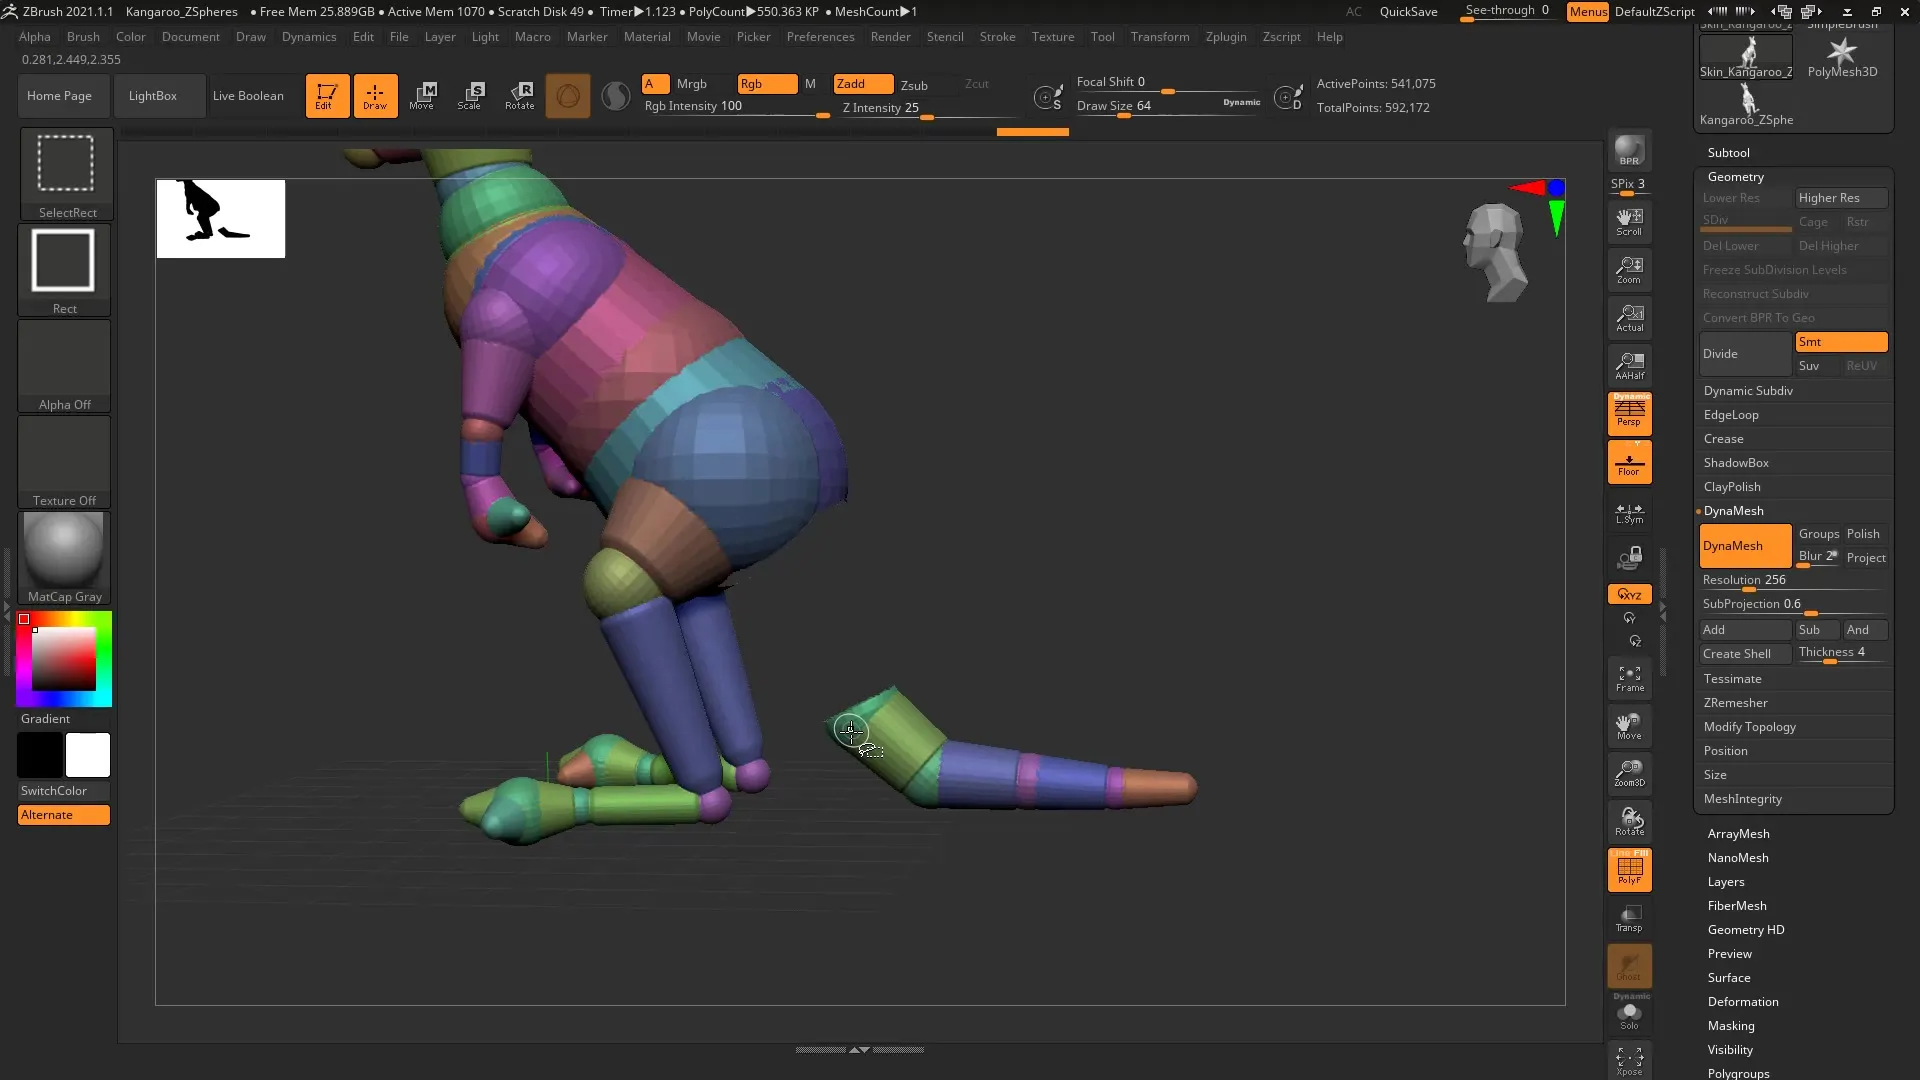
Once your mesh is complete, you can start editing the different parts like the tail or legs separately. Hold down the Control and Shift keys while selecting the parts you want to hide. This gives you the opportunity to focus only on specific areas of your model.
Creating Polygroups
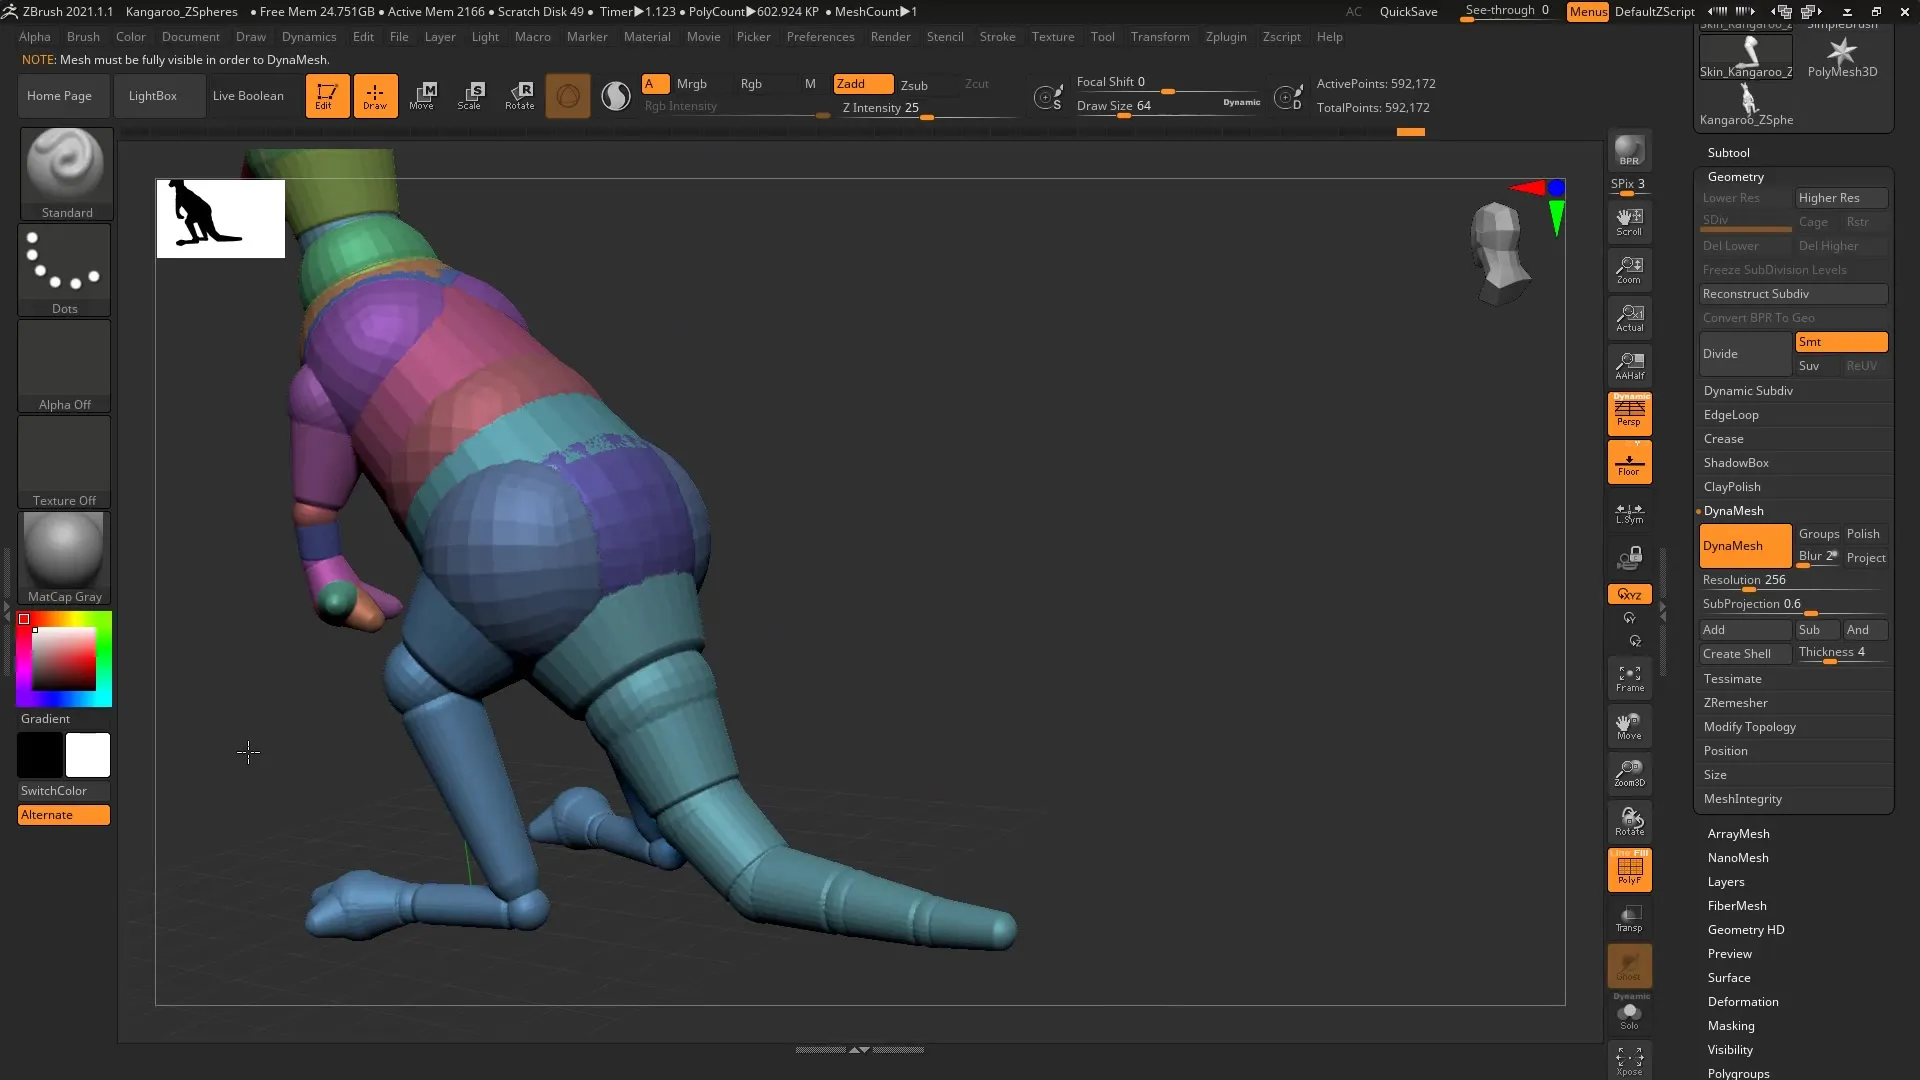
After hiding the parts, you can convert them into polygroups by pressing Control and W. Repeat this process for all parts of your model to achieve better organization. Polygroups help you structure your work more effectively and ease later editing steps.
Detail Work and Finishing Touches
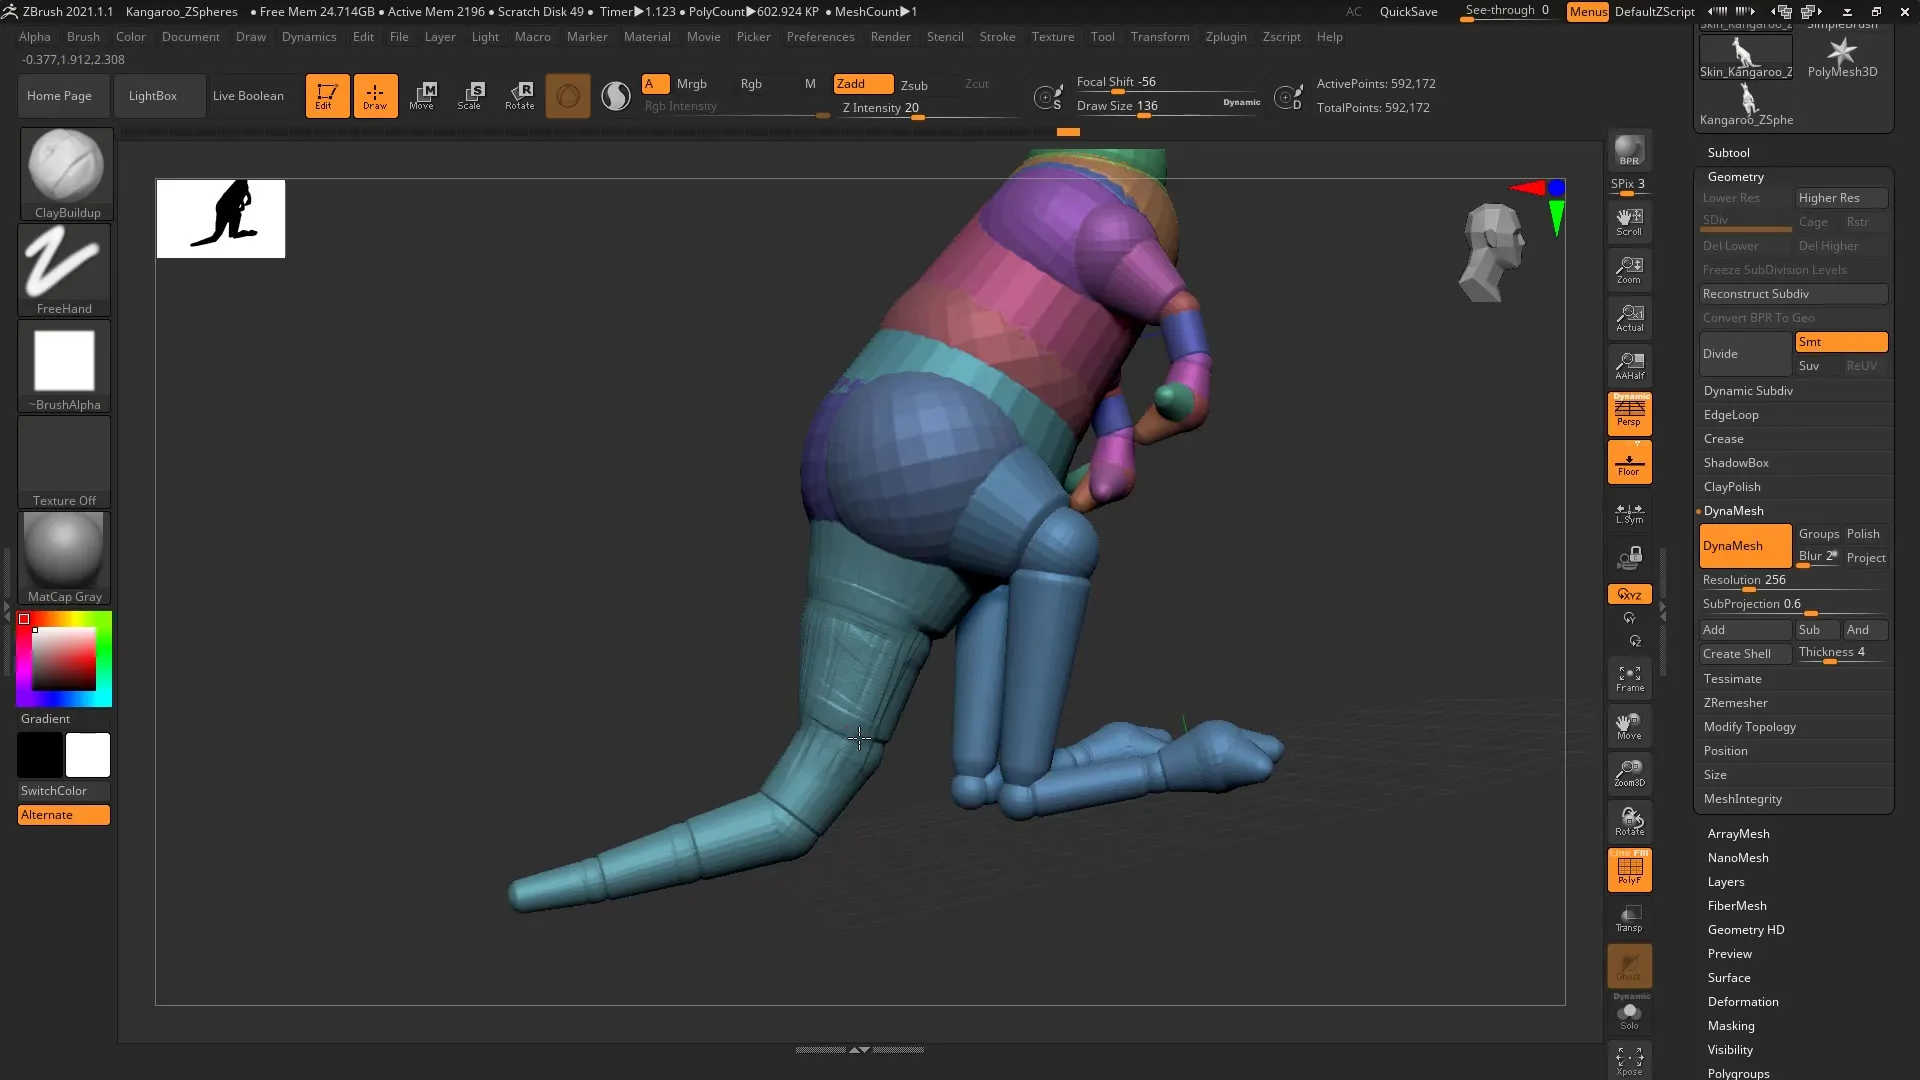
Now the real creative work begins. Use brushes like the Clay Buildup to add details and refine the structures of your kangaroo. You can slightly adjust the proportions and bring your model to life. Your previous work on the base shape will help you create a realistic and appealing animal model.
Summary – ZBrush 2020 – Effective Use of the ZeeZoo Folder for Animal Models
ZBrush offers you a valuable resource with the ZeeZoo folder for creating complex animal models. By correctly utilizing the ZSphere models, applying the Adaptive Skin function, and hiding subtools, you can work efficiently and creatively. It’s all a matter of practicing and experimenting. Have fun with modeling!
Frequently Asked Questions
What is the ZeeZoo folder?The ZeeZoo folder in ZBrush contains a collection of ZSphere models that represent a variety of animals.
How does the Adaptive Skin function work?The Adaptive Skin function converts ZSphere structures into detailed meshes that you can subsequently edit.
How can I create polygroups in ZBrush?To create polygroups, you select the parts you want to group and press Control and W.
