Edge extruding is a powerful new feature in ZModelerof ZBrush 2021. This feature is particularly useful in low poly modeling as it provides precise options to create and adjust geometries. In this guide, you will learn how to effectively use the ExtrudeEdgefunction to refine and enhance your models.
Key Takeaways
- The Extrude Edge function allows you to extrude edges quickly and easily.
- You can customize and optimize the process with hotkeys.
- The settings provide you the ability to shape the geometry exactly as you desire.
Step-by-Step Guide
Basics of Geometry
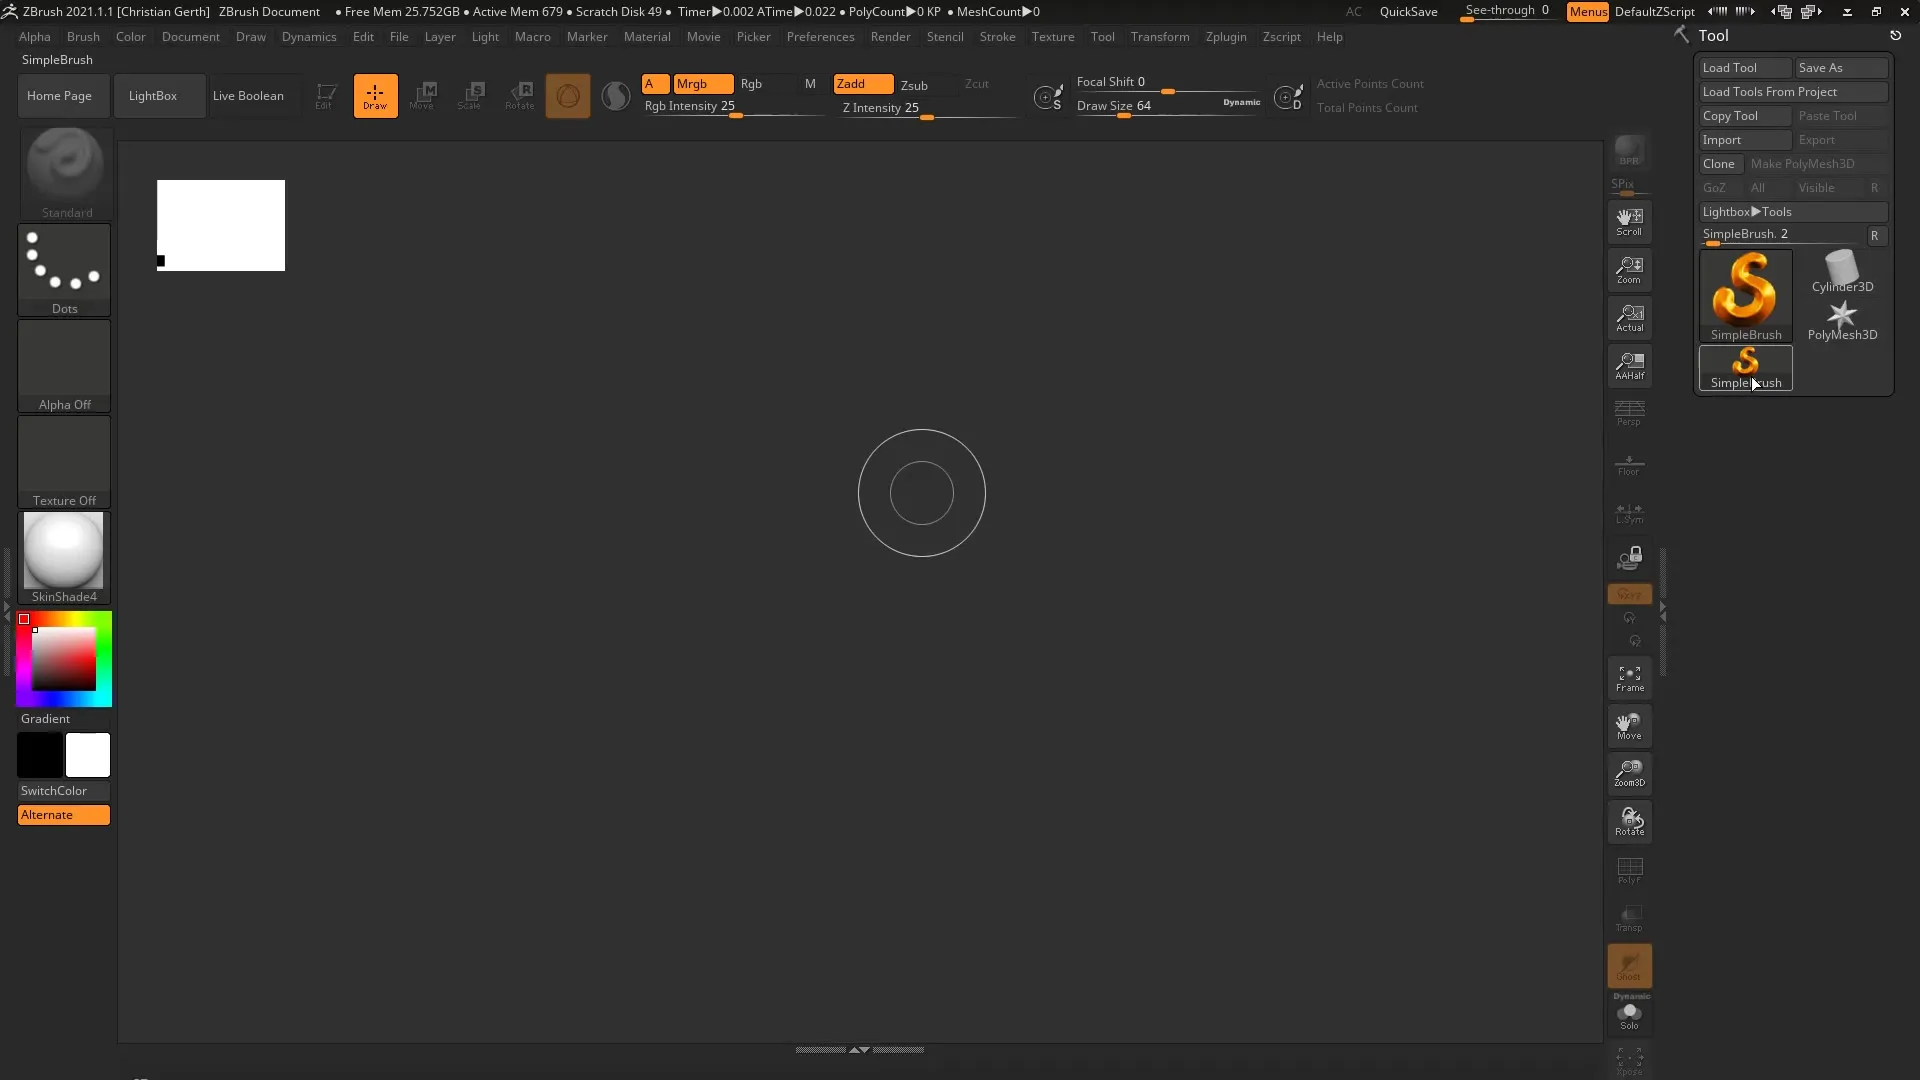
To start extruding edges, you first need to create a base object. Launch ZBrush and place a Plane 3D onto the workspace. Press the “T” key to switch to Edit Mode. To enhance visibility of the geometry, enable Polyframes. Any adjustments you make are easier to spot if you set the resolution of the object. Go to the initialization options and set the resolution to 5 and 5.
Improving Geometry Visibility
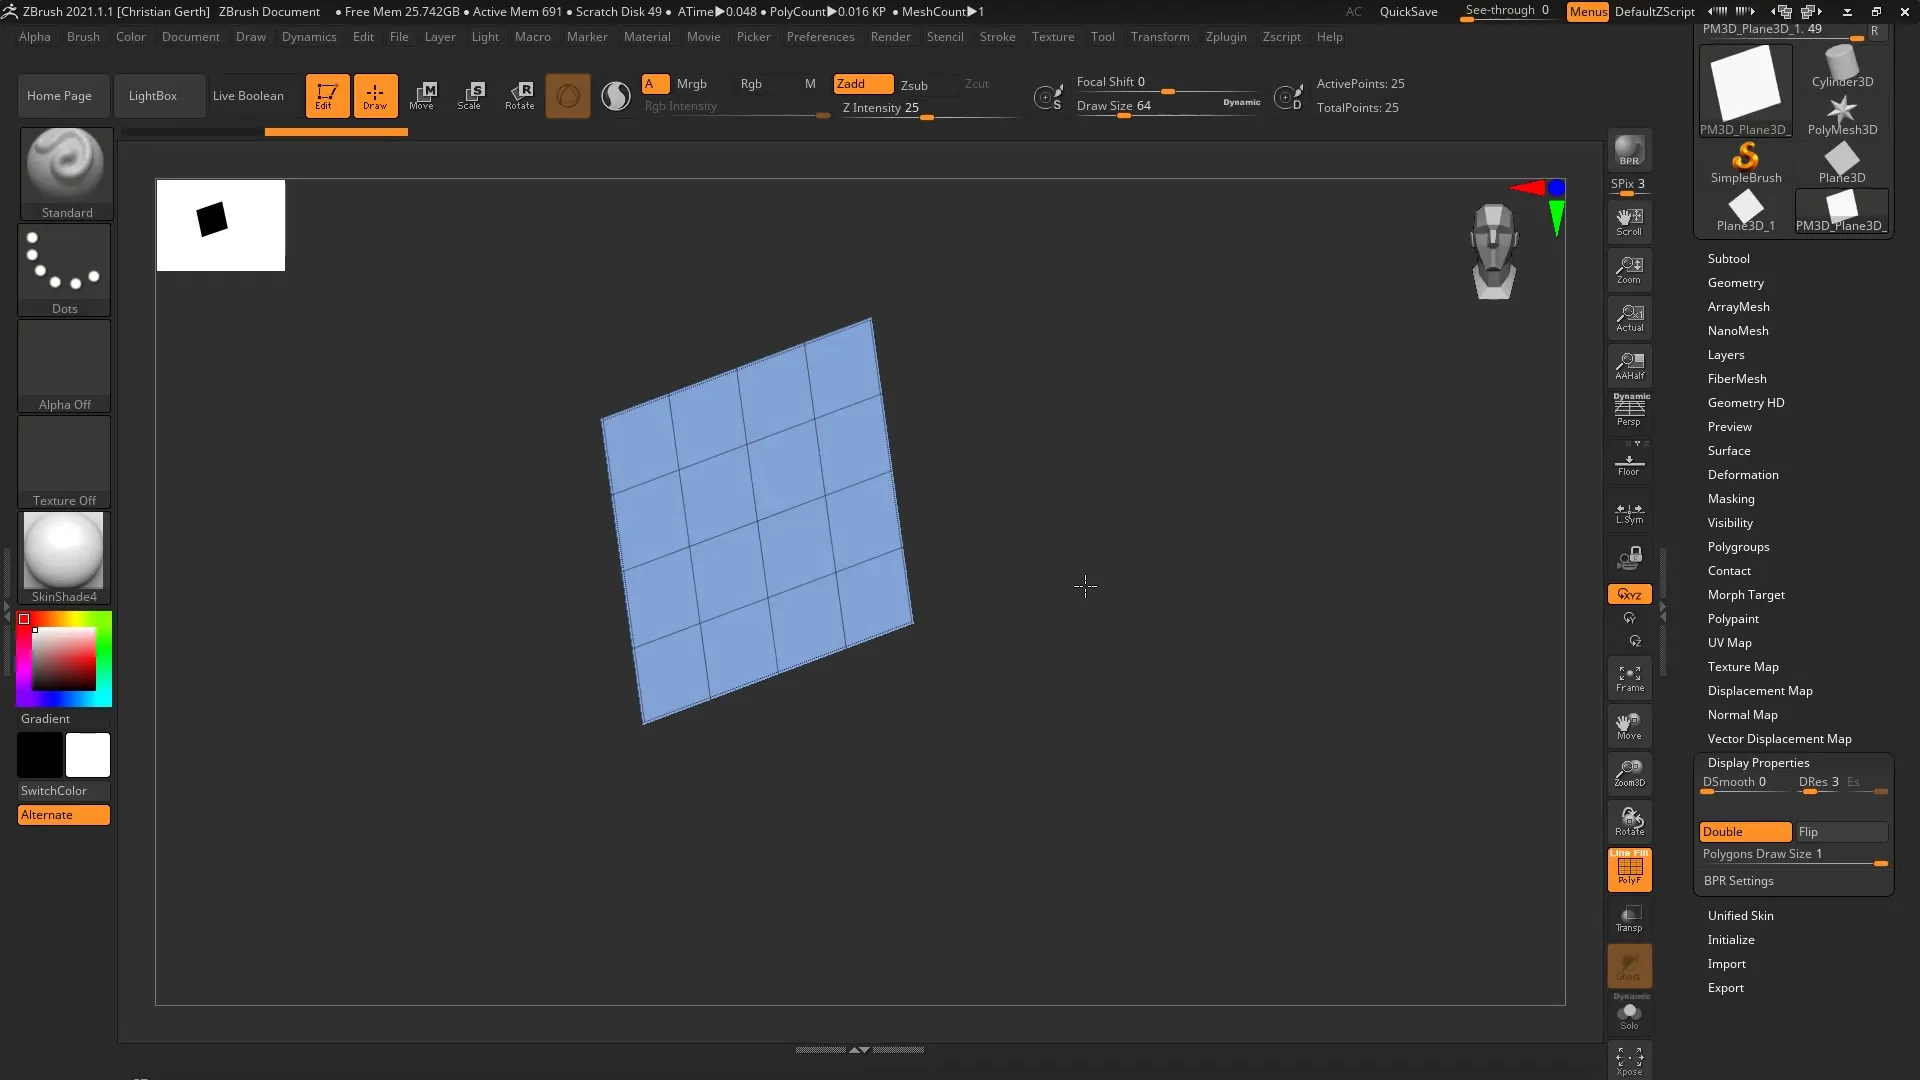
To increase the visibility of your plane, go to “Display Properties” and enable the “Double” option. This way, you can see the plane from both sides, facilitating editing and providing a more comprehensive view of your model.
Selecting the Brush Tool
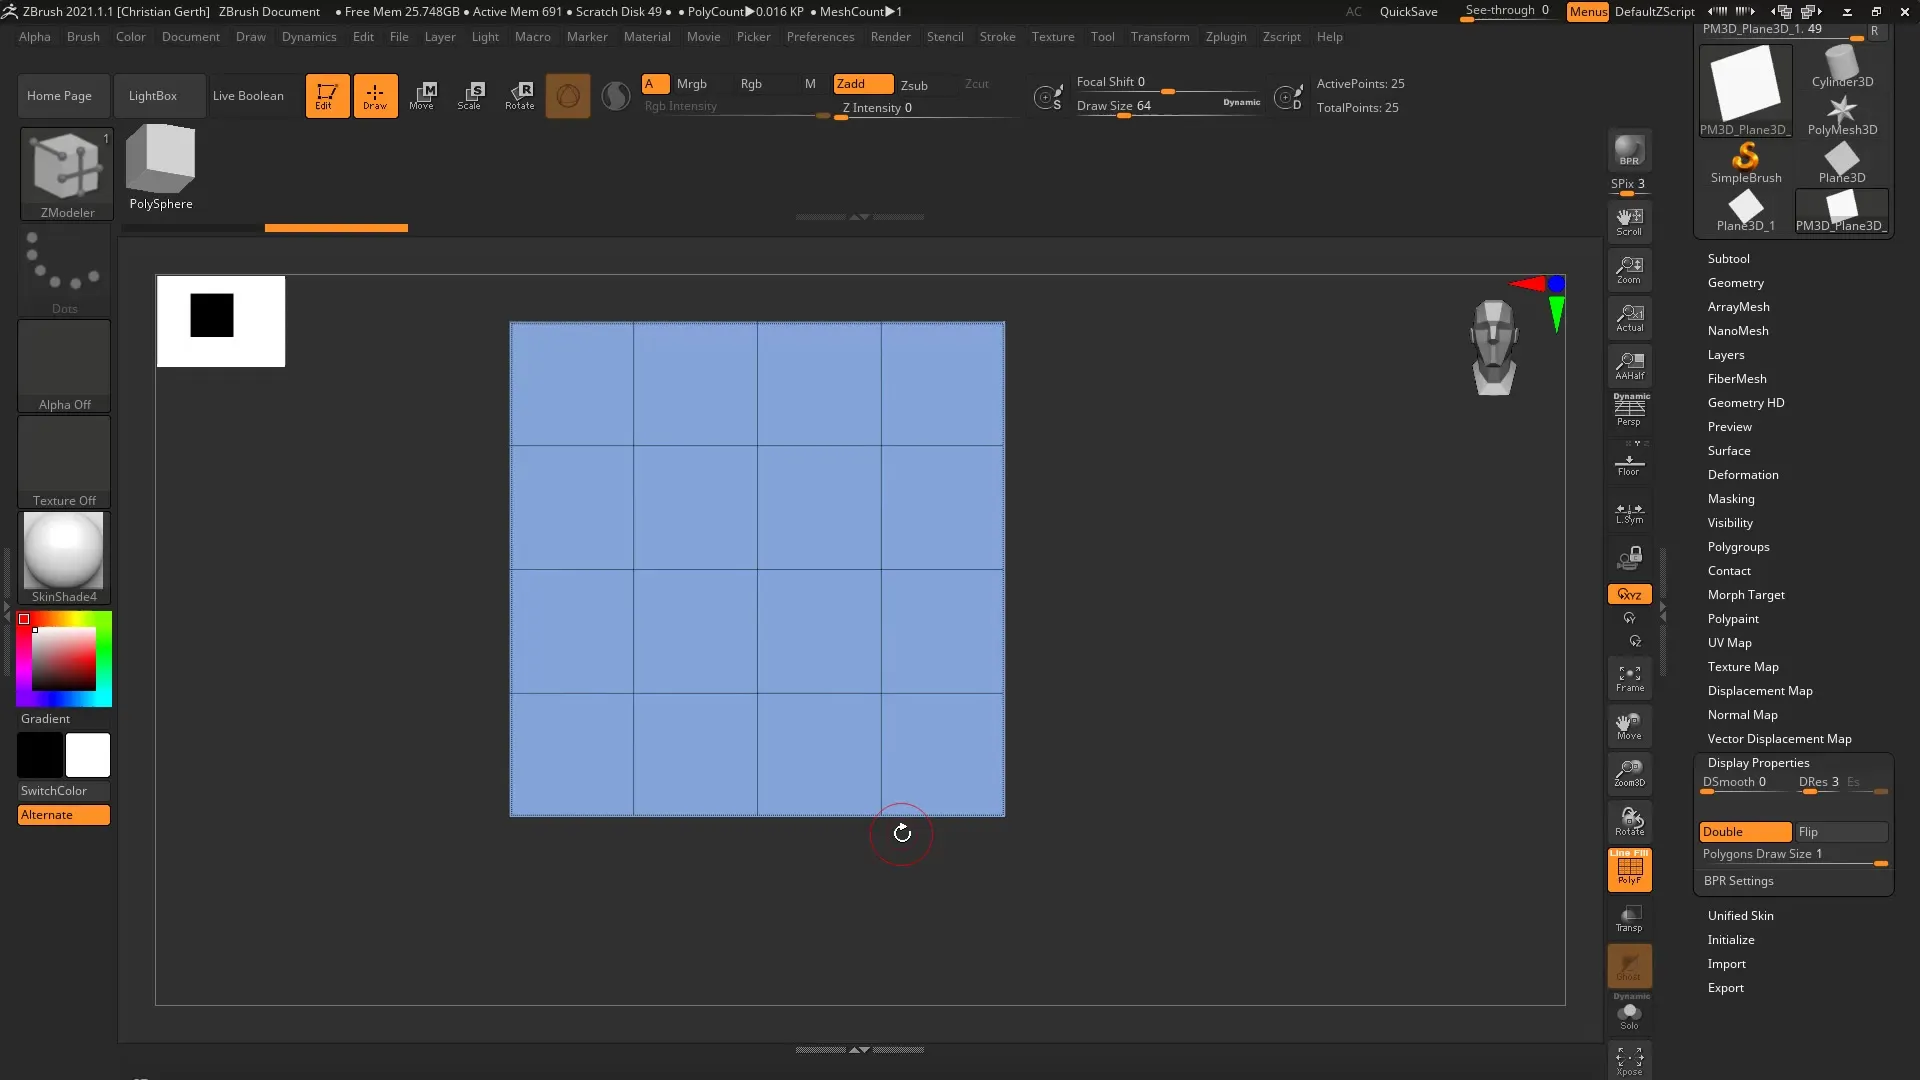
Activate the ZModeler brush type by pressing the “B”, “Z”, and then “M” keys. This combination ensures quick access to the ZModeler tool. You are now ready to work with the individual edge that you want to extrude.
Extruding an Edge
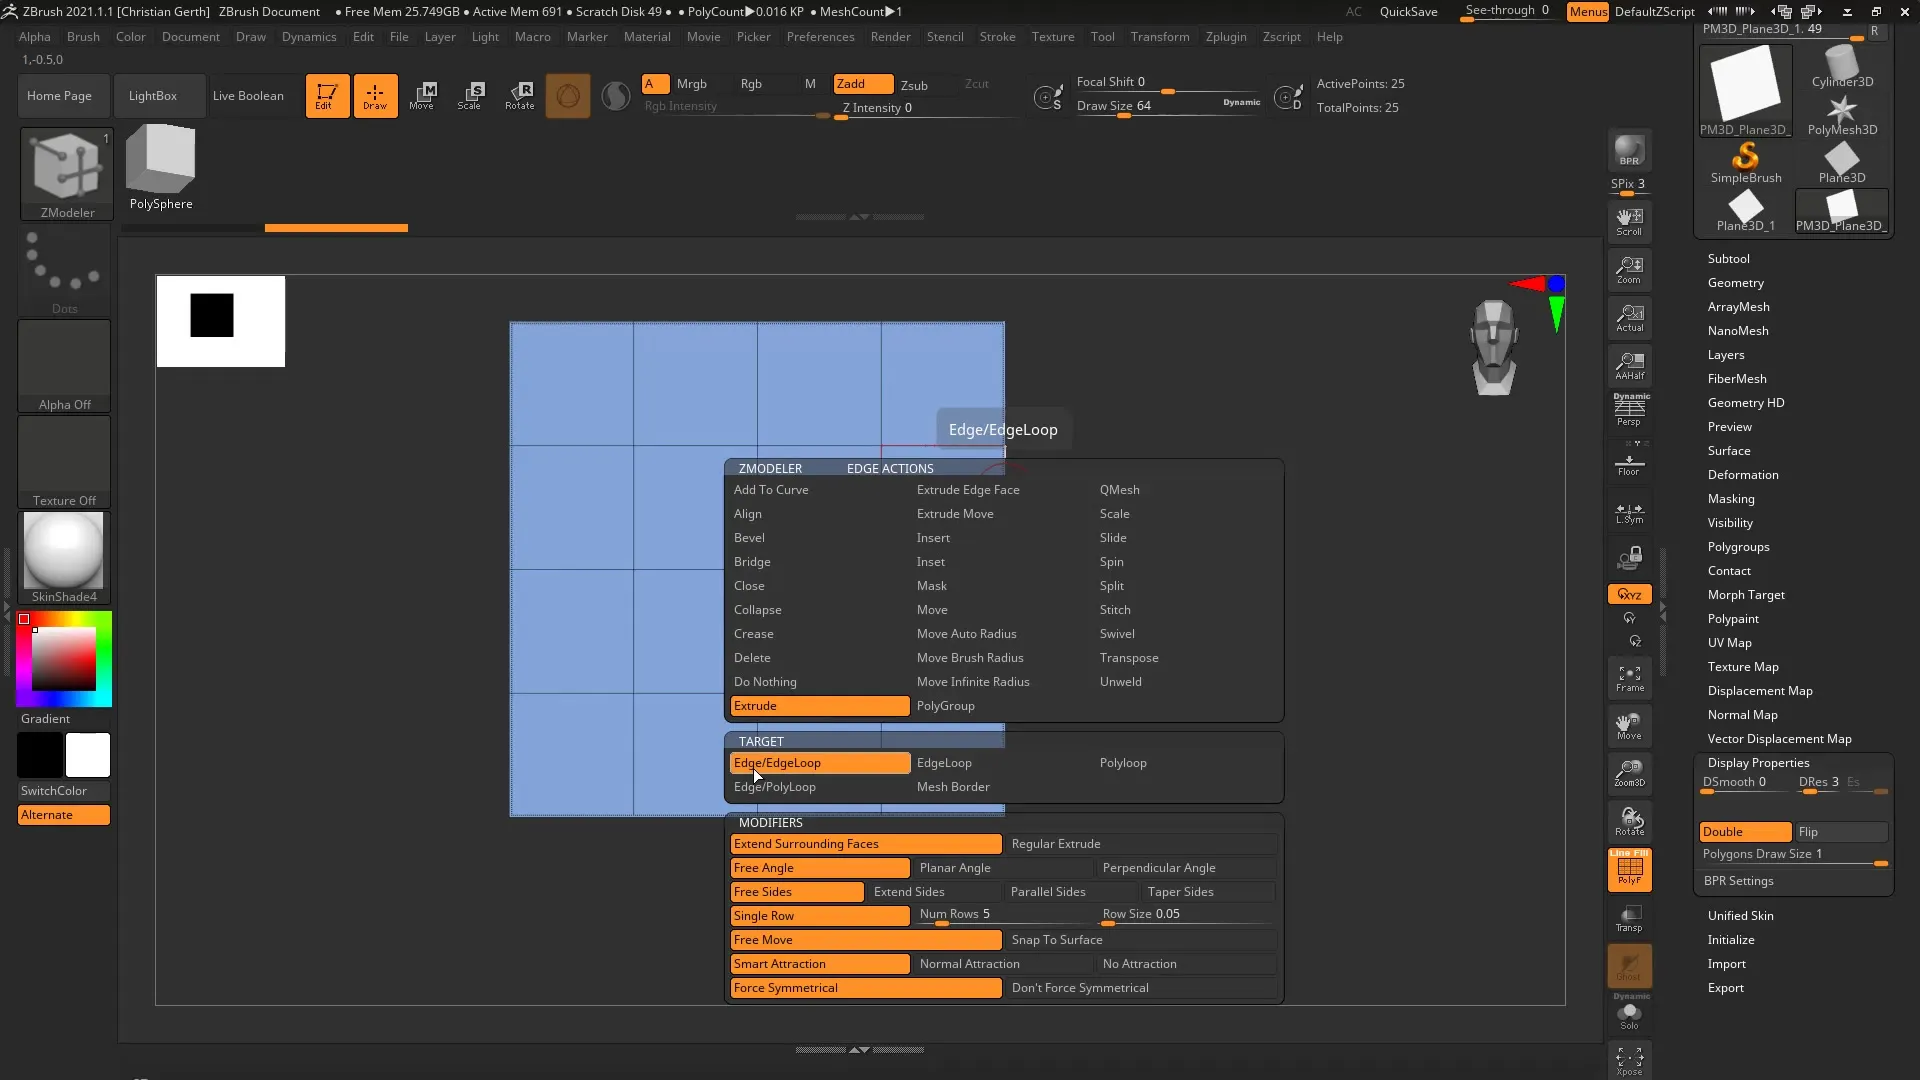
Move the cursor over an edge of your plane. Press the spacebar to open the context menu and select the “Extrude” option. Once you click on it, the various extrusion options will appear.
Check Parameters and Settings
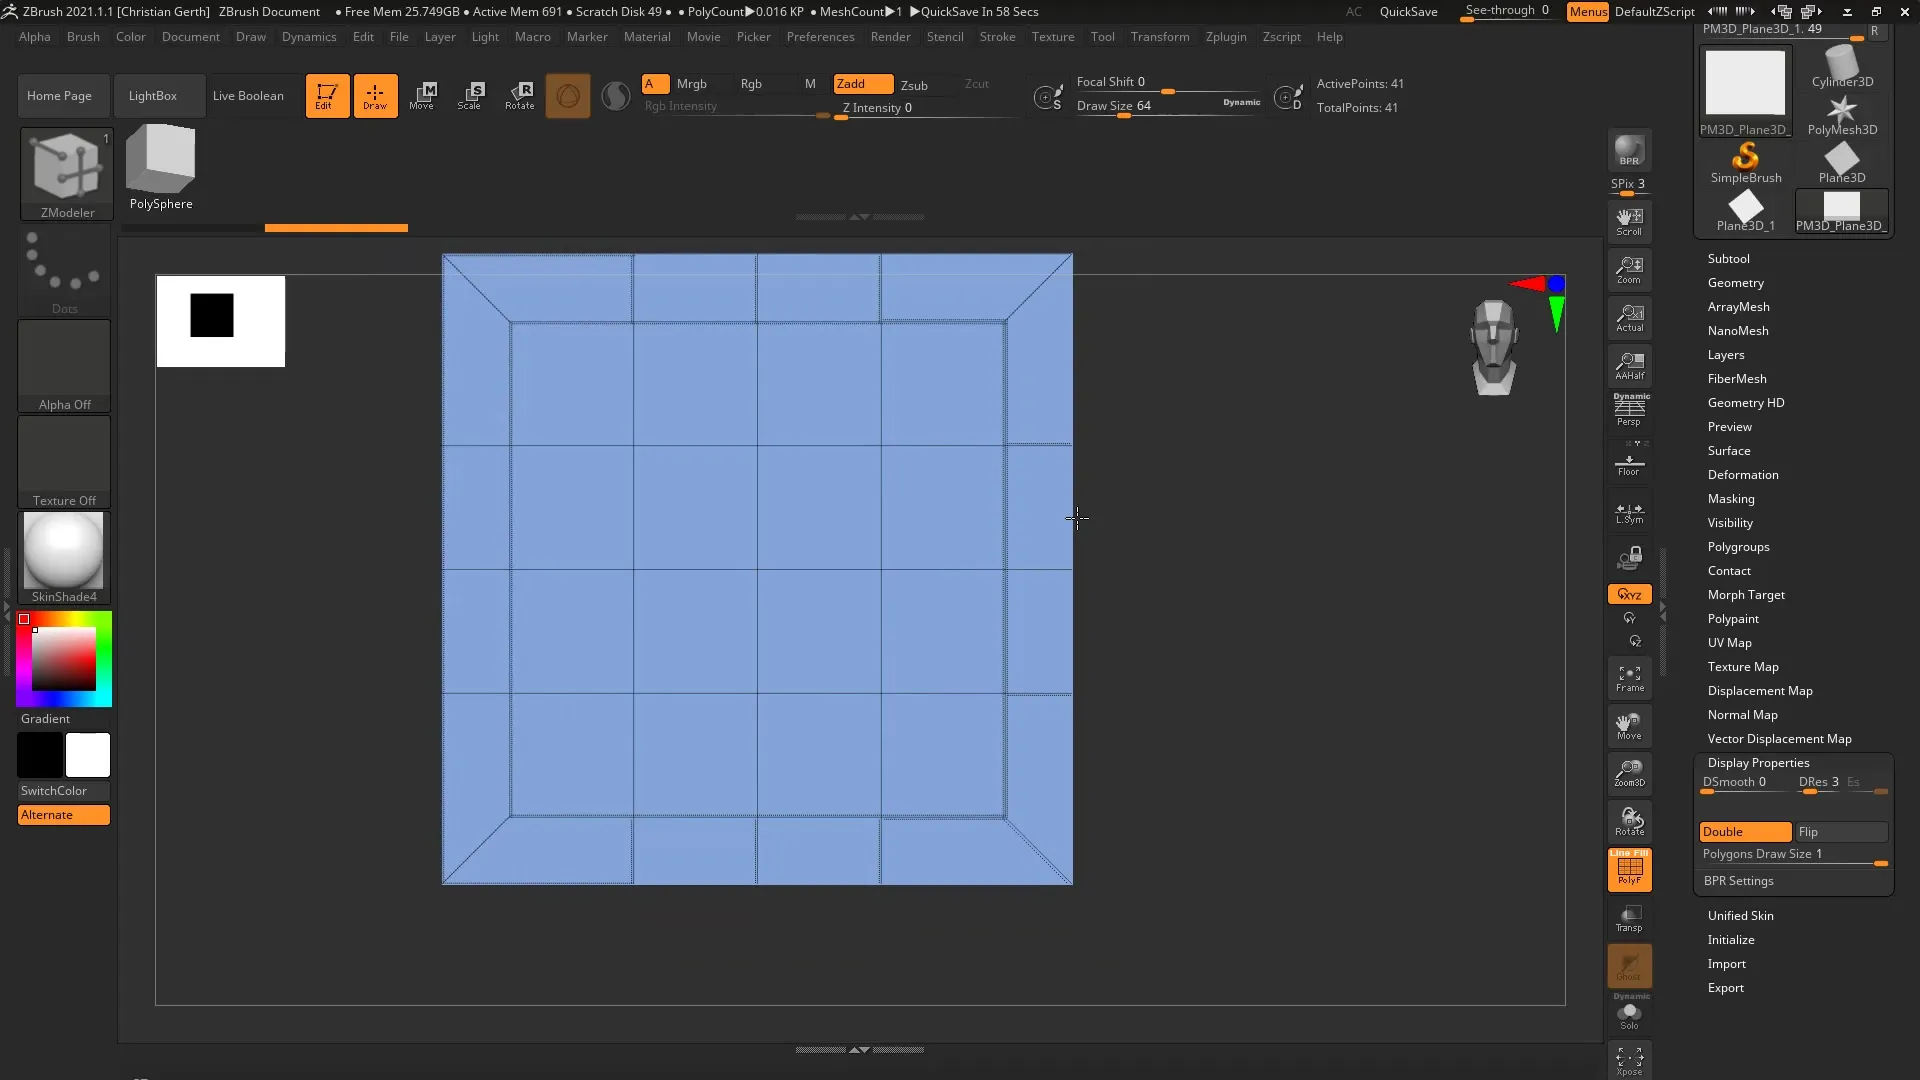
Leave the default options for extrusion unchanged at first while you explore the function. You can simply pull out an edge by clicking and dragging it with your mouse. An interesting new feature is the ability to extrude all four edges simultaneously by holding down the Alt key and dragging.
Switching between Edge Extrusion Modes
When you change the extrusion direction and the number of extruded edges with the Alt key, you can quickly toggle between different modes. This allows you to extrude both individual edges and all edges at the same time in various directions.
Smart Attraction and Alignment
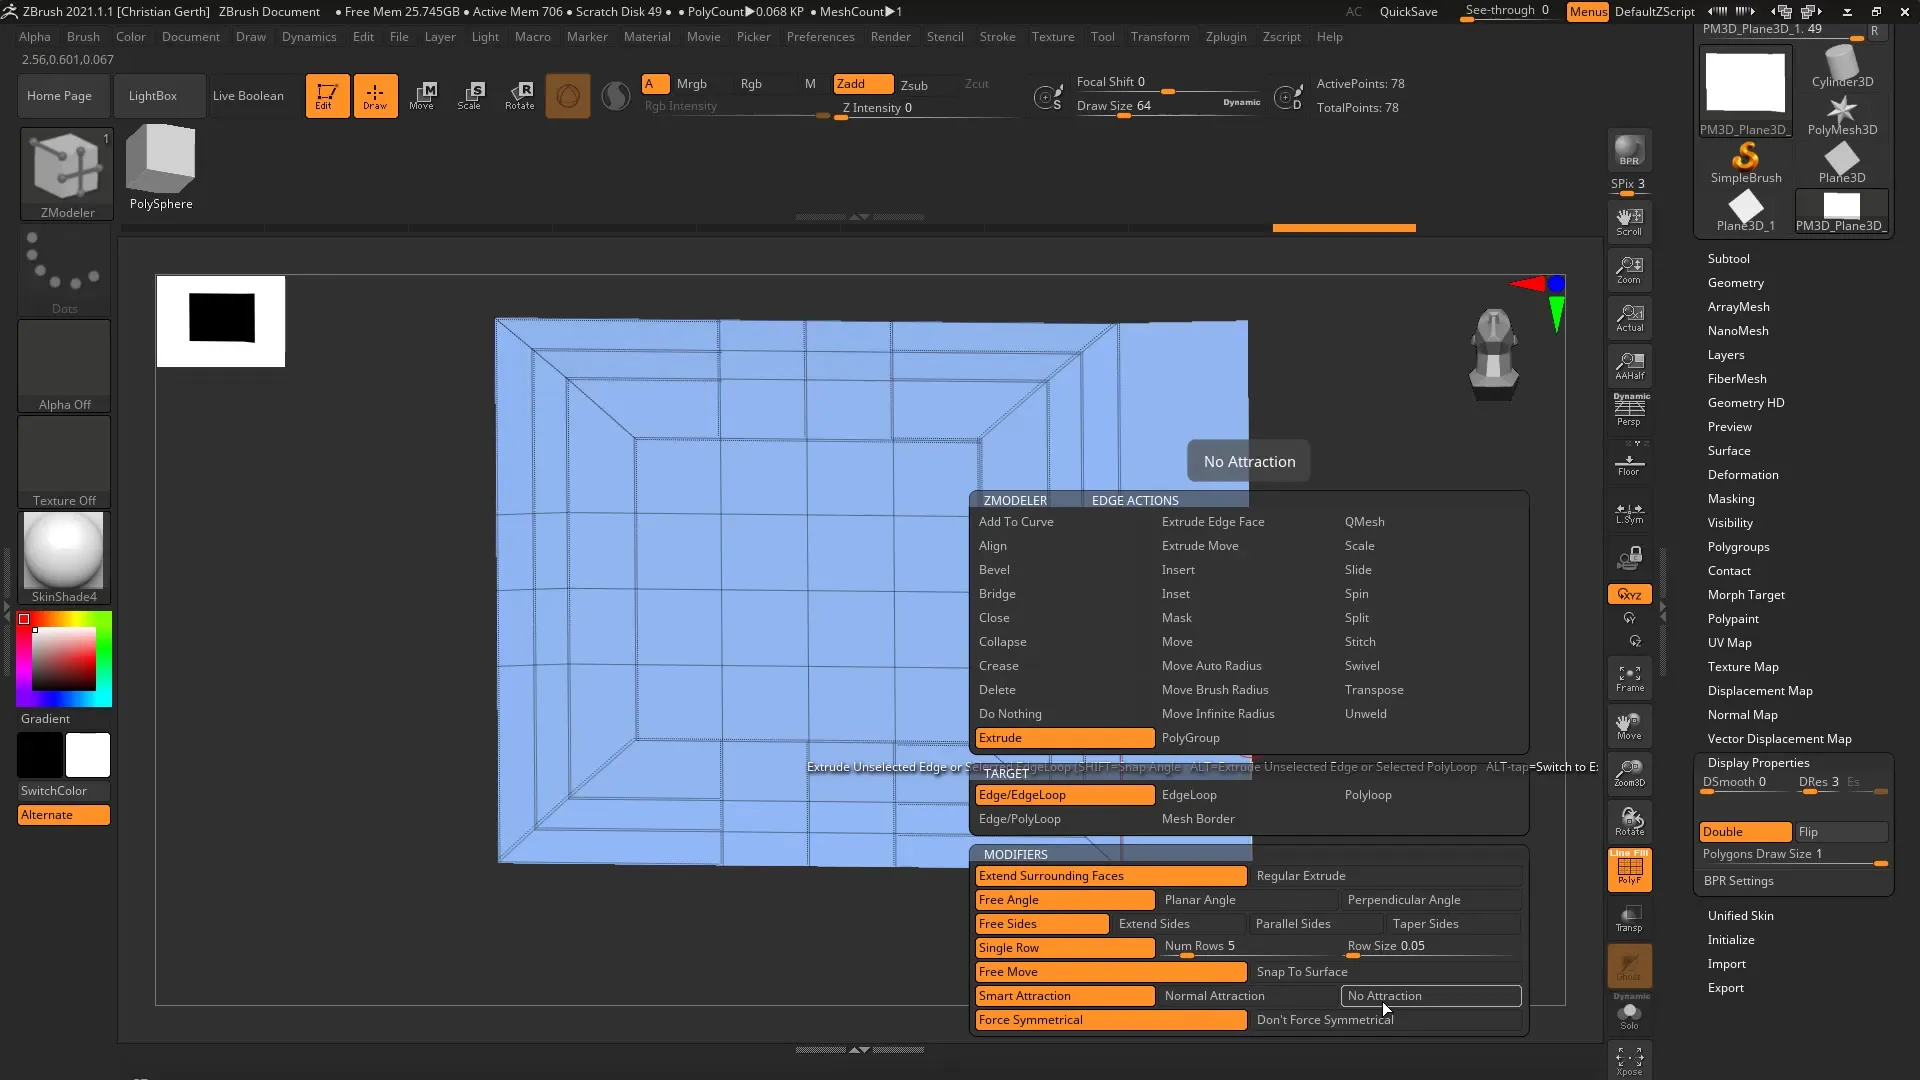
A helpful feature is Smart Attraction. It ensures that when you pull the edges, you connect to neighboring edges, providing enough support for the geometry. However, if you feel that the edges are not ideally aligned, you can switch between “Normal Attraction” and “No Attraction” to optimize the connection between the edges.
Working with Free Angles and Planar
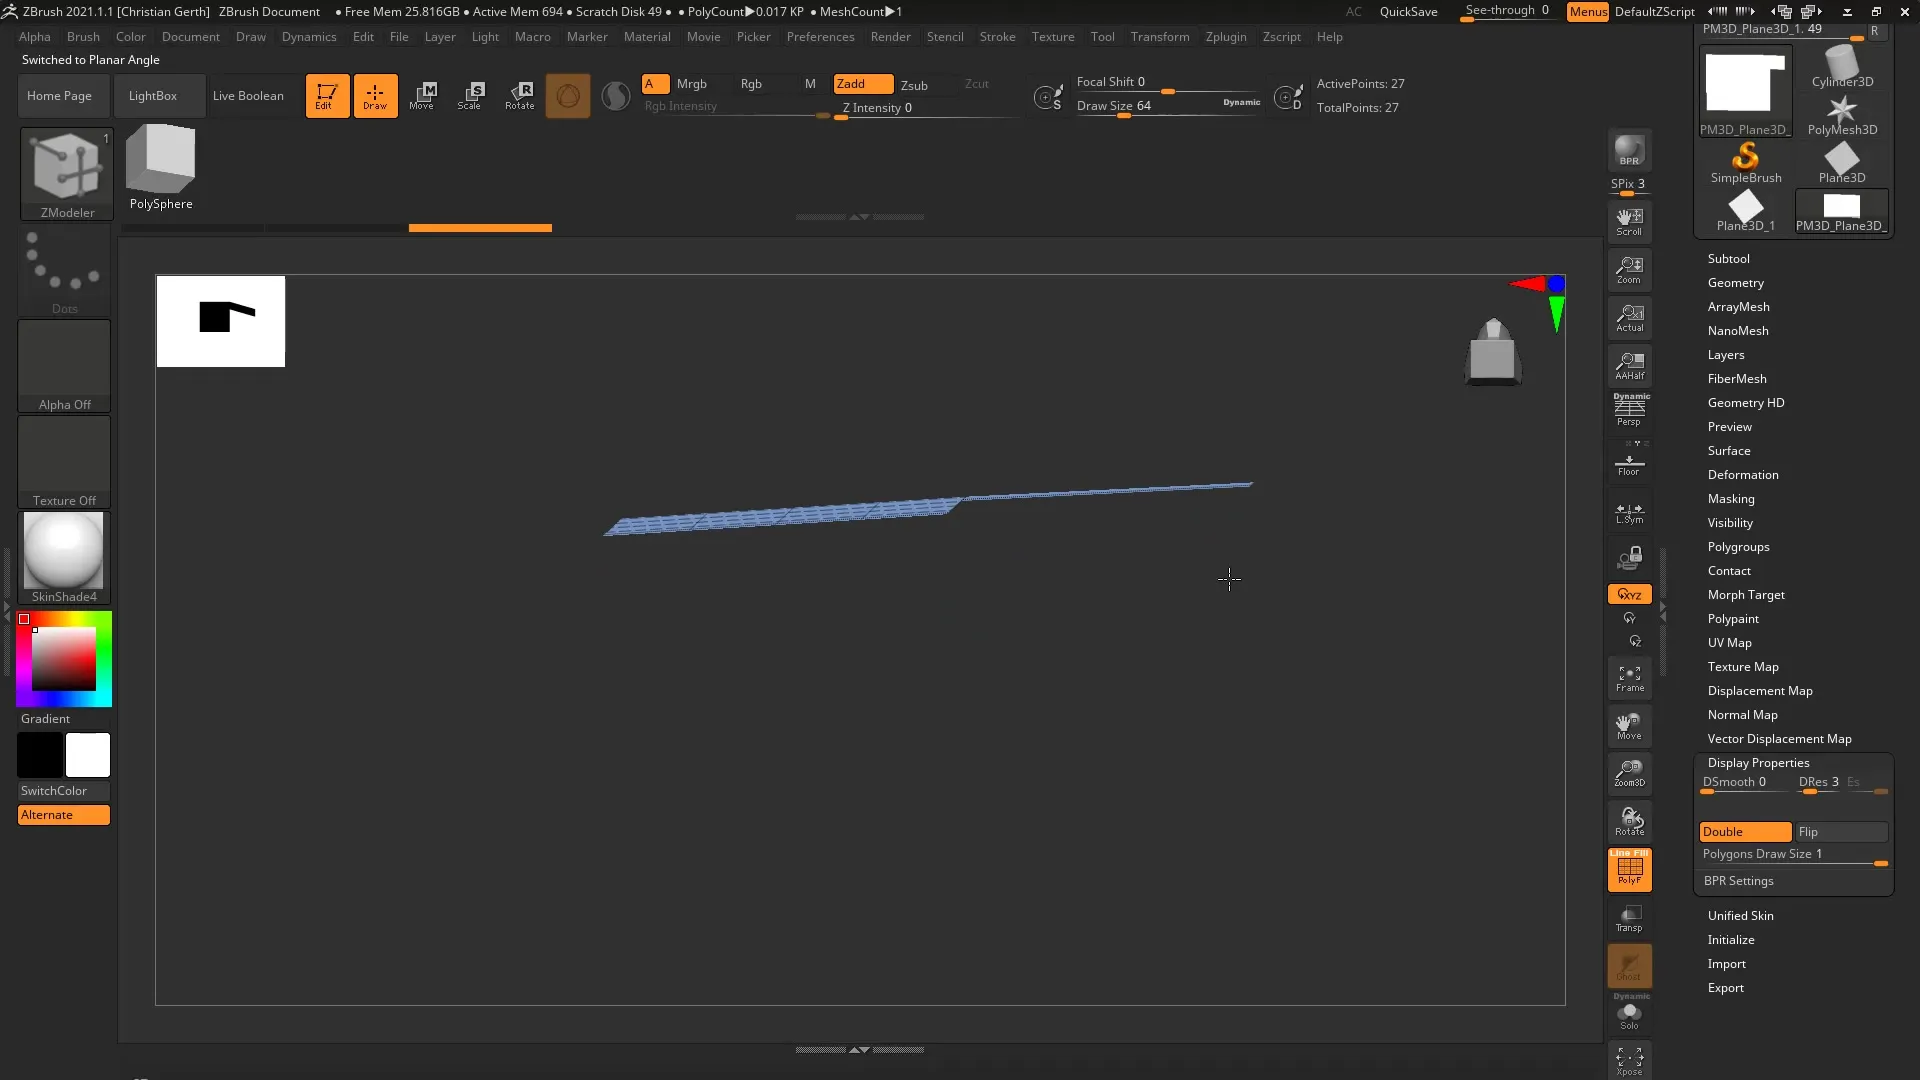
If you want more precise control over the angles of the edges, you can hold down the Shift key to make the edge planar or pull it at a free angle. This setting helps you control exactly how the extruded edges are positioned in relation to the entire model.
Rectangular Extrusion
With the Free Angle mode, you can also perform rectangular extrusions. By pressing the Shift key again, you can set the extrusion to be exactly rectangular, aligning the edges better – giving your model a tidy and structured design.
Controlling the Number of Polygons
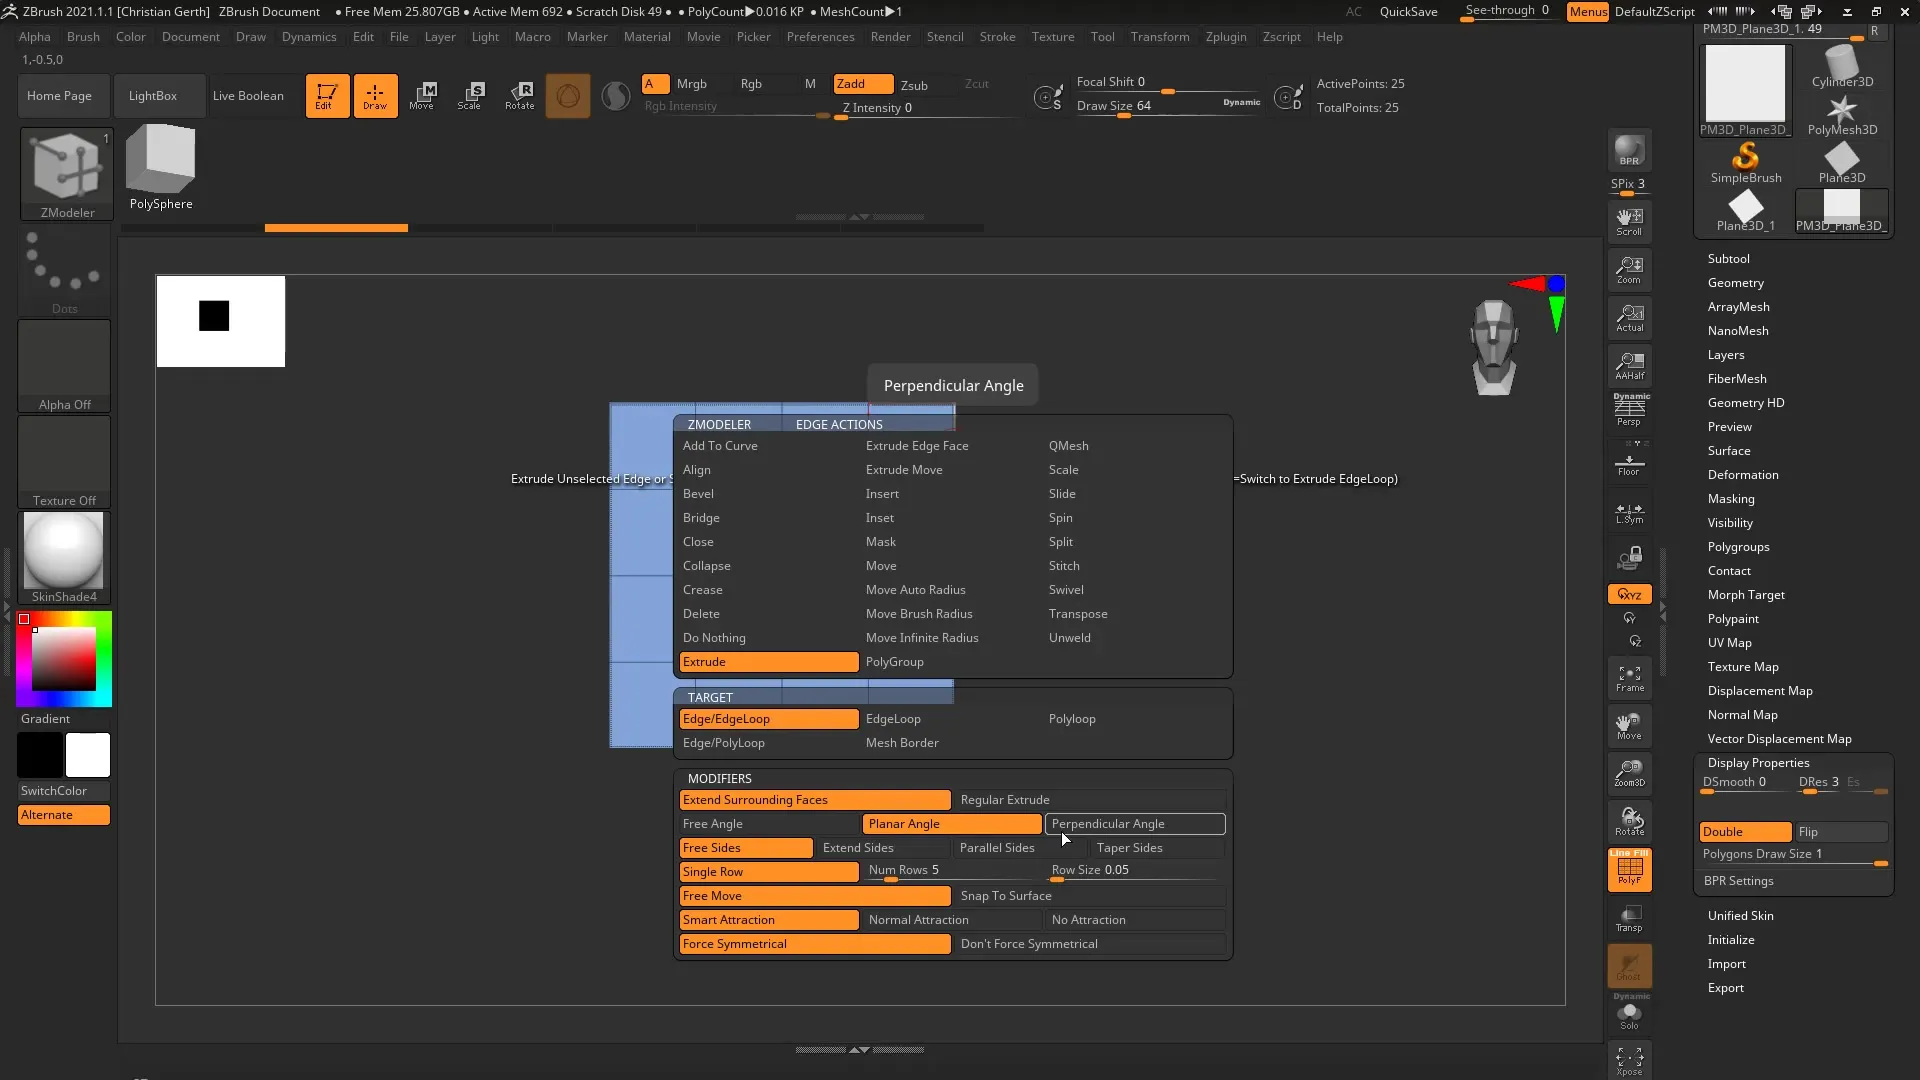
To control the number of extruded polygons, press the control key (Ctrl) while dragging. This allows you to easily adjust the number of extruded polygons while keeping the Alt key pressed to control the shape of the geometry.
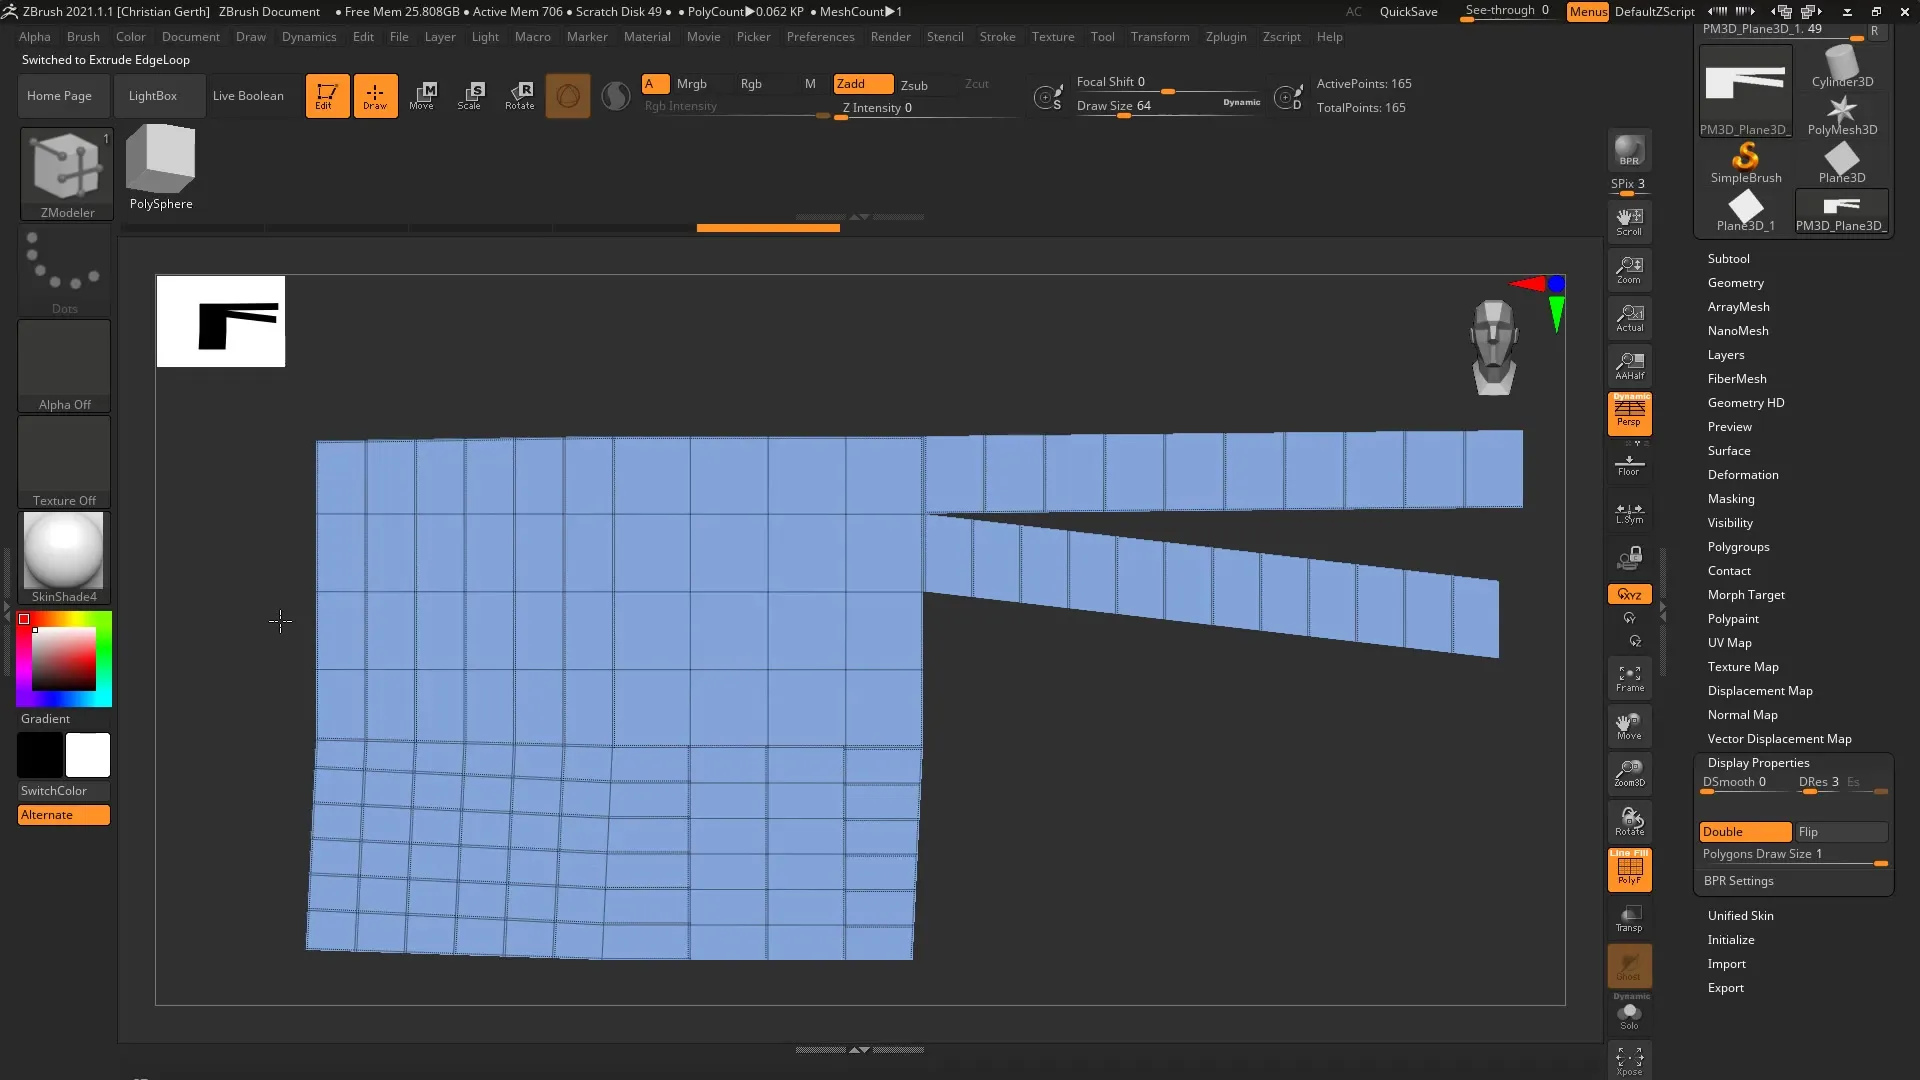
Parallelism of New Polygons
A common problem is that new polygons often appear skewed. To solve this, you can select “Parallel” in the settings. If you now extrude the edge, the new polygons will be neatly arranged and rectangular, improving the clean geometry of the model.
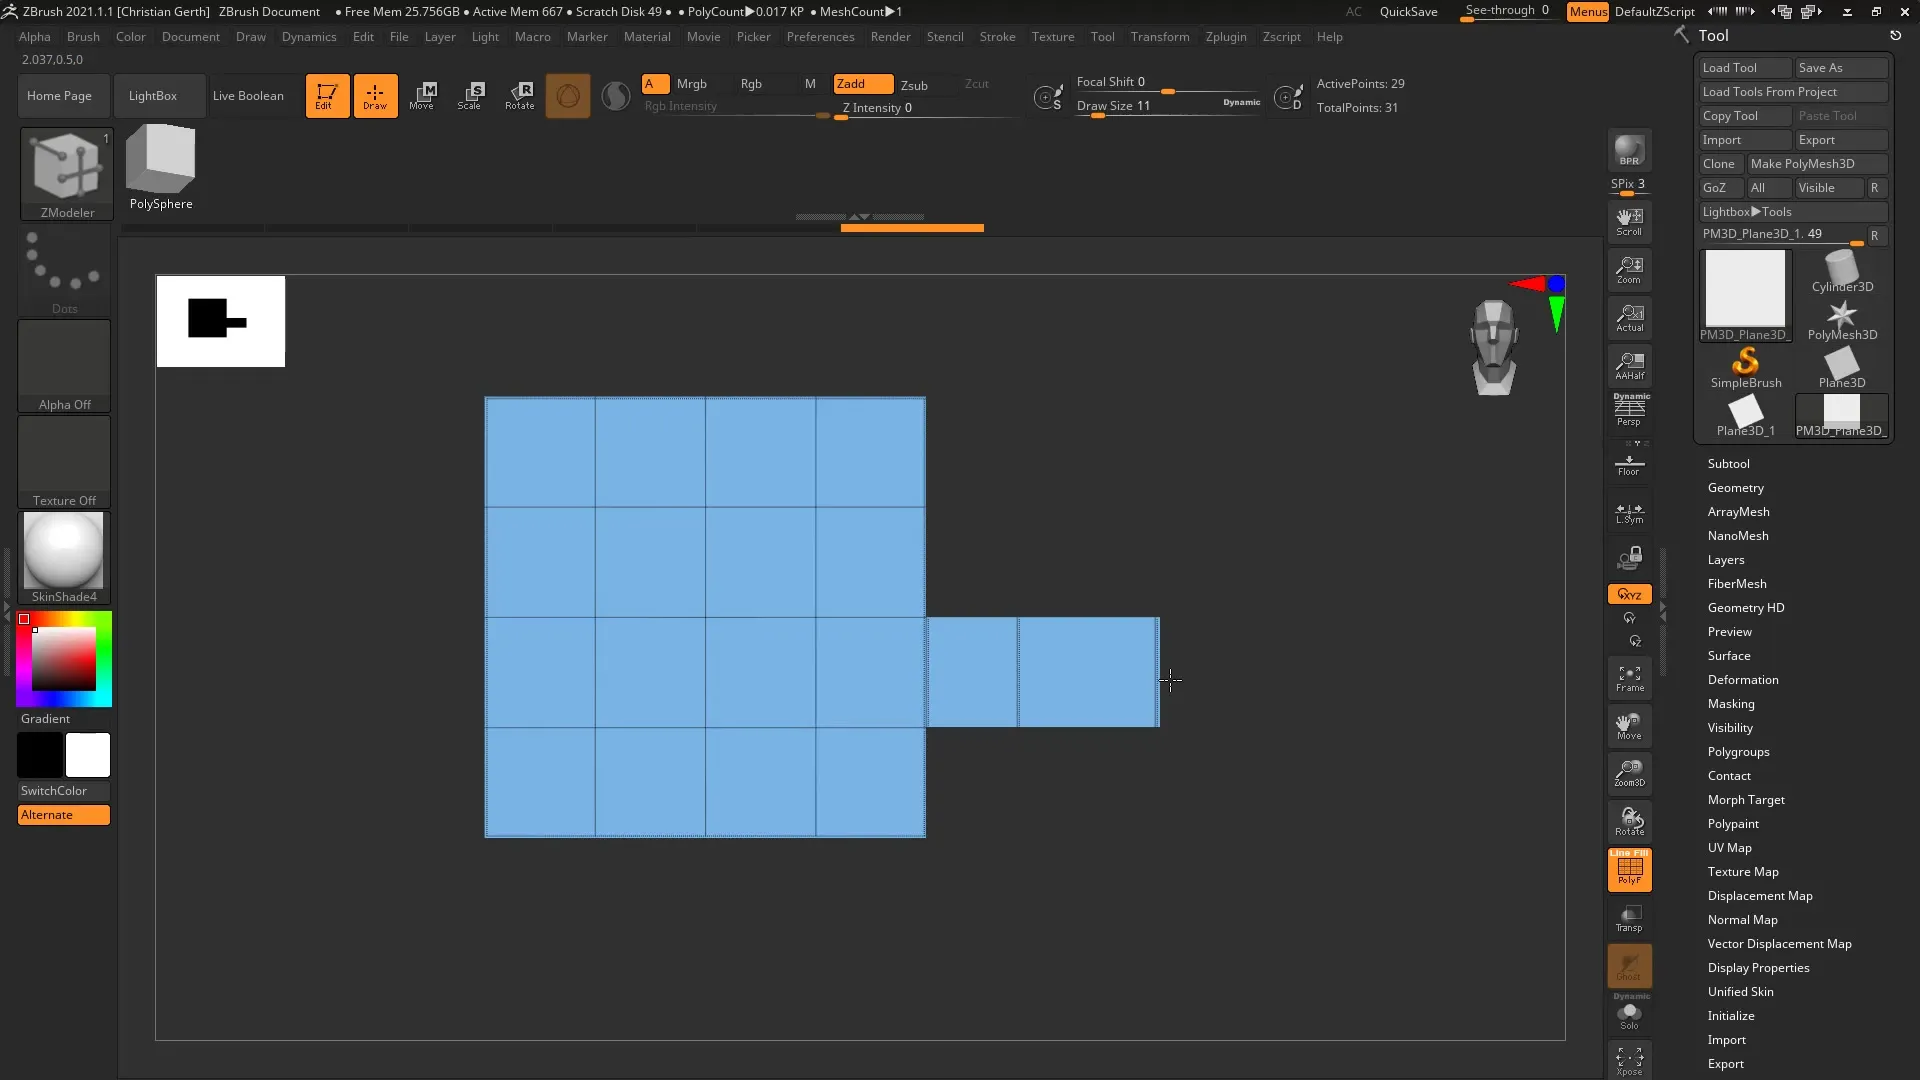
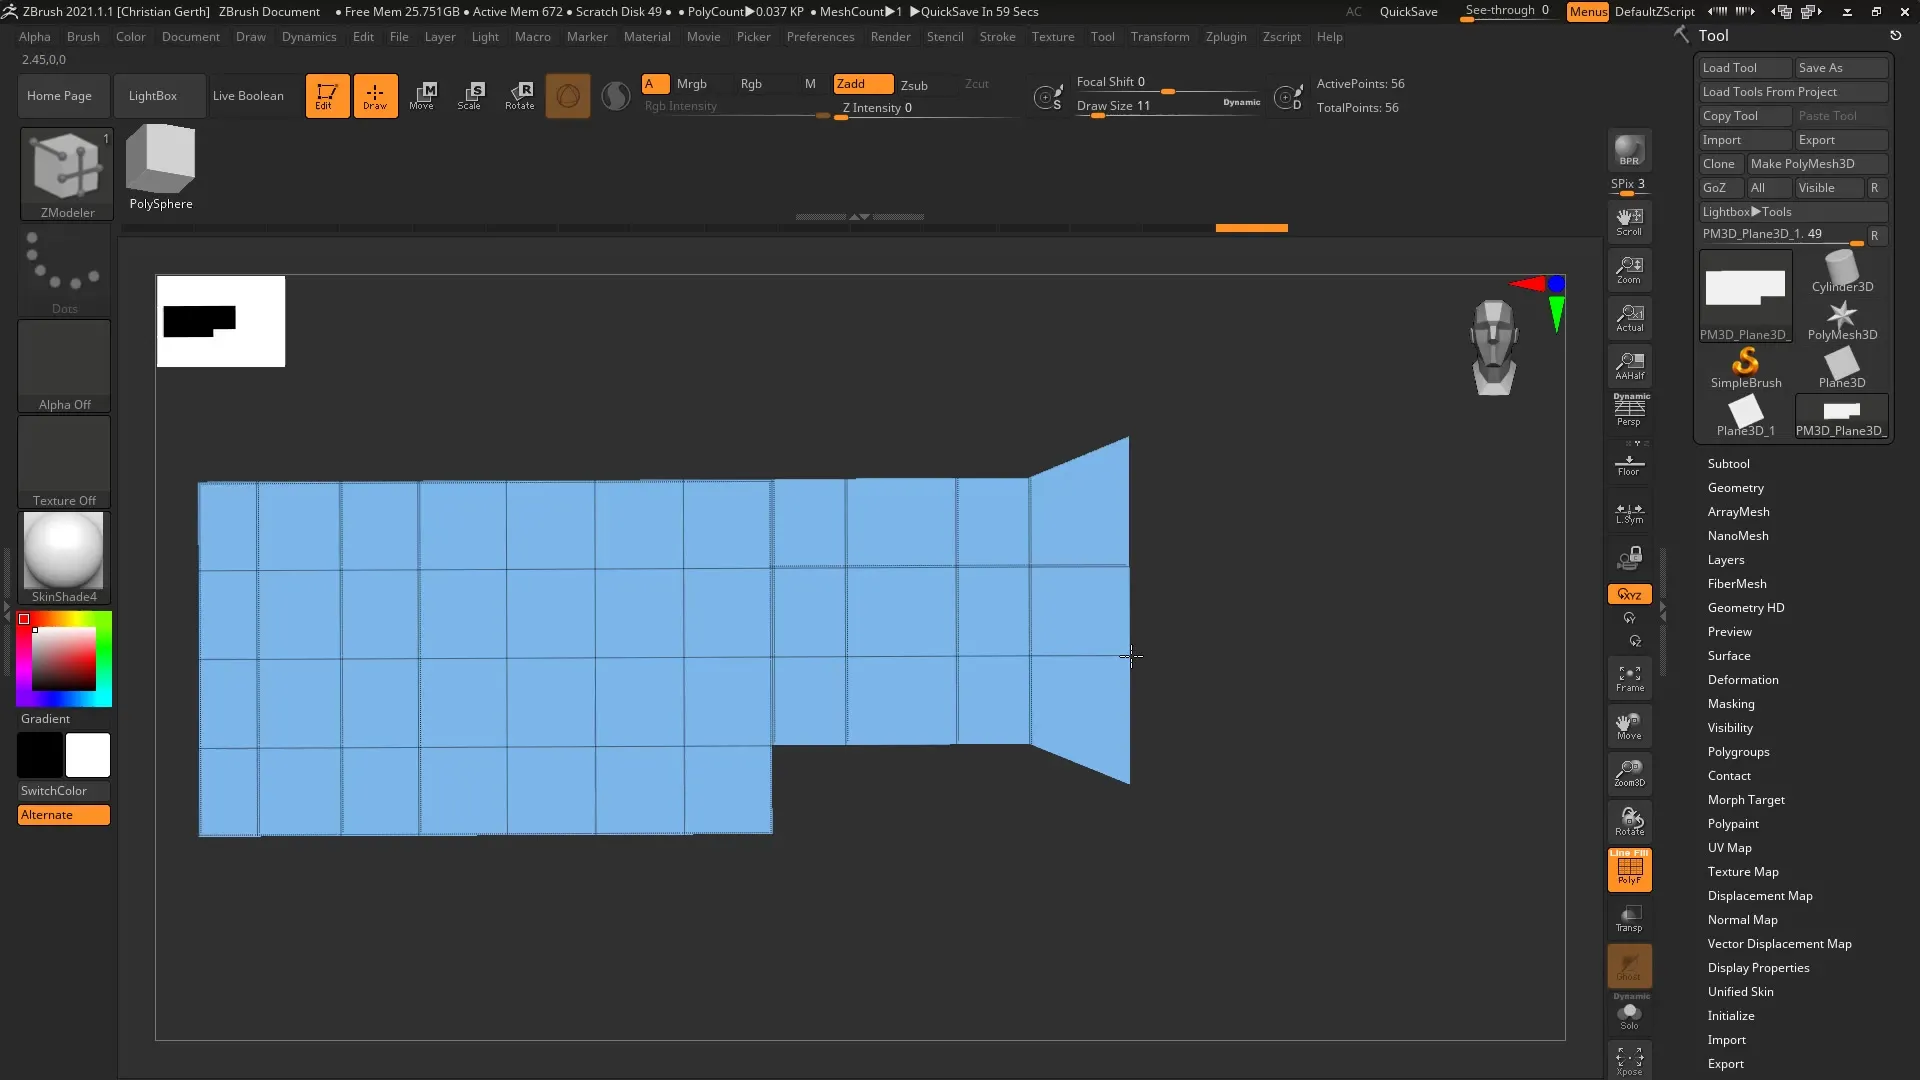
Optional Taper Function
Finally, you can also use a taper function to adjust the width of the extruded edges depending on the direction. This can be particularly useful for creating dynamic shapes depending on the desired model.
Summary - ZModeler: Extrude Edge - A Step-by-Step Guide
With the extruding edge in ZModeler, you can make precise and simple adjustments to your geometry. By understanding the various functions and hotkeys, you can achieve professional results in a short amount of time.
FAQ
How do I use the Extrude Edge function?Select an edge in ZModeler and press the spacebar to select the Extrude option.
Can I extrude multiple edges at the same time?Yes, hold down the Alt key while extruding an edge to extrude all four edges.
What does the Smart Attraction feature do?It ensures that extruded edges snap to neighboring edges.
How can I ensure that the extruded edges are rectangular?Hold down the Shift key while extruding the edges to align them planar.
What settings help me produce parallel polygons?Select the Parallel option in the extrusion settings to ensure that the new polygons are straight and rectangular.
