The X-TractorBrushin ZBrushis an incredibly useful tool for extracting details from a mesh and reusing them in other places. In this guide, I will explain how to effectively use the X-Tractor Brush and make the most of its possibilities. You will learn how to select a detailed area, create an alpha, and reproduce the extracted details. Let's get started!
Main Takeaways
- The X-Tractor Brush stores details as an alpha.
- With a simple click, you can apply these details to other parts of your model.
- The size and intensity of the details can be controlled precisely.
Step-by-Step Guide
To use the X-Tractor Brush in ZBrush, follow these steps:
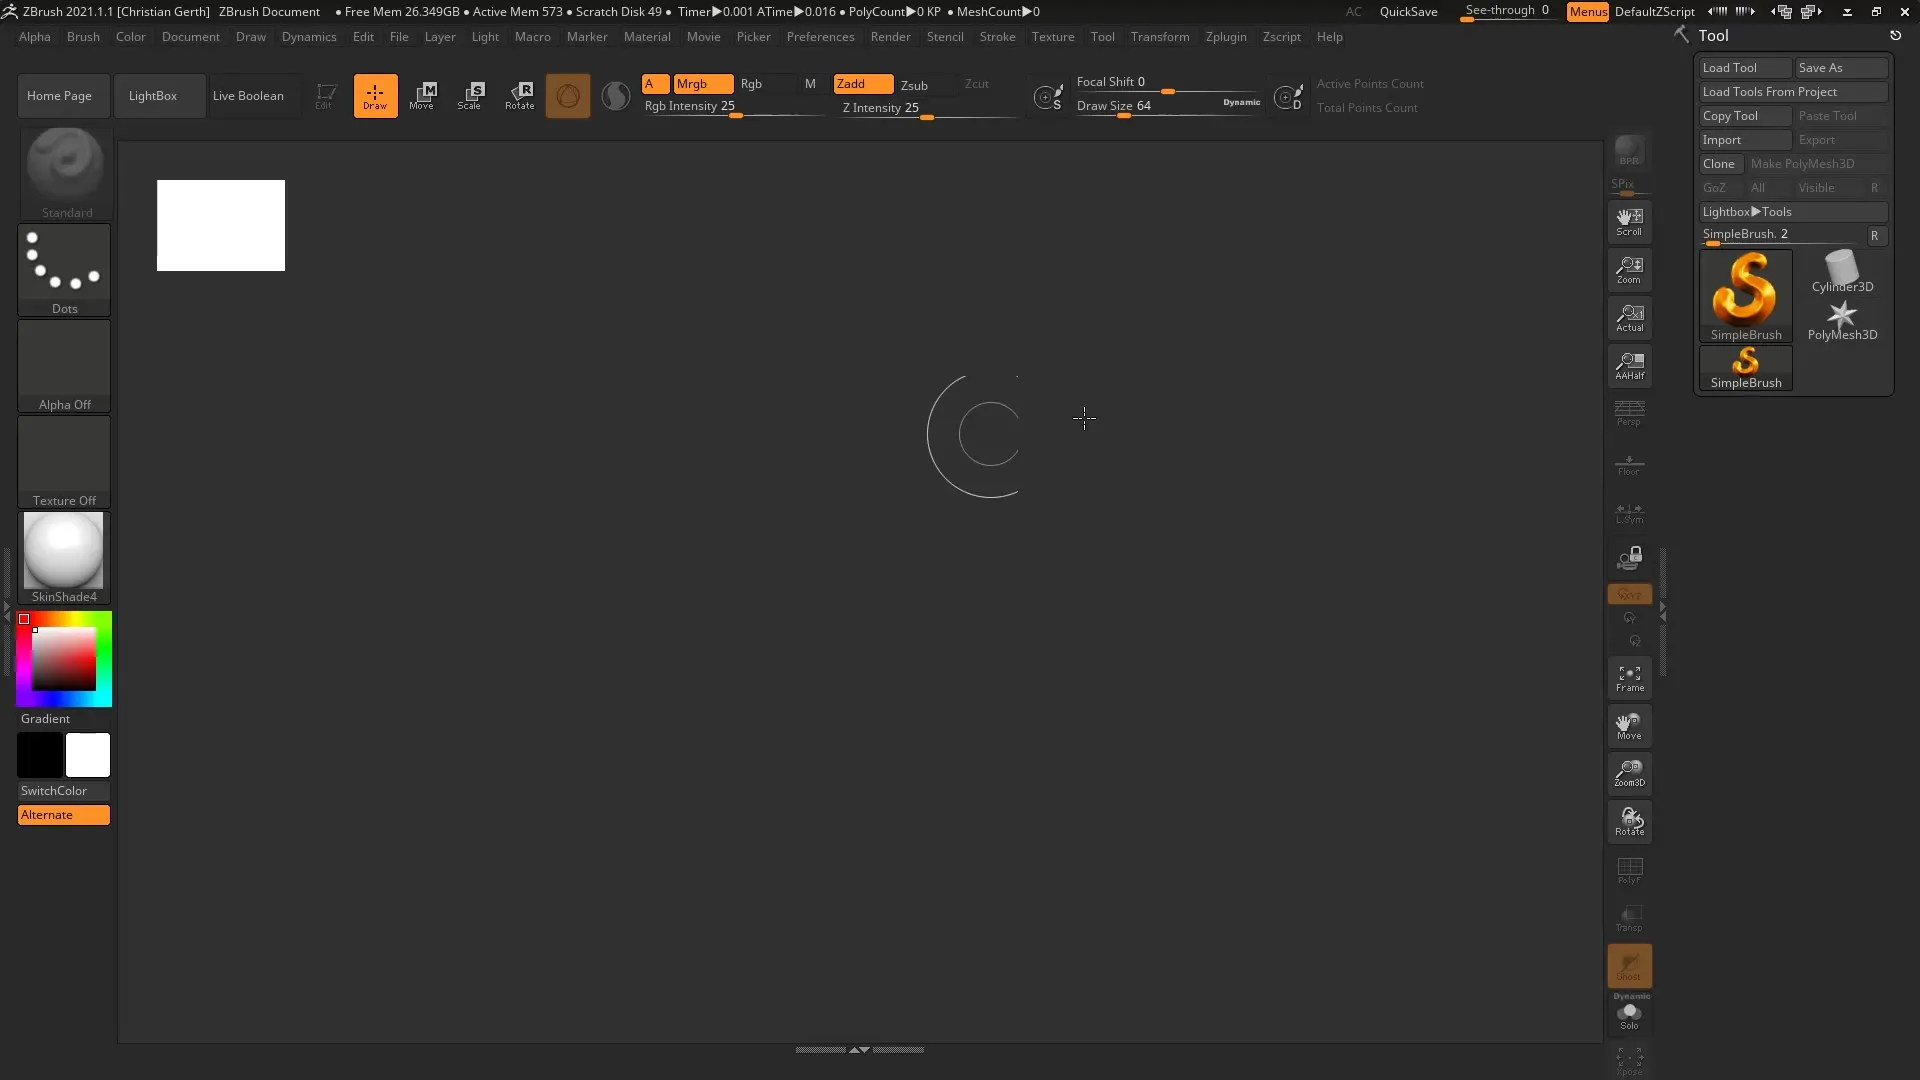
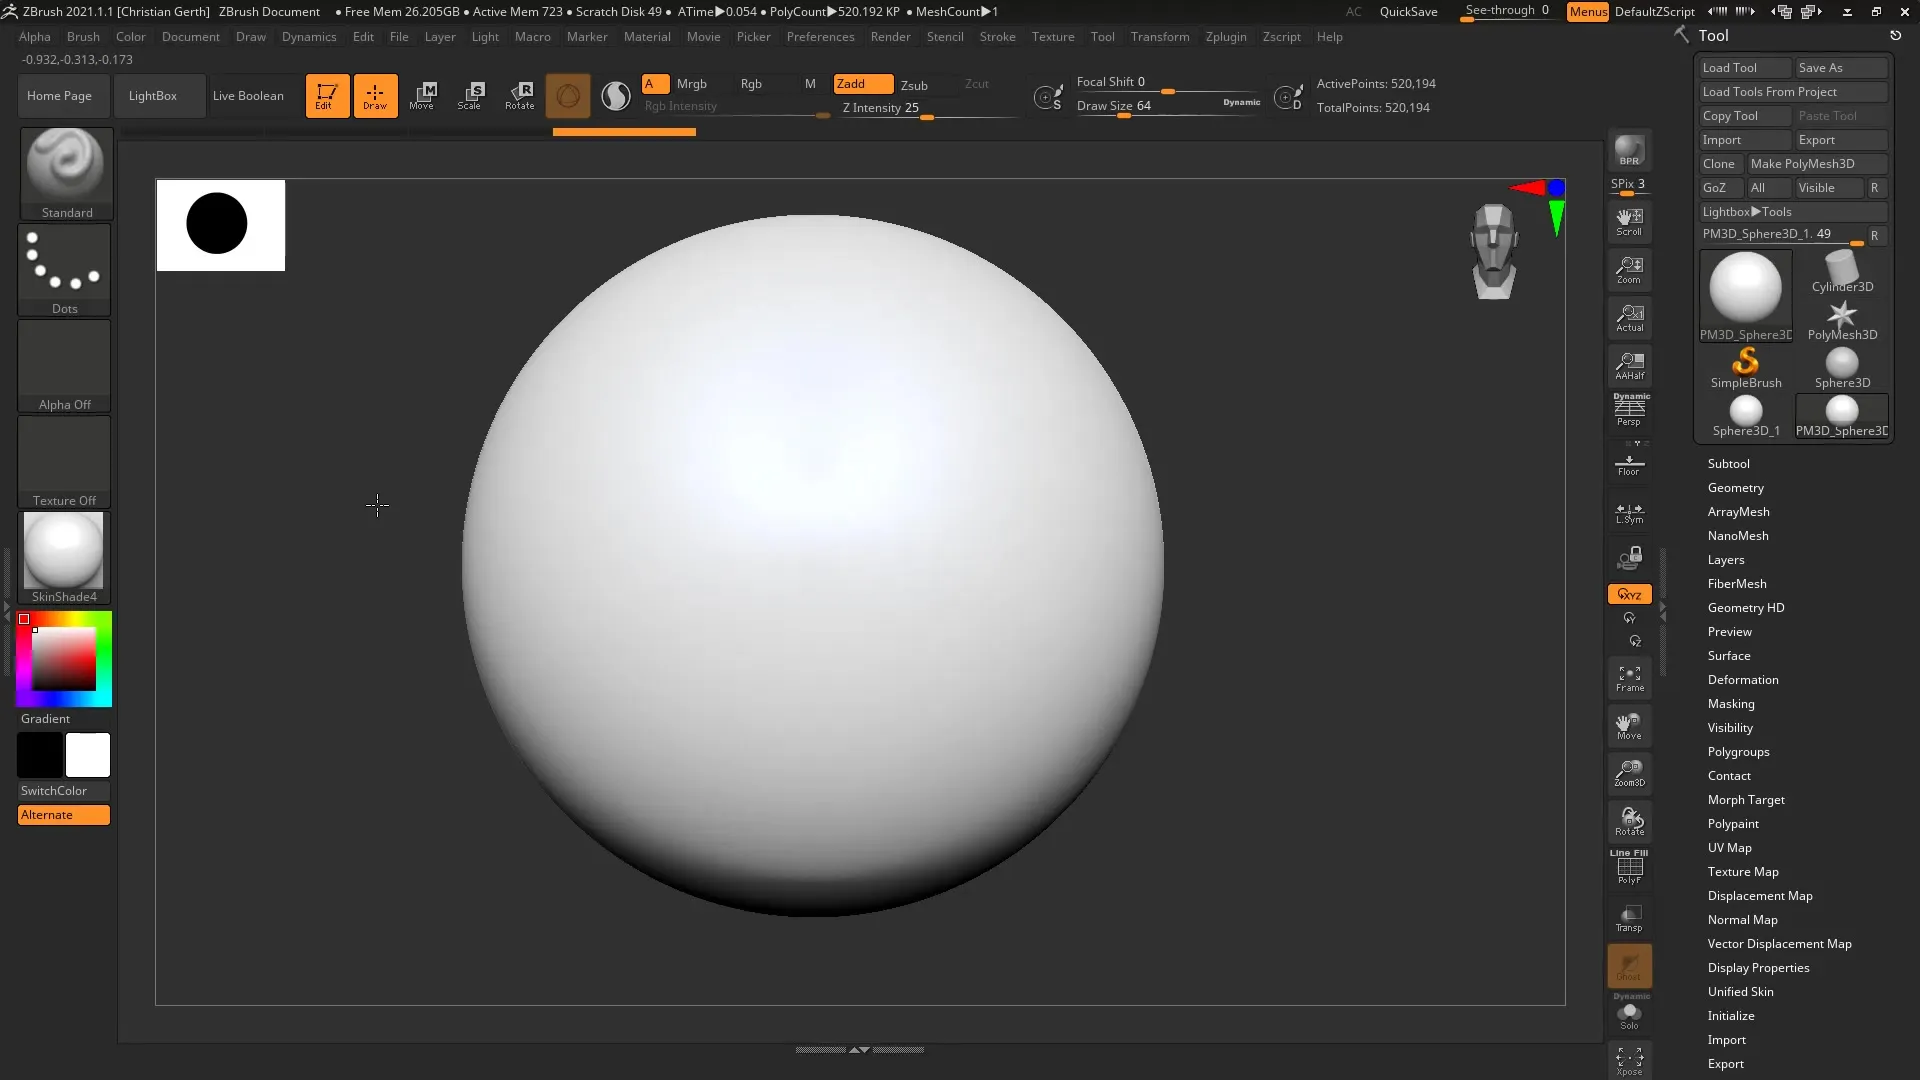
First, you need to select a geometry. For this tutorial, we will use a simple sphere. Select your geometry and enter Edit Mode. Now select the option to create a Polymesh from it. To sculpt effectively, increase the polygon count to about 500,000. This high polygon count provides the detail accuracy necessary for the X-Tractor Brush.
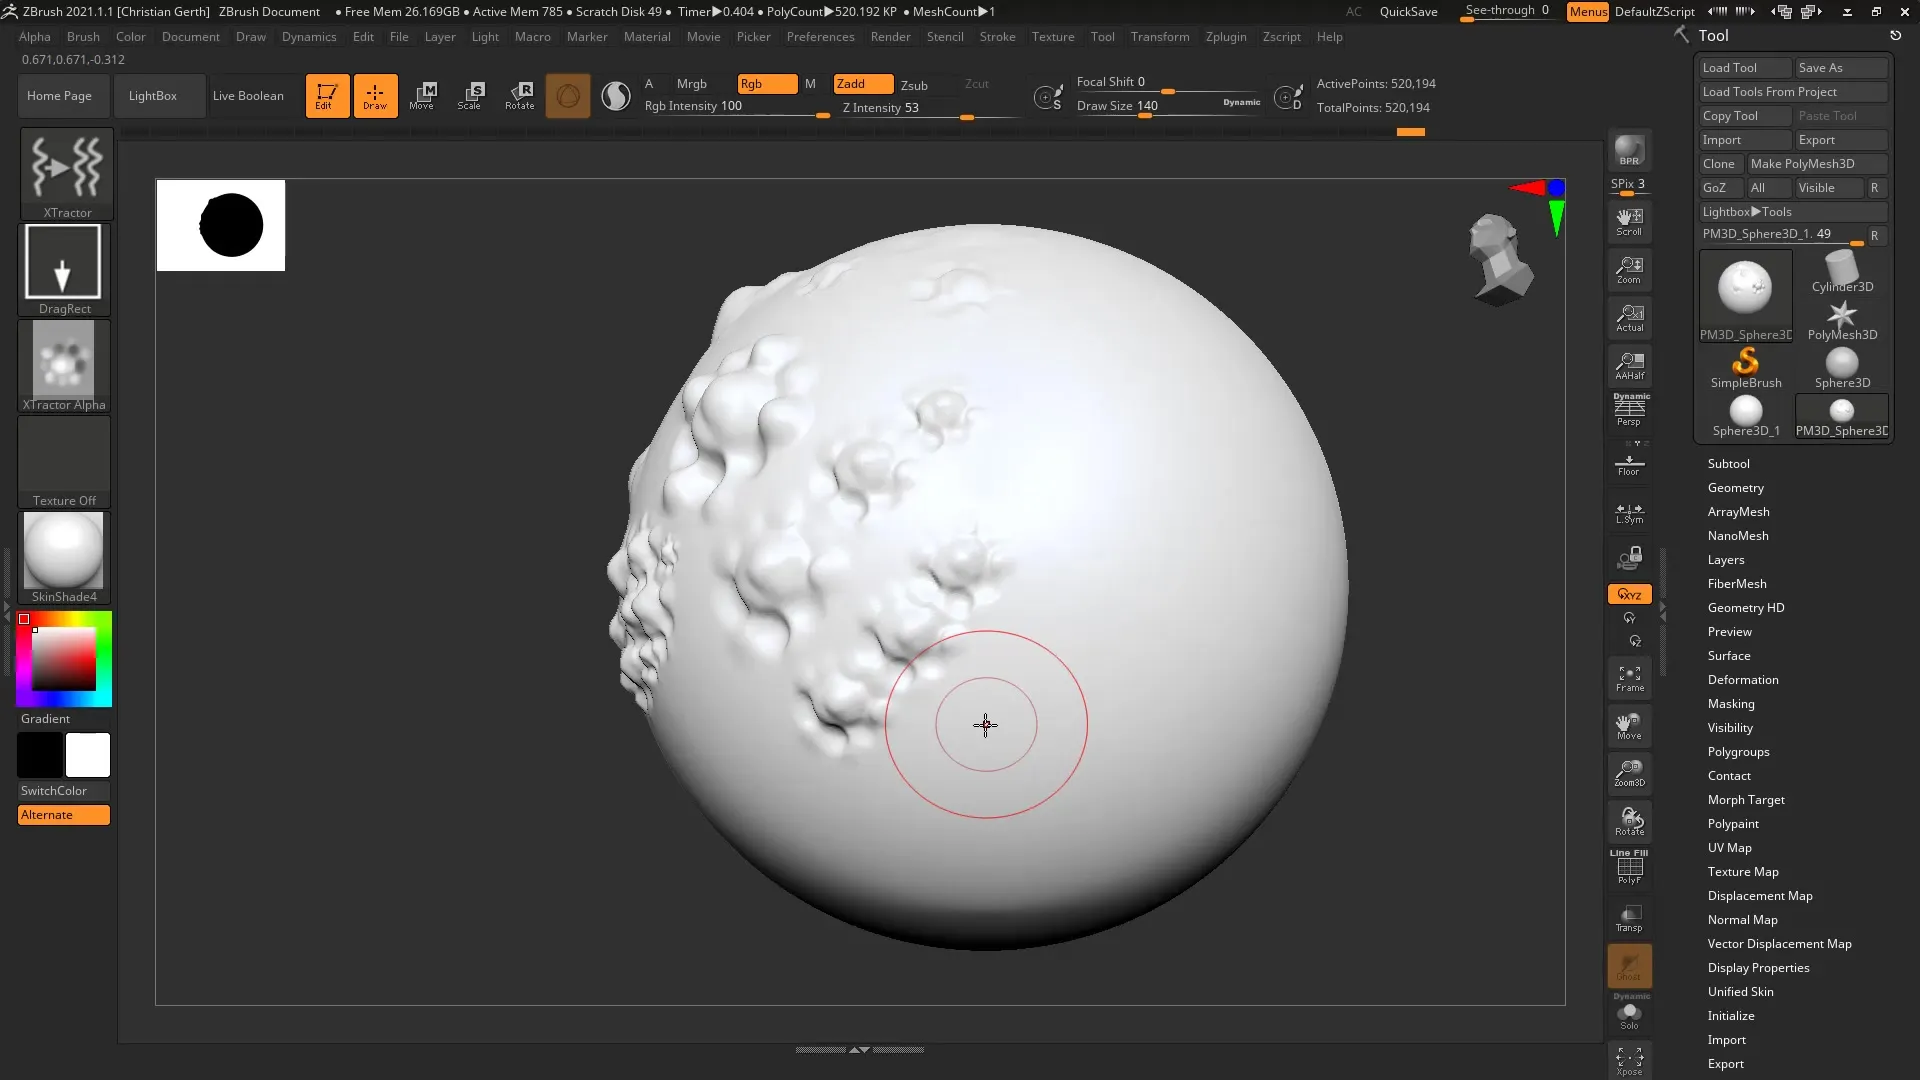
Once you have prepared the geometry, you can start sculpting. Use your standard brush to apply some detailsto the surface of the sphere. You can specifically detail a certain area. It does not have to look perfect; the most important thing is that you create an area with a distinct detail that the brush can use later.
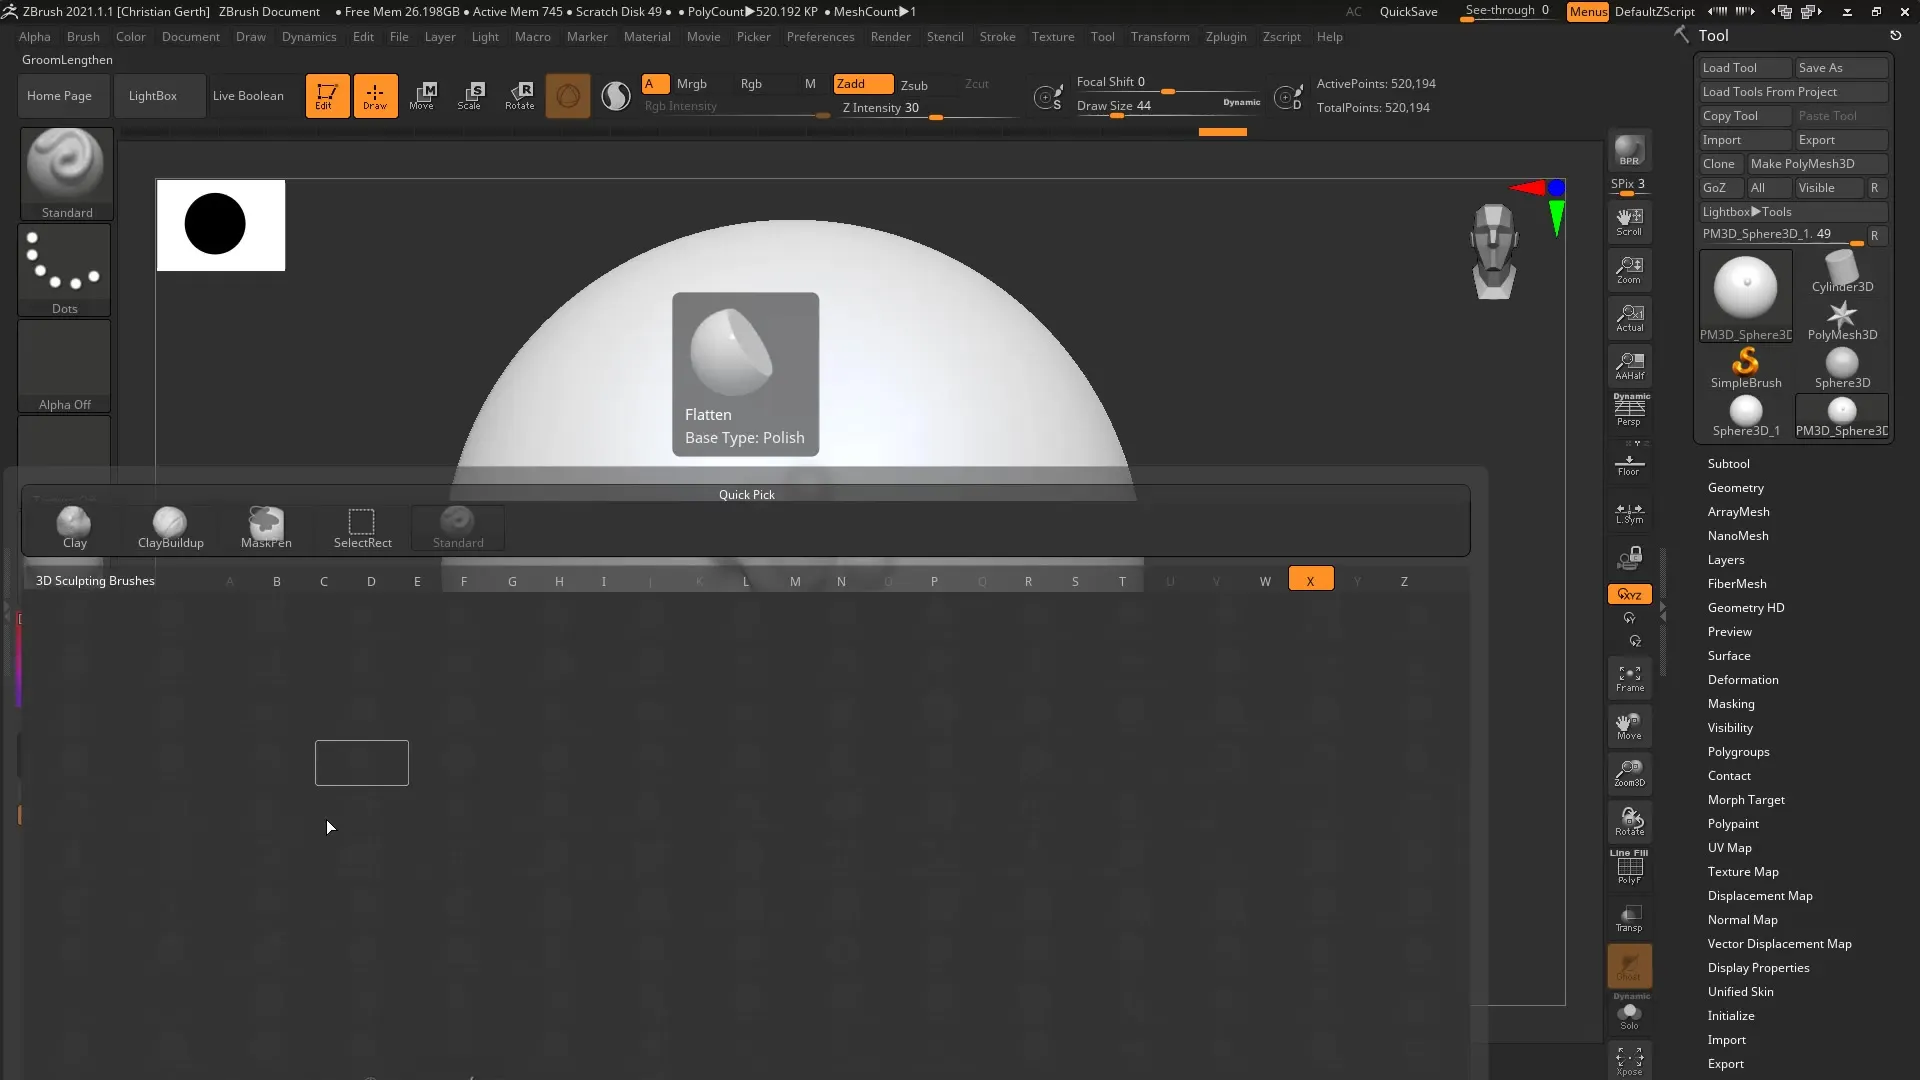
After sculpting, you will need the X-Tractor Brush. You can find it in the BV Brush category in the menu. You need to press the X key to select the X-Tractor. Initially, nothing happens, but you can make the brush larger. Press G for Grab to see that the brush is now active and a blue area is displayed. Increase the brush size to select the desired area that you want to use for the alpha.
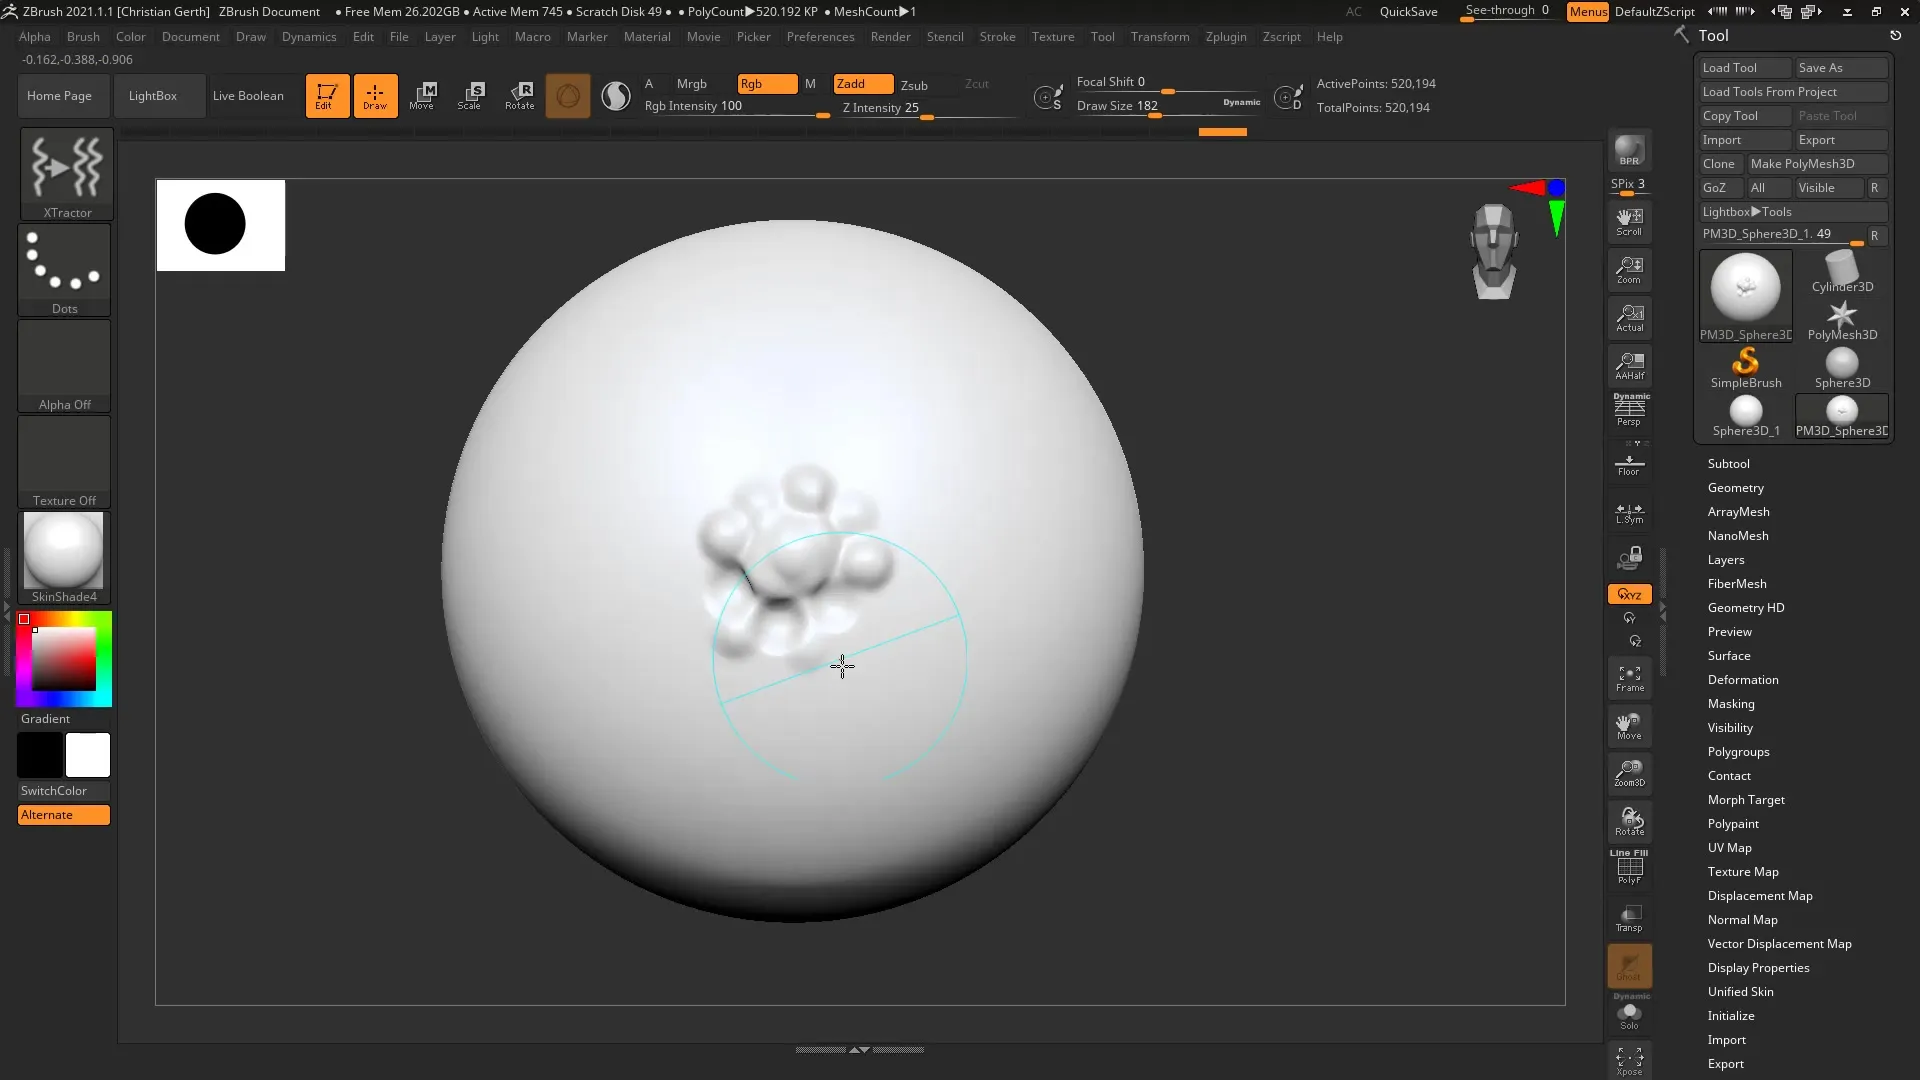
Now that the brush is active, you can hover over the sculpted area to save the details. The X-Tractor Brush will create an alpha that you can use later. With this alpha, you can continue working on your model and reproduce the previously saved details. For instance, select the Rectangle Brush and paint in the desired spots to apply the details.
If you want to reproduce the details at a consistent size, there is a handy trick: Hold down the Shift key and press the number 1. This will ensure that the last used settings for the brush are retained and the detail remains the same size. Repeat this action for consistent results.
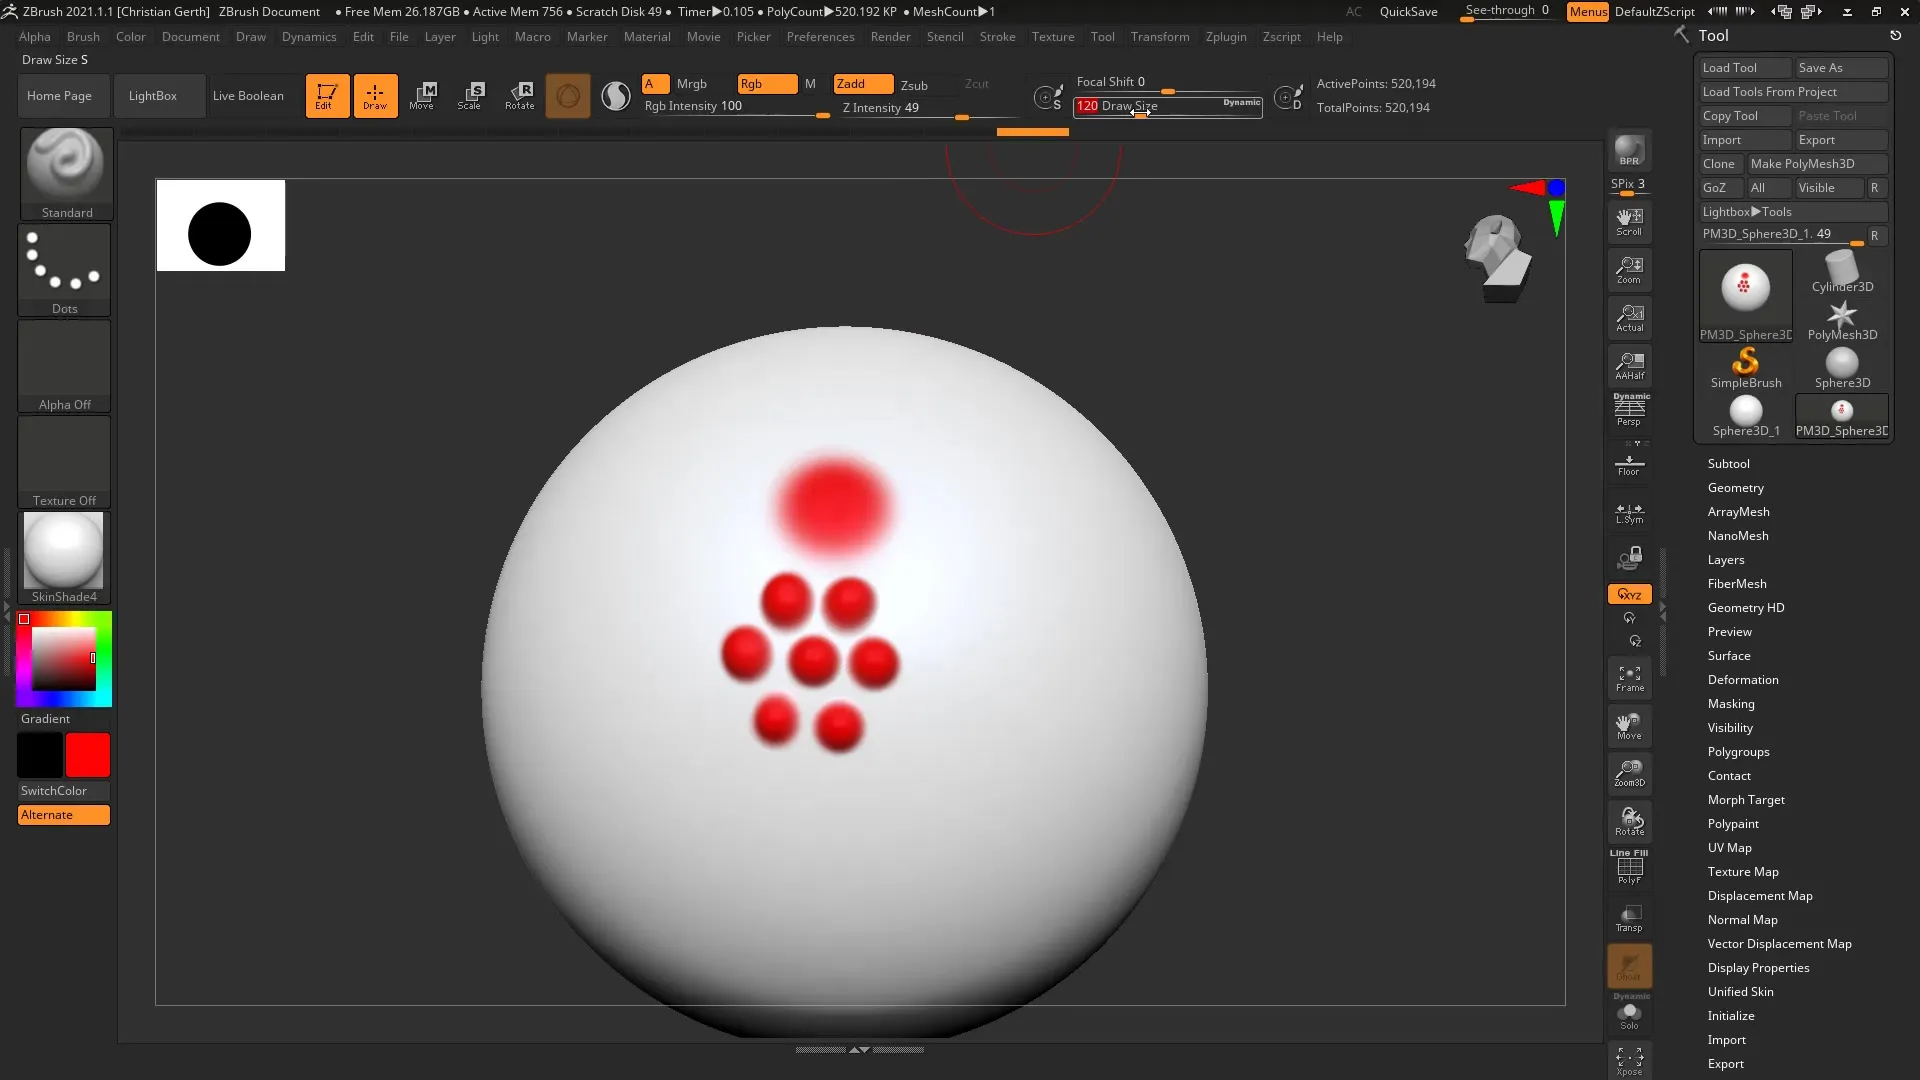
To give your work more dimension and color, you can also combine the X-Tractor Brush with color adjustments. Select your standard brush and fill the sphere with a base color, such as white. Then, you can paint with another color, like red, by activating the RGB and Z channels. Experiment with various color combinations to vary the results.
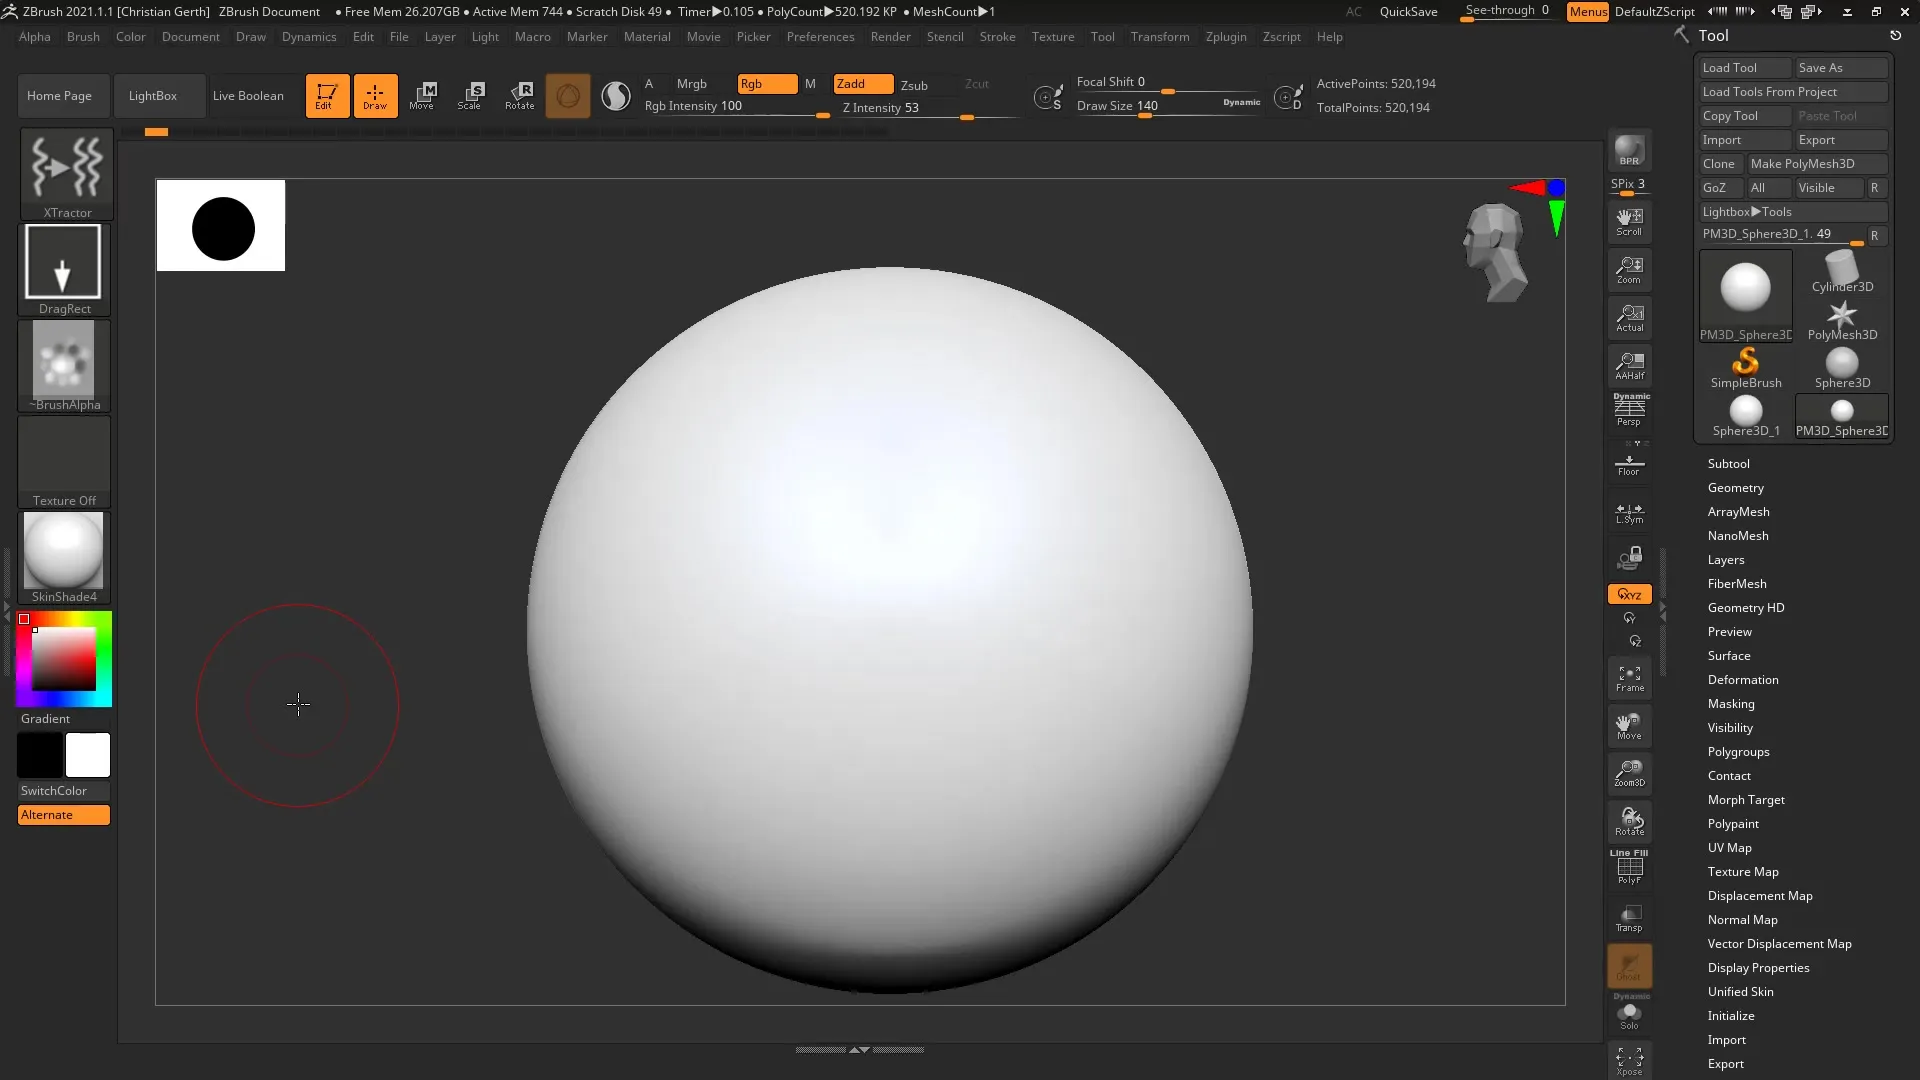
A quicker way to activate the X-Tractor Brush is simply to press the G key again. This will automatically activate the brush to take details immediately. Adjust the size and intensity to achieve the desired effects.
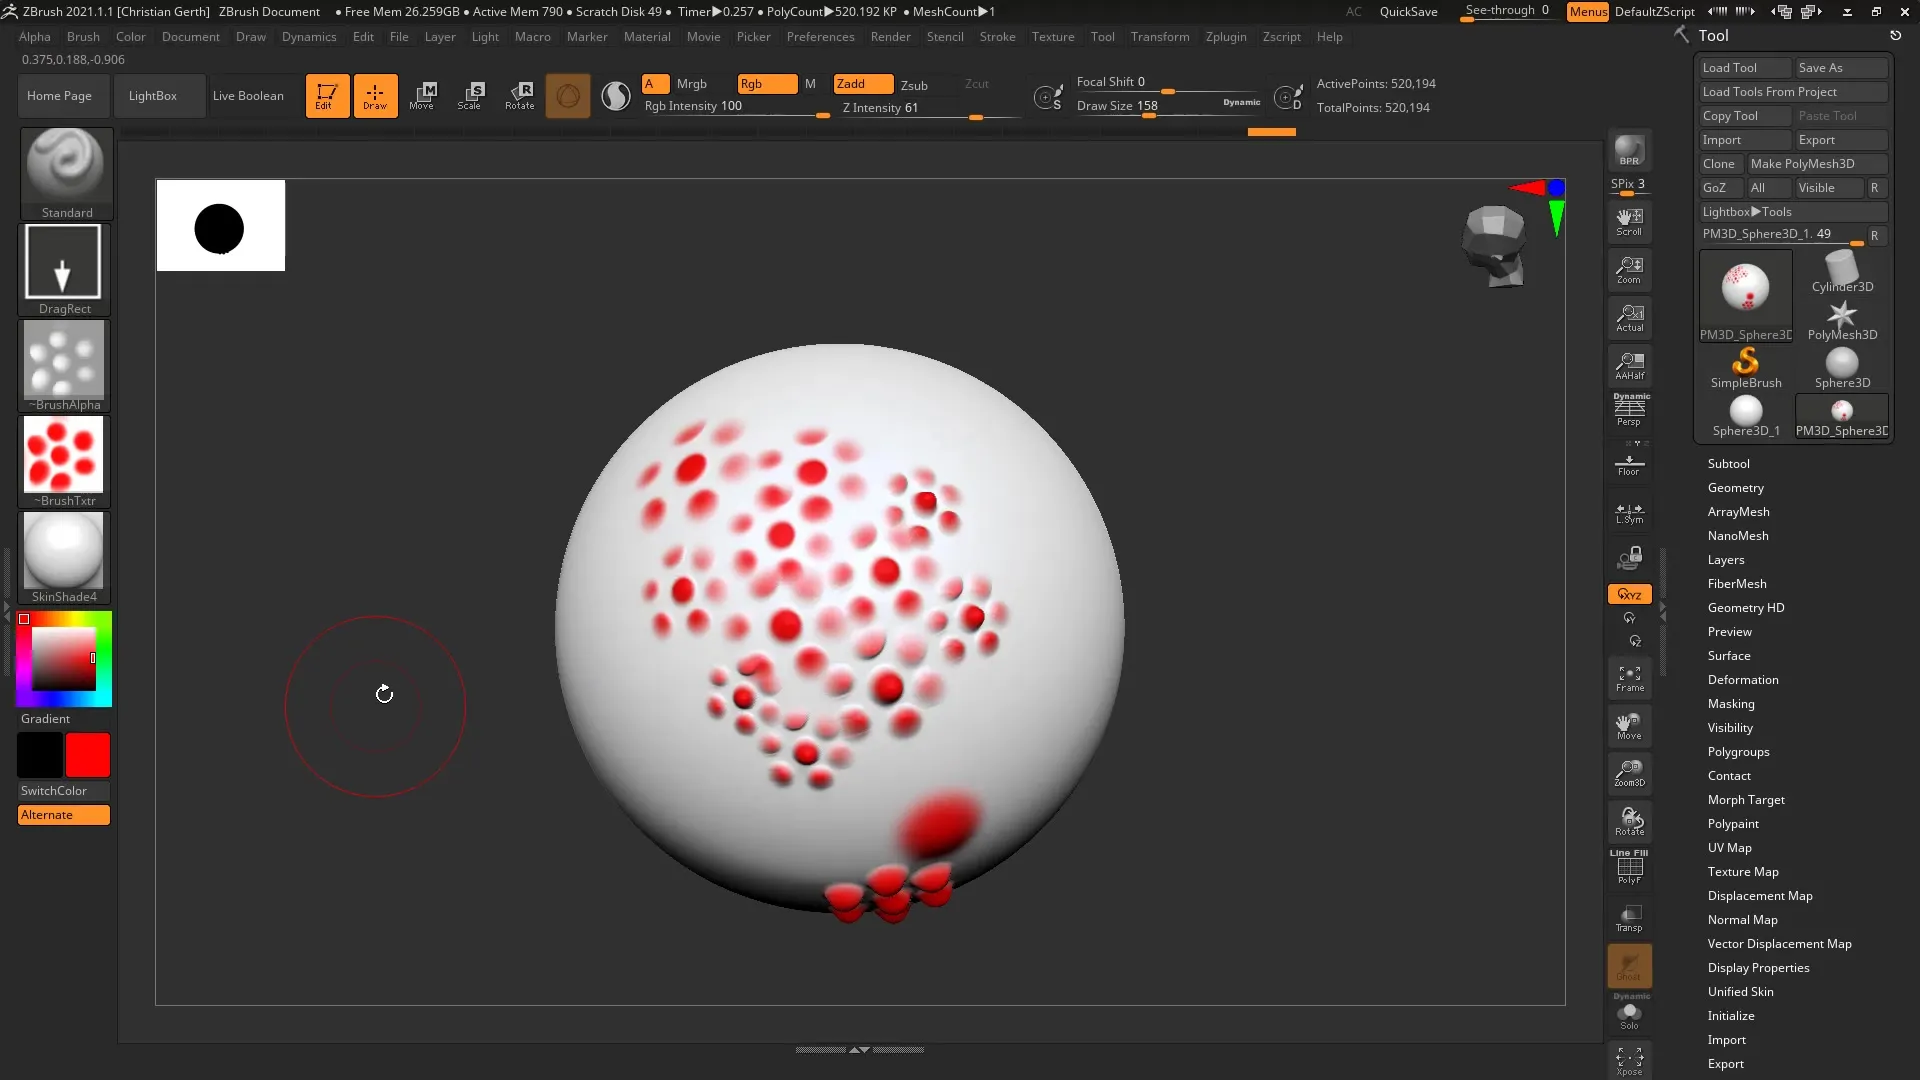
Finally, you can transfer additional colors and details to your mesh using the Drag-Rectangle. With this technique, you can create scars or scales, for example. By integrating color and structure, you can achieve appealing results very quickly. The entire process proves to be efficient and straightforward.
Summary – ZBrush X-Tractor Brush – How to Effectively Save Details
In this guide, you have learned how to use the X-Tractor Brush in ZBrush to save details on your models and reuse them in other places. With some practice, you will be able to optimize your workflows and fully exploit the creative possibilities of the X-Tractor Brush.


