With the new MicroPoly feature in ZBrush 2021, it is easier than ever to create detailed surfaces on meshes. This feature offers a variety of different textures and patterns that you can apply with a click of the mouse. In this guide, I will show you the most important steps and techniques to get the most out of the MicroPoly feature.
Main insights
- MicroPoly allows adding details to simple meshes.
- You can choose from a variety of textures and patterns.
- Adjusting properties like Scale and Rotation helps you achieve the desired look.
- Few polygons can create high detail depth.
Step-by-step guide
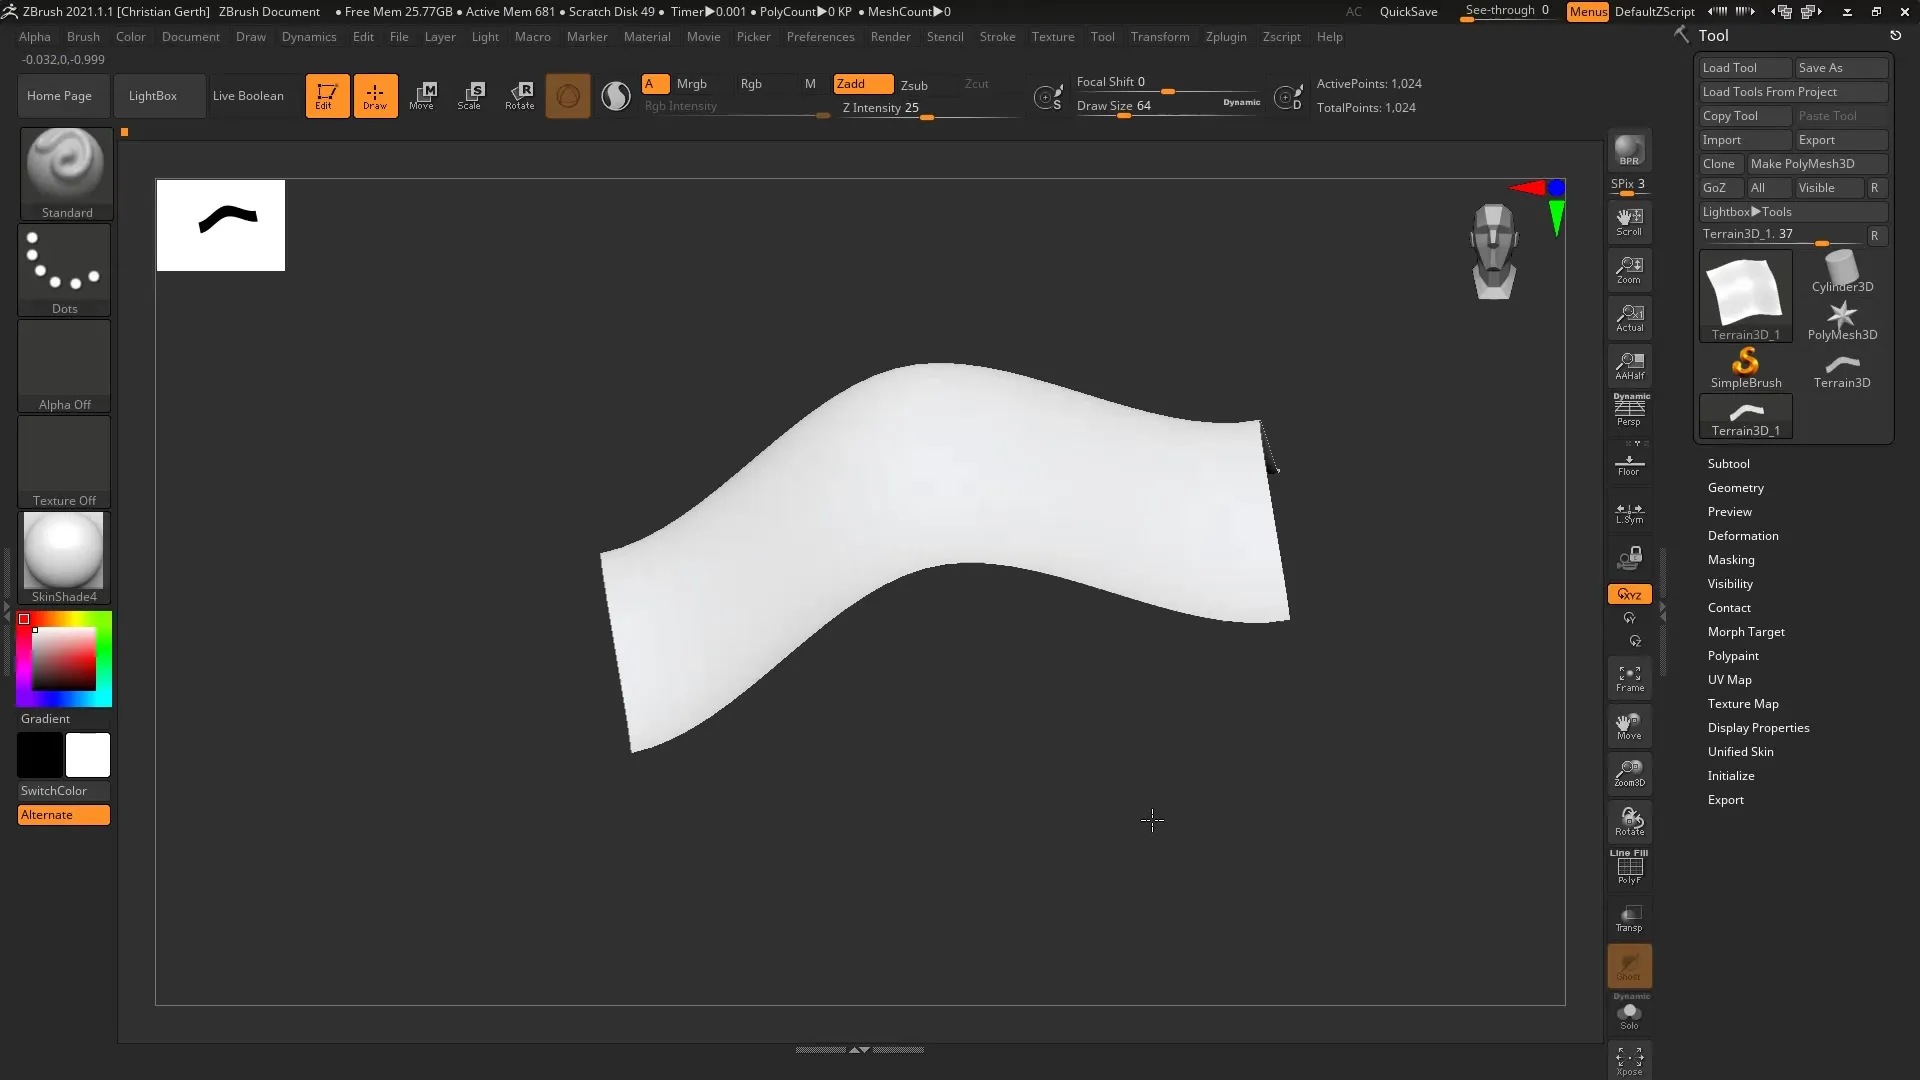
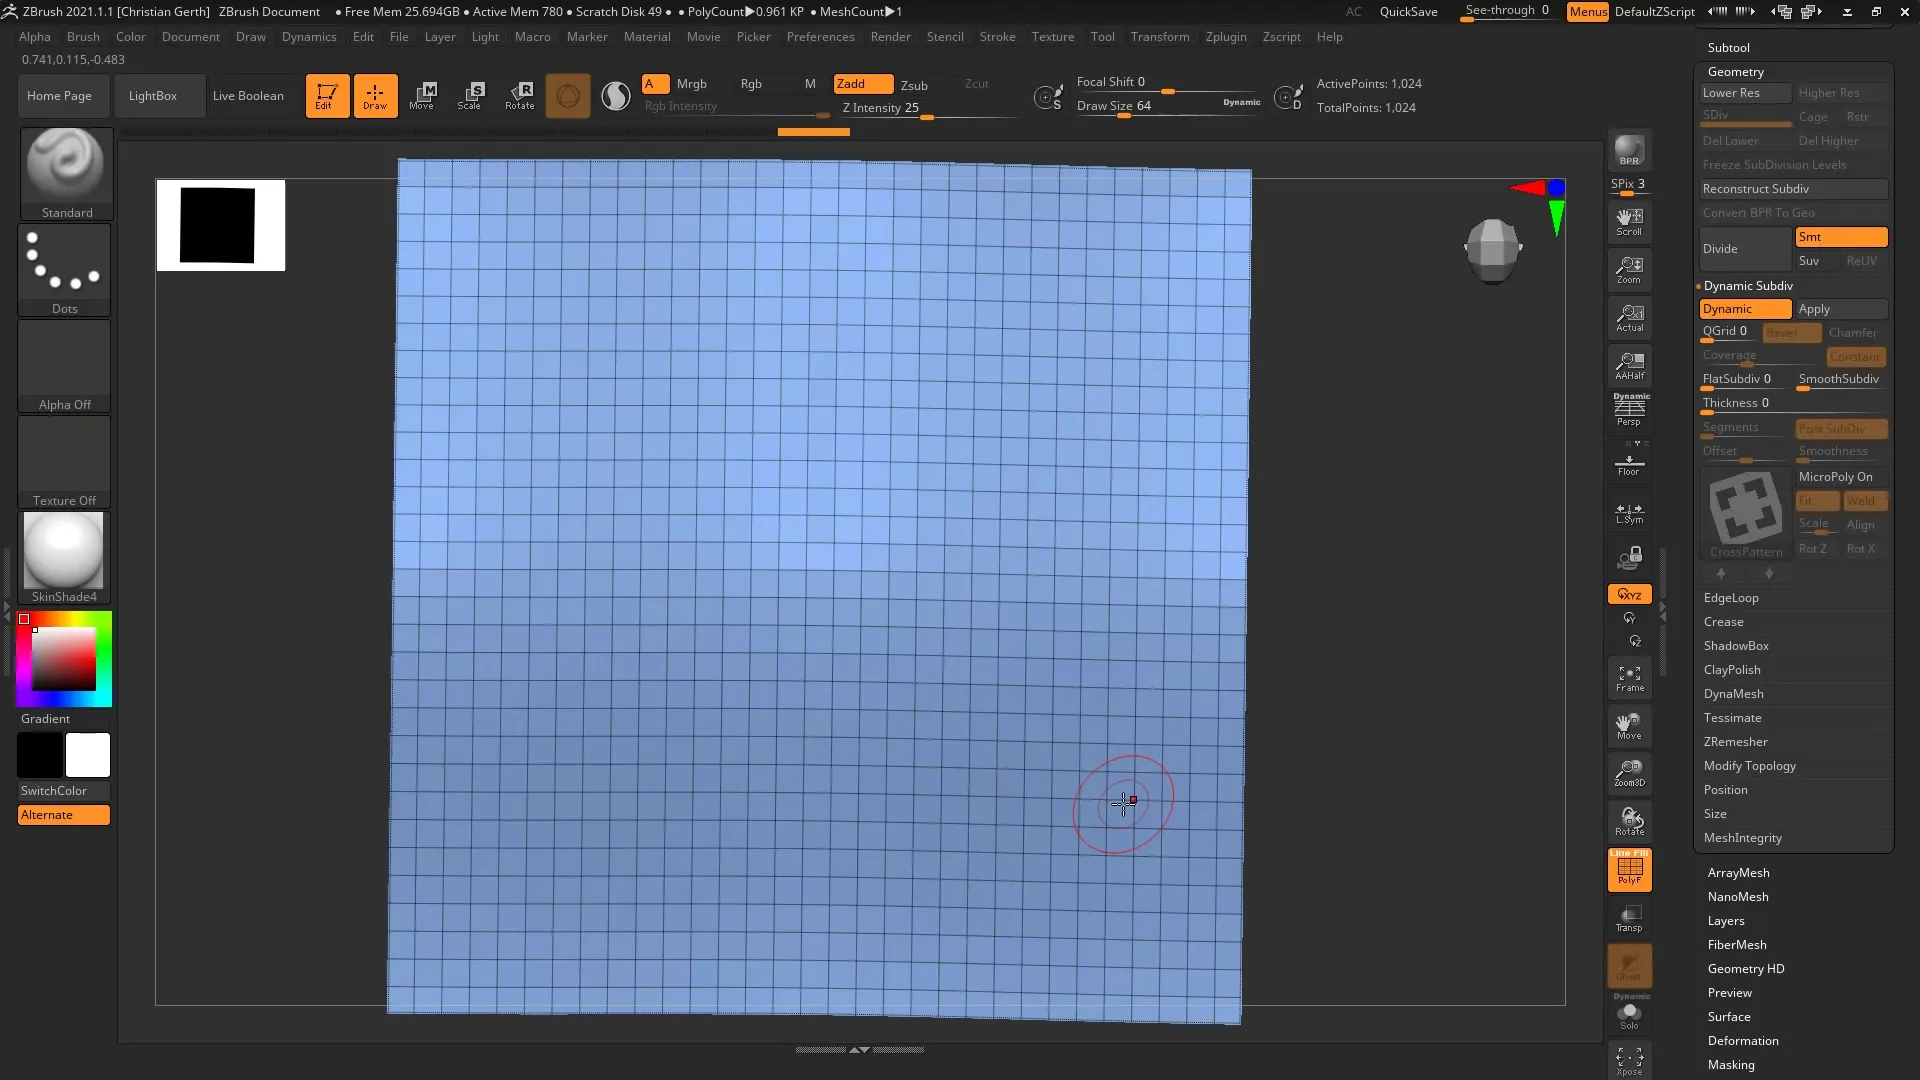
Start by creating a terrain or basic shape in your ZBrush document. Just drag it into the workspace and press the "T" key to enter edit mode. Now you have the option to add polygons to your mesh and try out the MicroPoly feature.
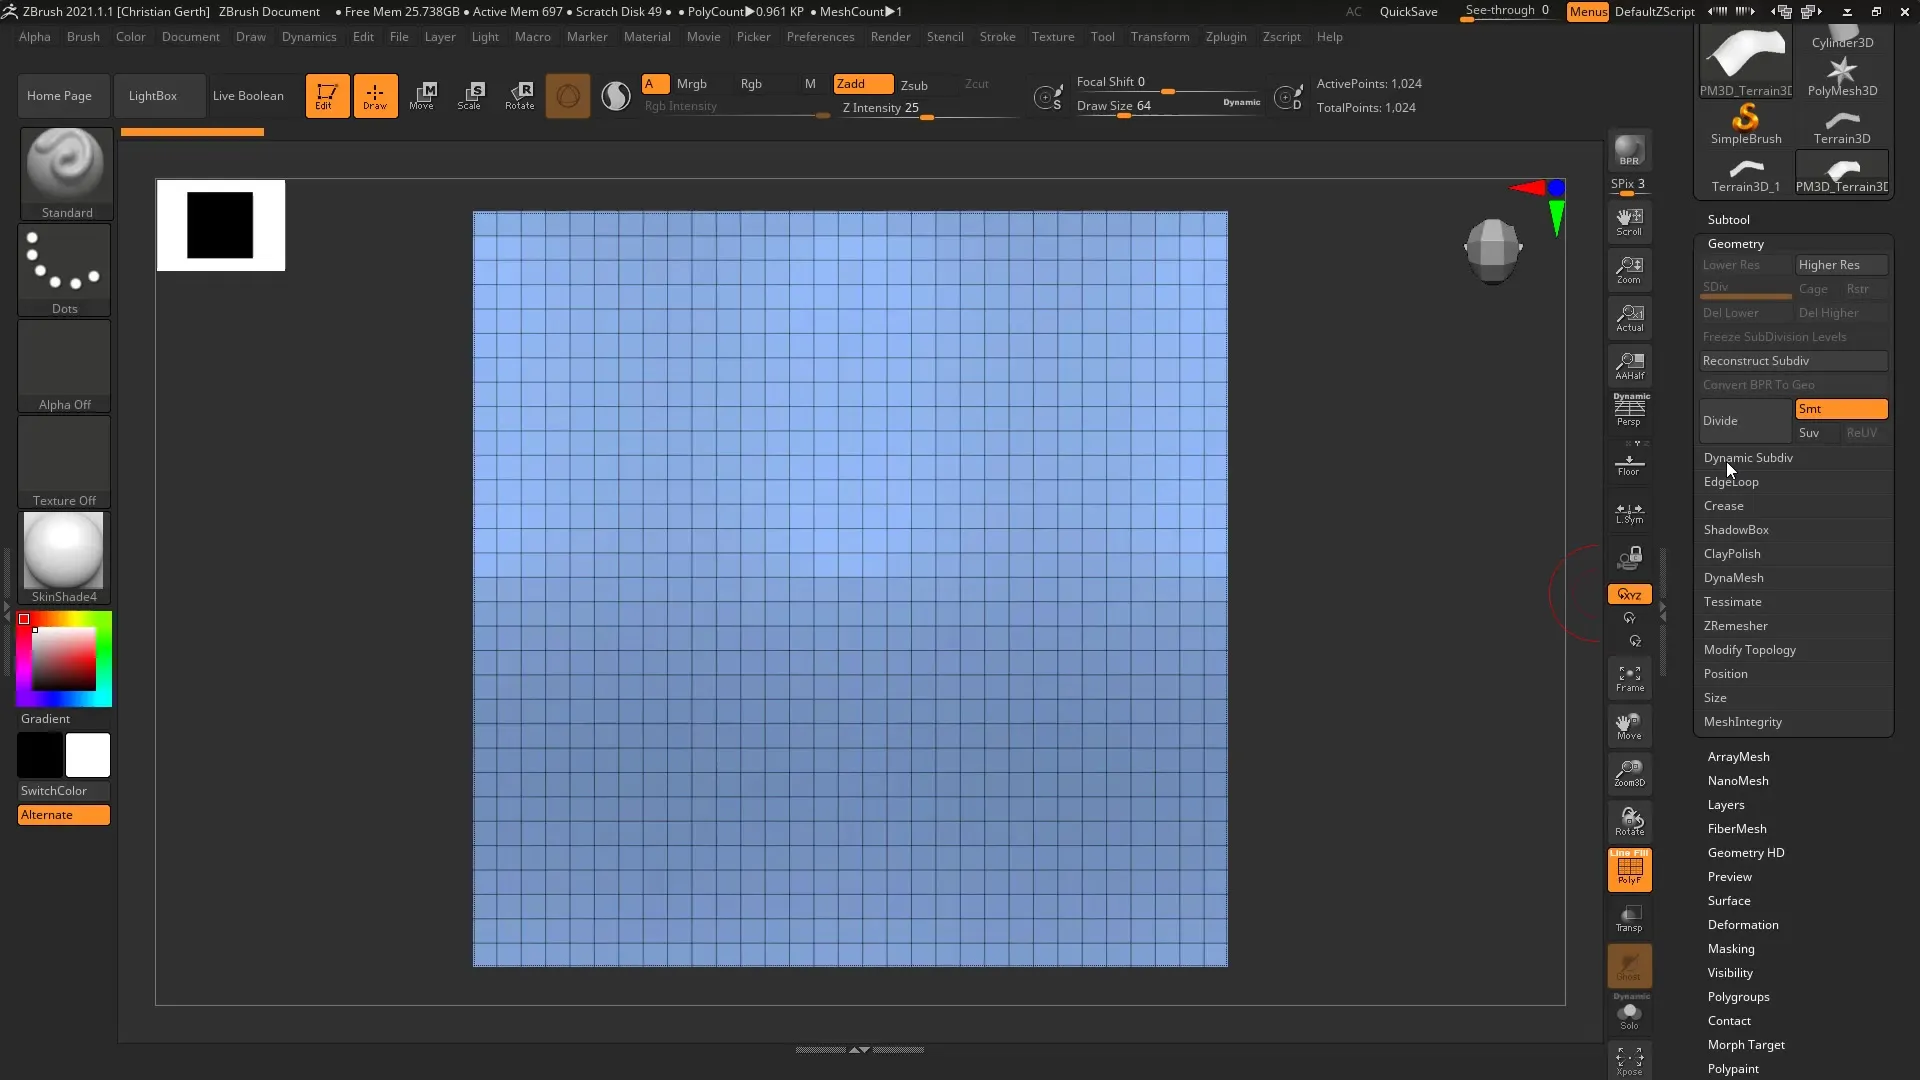
Next, select the "Geometry" area and click on "Dynamic Subdivision." This area has been optimized in this version of ZBrush. You can adjust the "Smooth Subdivision" and "Thickness" here, but leave both at zero for the MicroPoly effects to stand out optimally. Set the MicroPoly to "n" to display the various available textures.
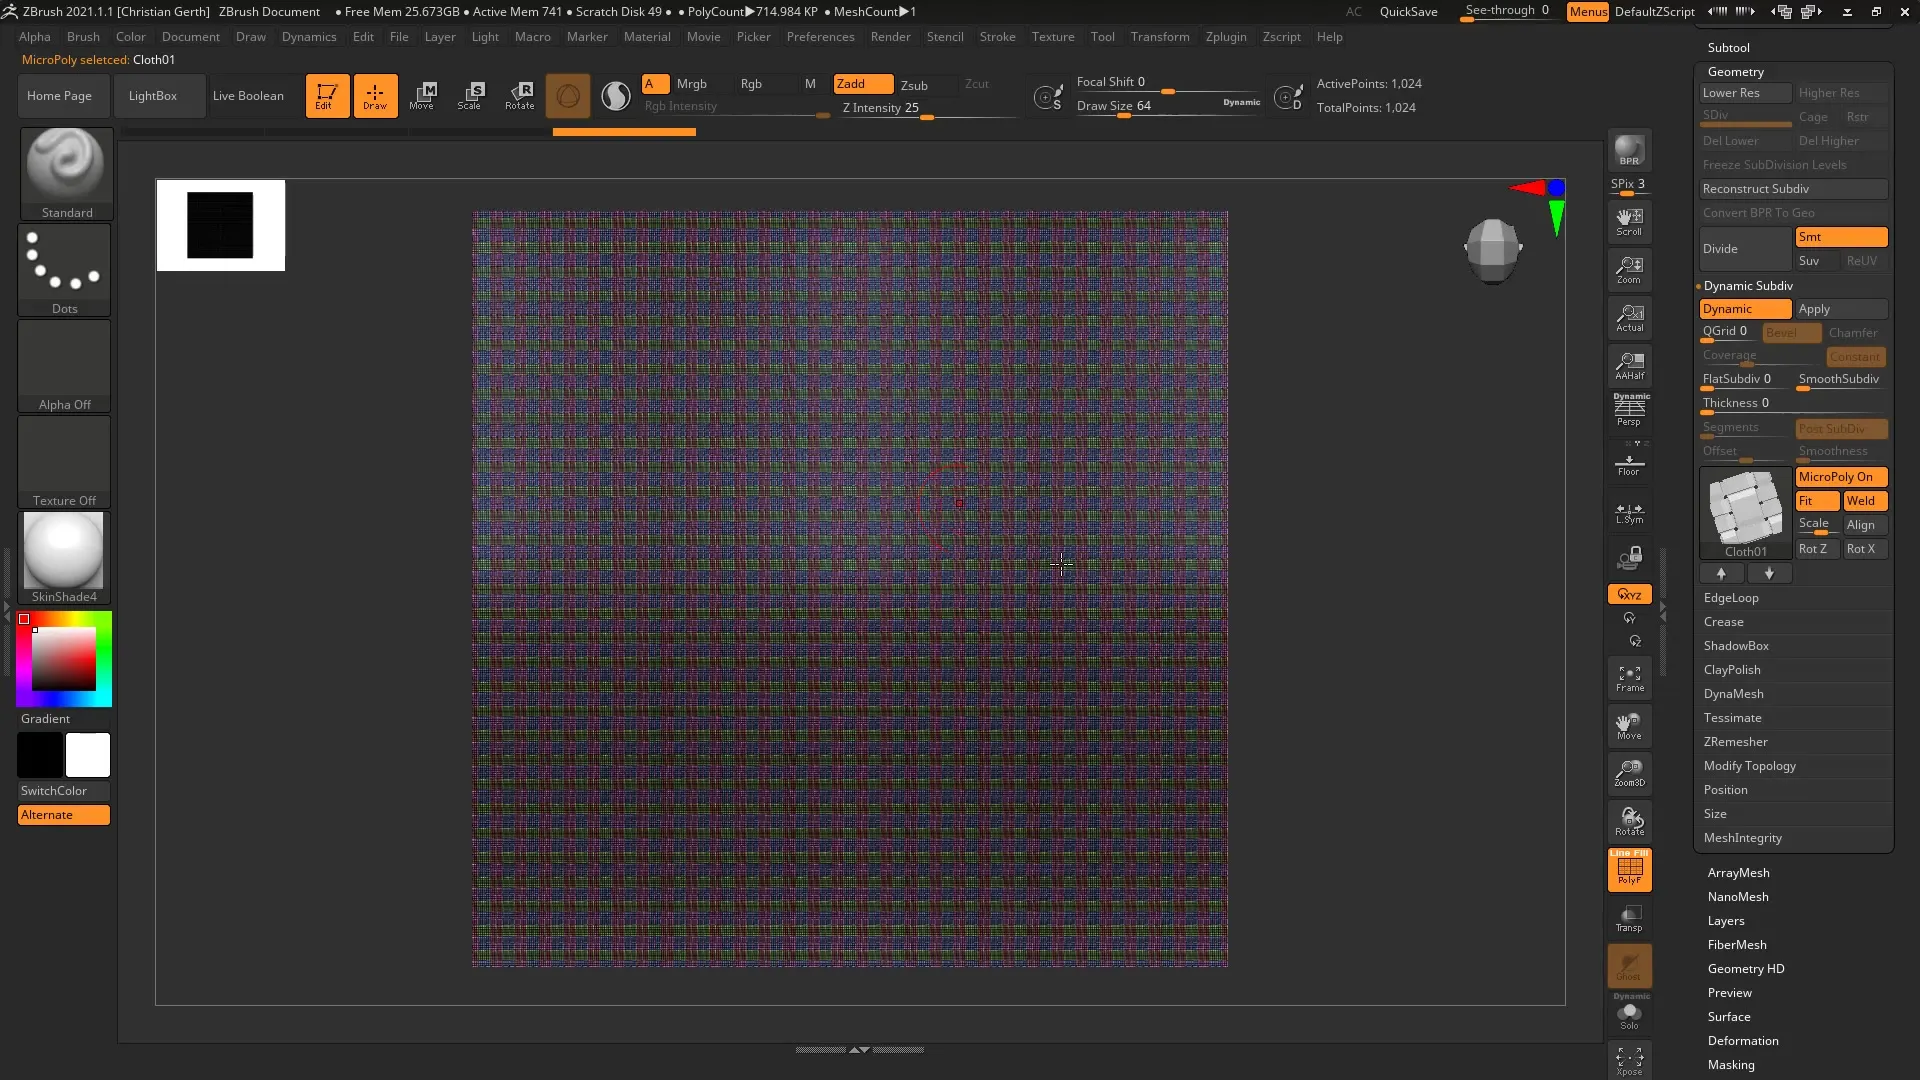
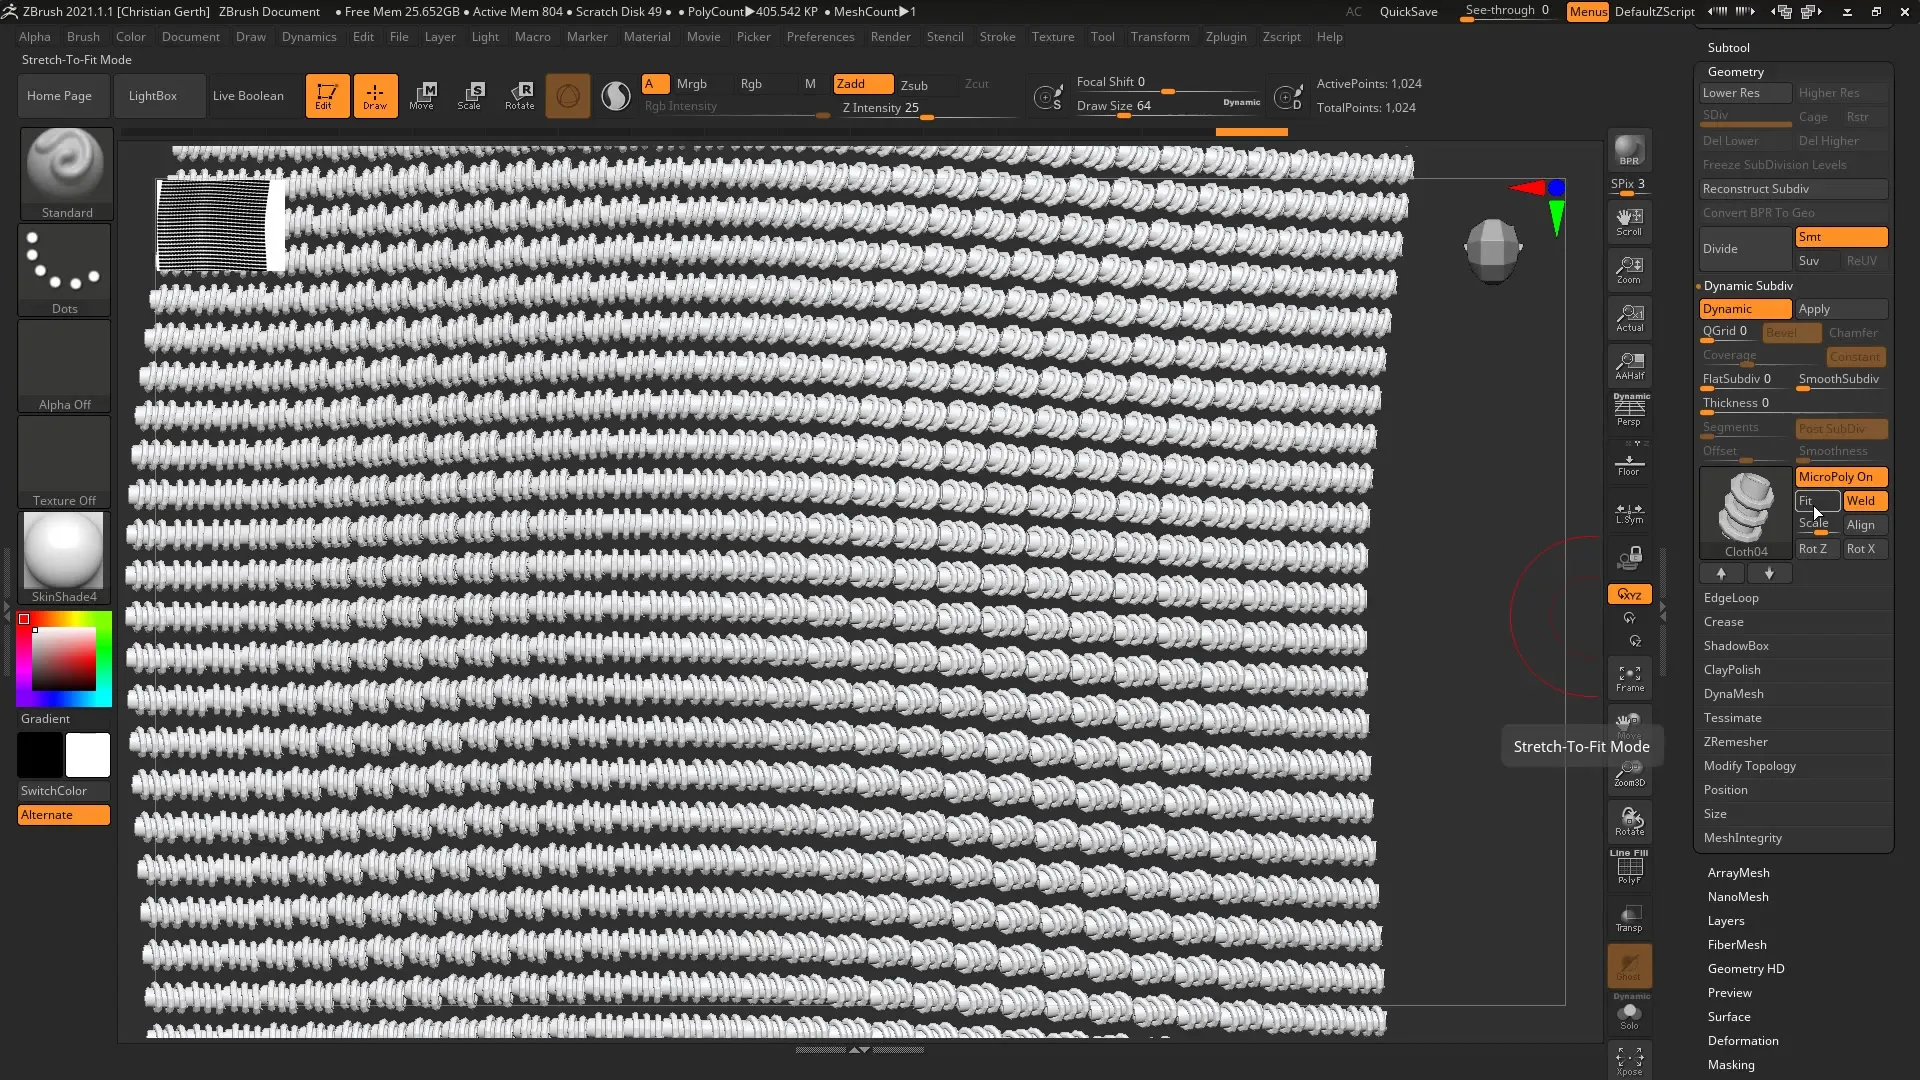
You will now see a wide selection of different textures that you can use. For example, select a simple "Cloth" pattern. In this step, it’s unnecessary to use the polyframes as they would only be confusing in this case. You should now see a nice, fabric-like surface on your mesh.
If you don't like the look of the fabric, it is very easy to click through different options to find the best design. The MicroPoly surface adapts nicely to your terrain, making the texture appear very authentic.
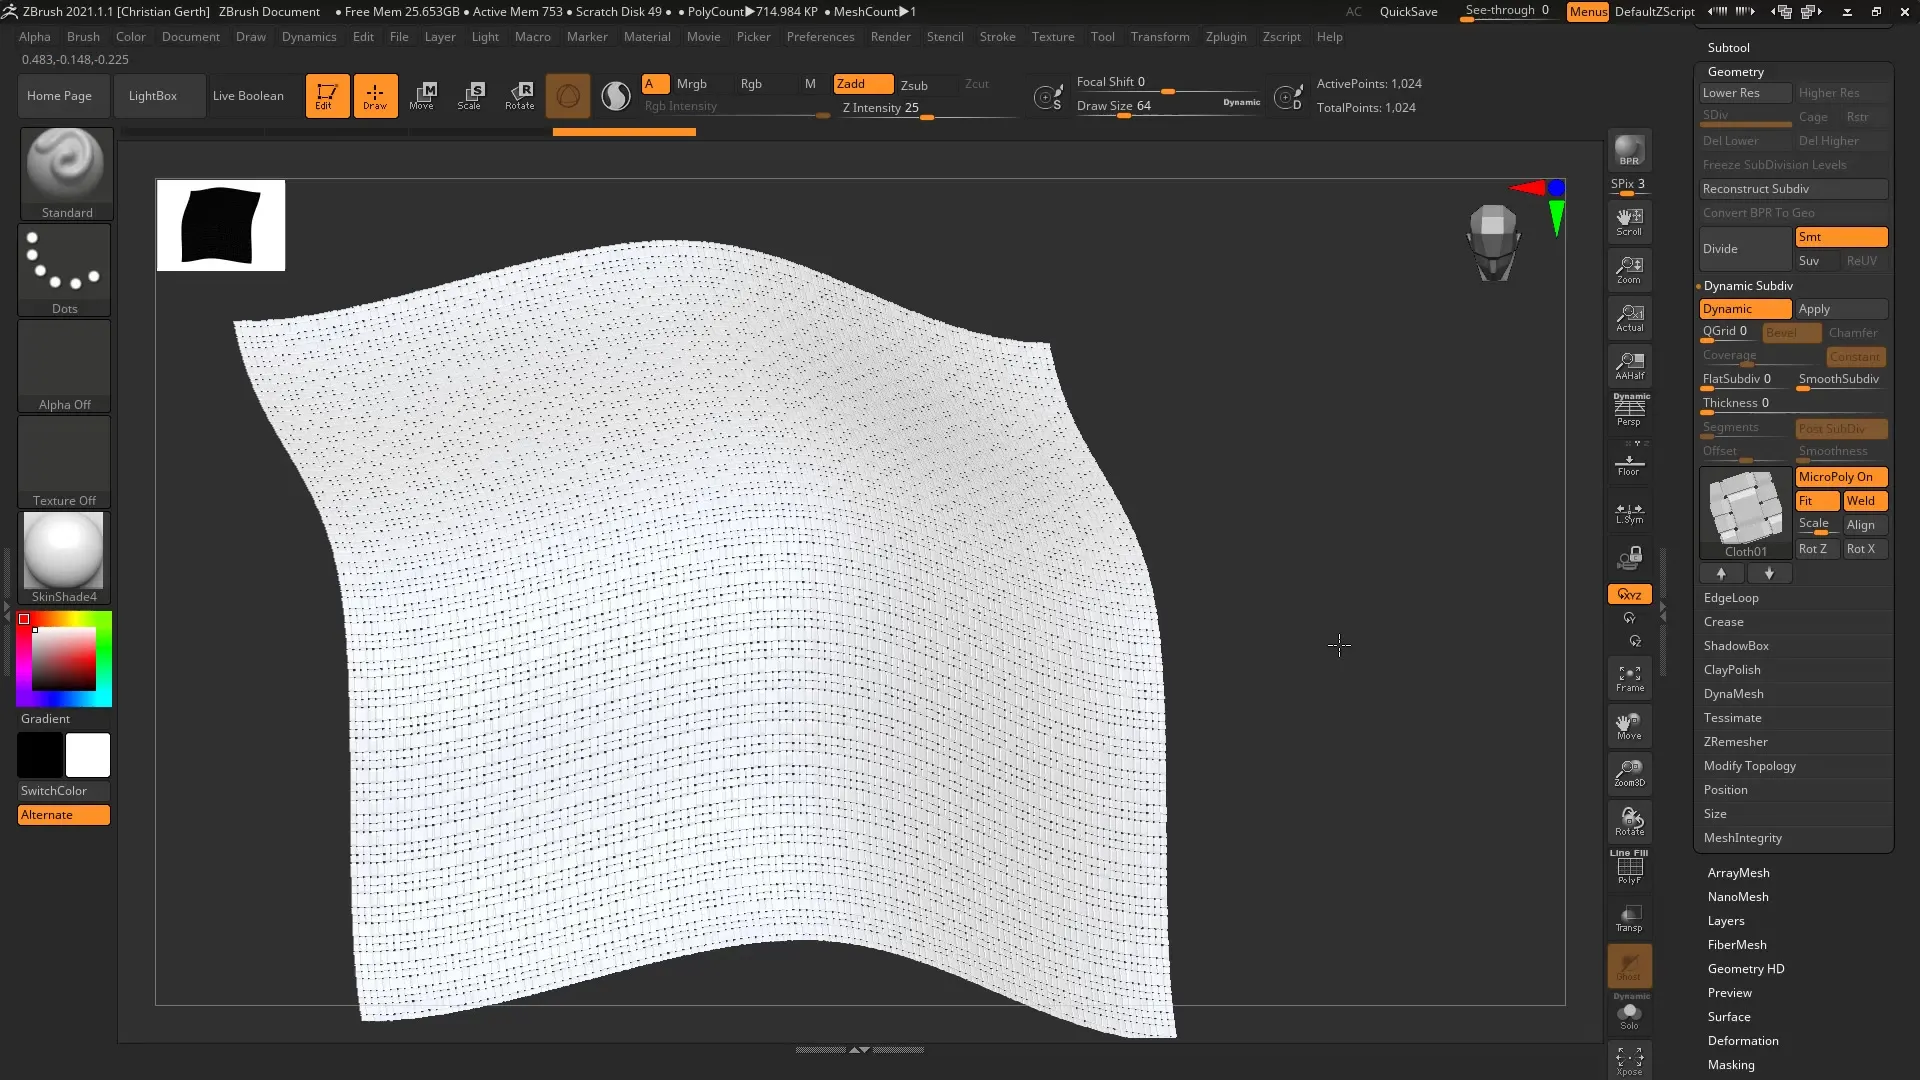
An important consideration when working with MicroPoly is the quality of your initial polygons. You need to ensure that your meshes are well-built because MicroPoly operates based on this polygonal structure. Make sure to use regular polygons to achieve the best results.
Experiment with different MicroPoly settings until you are satisfied with the appearance. You can use the "Fit" and "Well" parameters to adjust the textures. These options are available by default and help to create a harmonious look.
The "Scale" parameter affects not the size of the polygons, but the thickness of the texture. Increasing the thickness allows you to create more relaxed and voluminous textures. Be careful not to set the value to zero, as the details will be lost. A value of around 1 has proven to be optimal.
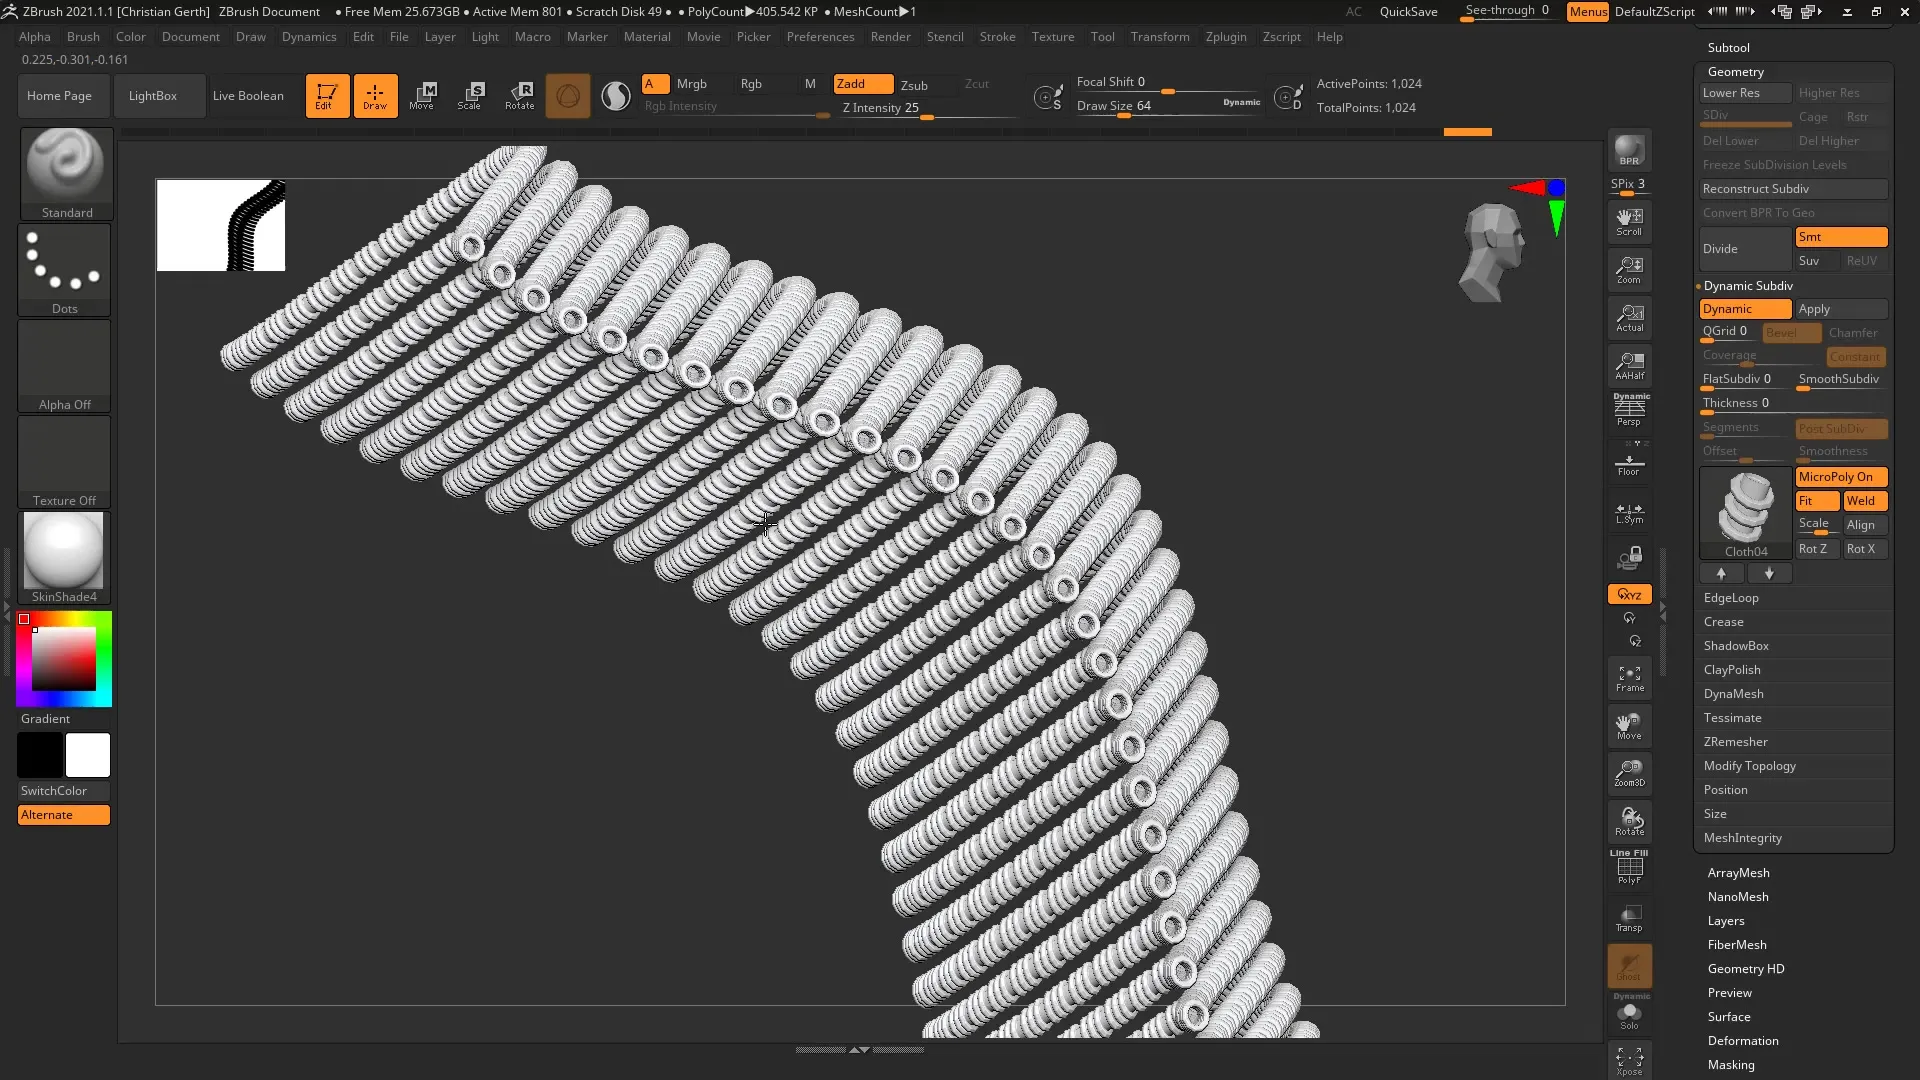
Additionally, you can adjust the rotation of the textures to add more dynamics to the overall picture. Consider how each texture fits into the overall context. There are textures that need to be adjusted on different axes to achieve the desired effect.
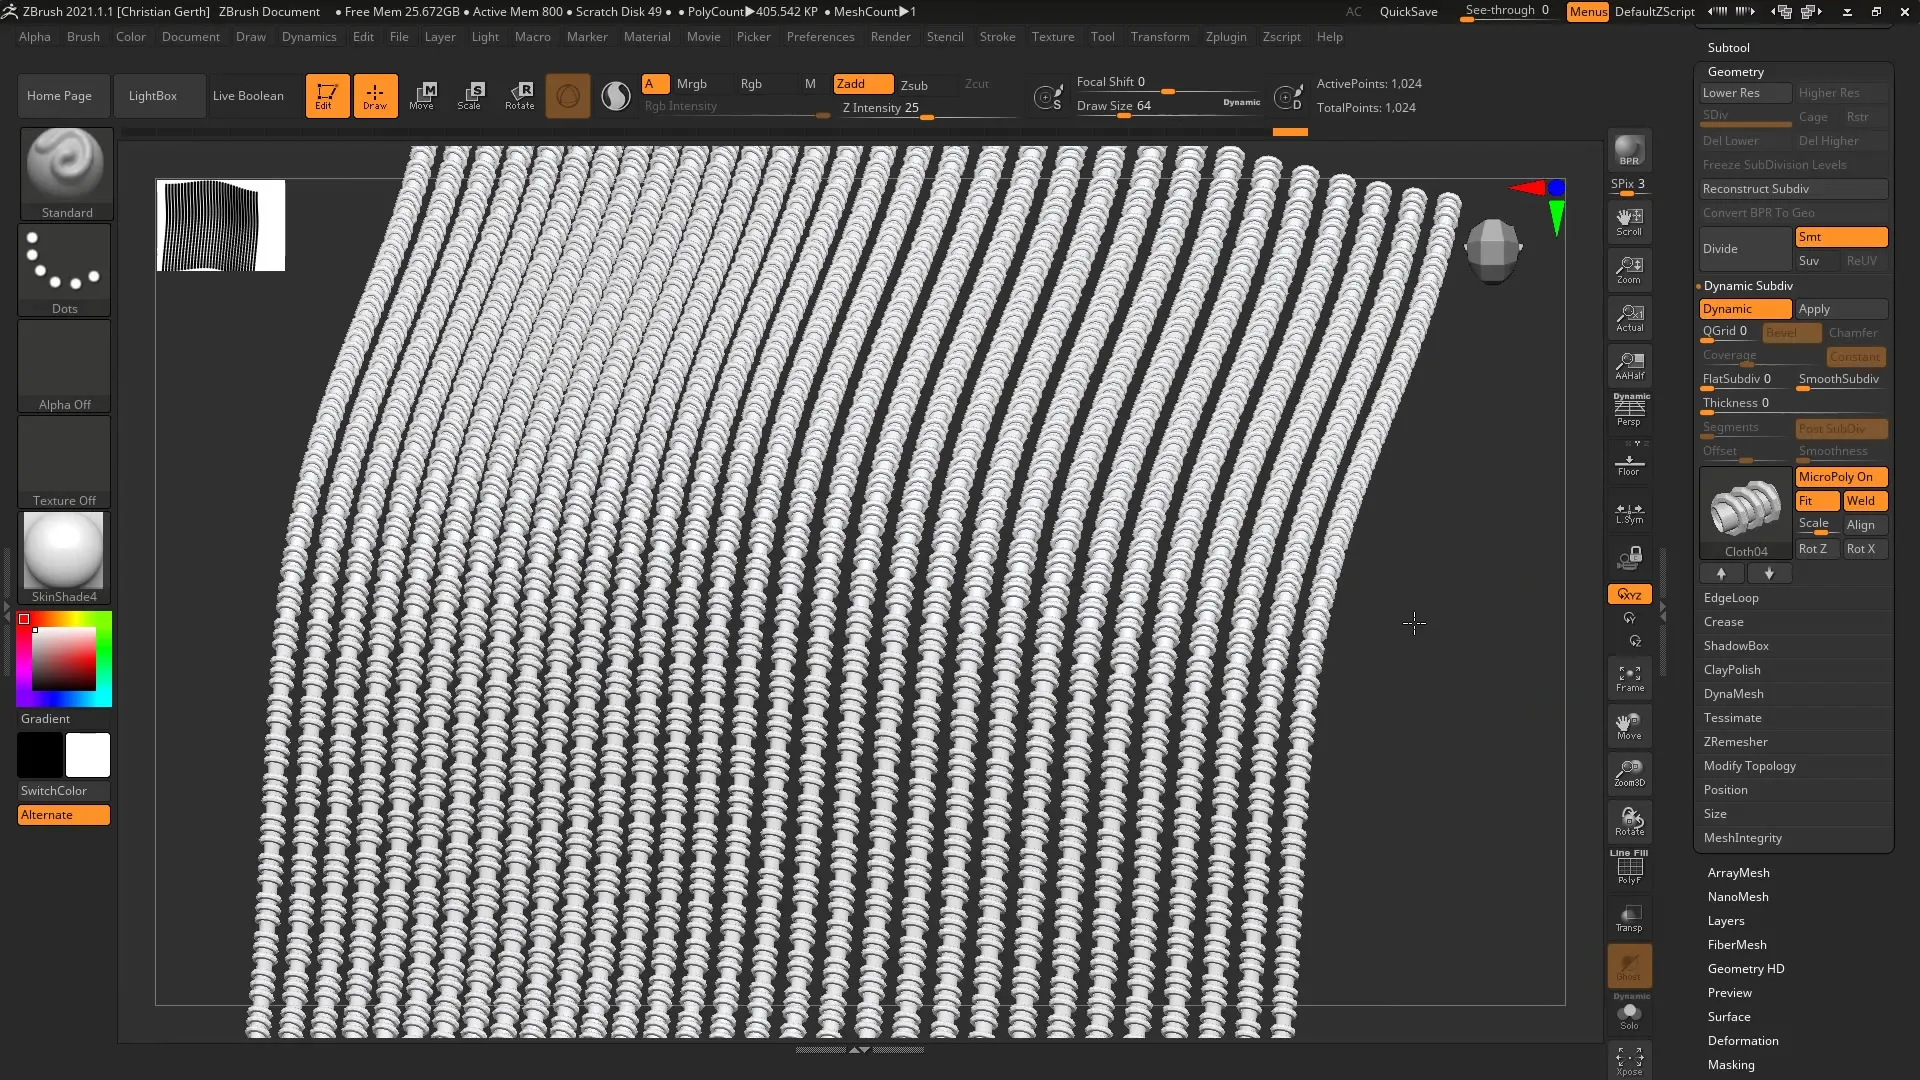
If you select a more complex texture like "Hexple," it could lead to an effective illusion of perforated sheets. Keep in mind that the desired effect should occur on both sides of the mesh.
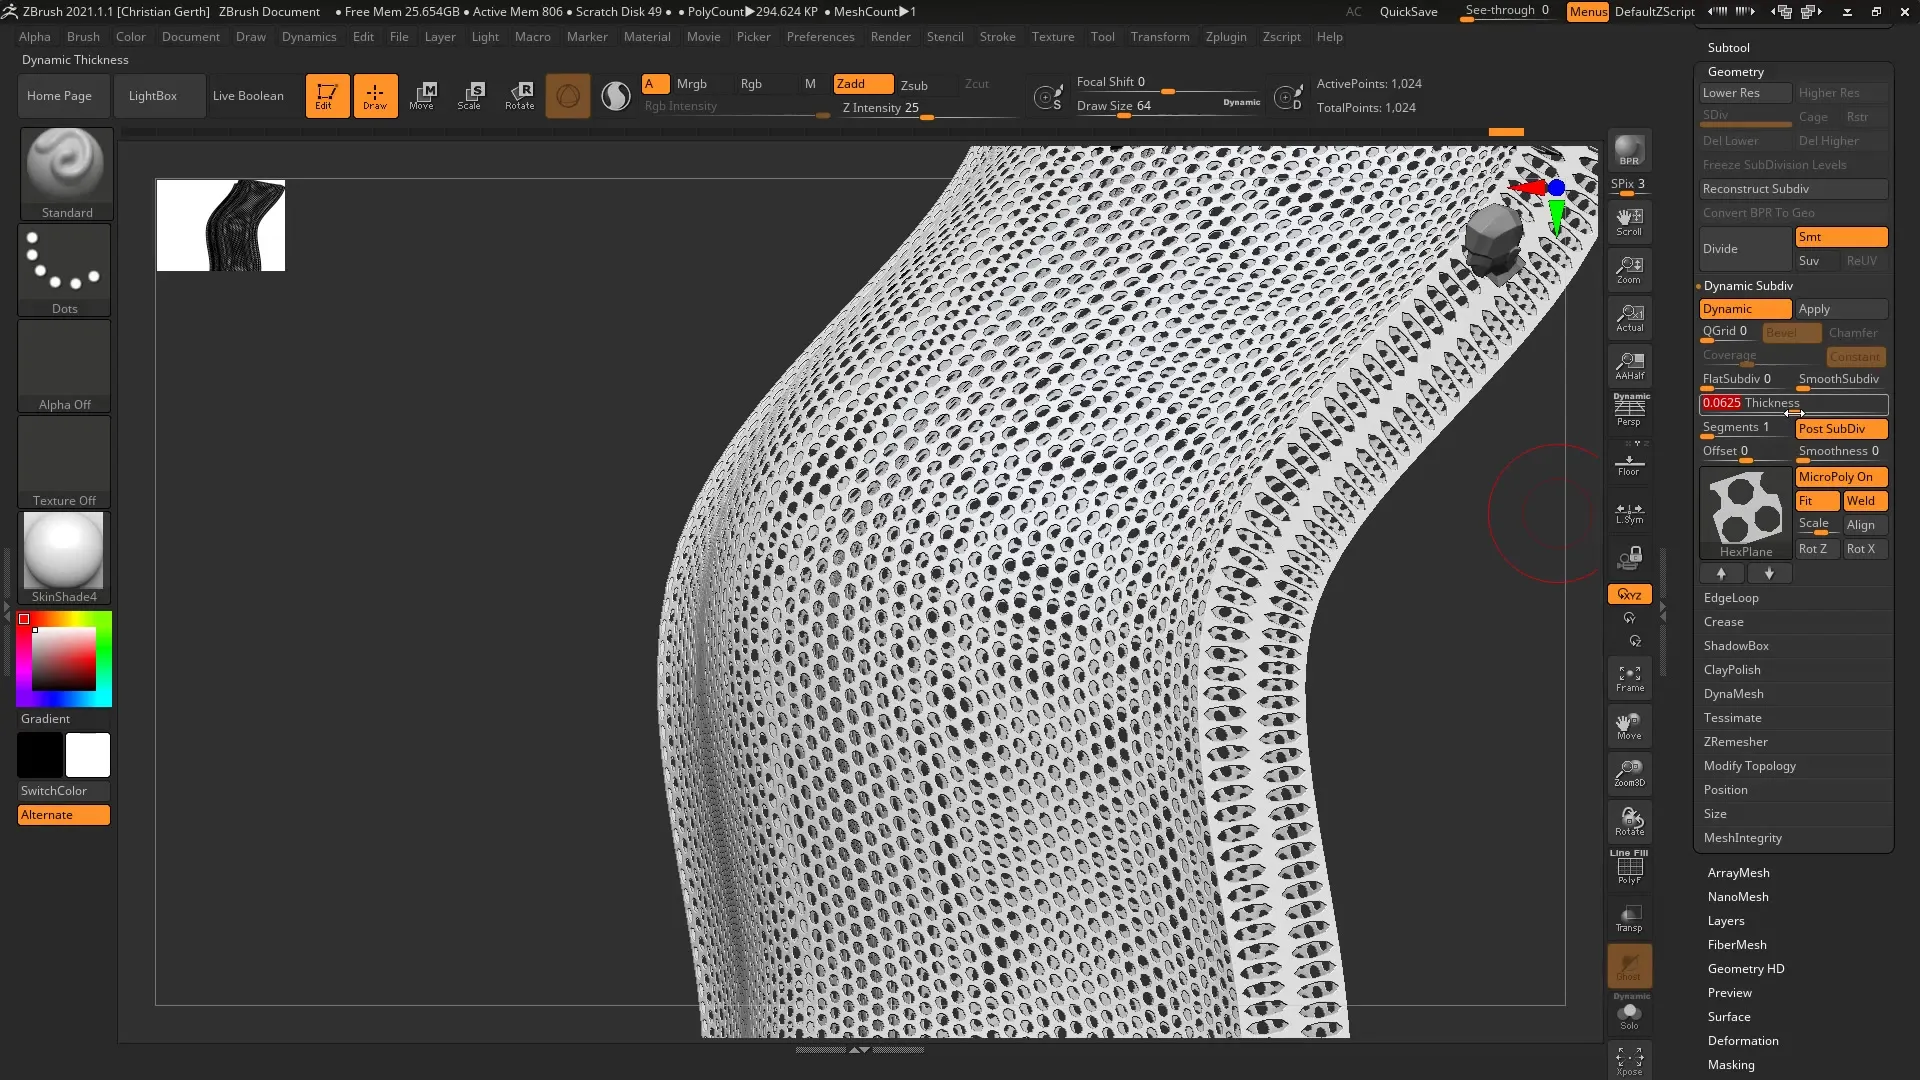
One advantage of the MicroPoly feature is that you can achieve impressive details with very few polygons. This means you will become more efficient in your work without sacrificing quality. Create your designs and test them in conjunction with Keyshot to achieve the desired render effect.
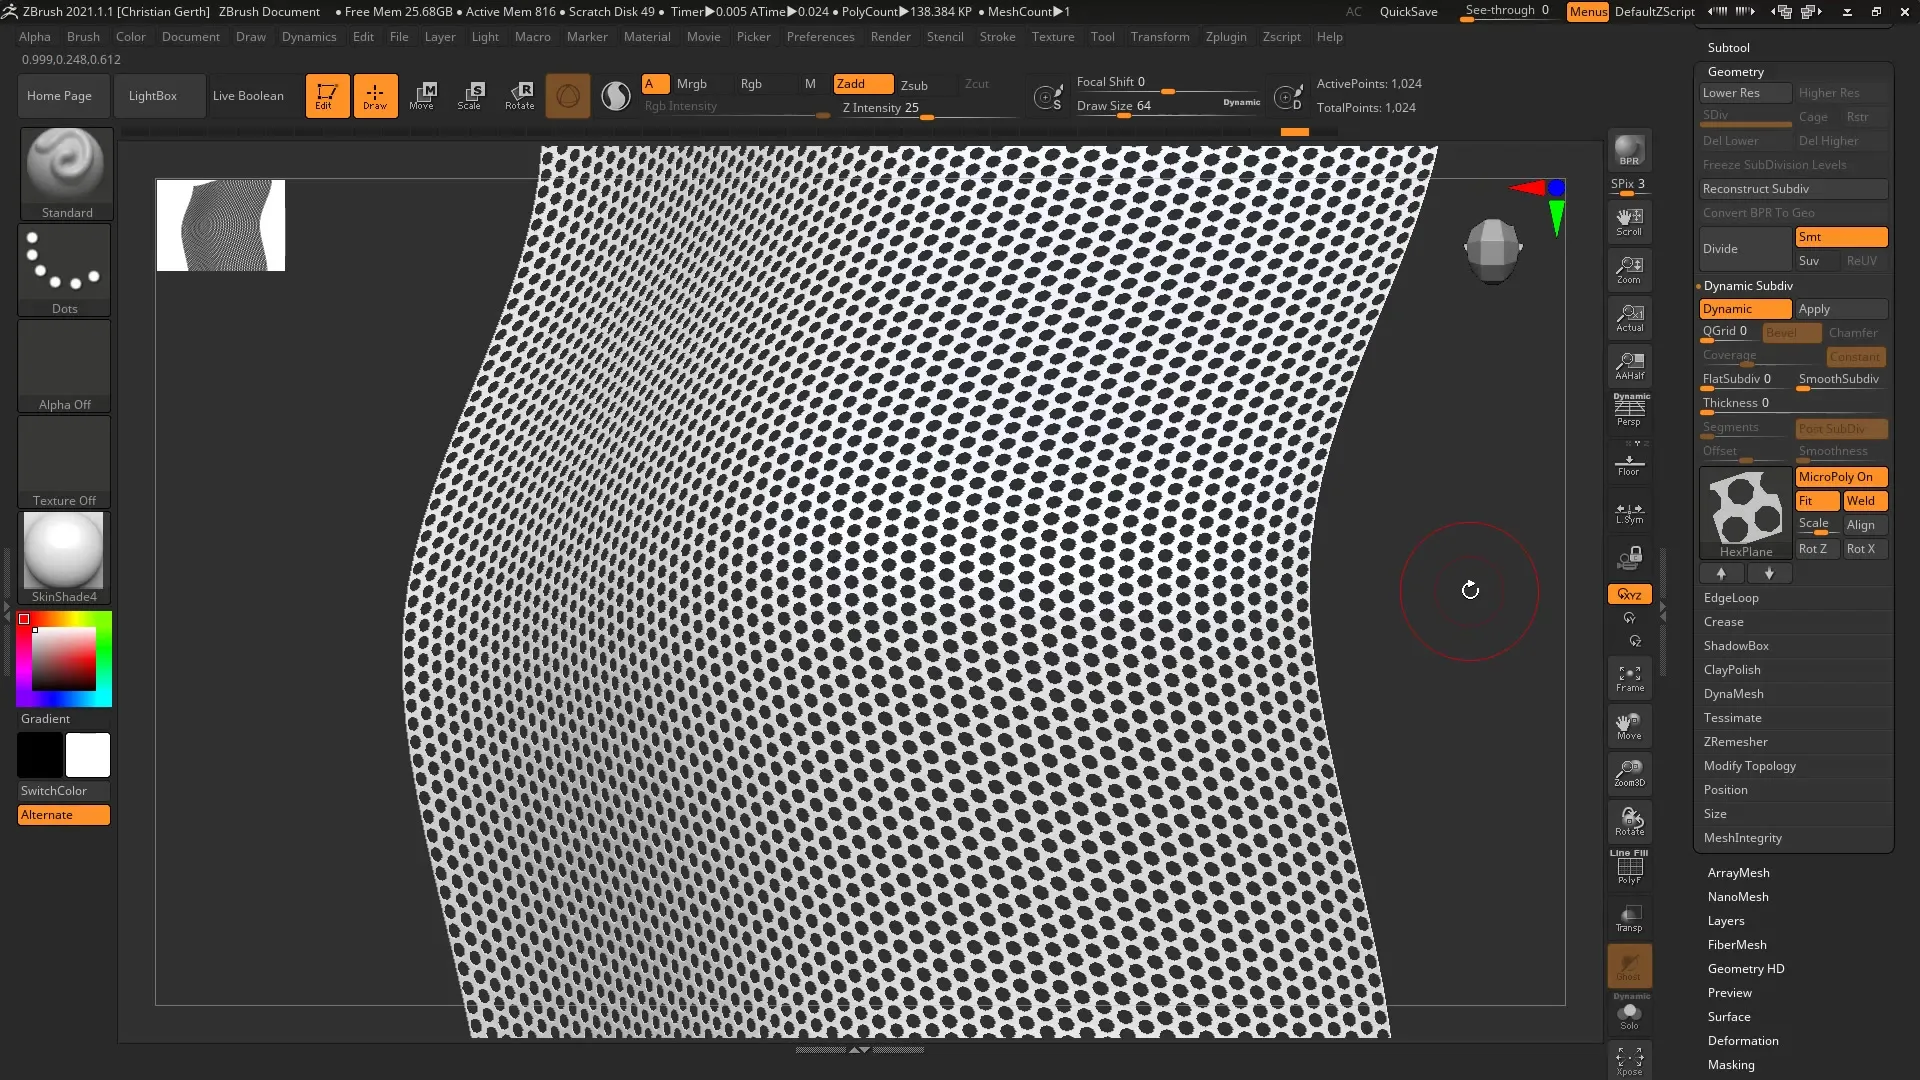
Summary - MicroPoly in ZBrush: Creating Detailed Meshes
With the MicroPoly feature in ZBrush, you can create impressive details on simple meshes without relying on a complex polygon count. Use the various textures and customize your designs to achieve the best possible results.
Frequently Asked Questions
How can I adjust the thickness of a MicroPoly texture?You can set the thickness using the "Scale" parameter to influence the appearance of the textures.
Do I need to use a specific polygon structure?Yes, to achieve the best results with MicroPoly, you should ensure that your meshes have well-defined and regular polygons.
What happens if I set the Thickness to zero?If you set the Thickness to zero, the MicroPoly textures will lose their defined details.
How can I find out which MicroPoly pattern looks best?Try different MicroPoly options and pay attention to what fits best with your original mesh.
Can I also see MicroPoly effects in rendering?Yes, if you use Keyshot, you can see the MicroPoly details in your final render.


