Creating prototypes in Adobe XD is an exciting and creative process. Today, we will take a look at the Overlay function, a powerful tool that allows you to integrate interactive elements into your prototype. The ability to dynamically show and hide information elevates your design to the next level. Let's discover together how you can effectively use this feature to enrich your prototype.
Key Takeaways
- The Overlay function allows you to present content interactively.
- With this function, you can integrate feedback mechanisms into your designs.
- Learning about overlays enhances the user experience and gives the user a sense of control.
Step-by-Step Guide to Implementing the Overlay Function
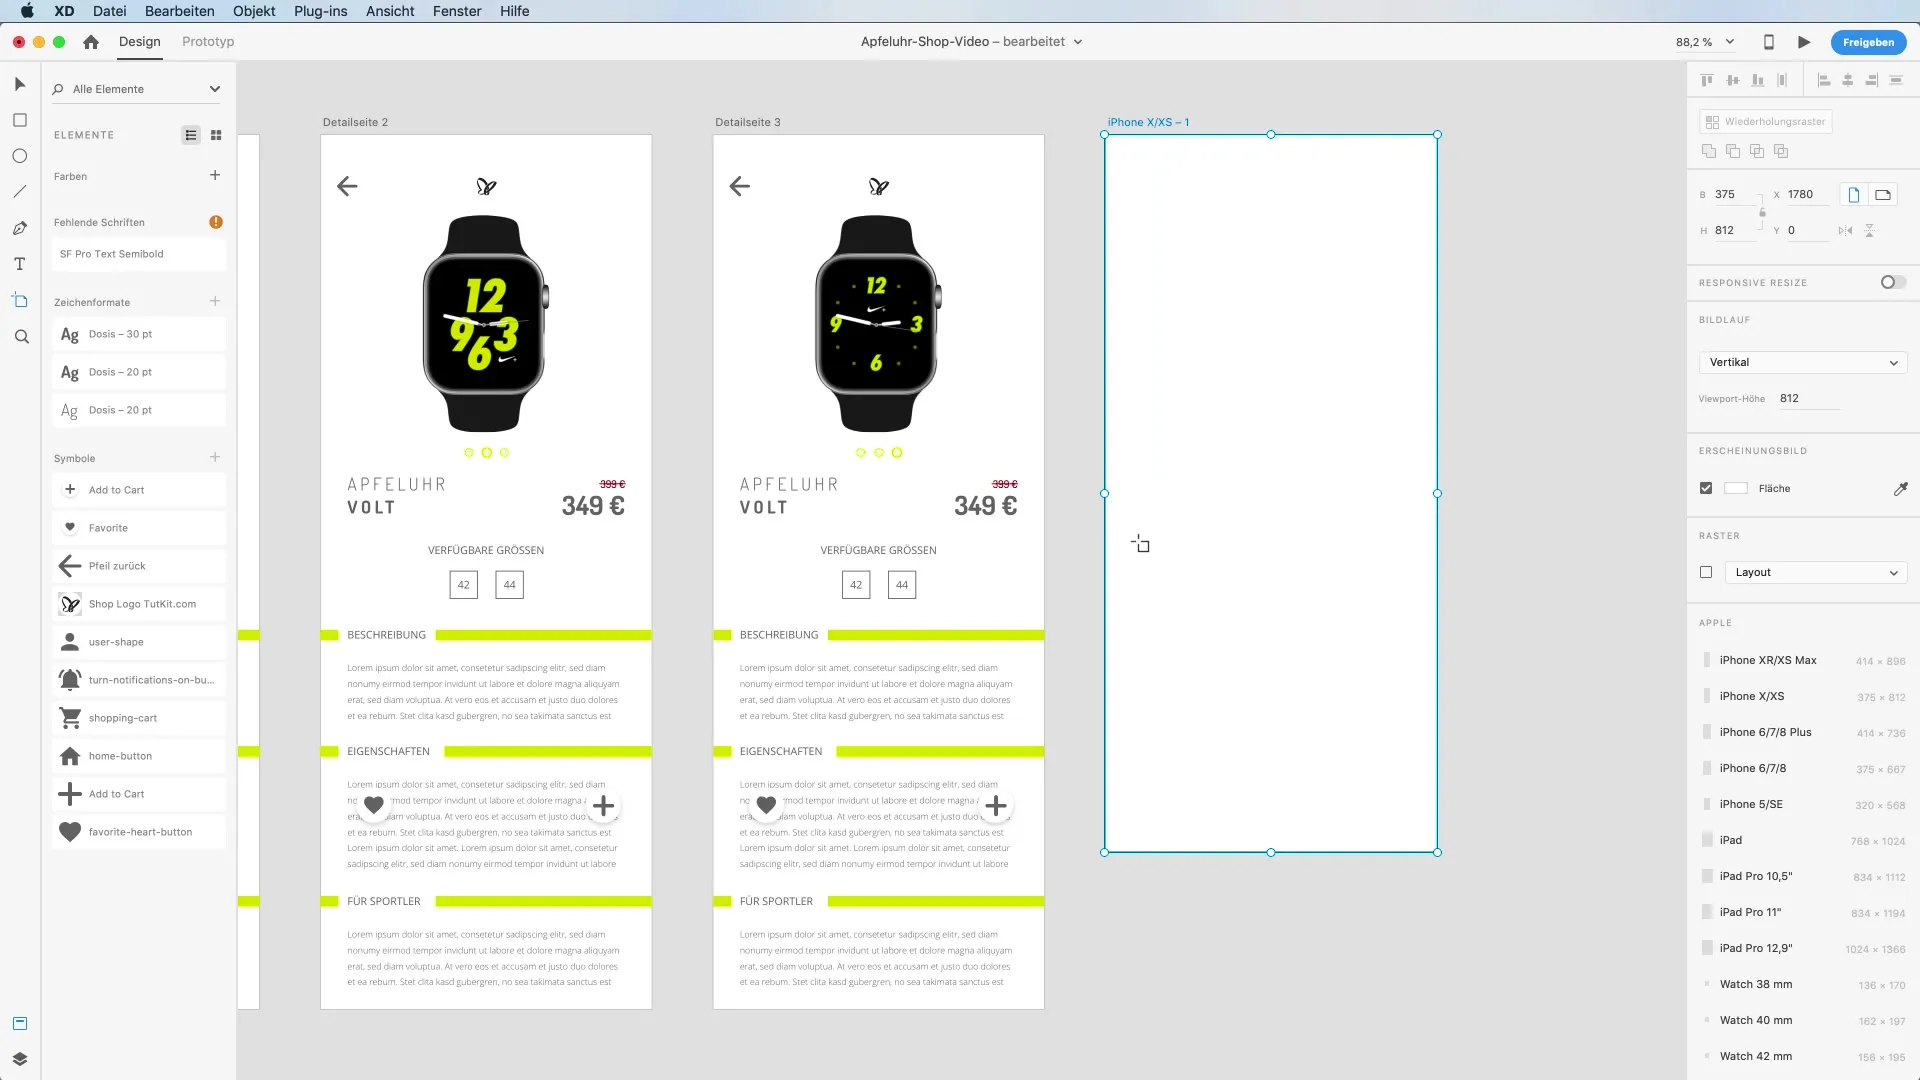
First, you need a new artboard to demonstrate the overlay function. Create an artboard for your Bookmark Overlay – this will provide feedback to the user when they click on the heart icon.
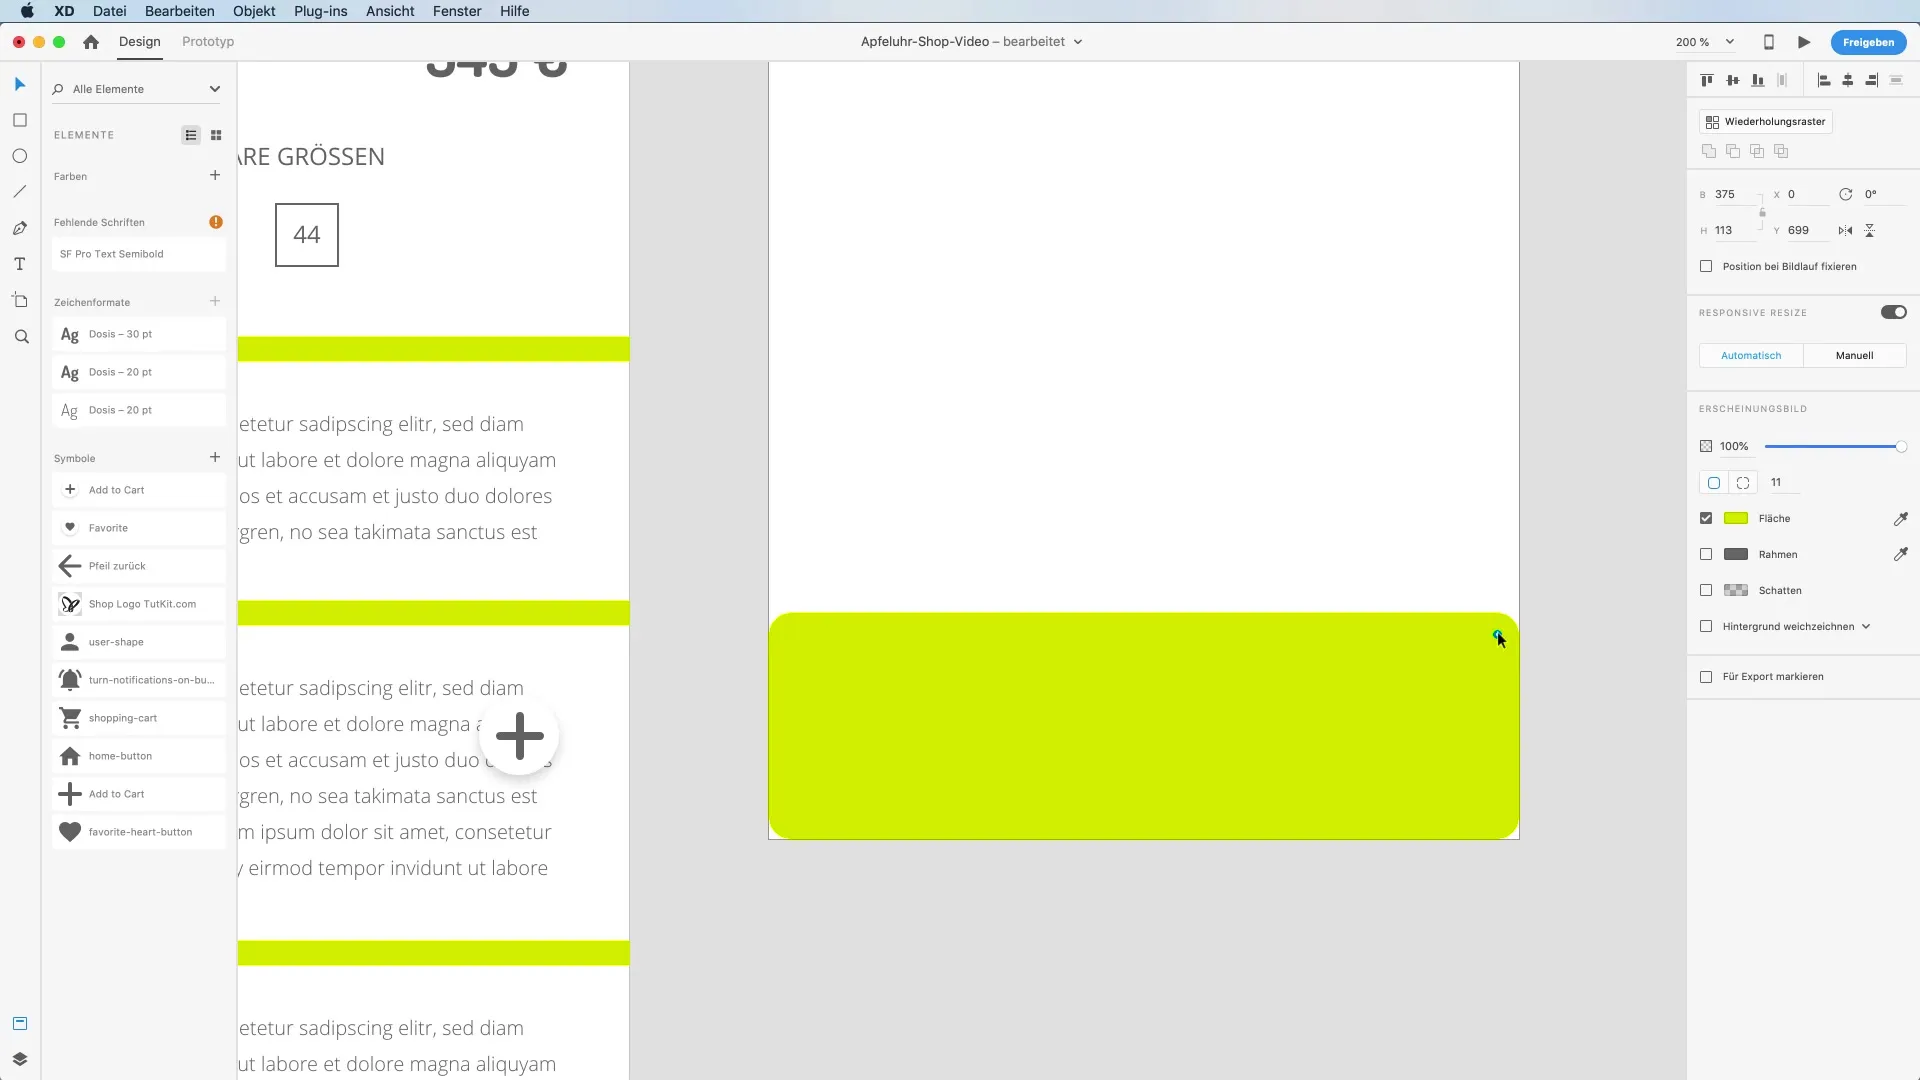
Use the rectangle tool to create a visually striking rectangle for your overlay. Draw a rectangle downwards that should represent bright neon yellow. Make the corners appear rounded by holding down the Alt key and setting the value to 20.
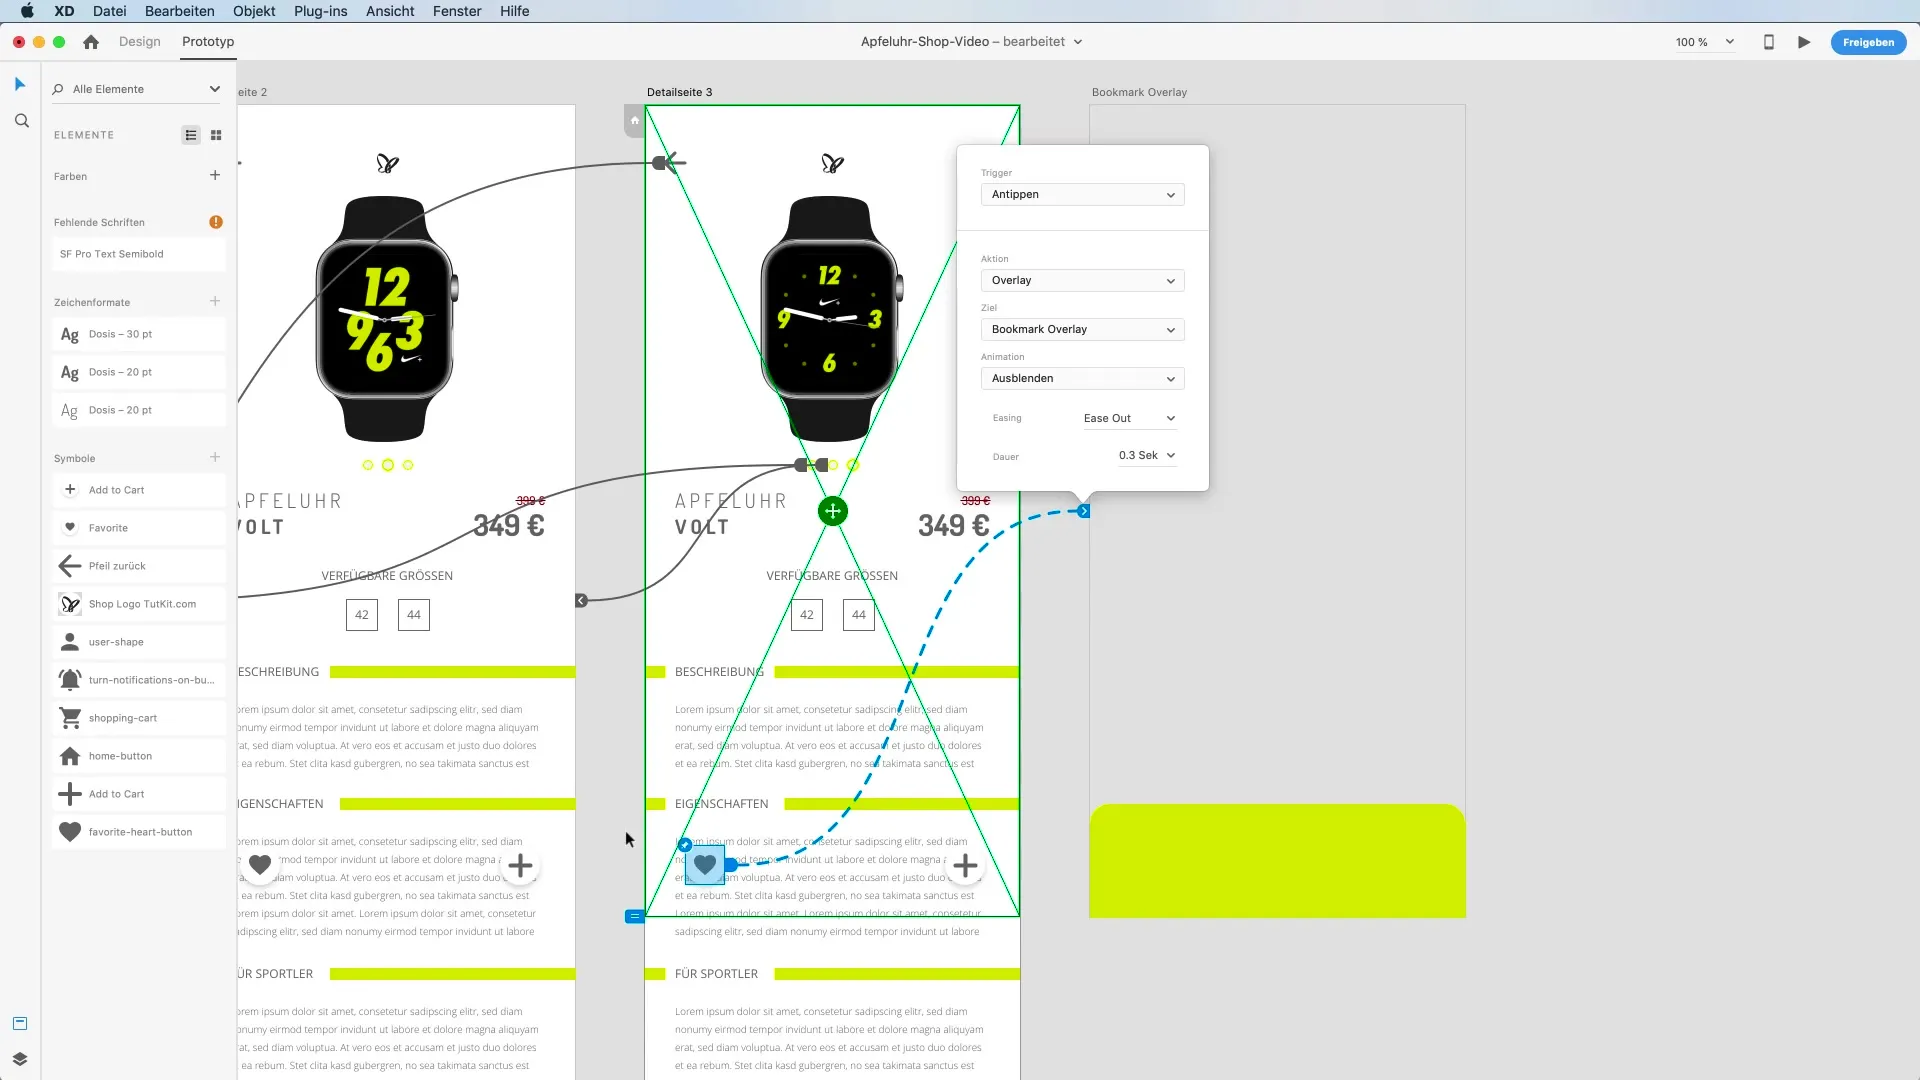
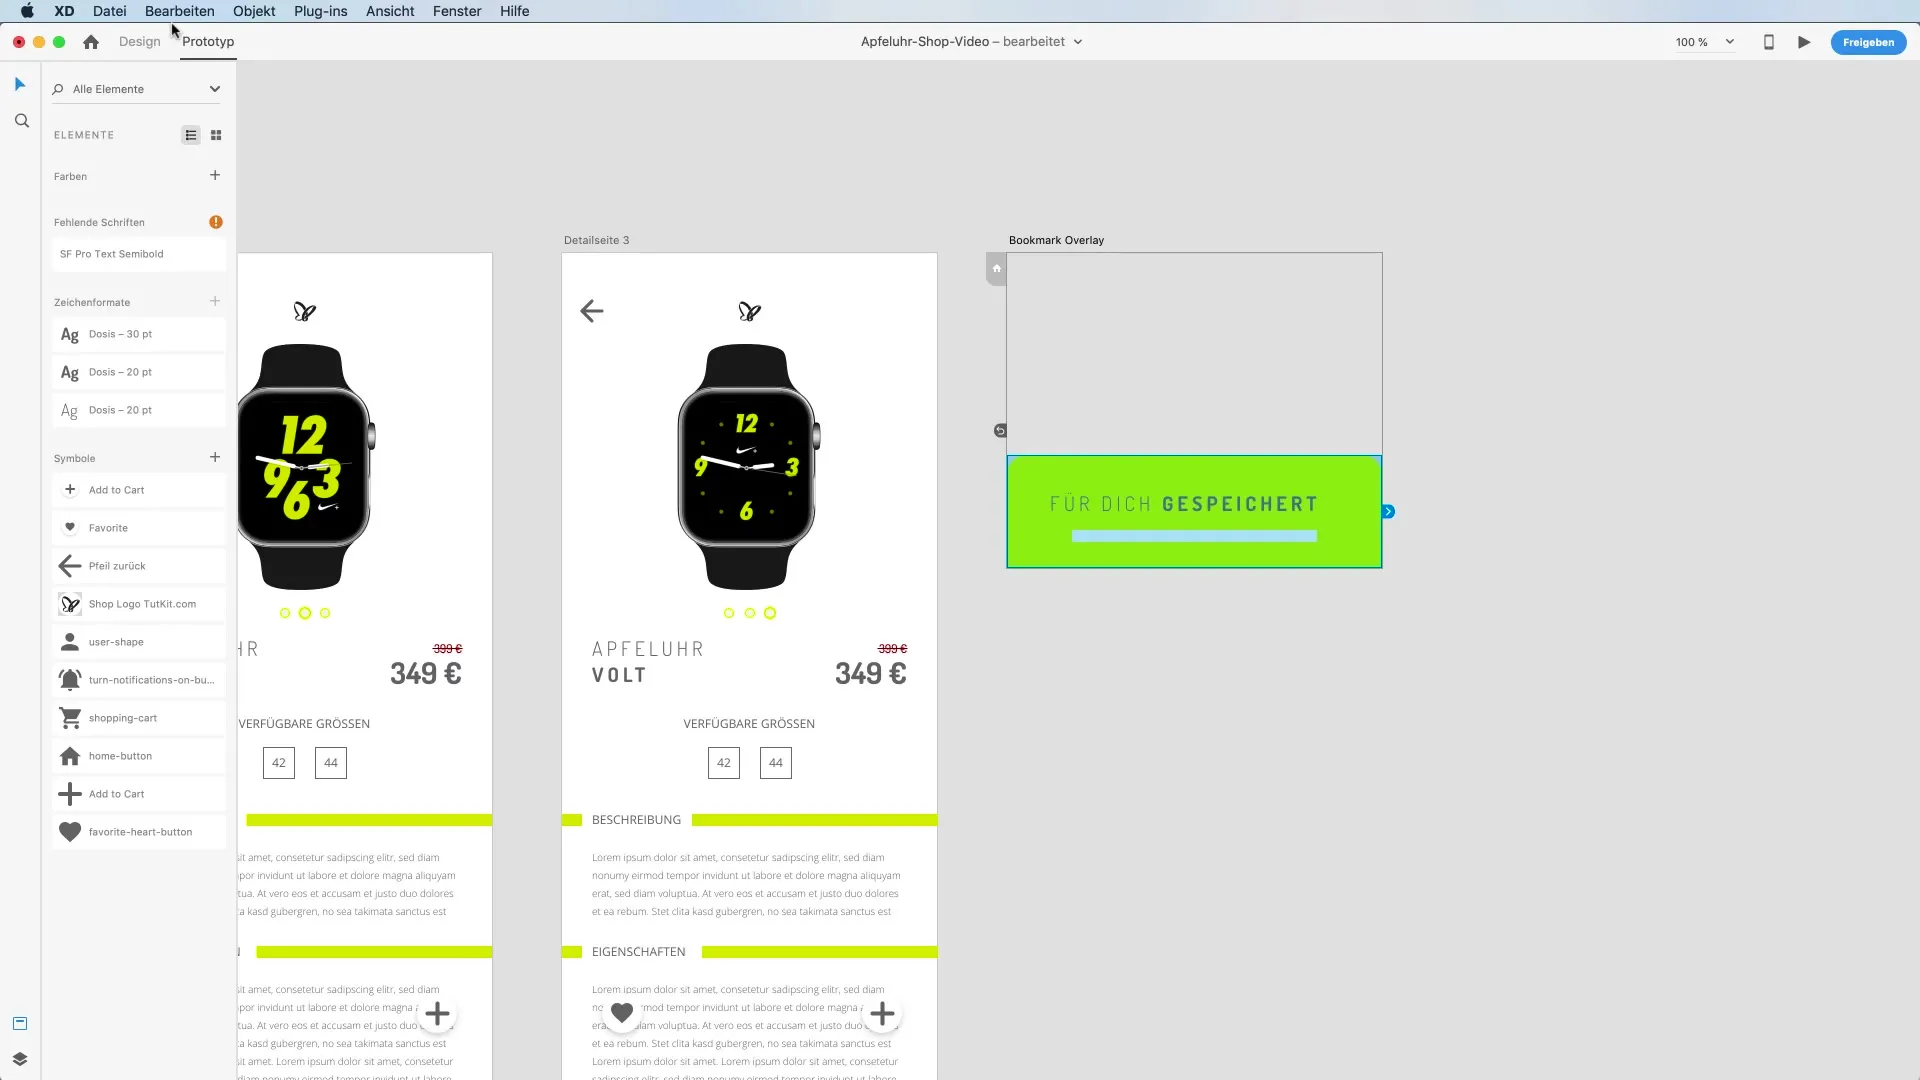
Now it's time to test the overlay function. Switch to prototype mode and drag the heart icon onto the new artboard. Set the trigger to "Tap" and the action to "Overlay".
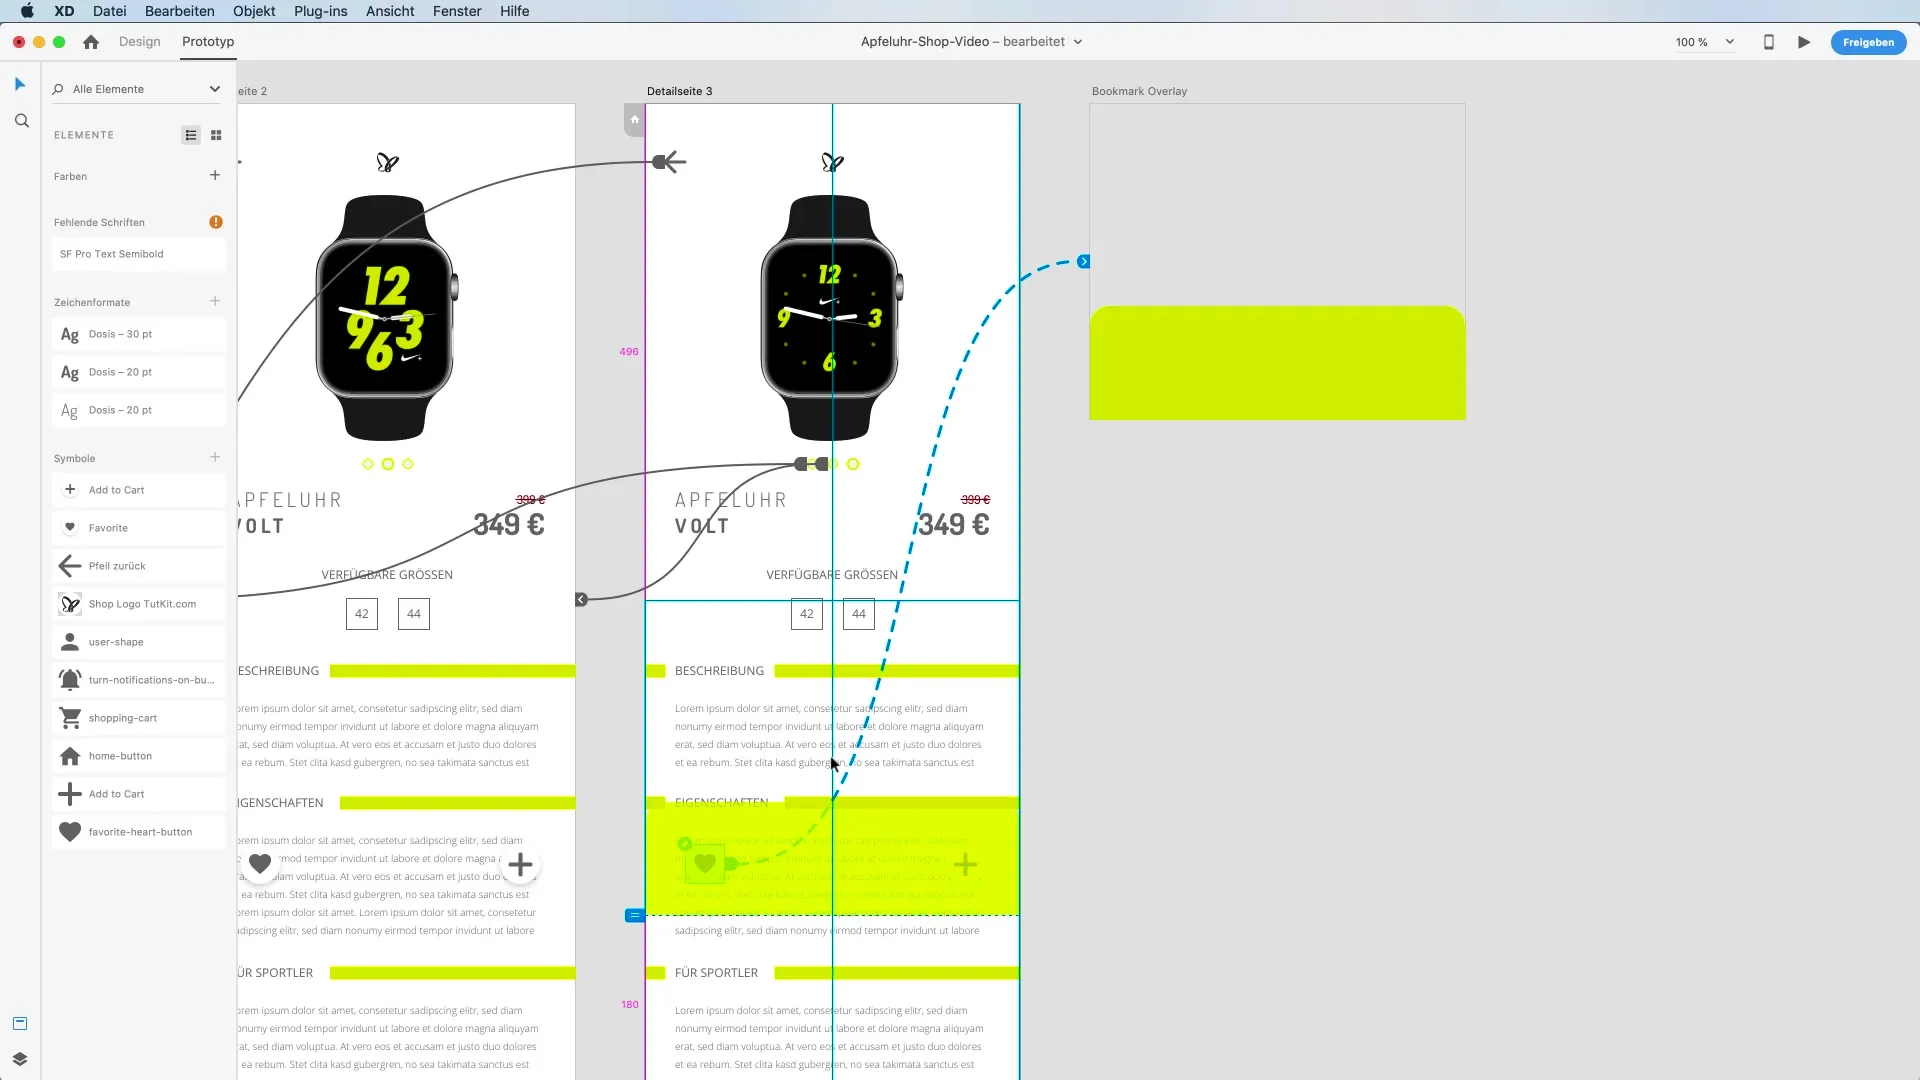
Note that a green frame appears around the overlay artboard in prototype mode. This gives you an idea of how the overlay will be displayed in relation to the original artboard. The overlay is positioned to appear semi-transparent, helping you to better align the design.
To make further adjustments, switch to design mode and add text that describes the overlay. When resizing the text box, ensure it is easily readable and that the colors work harmoniously together.
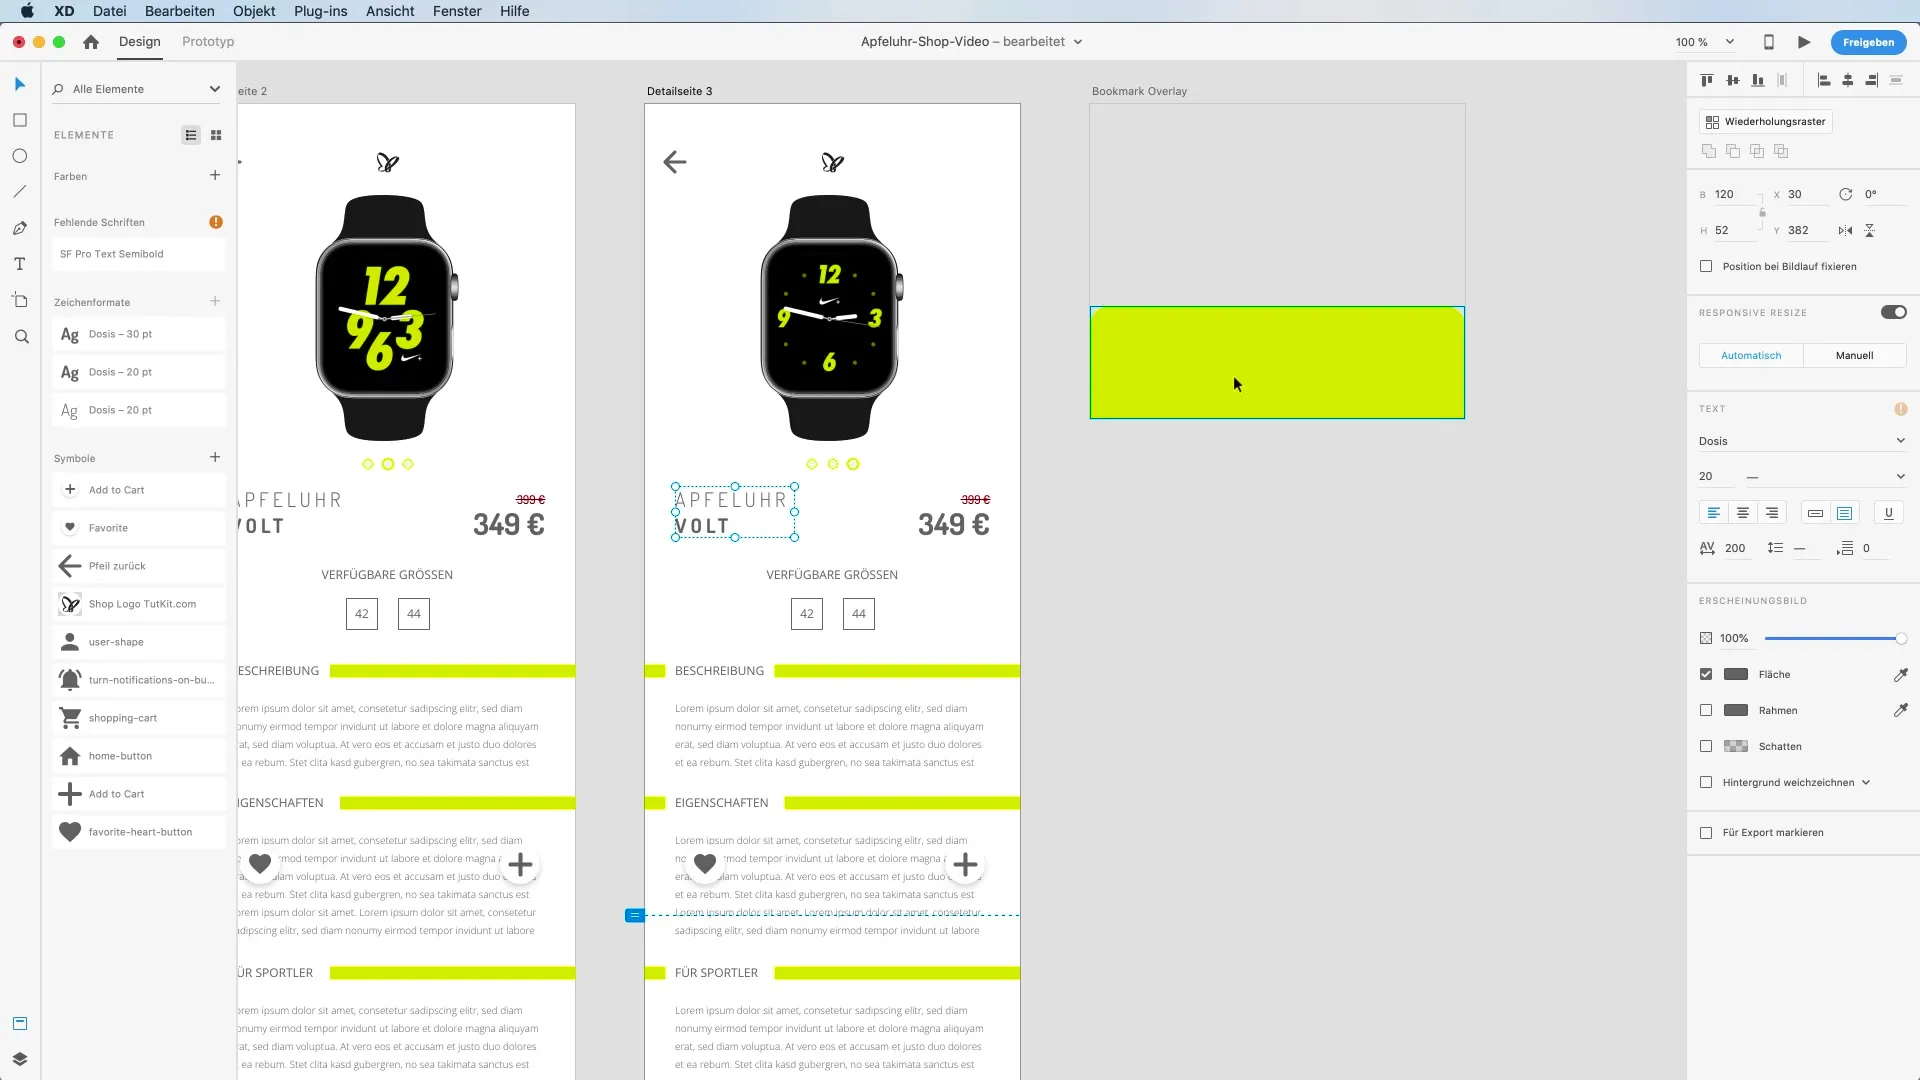
Move the overlay down so that it appears at the end of the viewport. Pay attention to the contrast between the overlay and the background to ensure everything is easily readable. If necessary, resize the overlay to ensure better readability.
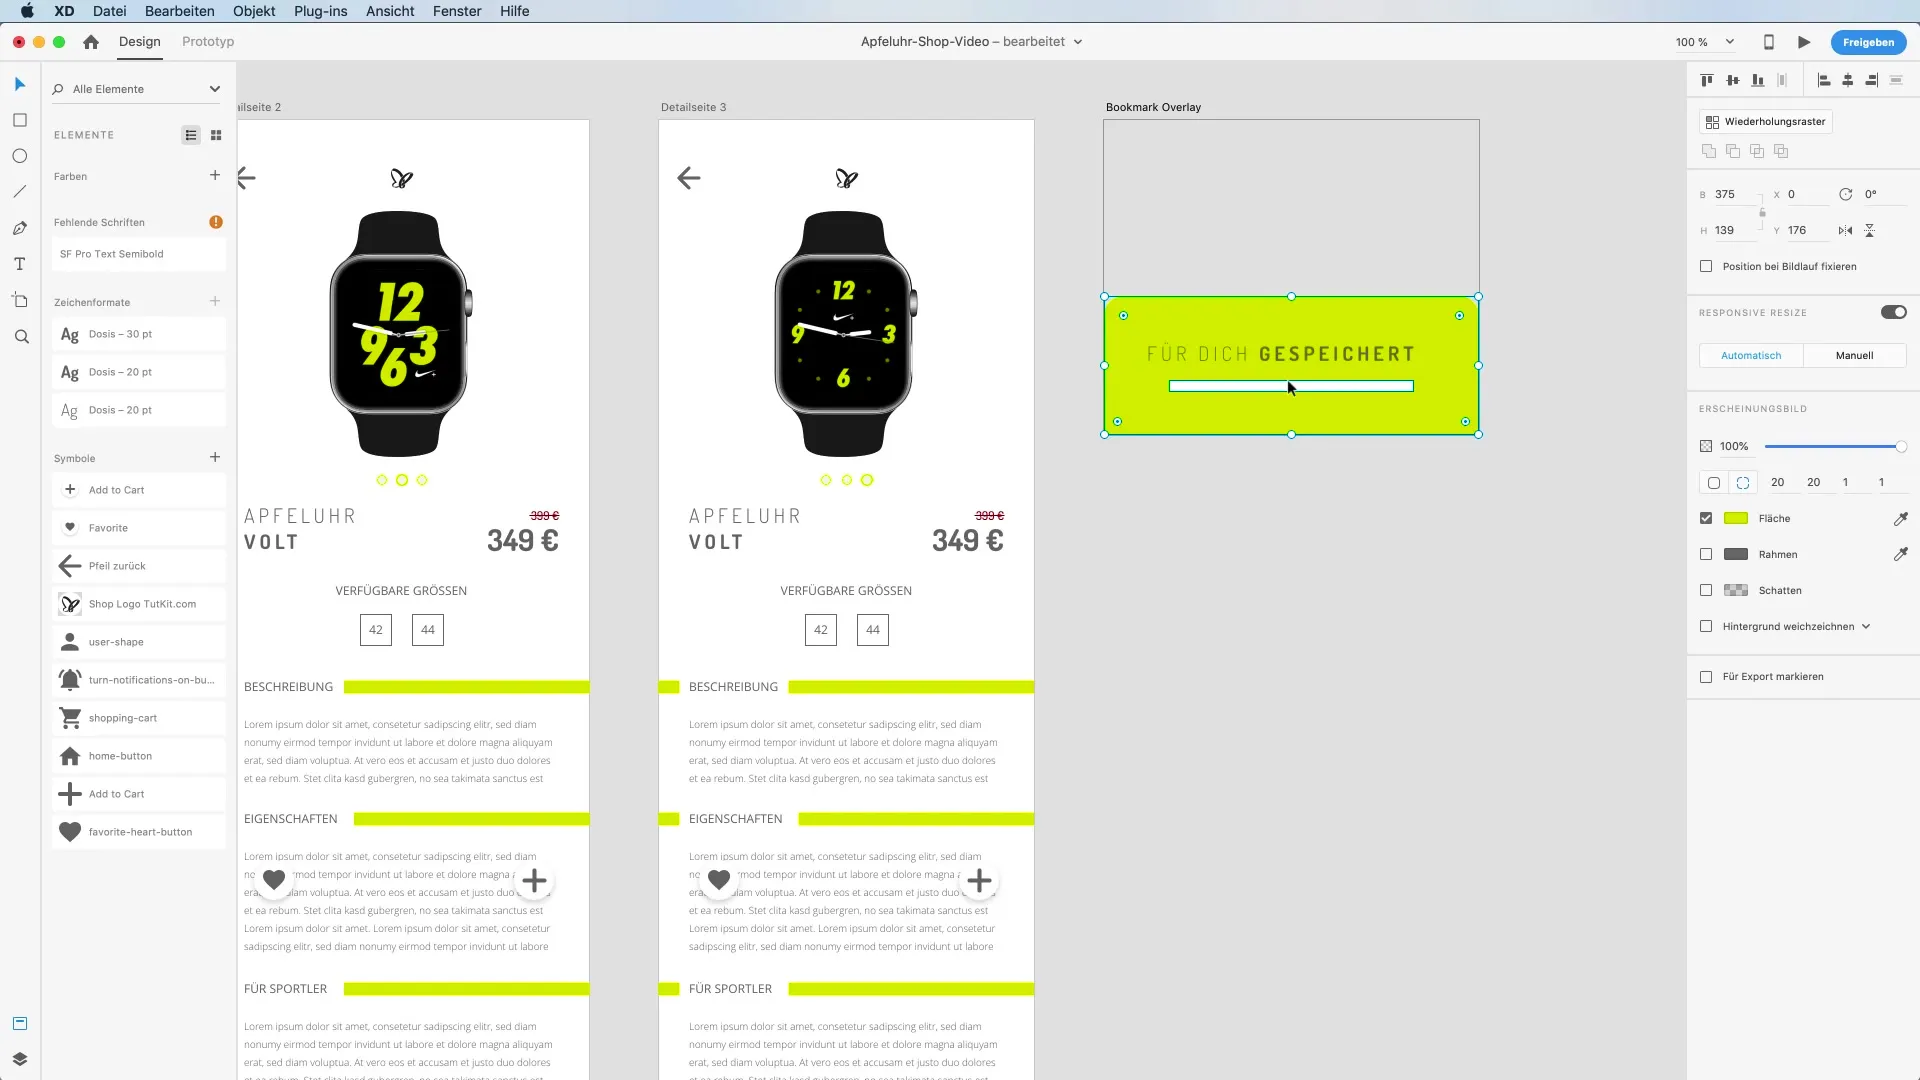
To give the overlay a shadow and create a more realistic impression, select the object in design mode, add a shadow, and adjust the values so that the shadow appears appealing. A shadow that is slightly raised can provide an attractive effect to the overlay.
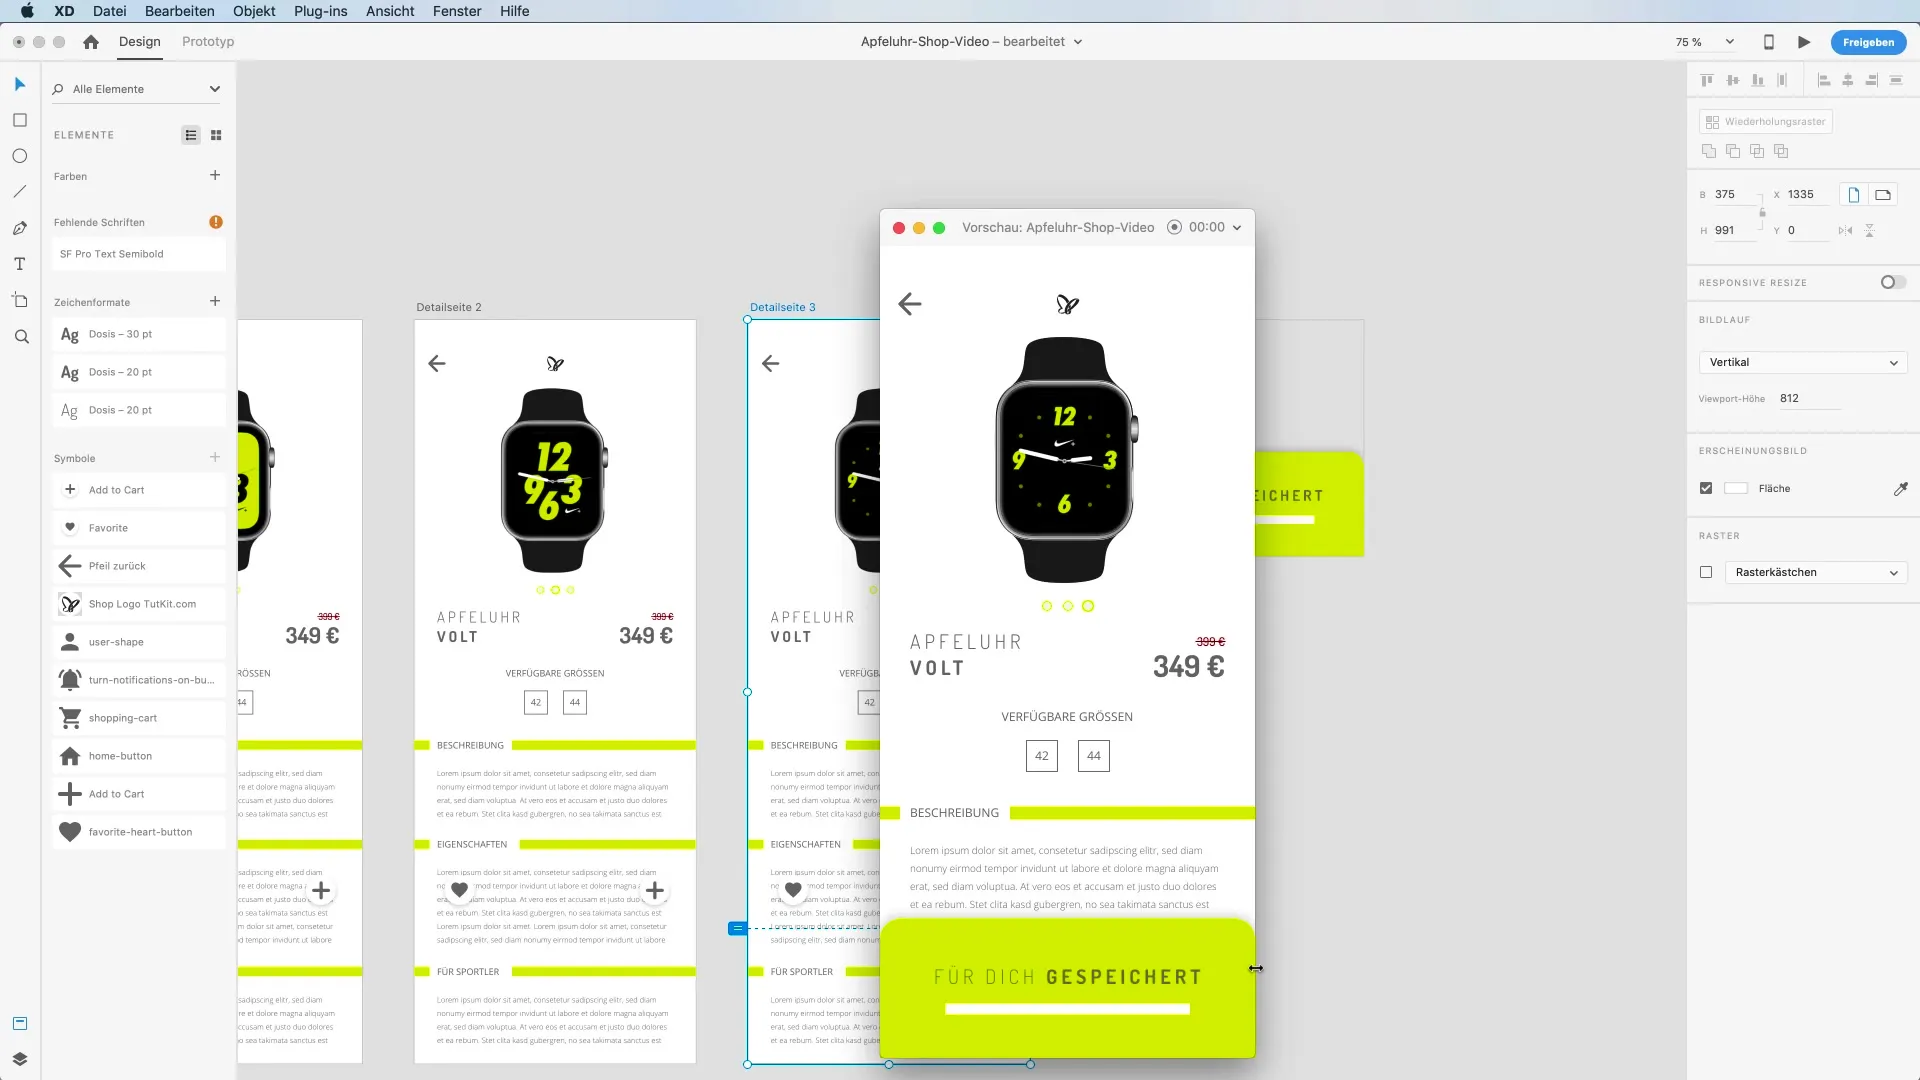
After you have artistically modified the overlay, switch back to prototype mode and test the interaction. Your overlay should now appear at the designated position when you click on the heart.
Now you want to ensure that the overlay disappears after a certain amount of time. In prototype mode, select the overlay and create a time-based connection back to the original artboard. Set the trigger to "Timed" and establish a delay of about two seconds before the overlay disappears.
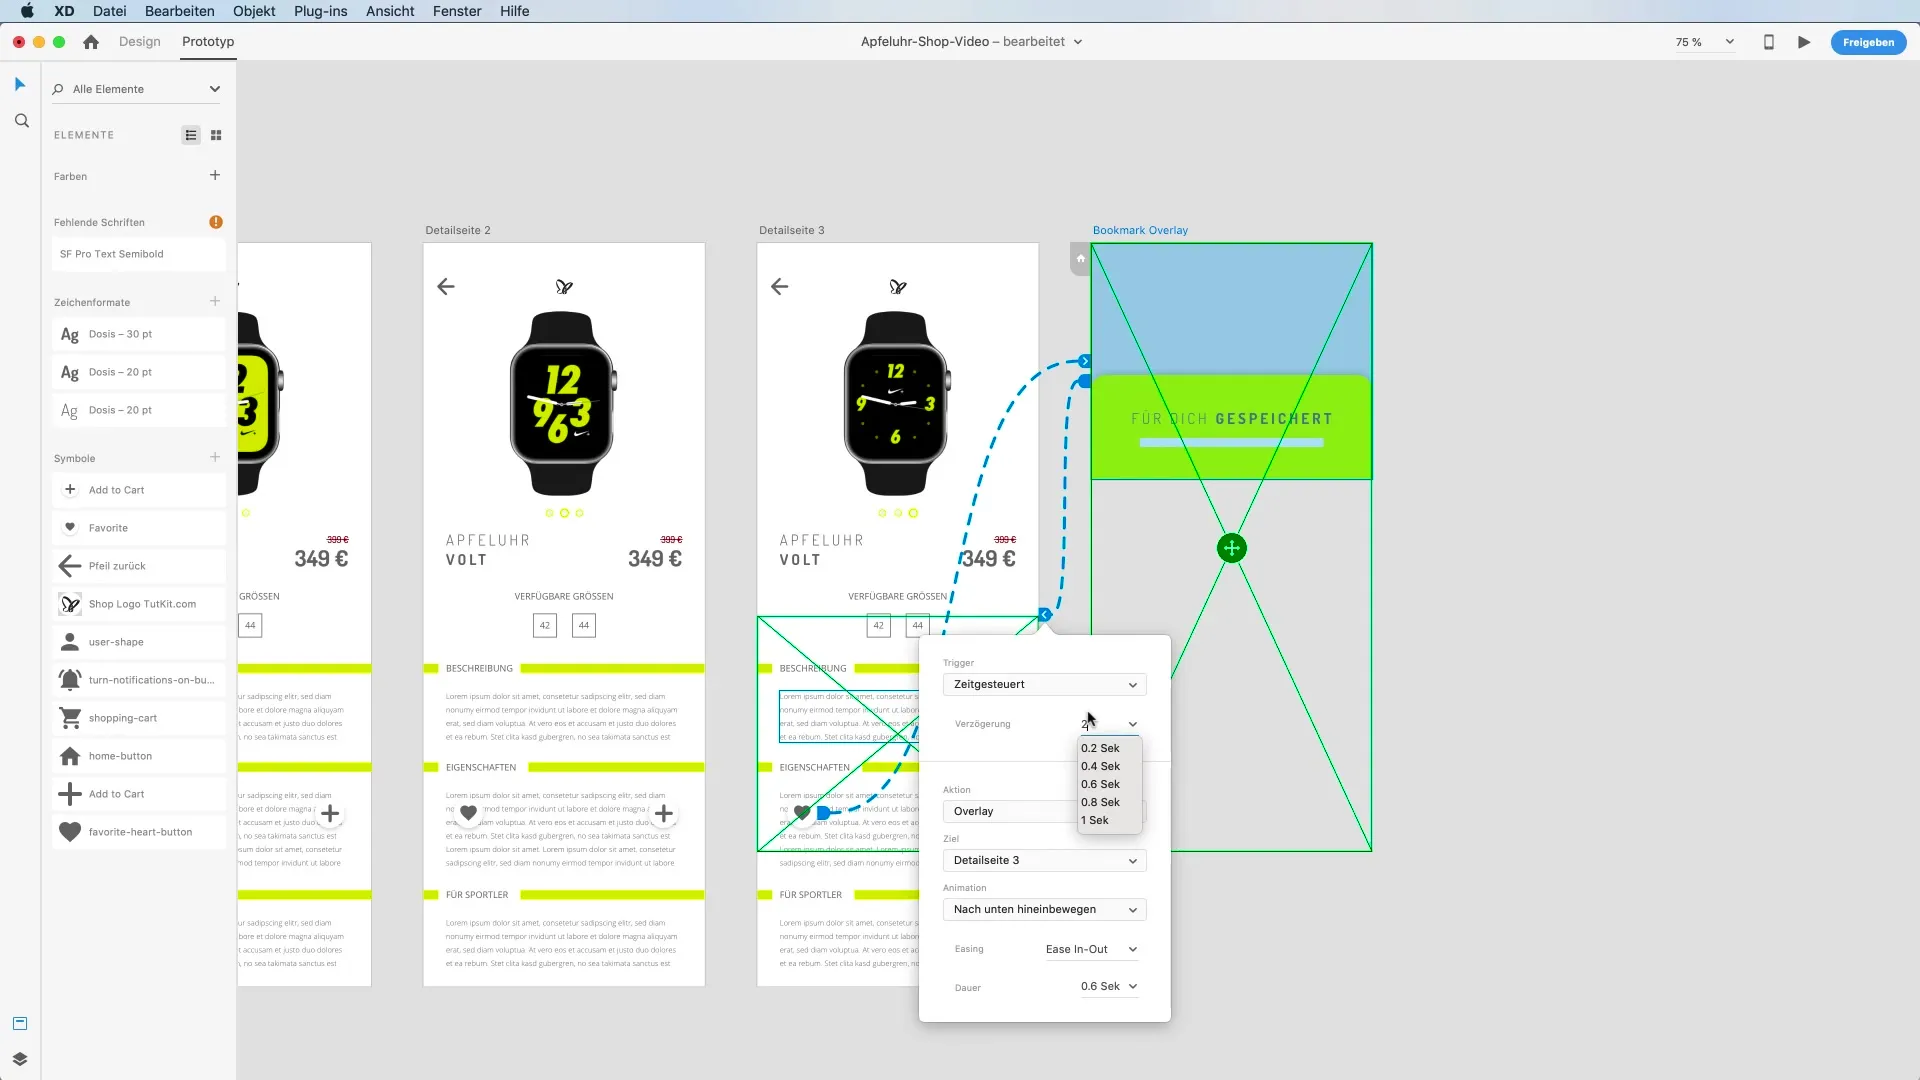
Now test your overlay. It should appear when you click the heart and disappear again after two seconds. This simple interaction significantly enhances the user experience by providing immediate feedback to the user.
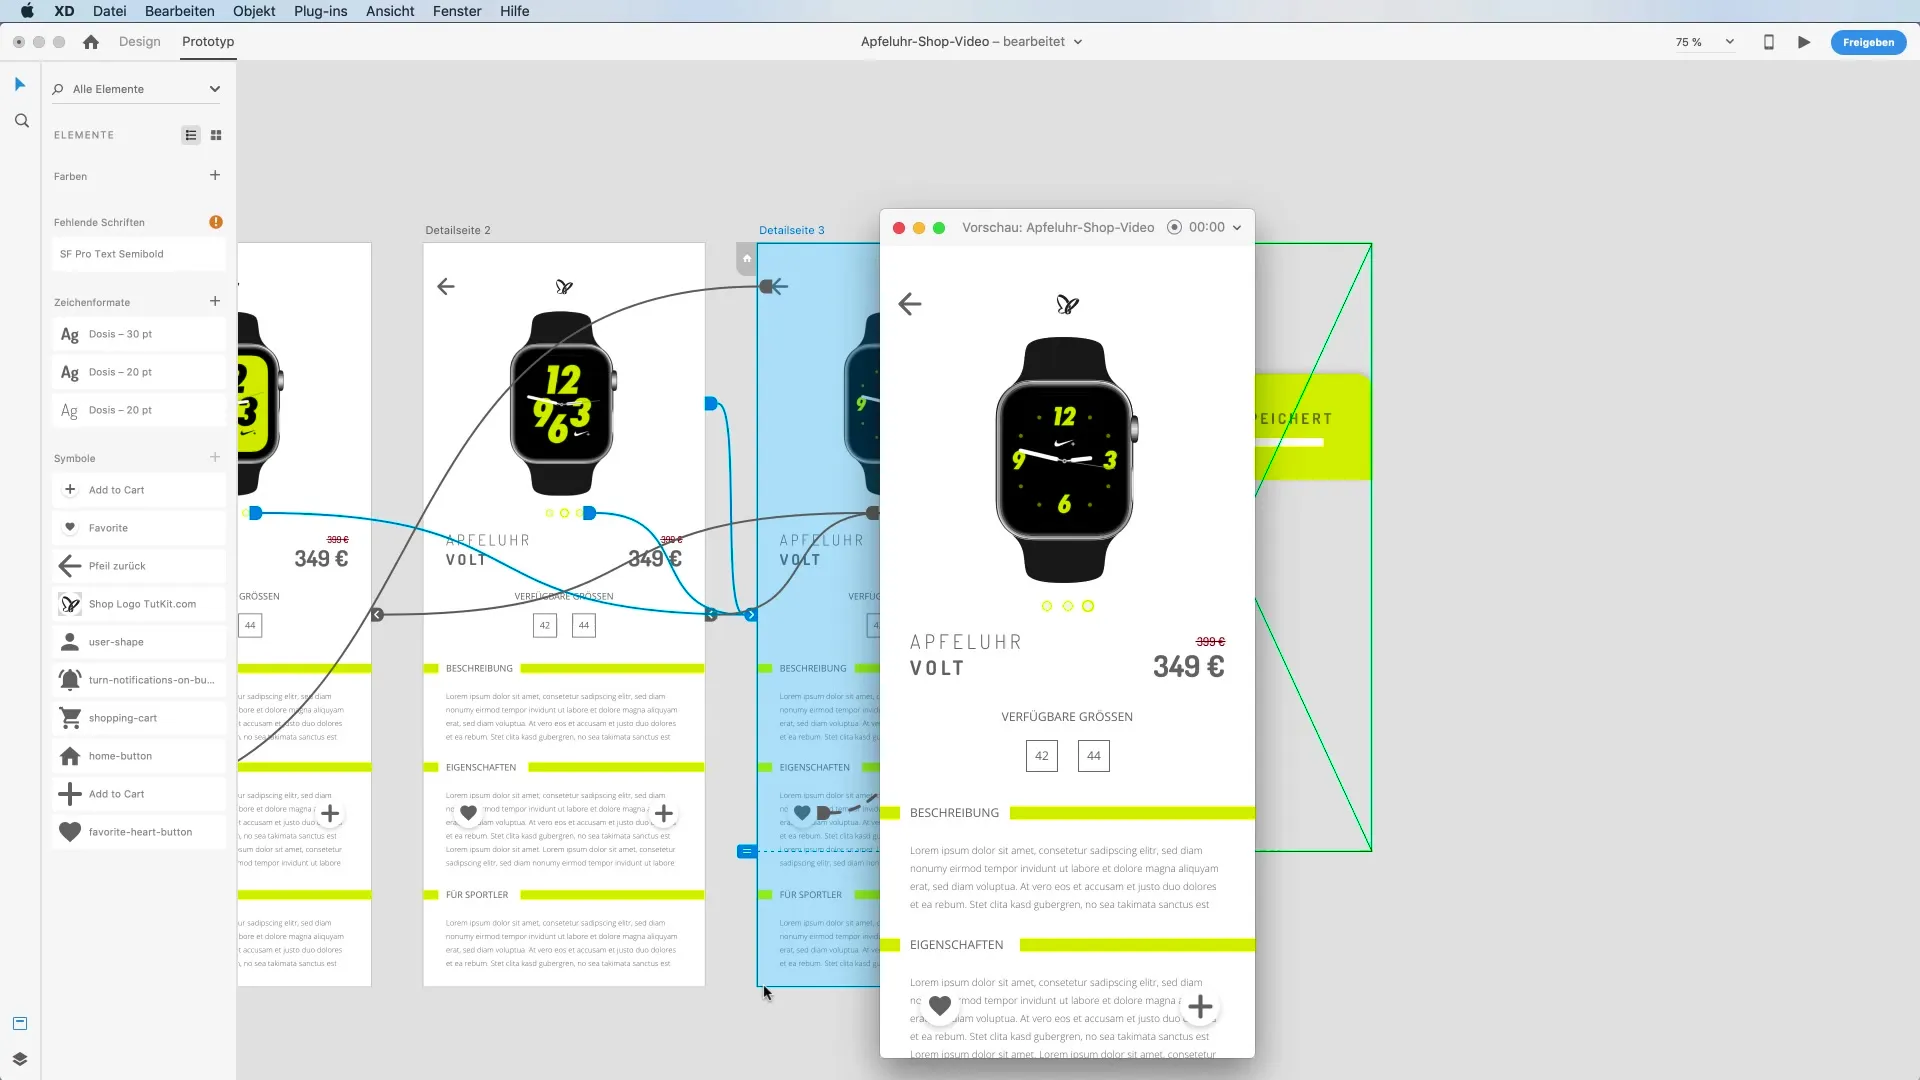
With this step-by-step guide, you now know how to effectively implement overlays in Adobe XD. Use this skill to integrate interactive elements into your prototype and elevate your designs to the next level.
Summary
By applying the overlay function, you can significantly enhance the user experience in your prototypes. It allows you to integrate dynamic and interactive elements into your design, thus establishing clear communication with the user.
Frequently Asked Questions
What is the overlay function in Adobe XD?The overlay function allows dynamically showing and hiding content to integrate interactive elements into prototypes.
How do I add an overlay?Create a new artboard for your overlay, select the "Tap" trigger, and set the action to "Overlay".
Can I adjust the size of the overlay?Yes, you can change the size of the overlay at any time in design mode.
How can I add a shadow to my overlay?Select the overlay object in design mode and add a shadow to create a more realistic effect.
How long does the overlay stay visible?You can adjust the visibility of the overlay by creating a timed connection to your original artboard.


