Assets are the cornerstone of any design work. Whether images, vectors, or text: they provide your project with the required structure and aesthetics. Adobe XD offers a variety of ways to insert and manage these assets, allowing you to focus on what matters – the design. In this tutorial, I will highlight different techniques to efficiently and quickly import your materials into Adobe XD.
Key Takeaways
- Adobe XD allows the import of assets from various sources.
- Images can be added via drag-and-drop, copy-paste, or through libraries.
- The Creative Cloud Library offers an efficient way to exchange assets between Adobe applications.
- PSD files can be opened and edited directly in Adobe XD.
Step-by-Step Guide
First Method: Import Images from Unsplash
If you need images quickly, Unsplash is an excellent option. Open the website unsplash.com to find high-quality, royalty-free images. You can simply enter a search term or browse through the multitude of available images.
Here's an example of how to use images from Unsplash:
- Find an image you like. Right-click on it and select "Copy Image."
- Return to your project in Adobe XD and press Command + V to paste the image.
- Now you can adjust the pasted image by resizing or positioning it.
Second Method: Inserting Images into Shapes
To place an image within a specific shape, do the following:
- In Adobe XD, drag the desired shape (e.g., a rectangle or ellipse) onto your workspace.
- Select the shape and go to your image in Finder. Drag the image onto the selected shape.
- The image will be inserted into the shape.
Third Method: Importing Files via Drag-and-Drop
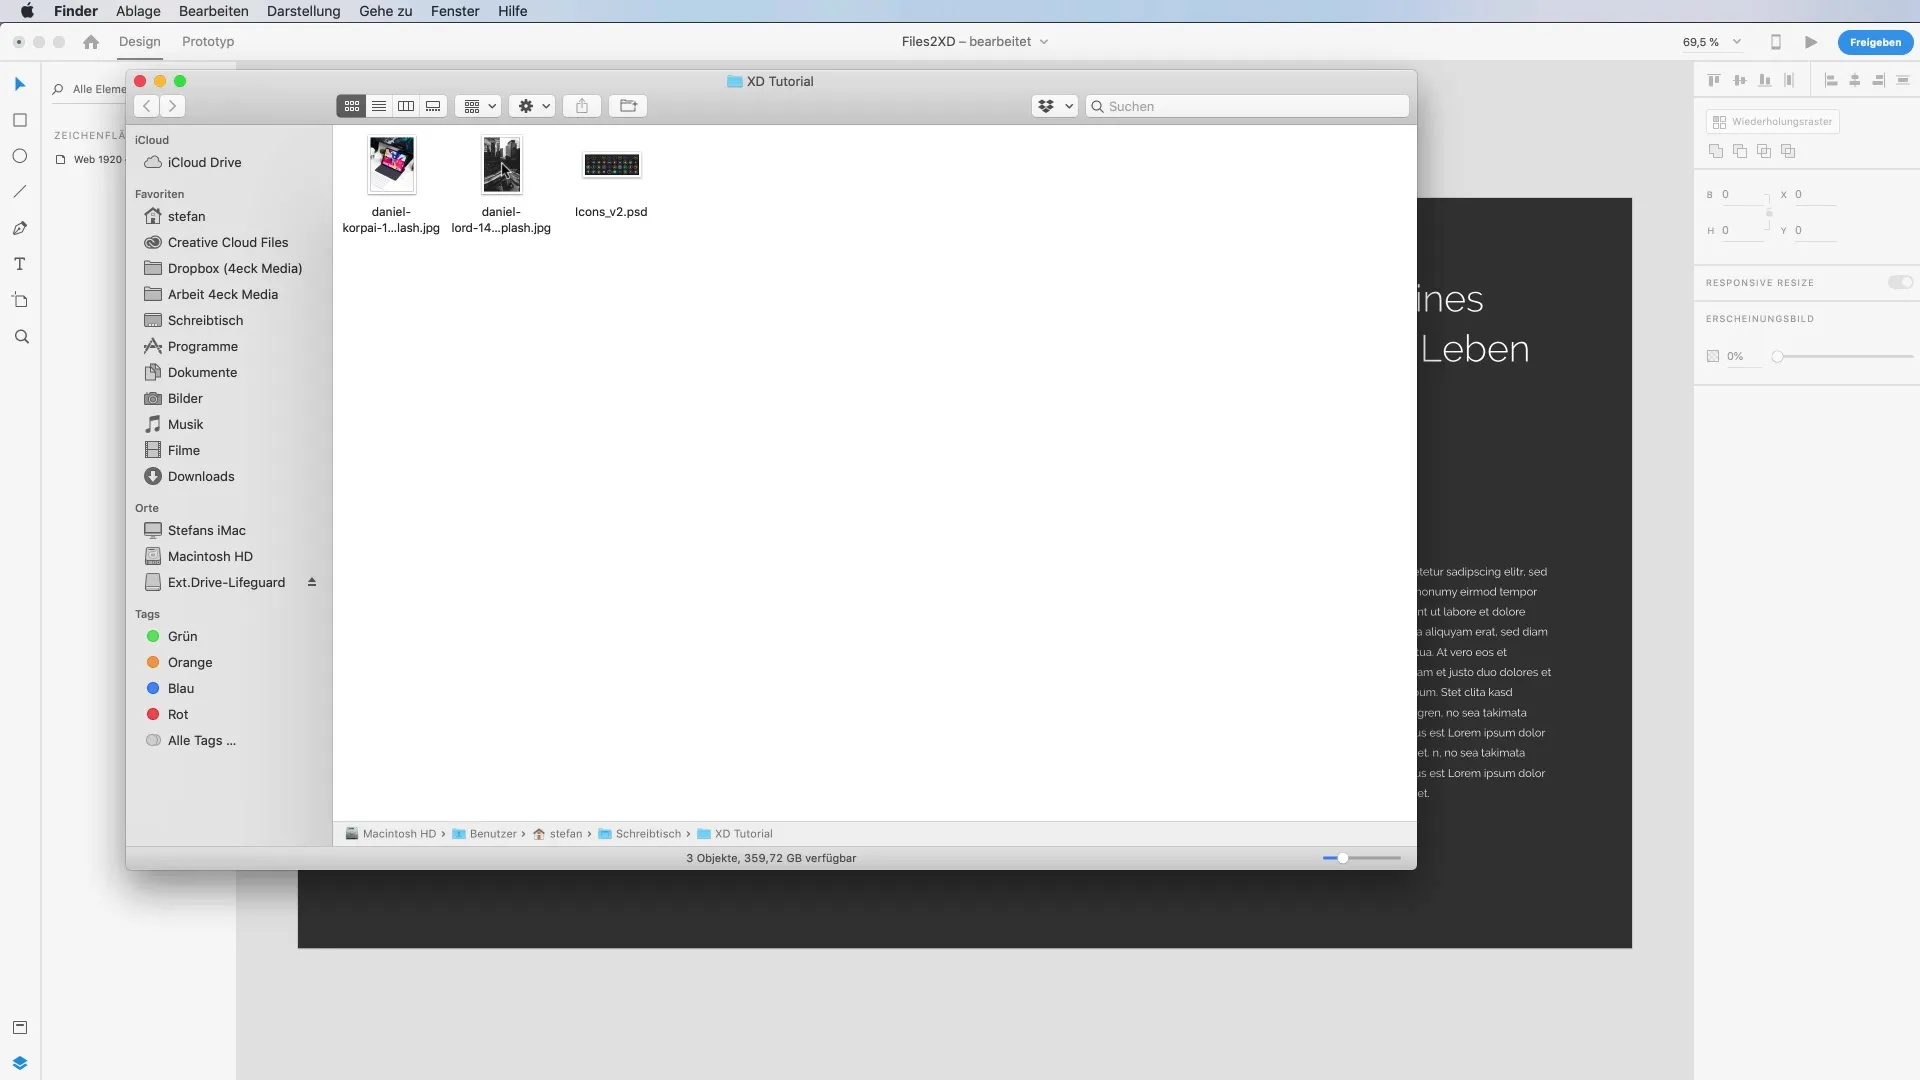
Alternatively, you can also drag files directly onto the Adobe XD workspace. Simply click on a file in your Finder and drag it to the desired location in Adobe XD. This works with images, texts, and vector graphics.

Fourth Method: Inserting Vectors from Photoshop
If you want to import vectors from Adobe Photoshop, proceed as follows:
- In Photoshop, select the desired shape and press Command + Shift + C to copy the shape to the clipboard.
- Switch back to Adobe XD and press Command + V to paste the shape.
- You will notice that vector shapes in XD are editable, providing you with many customization options.
Fifth Method: Using the Creative Cloud Library
A great feature of Adobe XD is its integration with the Creative Cloud Library. This allows you to import assets from Illustrator or InDesign:
- Create an asset in Illustrator or InDesign and add it to your Creative Cloud Library.
- Open Adobe XD and go to "File" > "Open CC Libraries."
- Select the desired asset from the library and insert it into your project.
Sixth Method: Directly Opening PSD Files
A significant advantage is the ability to open PSD files directly in Adobe XD. Here’s how:
- Select "File" > "Open from Computer" in Adobe XD and choose the PSD file.
- The opened project can then be easily edited and scaled.
Summary - Importing Assets into Adobe XD
The possibilities for importing assets into Adobe XD are diverse and allow you to streamline your design processes. Whether you copy images directly from Unsplash, use vectors from Photoshop, or utilize the Creative Cloud Libraries for quick asset availability, Adobe XD provides you with the necessary flexibility and creativity.
Frequently Asked Questions
What is Adobe XD?Adobe XD is a UI/UX design tool from Adobe for creating prototypes and user interfaces.
Can I import images from websites directly into Adobe XD?Yes, you can import images via copy-paste or drag-and-drop.
How do I use the Creative Cloud Library in Adobe XD?The Creative Cloud Library allows for easy asset sharing between Adobe programs.
Can I open PSD files in Adobe XD?Yes, Adobe XD can open and edit PSD files directly.
How do I handle vector graphics from Photoshop?Copy vector graphics as an SVG file from Photoshop and paste them into Adobe XD.


