Whether you work in an international team or occasionally communicate with colleagues and clients from afar, audio commenting is an indispensable tool. With it, you can present the project status more effectively and clearly. In this tutorial, I will show you how to use audio comments in Adobe XD for interactive prototypes to optimally present your designs.
Key Insights
- The audio commenting feature allows a better understanding of project statuses.
- Audio comments can be recorded directly during preview.
- The recorded MP4 files are compact and easy to send.
Step-by-Step Guide
First, you should ensure that you have the latest version of Adobe XD installed to use the audio commenting feature.

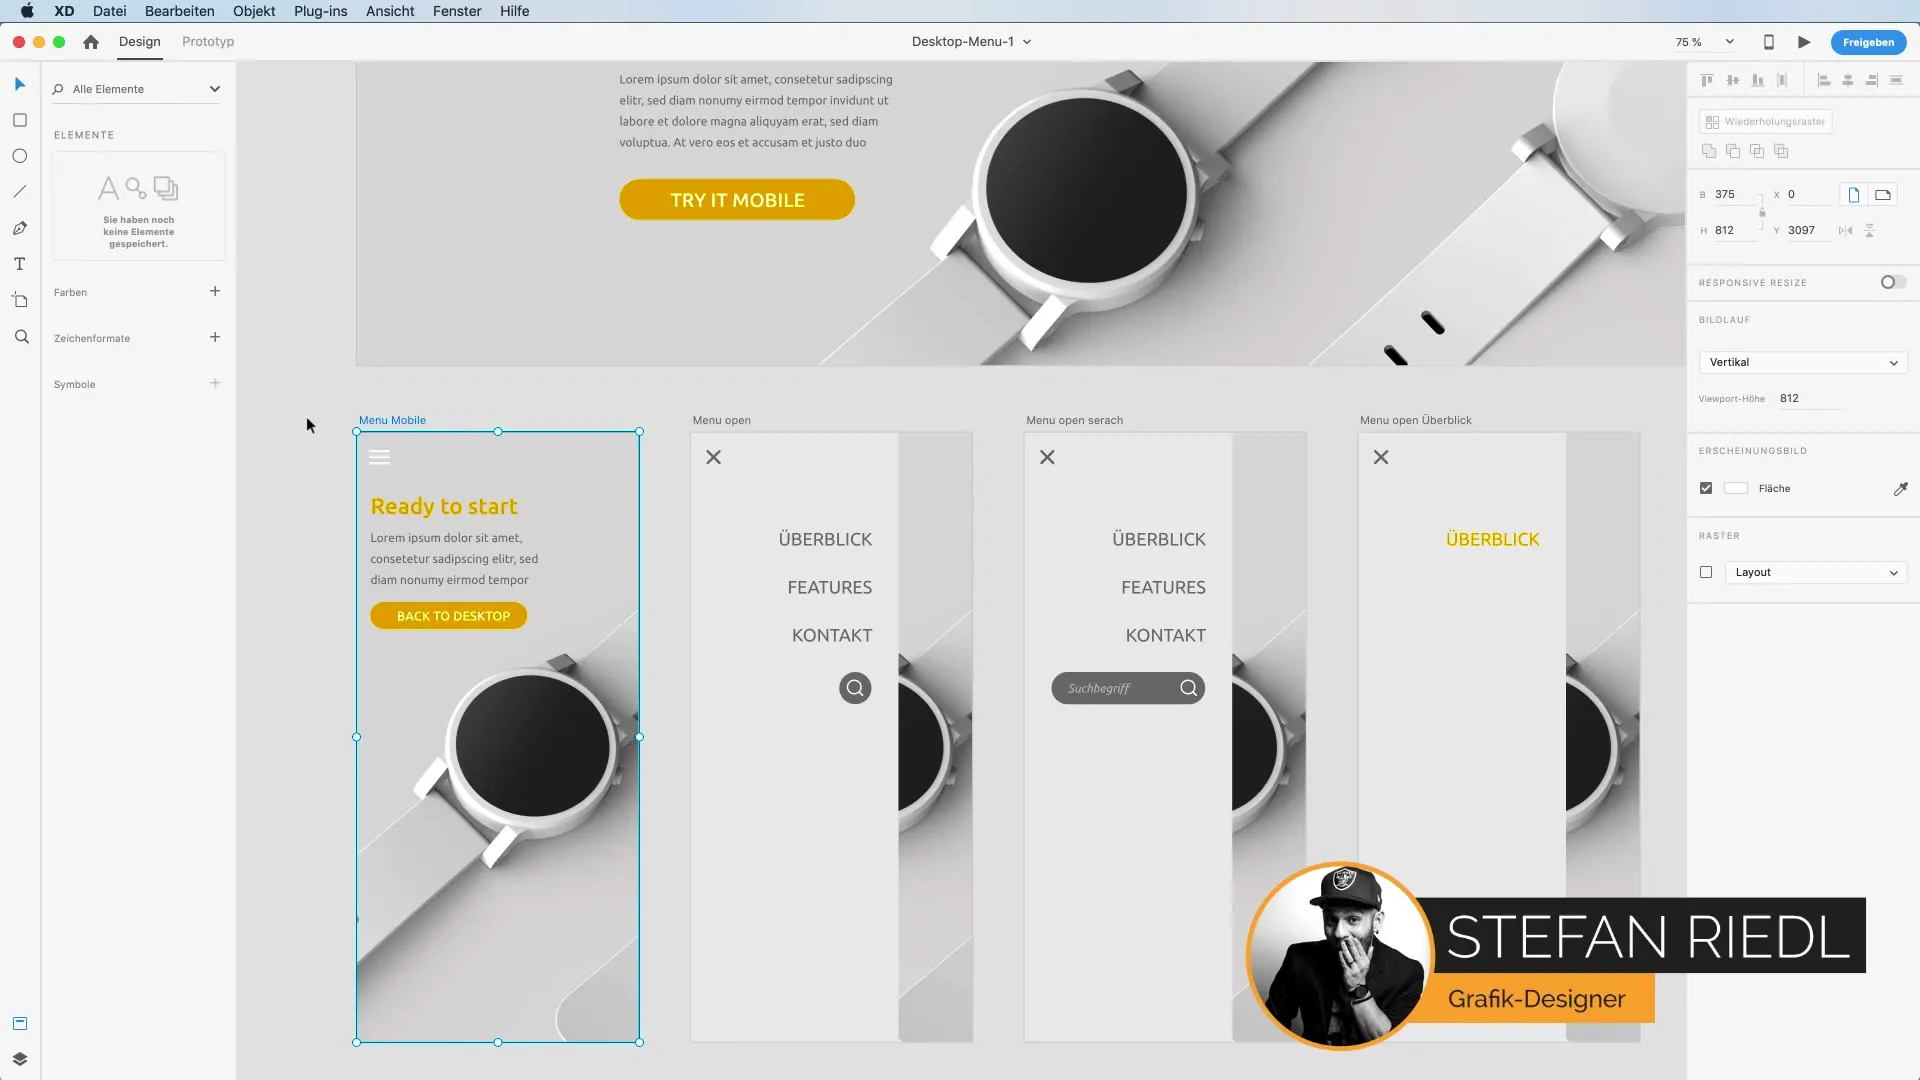
- Start Adobe XD and select your project. Open the project for which you want to create audio comments. You can either create a new project or open an existing one. Every time you work on a design, it is helpful to document the relevant changes to communicate them to your team later.
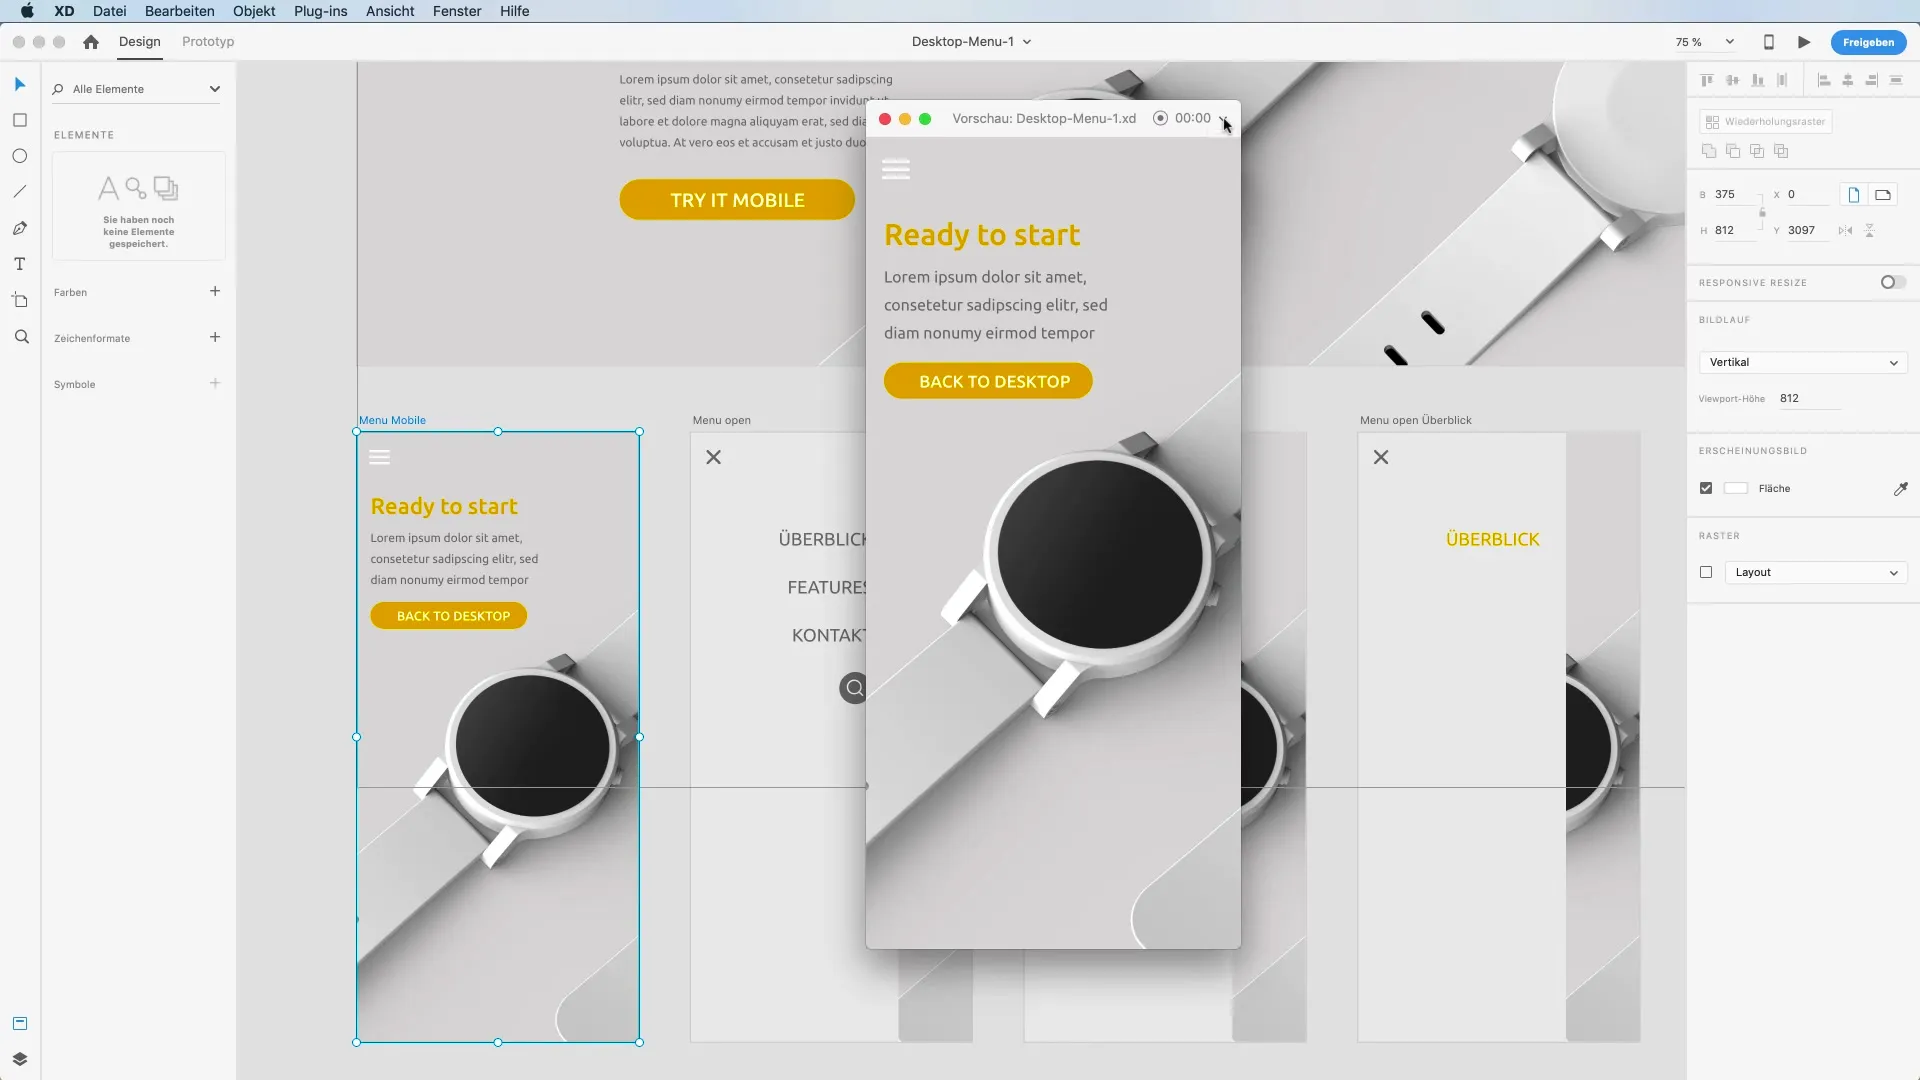
- Access the preview feature. To use audio commenting, you need to enable the preview of your project. Click on the preview option in the top menu bar. Here you will see the dropdown menu that gives you the opportunity to make various settings.

- Activate the microphone. Now you have the option to activate your microphone for recording. Check the box "Activate microphone." This is crucial for your voice to be heard during the recording.
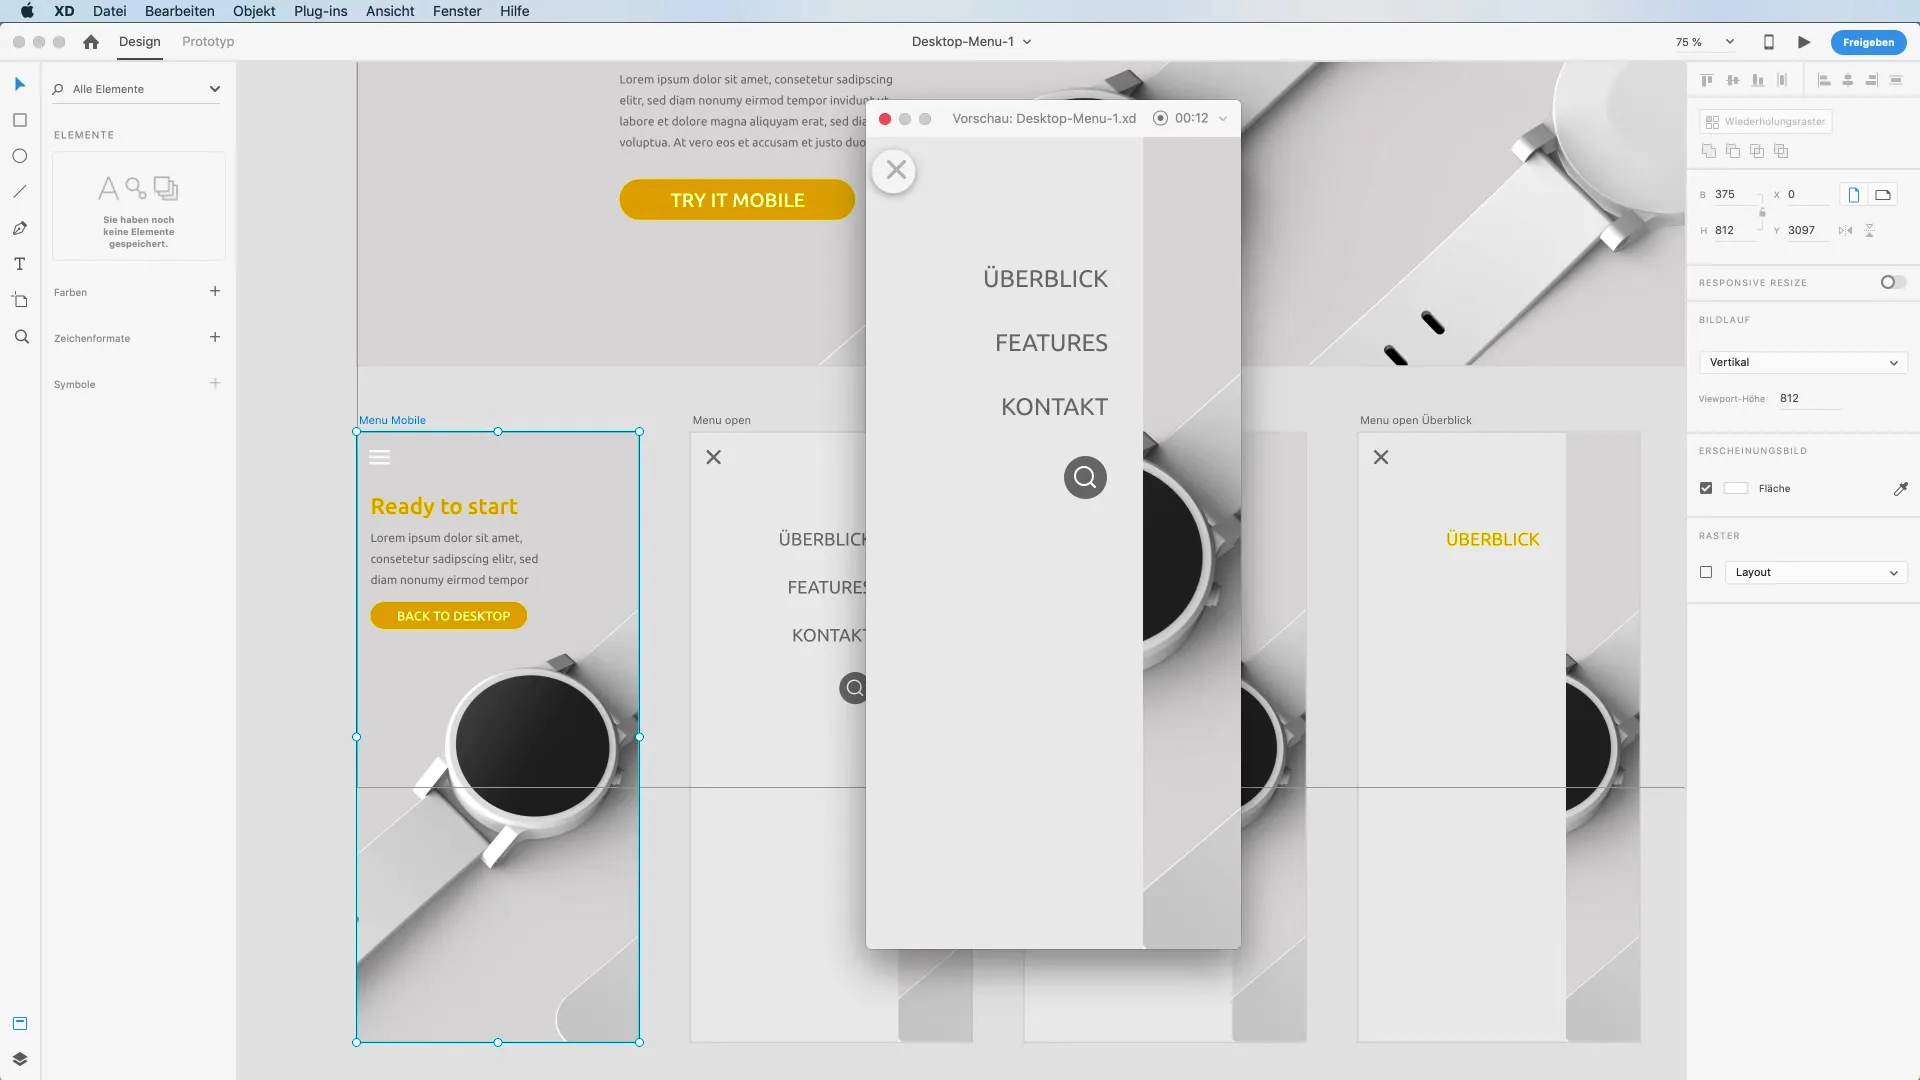
- Record your comments. Once the microphone is activated, you can start recording. Press the "Record" button. Explain the changes made as you navigate through your design in detail, providing valuable insights into your reasoning and feedback.
- Present the design changes. When presenting your changes, make sure to speak clearly and understandably. Typically, the changes to be shown in the menu are of particular interest to the client. For example, you can say: "Here we see the changes we discussed last time."

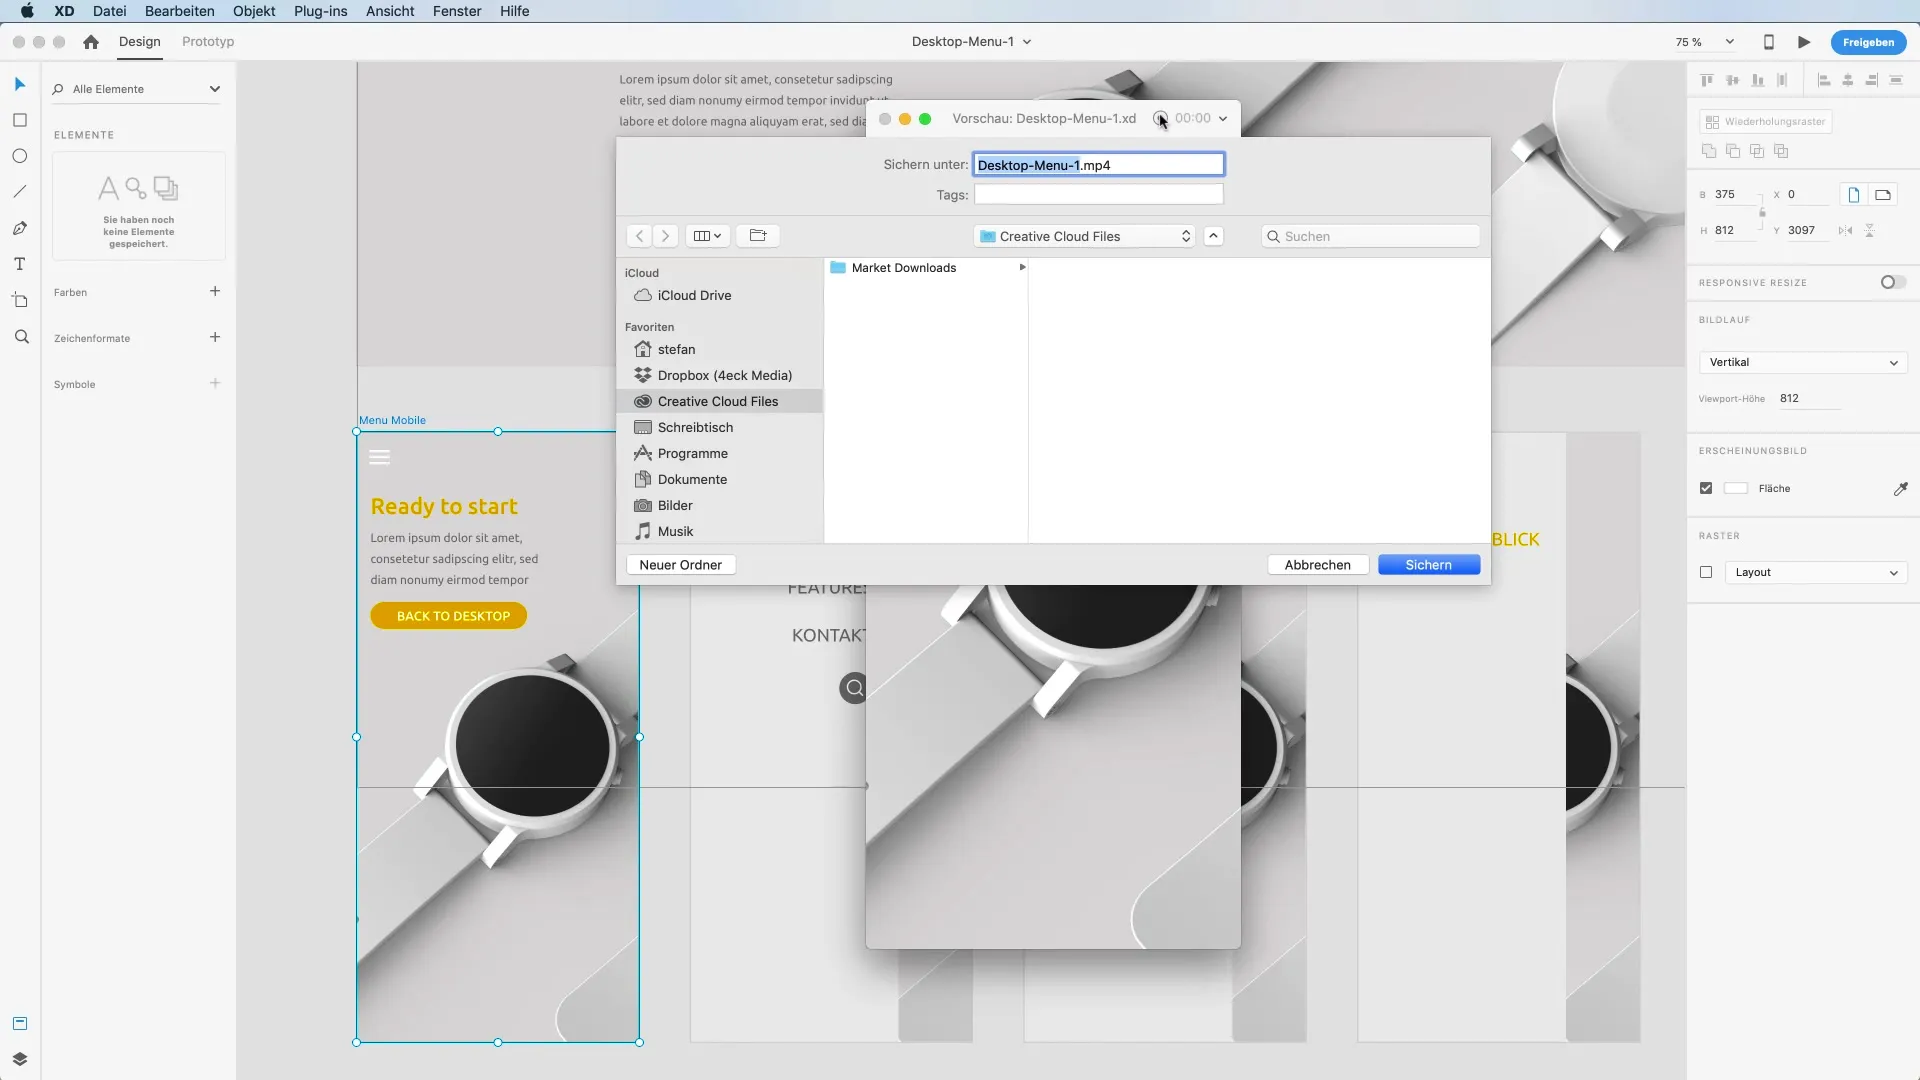
- Save the recording. After you have provided the necessary explanations, you can end the recording. The system generates an MP4 file of your commentary. You can easily use this to forward it to your client later.

- Send the audio comments. Now you can easily send the created MP4 file to your client or team via the prototype link. This is a very practical way to gather feedback or to ensure that everyone is on the same page.
Summary – Audio Commenting of Previews in Adobe XD
In this tutorial, you learned how to use the audio commenting feature in Adobe XD to present your designs interactively. This function is ideal for clearly representing project statuses, especially for remote teams.
Frequently Asked Questions
How do I activate audio commenting in Adobe XD?You can activate audio commenting by clicking "Activate microphone" in the preview.
What format is the recorded file in?The files are saved in MP4 format and are easy to send.
How do I send the audio comments to the team?The MP4 file can easily be sent to your team via the prototype link in an email.
For which use cases is audio commenting suitable?Audio commenting is ideal for collaboration in distributed teams and provides a clear explanation of design changes.


