The creation of artboards in Adobe XD is the first step in developing your designs. Whether responsive websites, apps, or prototypes – a clever arrangement of artboards is crucial for the workflow. In this guide, you will learn how to create and optimize artboards for different resolutions and devices, allowing you to always keep track of your projects.
Key Takeaways
- Draw artboards for different devices and resolutions.
- Name your artboards and objects carefully to keep track of them.
- Consider pixel density for retina displays to maximize image quality.
- Use shortcuts for a faster and more productive workflow.
Step-by-step guide
The beginning: Create your own artboard
To start working in Adobe XD, you need to create your first artboard. You can find the artboard panel through a small icon in the bottom bar. There you can manage all the artboards you have in your project. Now use a double-click to rename your first artboard, e.g., to "Home". This will help you keep track.
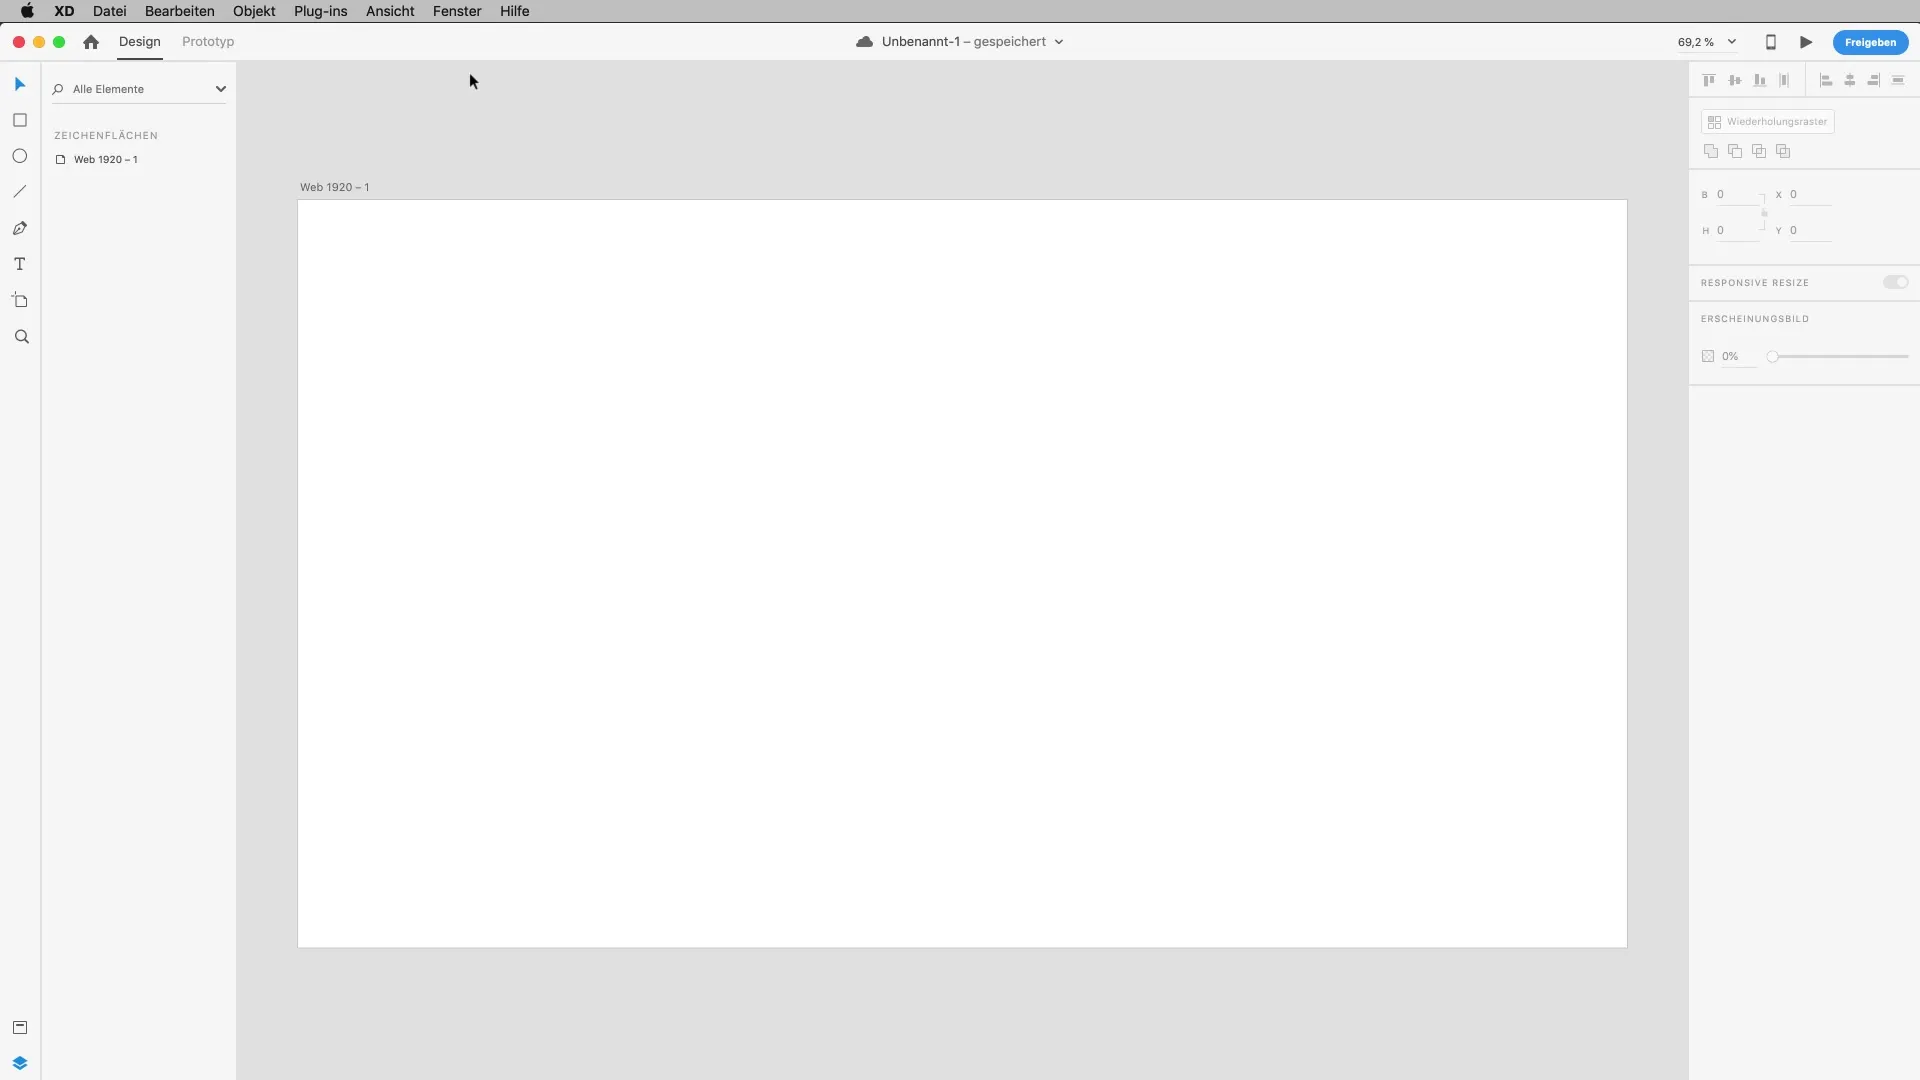
Creating a new artboard
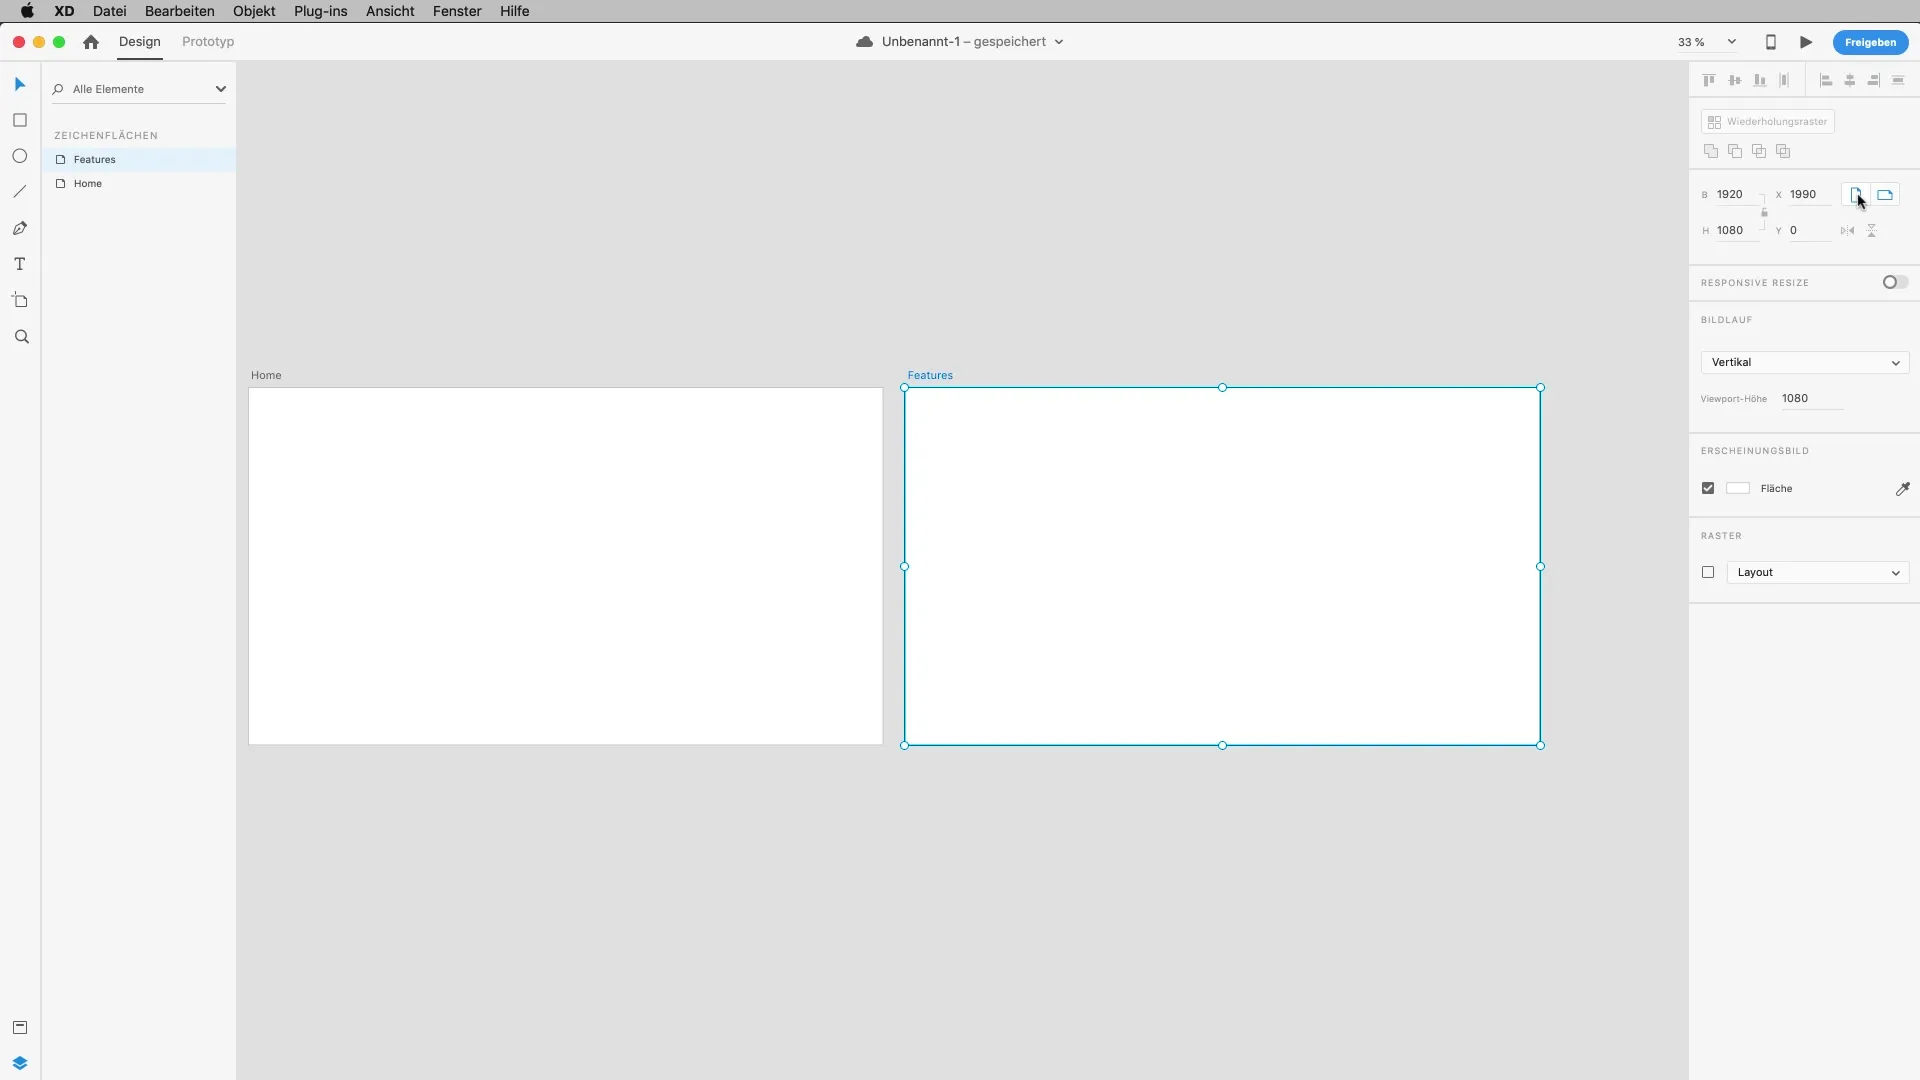
Want to add a new artboard? Use the shortcut "A" for the artboard tool. A click on it will create a new artboard. By clicking again on the artboard, you can also name it, for example, to "Features". Make sure to use different sizes for your artboards to achieve flexibility in your design.
Artboard adjustments
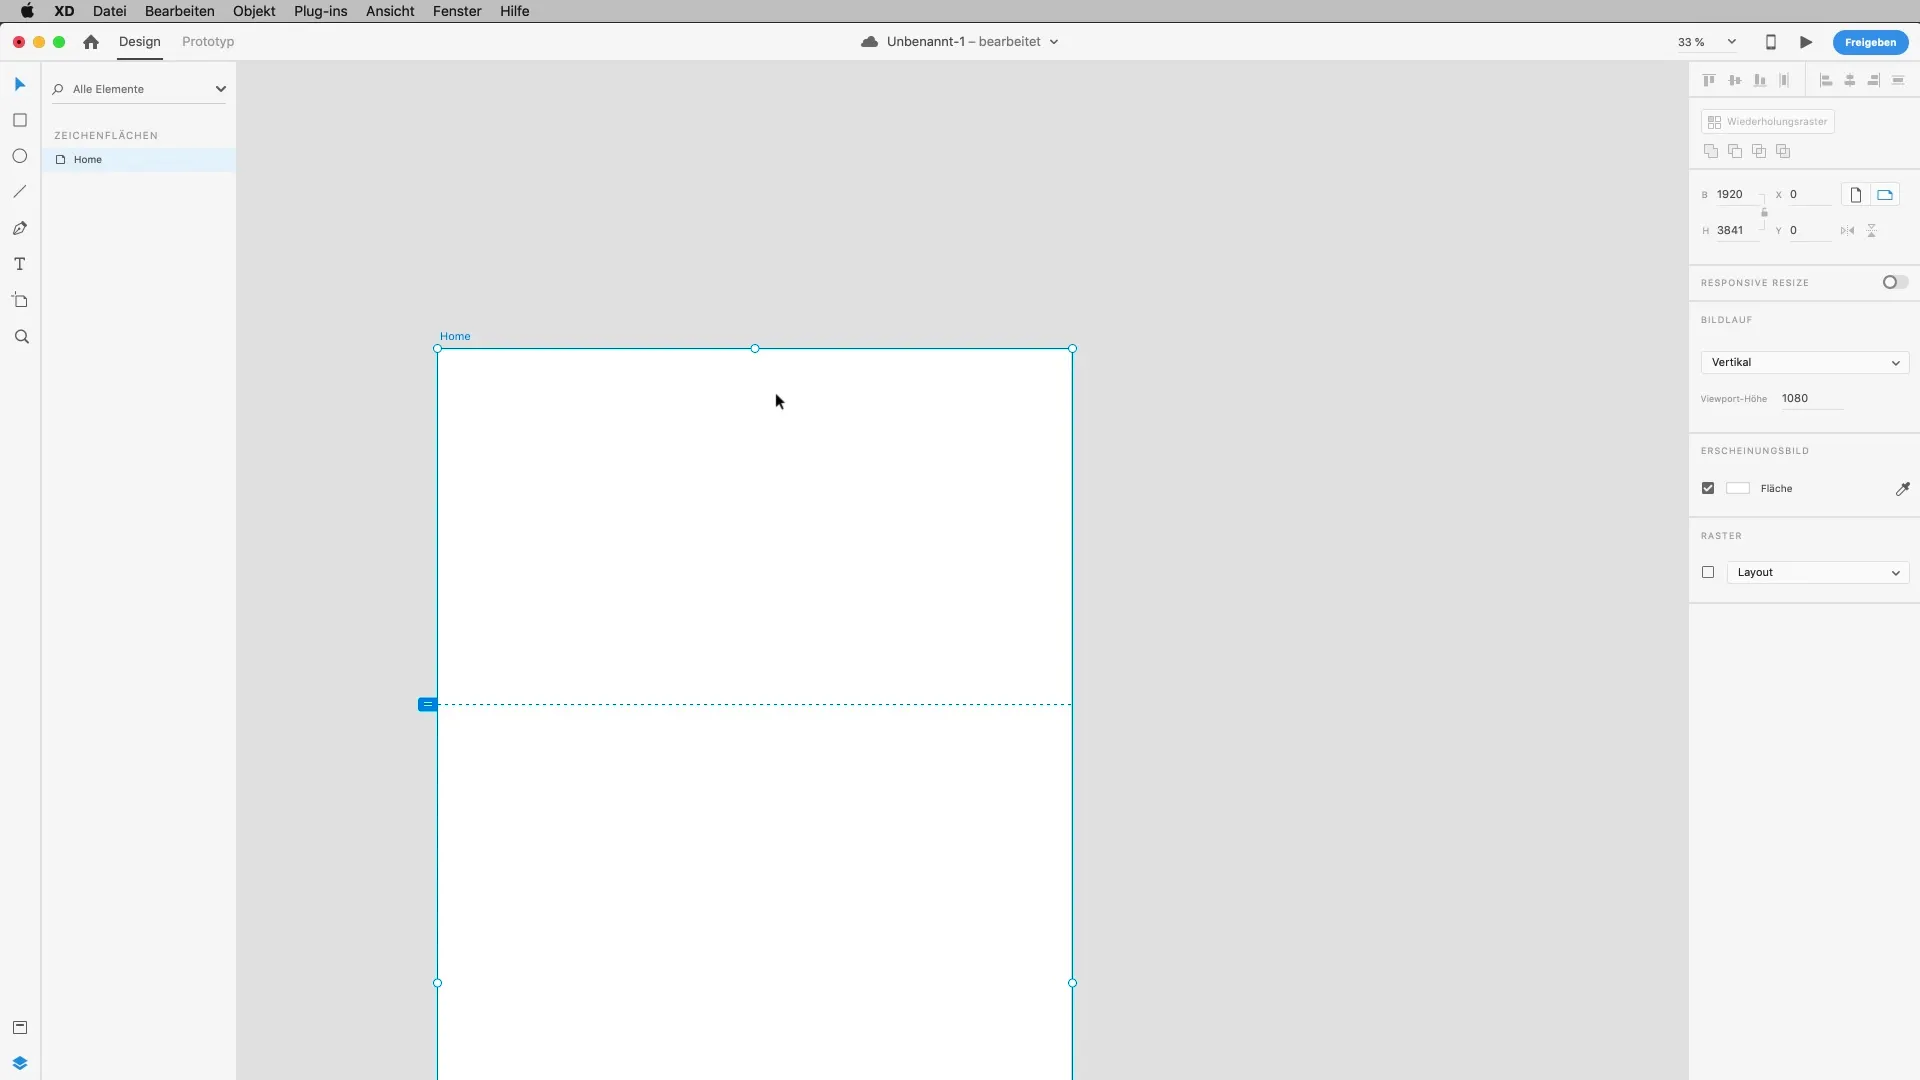
The artboards offer many customization options. Click on the respective artboard and switch to the settings in the panel. You can easily change the orientation from horizontal to vertical. This allows you to quickly simulate how your design will look on different devices like tablets or smartphones. In web design, it is essential to create responsive designs.
Scaling and resizing
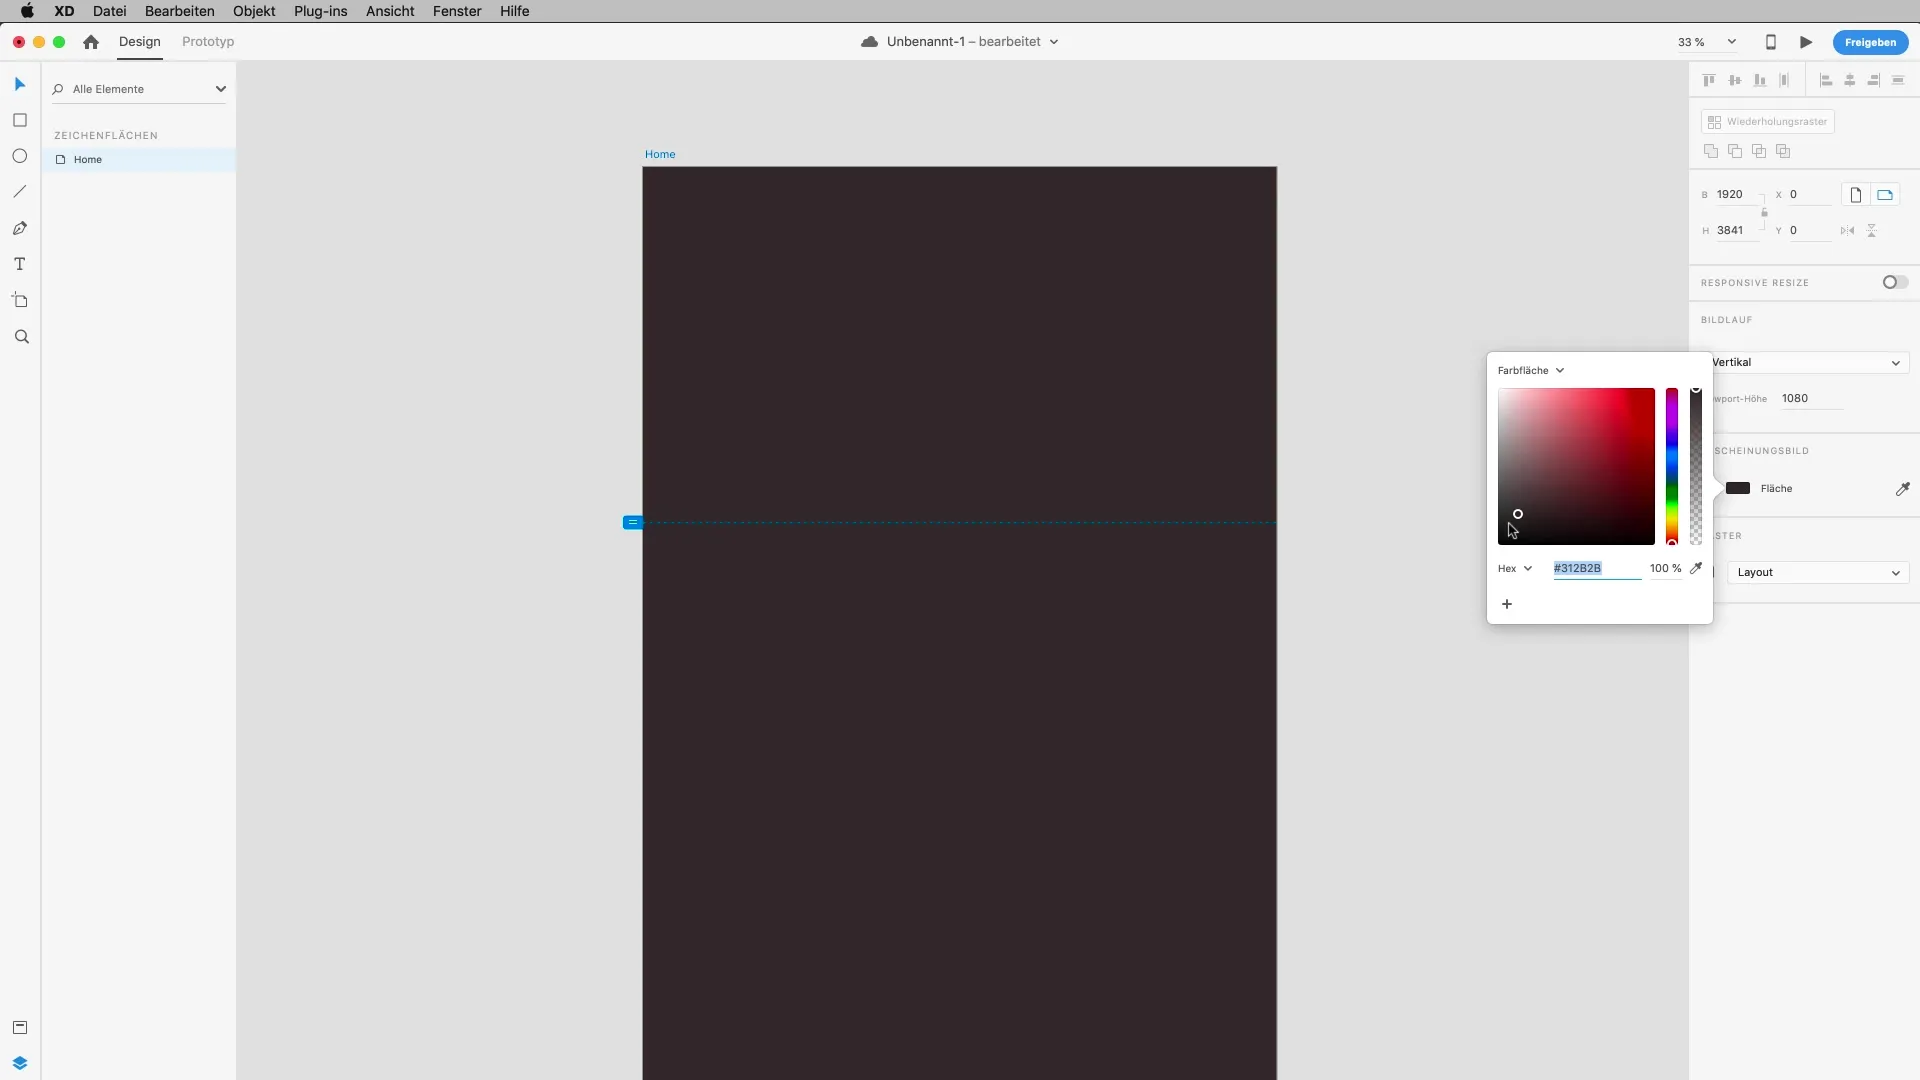
Now you can change the size of your artboard. By simply dragging the handle down, you immediately see the new area that changes accordingly. You can read from the dashed line which parts of your page are visible in the current viewport. Parts that extend beyond it will need to be scrolled.
Color and grid adjustments
Now go to the color settings and define the colors you need. You can enter color codes or work with the slider. Additionally, there is the option to enable a grid for your layout, which helps you create layouts precisely. These tools are extremely useful for structuring your designs and making them visually appealing.
Setup for different devices
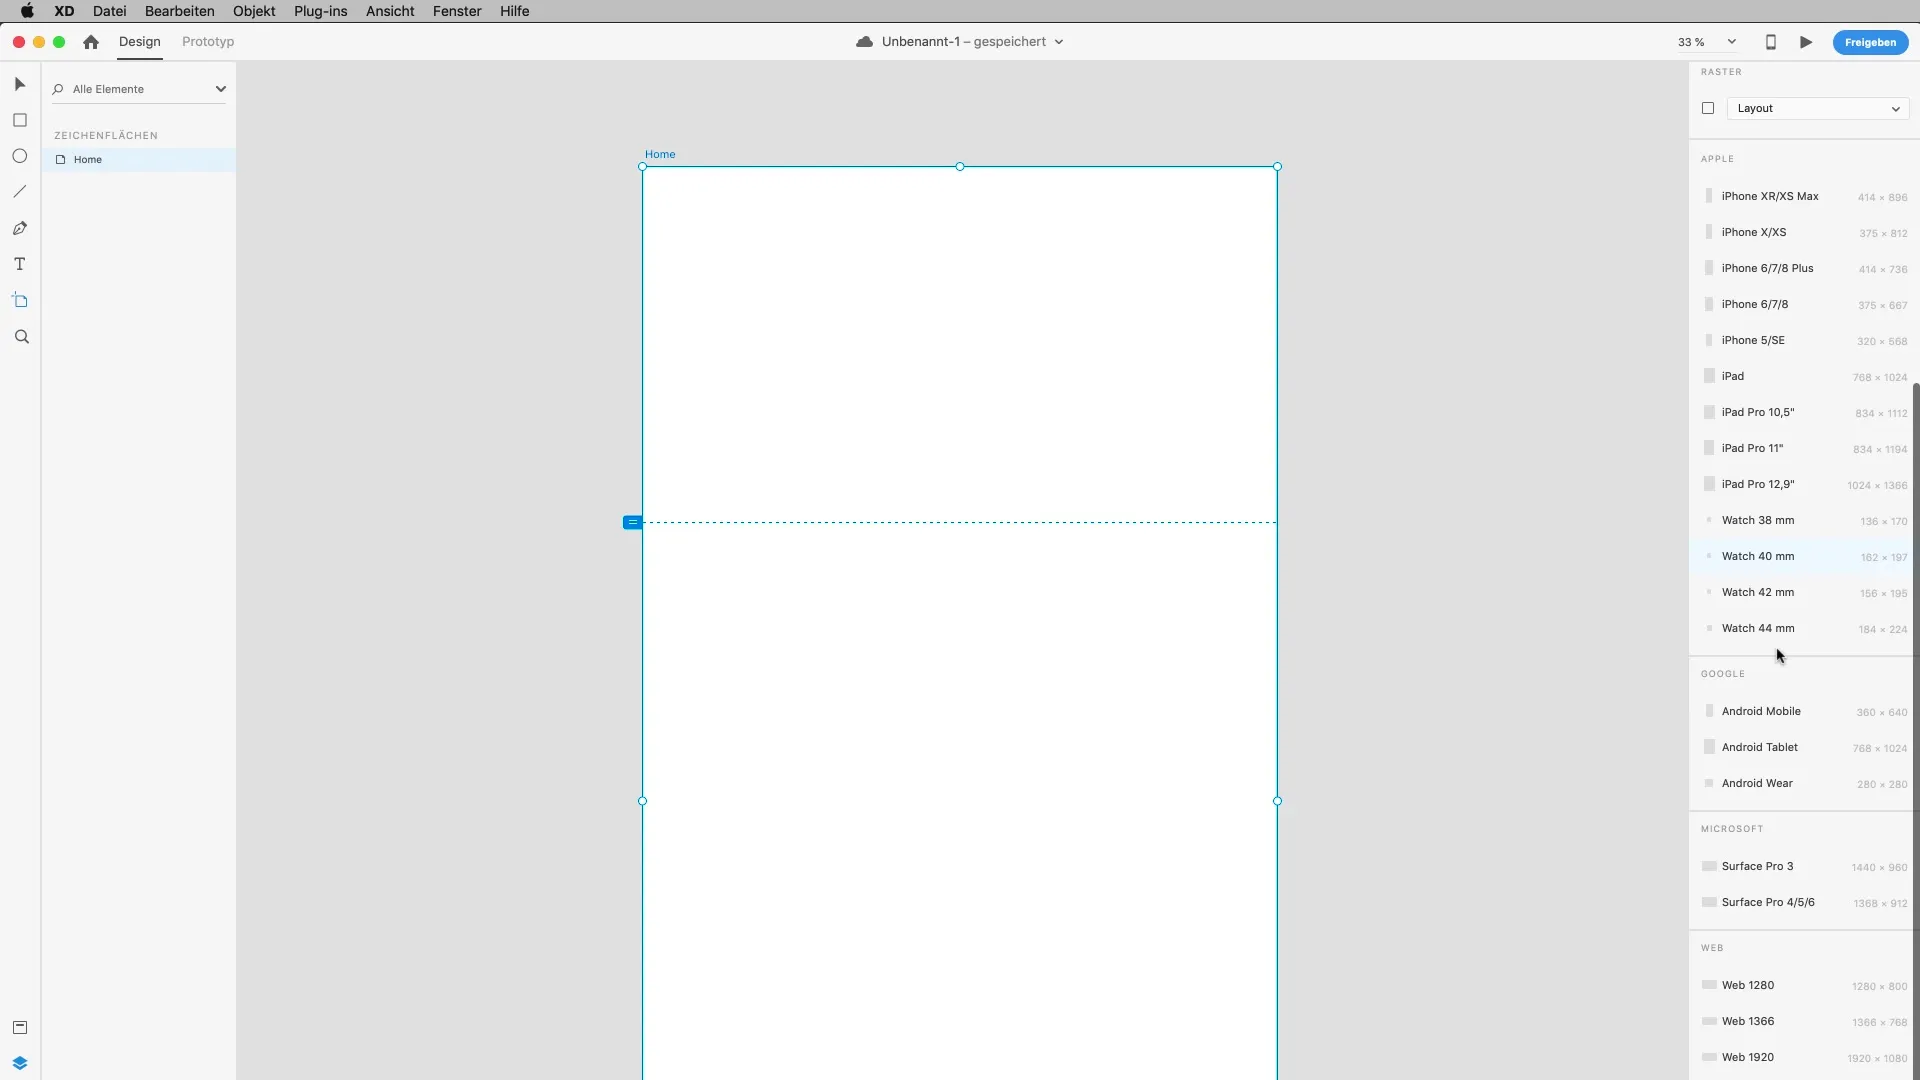
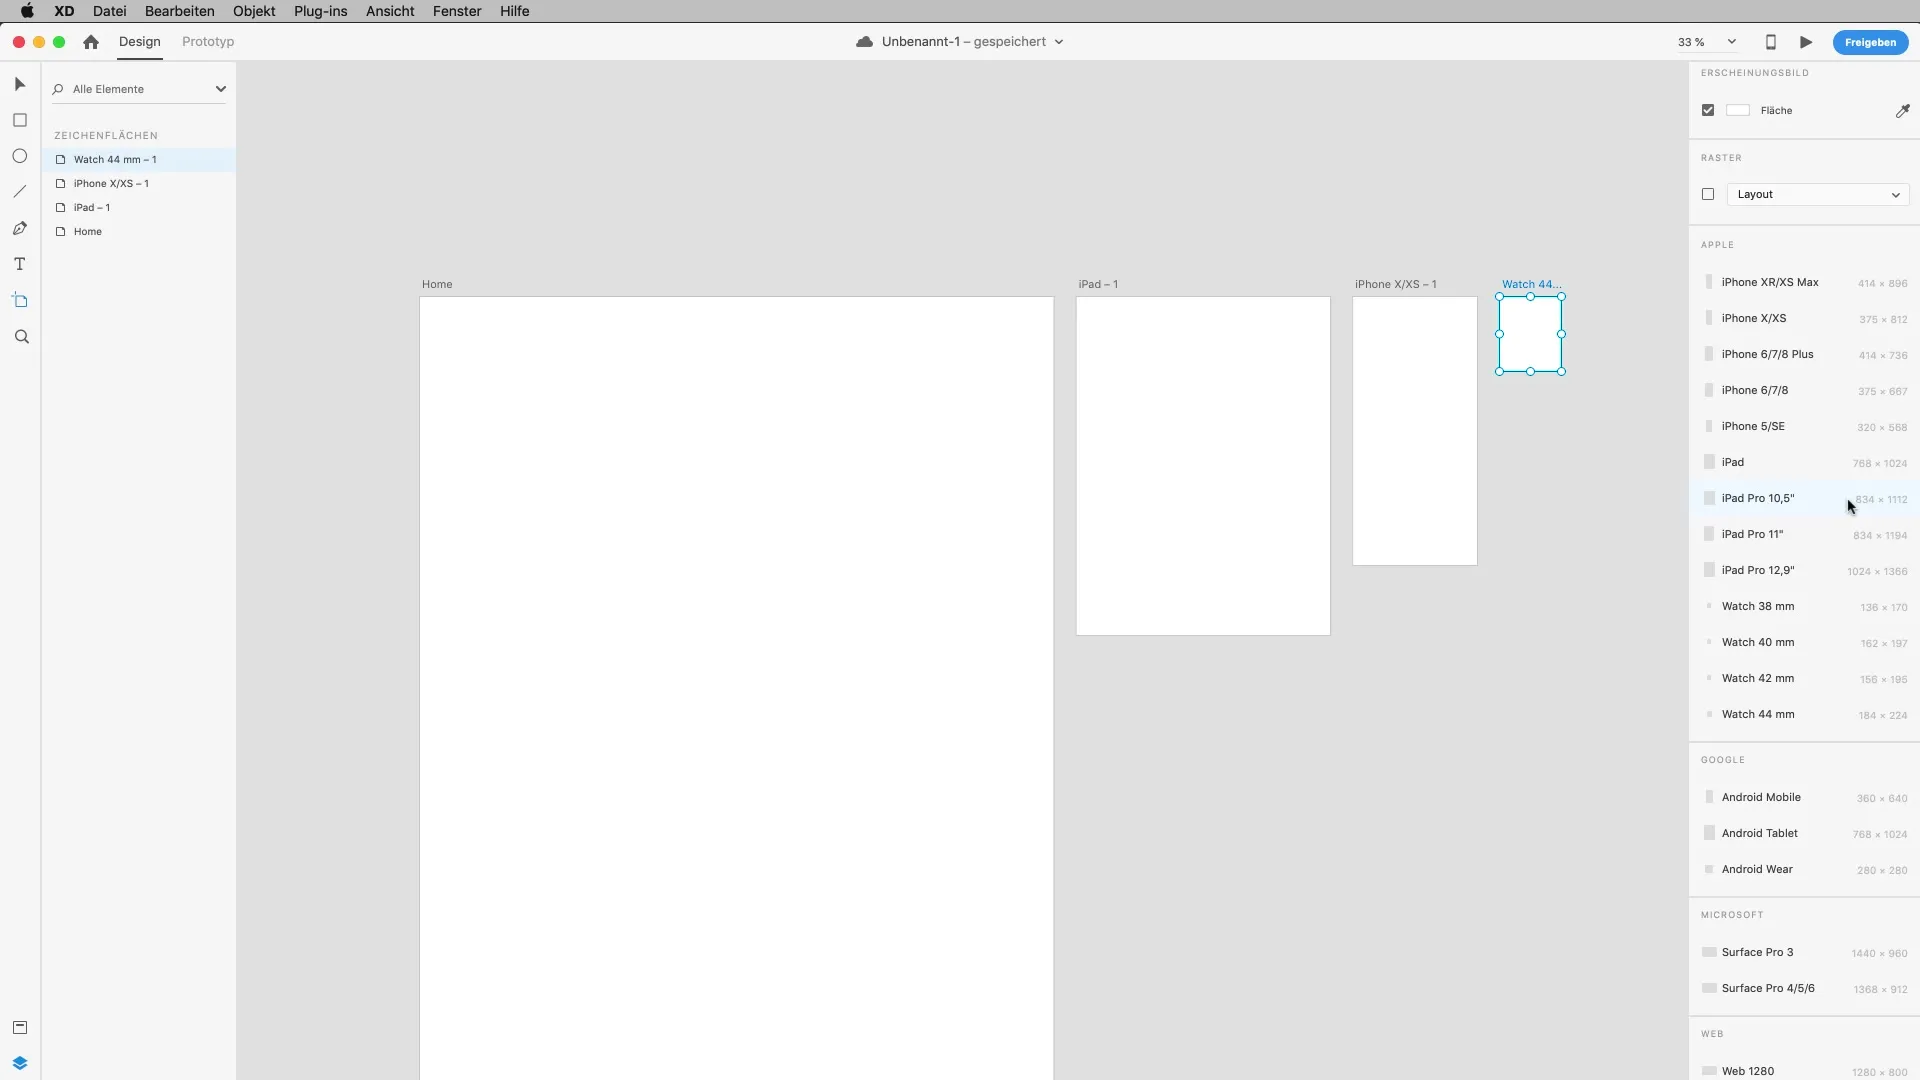
Create at least three different artboards for the common screen formats: Desktop, Tablet, and Smartphone. You should ensure that your designs look good on all devices. The most common desktop resolution is 1366 pixels, but you can also use 1920 pixels (Full HD). For the tablet, you can choose the iPad or Surface as a template and then transition to smartphone dimensions, such as the iPhone 10.
Considering pixel density
One of the details to consider in design is the high-resolution displays used in many modern devices. These displays have a high pixel density, which means that image quality is very important. So when you insert graphics or images from Photoshop into your project, pay attention to the resolution of those images. For retina displays, you need to at least double the image size to achieve ideal quality.
Arrangement of artboards
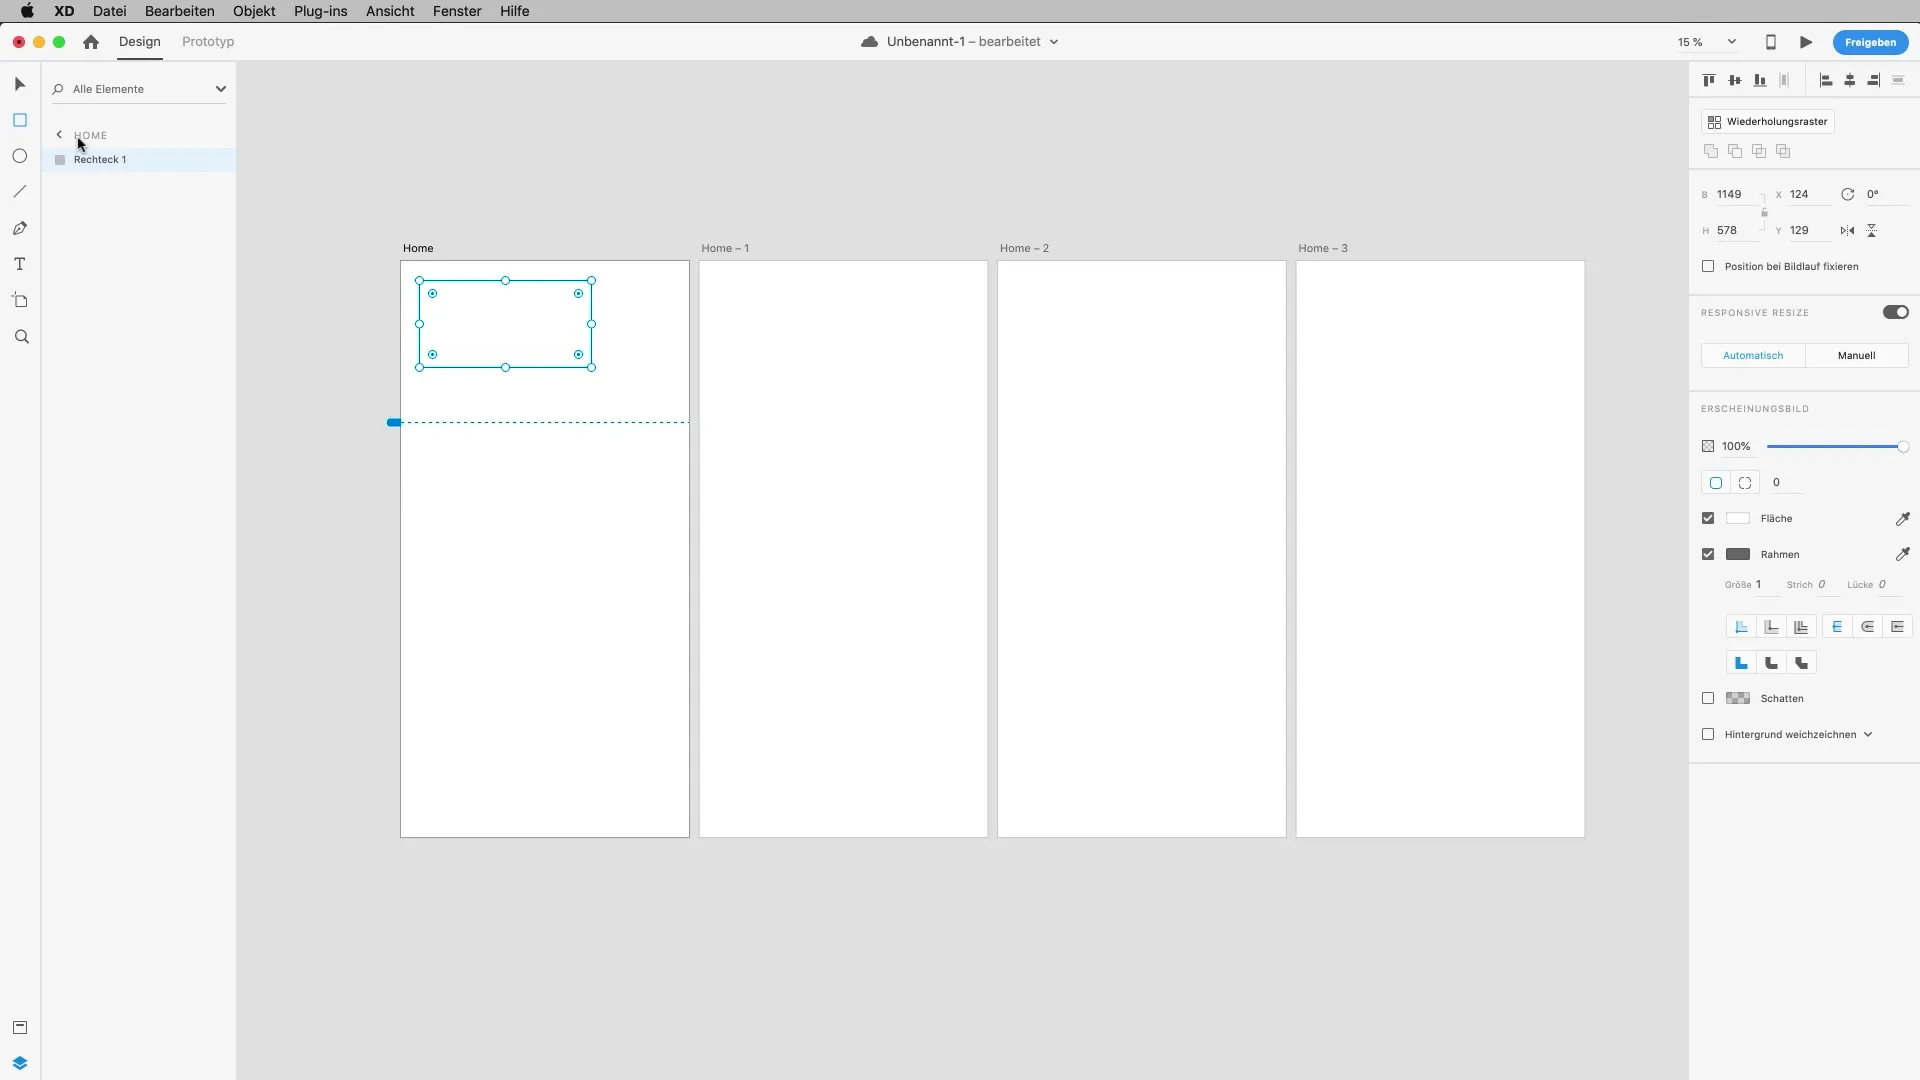
With Adobe XD, you can easily rearrange your artboards. This is useful when you want to gain a better overview. You can delete unwanted artboards using the backspace key or the delete option. Alternatively, you can create a duplication of an artboard using the shortcut "Command + D" to develop new designs based on that.
Optimizing the workspace
Use the spacebar to activate the hand tool and freely move around in your workspace. This is especially useful when you have multiple elements on your artboard. Double-click on objects to access their detail view and edit them further. Make sure all your objects are clearly named and neatly placed within the artboards for easier subsequent work.
Summary – Artboards in Adobe XD: Step by Step to Effective Design
In this guide, you learned how to create and customize artboards in Adobe XD. You know how important it is to name and customize them correctly to maintain an overview of your project.
Frequently Asked Questions
How do I create a new artboard in Adobe XD?Use the shortcut "A" for the artboard tool and click where you want the artboard to be.
Can I change the size of the artboards?Yes, you can adjust the size by using the handles or entering values in the right panel.
Why is pixel density important?Pixel density is crucial to ensuring that images and graphics are displayed sharply on high-resolution displays.
How can I better organize my artboards?Use clear labels for each artboard and keep your workspace clean to maintain an overview.
Can I duplicate artboards?Yes, use the shortcut "Command + D" to duplicate an artboard.


