AdobeXDhas established itself as a powerful tool for prototyping. Particularly interesting is the ability to integrate voice control. This feature allows you to create interactions with your prototype through verbal commands. In this guide, you will learn how to implement voice control in Adobe XD. This will not only make your prototype more user-friendly, but also elevate interactivity to a new level.
Key Insights
- The voice control enables interaction with objects via voice commands.
- Visual cues are essential to communicate to users that voice commands can be used.
- You can define your own voice commands and set their reactions in the prototype.
Step-by-Step Guide
Create Your Artboard
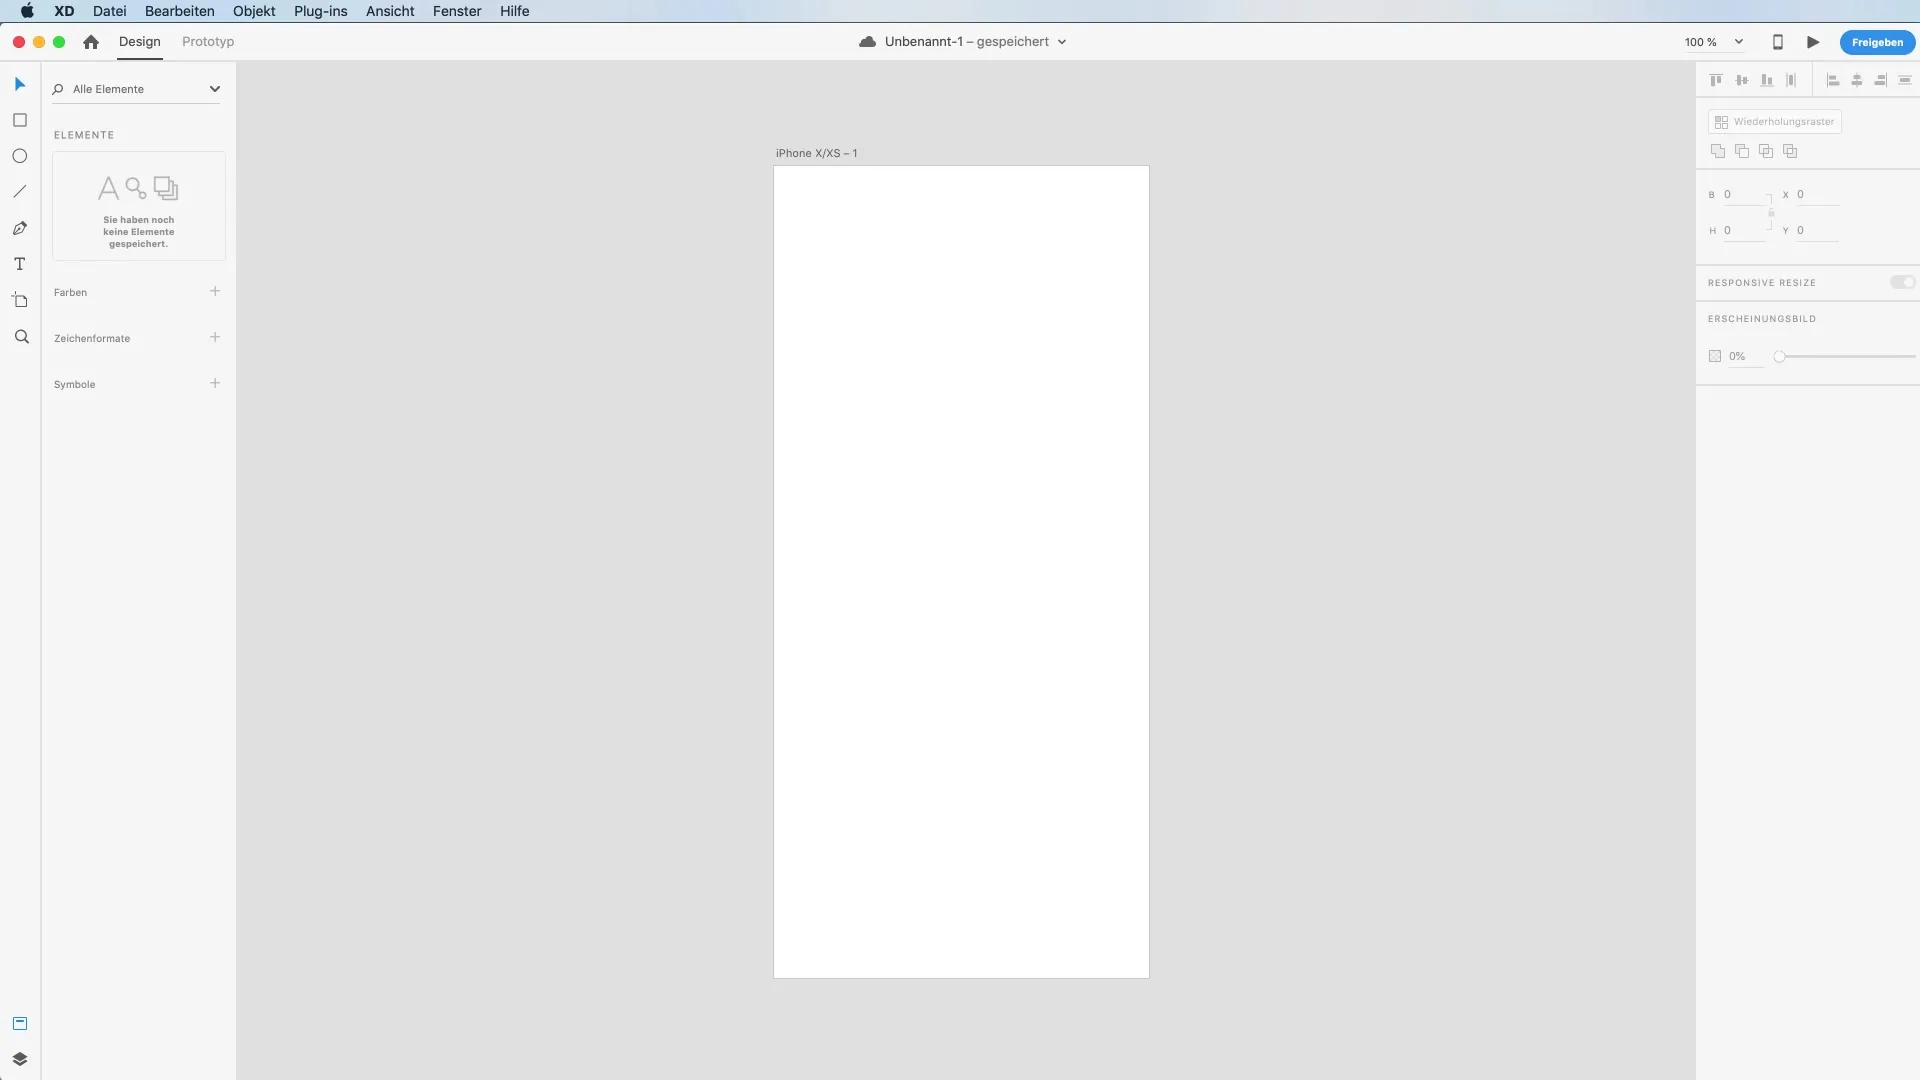
Start by creating a new artboard. Choose an appropriate background color to give your prototype a modern look. For this, you can choose a soft hue to create a pleasant environment.
Add Text
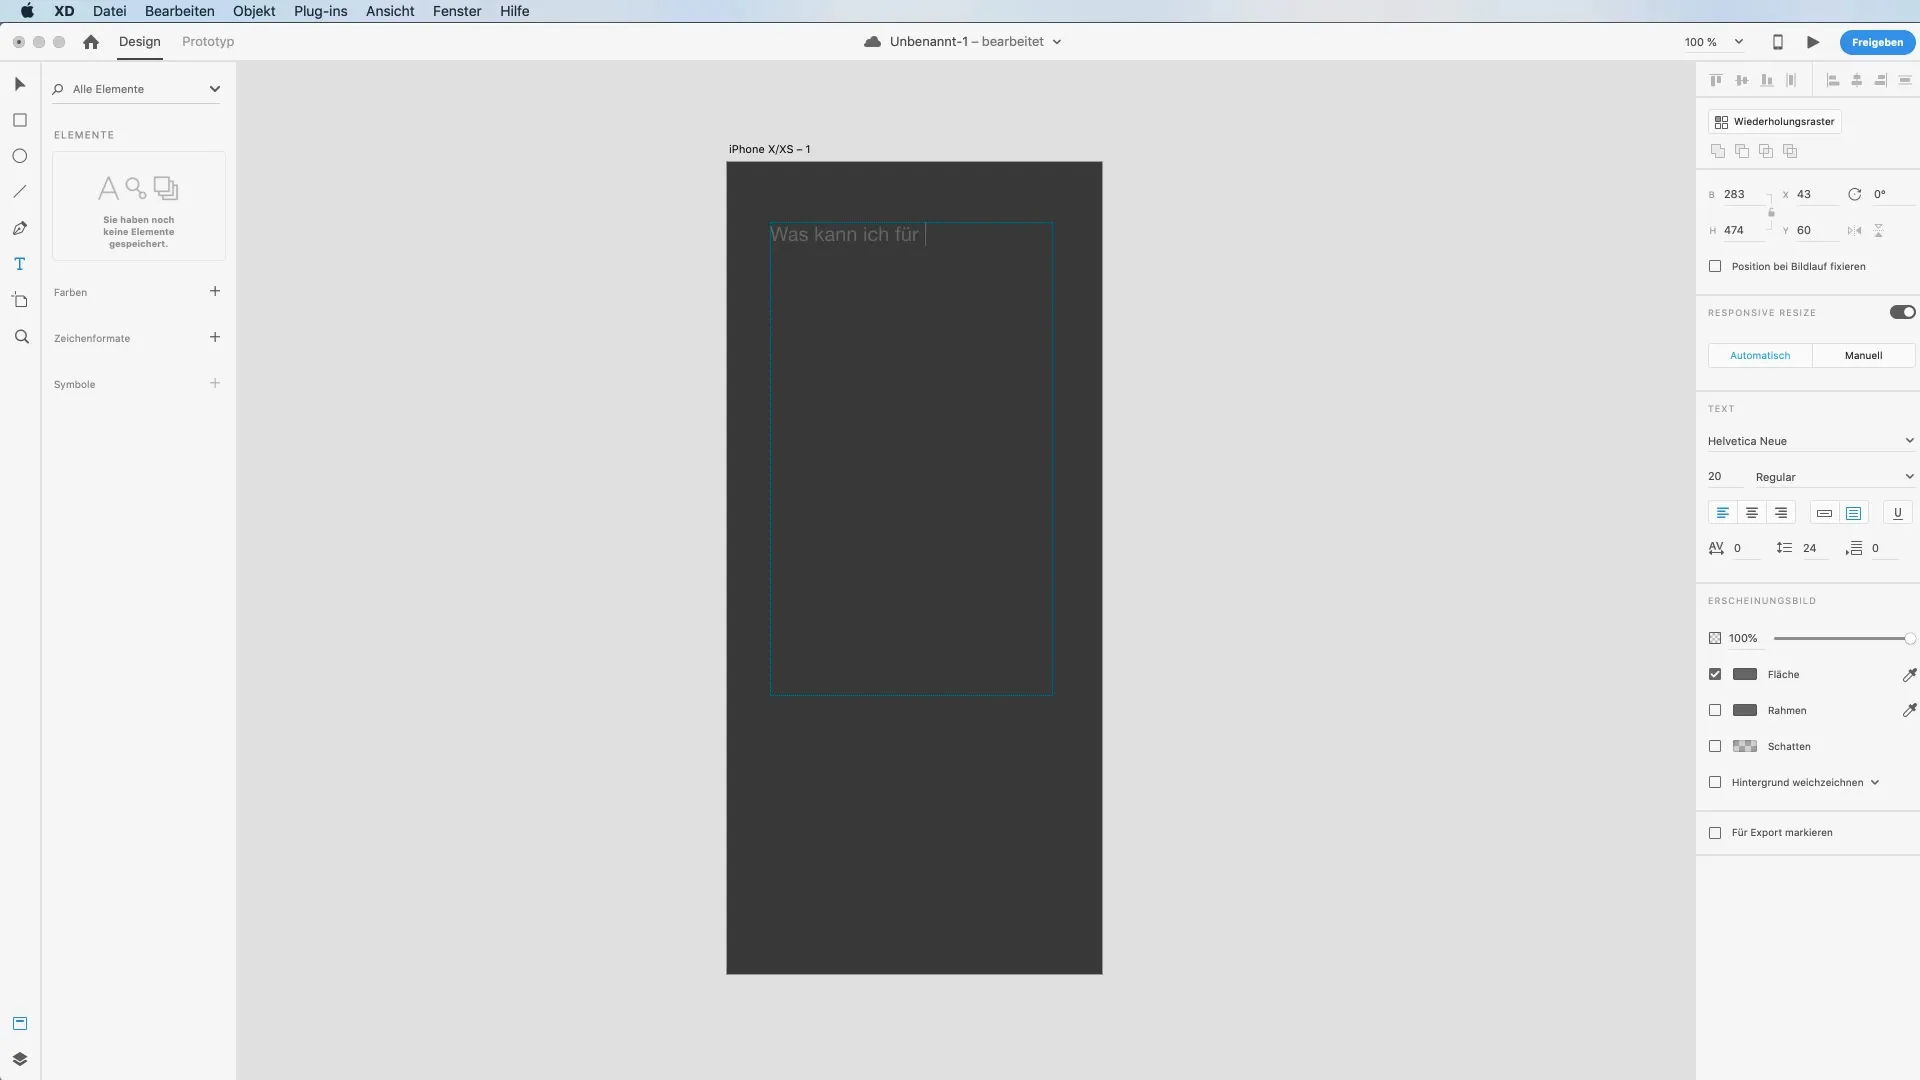
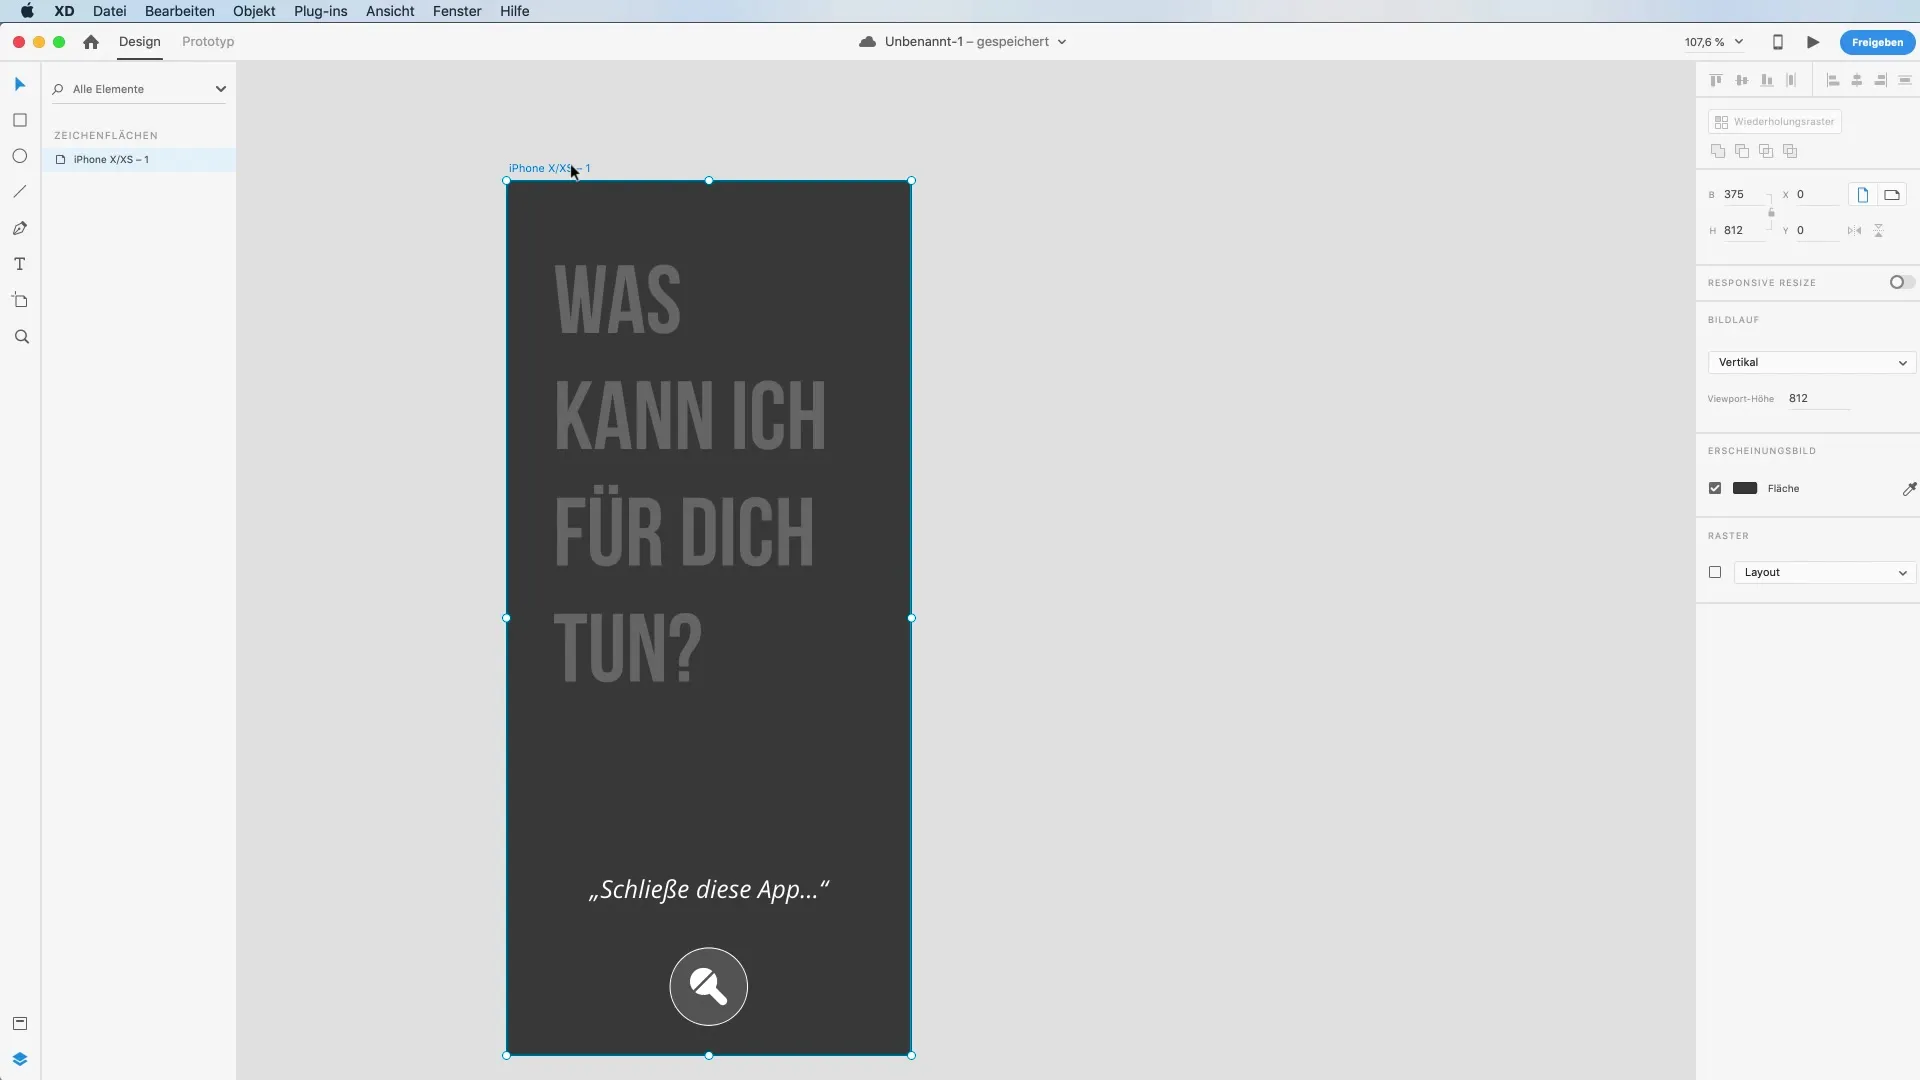
Now it’s time to communicate relevantly. Use the text tool to add a text box where you place the question “What can I do for you?”. Format the text appealingly to make it stand out. A font size of 90 points is ideal to be noticeable without appearing overloaded.
Visual Cues for Voice Control
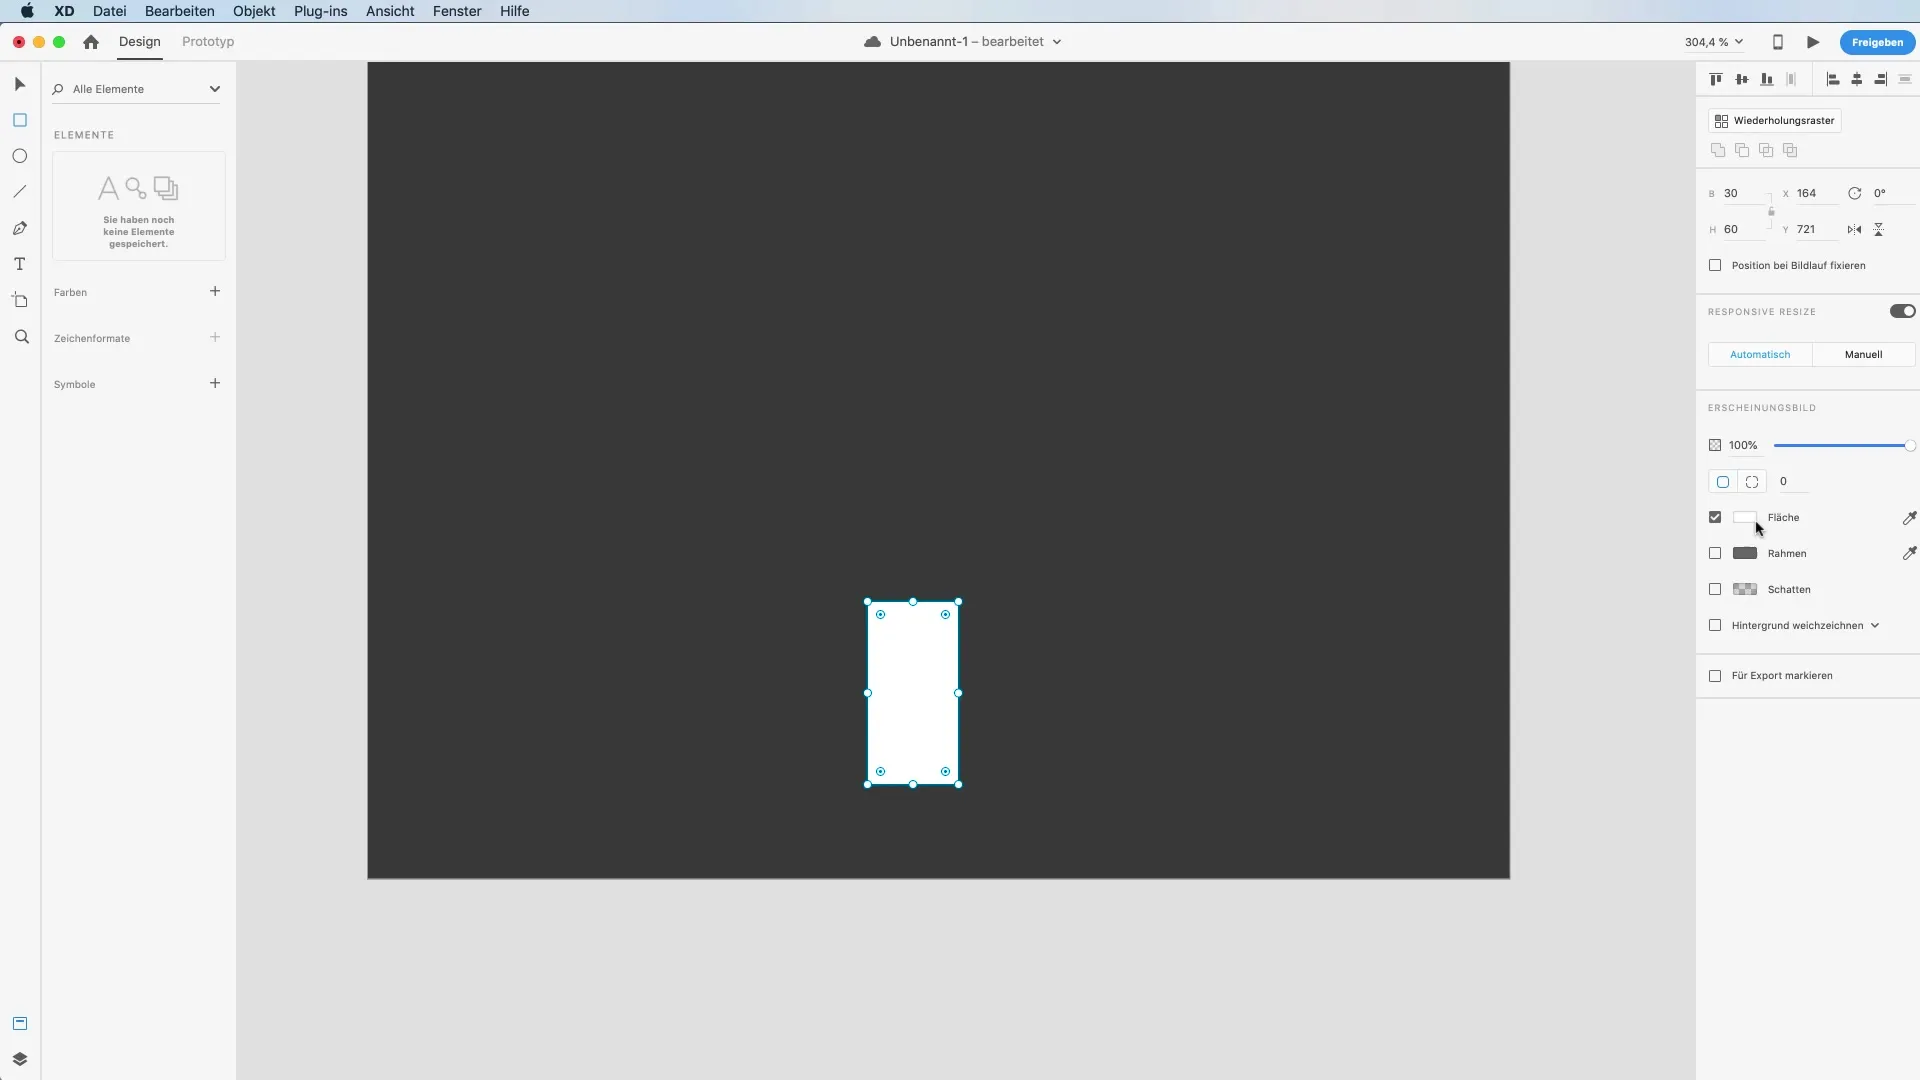
To signal to the user that voice commands are possible, you should create a microphone symbol. You can design a representative microphone by drawing a rounded rectangle and using the circle tool. Ensure that decorative elements are combined in a way that results in an appealing design.
Add the Second Text Box
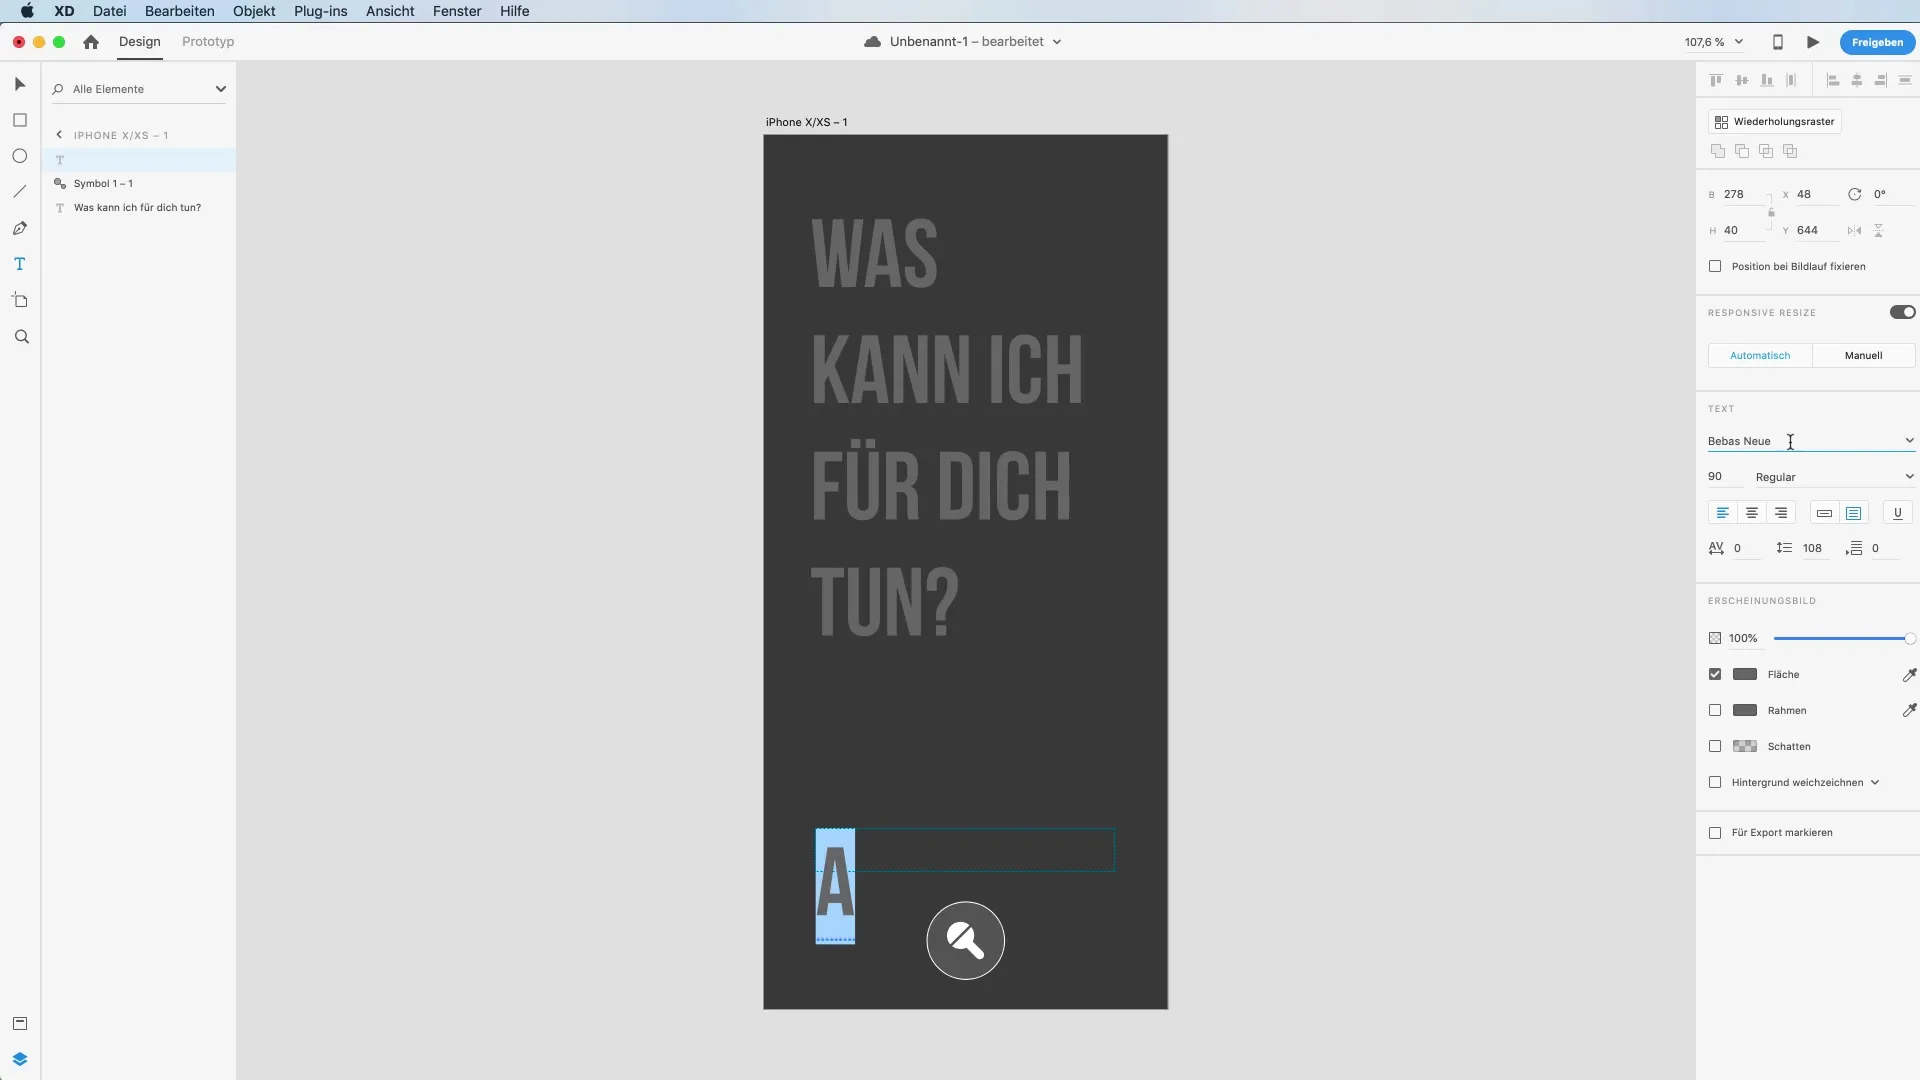
Now add another text box that displays message texts like “Close this app”. Choose an appropriate text formatting to highlight it. The goal is to actively show users what voice inputs they can give.
Create Animations
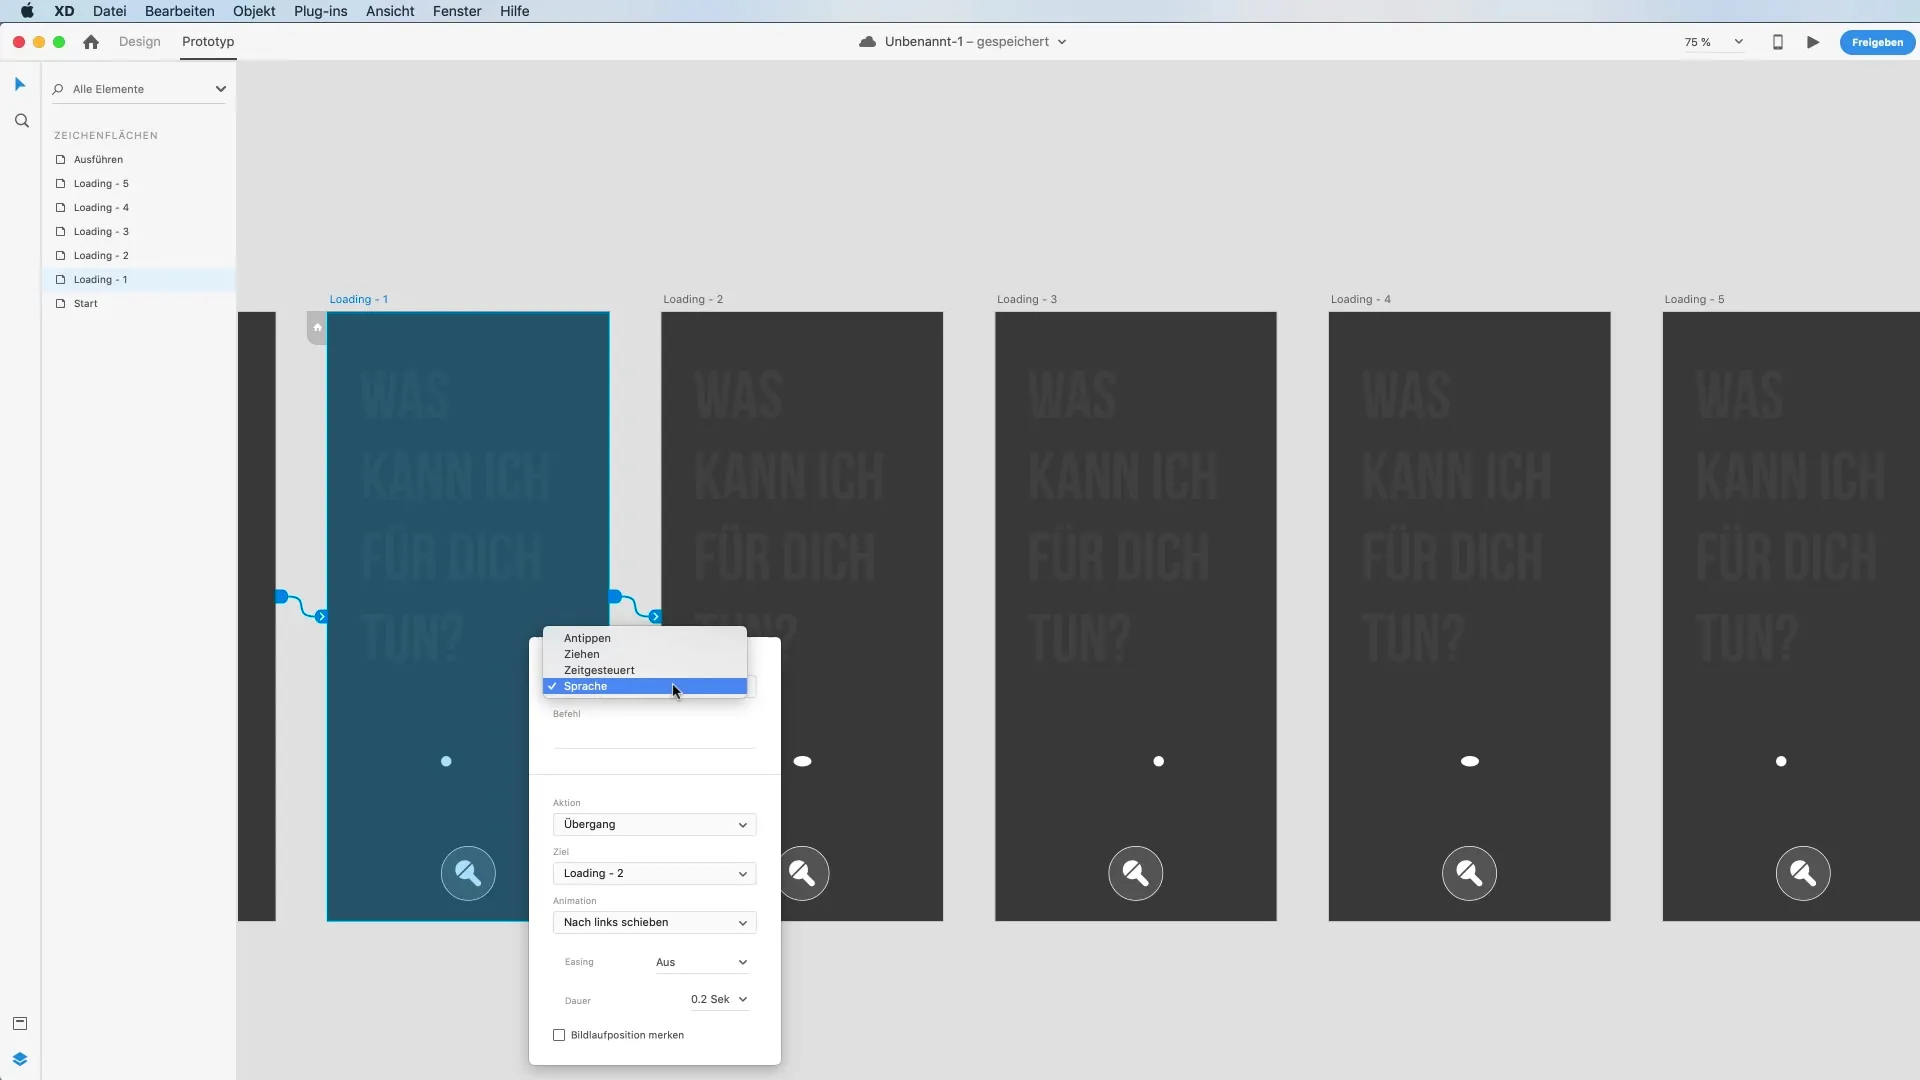
To add dynamic elements to your app, you should create multiple artboards. These will show the various states of your prototype during interactive use. You can define the structure of the animations in the prototype, so that a smooth animation is triggered upon issuing a voice command.
Synchronize the Animations
Use animation settings to define the transitions between the screens. You can use Auto-Animate to ensure that the animation runs seamlessly during the loading phases. This provides a positive user experience while users wait for their inputs.
Use Voice Commands in Prototype Mode
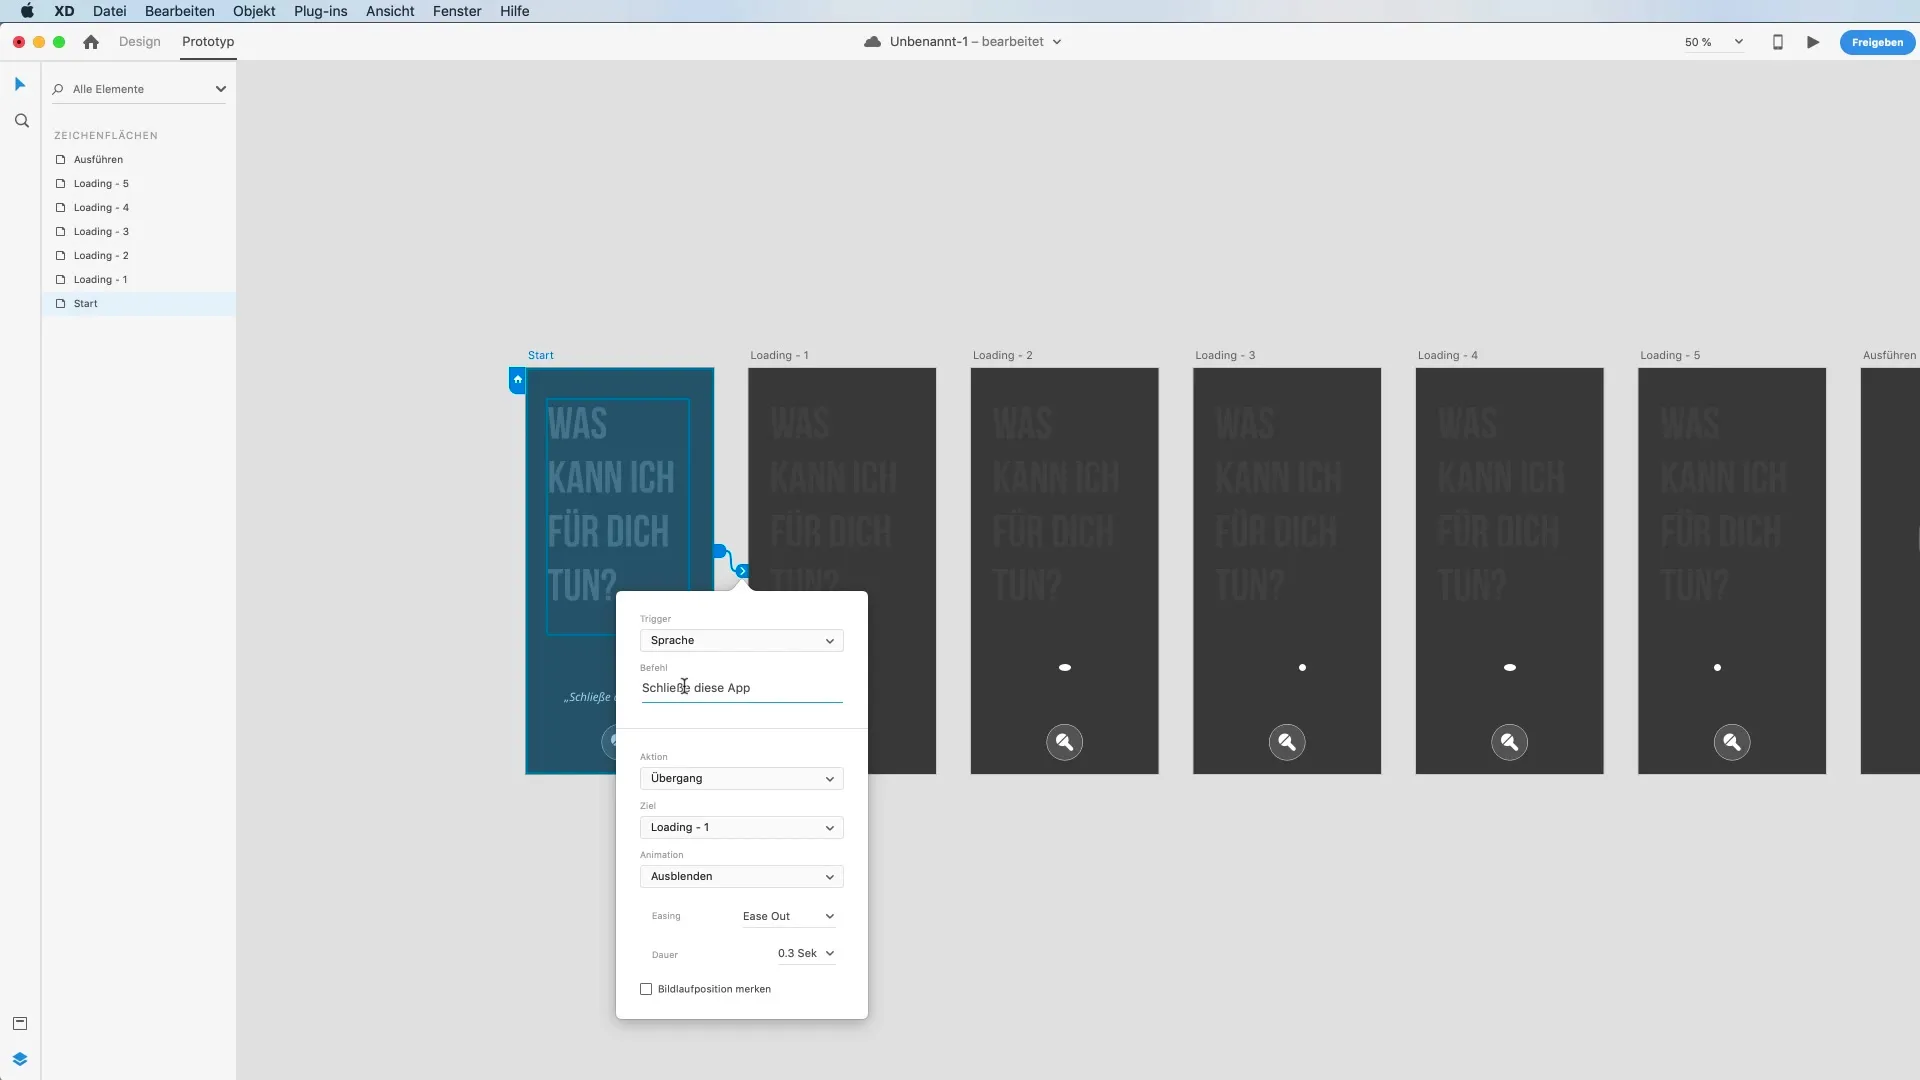
Now switch to Prototype mode and define the voice control transition. The trigger should be set for voice control, not for tapping. Set the command “Close this app” as a trigger for the next action. You must assign a specific animation and duration to each command.
Test the Prototype
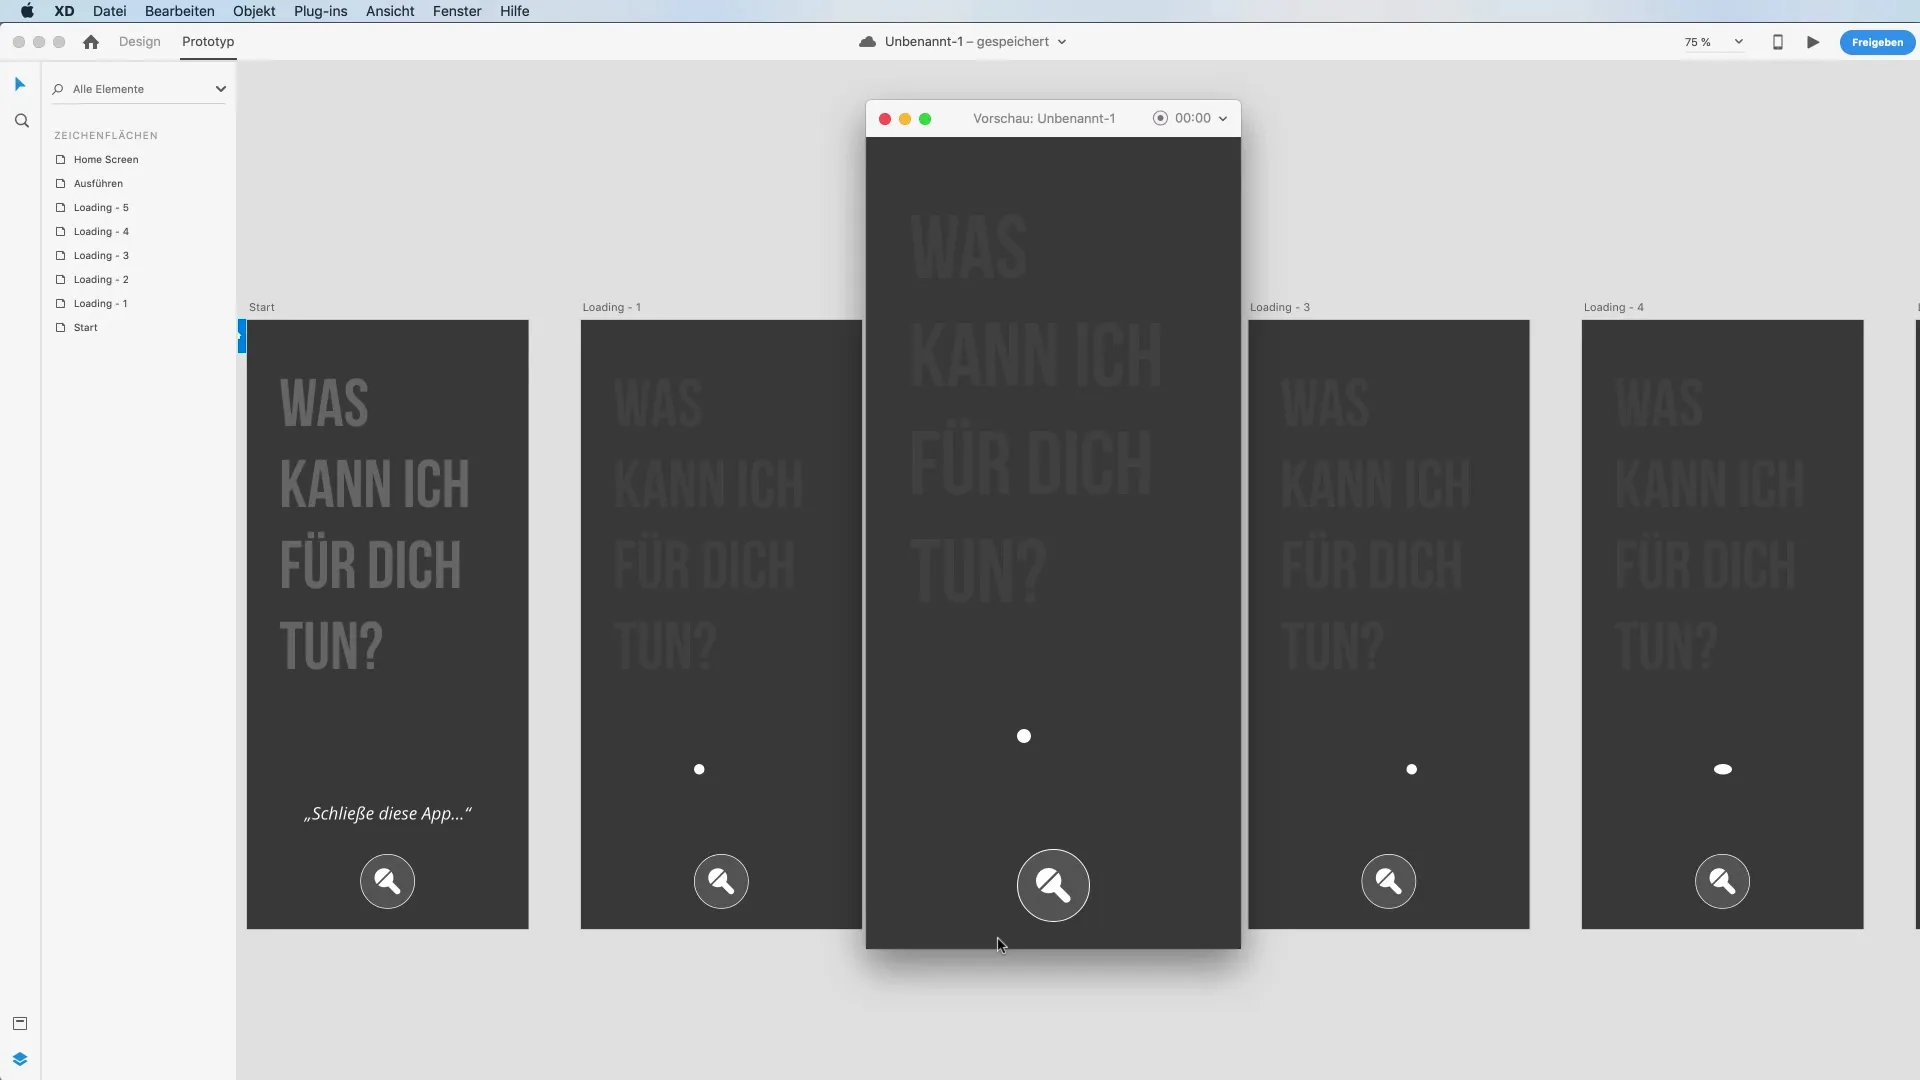
Once everything is set, go to the preview panel and test your application. Hold down the space bar during the test to give voice commands. Check if your prototype correctly responds to voice inputs and if the animations work. Test the command “Close this app” and observe the process.
Summary – Effectively Use Voice Control in Adobe XD
In this guide, you have learned how to implement voice control in Adobe XD. You have gone through the steps of creating a prototype, adding text boxes and visual cues, as well as setting animations and transitions. This technique will help you improve user interaction and make your prototype more attractive.
FAQ
How can I activate voice control in Adobe XD?Voice control can be activated by setting voice commands in Prototype mode.
Can I define my own voice commands?Yes, you can define your own voice commands in the prototype and determine their reactions.
How do I test the voice control?In the preview panel, you can test the voice control by holding down the space bar and speaking your command.


