Are you looking for a way to make your prototypes in Adobe XD more lively and interactive? The Auto-Animate feature will be a crucial tool on your journey to impressive designs. In this tutorial, we will take a closer look at the Auto-Animate feature and show you how you can use it purposefully for different scenarios in your projects.
Key Insights
- The Auto-Animate feature generates animations based on named layers.
- A clear structure in your designs helps maintain an overview.
- By cleverly using the path tool, appealing representations can be realized.
Step-by-step Instructions
1. Add a Path Tool
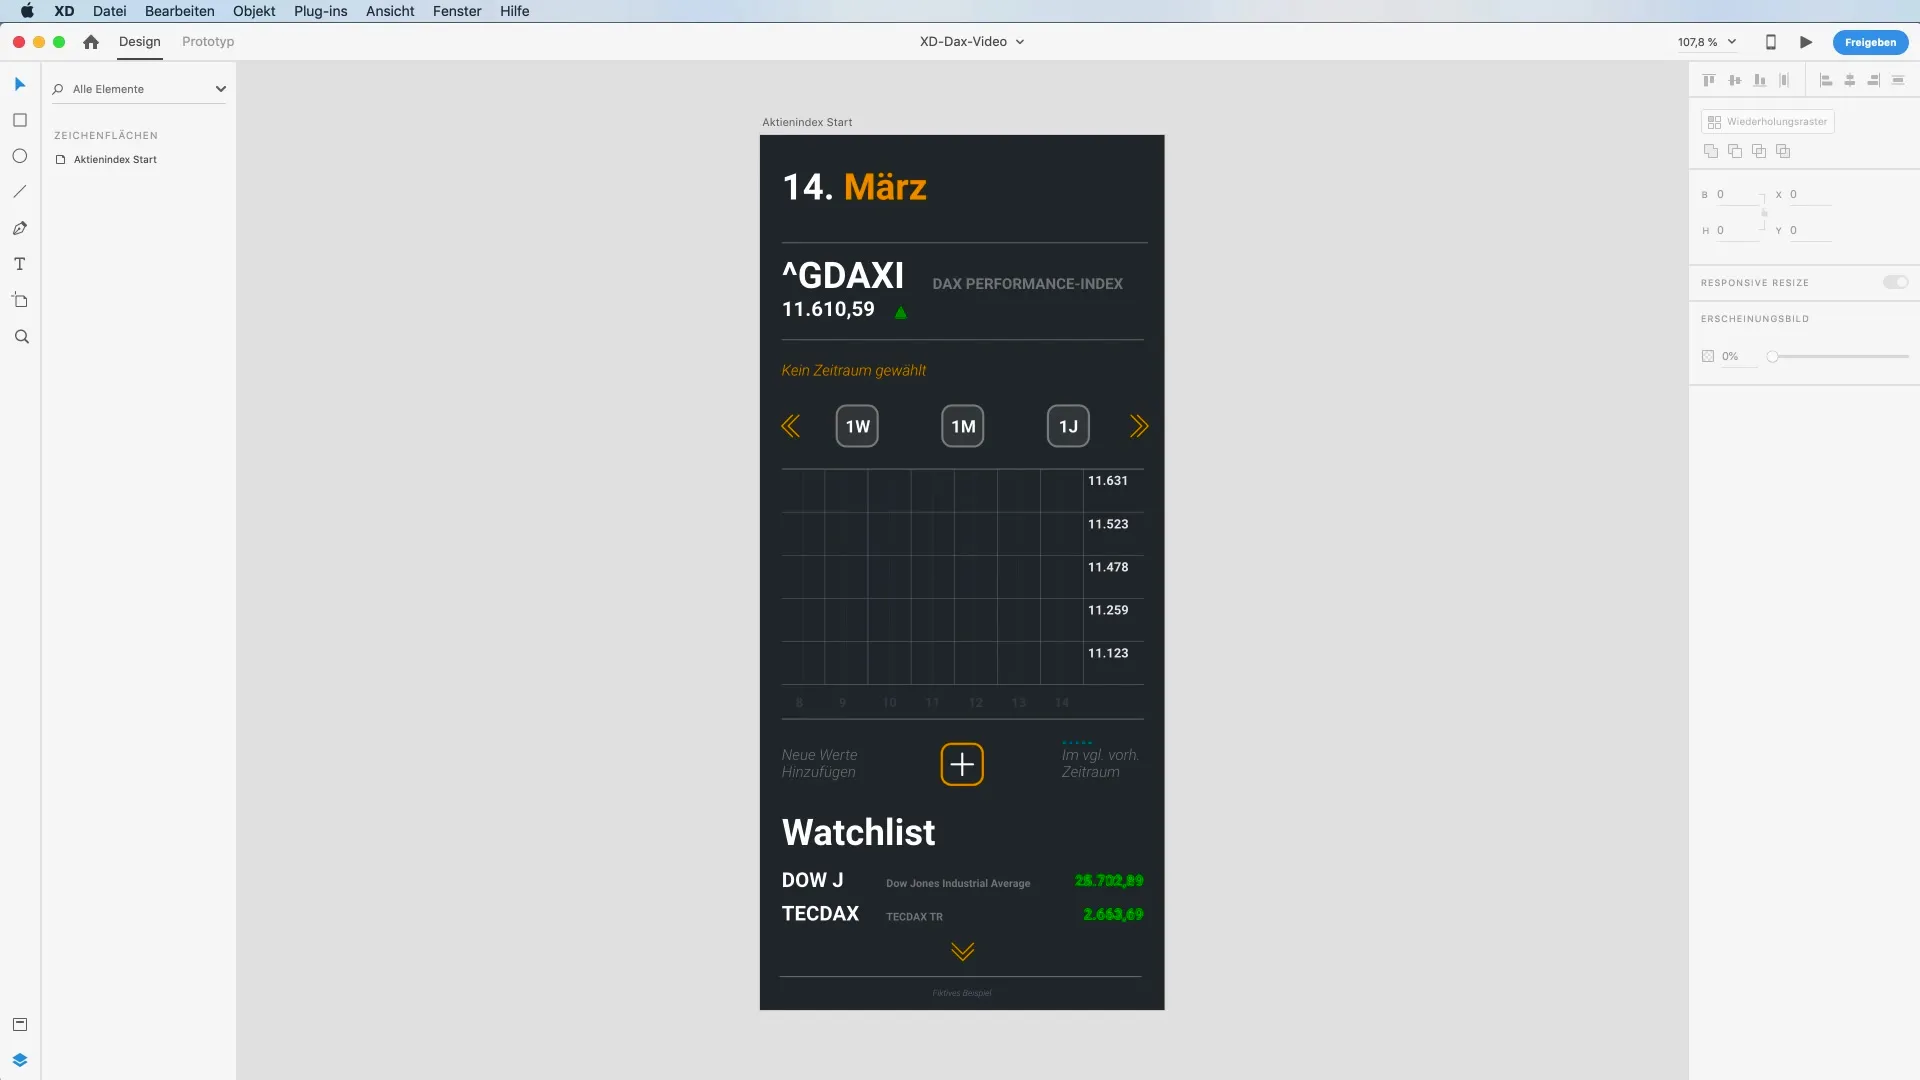
To start creating your stock visualization, open your Adobe XD project and select the path tool from the toolbar. Draw a zigzag line that represents the performance of the stock index. Be sure to hold the Shift key to draw straight lines or lines at a 45° angle. Once you finish drawing, press the Escape key to confirm the path.
2. Design the Appearance of Your Path
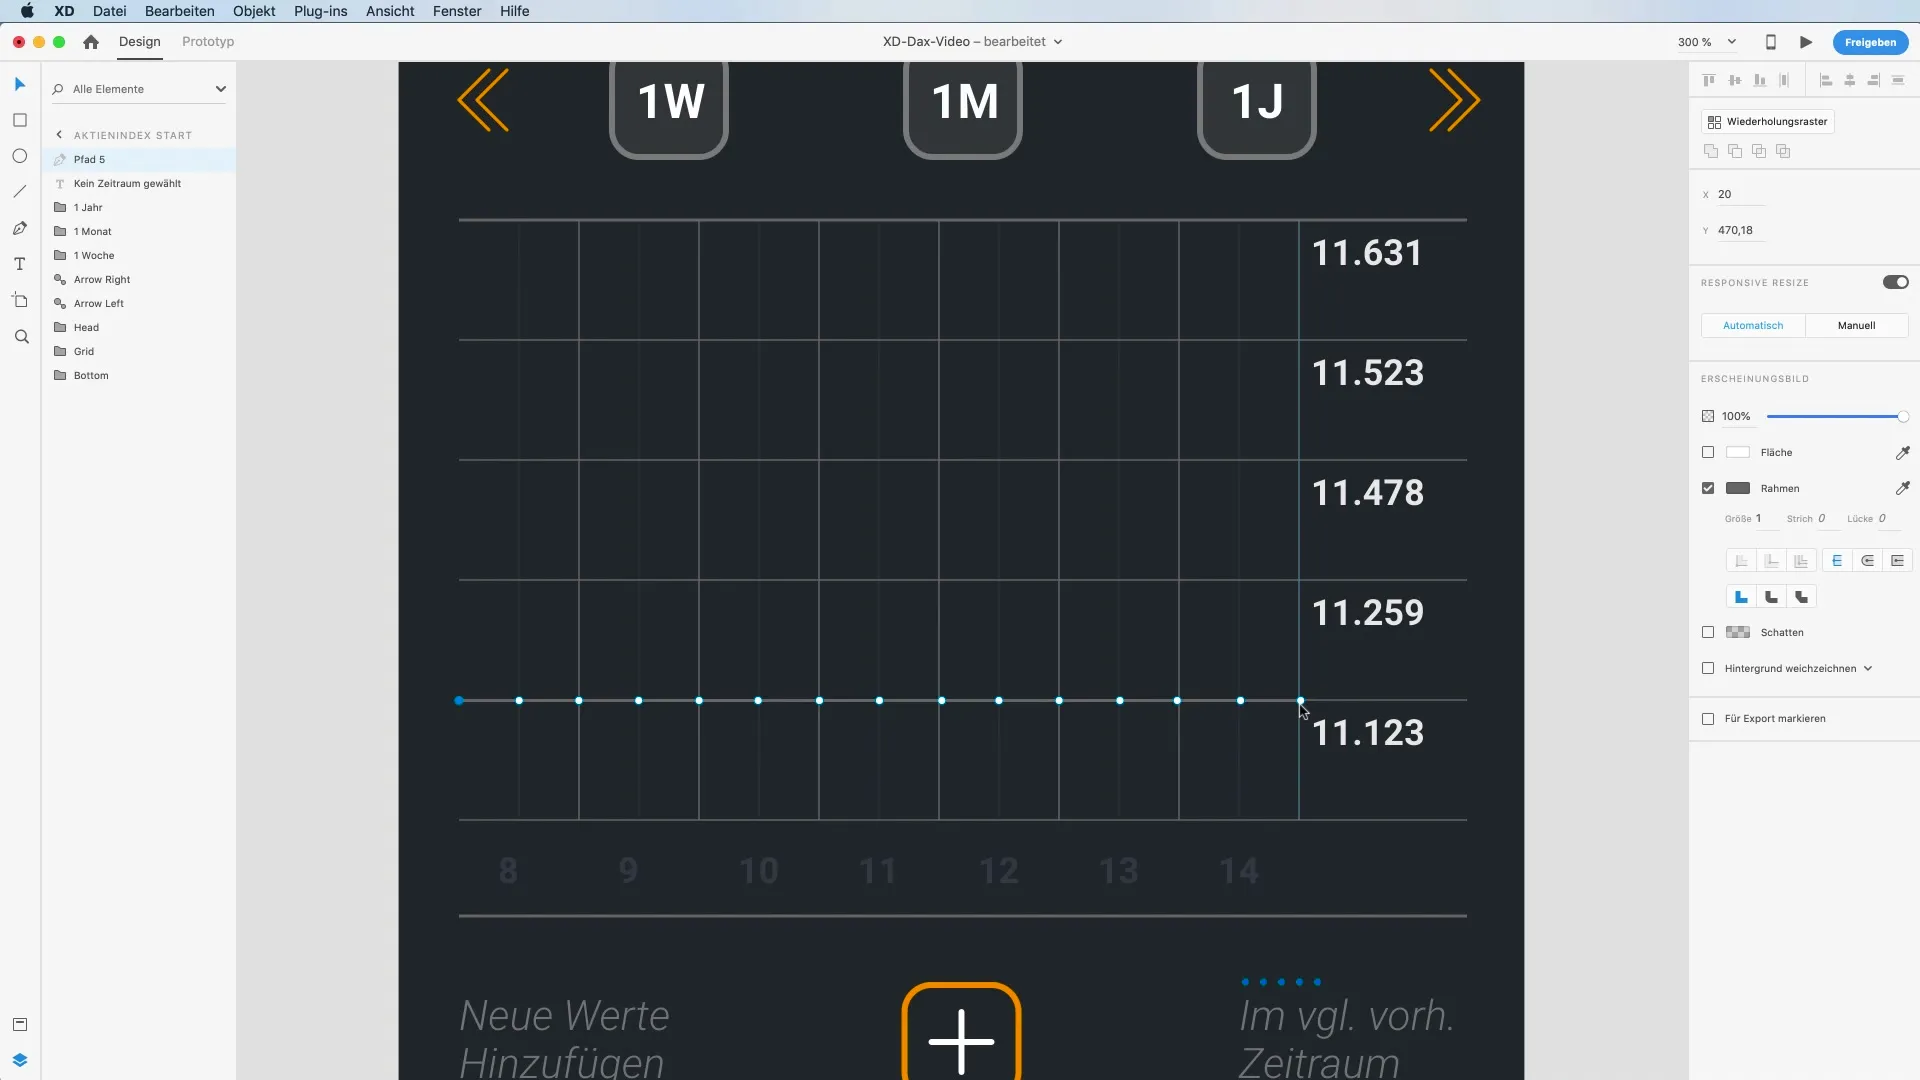
It's crucial that your representation is graphically appealing. Set the stroke color of the path to a suitable shade, e.g., a vibrant orange, and adjust the stroke width to two to highlight the lines. Make sure to name the path clearly, for example, "Current Stock Index," to avoid confusion.
3. Add a Comparison Path
To make the changes in the stock index understandable, create a second line below the current path with the path tool. This represents the performance compared to a previous period. Choose a different color, e.g., blue, and name the path accordingly as "Previous Period Stock Index."
4. Create Different Artboards
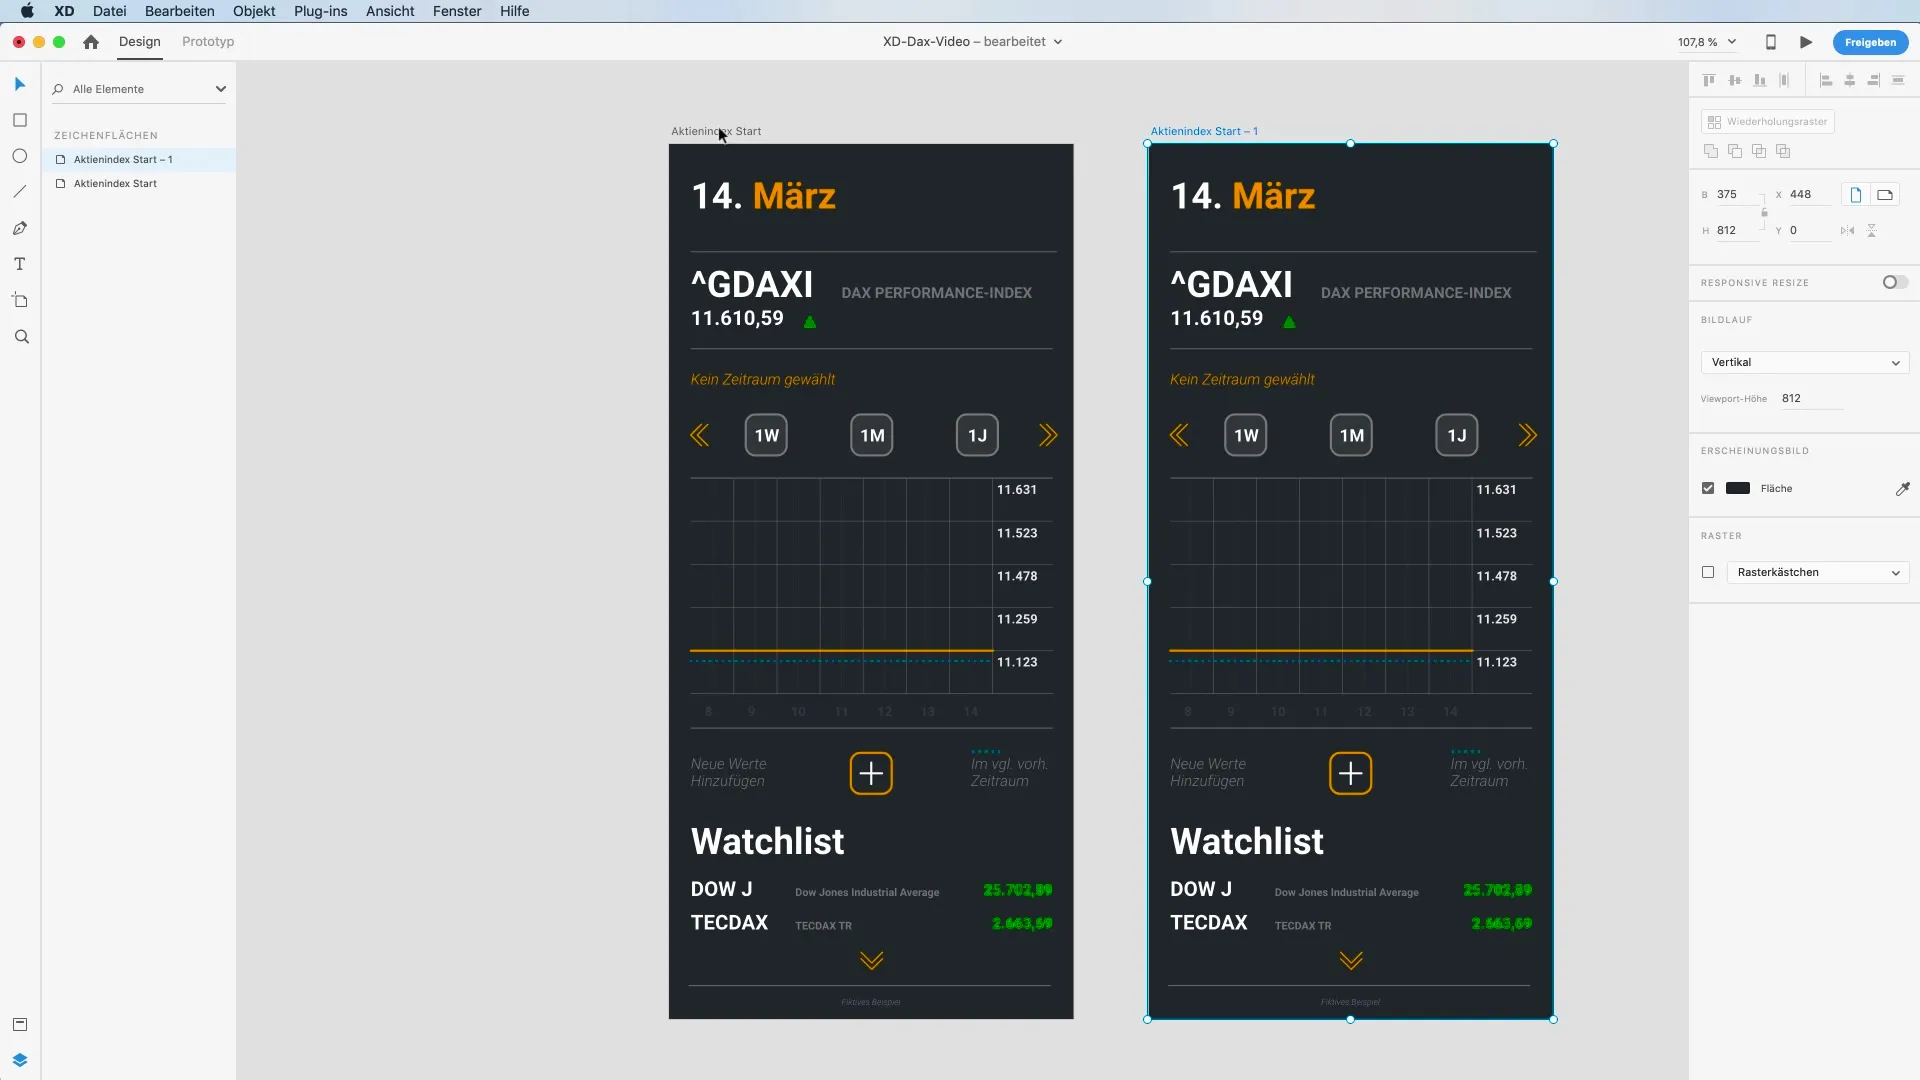
Create multiple artboards for different time frames, such as weekly, monthly, and yearly. Select the first screen and create a duplicate for the weekly view. Update the text contents and visually highlight interactive elements like buttons.
5. Adjust Animation Points
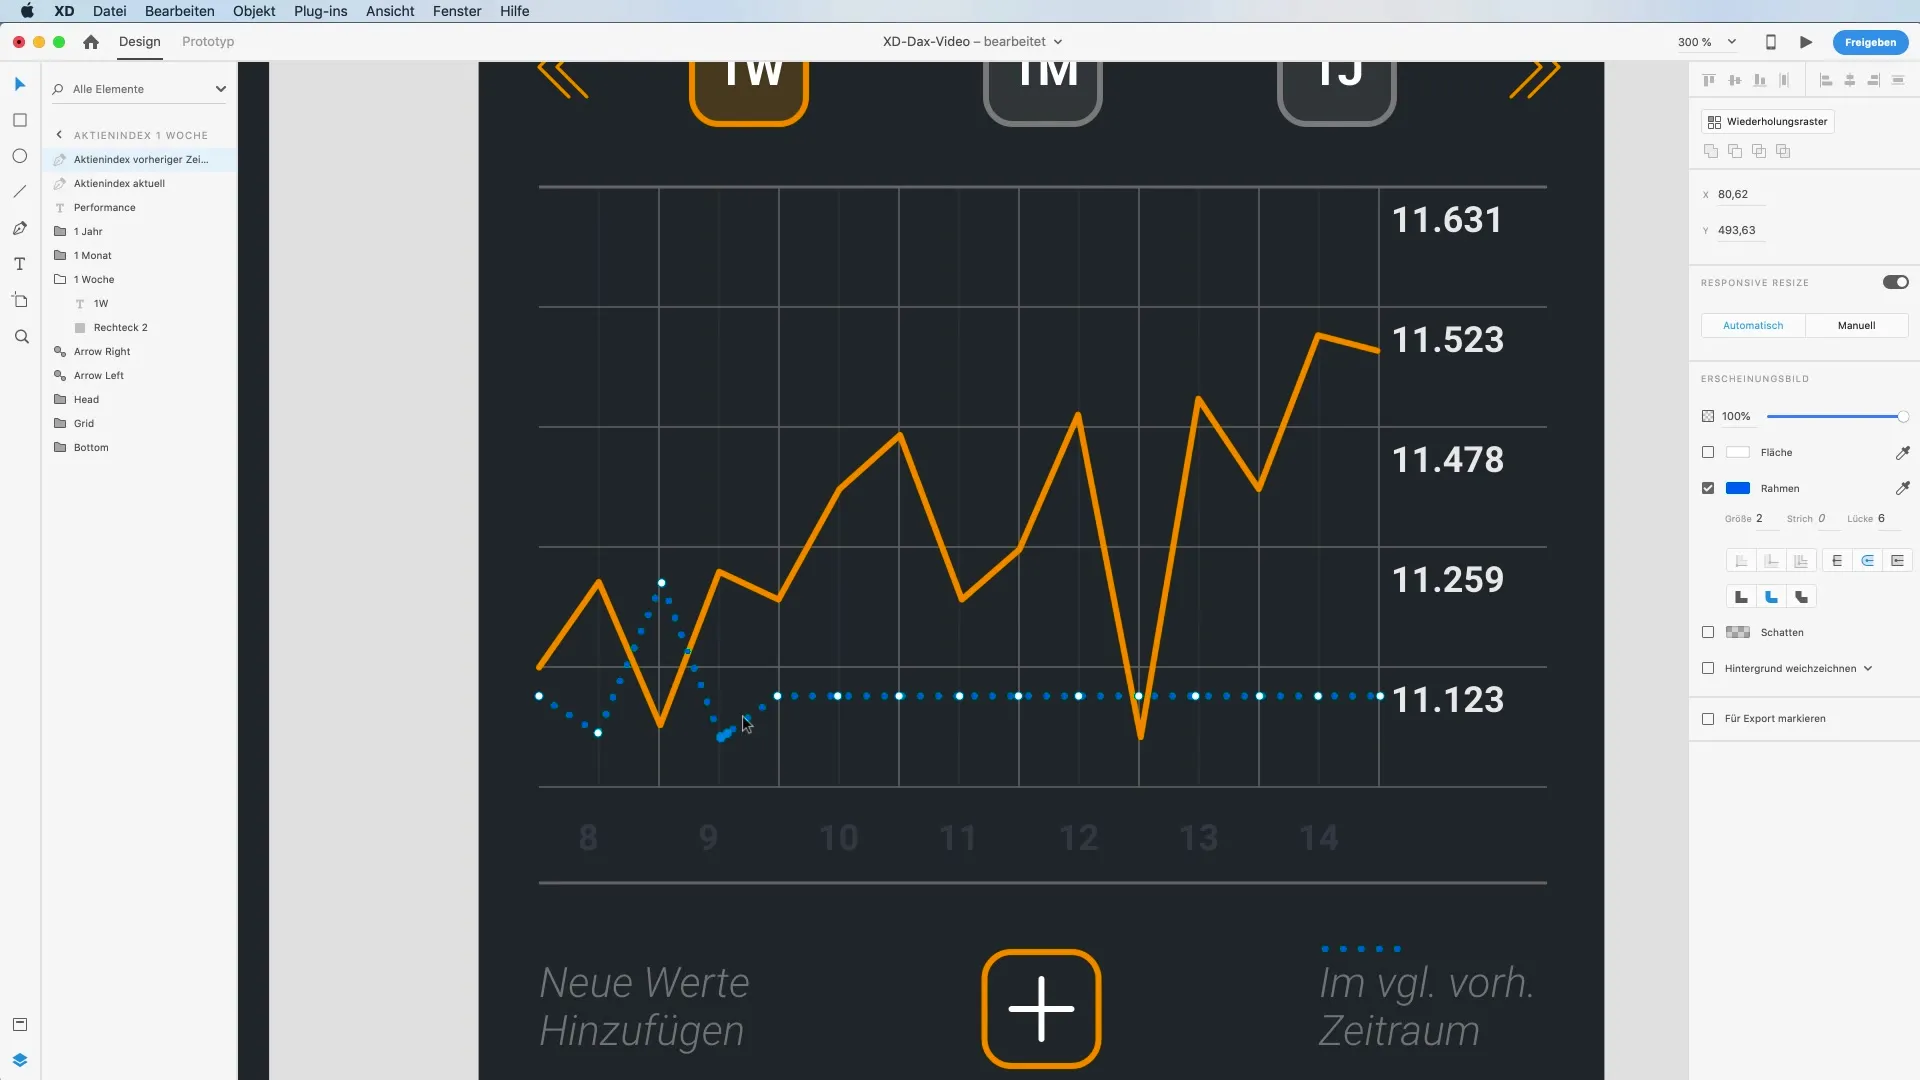
To visually represent the animation of performance, go into design mode and double-click on the paths. Move the points of the lines for a dynamic representation that realistically reflects the price changes. You can undo changes with Command + Z if you make a mistake.
6. Set Transitions for Prototypes
Now switch to prototype mode. Link the buttons with the respective artboards. Choose "Auto-Animate" as the transition and set the duration to 0.8 seconds. Test the animation by clicking the button and checking the interactivity of the app.
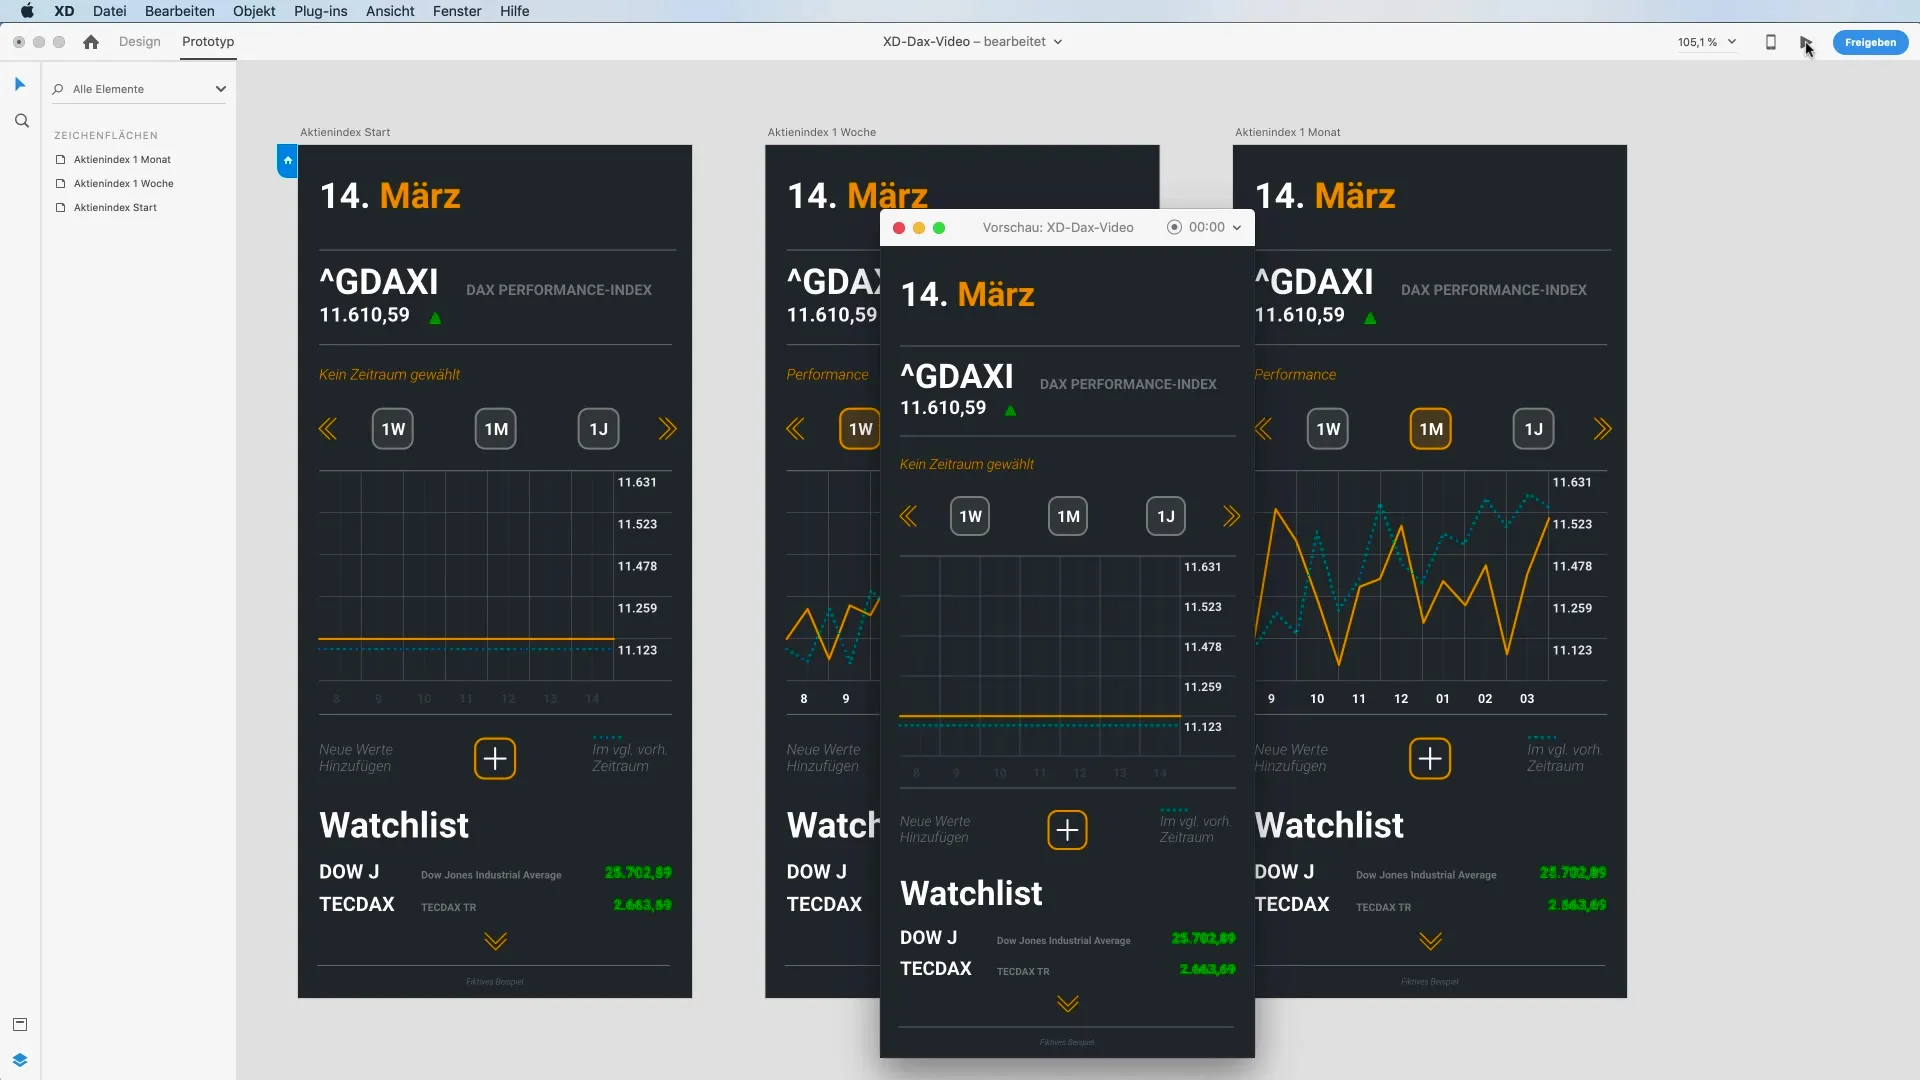
7. Fine-tune the Representation
To increase the aesthetic appeal, you should adjust the opacity of the unused elements. Set the opacity from 10% to 100% for more visible results. Also, test the animations again to ensure everything looks smooth and appealing.
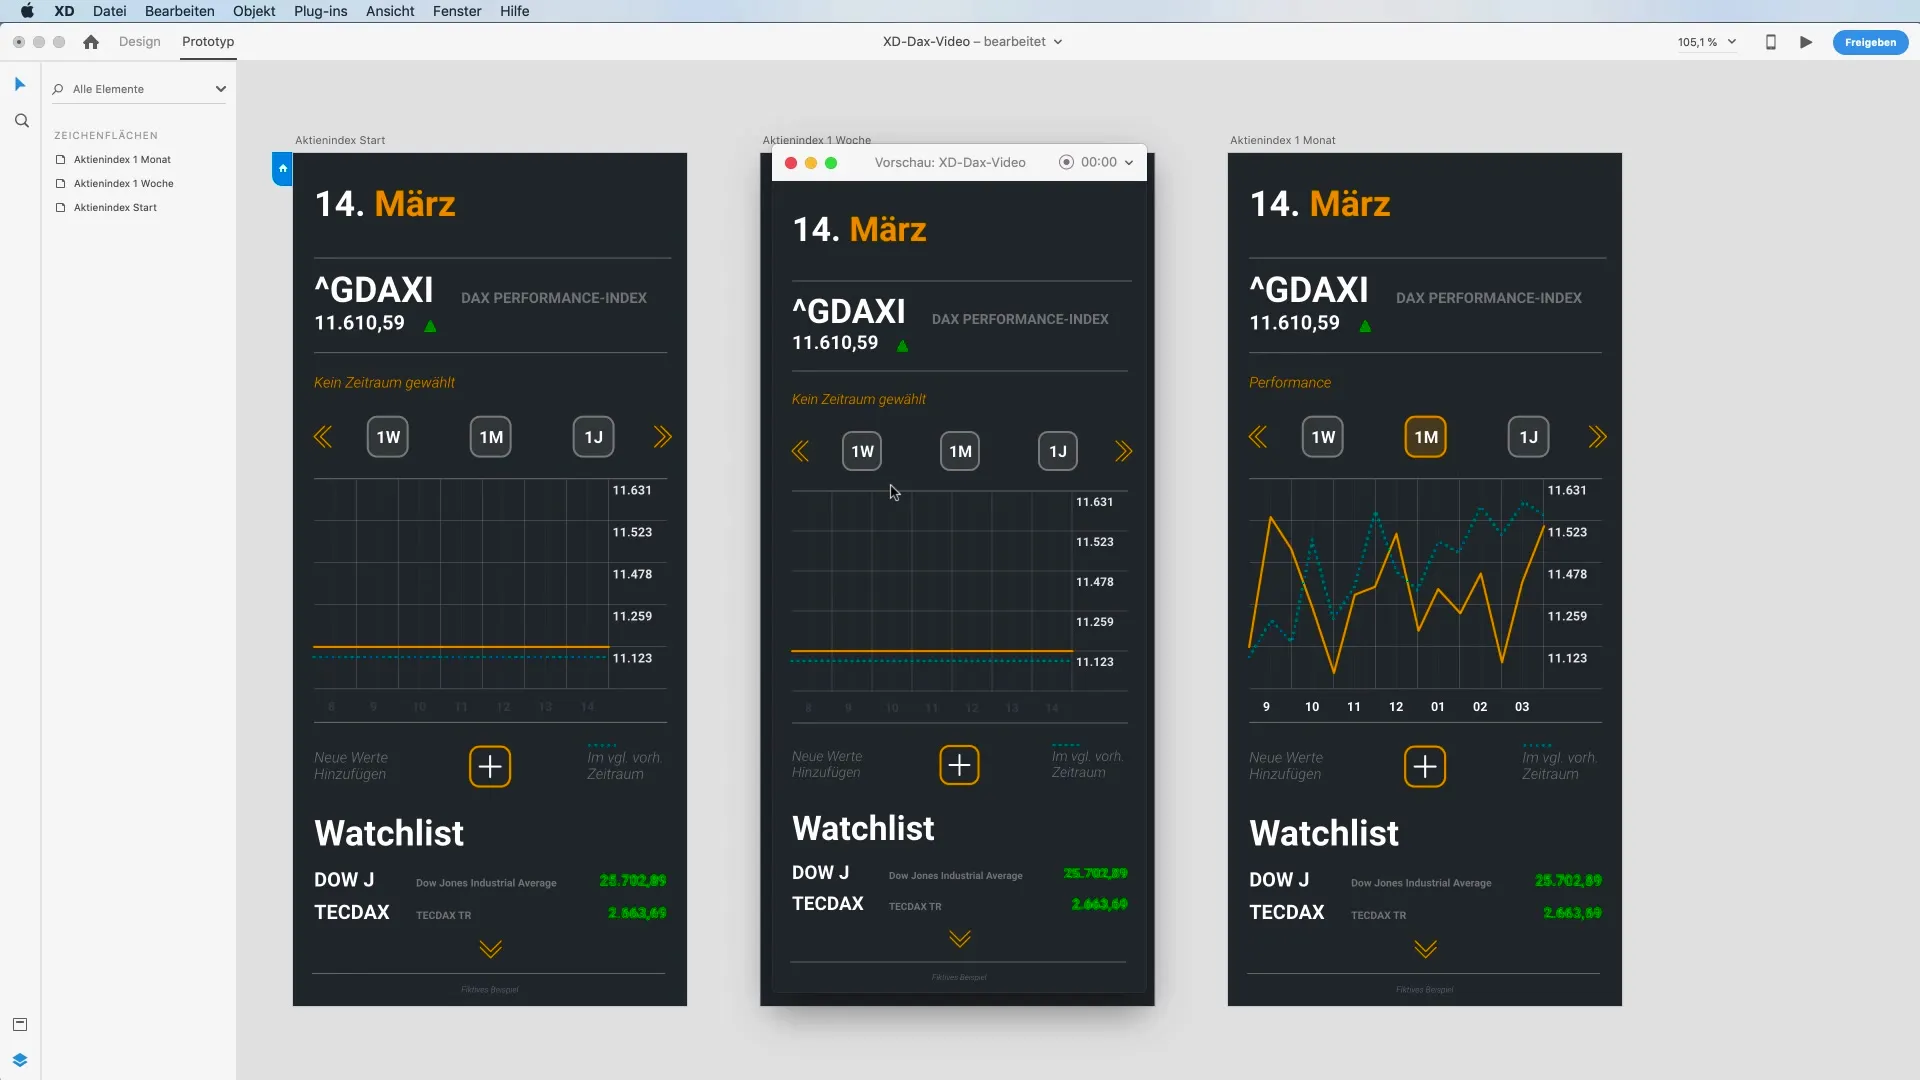
8. Refine the Paths
In design mode, you can also further refine the line direction of your paths. Double-click on anchor points and drag them to create curved lines. These adjustments give your design the finishing touches and make the animations smoother.
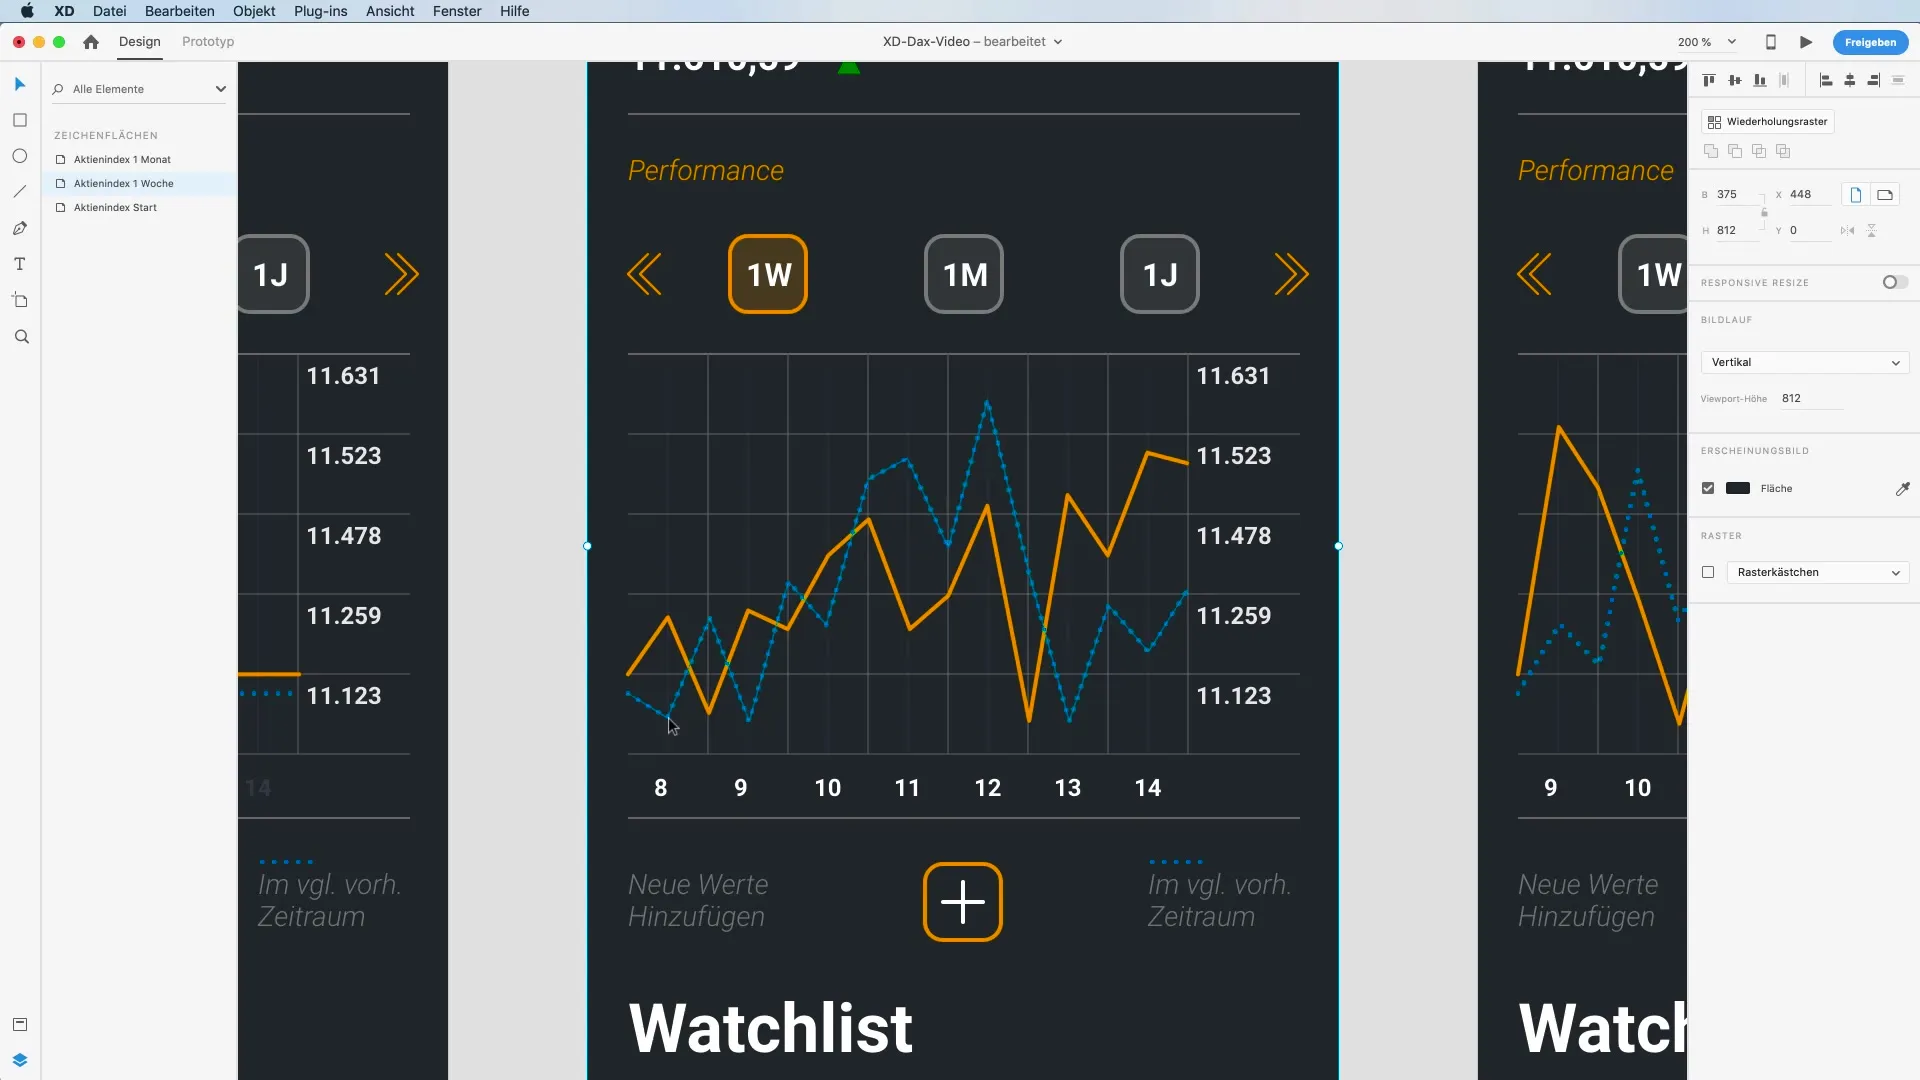
9. Final Test Run
Before finalizing your project, conduct a last test run by switching between the artboards. Check if all animations run smoothly and whether the elements react as expected. This gives you the opportunity to address any inconsistencies.
Summary - Auto-Animate in Adobe XD for Interactive Prototypes
With the Auto-Animate feature in Adobe XD, you have a powerful tool to make your prototypes vivid and dynamic. You have learned how proper naming, creating paths, and adding animations work together to achieve impressive results. Use what you've learned to realize your own projects and optimize the interactive experience.
Frequently Asked Questions
How does the Auto-Animate feature work in Adobe XD?The Auto-Animate feature creates animations by analyzing the start and end points of named layers and visualizing them in a flowing animation.
Can I use the Auto-Animate feature for other projects as well?Yes, the Auto-Animate feature can be used for many types of projects, as long as you follow a clear structure in your layers and artboards.
How long should the transitions in the animation take?Typically, the duration for transitions ranges from 0.6 to 1.0 seconds to ensure a smooth animation.


