Are you ready to unleash your creative potential and create an impressive movie poster in the style of Preacher? Removing the background from the people is a crucial step in this workflow. In this tutorial, we will guide you through the process of background removal using the pen tool. Get ready to learn and apply different techniques for your project!
Key Insights
- You will learn to use the pen tool for precise background removal.
- There are several methods for background removal, each requiring different levels of detail depending on the artwork.
- The final quality of the cutout depends on the accuracy of the contours and the editing.
Step-by-Step Guide
Step 1: Prepare in Photoshop First, open your image in Photoshop. Make sure all layers are visible so you can effectively use the quick selection tool. Enable the "All Layers" option to ensure you can consider the entire image in your selection.

Step 2: Use the Quick Selection Tool Take the quick selection tool in hand. Start by roughly selecting the contours of Peter. You can press the shift key to add more areas to your selection. While you are painting along the contours, ensure they are as accurate as possible.
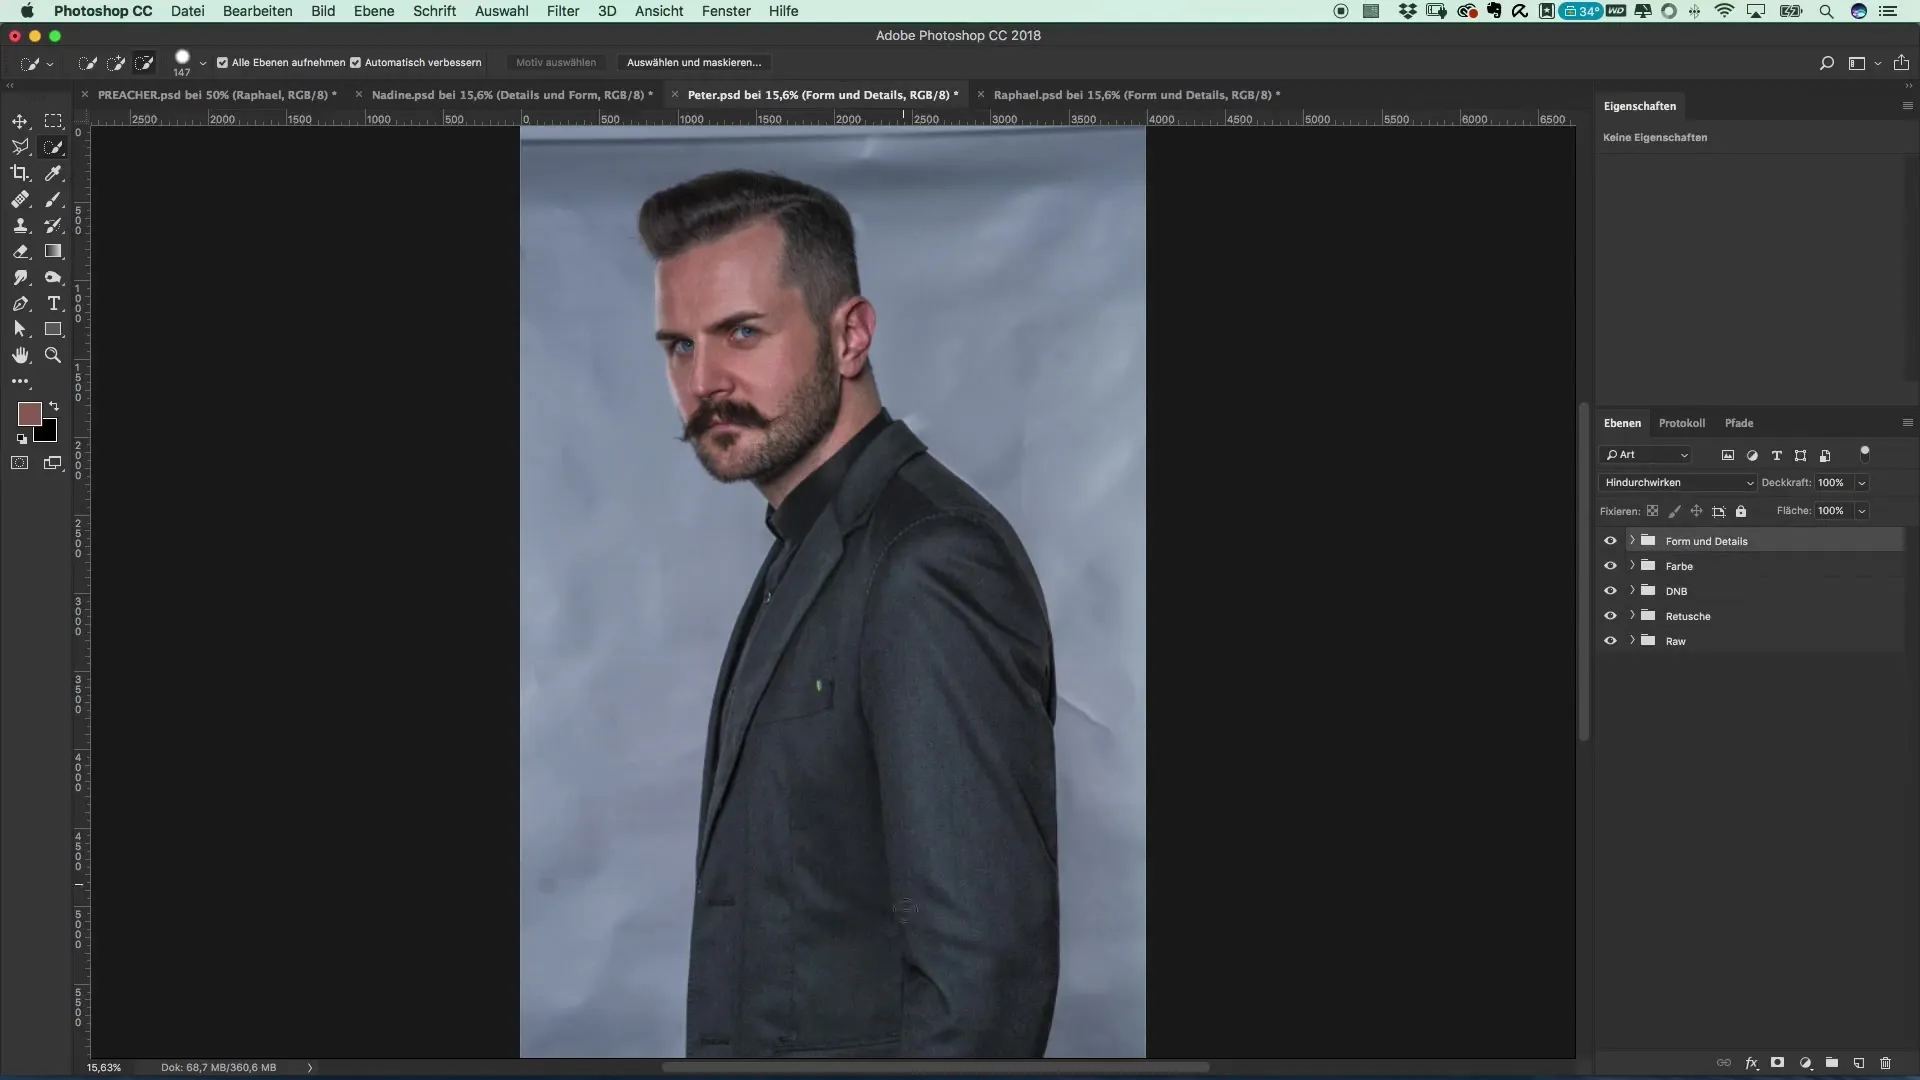
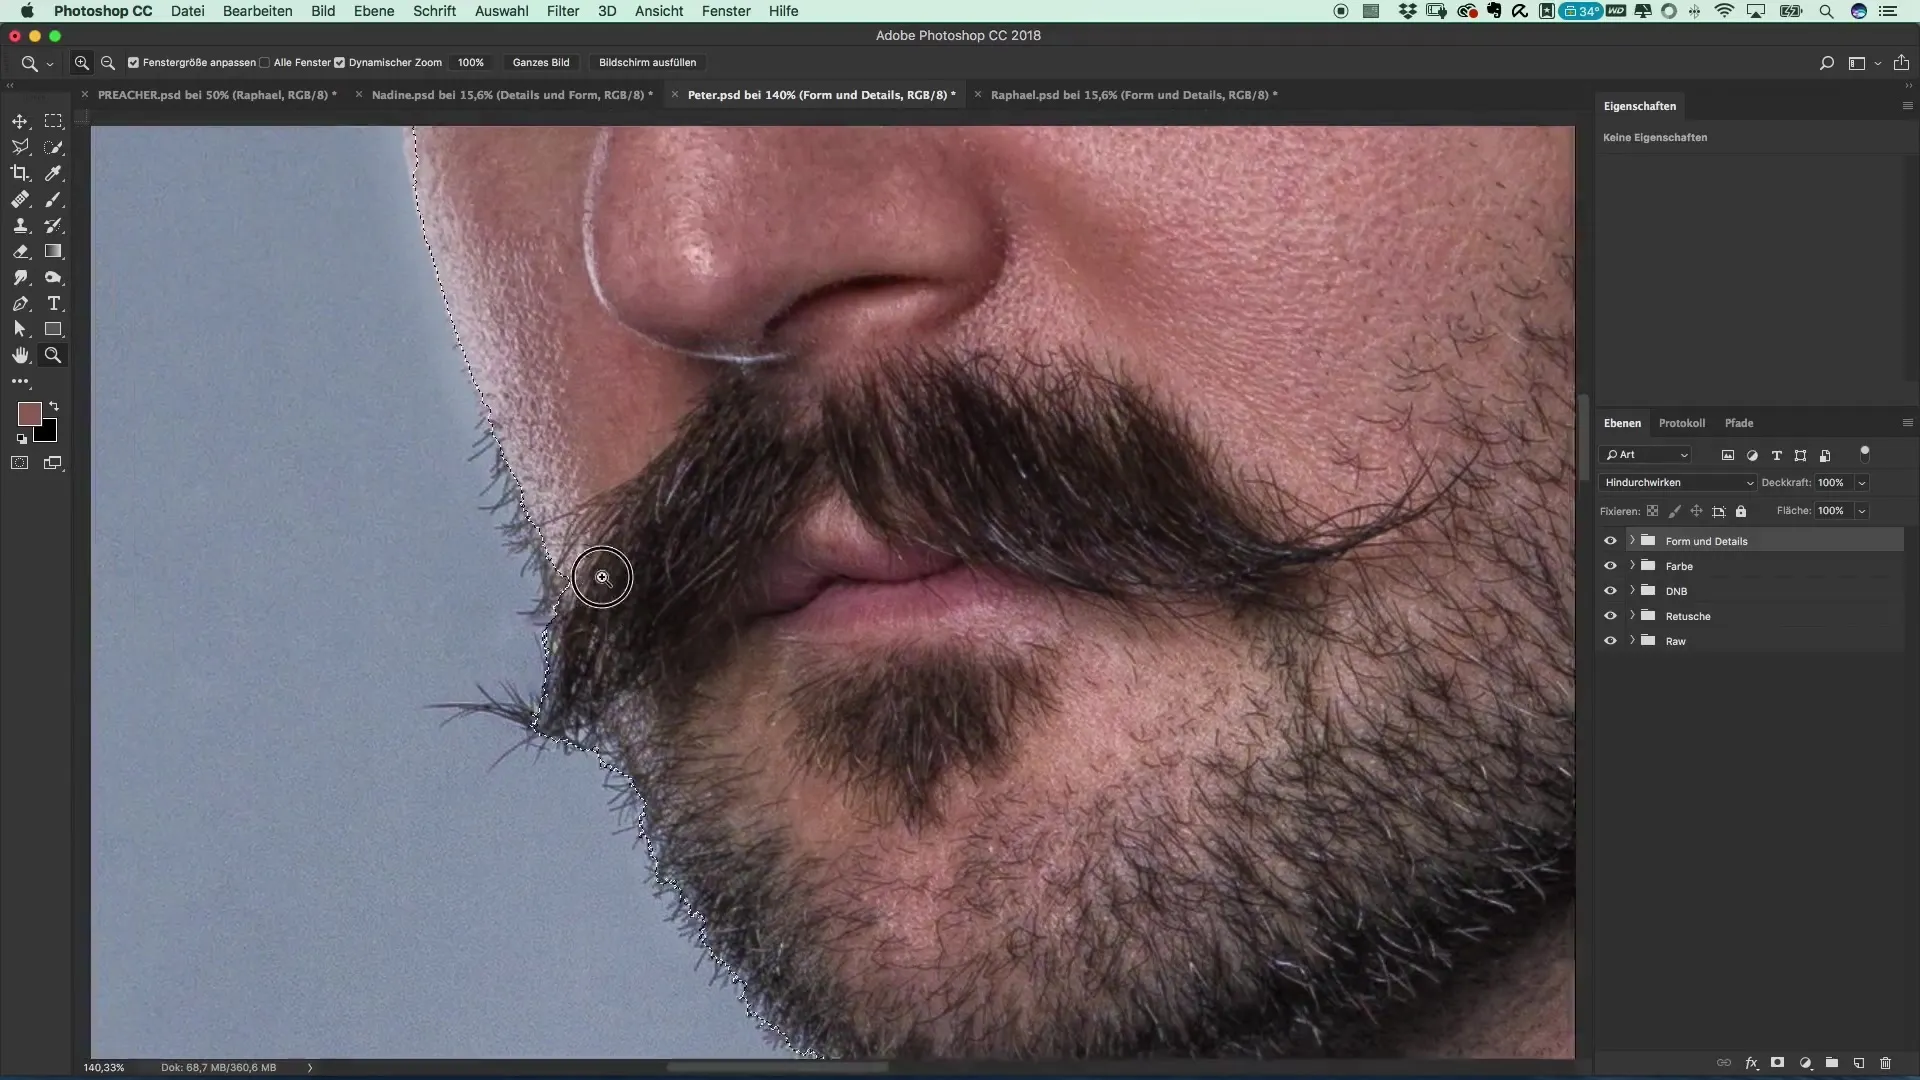
Step 3: First Review of the Selection After you have created the first selection layer, take a close look at the contours. In some areas, you will find that adjustments are needed. Use the refinement tool to fine-tune your selection.
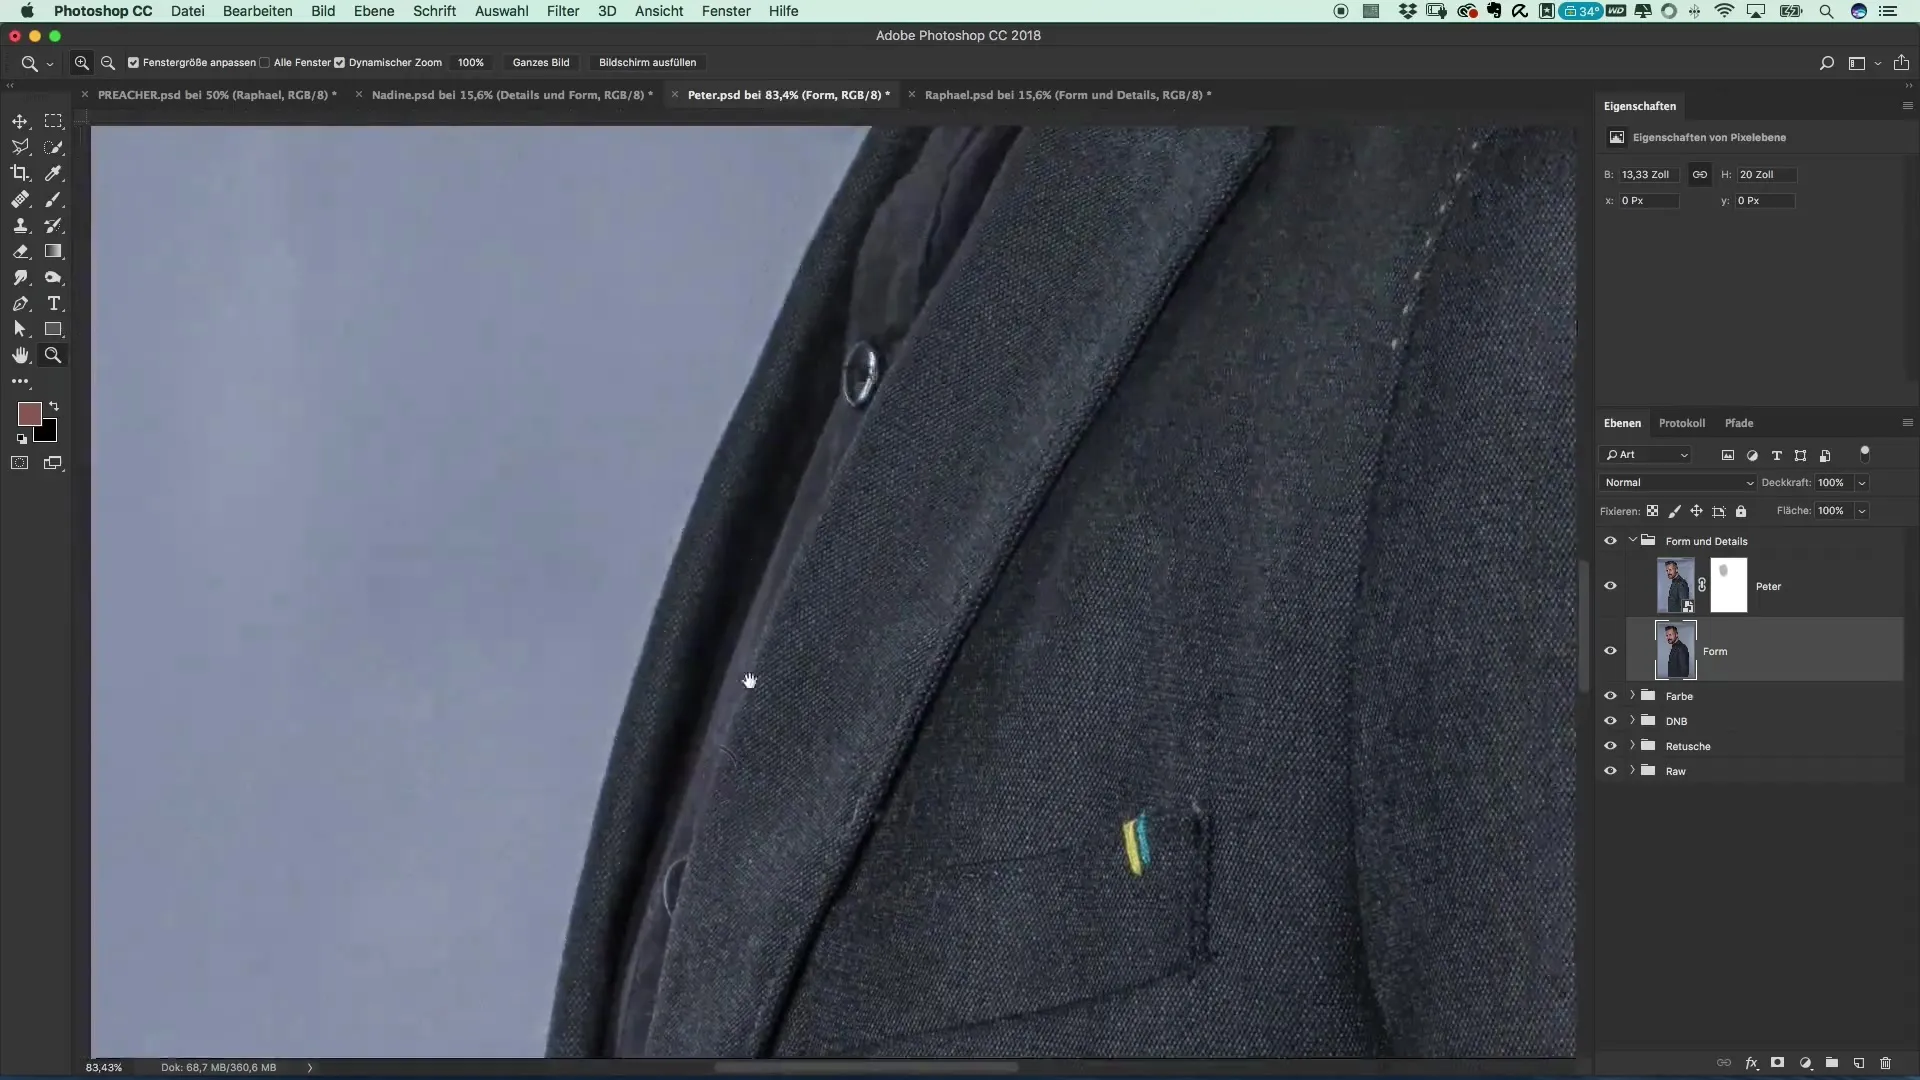
Step 4: Use Automatic Object Selection To try a faster method, you can also use the "Select Subject" feature introduced with Photoshop 2018. To do this, select the shape layer and click on "Select" > "Subject". Photoshop will then automatically detect the subject and provide informative support during the process.
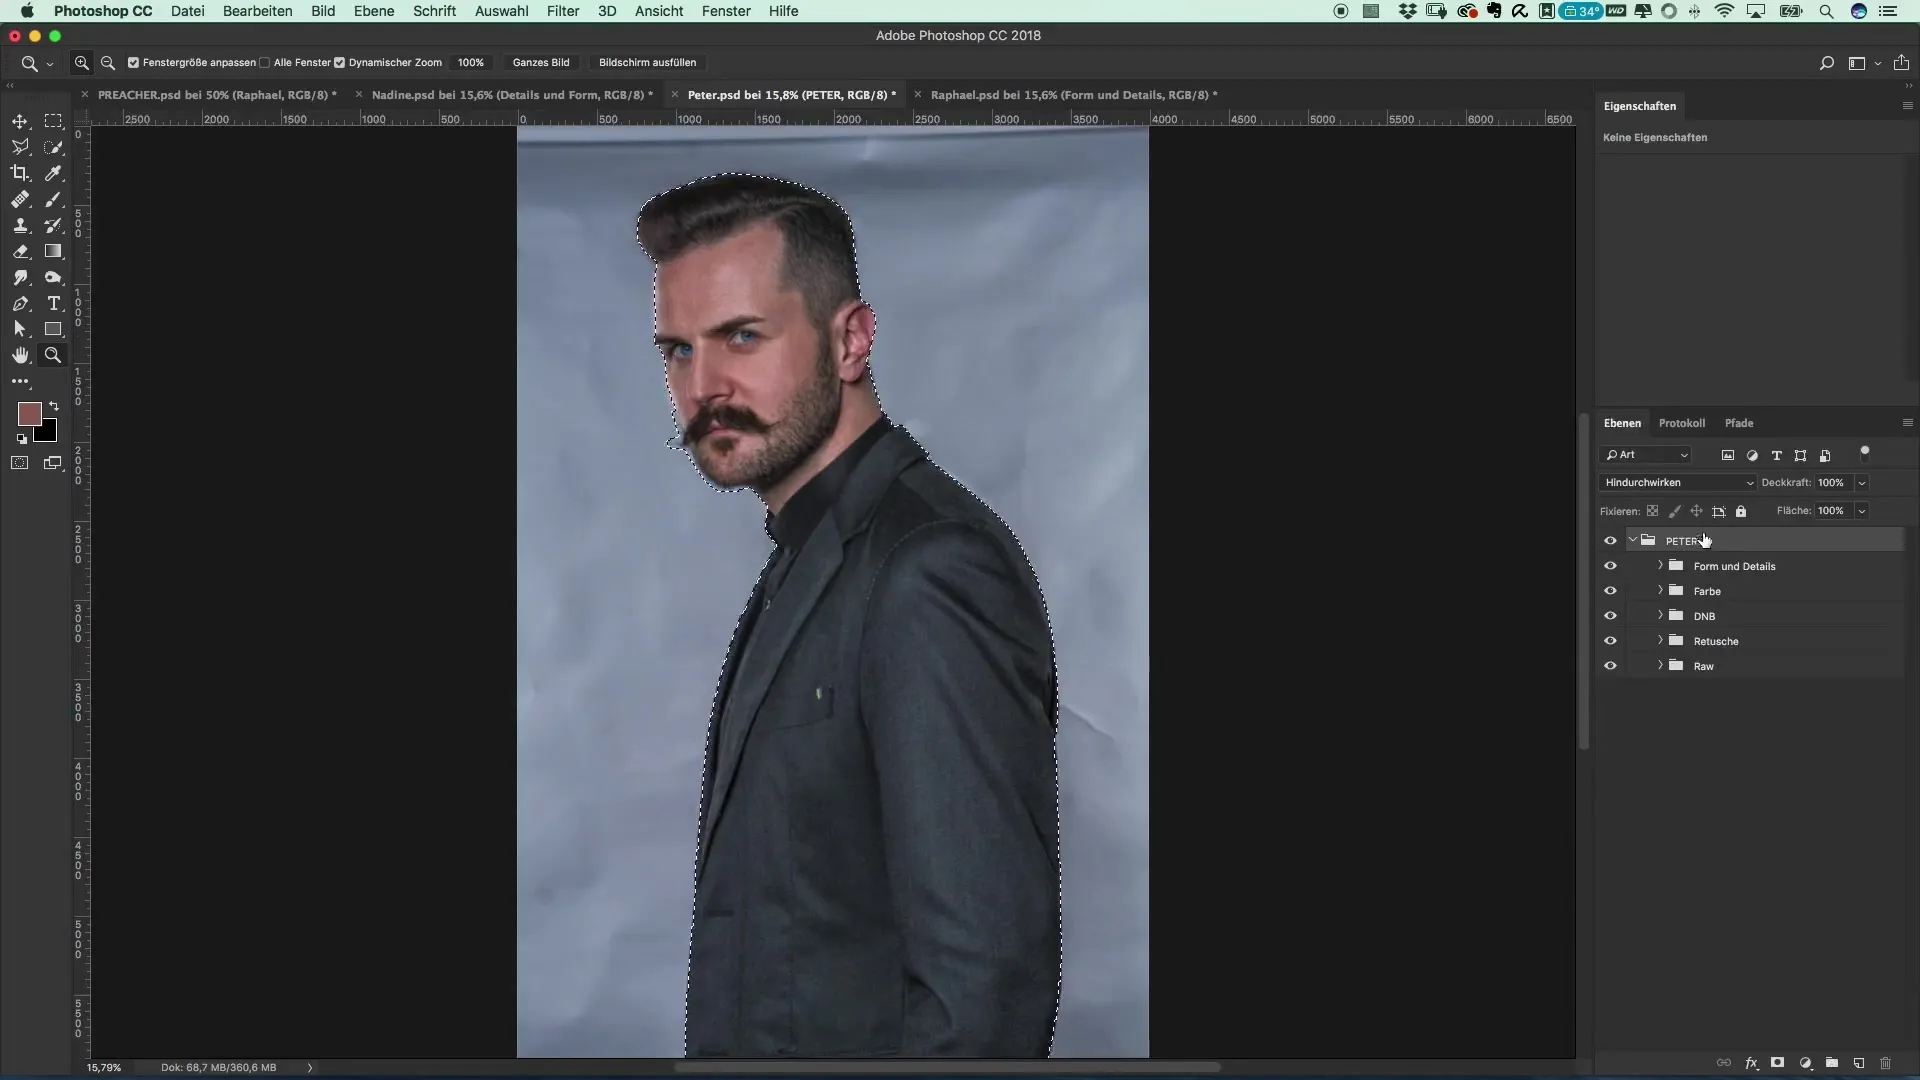
Step 5: Classic Cutout with the Pen Tool If you want more precise control, the pen tool is the best choice. Make sure the "Paths" option is enabled. Begin tracing the contours of Peter's face and body. Be careful not to follow the contour perfectly; it’s often better to go slightly into the area.
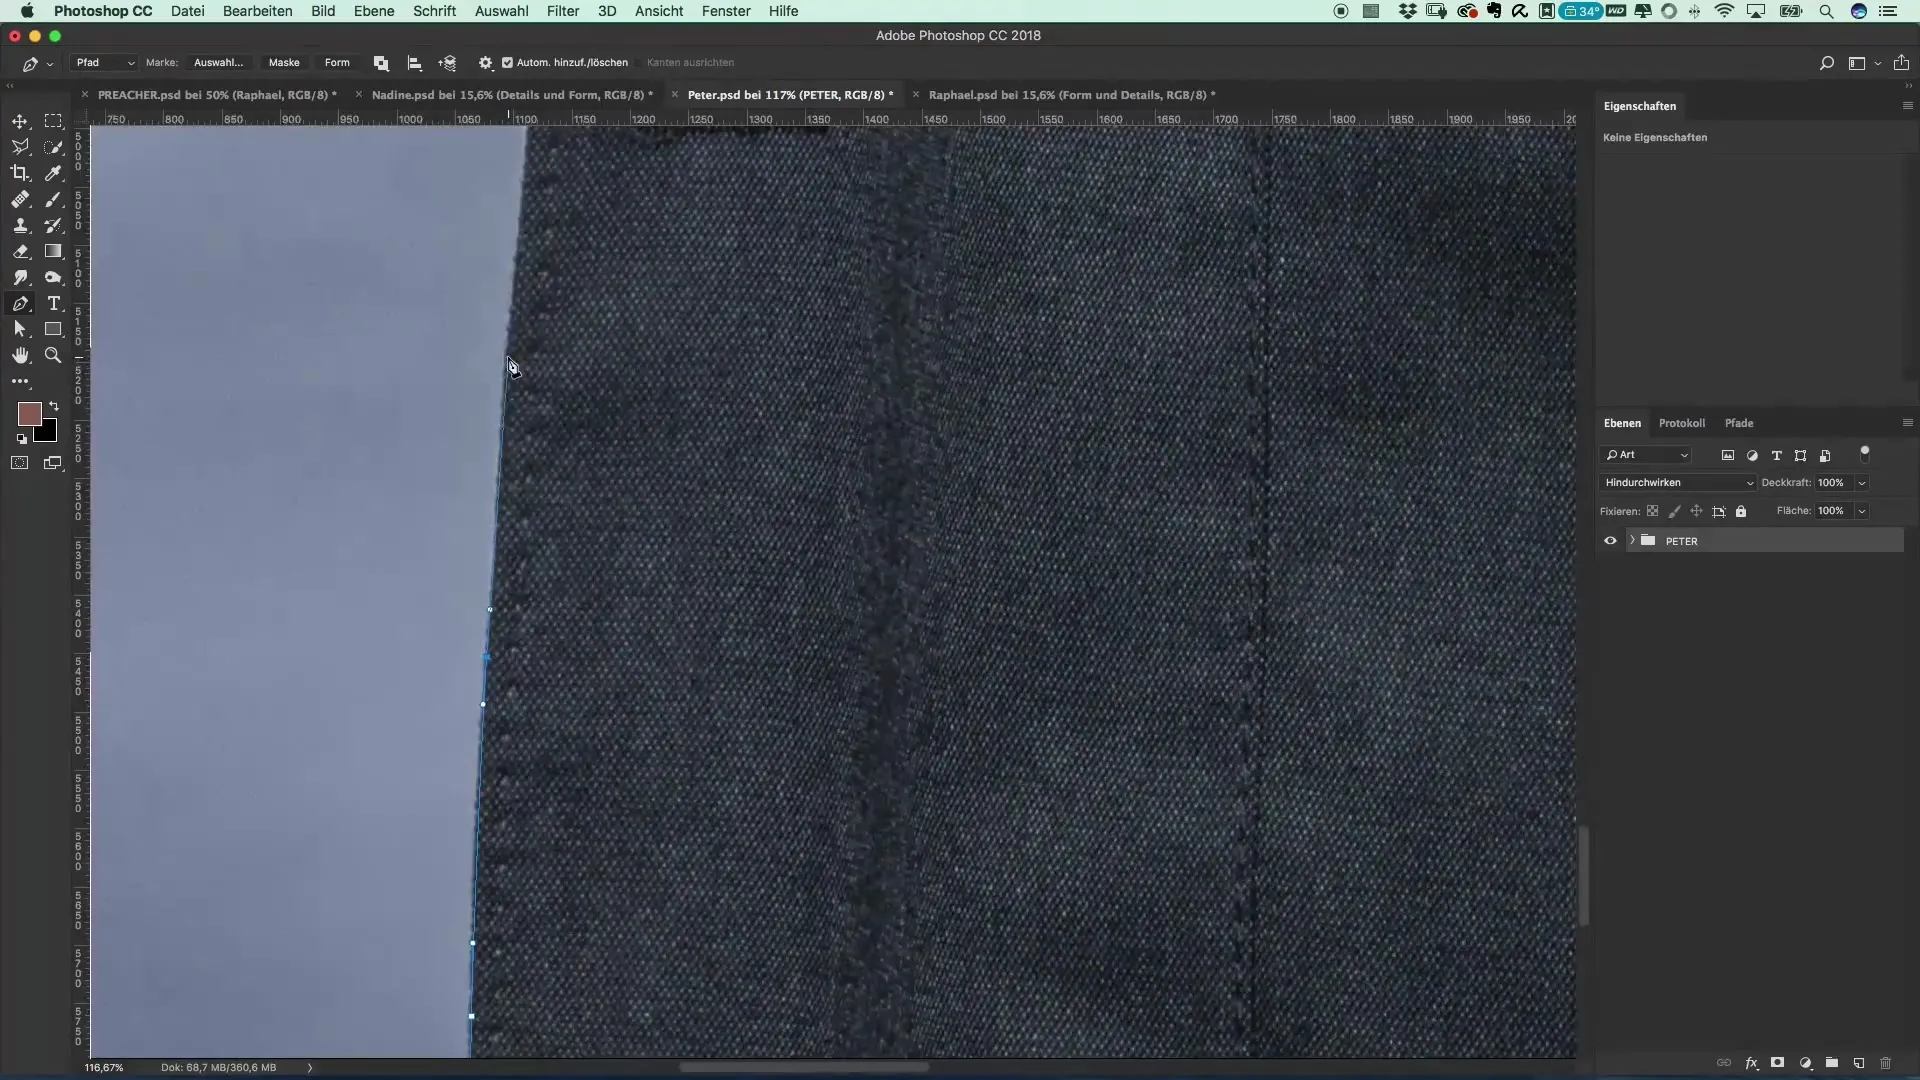
Step 6: Refining the Contour Once you are satisfied with your path selection and have created the contours, complete the path. Hold down the Command key and click on the path to activate the selection.
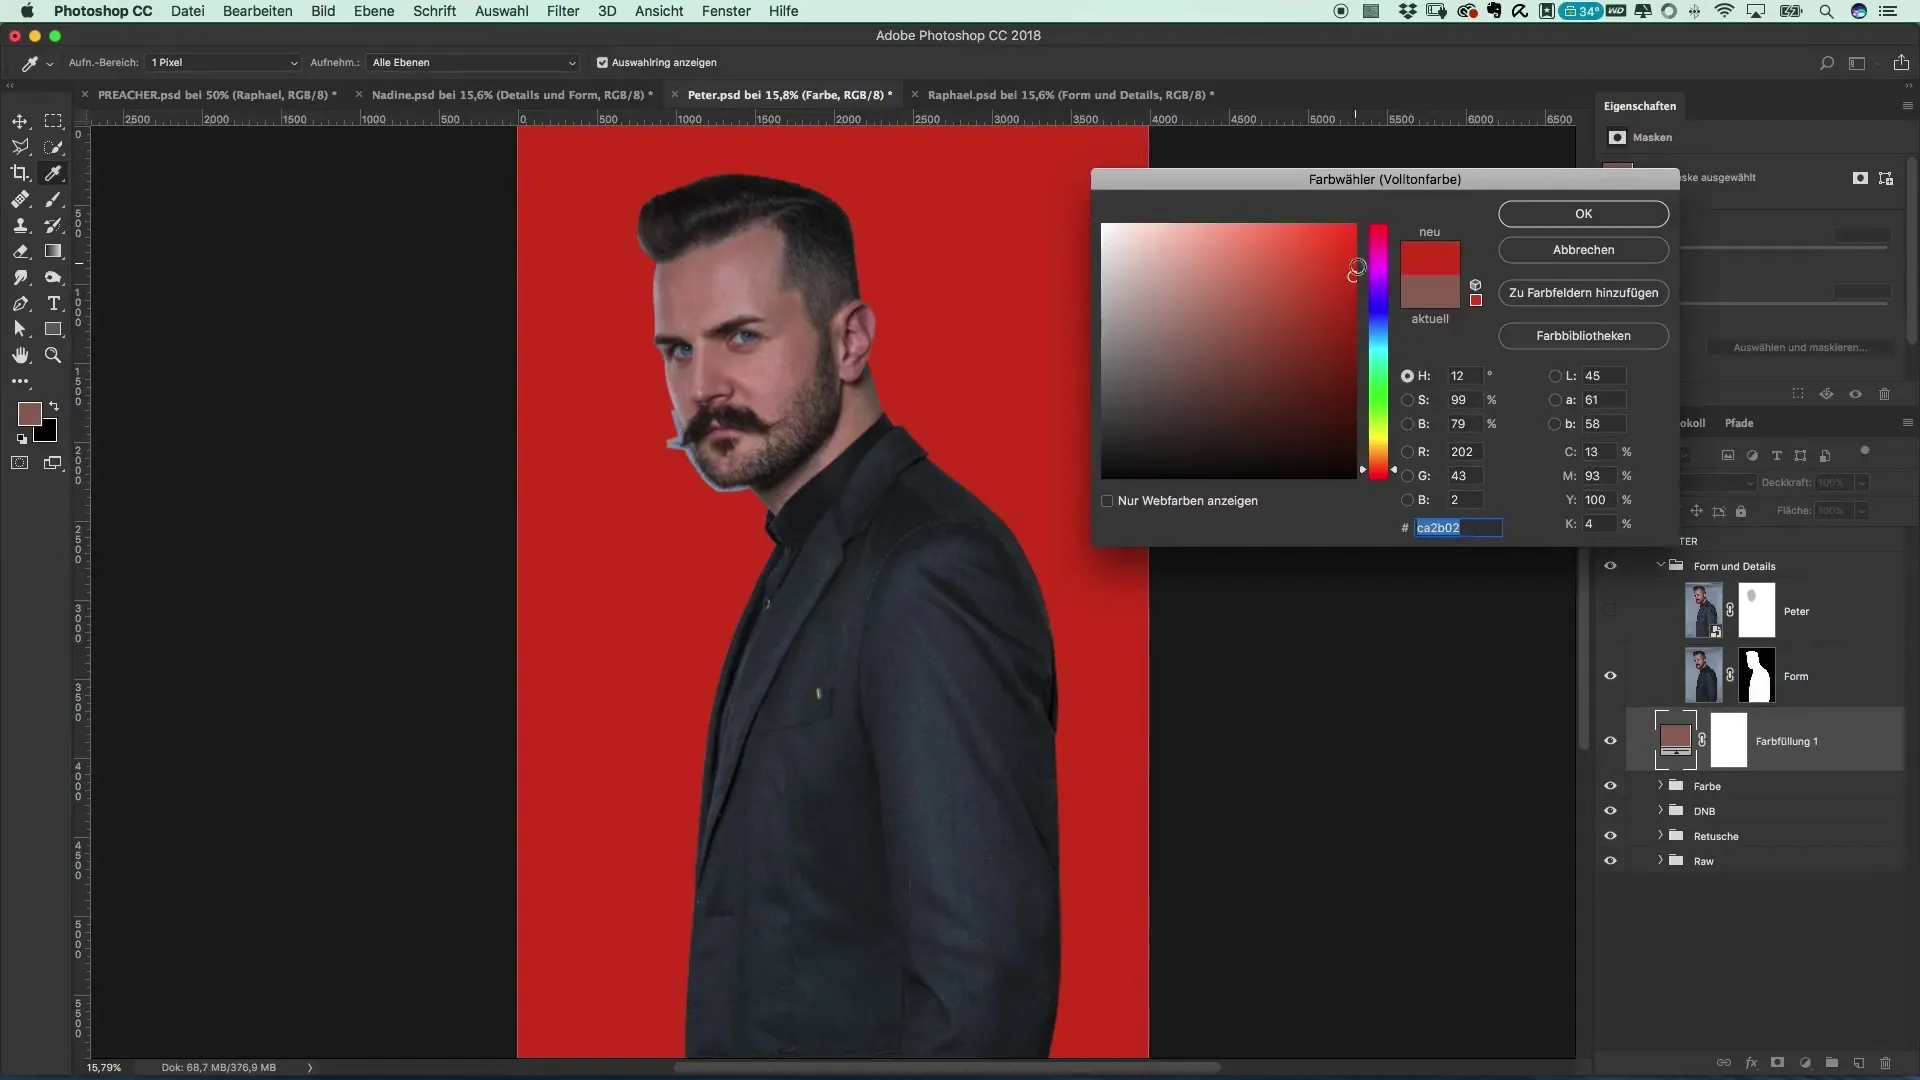
Step 7: Masks for Clear Cutout Now activate the mask to apply the selection to the image. Choose a stronger color fill, such as a rich red shade, to make the difference between the cutout and the background visible. Now focus on the fine details, like the hair.
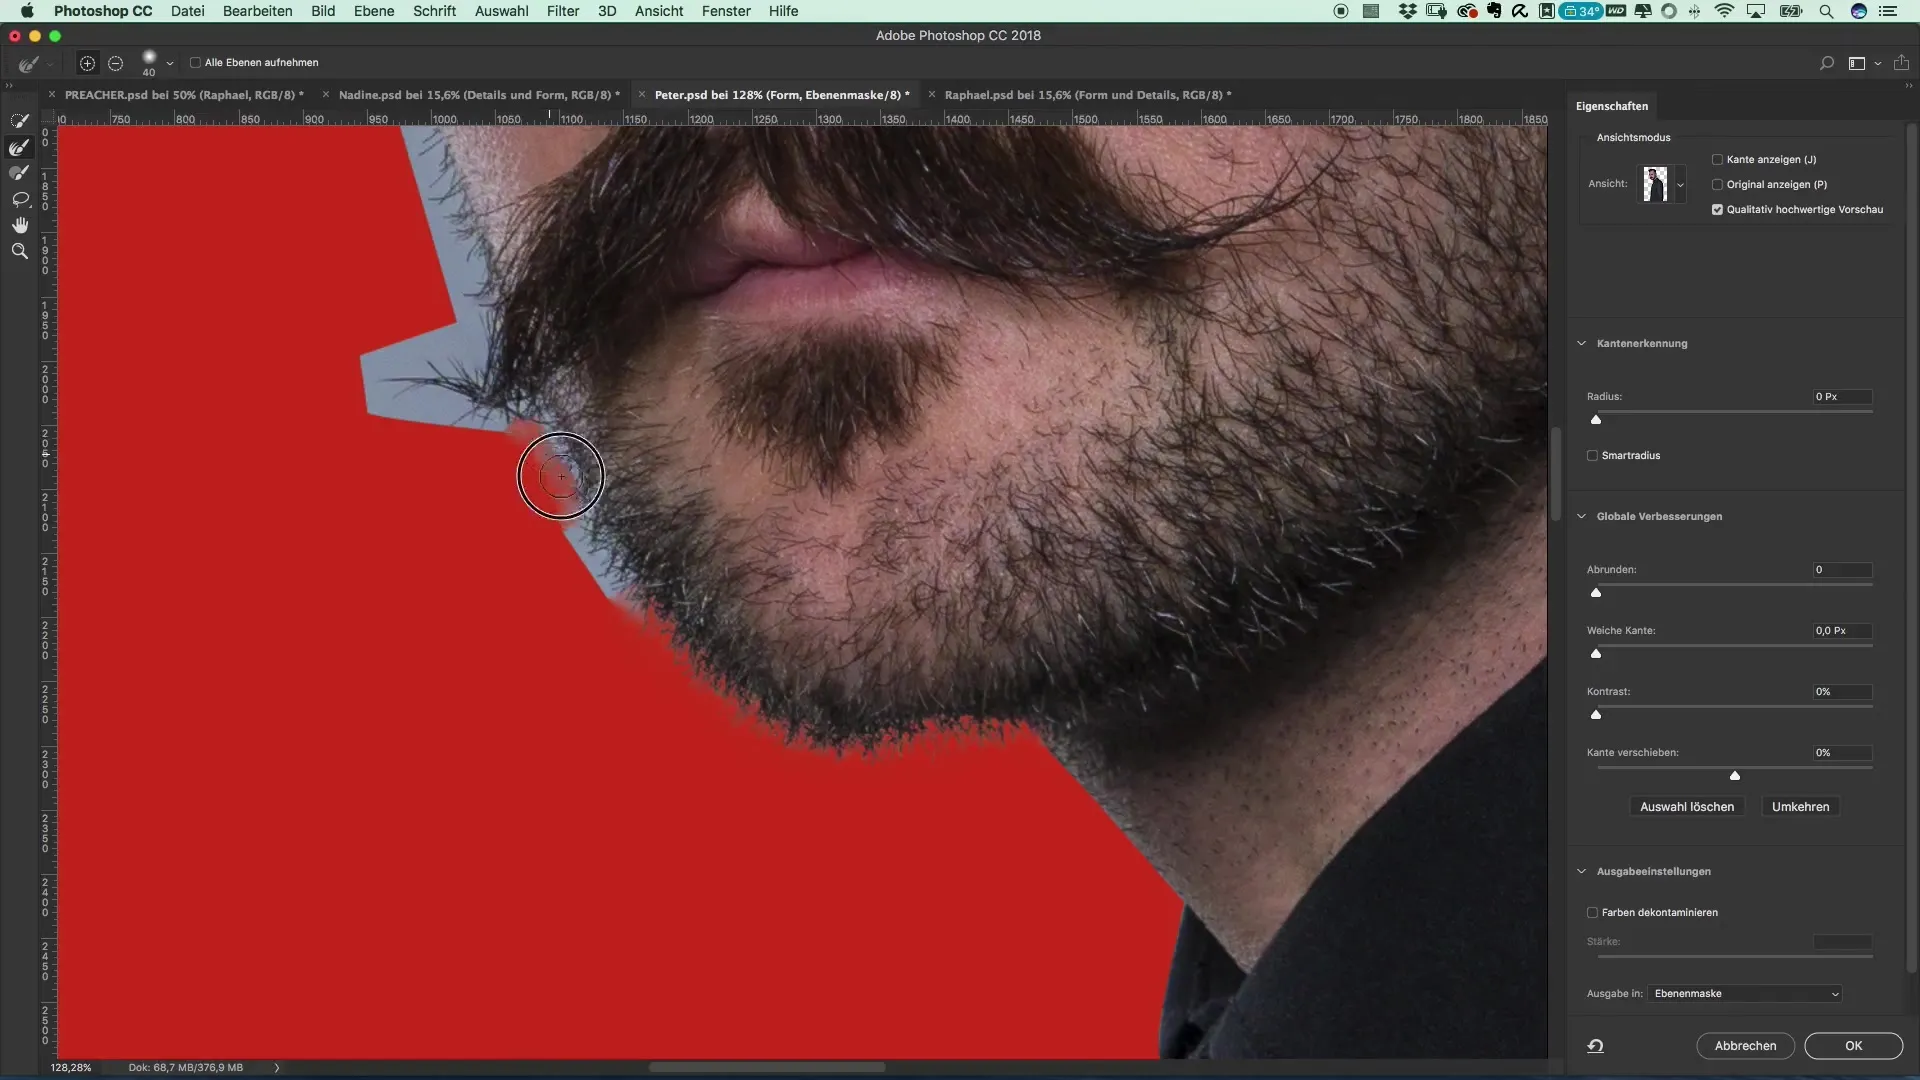
Step 8: Improve the Edge To improve the edges of the image, right-click on the mask layer and select “Select and Mask”. Use the edge refinement tool to further perfect the hair areas and elegantly hide the background.
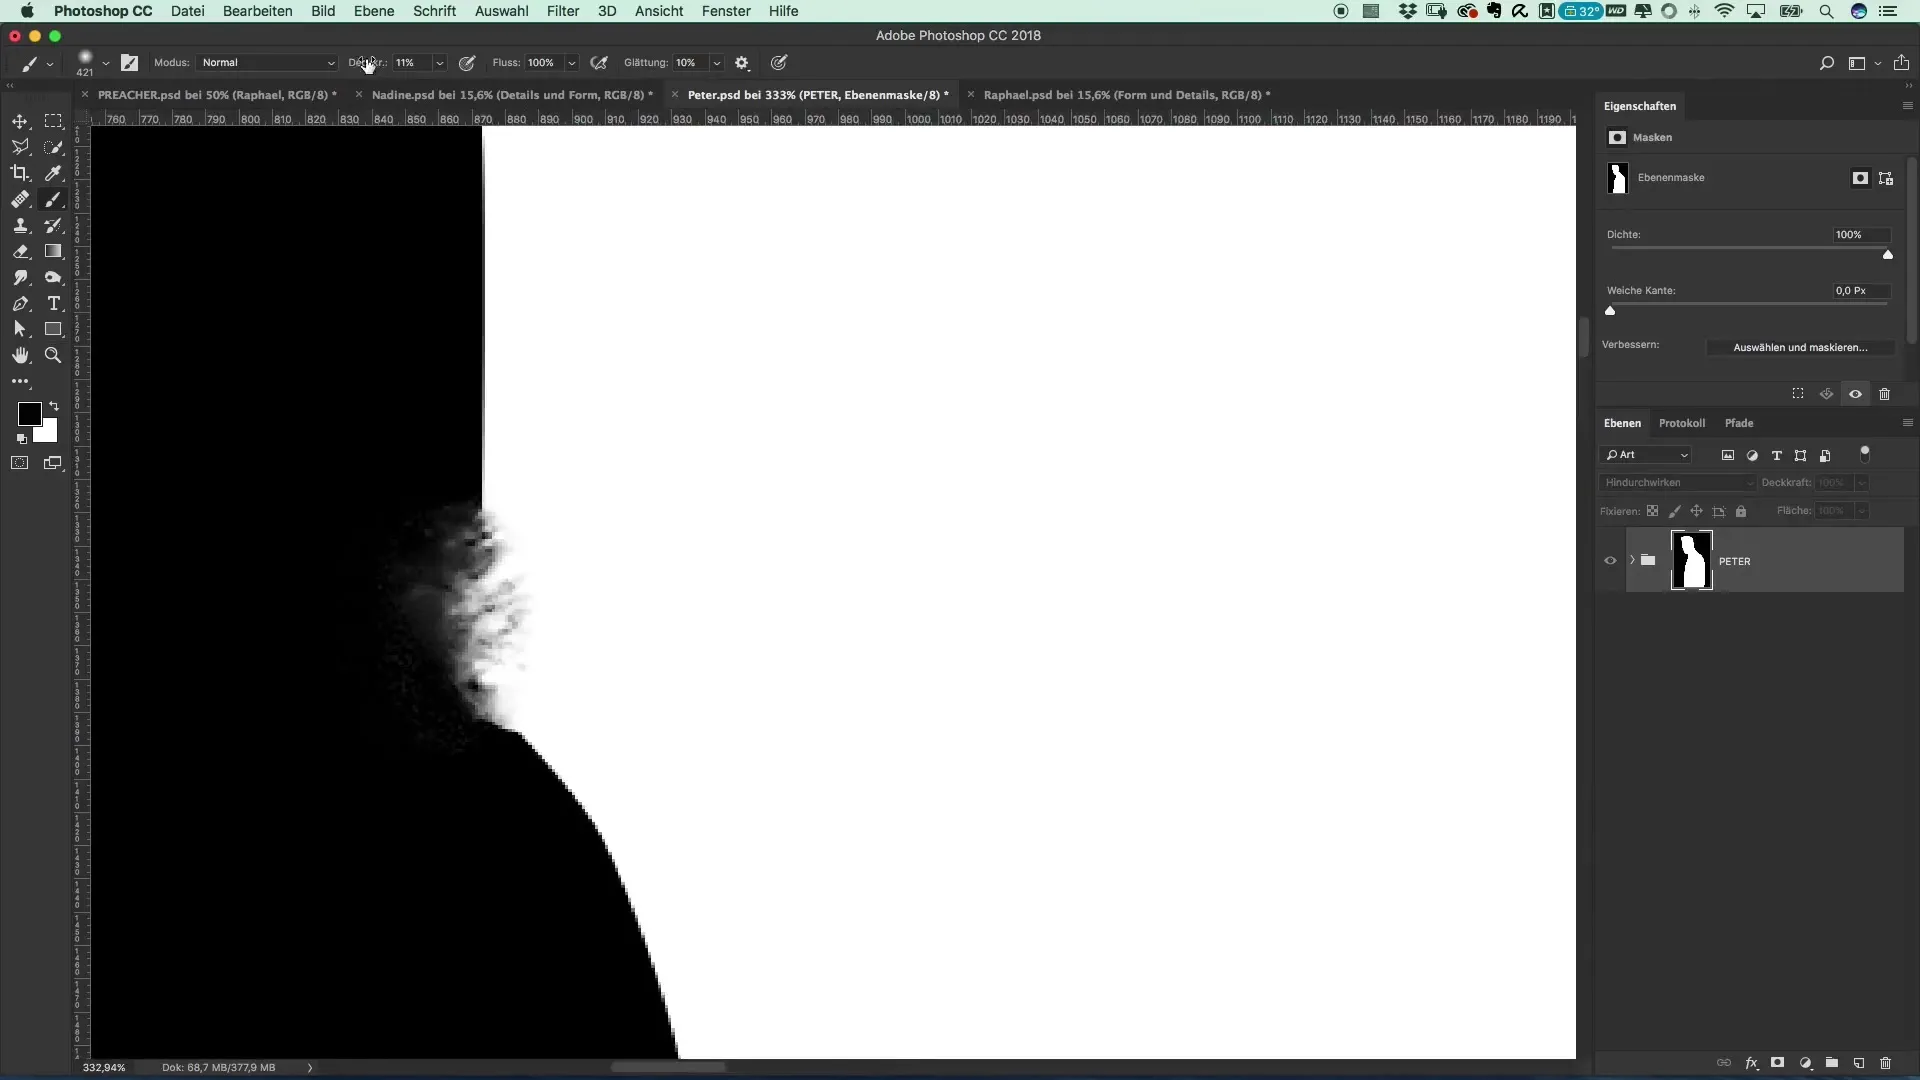
Step 9: Perform Post-Editing Take another look at the contours and consider whether you want to make corrections to the eyebrows. Use white brush strokes over the areas that still need improvement. Ensure that transitions appear smooth and natural.
Step 10: Finalization and Saving Once all adjustments have been made, save your project. The cutouts must be saved in a format that preserves transparency, so you can combine the three different subjects in the next step.
Summary – Creating a Movie Poster in the Preacher Style: Background Removal with Photoshop
In this tutorial, you have learned how to effectively cut out people in the style of Preacher using various techniques. The use of the pen tool allows for precise results, and if needed, you can also make use of the automatic subject selection to save time. The quality of your cutouts heavily depends on attention to detail and the appropriate post-editing.
Frequently Asked Questions
How long does it take to cut out a person in Photoshop?It depends on the complexity of the image and your experience. On average, it can take 15-30 minutes.
Can I use other tools for background removal as well?Yes, you can also try the quick selection tool or the automatic subject detection, depending on your needs and the complexity.
How do I save my cutout images?Make sure to save them in PSD format to maintain transparency.


