A striking film poster captures the audience's attention and uses colors and light strategically to convey emotions. In this tutorial, I will show you step by step how to refresh the skin tones of your models and make their eyes shine. The trick lies in the Dodge and Burn technique, which often results in the skin taking on a gray tone. Together, we will counteract this and provide fresh colors.
Key Insights
- The use of Dodge and Burn can lead to gray skin, which can be improved with specific techniques.
- Correctly selecting and applying colors is crucial for a vibrant representation.
- The eyes can appear more lively through color corrections and brightening.
Step-by-Step Guide
Refresh Skin Colors
To optimize the skin tones of your models, start by creating a new group in your Photoshop project. Name this group “Color.” Then, create a new empty layer, also named “Color.” Make sure the fill method is set to “Color.”

When you turn off the Dodge and Burn effect, you will notice that certain areas have become brighter but also grayer. To counteract this, select your newly created empty layer.
Set your brush opacity to about 10% while adjusting the size so you can easily reach all the necessary areas. It is advisable not to work with too large a brush size so that you can work precisely in smaller corners as well.
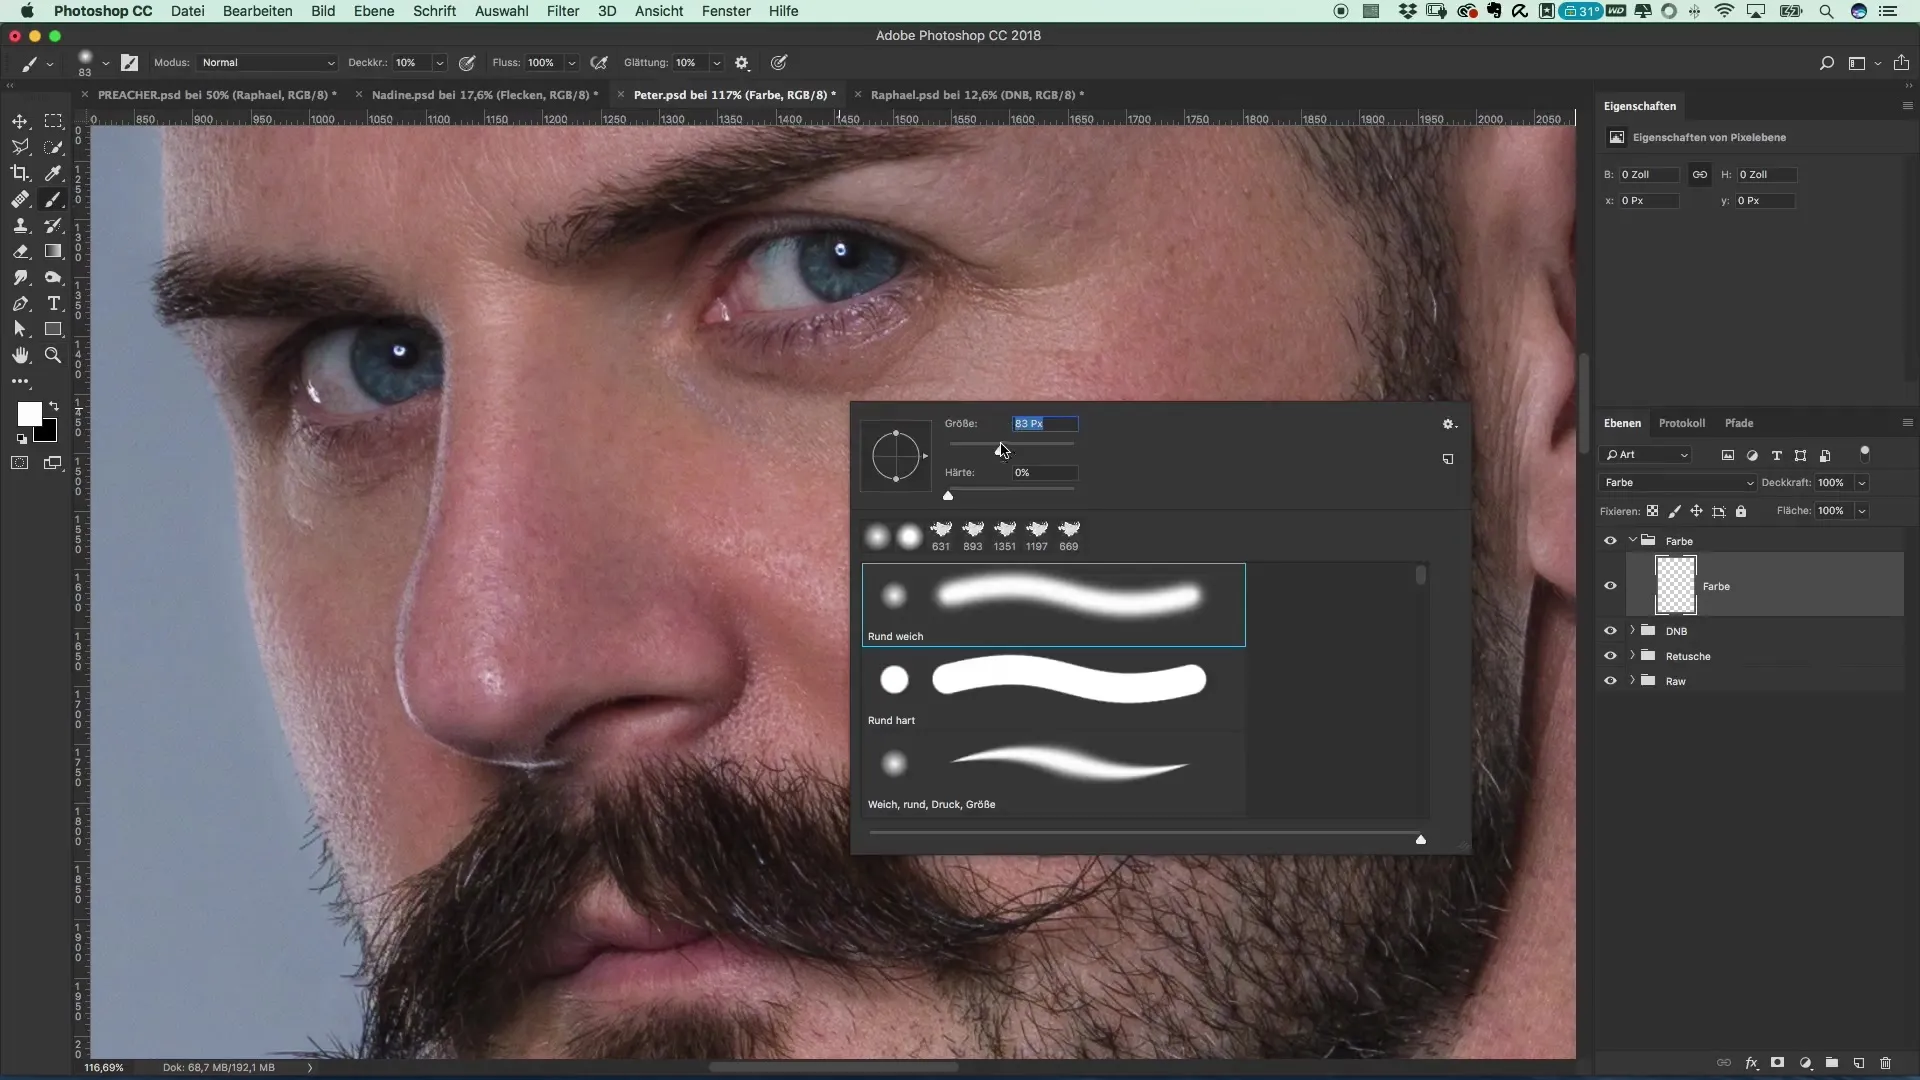
Now, with the Alt key and the eyedropper, select a shade from a healthy skin area. Click to pick up the appropriate color. Now work carefully by applying several layers — maybe three to four times. Start with small brush strokes and then transition to working a bit more broadly.
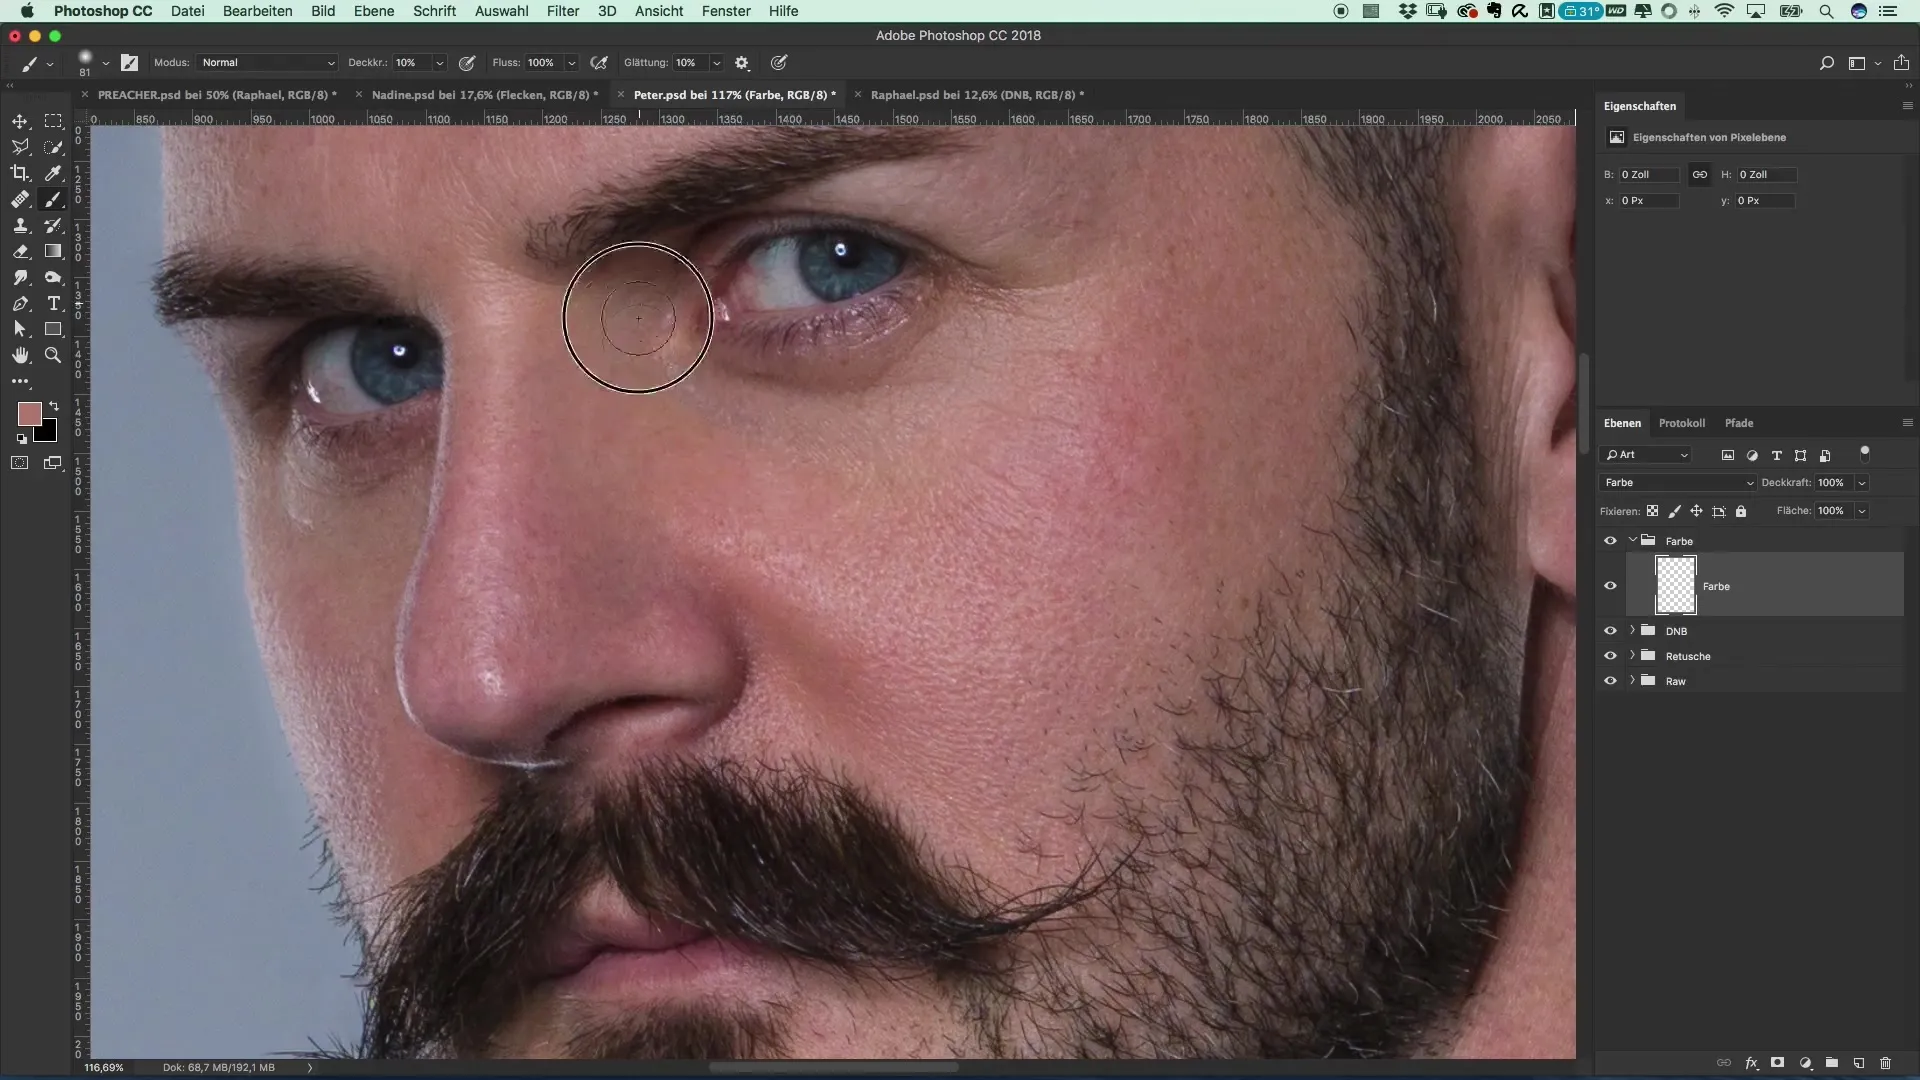
With this technique, you will find that the gray areas look noticeably fresher and more vibrant. For the nose, which often appears reddish or brownish, select a fresh color and gently correct it to restore its natural tone.
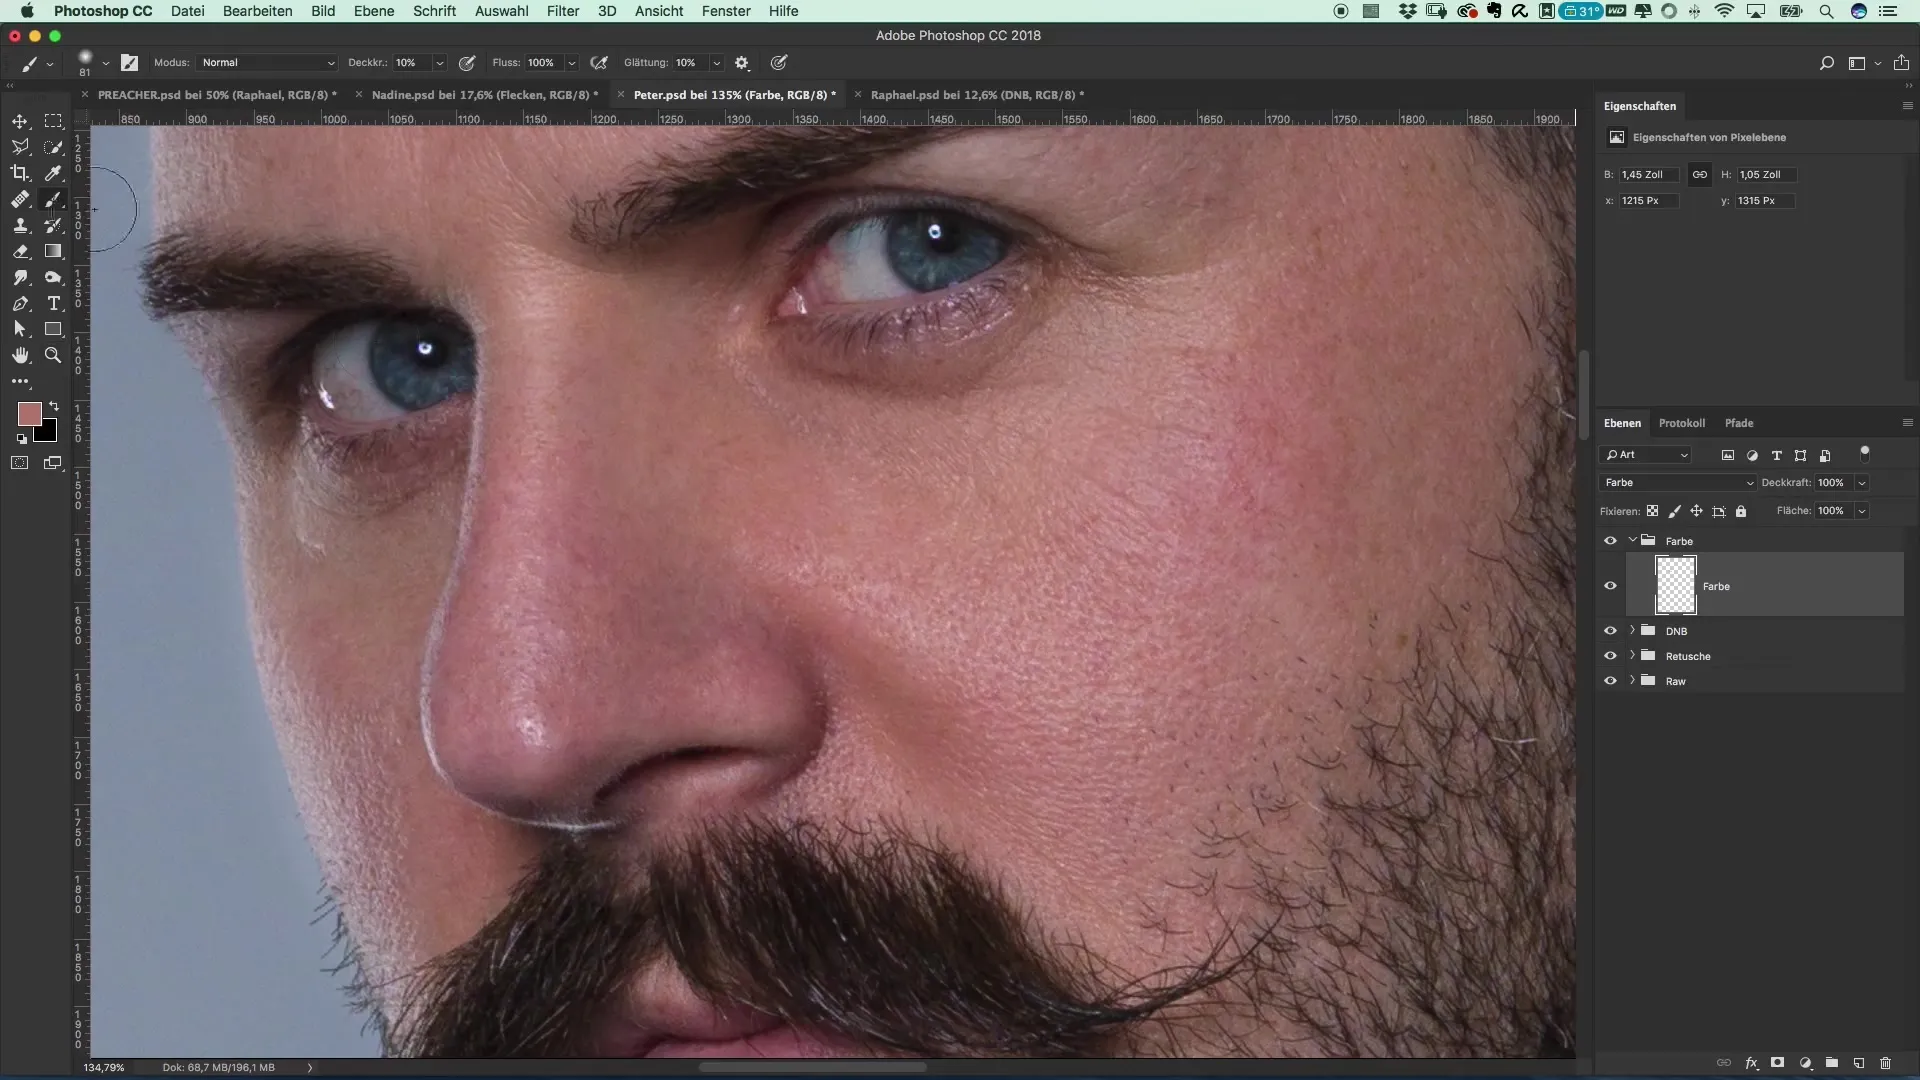
Brighten and Color the Eyes
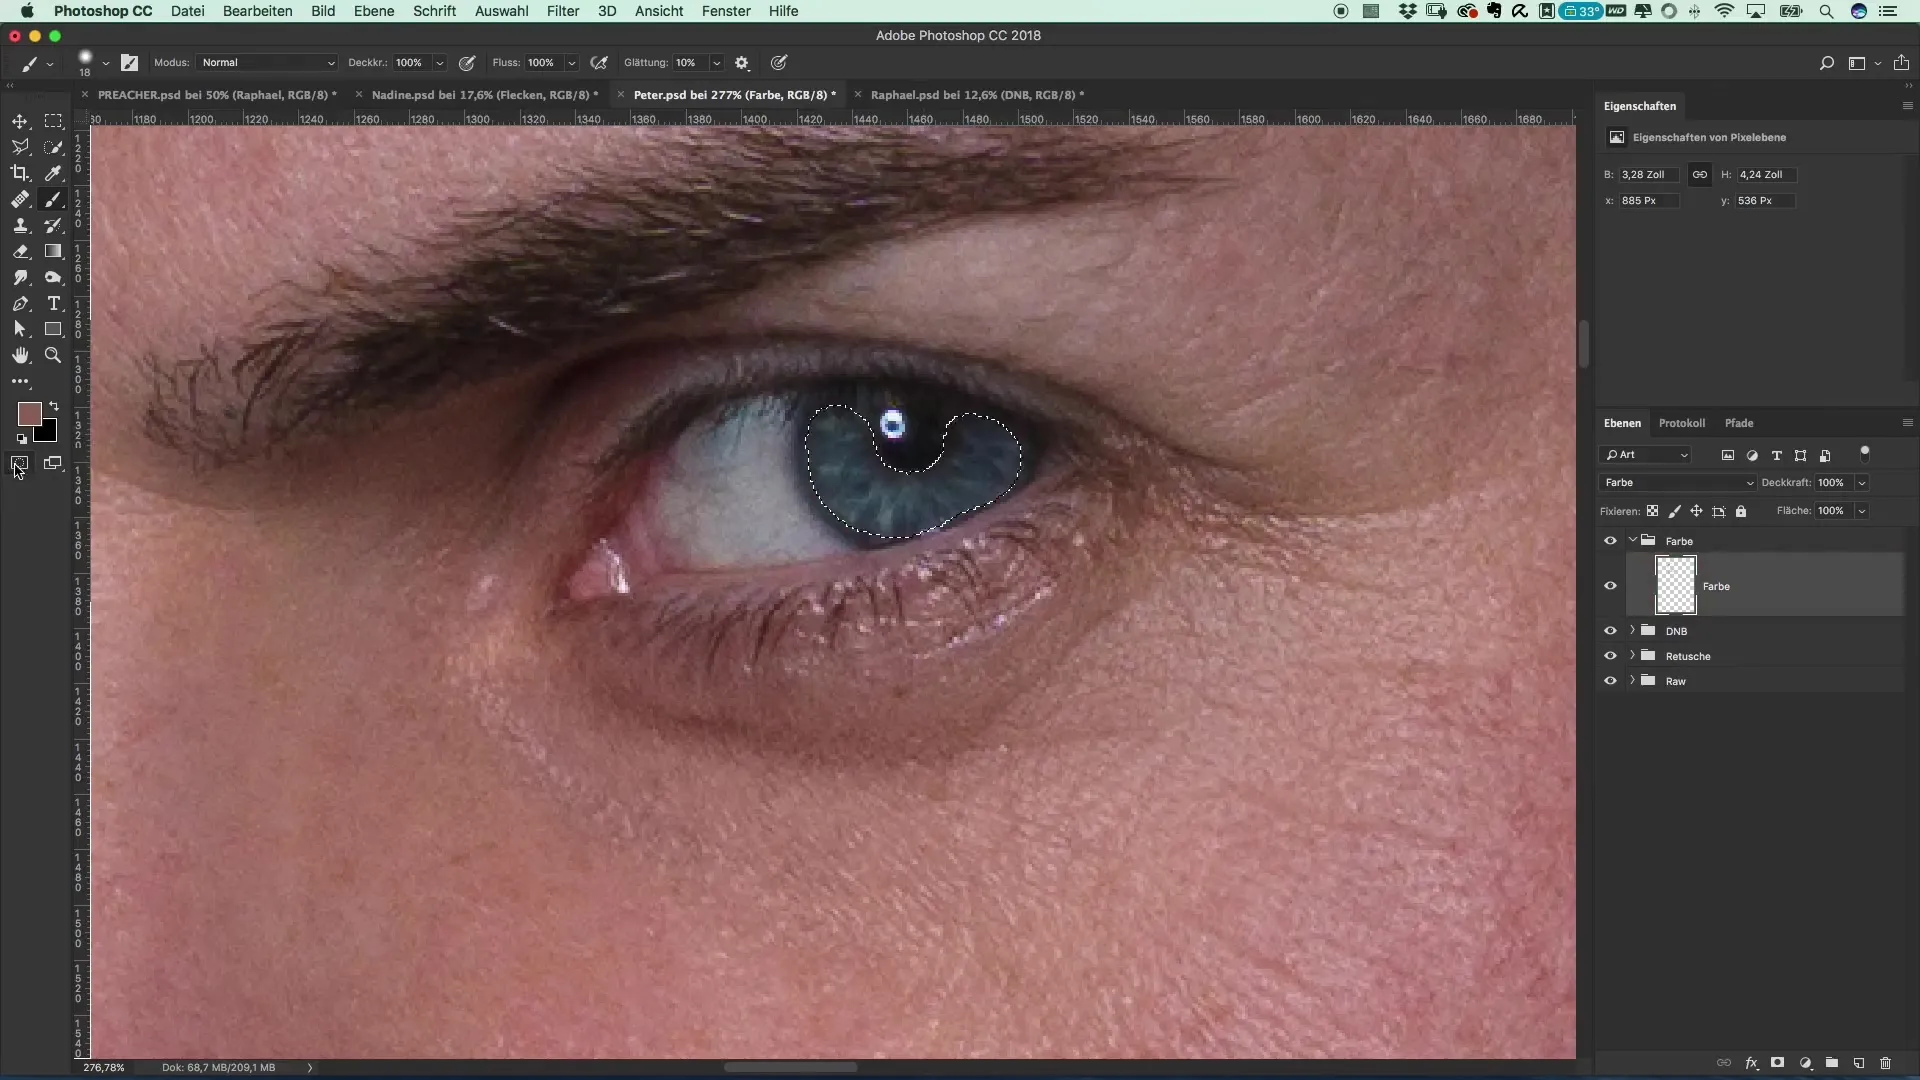
To enhance the eyes of your models, proceed similarly. Choose a clean, not pure white shade for the iris to naturally brighten it while reducing the red veins. Be sure to stay realistic. People always have some red veins in their eyes, but an intense red is not desirable.
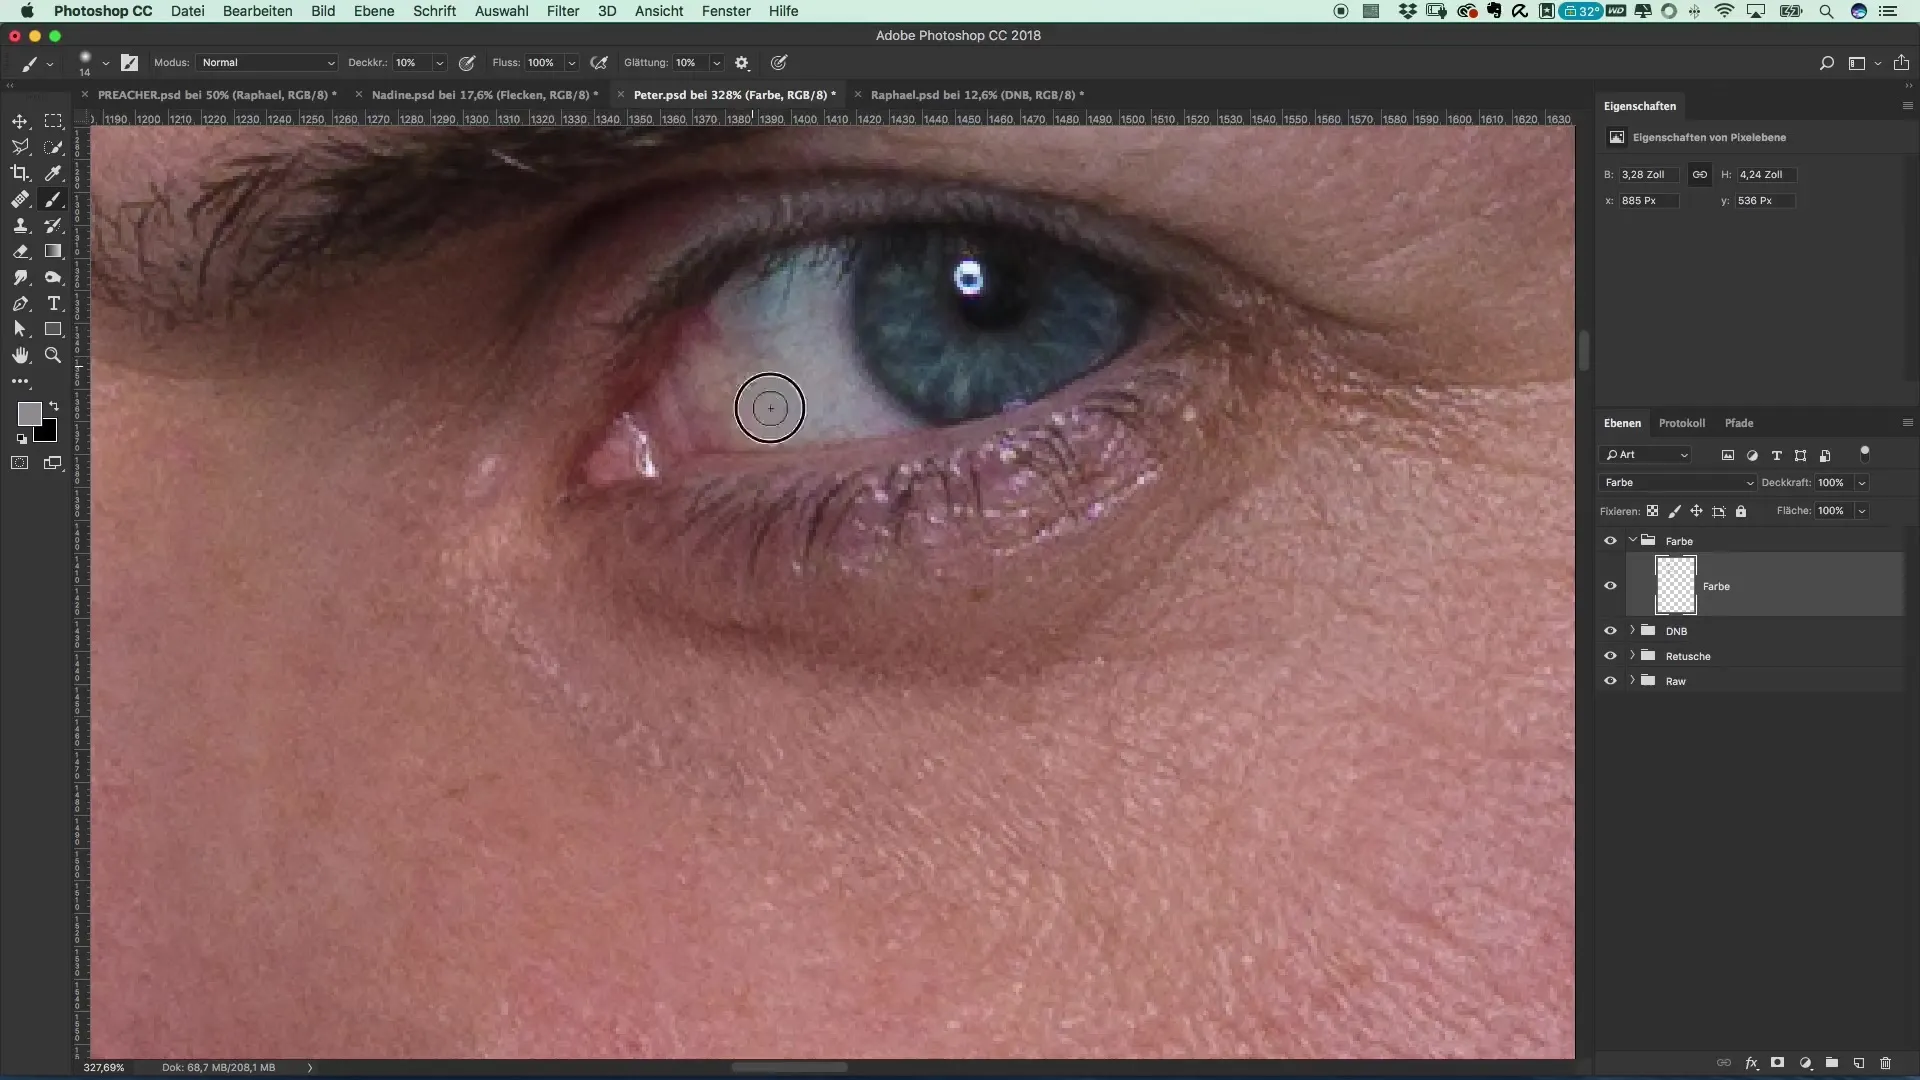
If you want to brighten the eyelids a little, pick a fresh color and gently paint it onto the eyelid area to achieve a wide-awake and lively look.
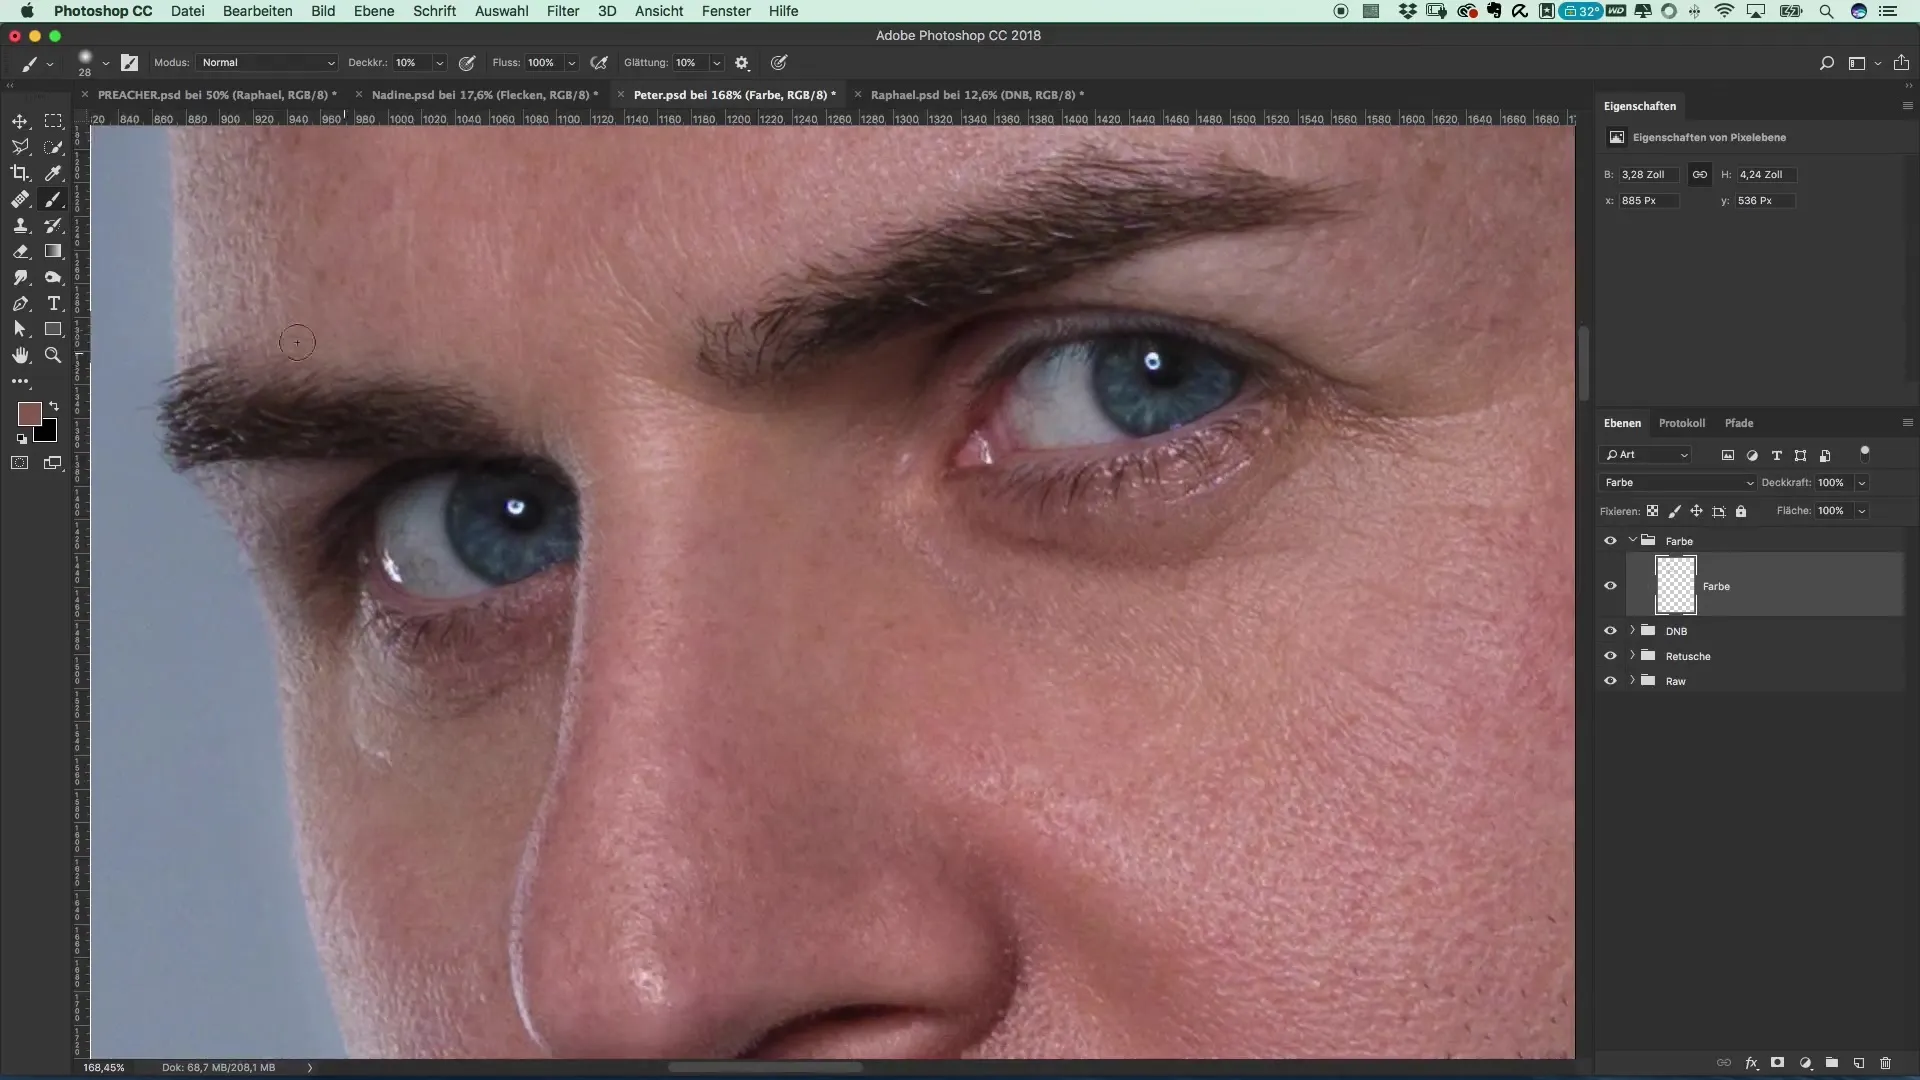
For coloring the eyes, set the brush size smaller and increase the brush hardness to about 33%. This will allow you to maintain the iris contour and only color the inner areas.
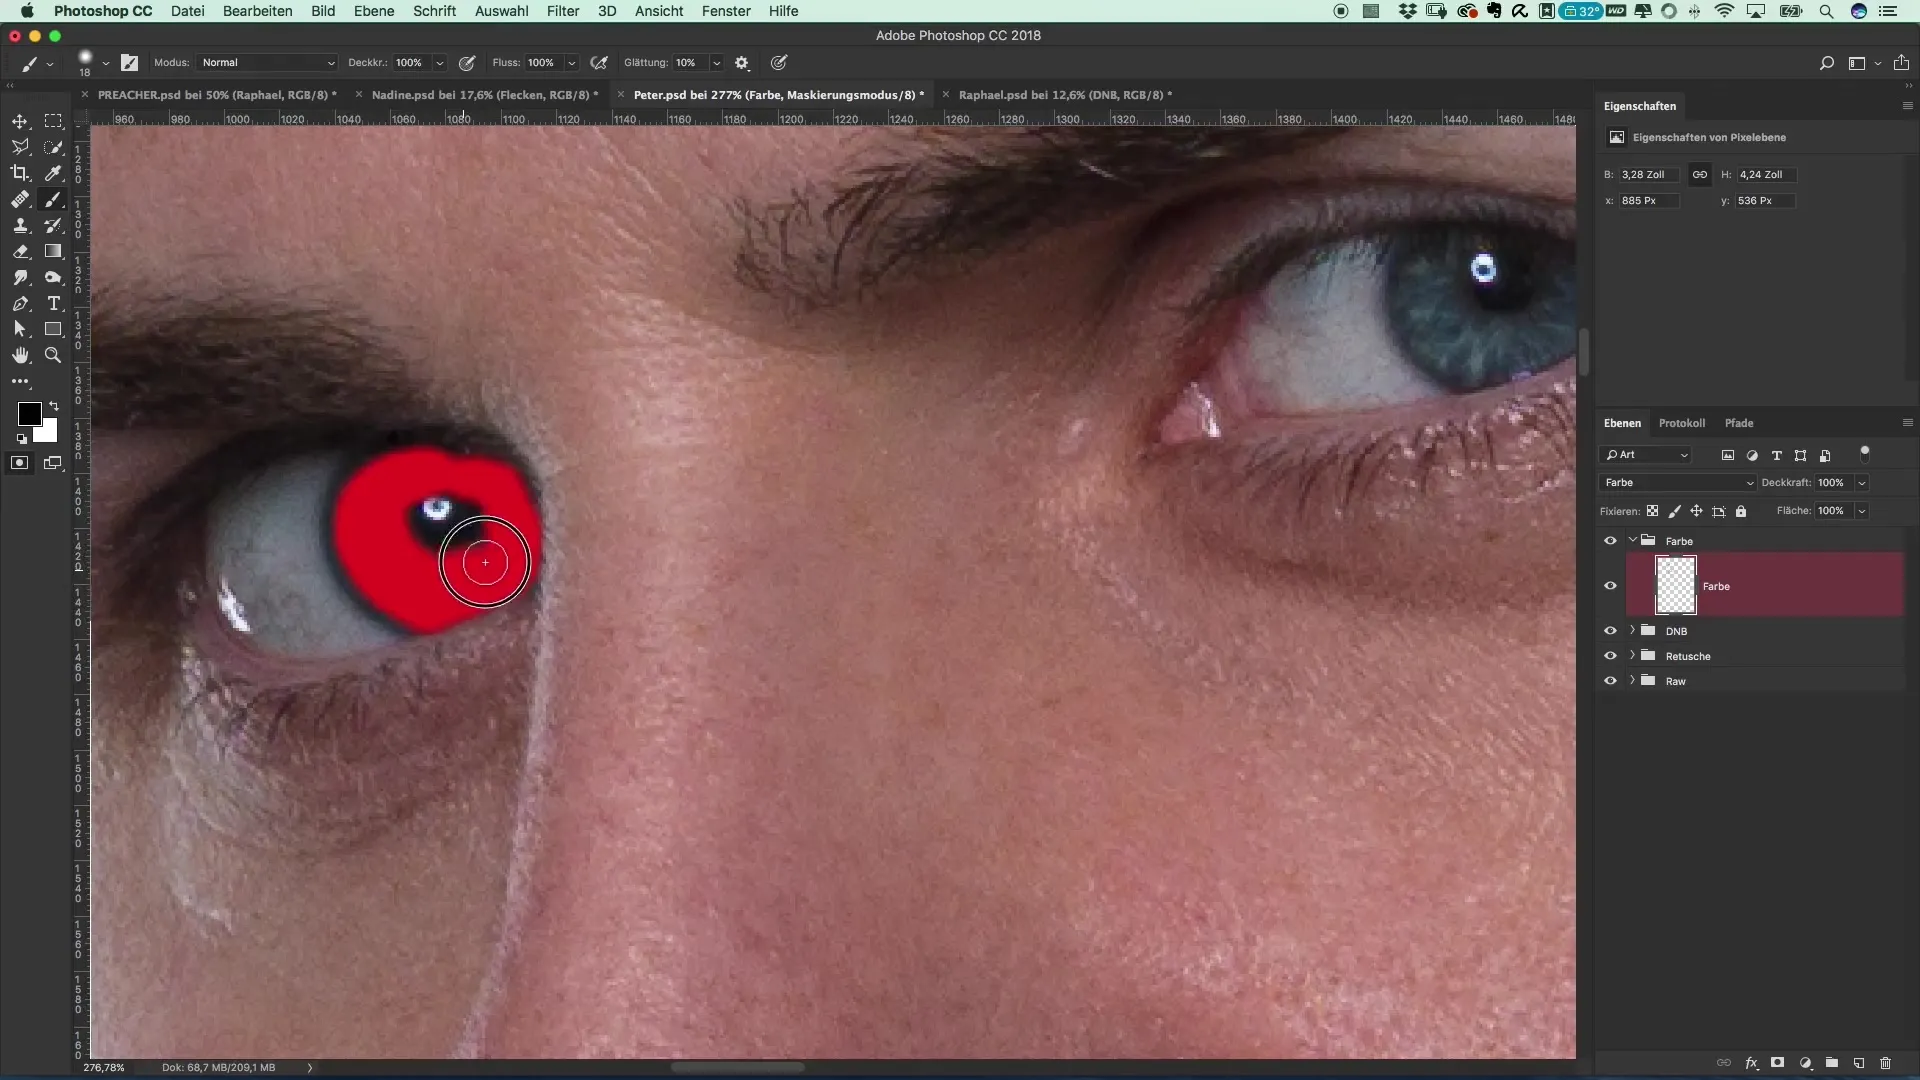
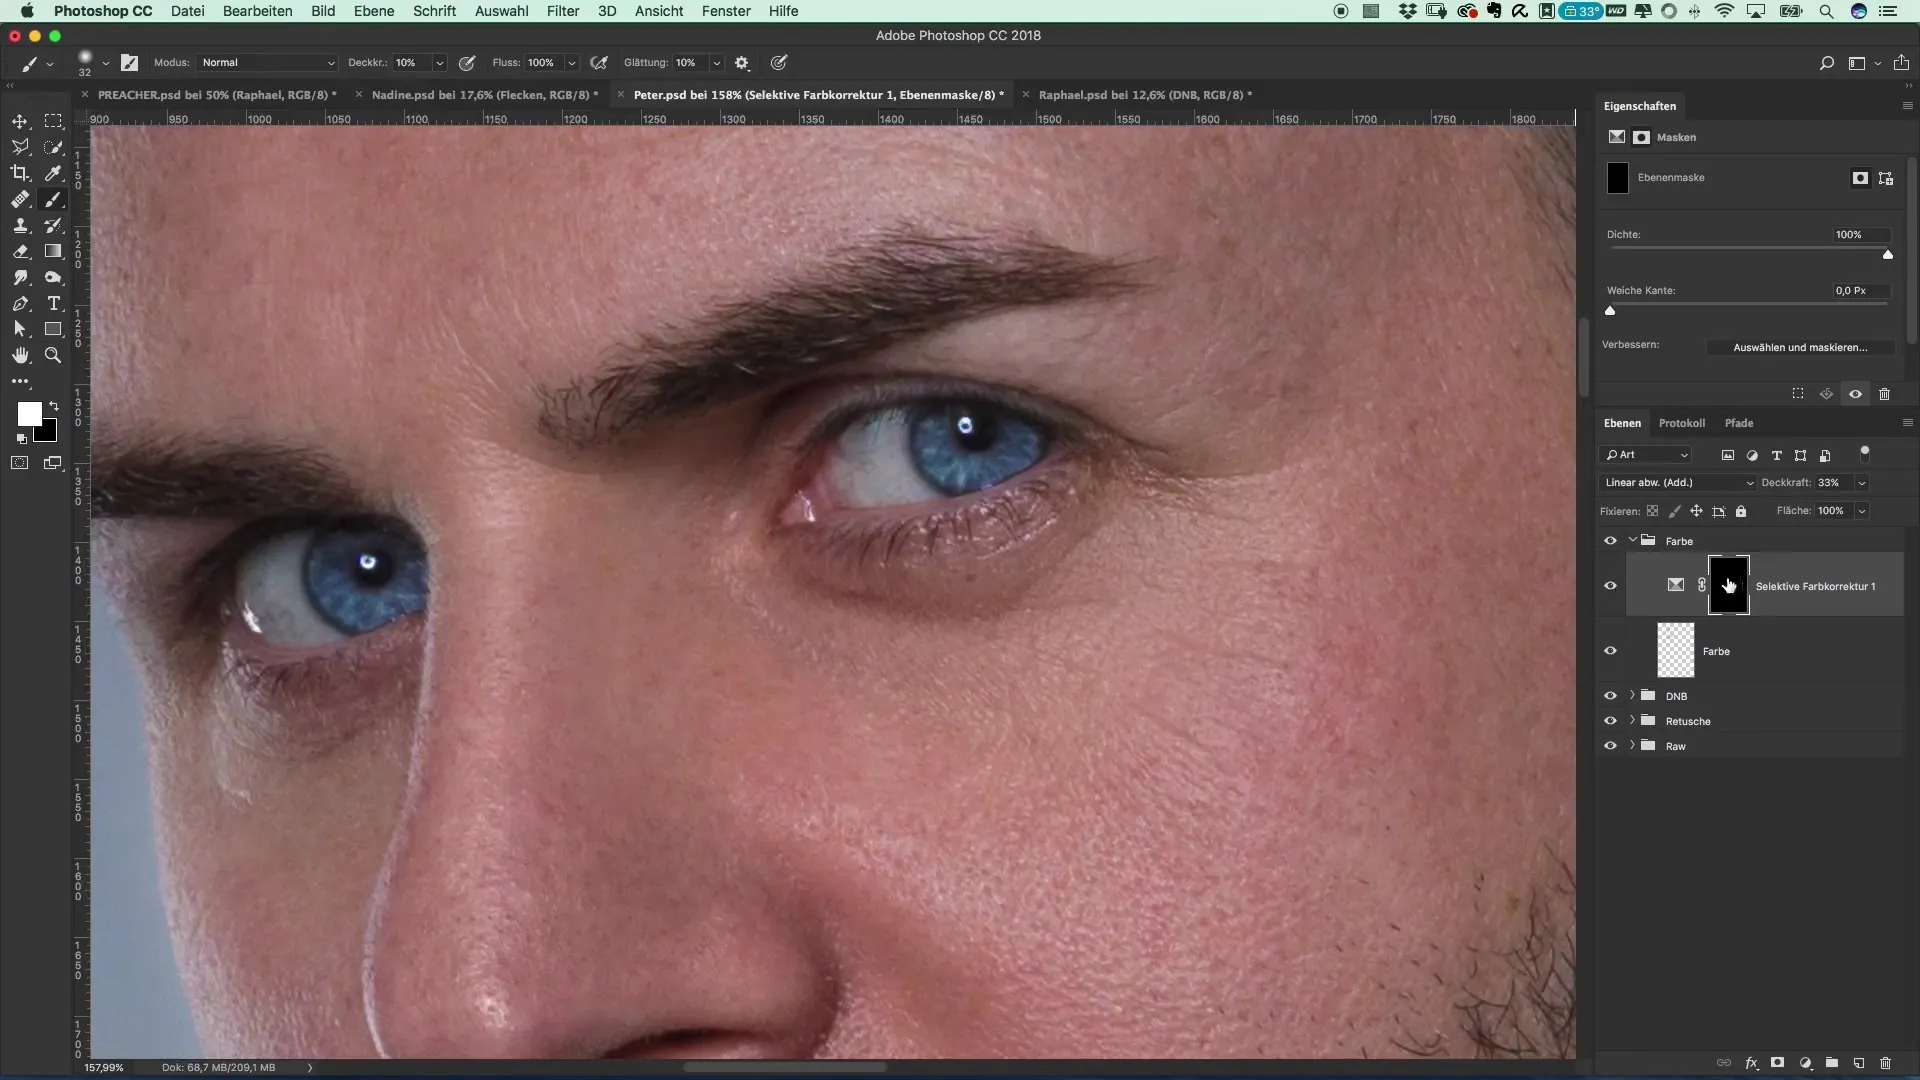
Use the mask option in Photoshop to protect the areas you do not want to touch. Here, you can switch between masking and undoing changes using the X key to toggle between black and white.
Apply Color Correction
Now let's proceed to selective color correction. Create a new adjustment layer for selective color correction and set the fill method to “Linear Dodge.” This will make the colors appear more vibrant.
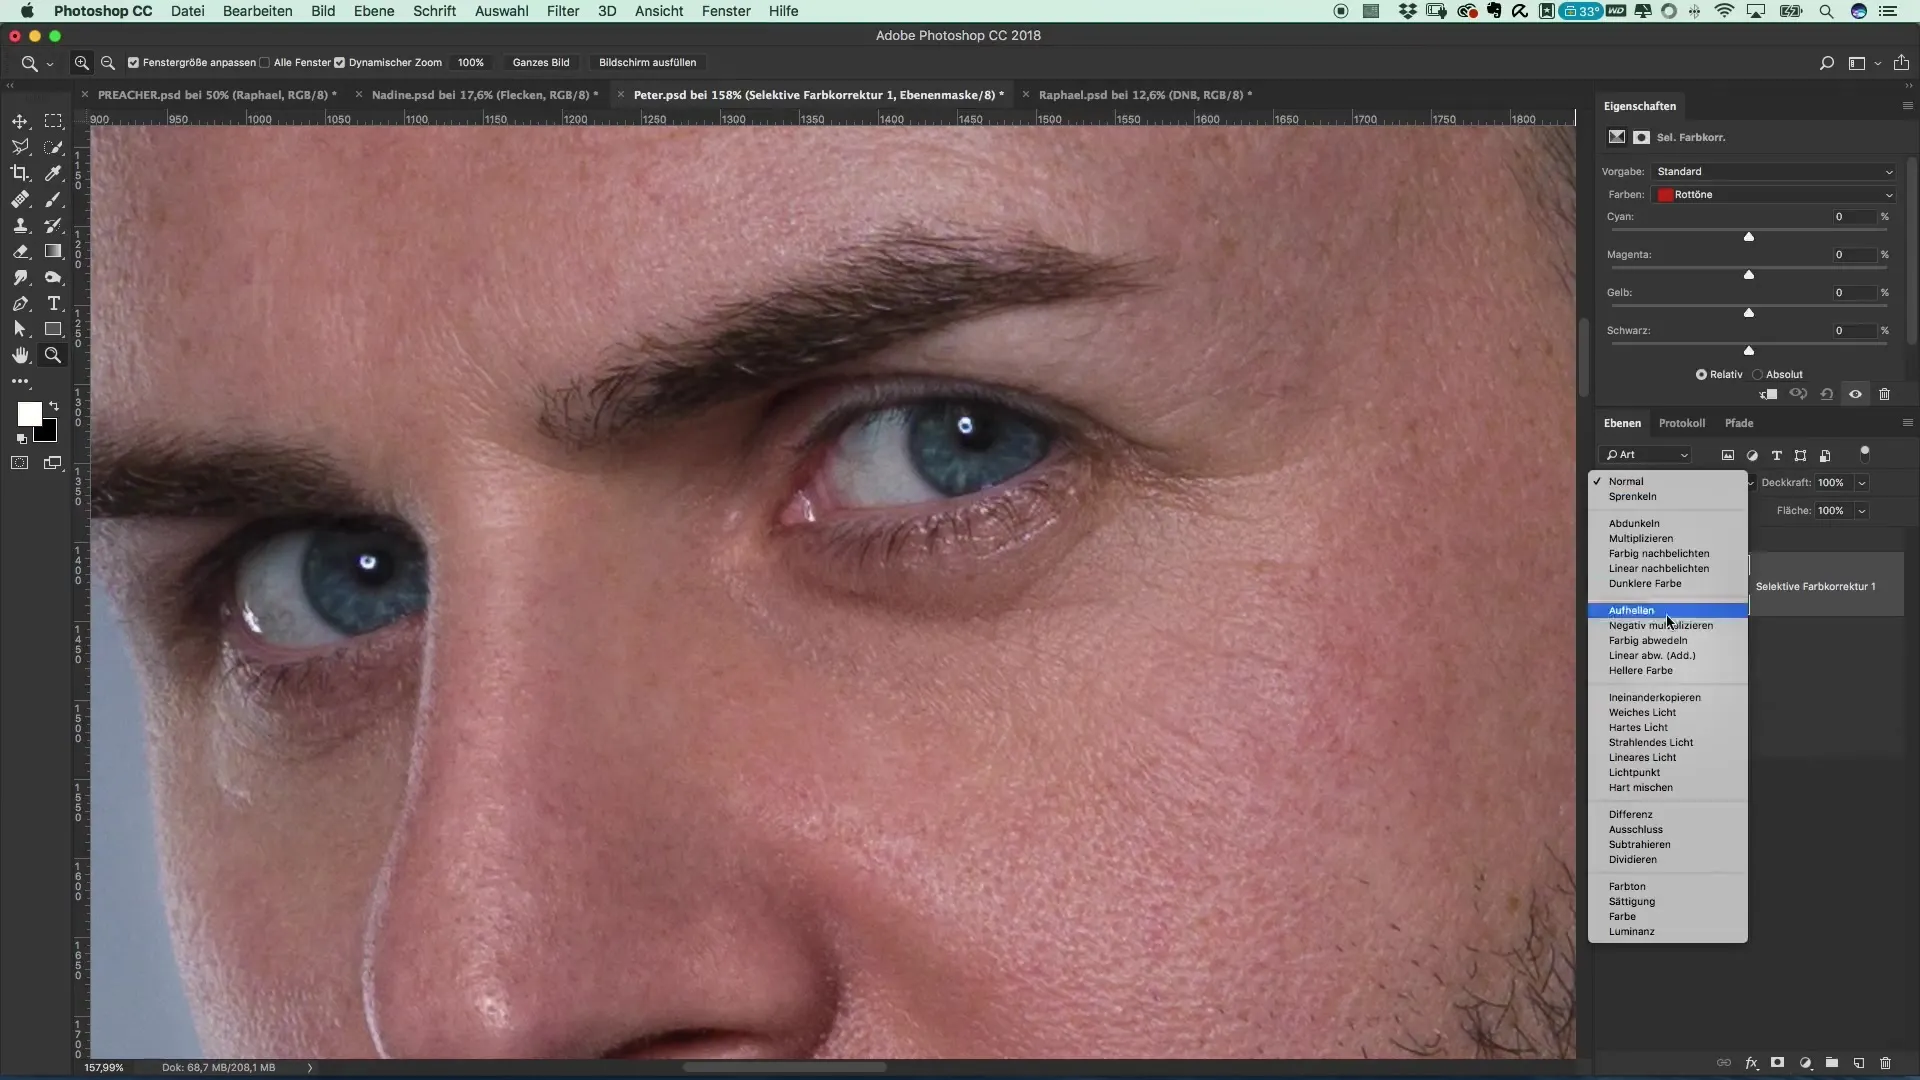
Reduce the opacity to about 30% to soften the effect and achieve a harmonious overall look. Experiment with the colors; adding cyan to gray tones gives you a deeper, more vibrant eye color.
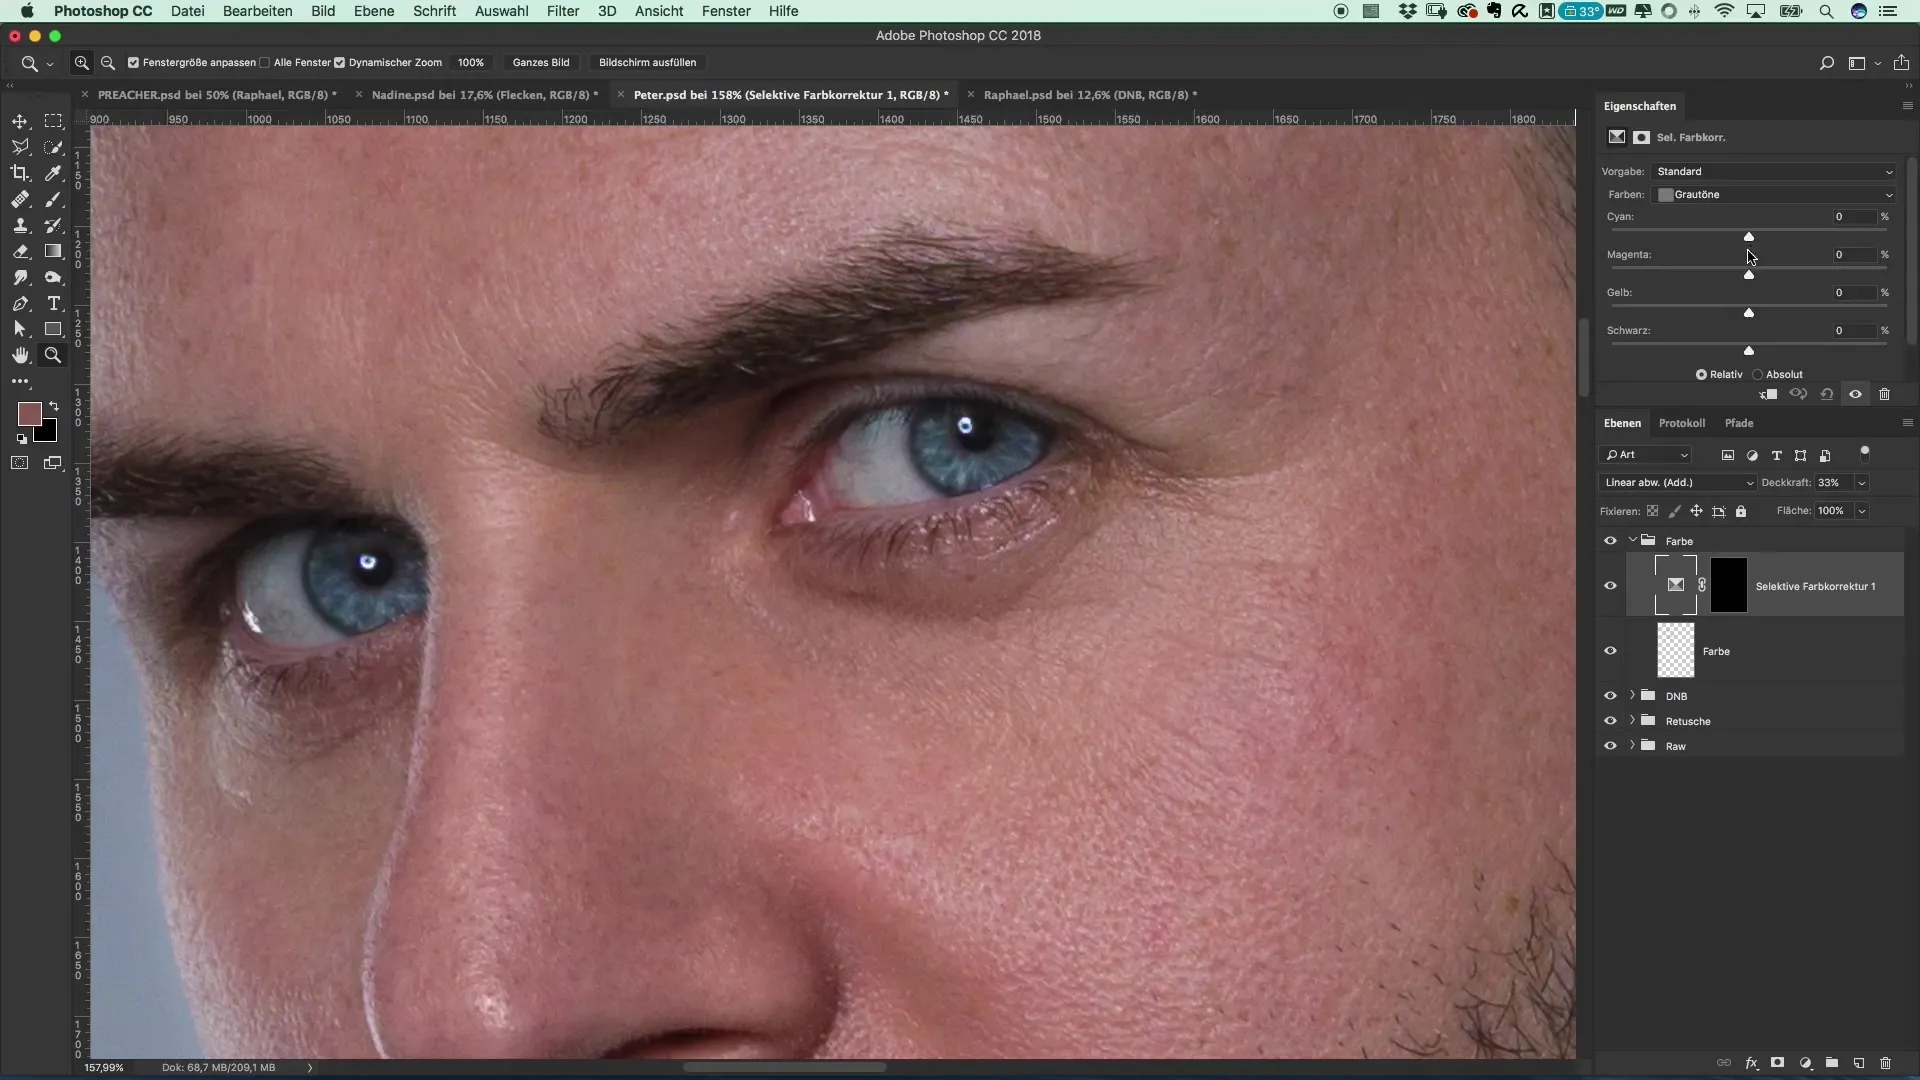
Avoid hard transitions! Soften the edges using a gentle brush. This ensures the transition looks natural and does not appear too sharp.
Conclusion
The end result should be an image that restores the original freshness and vibrancy of the skin and eyes. The eyes should shine and the skin should appear lively.

Summary – Creating a Film Poster in the Style of Preacher: Refreshing Skin and Eyes Through targeted color corrections and the application of Dodge and Burn techniques, you can enhance both the skin and eyes of your models and ensure a fresh look. With a combination of precise color selection and correction methods, your film poster will be a real eye-catcher.
Frequently Asked Questions
How can I reduce gray areas in the skin?Use the Dodge and Burn technique and work with a new layer for color correction.
What brush size should I use?Start with a smaller brush to reach precise areas and work with an opacity of about 10%.
How can I make the eyes more radiant?Select an appropriate color for the iris and use the masking option in Photoshop to achieve a juicy, vibrant color.
What is the fill method “Linear Dodge”?This method makes colors appear more vibrant and leave a more intense impression.


