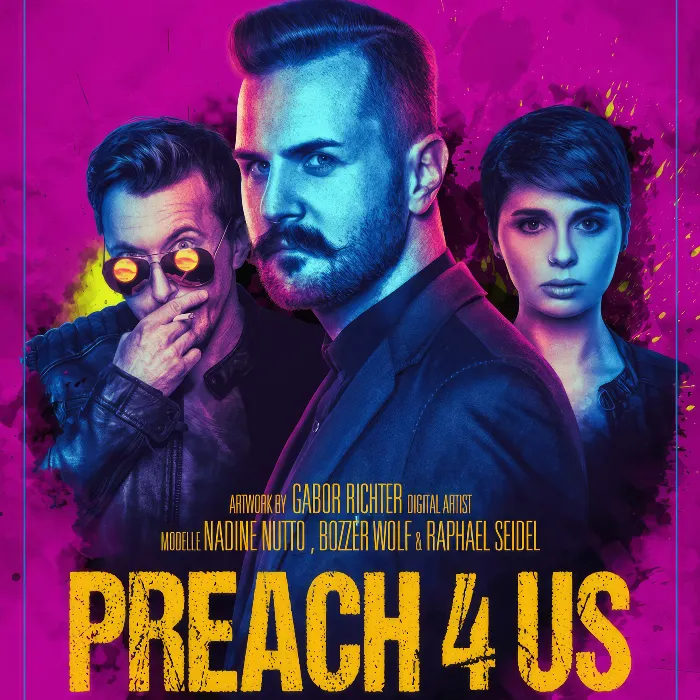
Creating an impressive movie poster in the style of “Preacher” requires not only creative energy but also technical know-how in the field of lighting and image editing. This guide will take you step by step through the process of a photoshoot and the subsequent editing in Photoshop. You will learn how to use targeted light to illuminate the contours of your models and create the desired scene image. Let’s get started!
Key Insights
- The right lighting is crucial for the look of your poster.
- Use different light sources for different effects.
- Ensure that light reflections on the face appear subtle and stylish.
- Experiment with poses to achieve the desired image.
Step-by-Step Guide
Setting the Main Light
First, you take care of the main light. You only need one light source to capture the basic mood of the subject. In this first phase, the main light significantly influences the illumination of your model. Position the light so that it illuminates your figure well and the facial features stand out optimally.

Adding Additional Light Sources
To better highlight the contours and details of your model, you introduce two additional light sources. These extra light sources help you emphasize the edge at the sides of the model. If you have different light shapes, use them to make the picture more interesting.

Setting Up the Second Light
The second light is used as a rim light to specifically illuminate the sides of your figure. Position the light so it shines from a slightly lower angle. It is important to adjust the power of the light so that the illumination does not appear overloaded. Focus specifically on lighting the contours of the model.
Adjusting the Rim Light's Power
Once set up, you should experiment with the power of the rim light. Make some test shots to determine if the rim light achieves the desired effect. In this step, it may be helpful to set a few f-stops lower to avoid overexposure.
Adjusting Position
If you are satisfied with the first rim light, adjust the position of your model. Make sure the light does not shine directly on the nose to avoid distracting light edges. These can make the image appear restless. By making small movements forward or backward, you can find the optimal position.

Adding a Second Rim Light
Once the first rim light is successfully placed, bring in the second one. You can set it up similarly to the first, but ensure that both rim lights work together harmoniously. Aim for a symmetrical look that emphasizes your model's face and creates a plastic appearance.

Testing the Overall Image
Once both rim lights are in use, conduct a test run. Ensure that the light distribution is even and that the desired contours are well defined. Adjust the power of the lights if necessary to achieve the best results.

Posing the Model
Now that the lighting is optimally set, it's time for your model to take a pose. Show them the reference image as a guide and direct them through the pose. Ensure the head is slightly tilted and the eyes are directed towards the camera. Experiment with different positions to find the best expression.
Final Adjustments
Before you start shooting, check the position and orientation of your model. Ensure that both eyes are optimally directed towards the camera. Go back to the camera and test the shot again. This time, make sure everything is in harmony and your vision for the movie poster is tangible.

Starting the Shoot
Now it's time for the actual shoot. Make sure your model feels comfortable while you take the photos. Ensure that all lights are activated and take several shots to capture the different poses. Trust your previous settings to achieve an ideal result.

Summary – Creating a Movie Poster in the Preacher Style: Steps for Photo and Photoshop
To create an impressive movie poster, it is essential to master proper lighting and effectively stage your model. With this step-by-step guide, you now have the knowledge needed to achieve effective results during the photoshoot and in image editing in Photoshop.
Frequently Asked Questions
How many light sources do I need for the shoot?One light source can be sufficient, but two or three provide more flexibility for contour and shadow effects.
How can I adjust the power of my lights?Take test shots and adjust the aperture as well as the light power based on the illumination of your model.
What is rim light?Rim light is a narrow beam of light used to highlight the contours of a model.
Why is the positioning of the model important?The positioning affects how the light falls on the face and body of the model, leading to a better overall image.


