In this tutorial, I will show you how to give a subject an impressive color look, inspired by the style of the series Preacher. With the help of Adobe Photoshop and some creative techniques, particularly clipping masks and color look adjustments, you will learn how to create effective color gradients and make your images shine. You will find that applying color looks not only enhances your photography but also allows you to creatively implement your own ideas.
Main insights:
- The application of color looks can be significantly improved with gradient layers and clipping masks.
- Control over the color assignment in highlights, midtones, and shadows allows for a personal and individual result.
- A nondestructive workflow in Photoshop allows you to revert changes at any time.
Step-by-step guide
First, open your subject in Photoshop. Choose an image that you want to give an impressive color look. In our example, we will focus on the main subject and its contours. The image inspired by Preacher is perfect for this.

Start by creating a clipping mask to apply the color look only to the desired areas. A quick method is to place a blue solid color and change the mode to "Color." This gives you a first impression, but the result often appears quite monotonous.
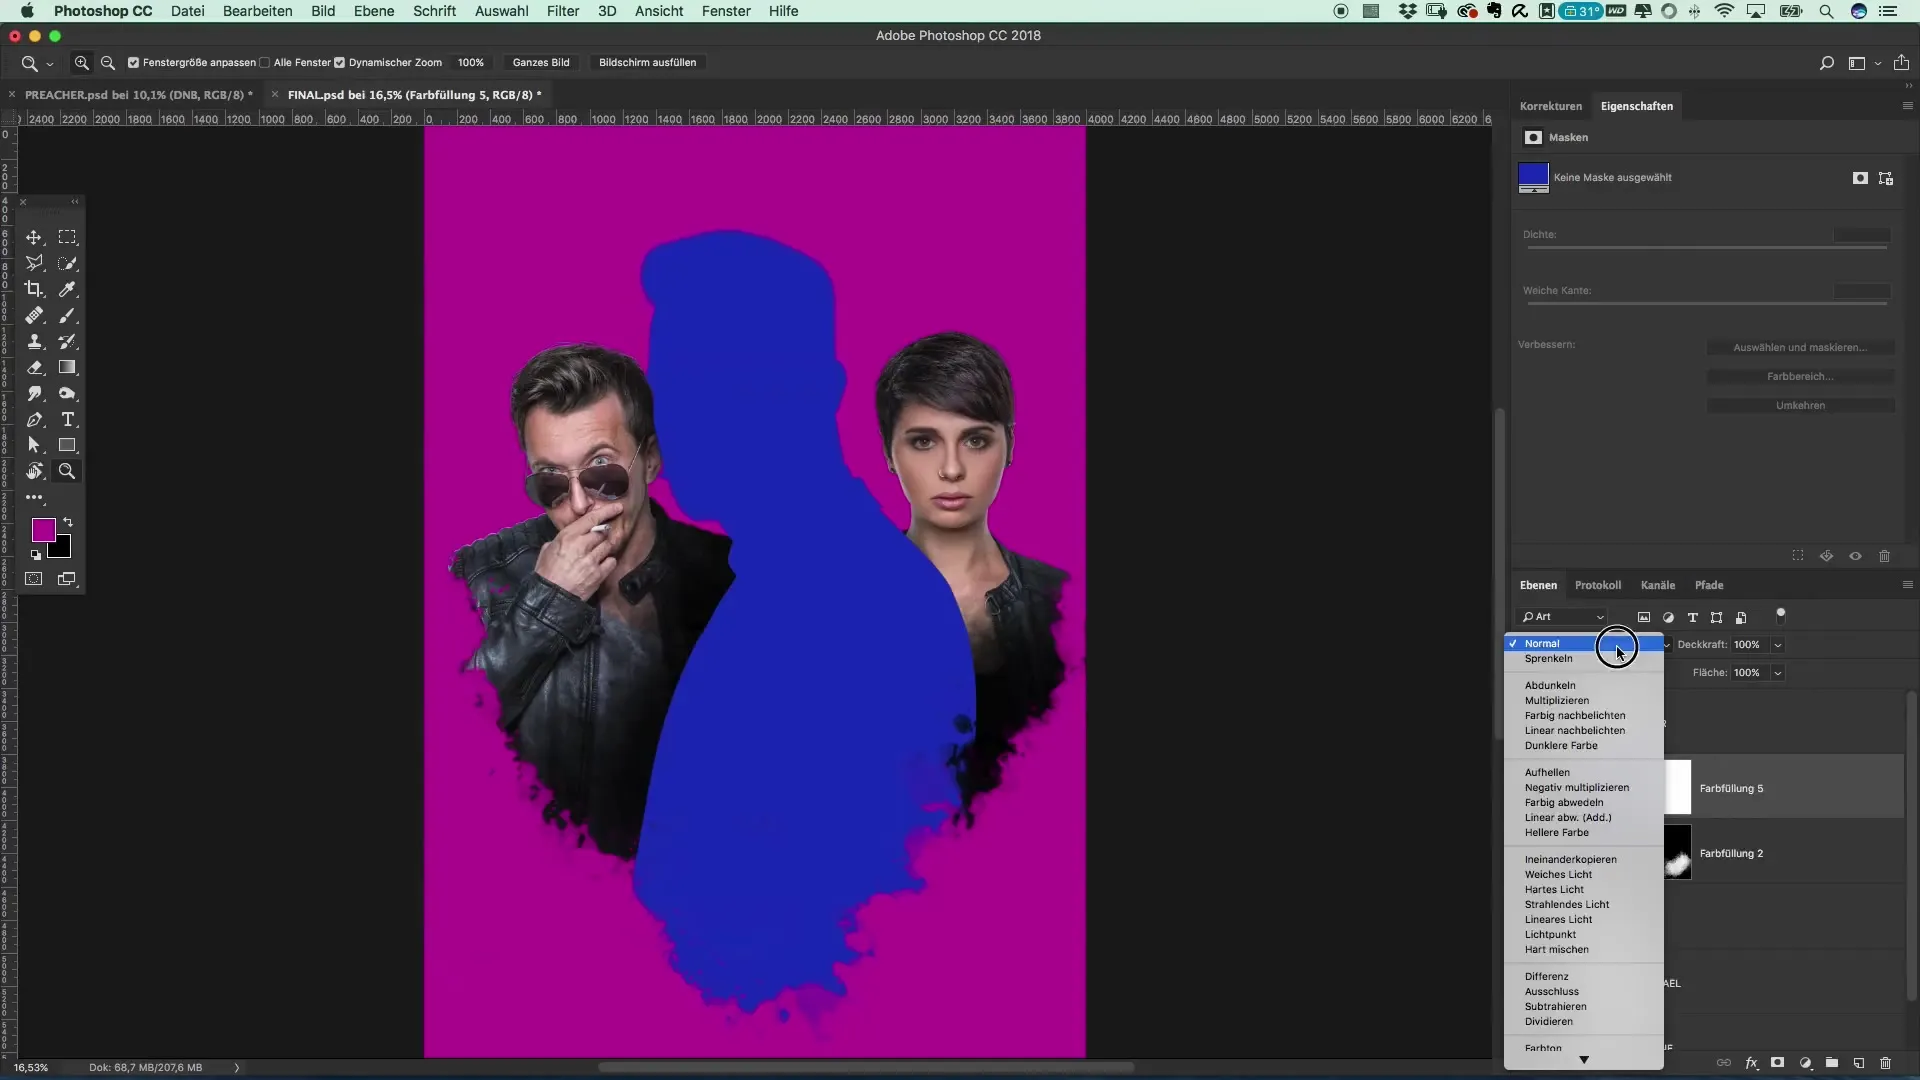
To make the image more vivid, we use the adjustment layer "Gradient Map." This gives you the ability to control colors in shadows, midtones, and highlights more precisely. Click on the gradient map, create a clipping mask, and select a harmonious color palette. Experiment with different presets to find the desired starting result.
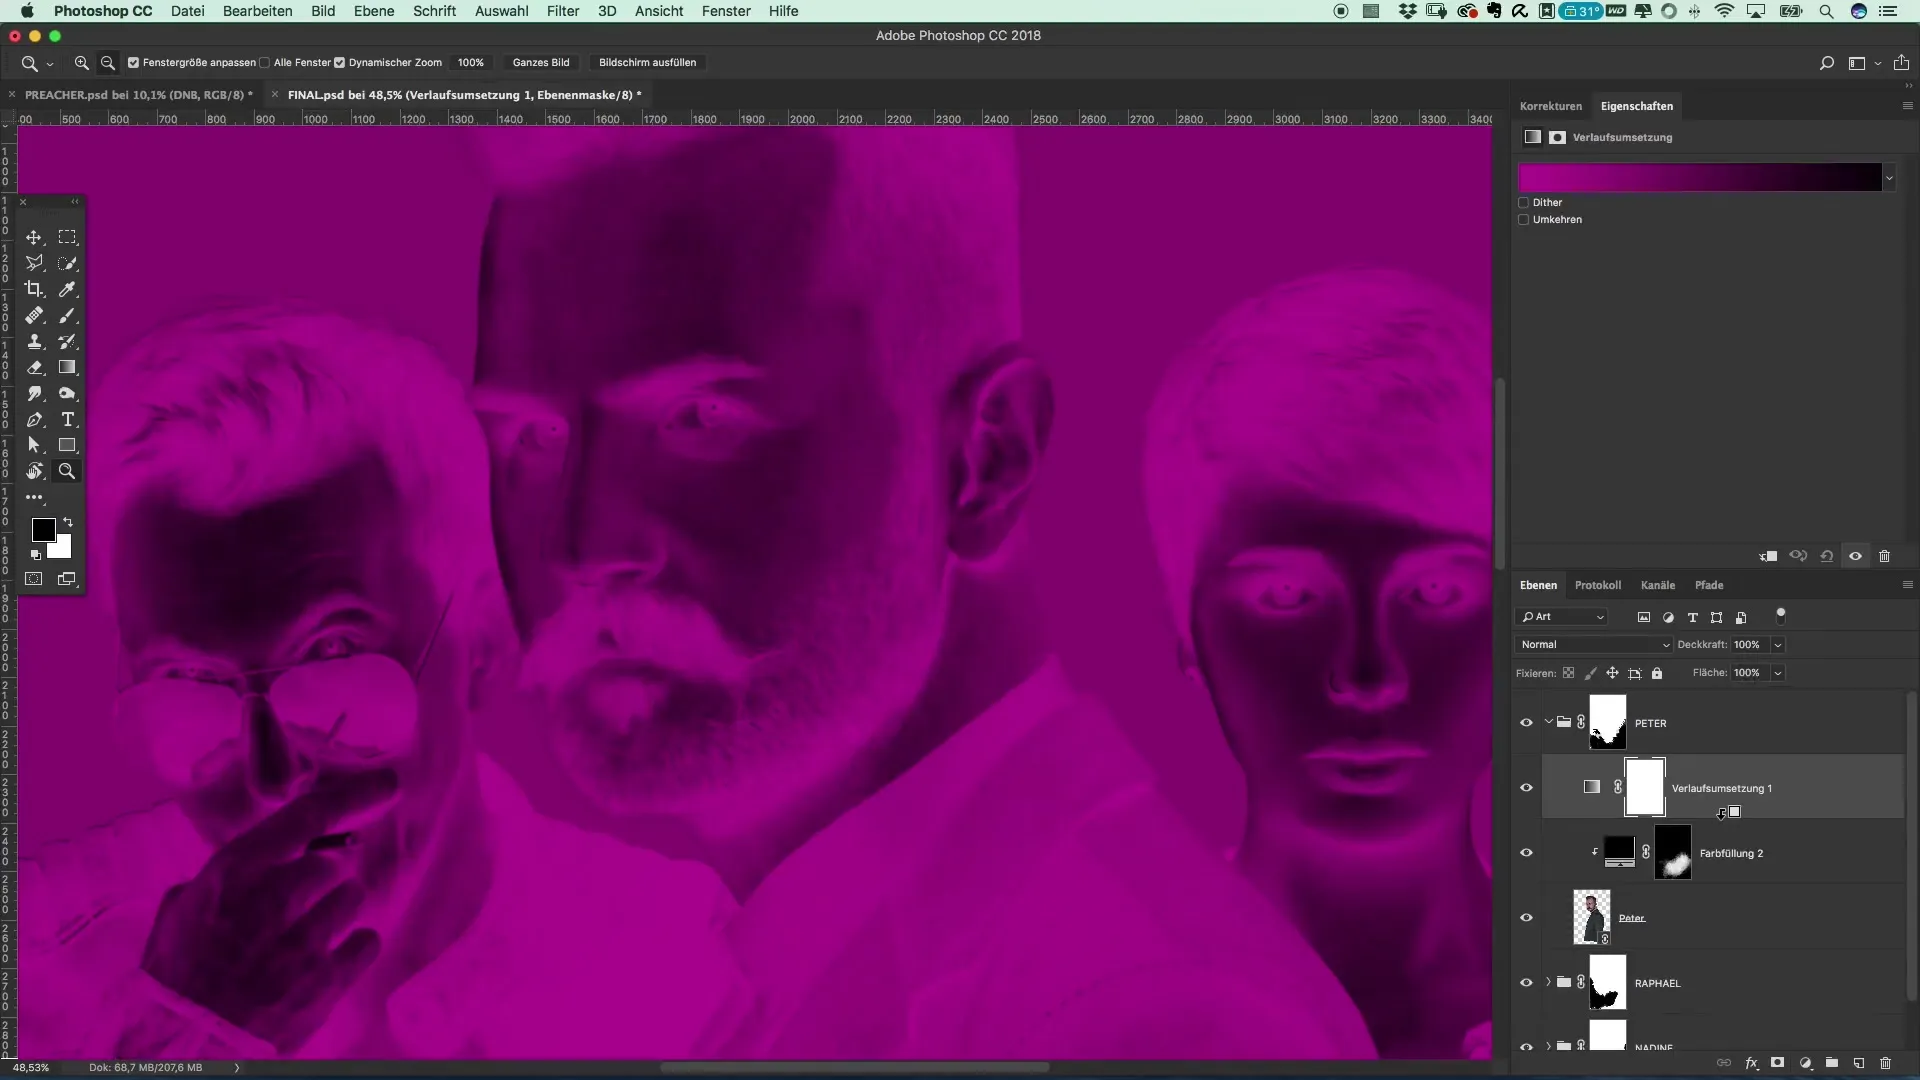
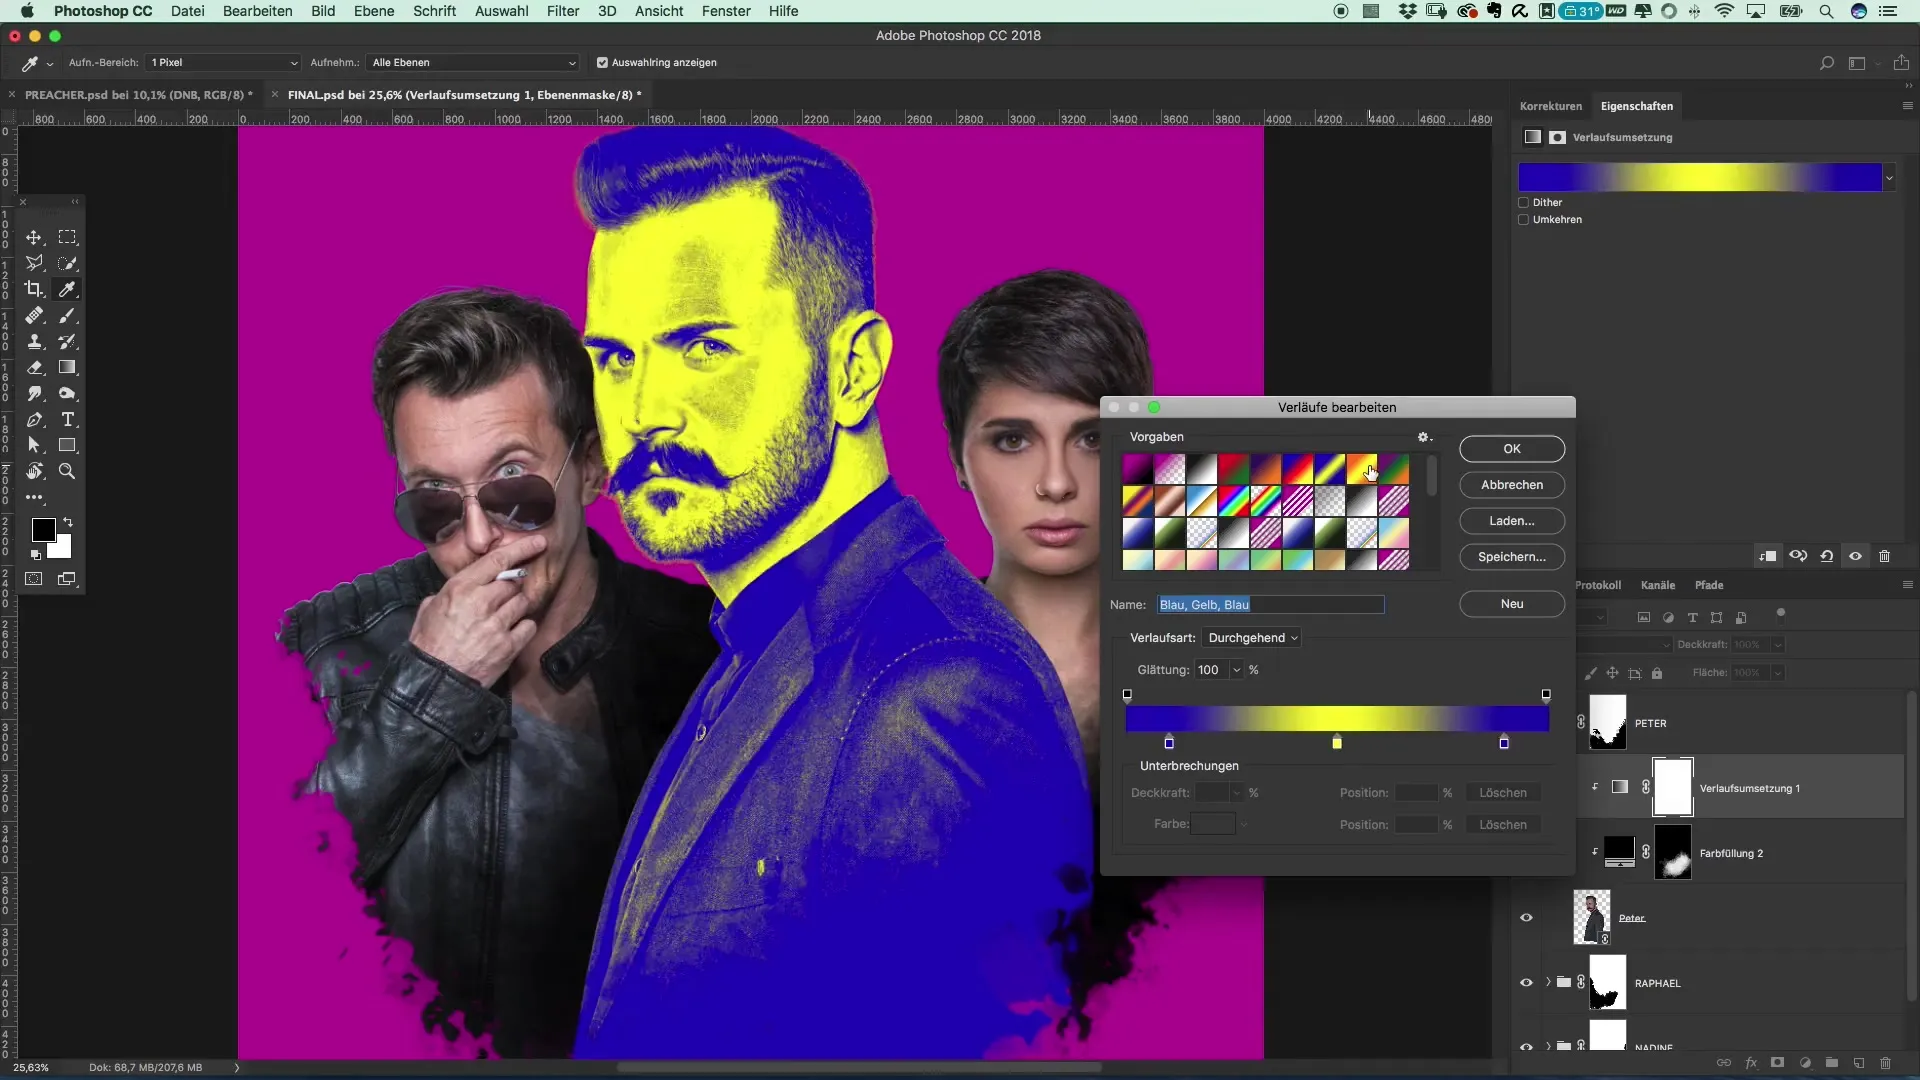
When you click on the gradient map, many presets will appear that can help you. Here you can adjust the colors according to your preferences or even create your own gradients. For example, select a rich, dark tone for the shadows and a lighter one for the highlights.
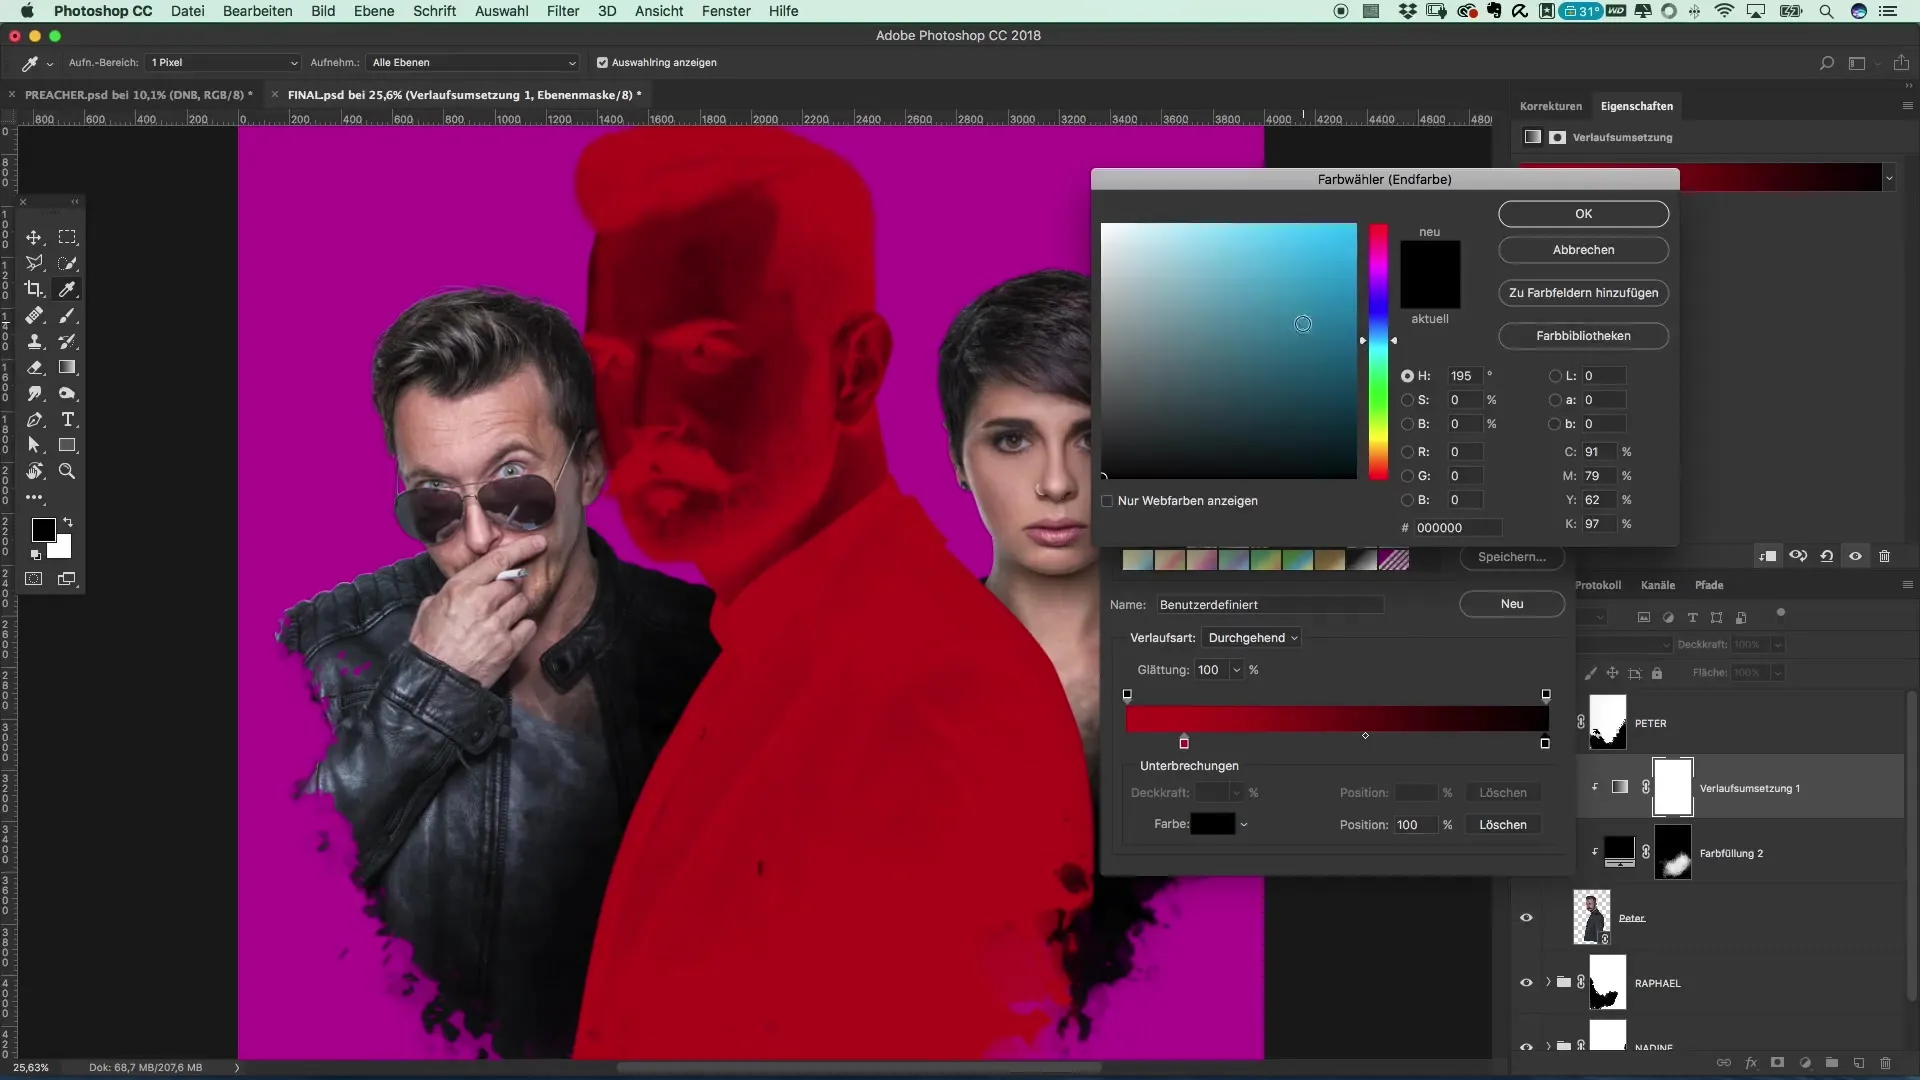
To gain more control over the image, you can adjust the individual color values of the various tonal ranges. Experiment with colors like light blue for the highlights and dark reds for the shadows. Make sure that the various hues harmonize well to achieve an appealing overall impression.
After adjusting the color values, let’s apply these settings to another subject. Copy the previous gradient map, paste it onto the next image, and create a new clipping mask. Depending on the model, the result may vary, so you might need to make further adjustments.
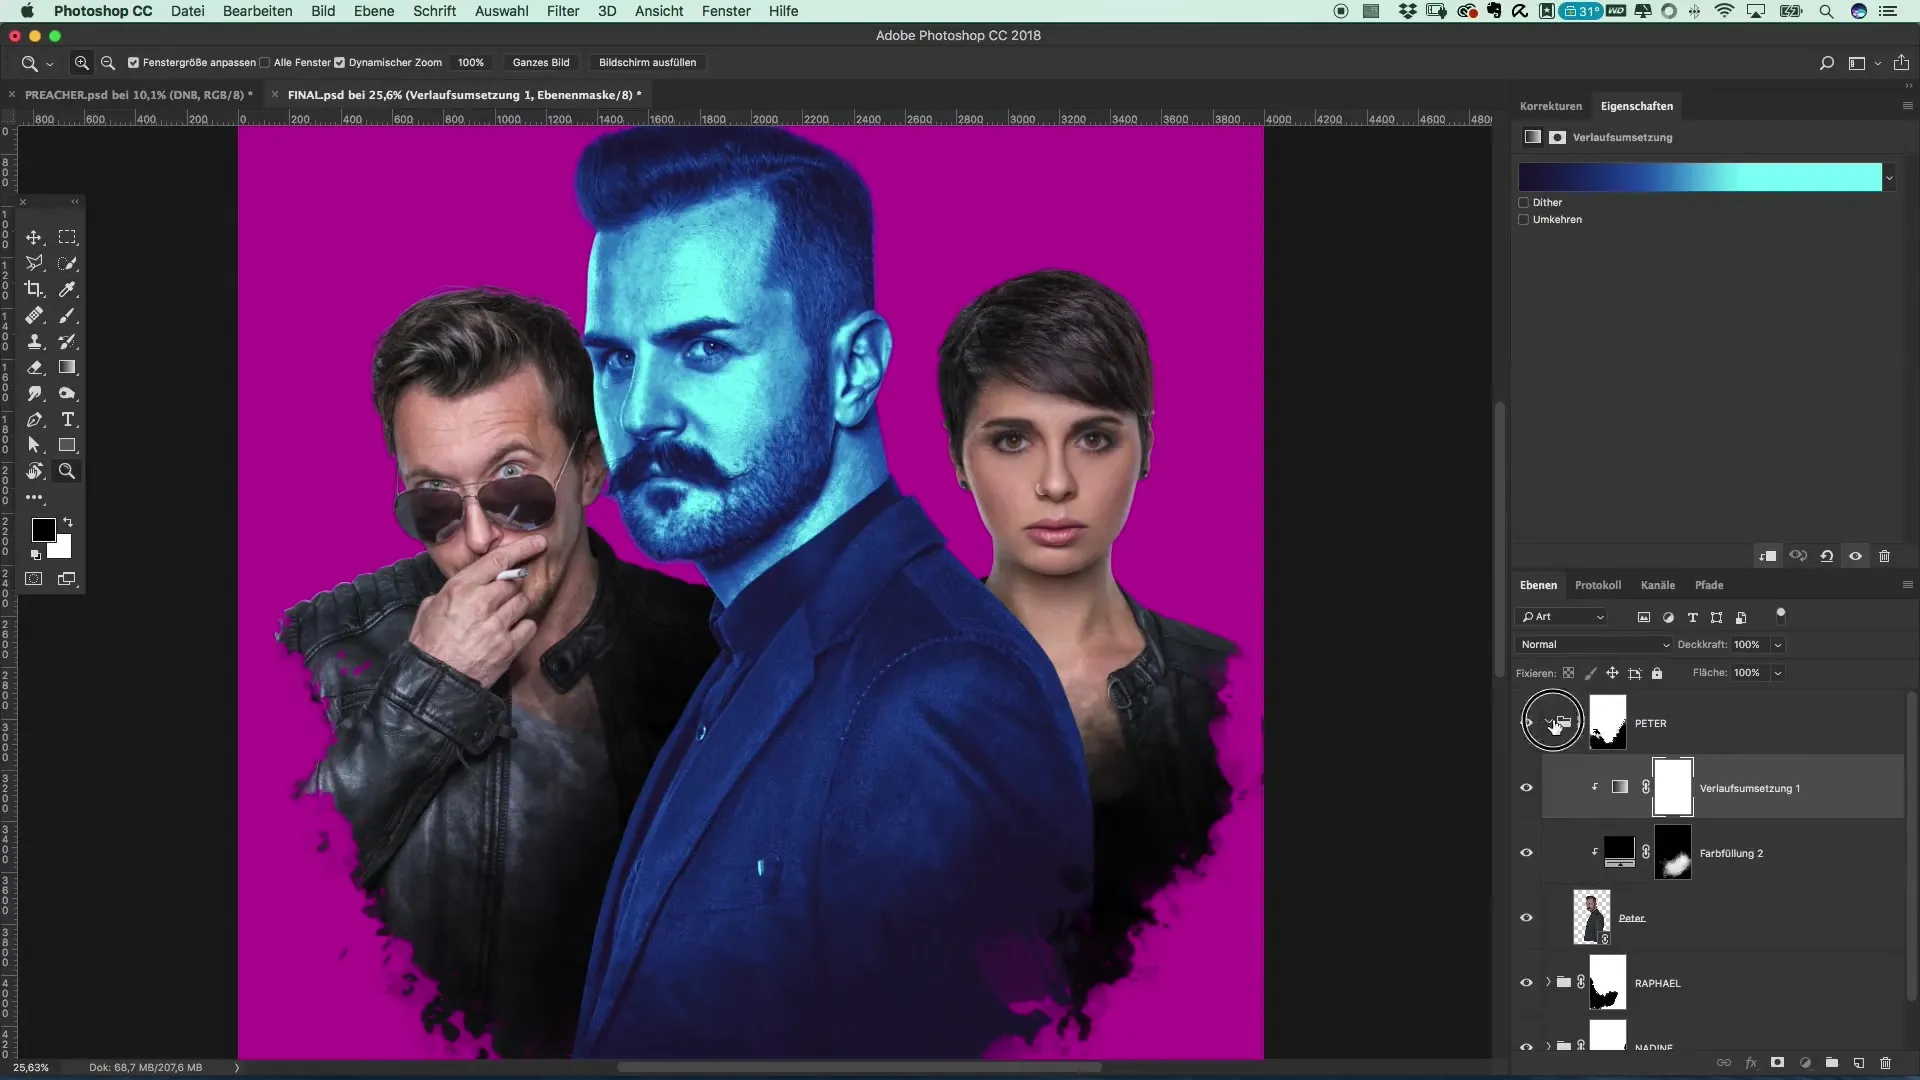
Now it makes sense to refine the brightness of the individual areas. Consider whether the highlights need to be optimized and if the dark areas should be colored more intensely to give the image more depth.
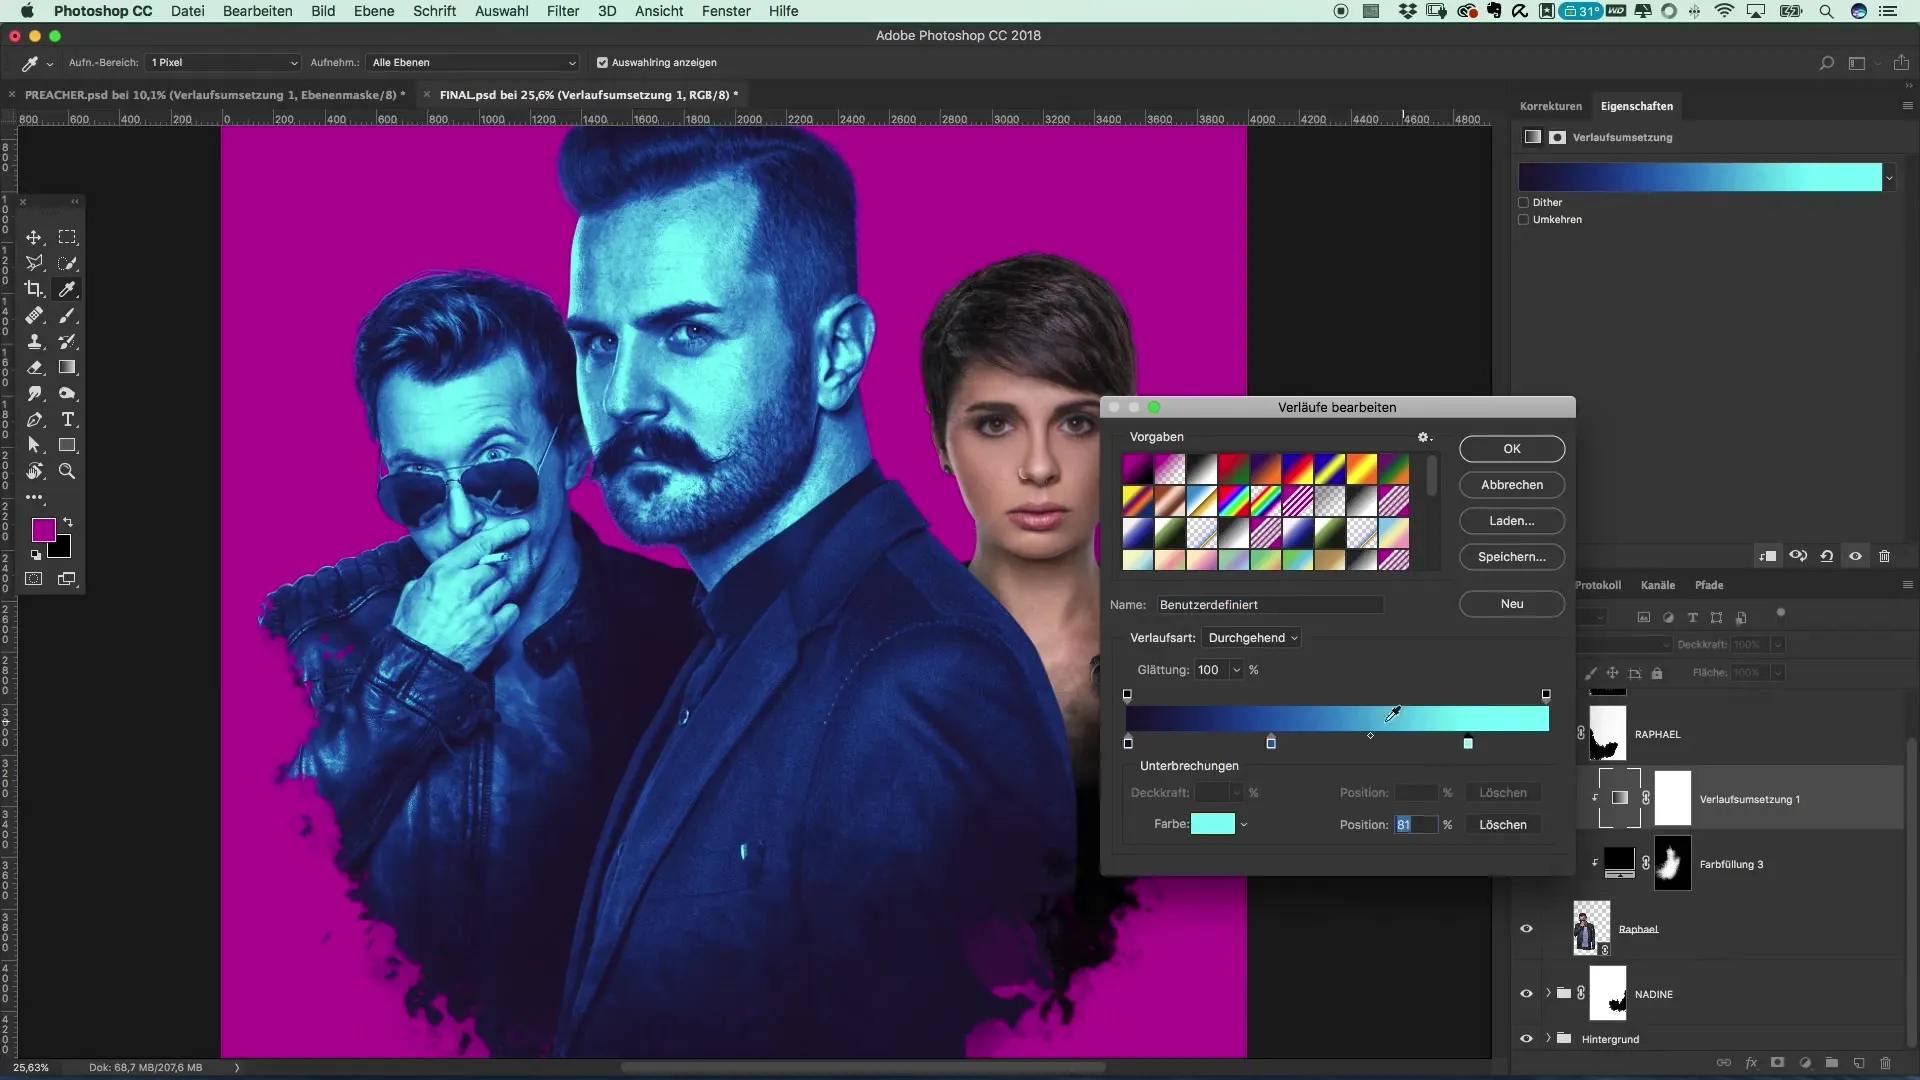
Also, address the nuances of the image. Complete the final small adjustments by checking the highlights and optimizing the color distribution in the various areas if necessary. This adds more excitement and character to the image.
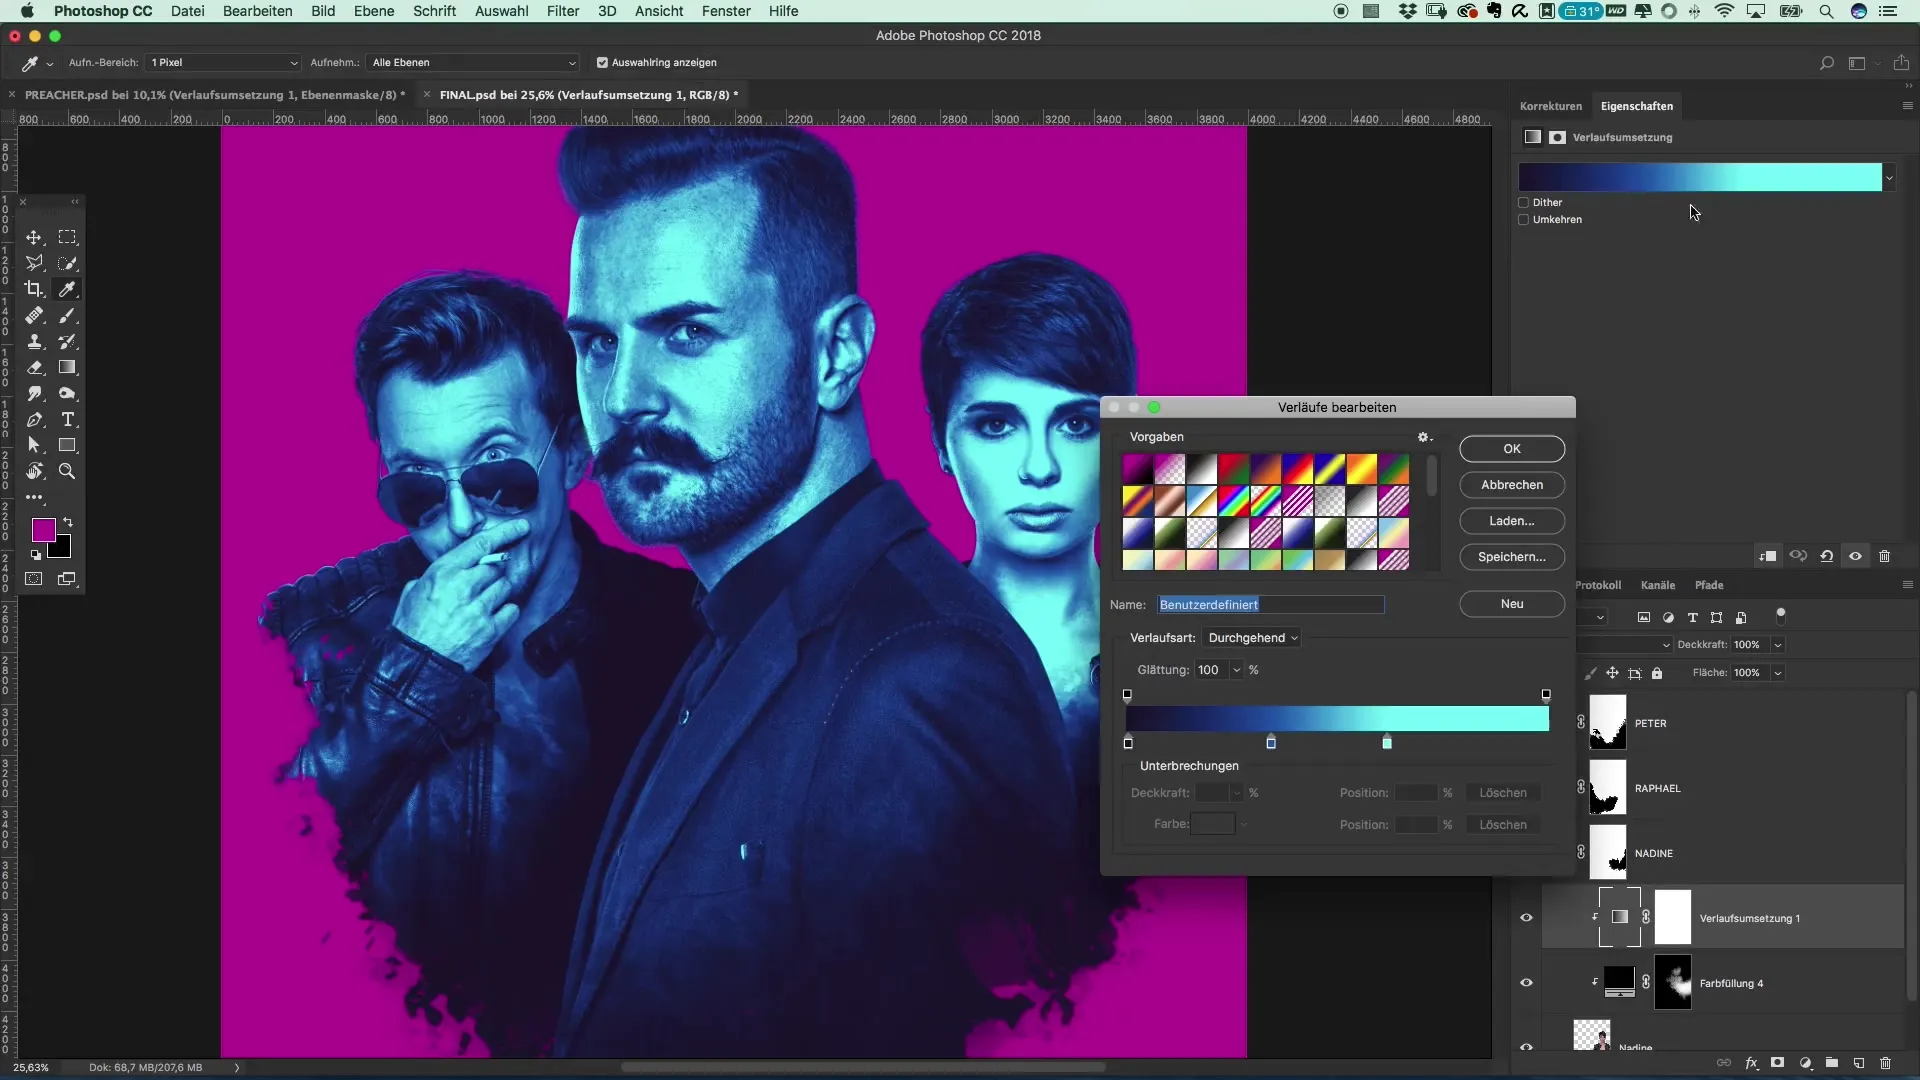
If you are satisfied with the result overall, save your project. Review your work and ensure that the color look works well and leaves the desired impression. Consider revisiting your previous work and optimize if necessary.
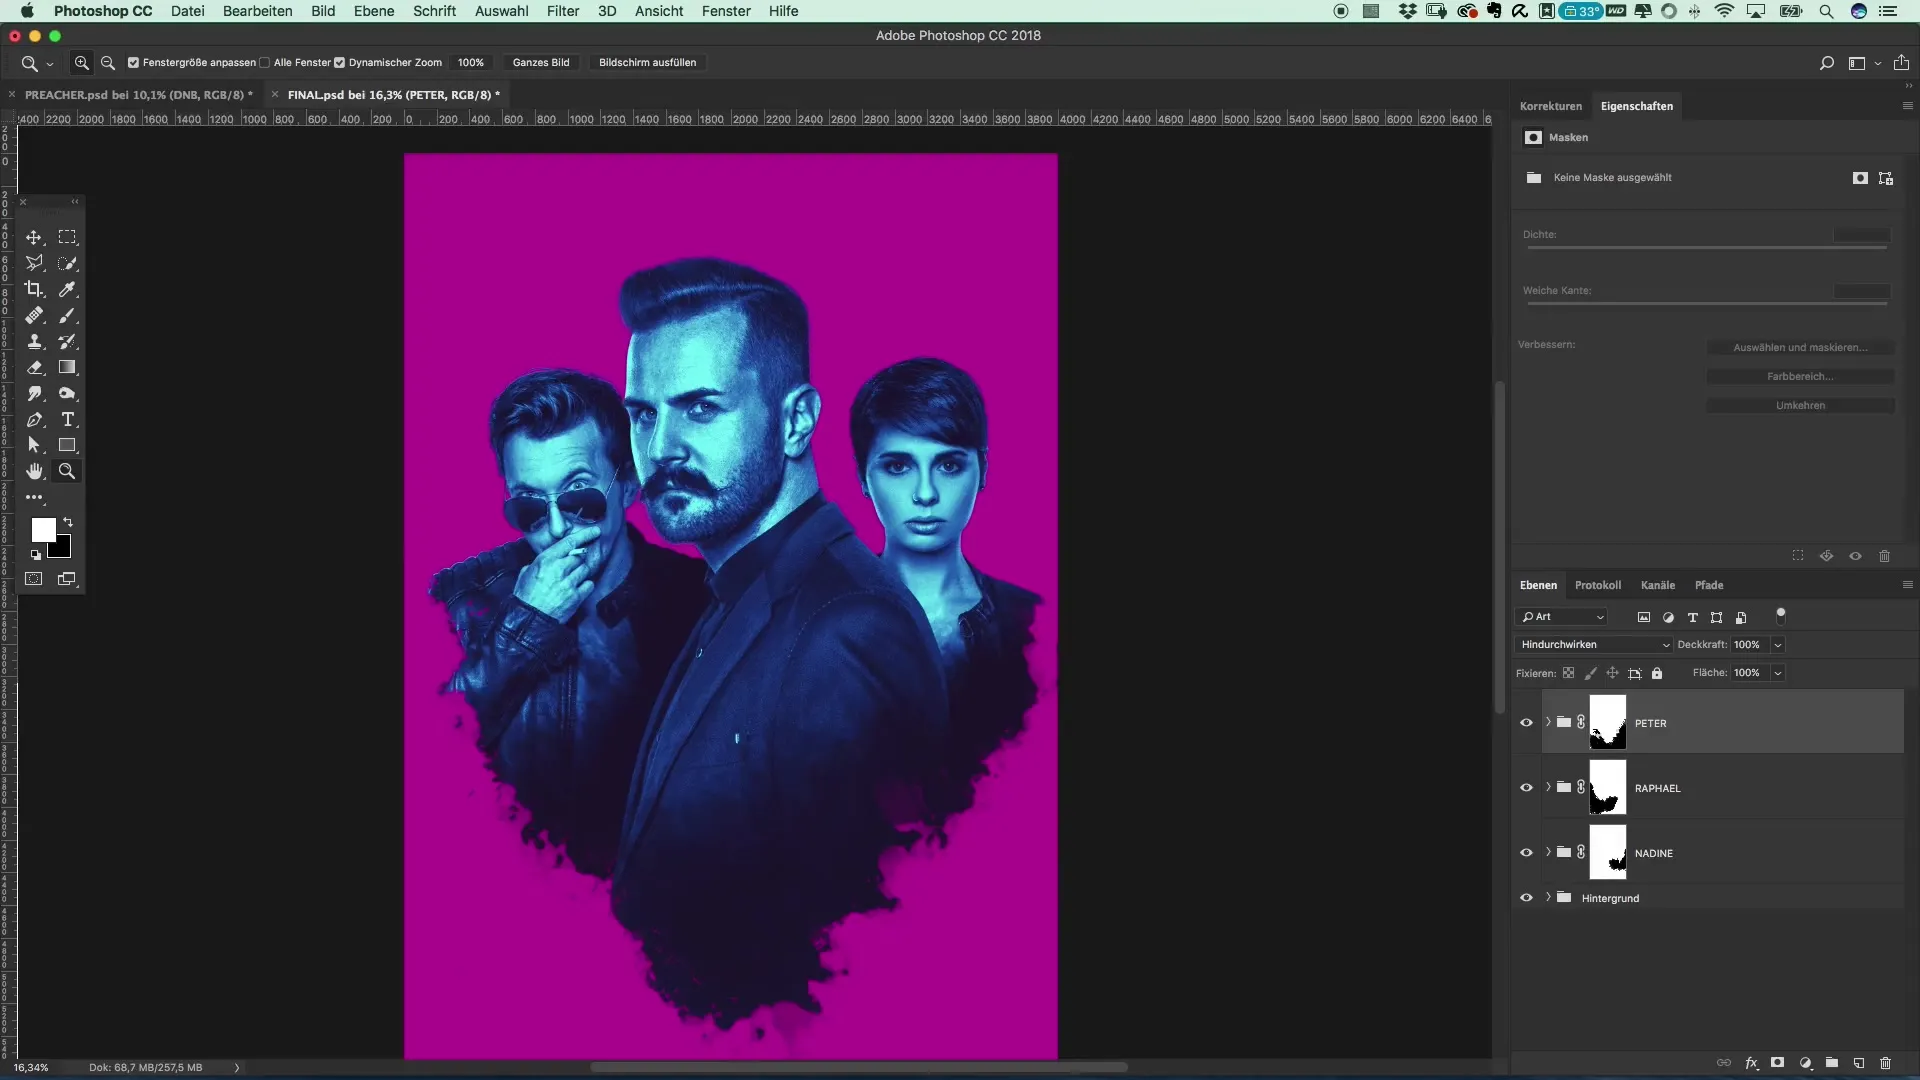
Summary – Creating a movie poster in the style of Preacher: A comprehensive tutorial on color design
Creating a color look in the style of Preacher requires a certain level of experimentation and creativity. With the right technique and tools in Photoshop, you can achieve impressive results that elevate your images to a new level.
Frequently asked questions
How do I use clipping masks in Photoshop?Clipping masks allow you to apply an adjustment layer only to the layer below it. Place the adjustment layer directly above the layer you wish to edit.
What is the gradient map?The gradient map is an adjustment layer that allows you to create smooth color gradients and adjust the colors in your images precisely.
Can I use the color looks for different images?Yes, absolutely! You can apply the same color look settings to different images and then modify them as needed.


