Welcome to this comprehensive guide on creating a movie poster in the style of “Preacher”. Here you will learn how to liquify your models and give them a more appealing shape. Gabor will also show you how to finalize your work using the filtration program Color Efex Pro 4. These steps will help you create impressive and detailed posters.
Main insights
- Liquify models for a more harmonious shape.
- Add micro-contrasts and details using Color Efex Pro 4.
- Use skilled retouching techniques for a professional result.
Step-by-step guide
1. Preparation of layers
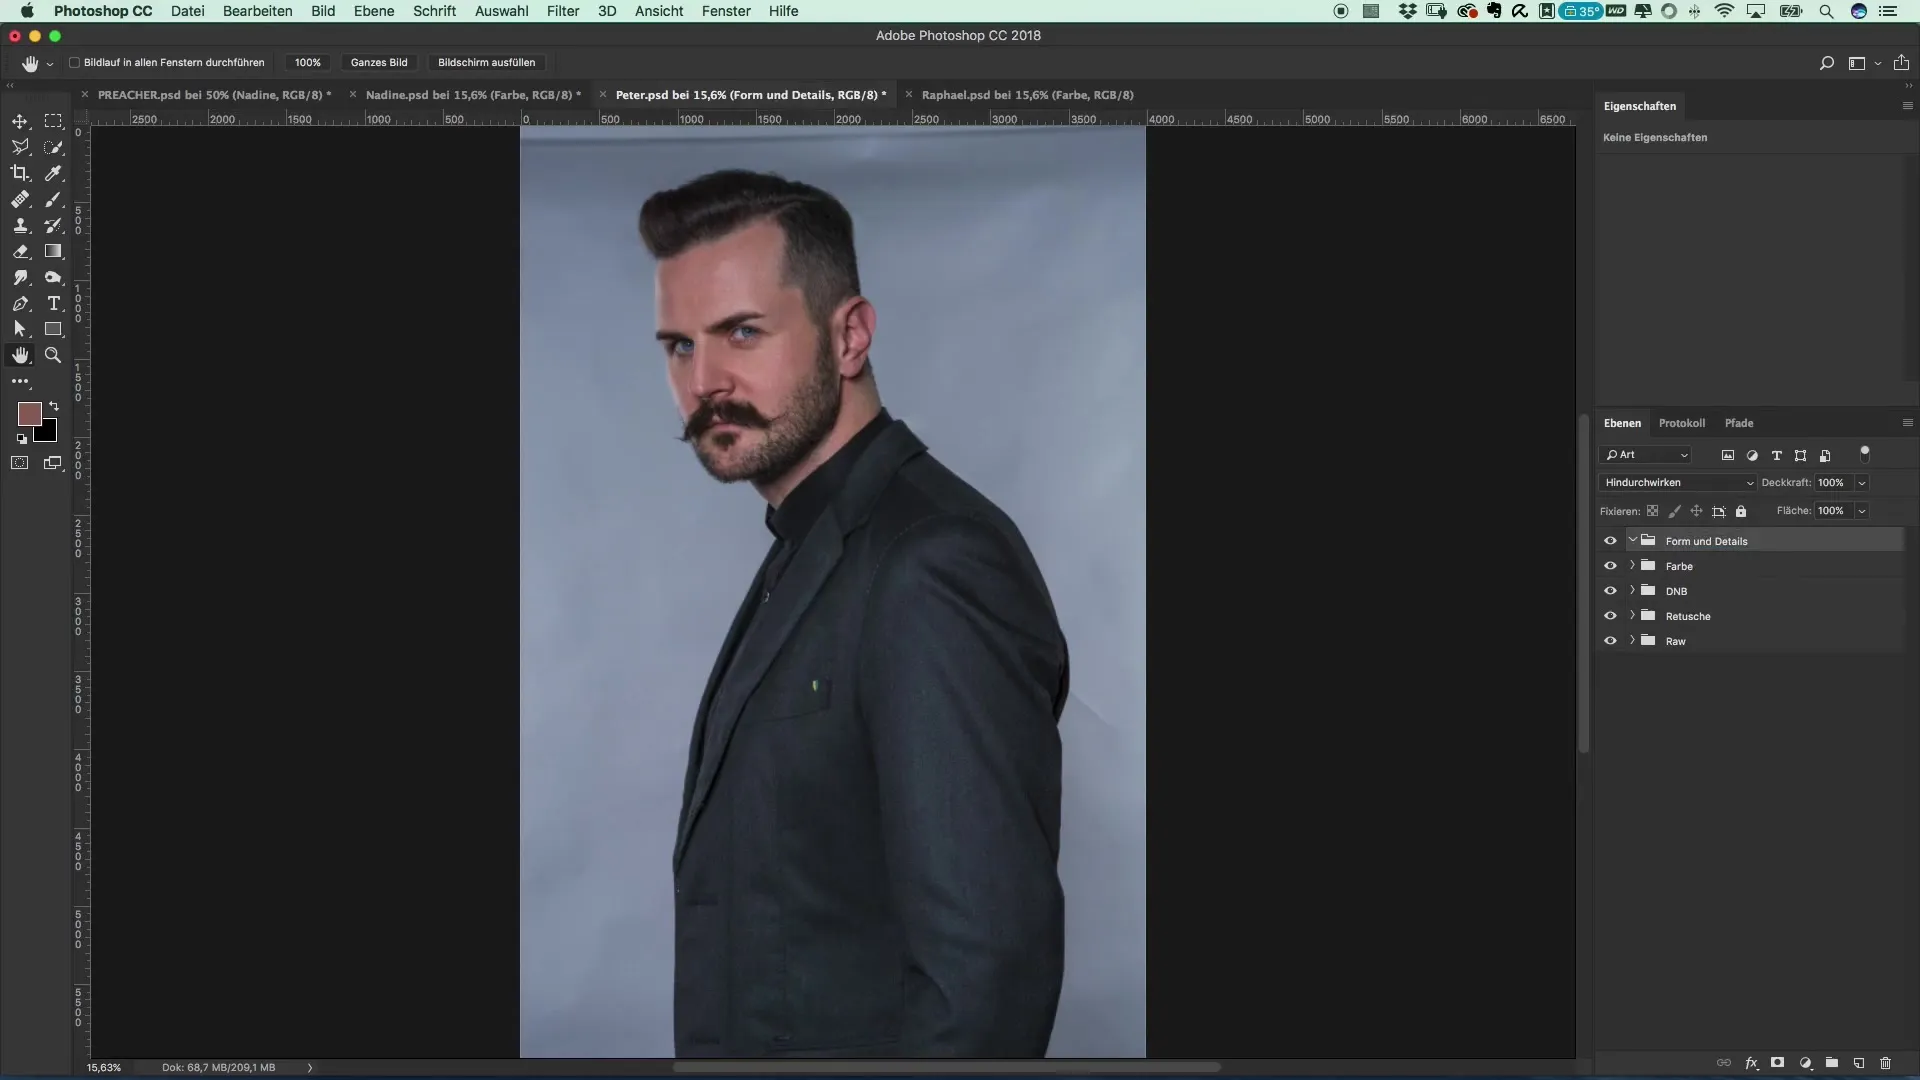
Start by merging all relevant layers in Photoshop. Use the keyboard shortcut Cmd + Alt + Shift + E (Mac) or Ctrl + Alt + Shift + E (Windows). This creates a new visible layer that you will use for the liquifying process.
2. Liquifying the models
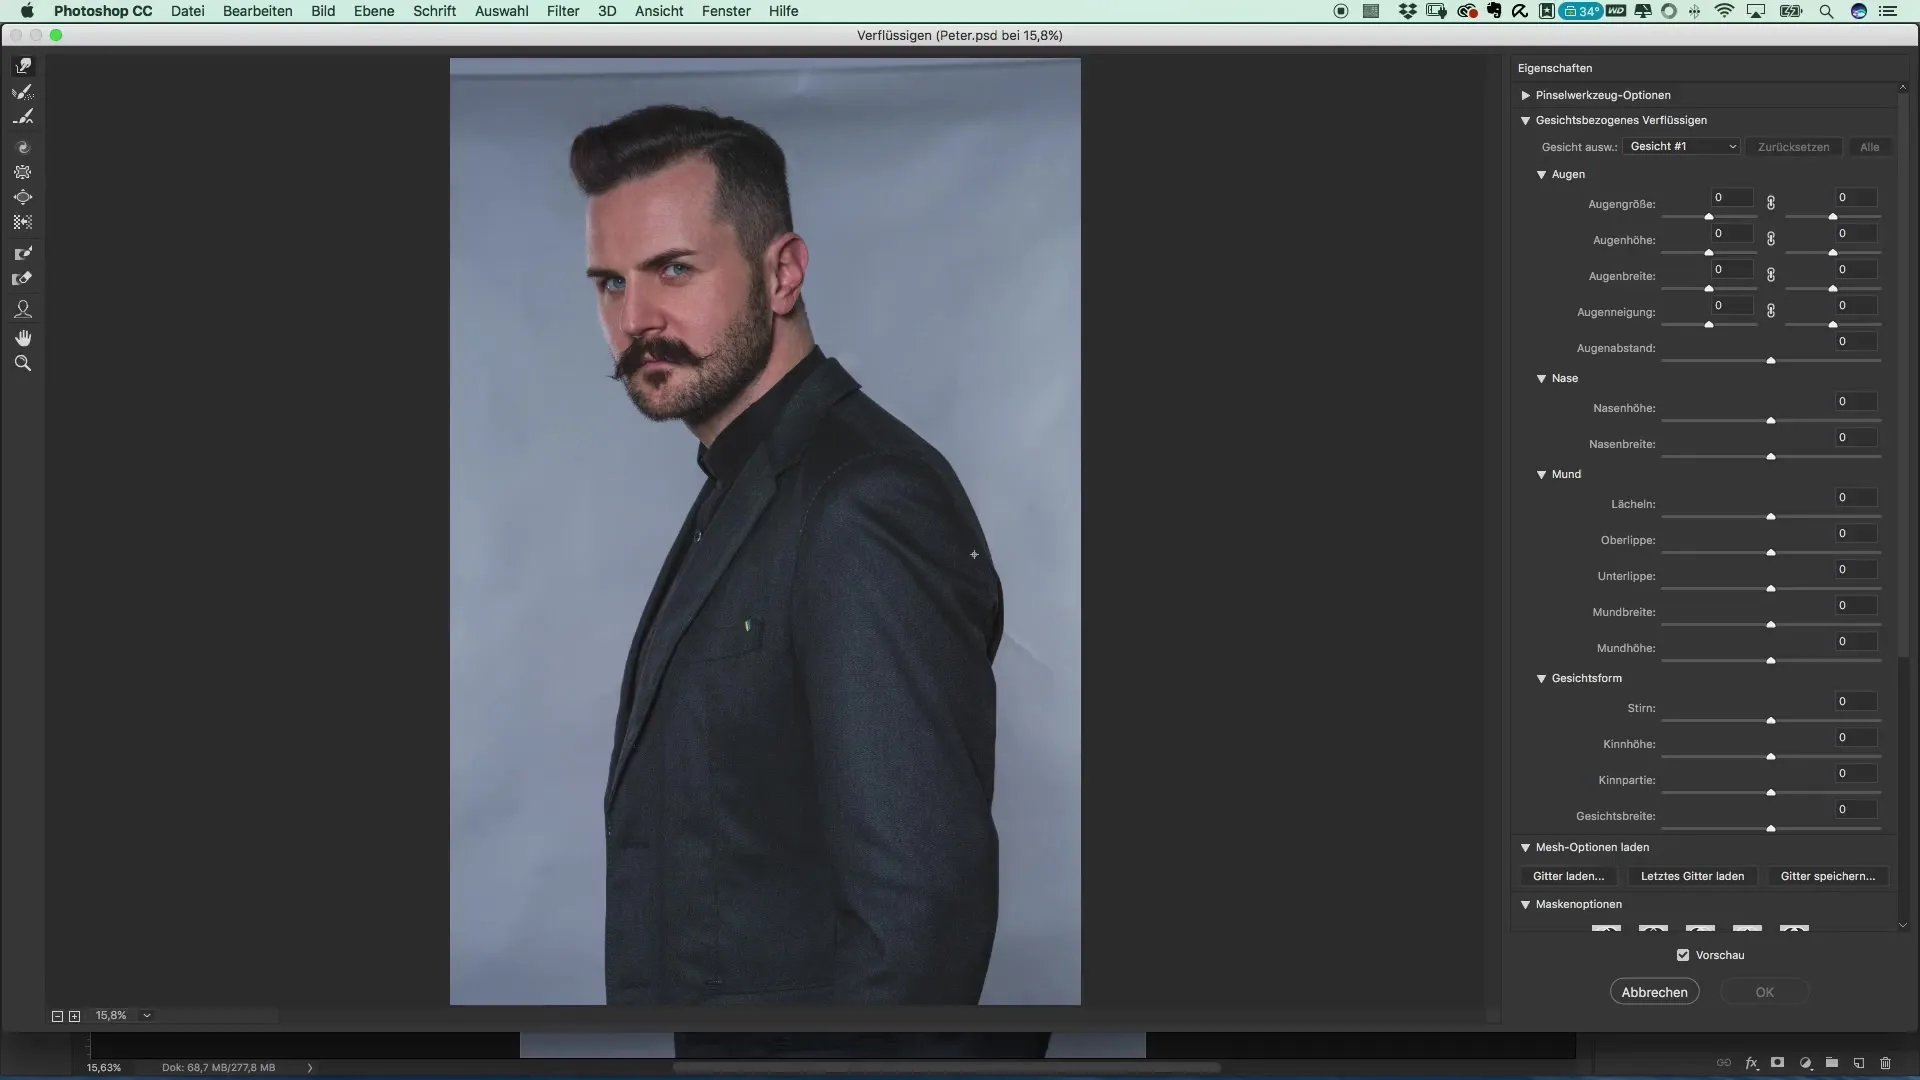
You can now apply the “Liquify” filter. Select the warp tool and begin to liquify the models slightly as Peter. Be sure to adjust the clothing and unflattering folds. This improves the overall appearance and makes the silhouette slimmer.
3. Refining the contours
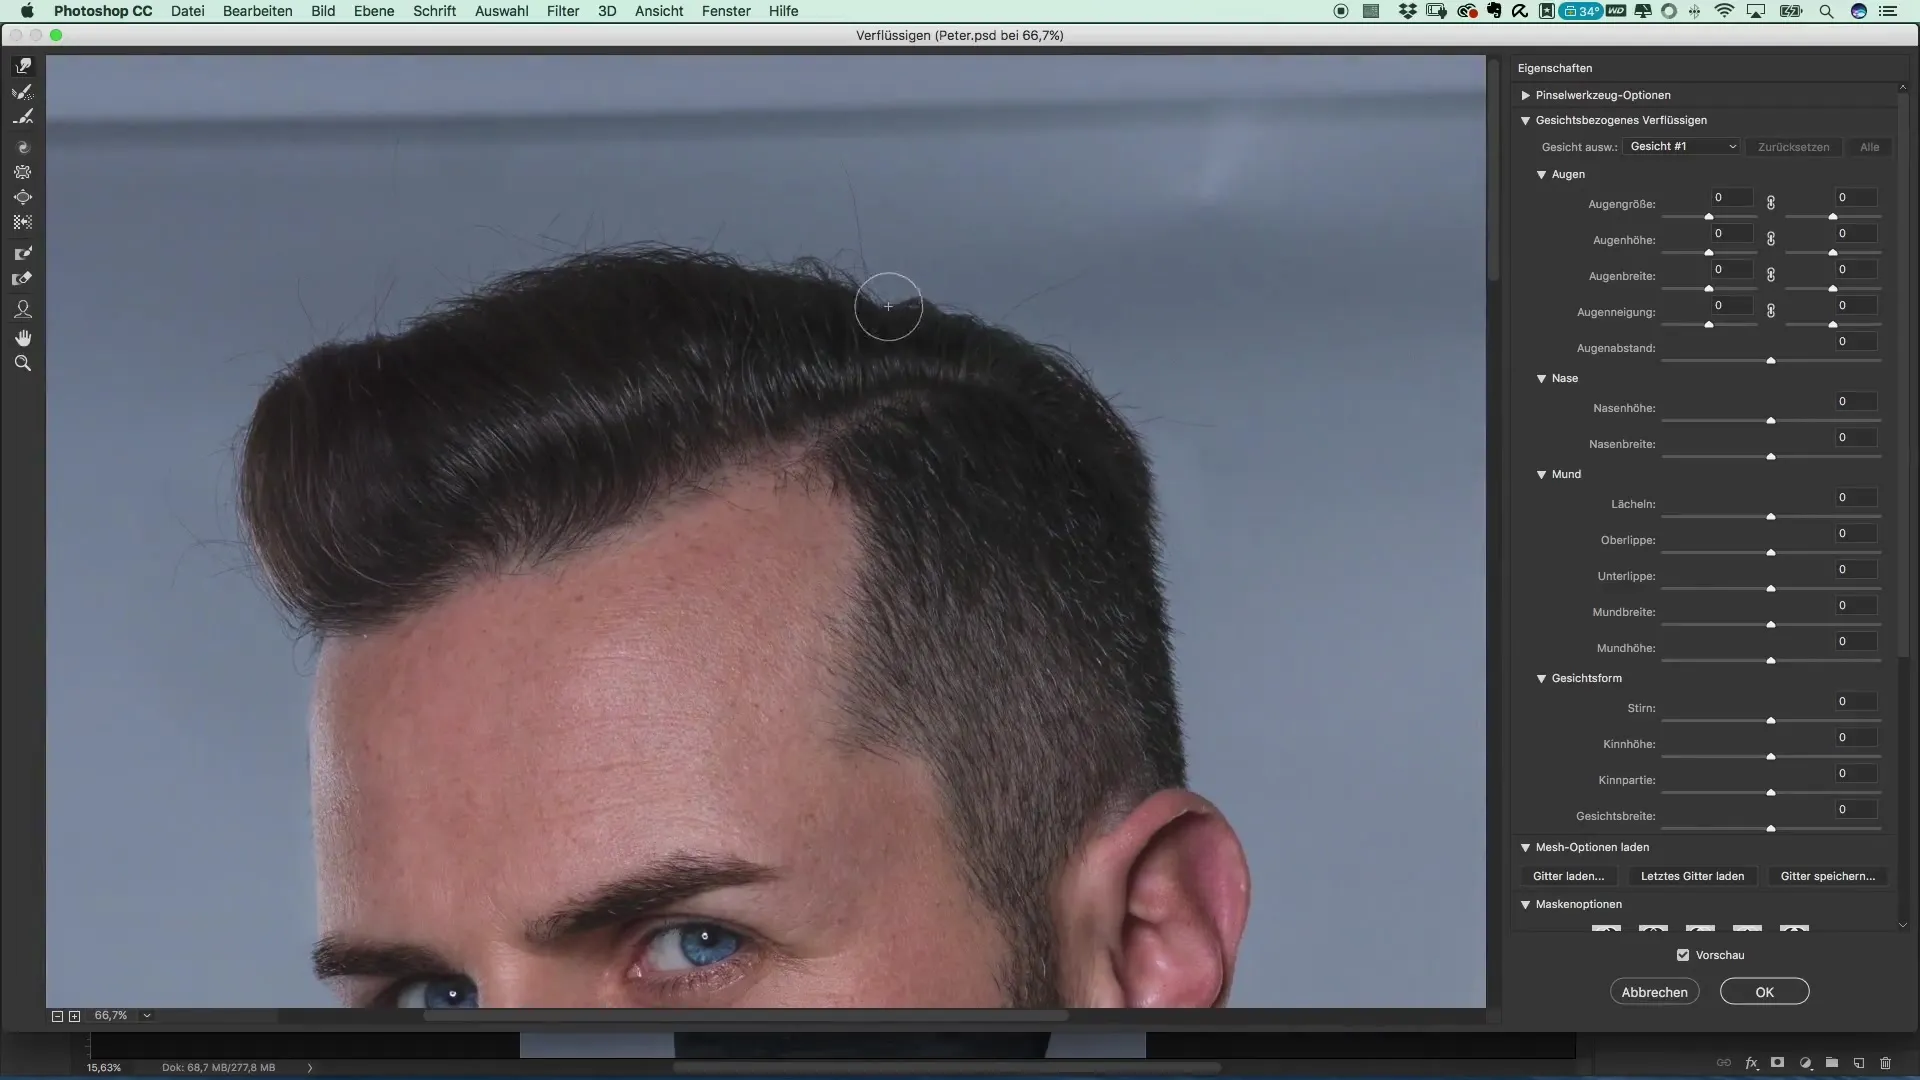
Now it is time to smooth the transitions and wrinkles. Use the warp tool to carefully edit small dents and transitions. These steps are crucial for a more professional look, as they help the contours to appear more natural.
4. Refining hair structures
Look at the hair and edit the curves. A little volume can be added by gently pushing or pulling the hair sections. This makes the overall image look livelier and fresher.
5. Saving the files
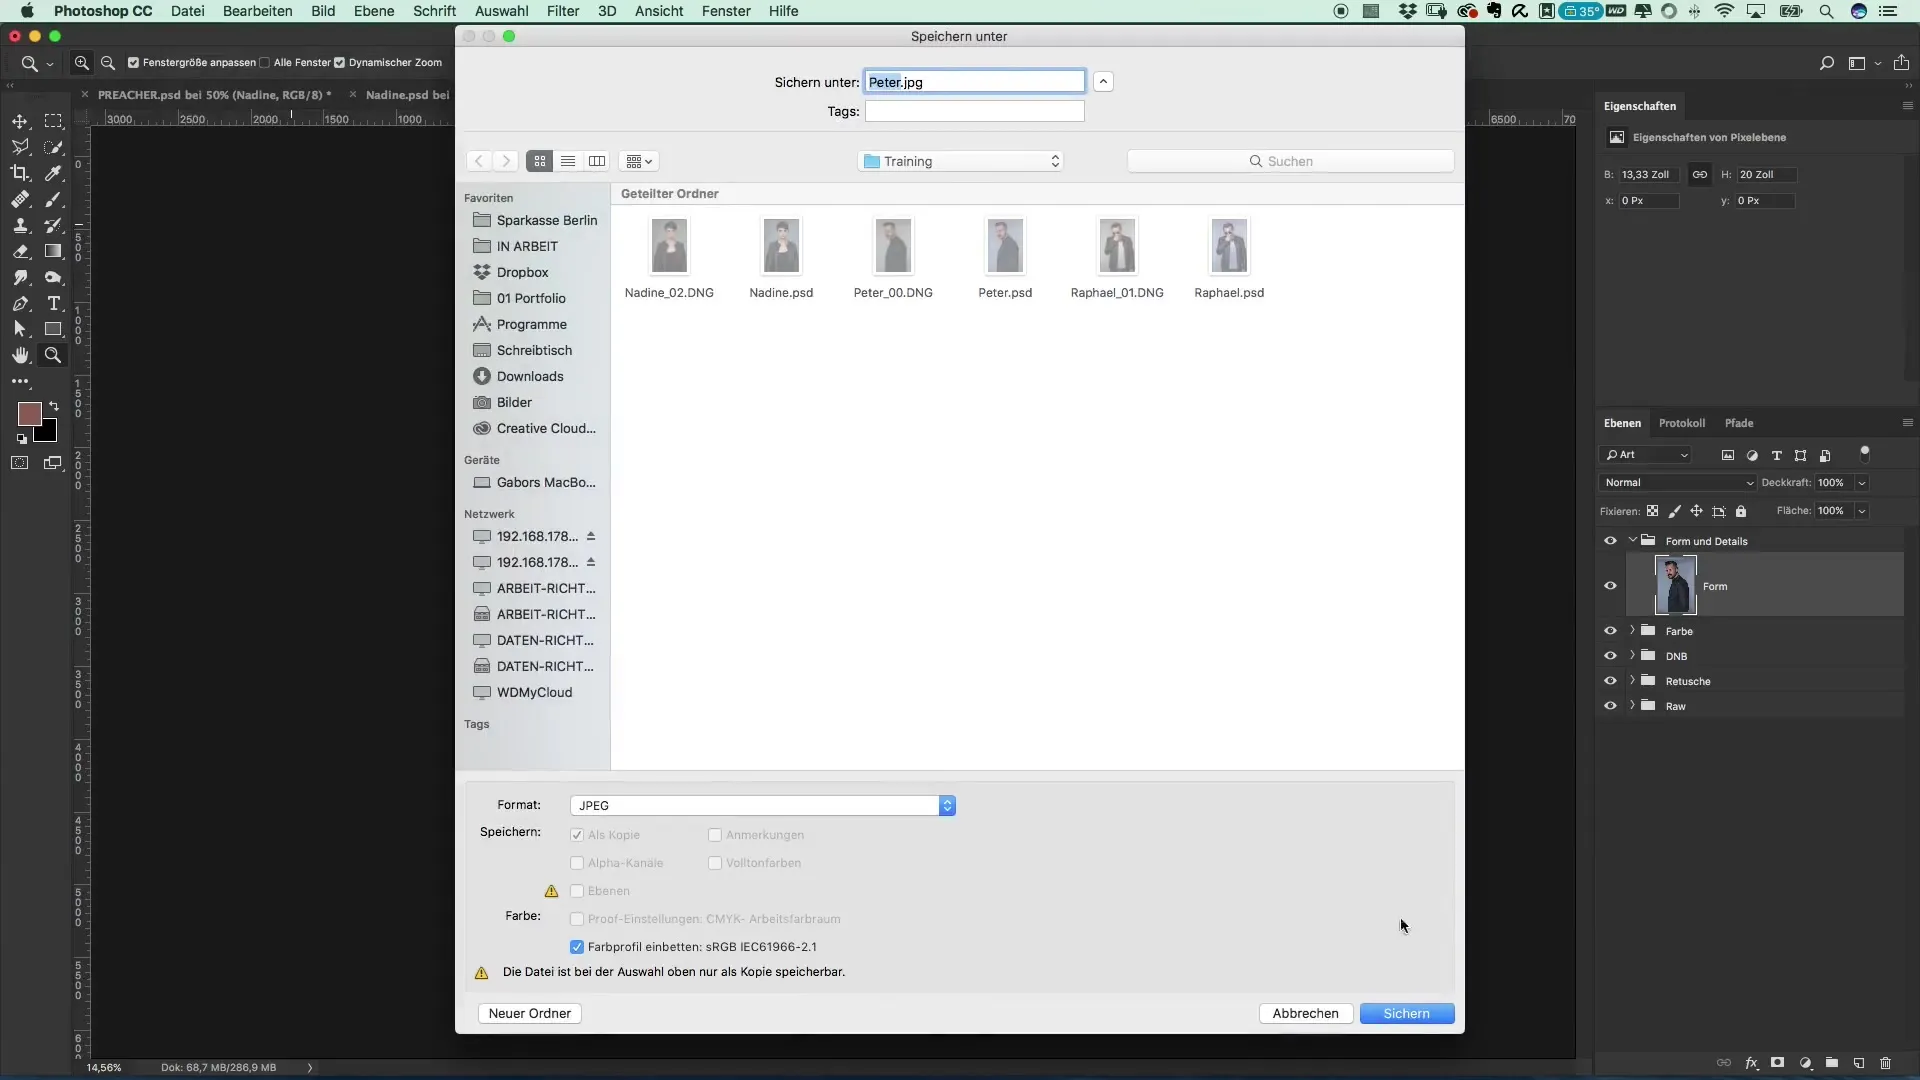
Save your edited files. You can save them as a.jpack file for easier editing and reuse later. Consider what settings you have already established to simplify the next steps.
6. Detail extraction with Color Efex Pro 4
Open the file in Color Efex Pro 4. Select the “Detail Extract” filter and adjust the opacity. This brings more sharpness and contrast to the image, making the final product look livelier. Be careful not to add too much contrast, as this can make the image look unnatural.
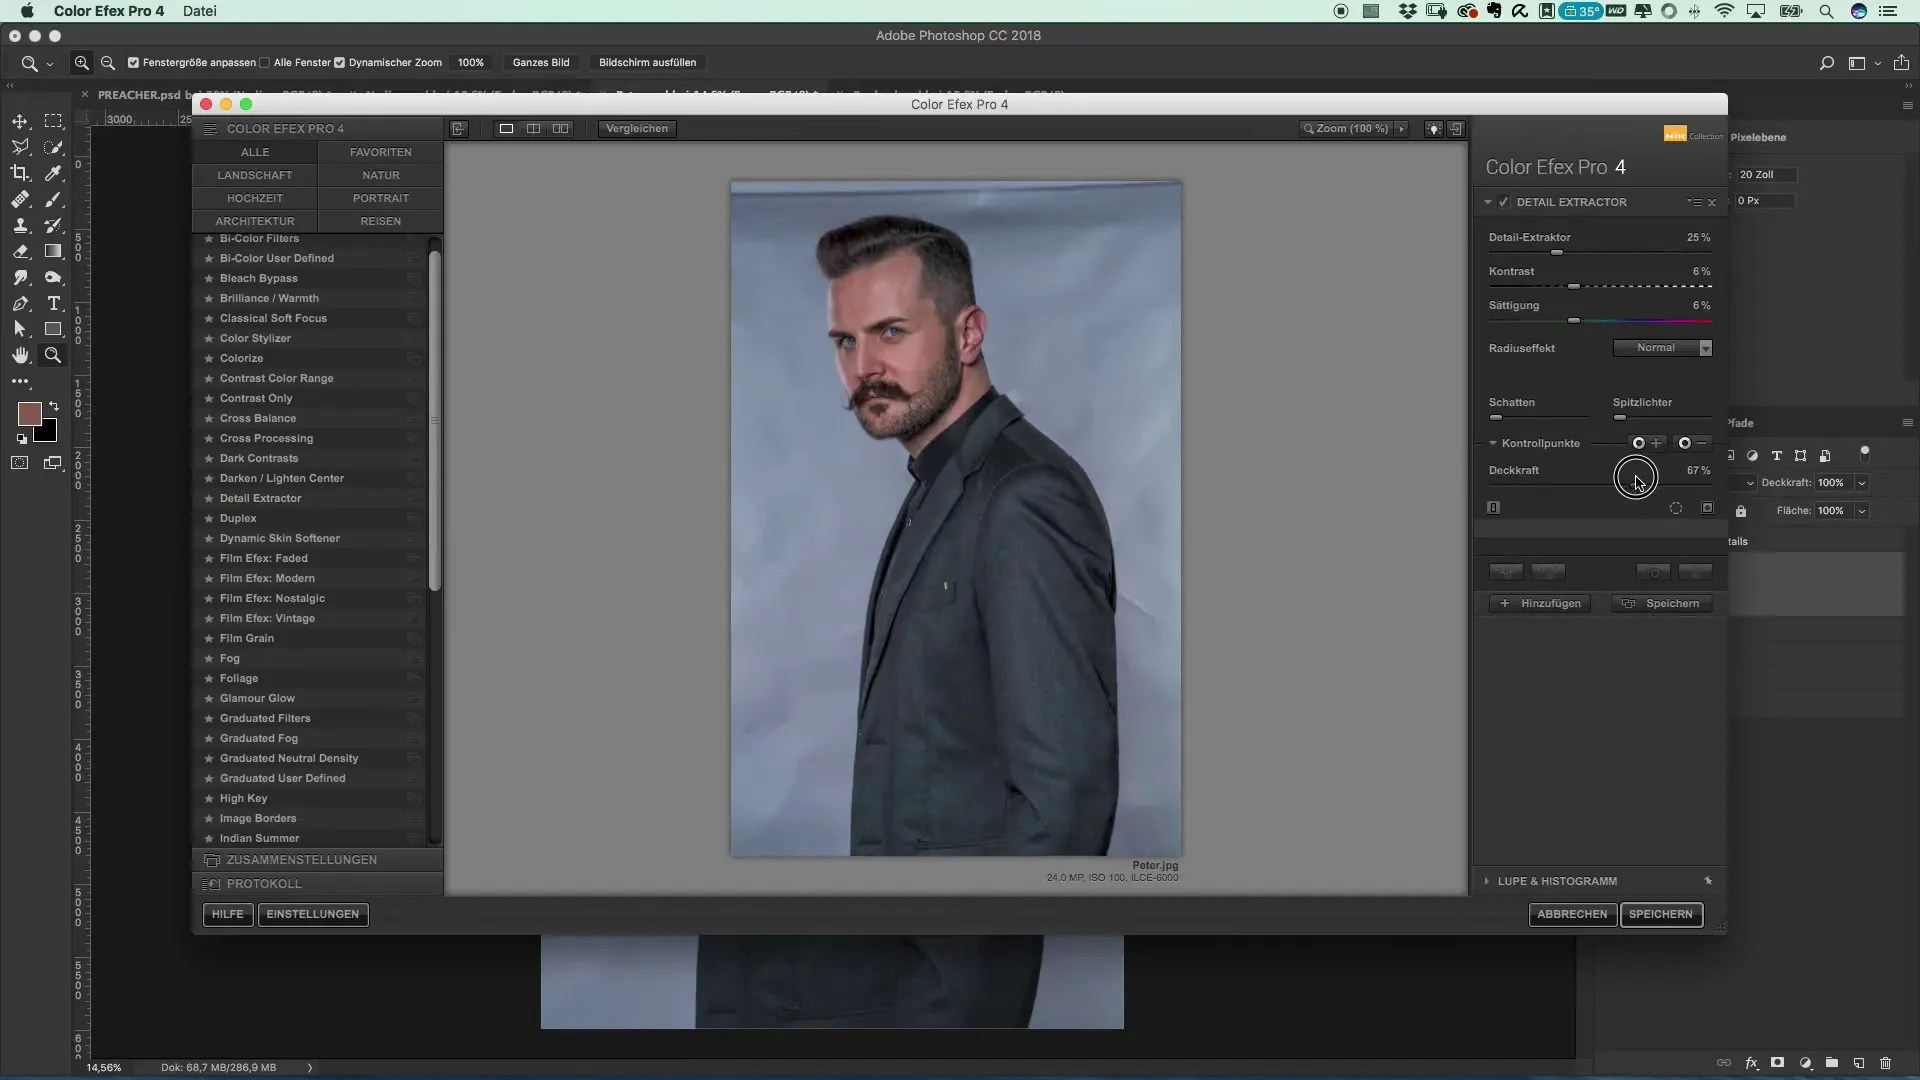
7. Fine-tuning for the perfect look
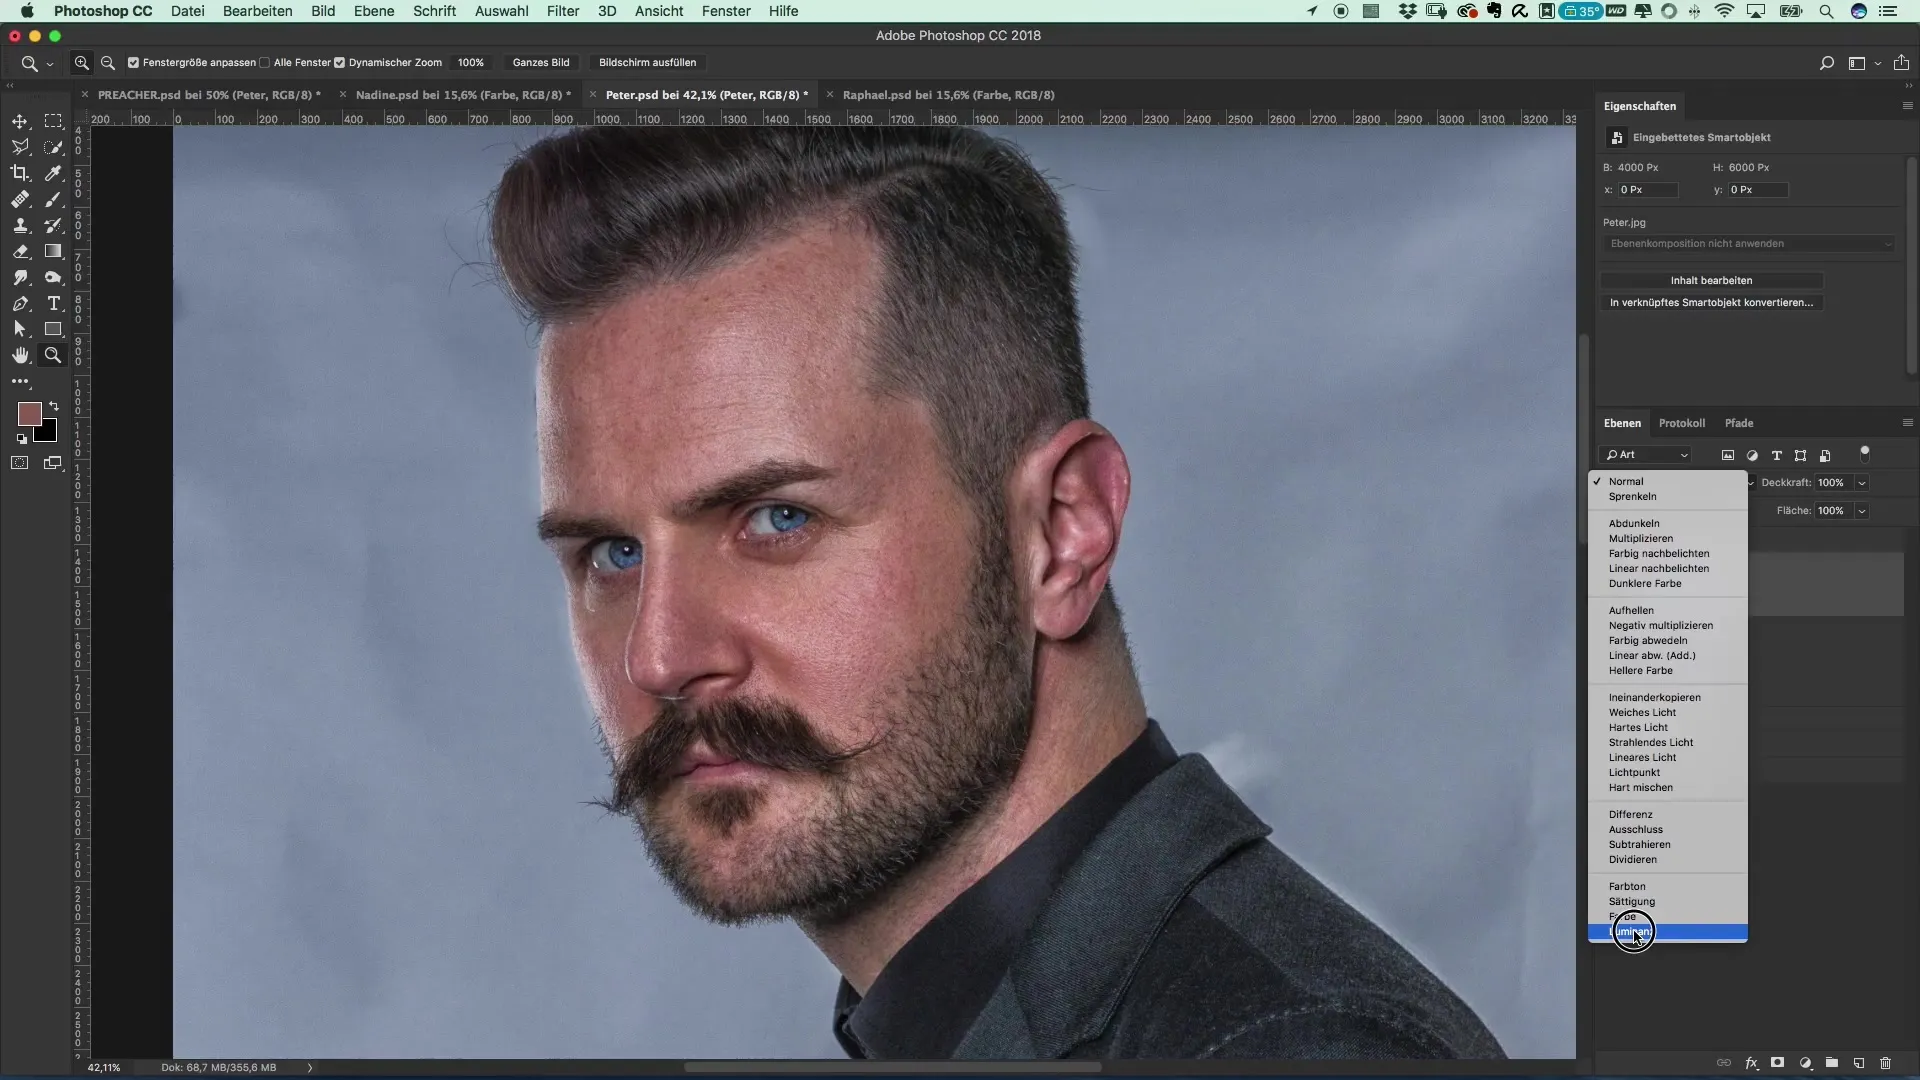
In Color Efex, you can further adjust the settings. Set the mode option to “Luminosity” to reduce the color saturation. This step is important to ensure the image does not appear overwhelming or unnatural.
8. Final adjustments
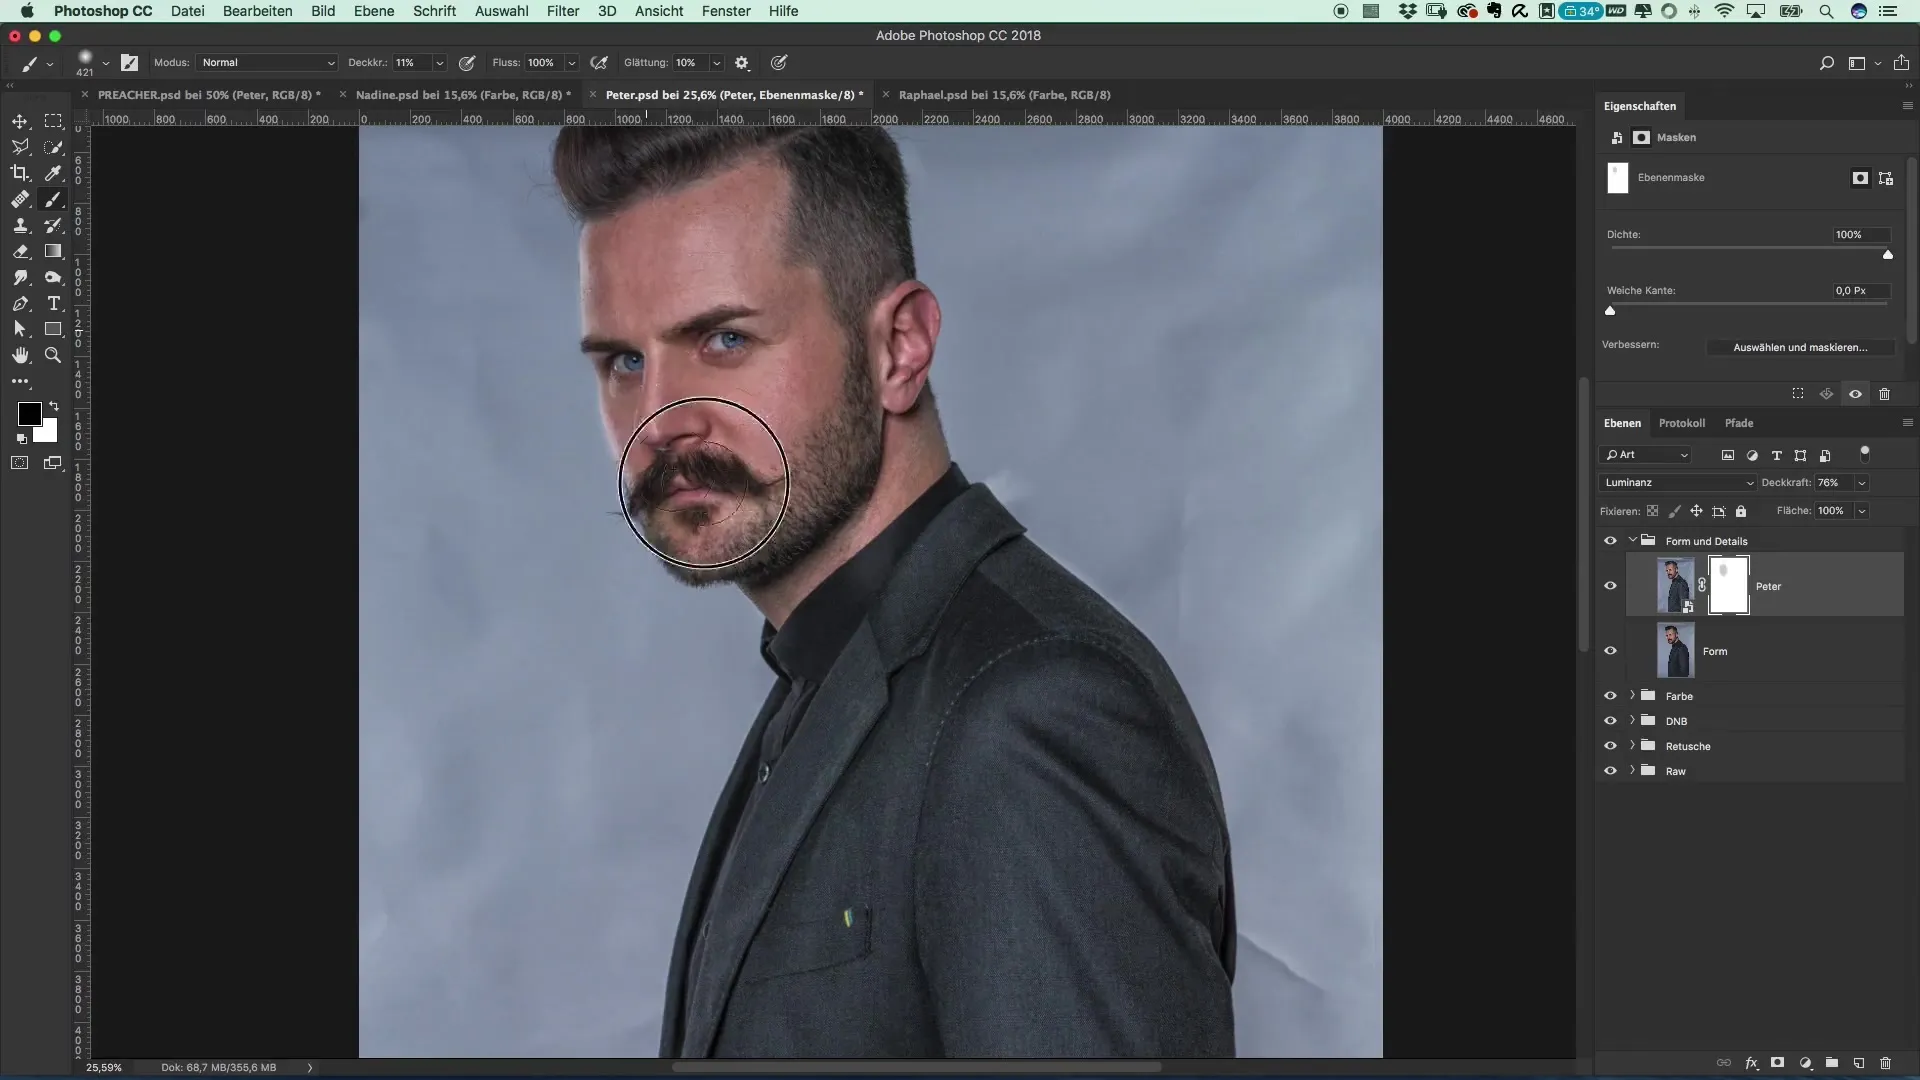
When the details and contrasts are right, go back to Photoshop. Here you can highlight or diminish areas that seem too intense by masking. Pay particular attention to the face, where less intense detail is often more advantageous.
9. Conclusion
After all adjustments have been made, save the file. You have now taken creative and technical steps to optimally design your models for the movie poster. The final effect should be engaging, professional, and visually stimulating.
Summary – Creating a Movie Poster in the Preacher Style: Photoshoot and Photoshop Tutorial
The guide describes the entire process from creation to fine-tuning your movie poster. By liquifying the models and editing the micro-contrasts in Color Efex Pro 4, you will achieve extraordinary results.
Frequently Asked Questions
What is Photoshop?Photoshop is a graphic program primarily used for image editing.
How do I add the “Liquify” filter?Go to “Filter” and select “Liquify”.
What does Color Efex Pro 4 do?It's a plugin that helps optimize color adjustments and contrasts for images.
How can I adjust the opacity in Color Efex Pro 4?Simply change the opacity in the dialog box of the selected filter.
Can I apply other effects with Color Efex Pro 4 as well?Yes, there are many filters that you can customize according to your needs.


