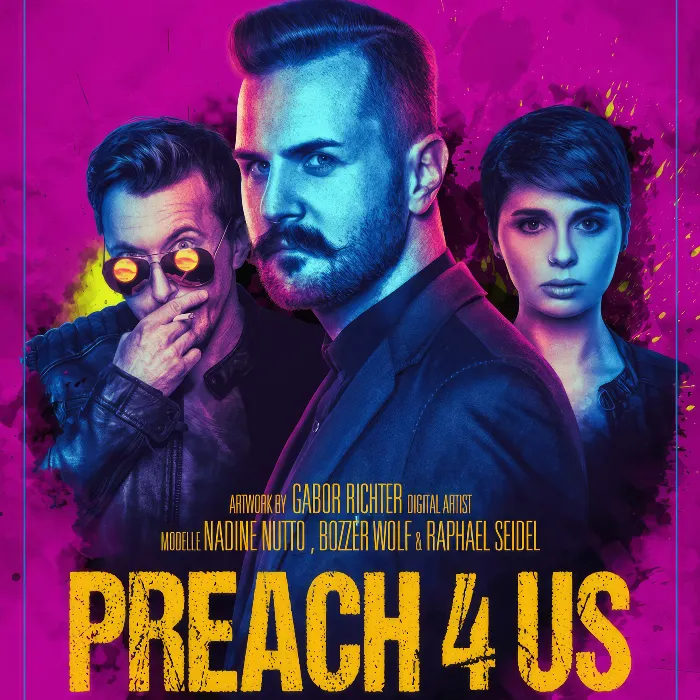
Are you looking for a creative way to create a movie poster in the style of Preacher? In this tutorial, I will show you how to achieve a unique and grungy look using simple Photoshop tricks and a targeted photoshoot. Let's get started!
Main Insights
- Use a brush with a grunge effect to add depth and texture.
- Invert masks for more precise adjustments.
- Experiment with different tool settings and brush sizes to achieve the desired look.
Step-by-Step Guide
First, you need to create a base for your movie poster. You will learn how to give the characters more volume and depth to make them look appealing in the background.
1. Introduce a Crunch Effect
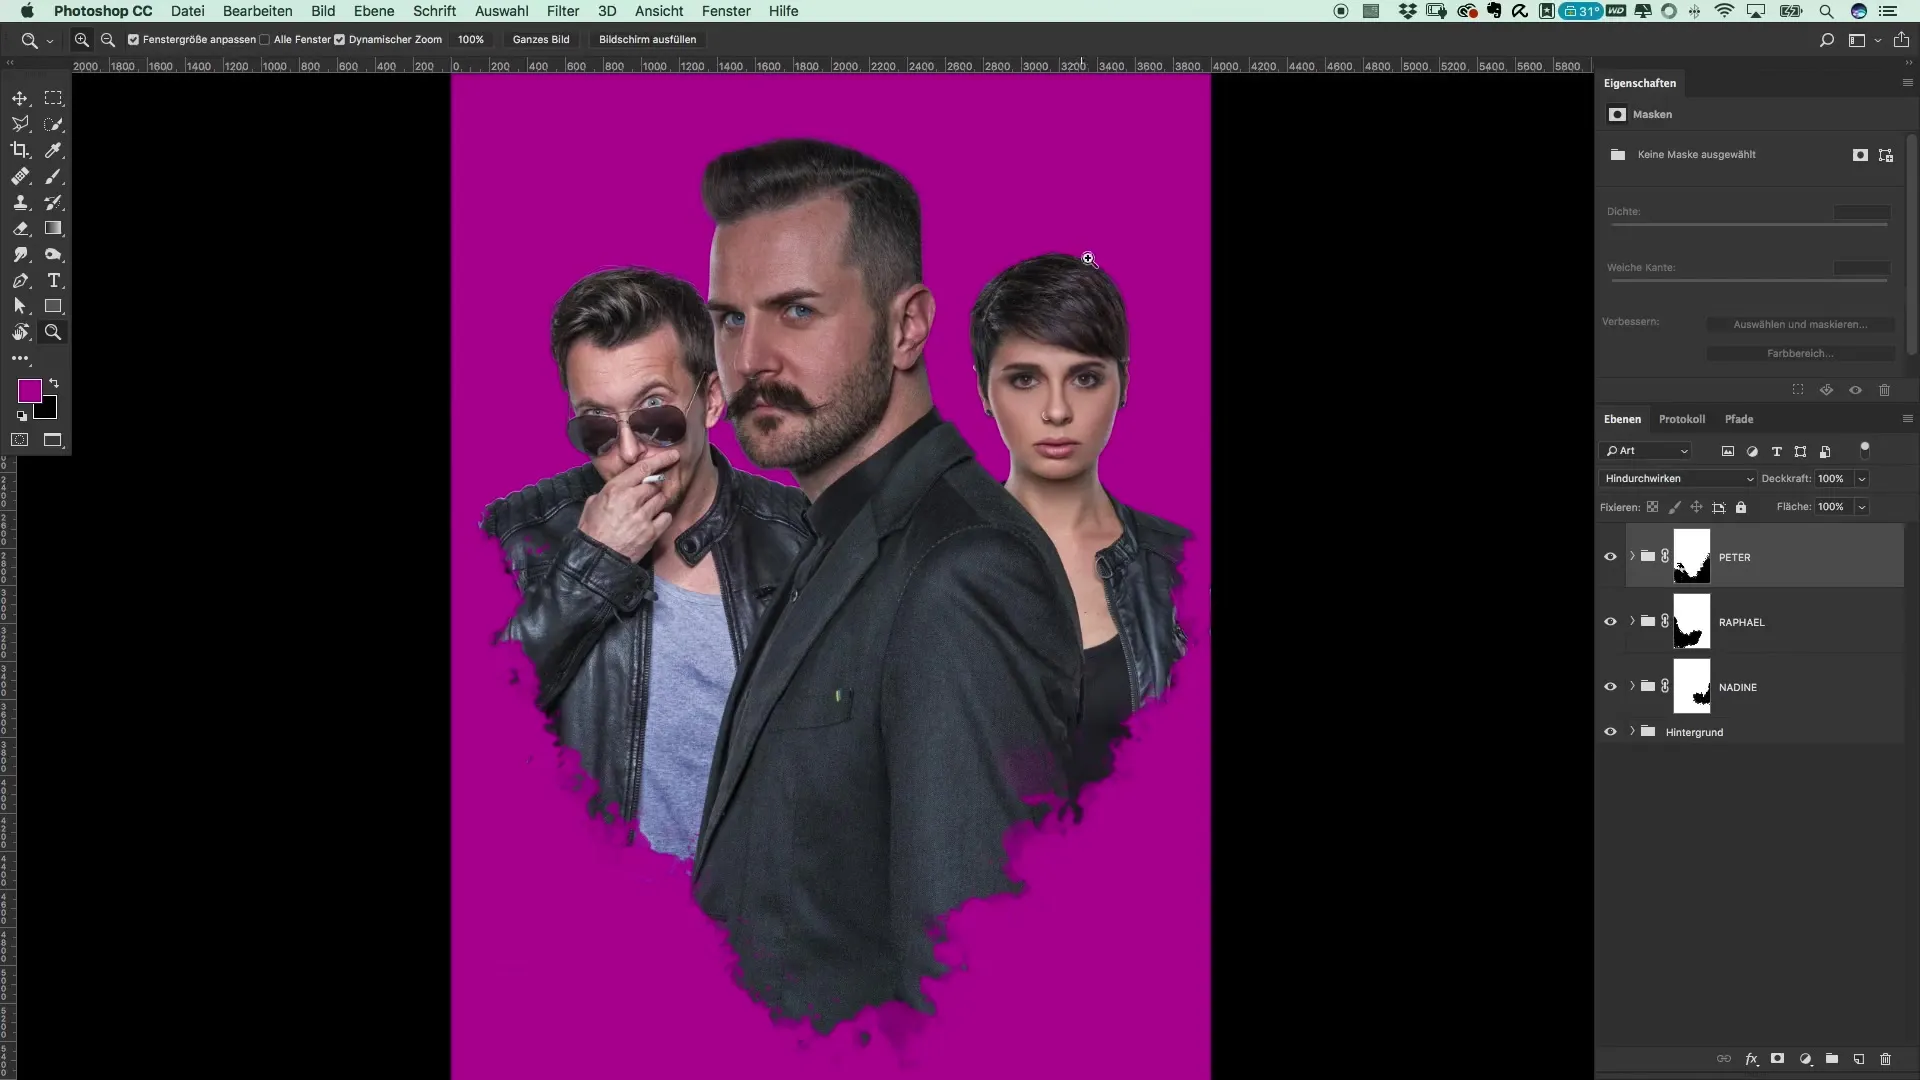
The first step is to bring more crunch into your subject with a brush. This works best by adding shadows so that the characters appear more convincing in the background. You can refer to the example of Nadin and Raphael to create a darker mood.
2. Reposition Characters
It is important to position your characters optimally. Nadin should be placed larger and deeper in the image to interact more seamlessly with Rafael. These small adjustments create a harmonious overall image.
3. Apply Color Layer and Clipping Masks
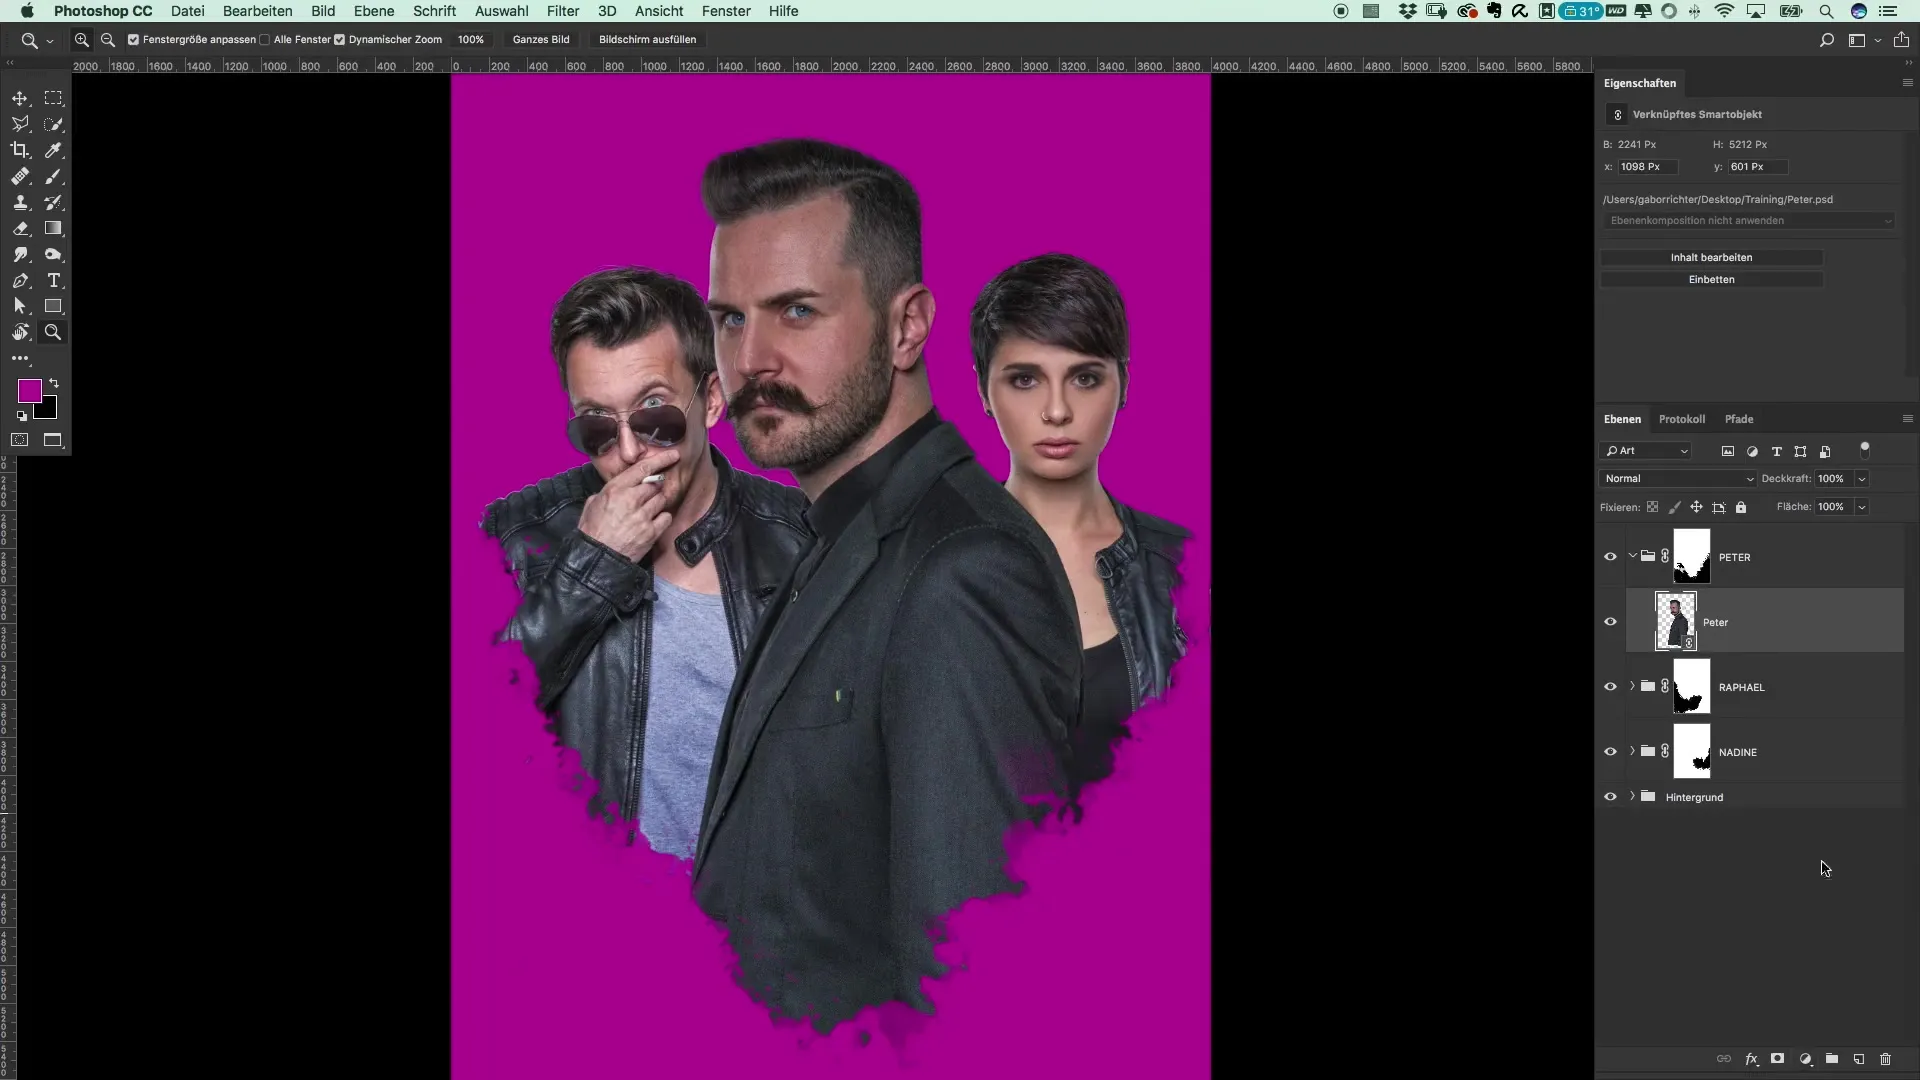
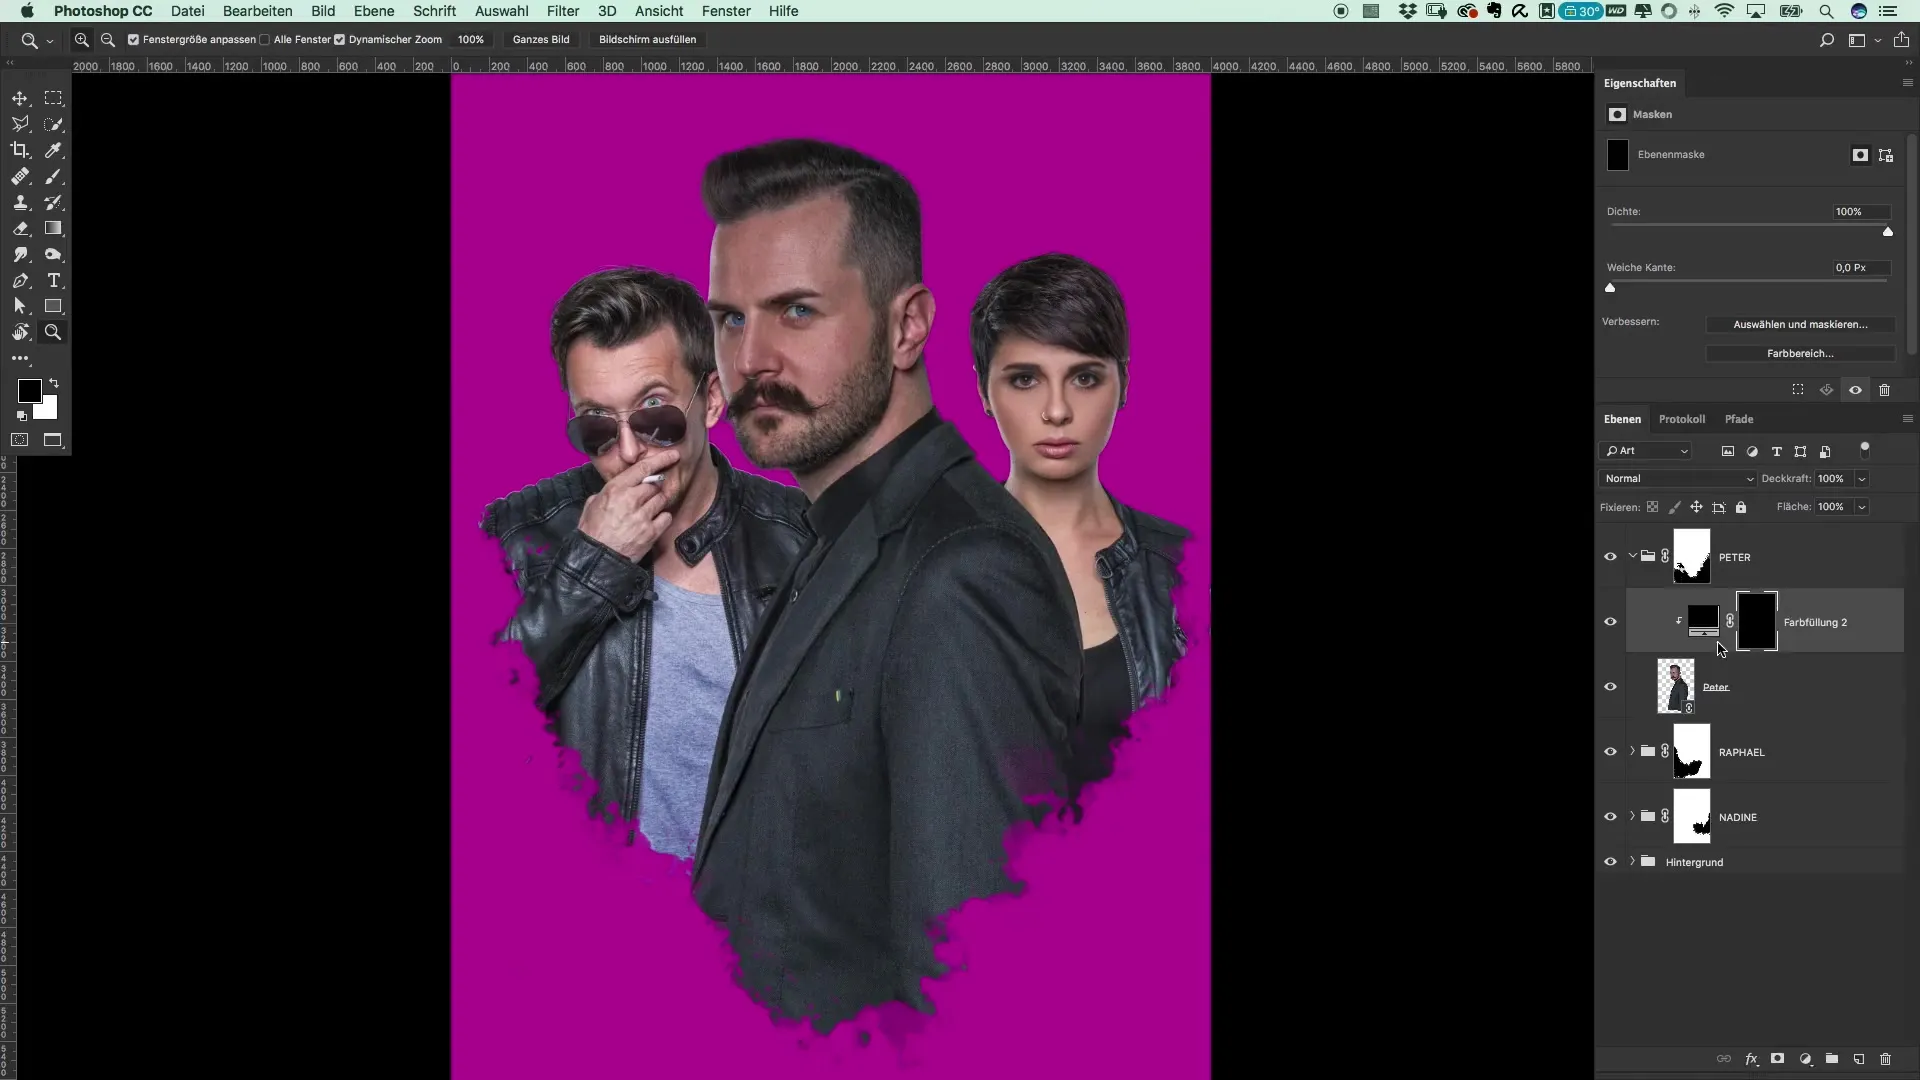
Now, a black color layer will be placed over Peter. This color layer is linked to the image via a clipping mask. Right-click to create the clipping mask. The color layer should not be completely black, but it helps to separate the layers from each other.
4. Invert Mask
Since you don't want Peter to become completely dark, invert the mask. You can do this quickly with "Command + I" (or "Ctrl + I"). This allows you to work with a brush to gradually add the crunch effect.
5. Adjust Brush
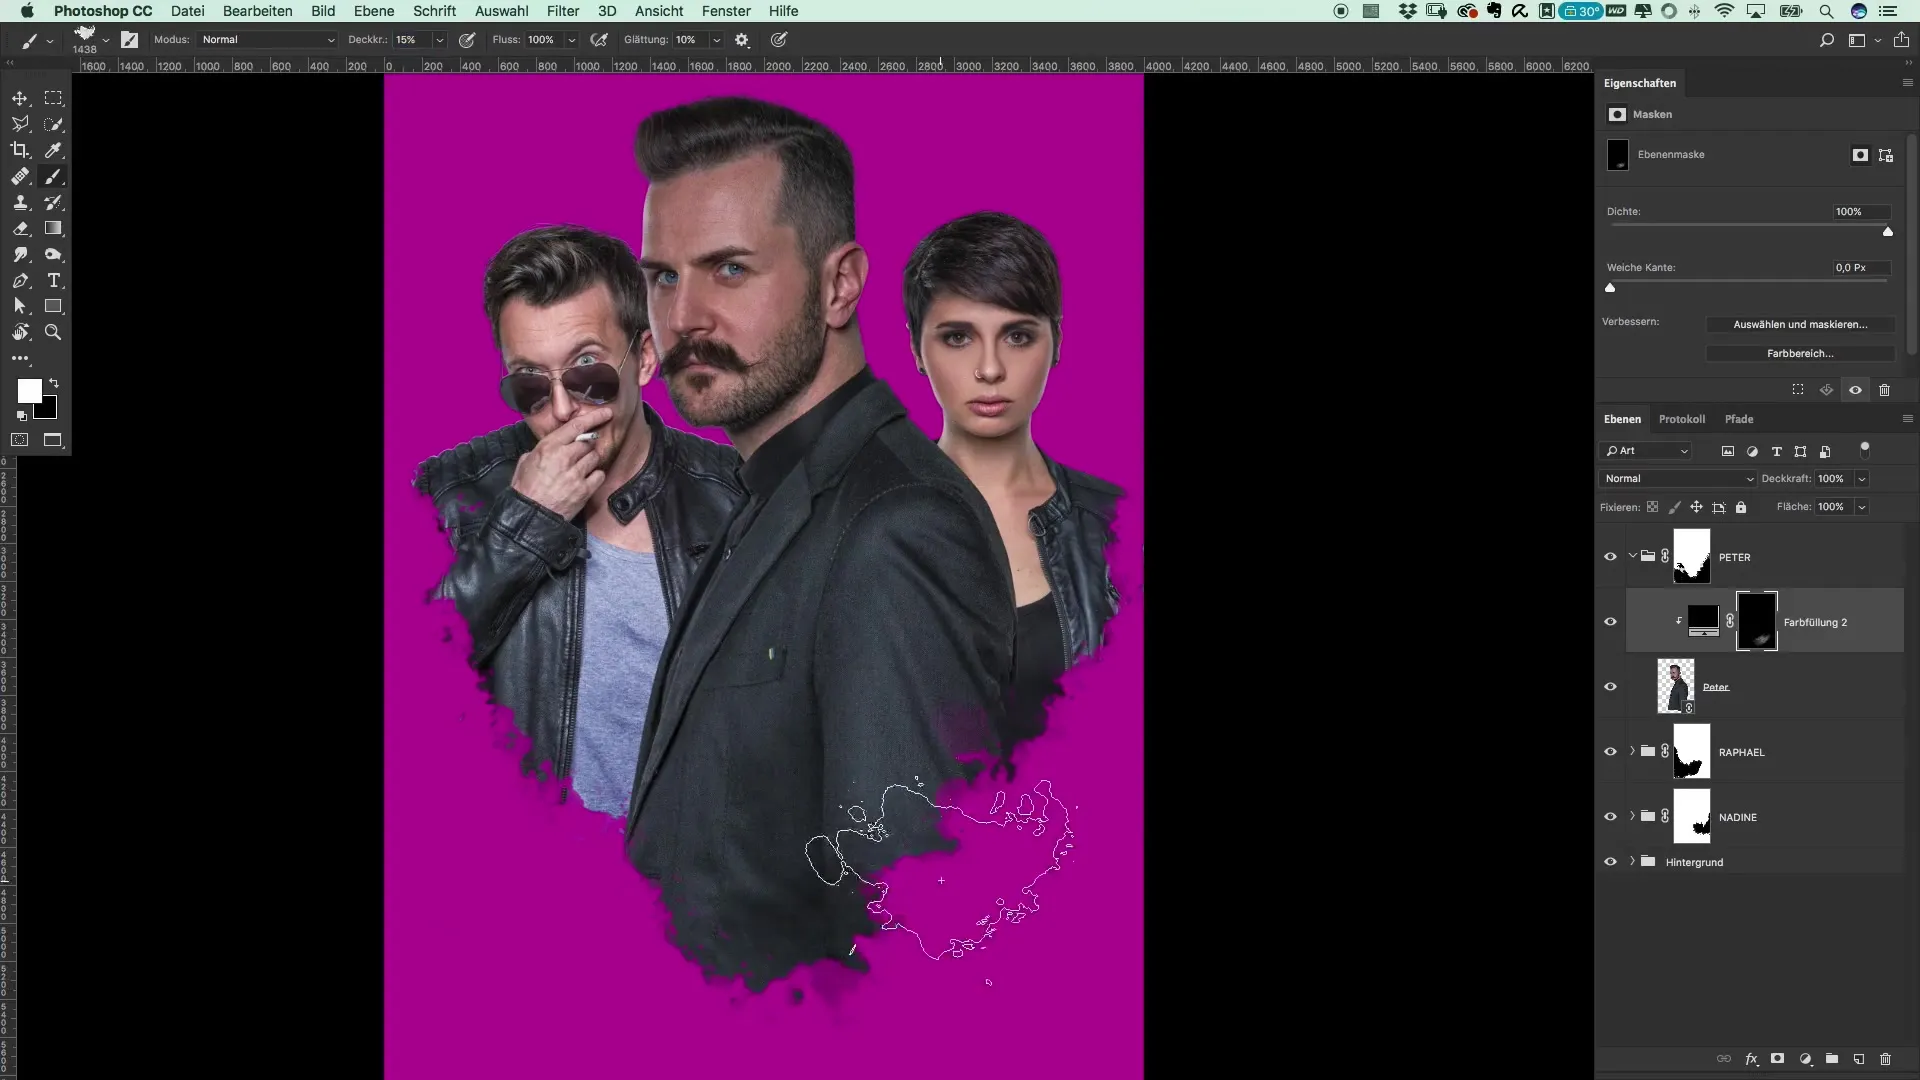
Reduce the opacity of the brush to about 15% to carefully shape darker areas. Start at the bottom of the image, where the shadow should be more pronounced, and work your way up. This will create a smooth gradient.
6. Adjust Rafael
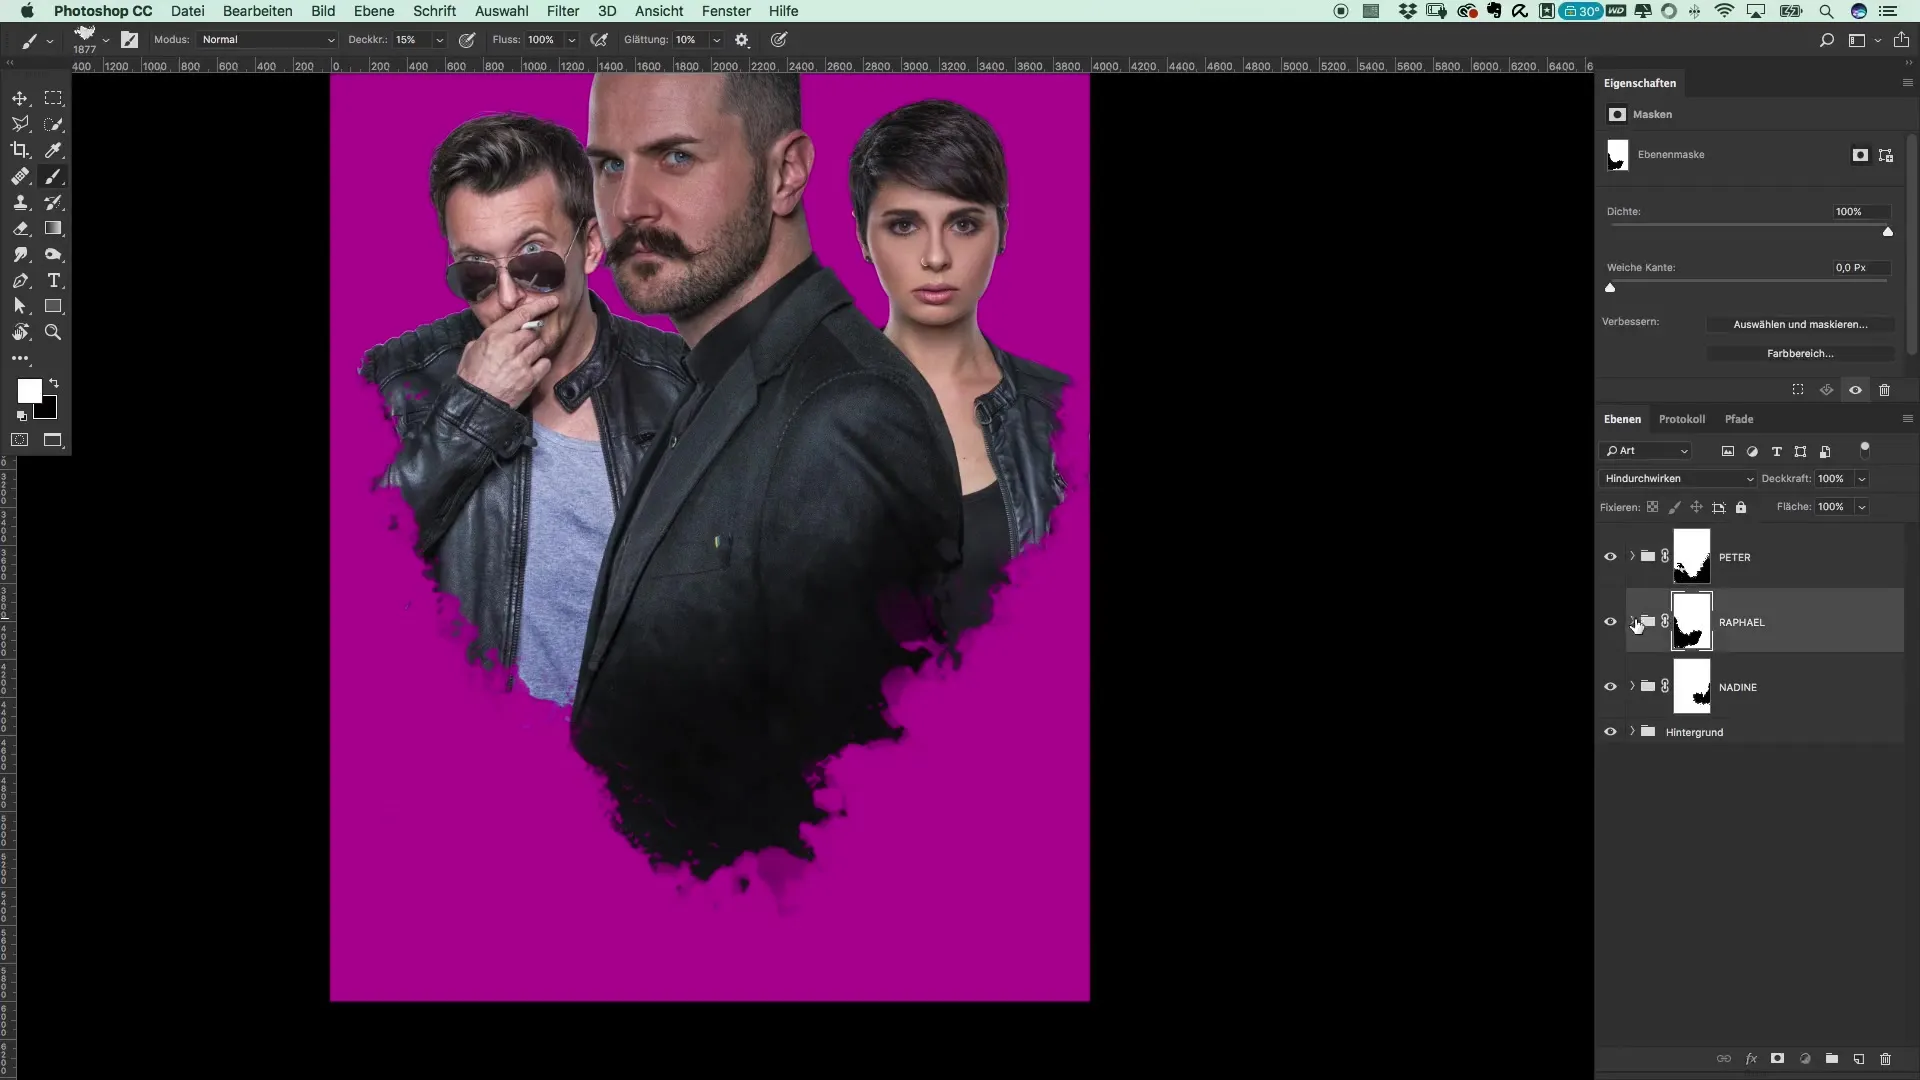
Using similar steps, you can now edit Rafael. Open Rafael's group and apply a black color layer and a clipping mask again. Experiment here with a slightly darker area for the shadow.
7. Clicking Instead of Swiping
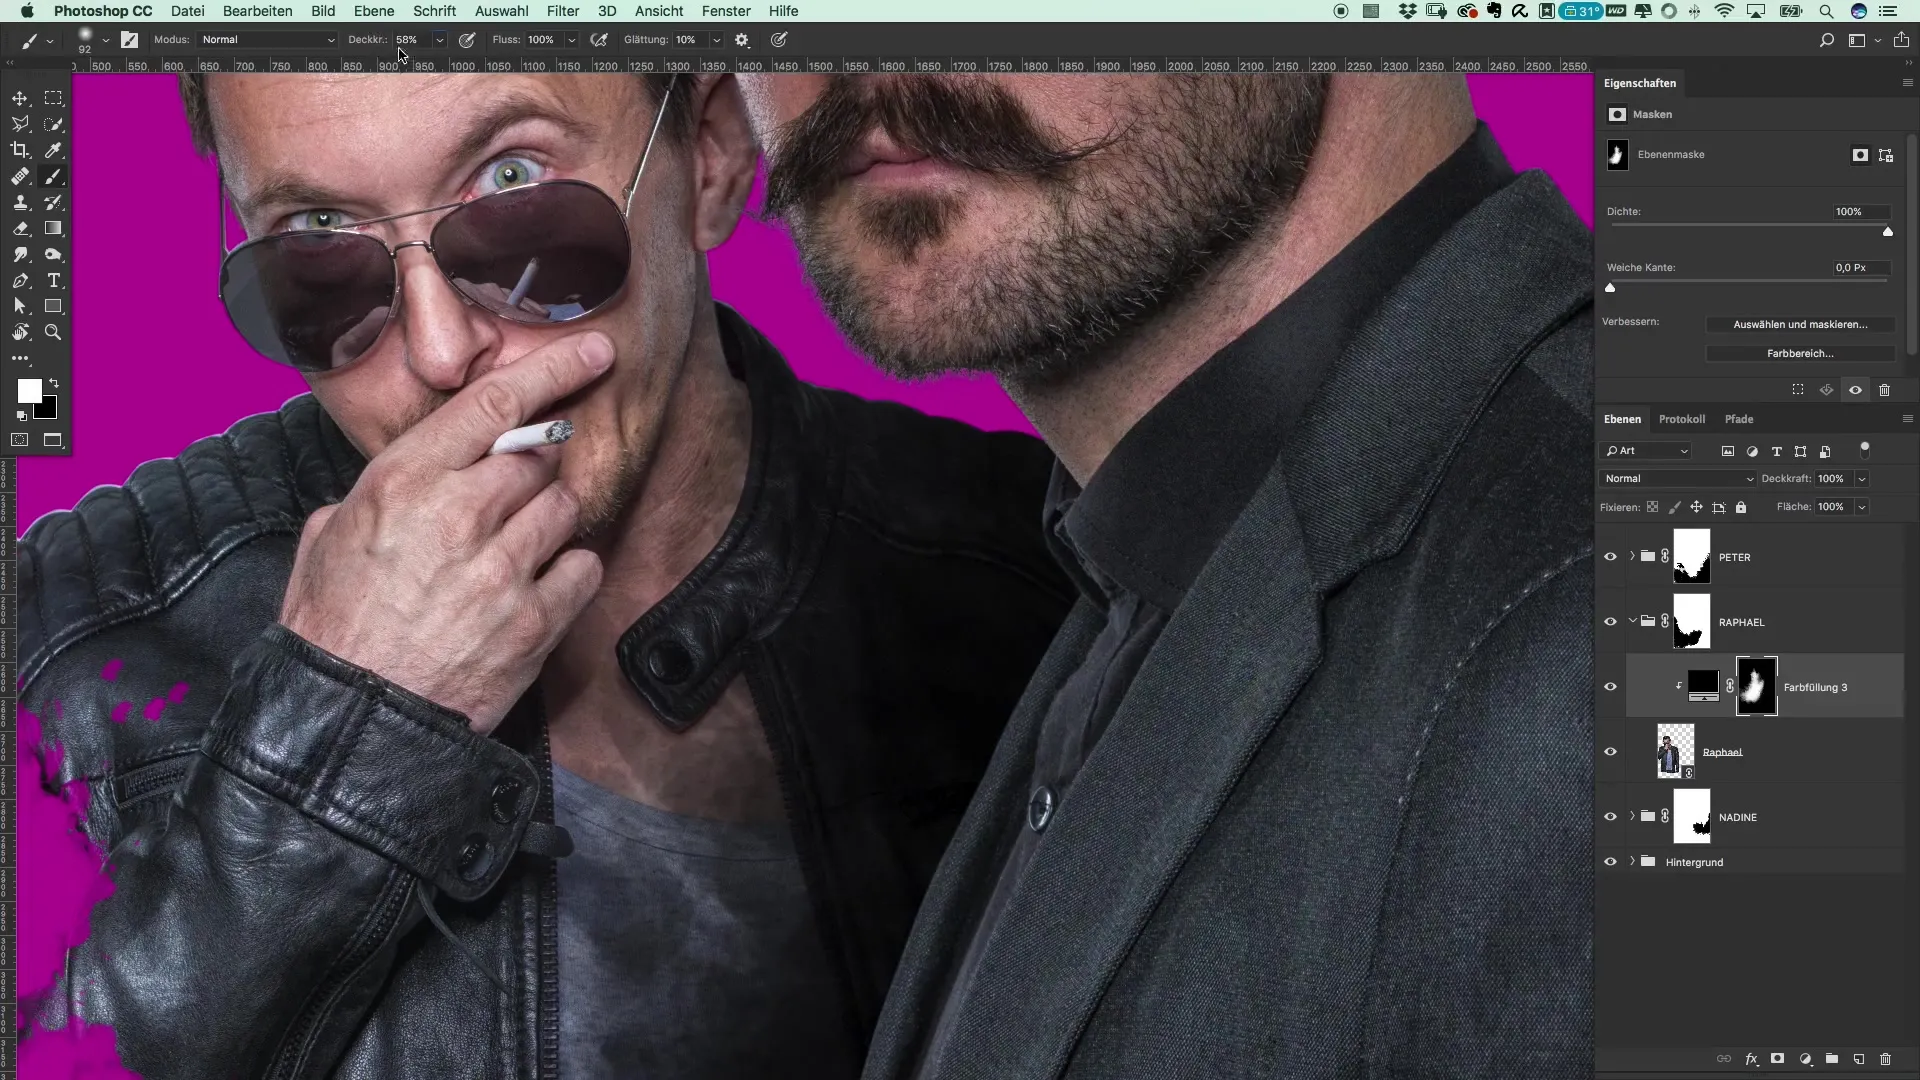
When using the brush, I recommend not to swipe. Clicking gives you significantly better results and brings out the crunchy texture nicely. You can darken Rafael's face slightly by using the brush and reducing the opacity to about 50%.
8. Fine Adjustments
If some areas are too heavily processed, you can choose a softer brush to hide these differences. Be sure to continually adjust the brush size and opacity to achieve a natural result.
9. Edit Nadin
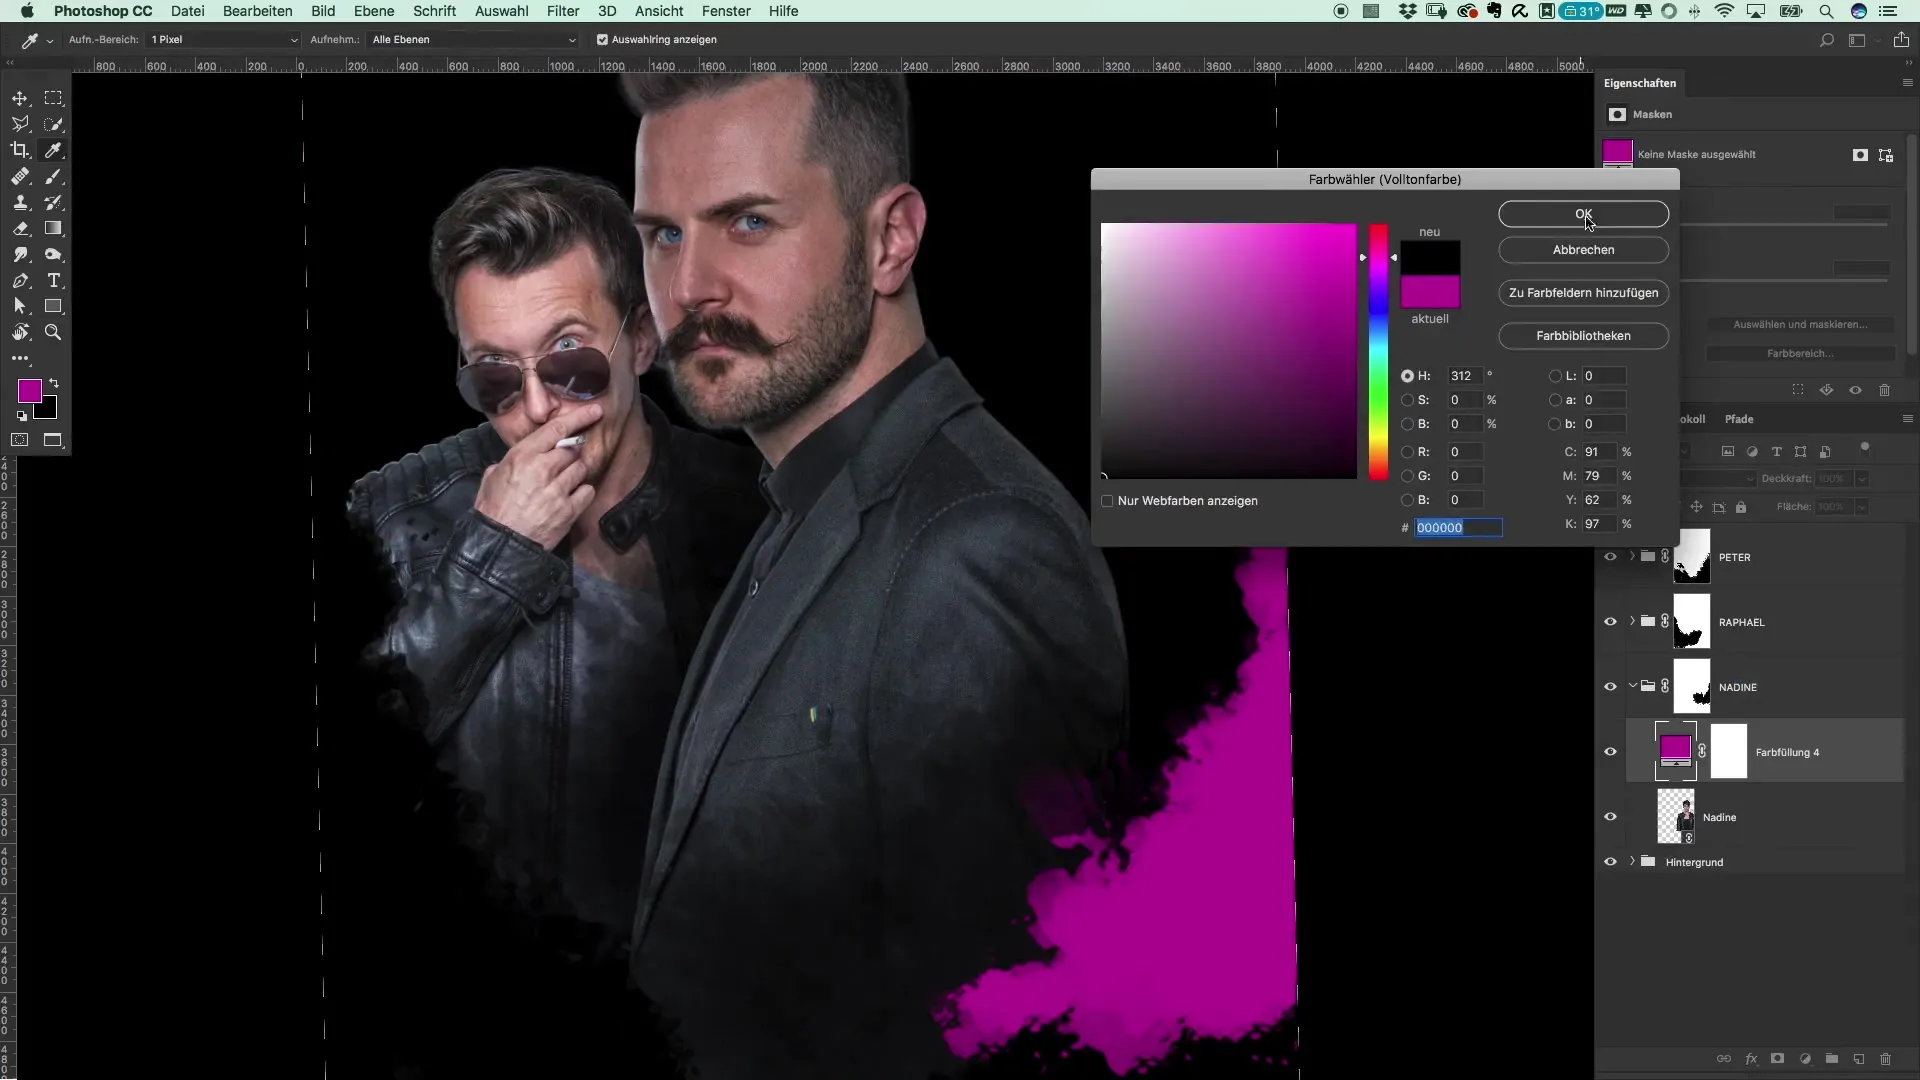
Repeat the process for Nadin. Again, you will use a black color layer and a clipping mask, followed by inverting the mask. Blend in the crunch effect and try to paint generously across the image.
10. Merge Image
After making adjustments for all characters, you should close the groups and present the image as a cohesive whole. Pay attention to the balance between the elements and the grunge effect you want to achieve.
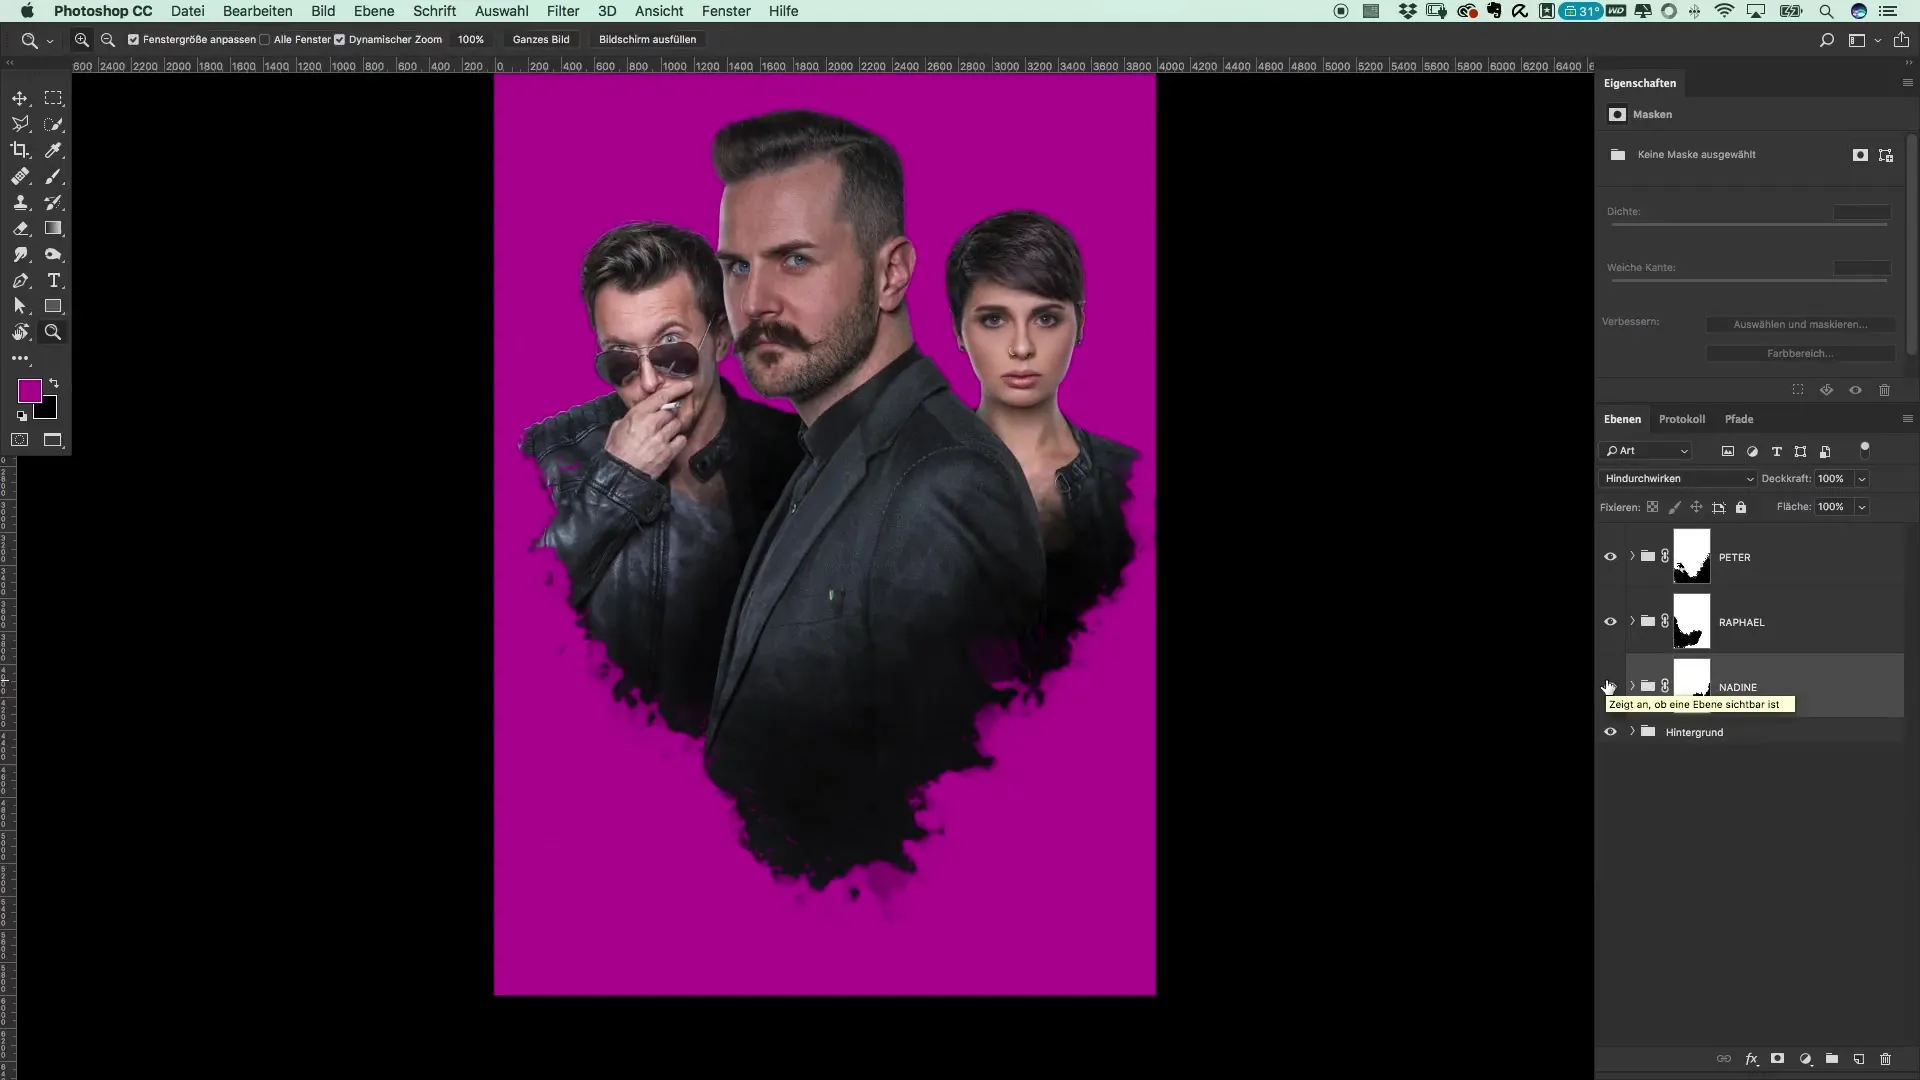
Overall, through these steps, you not only positioned your characters convincingly within the image but also successfully implemented the desired Preacher style with grunge effects.
Summary - Create a Movie Poster in Preacher Style
You have now learned how to gain insights into image editing and creating movie posters by adding depth with effective techniques such as masking and the use of brushes.
Frequently Asked Questions
What is a clipping mask?A clipping mask links a layer to the layer below it, so changes are only applied to the upper layer.
How do I choose the right brush for grunge effects?A brush with an irregular texture is great for achieving the desired grunge look.
How can I improve image quality during editing?Ensure high resolution of the original images to retain details clearly during editing.
