Photographs are the best memories of our travels and experiences. With the right editing, you can create true works of art from your snapshots. In this guide, you will learn how to optimally align, crop, and refine your images in Lightroom with the graduated filter. This way, you will perfectly showcase your vacation photos.
Key Insights
- Correctly aligning your images is crucial for image composition.
- The cropping process helps to focus on the essentials.
- Local adjustments with the graduated filter can significantly enhance image depth and color.
- Using keyboard shortcuts can make the editing process more efficient.
Step-by-Step Guide
Align Image
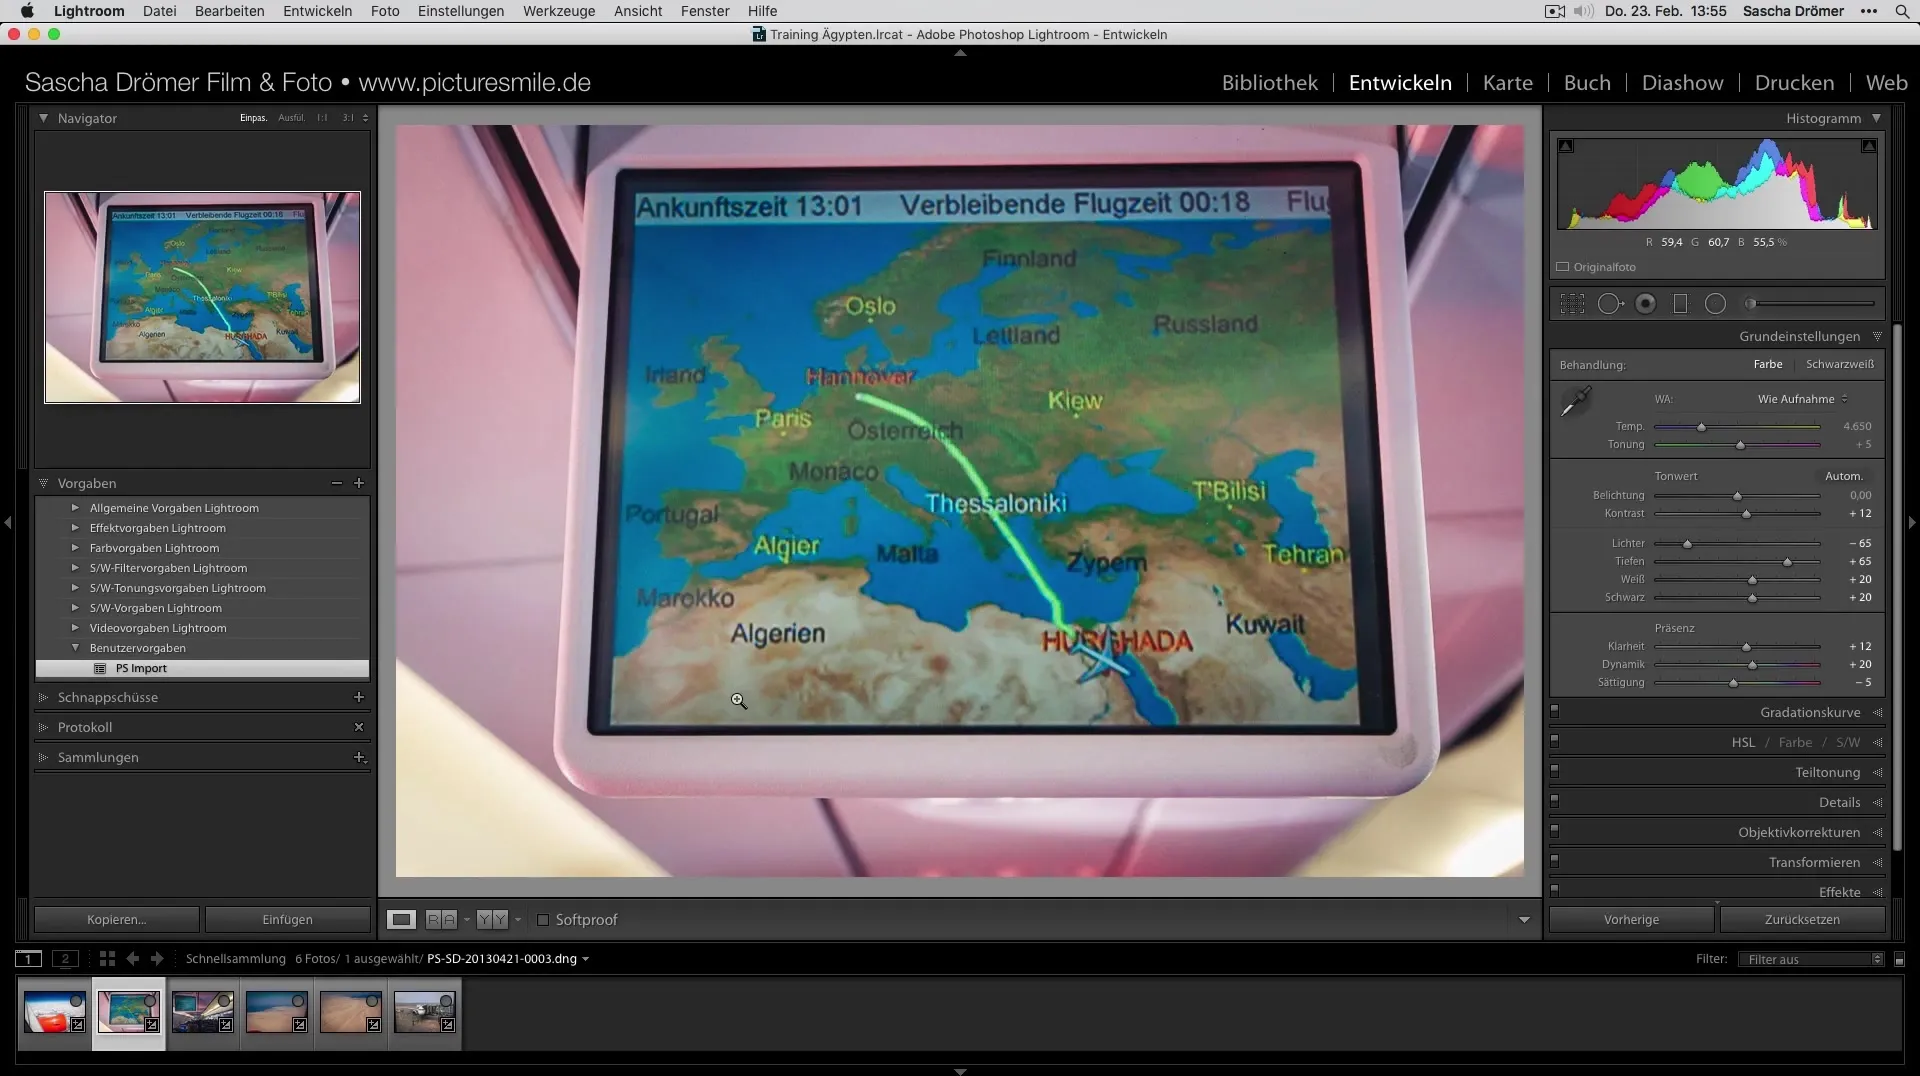
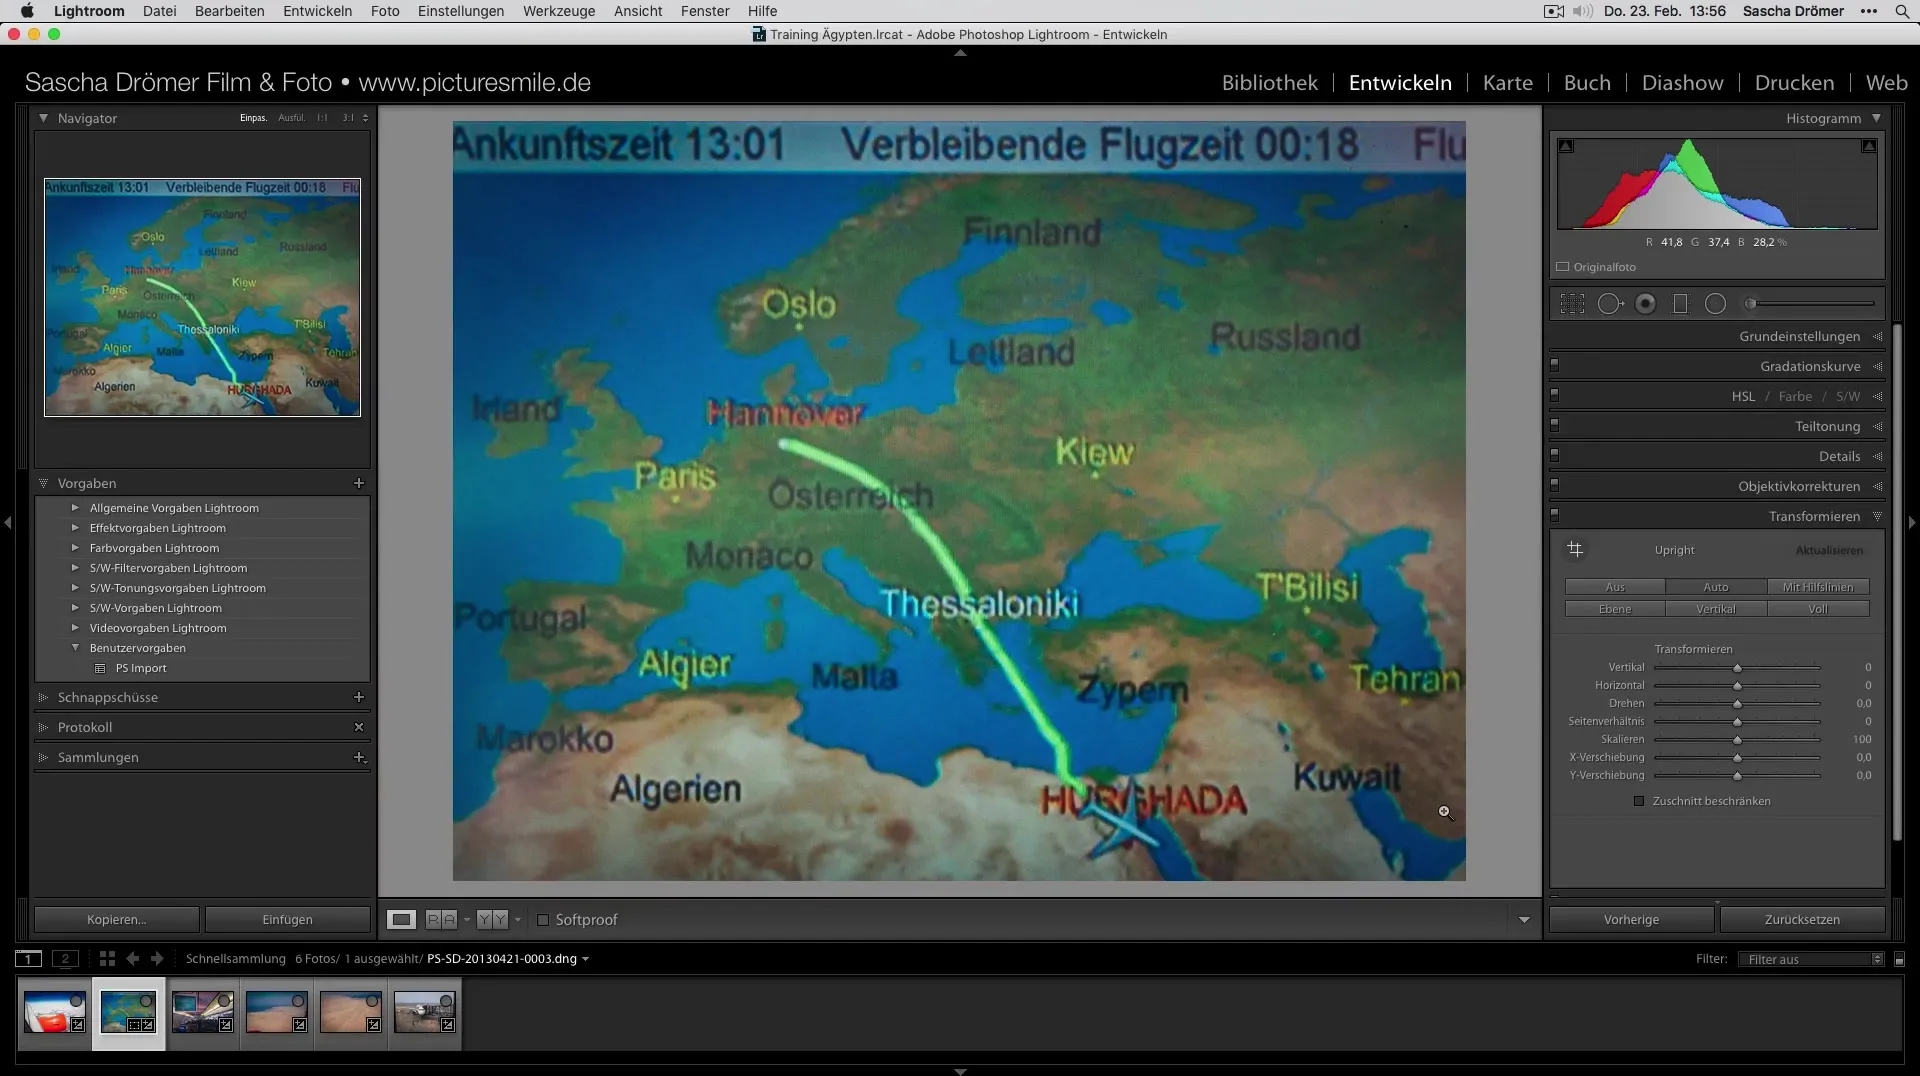
Once you have selected the image you want to align, the first step is alignment. A horizontal horizon or straight lines are important for pleasant image composition. Go to the "Transform" area in Lightroom to do this effectively. Here, you can enable the Auto-Align function that helps you straighten lines in the image. With just one click, your image will be adjusted to look aesthetically pleasing.
Crop Image
After aligning, the next step is cropping. When selecting the format, 4:3 is a common choice. It is worth cropping the image so that the focus is on the central subject, such as the map in your picture. You can use the crop tool and adjust the image according to your preferences. Once you have the position you like, confirm the adjustment.
Adjust Basic Settings
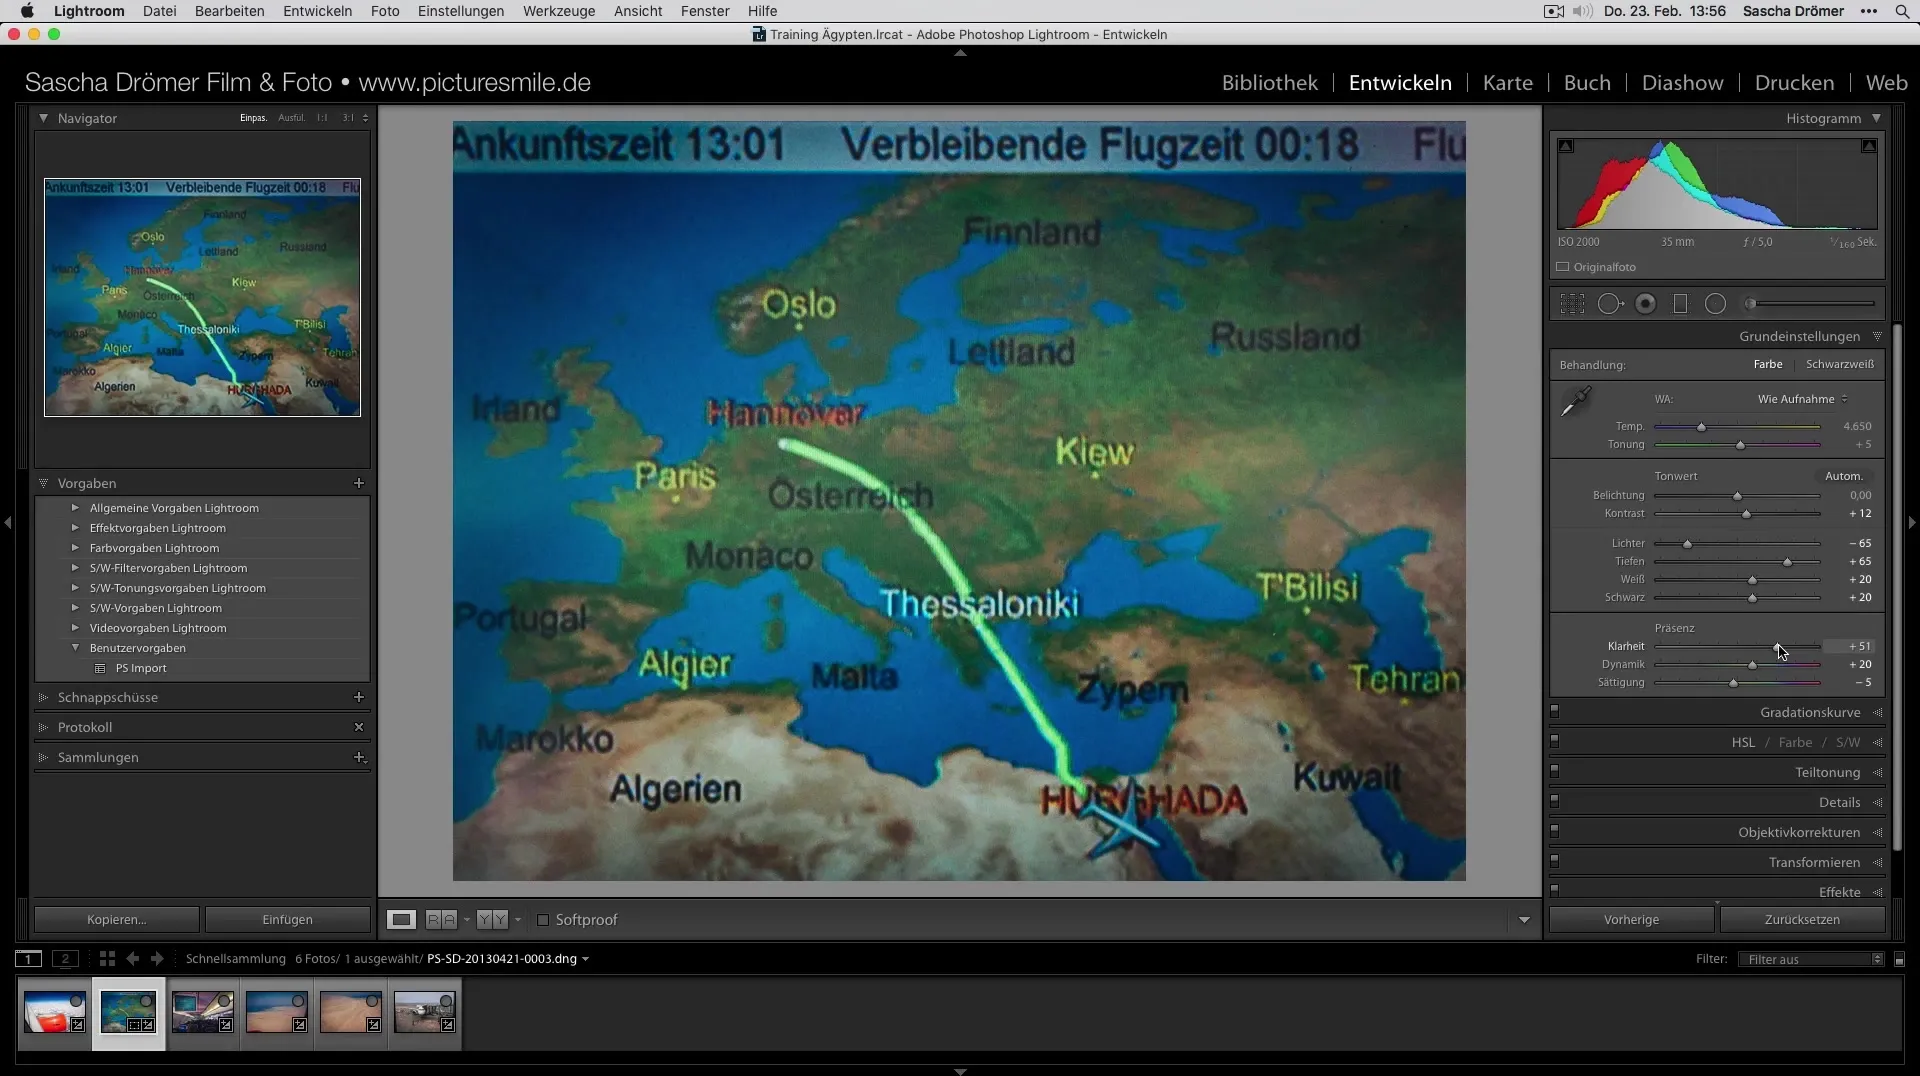
Now it is time to refine the basic settings of the image. Generally, it is advisable to increase the micro-contrasts. These small adjustments can make a significant difference in the overall image and highlight details that may not have been visible initially. Adjust the settings until you are satisfied with the result, always keeping an eye on the overall picture.
Local Adjustments with the Graduated Filter
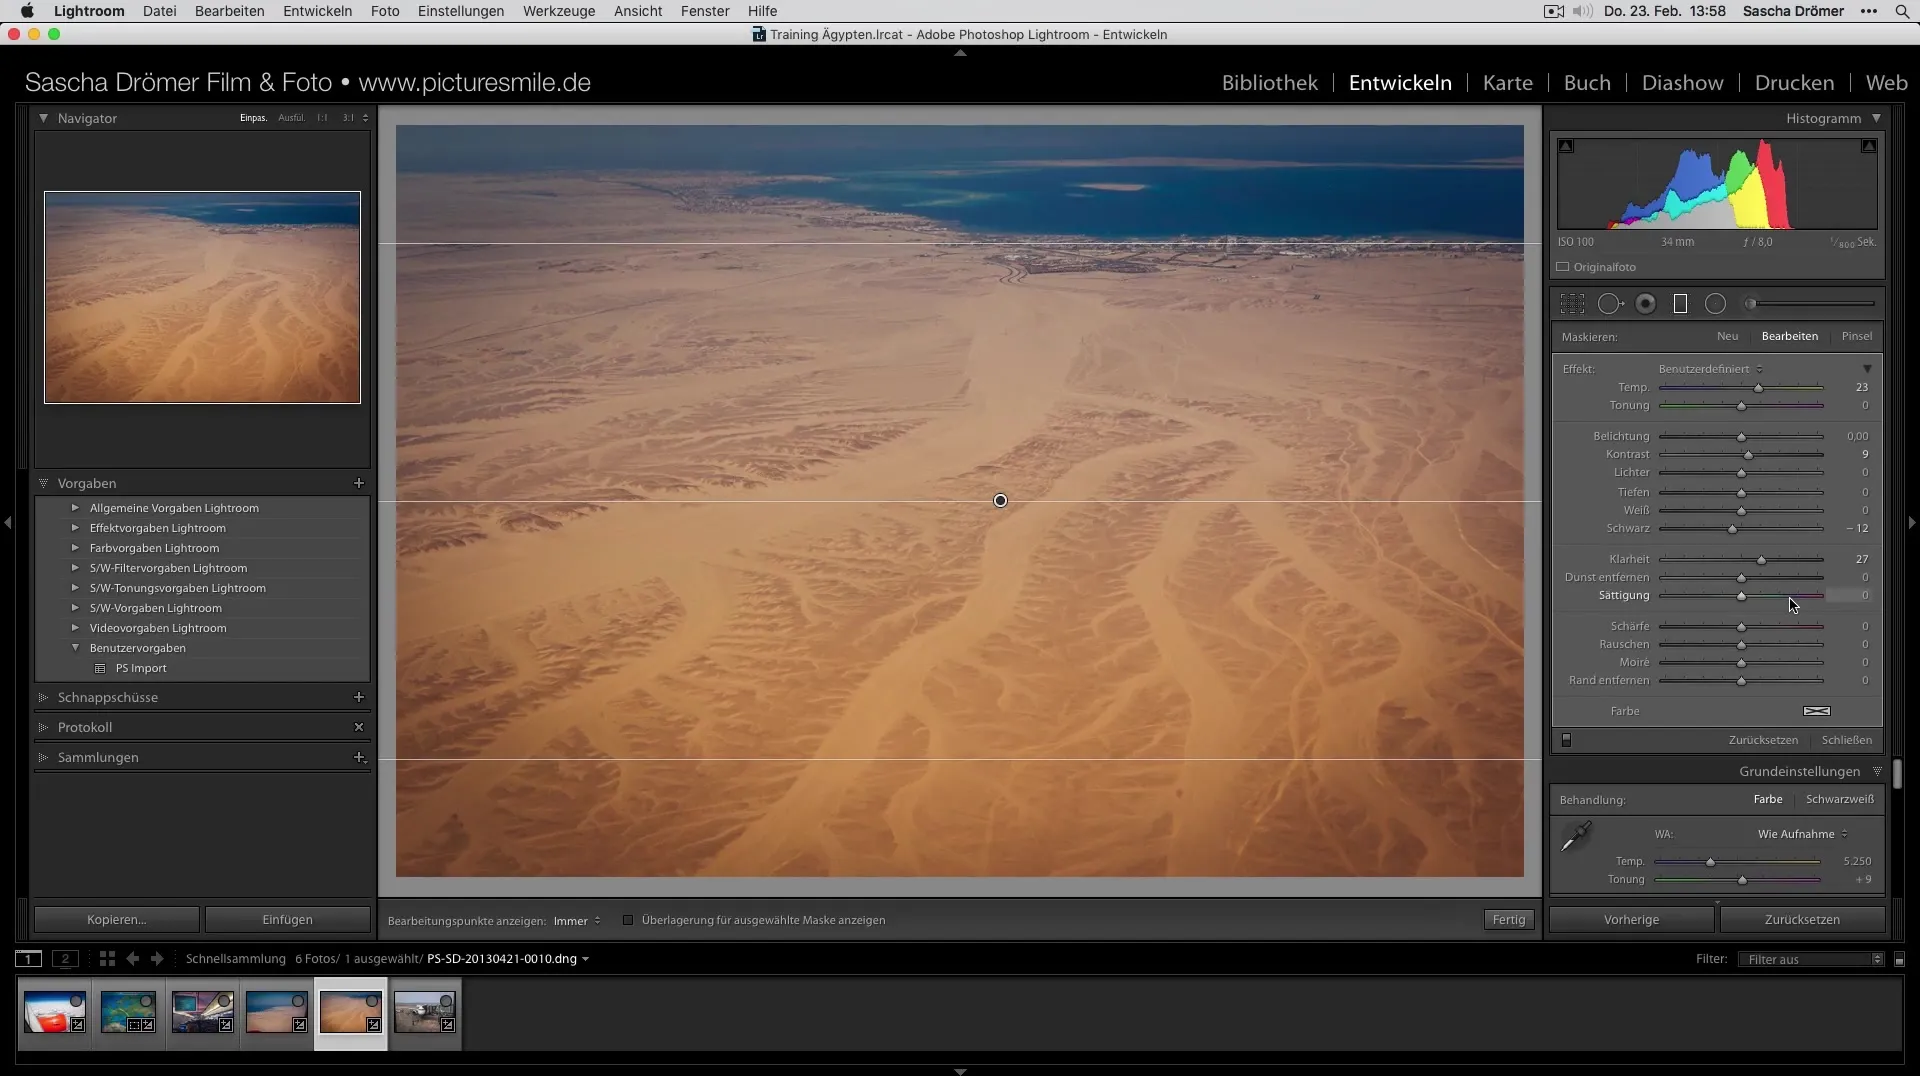
After the basic adjustments comes the exciting part - the local adjustments. Select the graduated filter to further optimize specific areas in the image. Often, landscape shots, like those of your landing approach, require special color correction. Adjust the colors in the image by starting from the default values and modifying the settings as needed. Be sure to maintain a balance between light and shadow.
Before-After Comparison
To see the effect of your adjustments, you can create a before-and-after comparison. This can be done through simple keyboard shortcuts that allow you to control the visibility of the editing tools. For example, if you press the Tab key, you can hide the side panels, and with Shift + Tab, you also hide the upper and lower panels. This way, you get a clear view of your edited image without distractions.
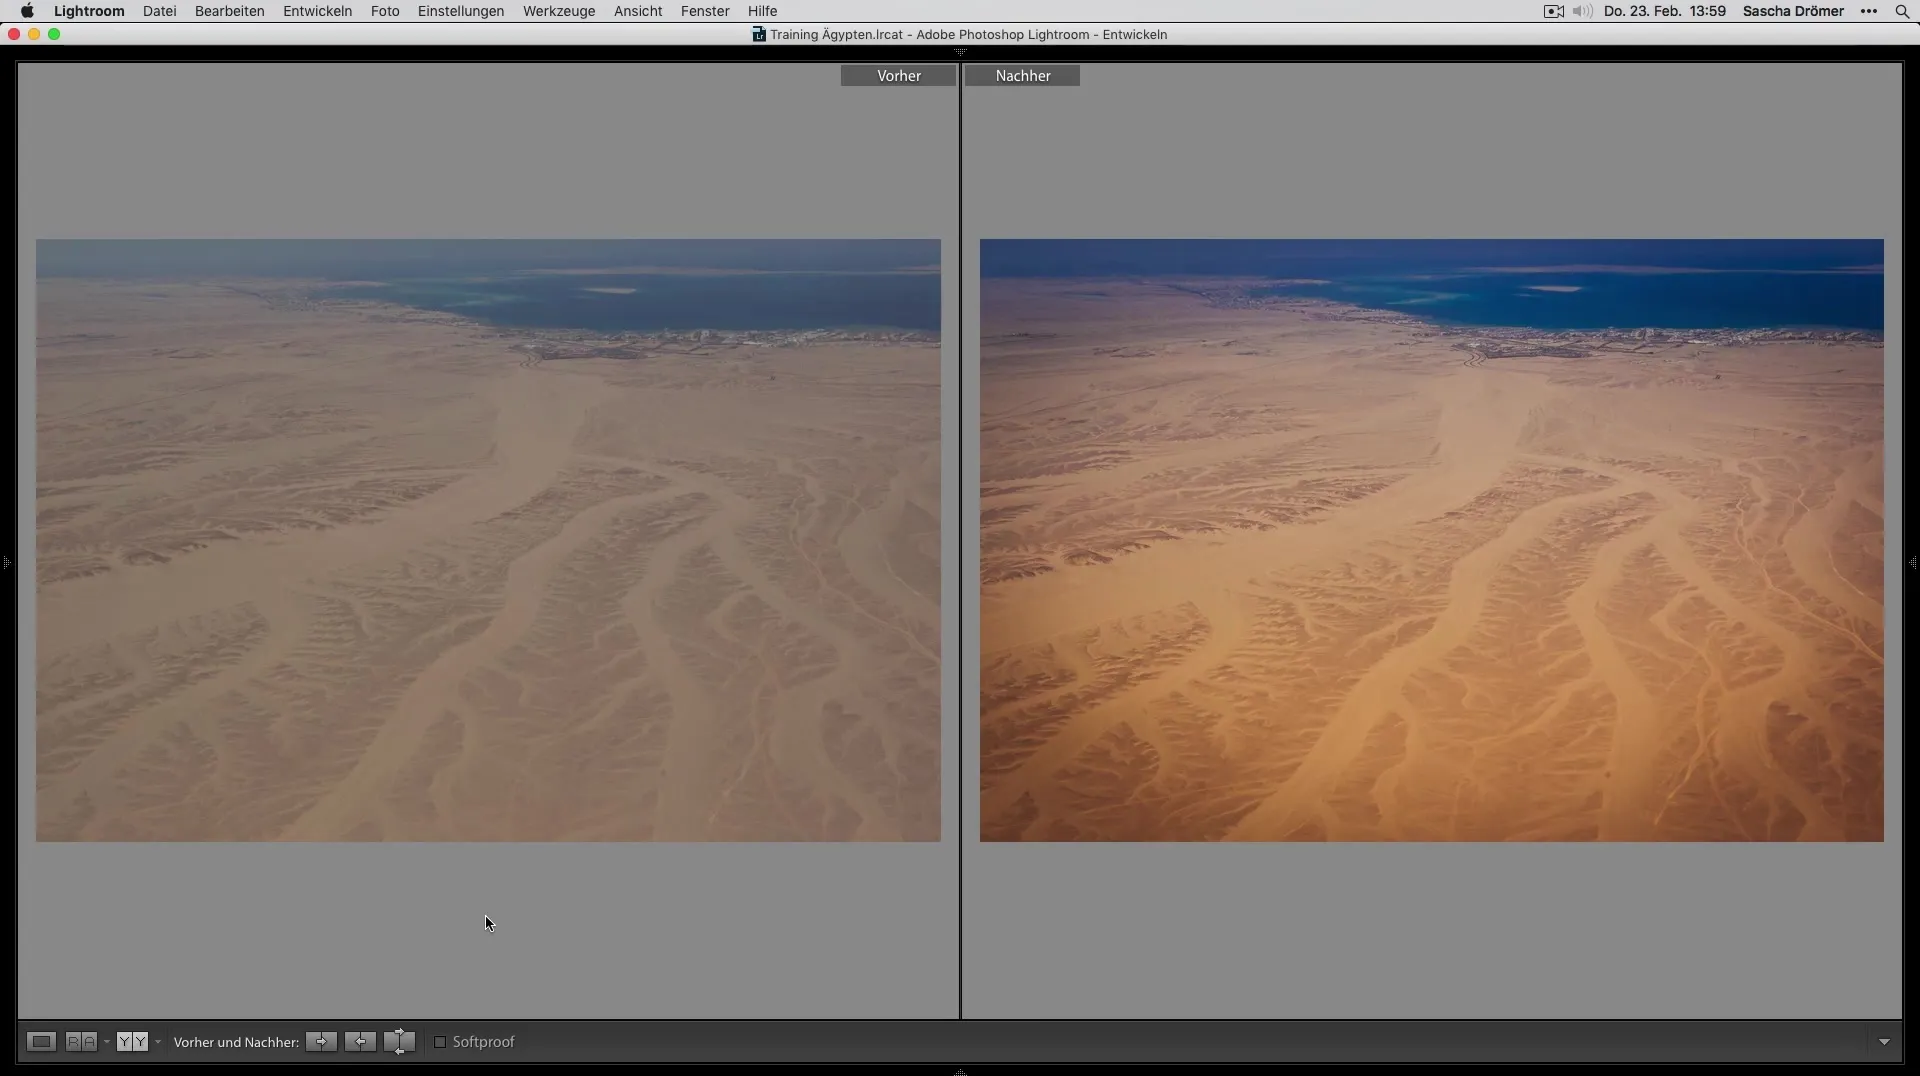
Summary - Optimally Developing Vacation Photos: Aligning Images and More
In this guide, you have learned how to optimally align, crop, and improve your vacation photos in Lightroom using the graduated filter. The various steps, from alignment to cropping to local color correction, show you how easy it is to transform your memories into impressive images.
Frequently Asked Questions
How do I align my images in Lightroom?You can use the Auto-Align function in the "Transform" area to straighten your image.
What is the right crop for vacation photos?A format of 4:3 is a popular choice to focus on the main subject.
How can I improve the colors in my image?Use the graduated filter to make local adjustments and highlight specific areas in the image.
How do I make a before-and-after comparison in Lightroom?Use the Tab key to hide the panels and get a clear view of the edited image.


